
HOPE Panel Tutorial by Paula Cheney

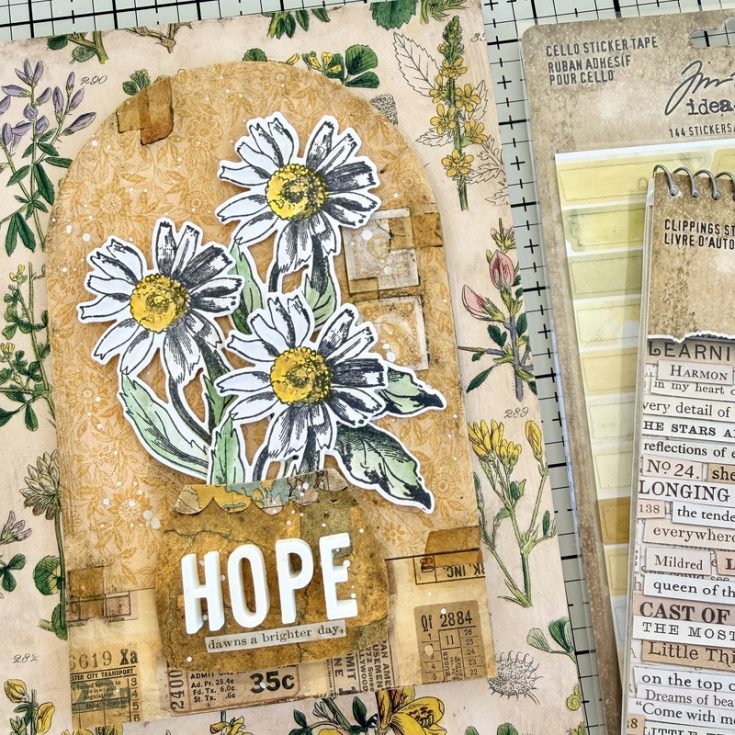
I was listening to a podcast recently where the speaker shared a small, beautiful observation: she loved seeing tiny flowers growing in the cracks of a sidewalk. To her, those stubborn little blooms were a visual definition of hope.
When I sat down to create this project, I found myself staring at a sheet of cracked-pattern paper from the Palette Yellow collection. Immediately, her words flashed back to me. I wanted to create a piece that mirrored that exact feeling—the idea that even in the fractured, “broken” places, there is space for something bright to grow. This project is my version of that sidewalk flower: a reminder that hope always finds a way through.
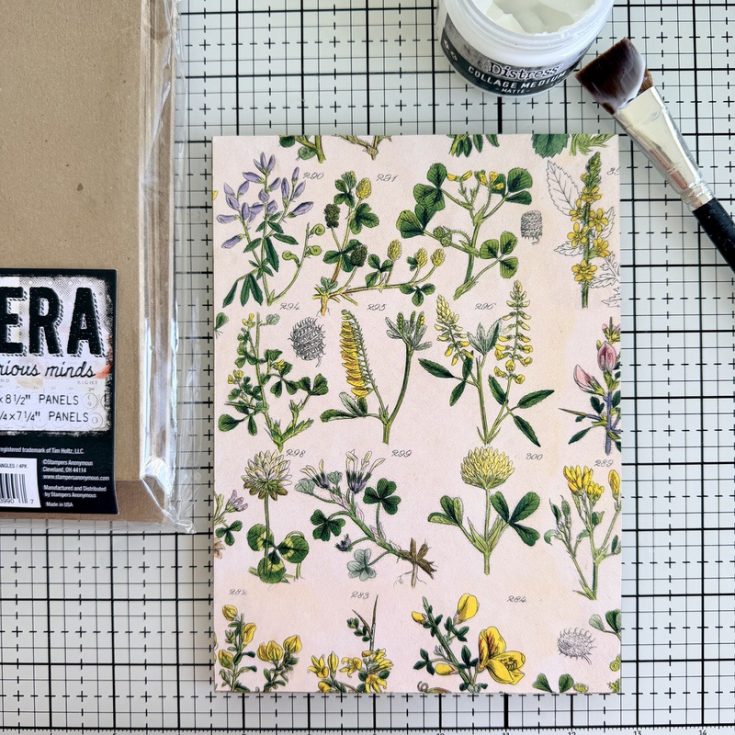
- Begin with an Etcetera Panel (6 x 8.5”) as the substrate. Use Collage Medium to adhere paper from the 12 x 12” Palette Yellow paper pack. I chose a bold botanical to counterbalance the ditsy print I will be using next. Be sure to add a layer of Collage Medium over the top of the paper to seal.
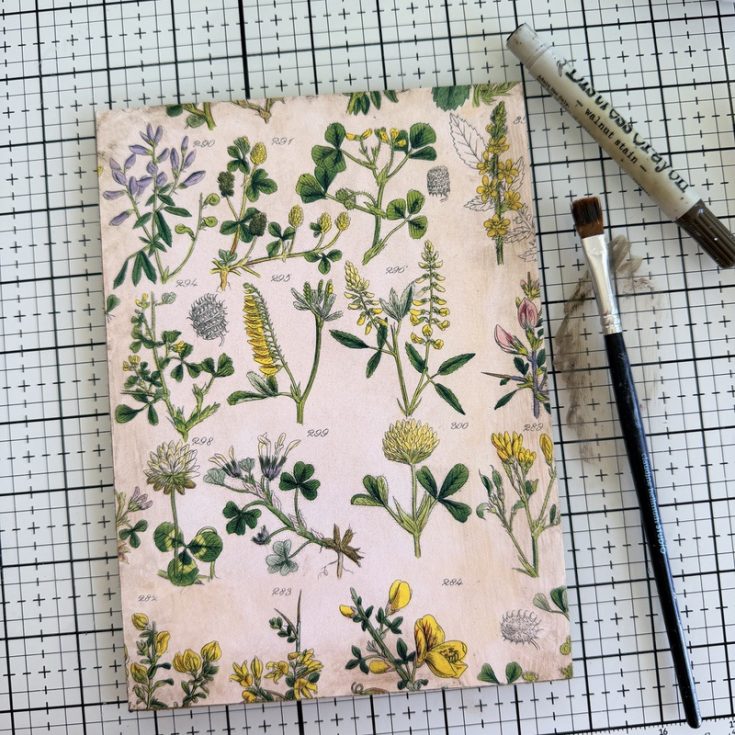
- Once the Collage Medium is dry to the touch, scribble Walnut Stain Distress Crayon on the edge of the Etcetera Panel. Use a damp brush to move the crayon around to age the edges.
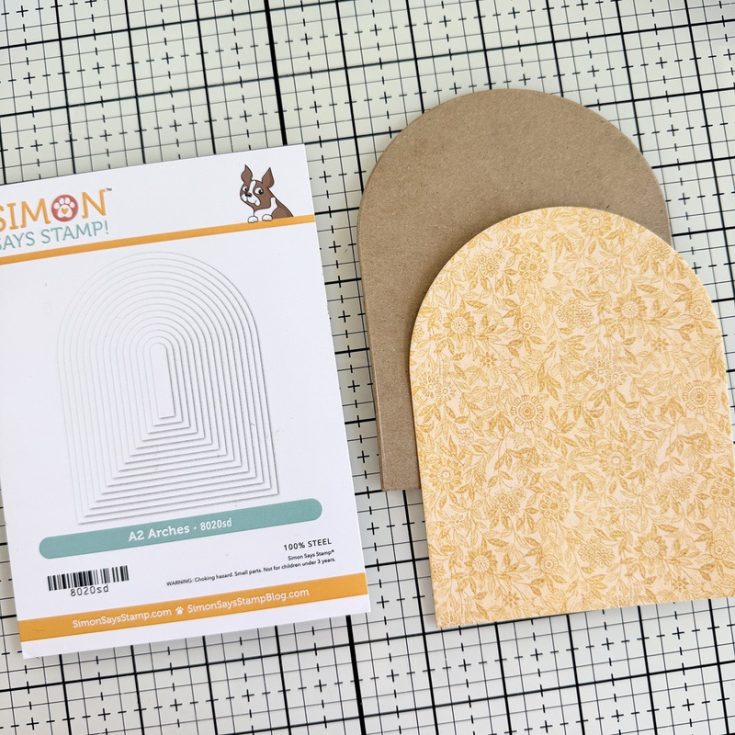
- Using the largest arch of the Simon Says Stamp A2 Arches Wafer Die, cut a piece of Palette Yellow paper and two pieces of thin chipboard. Glue all the pieces together with Collage Medium.
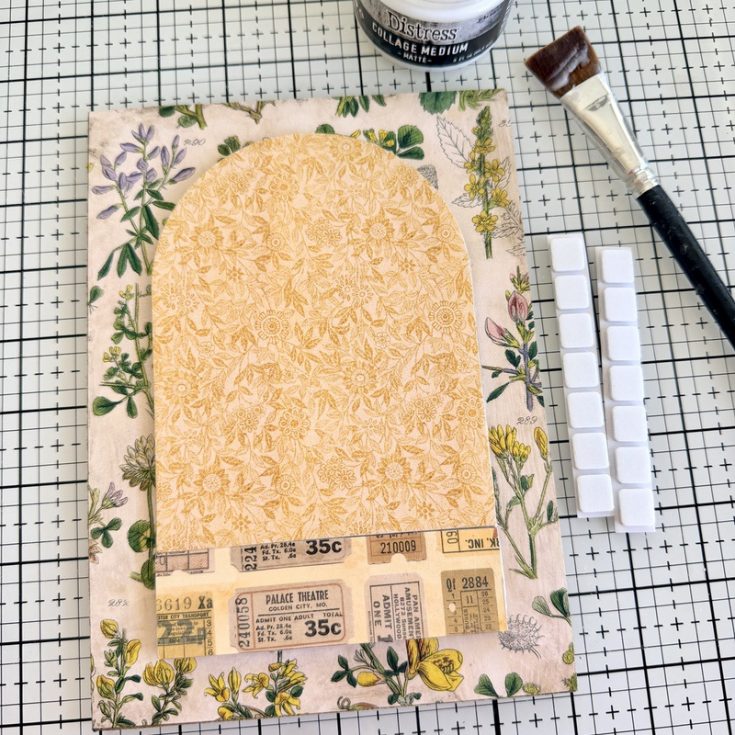
- Use 3D Foam Squares to add the arch shape to the Etcetera Panel. I added a second piece of chipboard to extend the length of the arch (1 1/4 x 4 1/4”). I covered the small chipboard rectangle with another Palette Yellow pattern for added interest. Add 3D Foam Squares to adhere it to the panel below the arch. Once the two pieces were in place, I added a layer of Collage Medium over the top and let it dry.
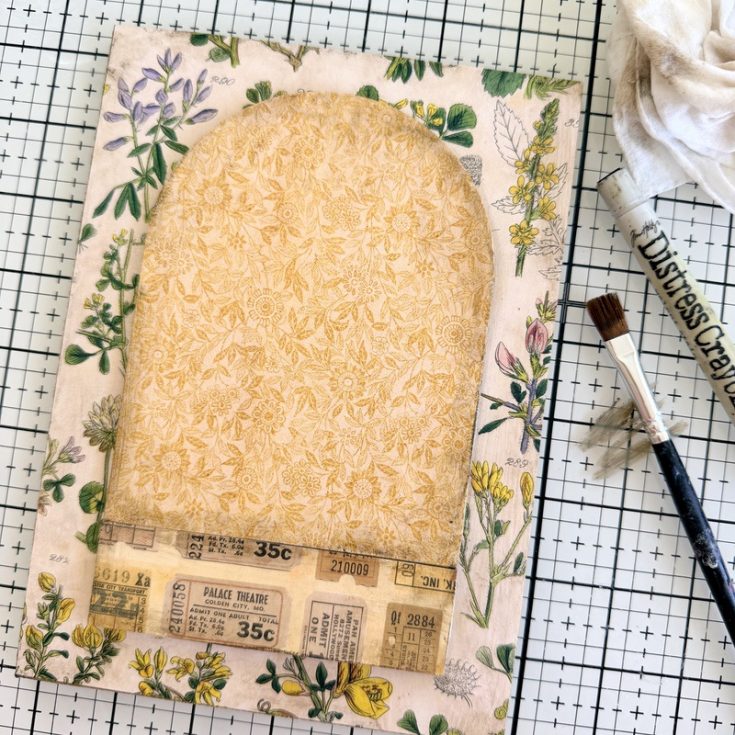
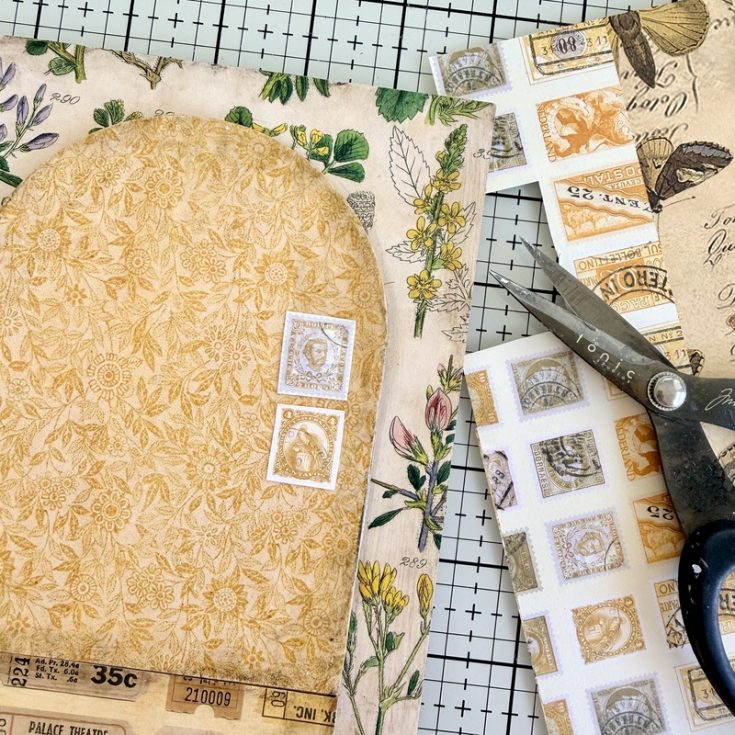
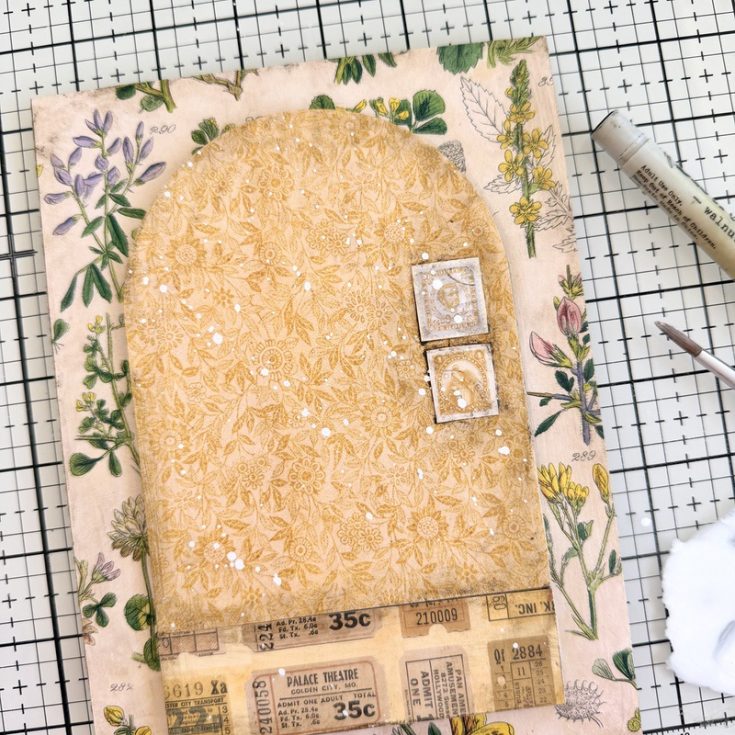
- Once the Collage Medium was dry, I repeated the crayon technique to give definition to the edges of the added chipboard pieces.
- Cut a couple stamp from the Stamps Palette Yellow paper and adhere them to the right side of the arch. Cover with Collage Medium to seal and let dry.
- Once dry, use the Walnut Stain Crayon to build up a dark edge around the stamps. Make a puddle of Picket Fence Distress Paint and a small amount of water. Use a paint brush to flick the white paint over the arch (I covered the background panel with a paper towel to protect the surface from the splatter).
STAMPING
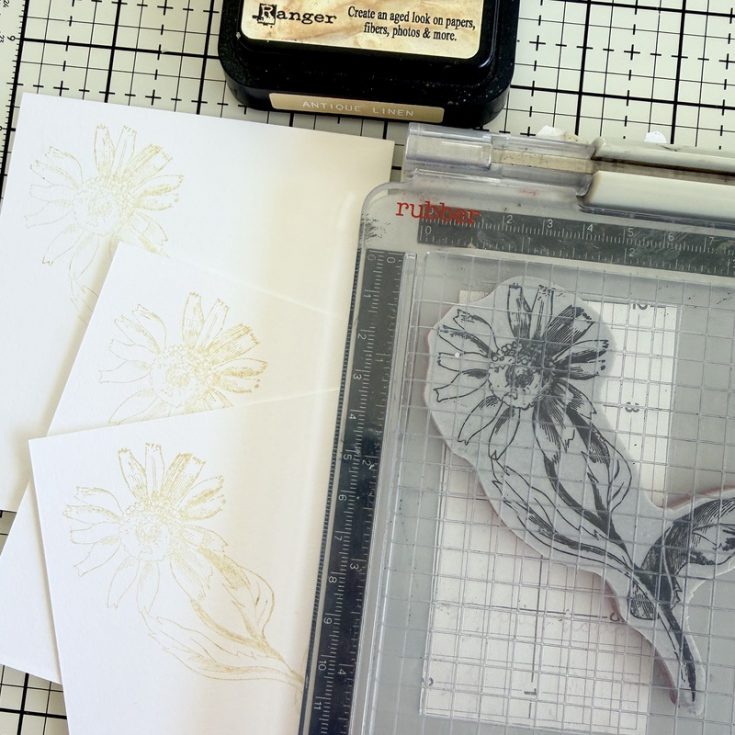
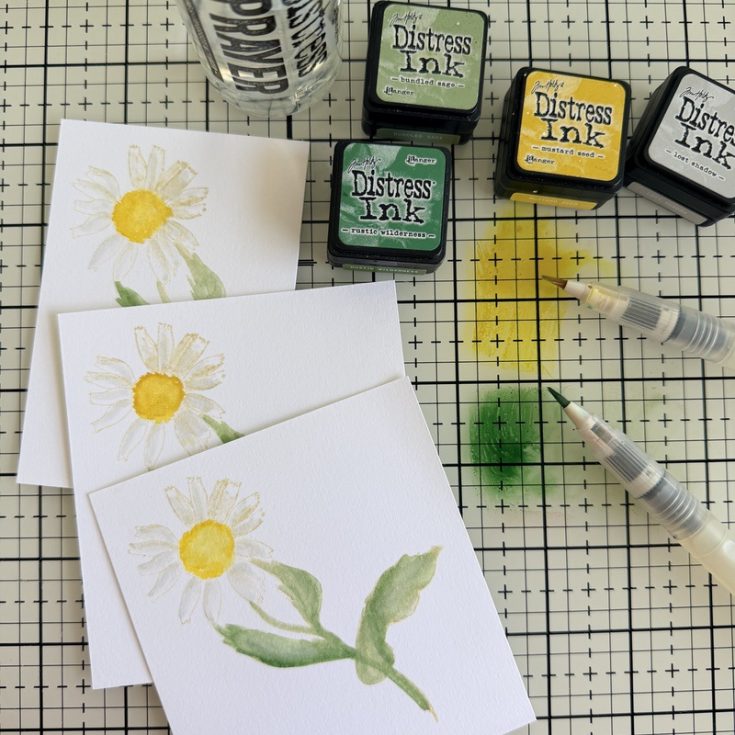
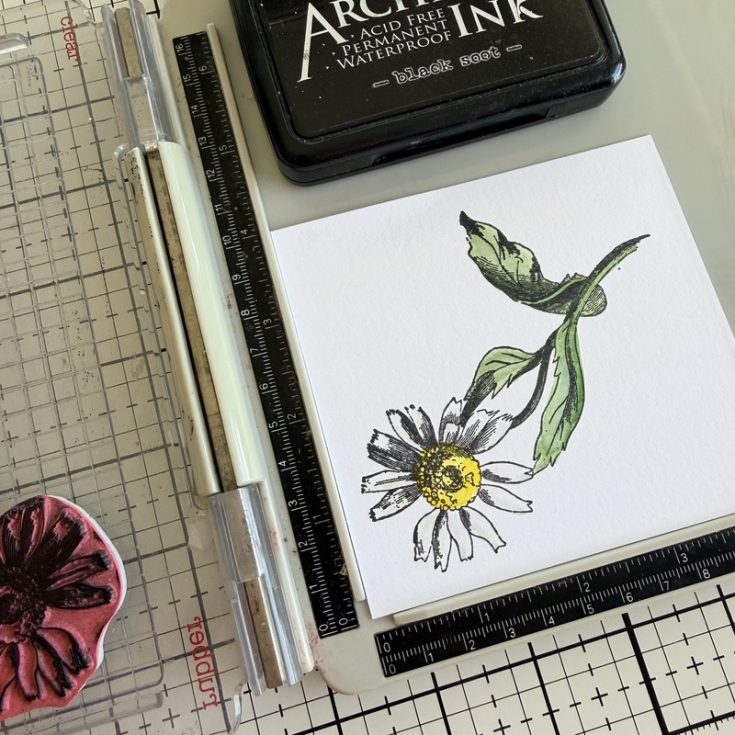
- Use a stamp positioner and Antique Linen Distress Ink to stamp three pieces of Distress Watercolor Cardstock with the daisy image from the Stampers Anonymous French Garden stamp set. DO NOT remove the stamp from the positioner after stamping – you will use again after coloring the images.
- Use a variety of Distress Inks and a Detailer Water Brush to watercolor the images. I used a combination of colors – for the leaves, Rustic Wilderness and Bundled Sage. Lost Shadow for the petals and Mustard Seed for the center.
- Once the stamped images are colored and dry, place each image back into position on the stamp positioner. This time, stamp the image with a dark Archival Ink, like Black Soot or Ground Espresso. The dark color brings back the lost details of the image.
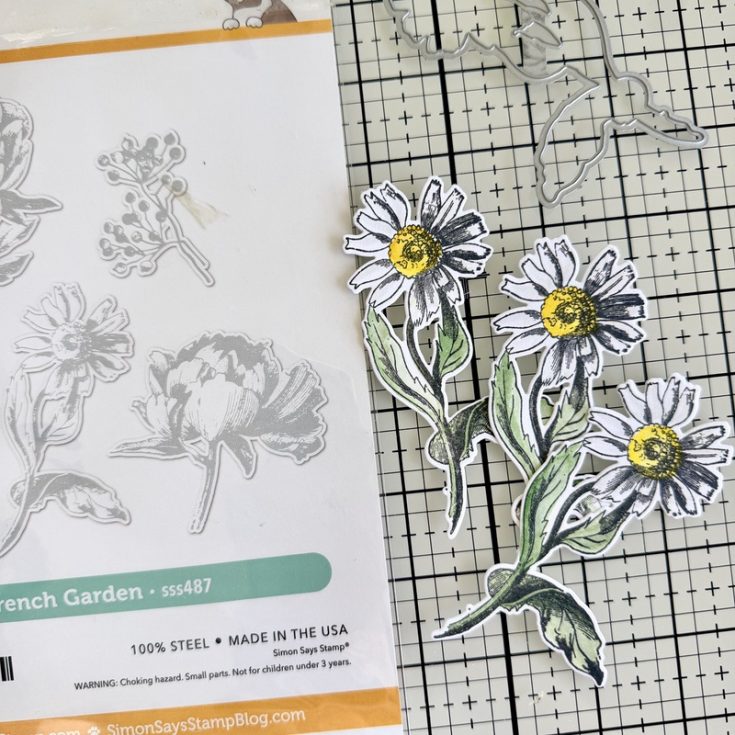
- Once stamped, use the Simon Says Stamp French Garden Wafer Die to cut out the three images. Now that was EASY!
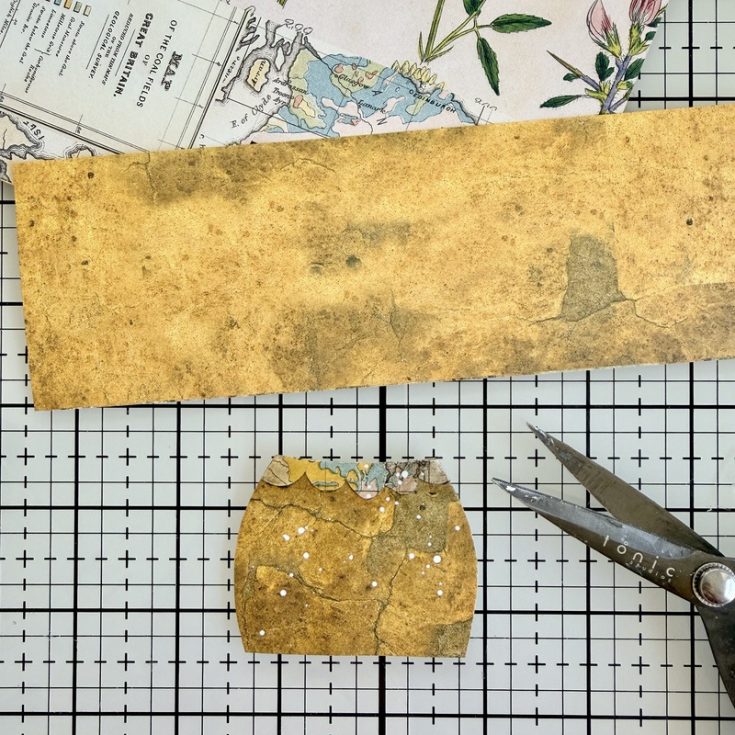
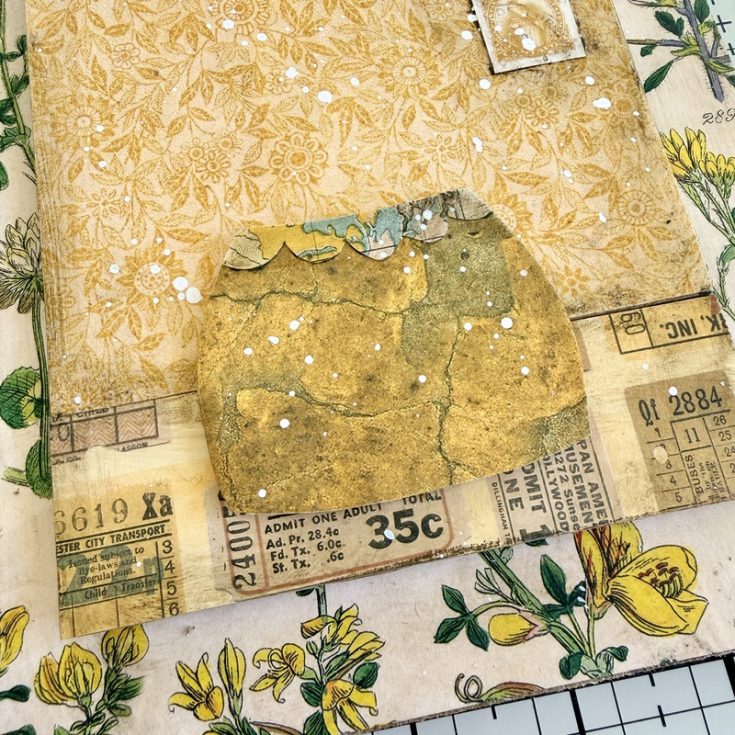
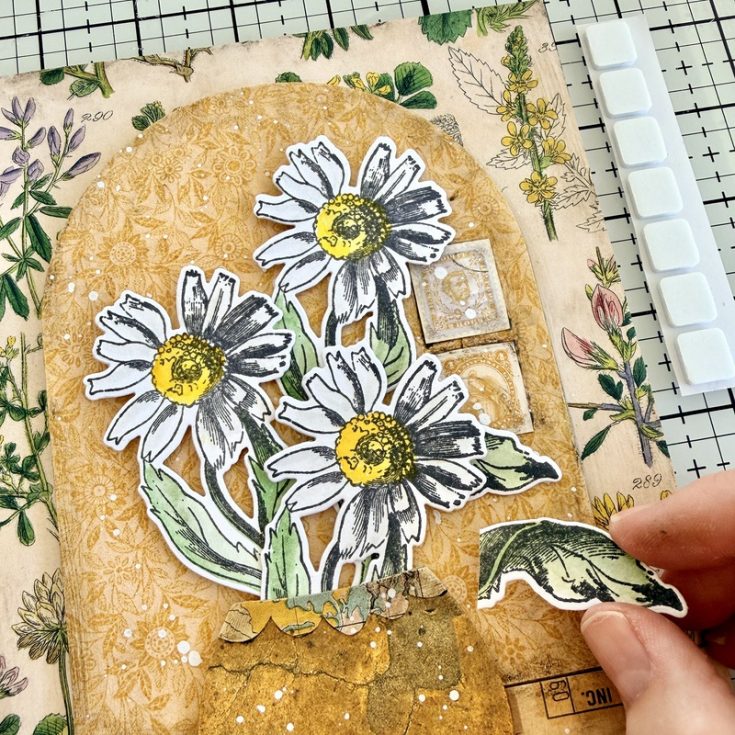
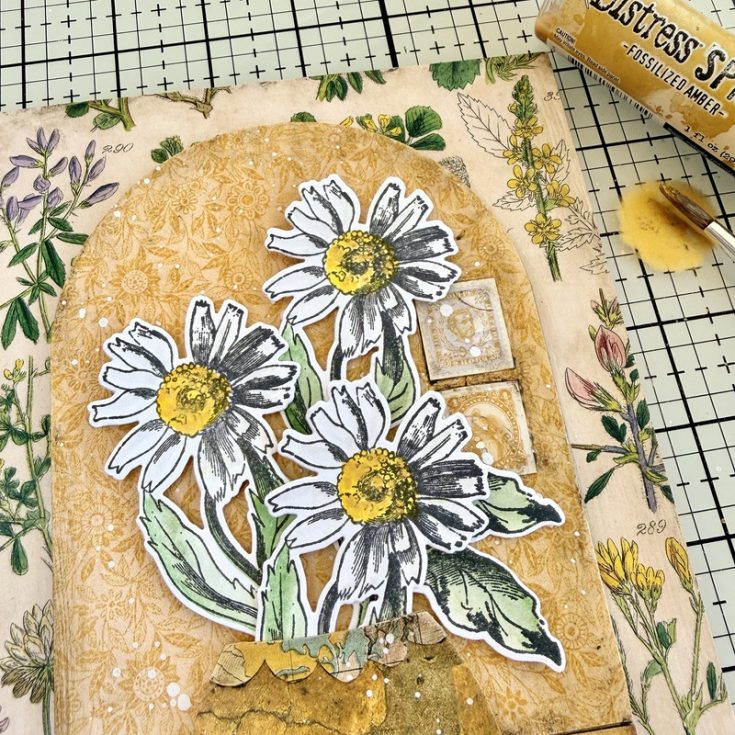
- Next we need a vase of sorts. I cut drew a shape on chipboard then cut it out. I chose the cover the chipboard with the Palette Yellow paper with all the cracks in it to go with my theme. I freehand cut a small piece of the Palette Yellow Map paper into a small scallop to run along the top edge – but you can decorate the vase anyway you choose.
- I added the vase to the panel with 3D Foam Squares. I cut each Foam Square in half and lined the edge of the vase so I can slip the flower stems inside, just like a real vase.
- Add one 3D Foam Squares to the back of each flower and add to the vase. I cut the leaf from the daisy on the left and repurposed it behind the daisy in the front.
- This step is not easy to see in a photo, but I used a paint brush to add dots of Fossilized Amber Distress Spritz to the center of each flower for a bit of shine. Again, hard to see in a still photo but in person it is beautiful when the light catches it.
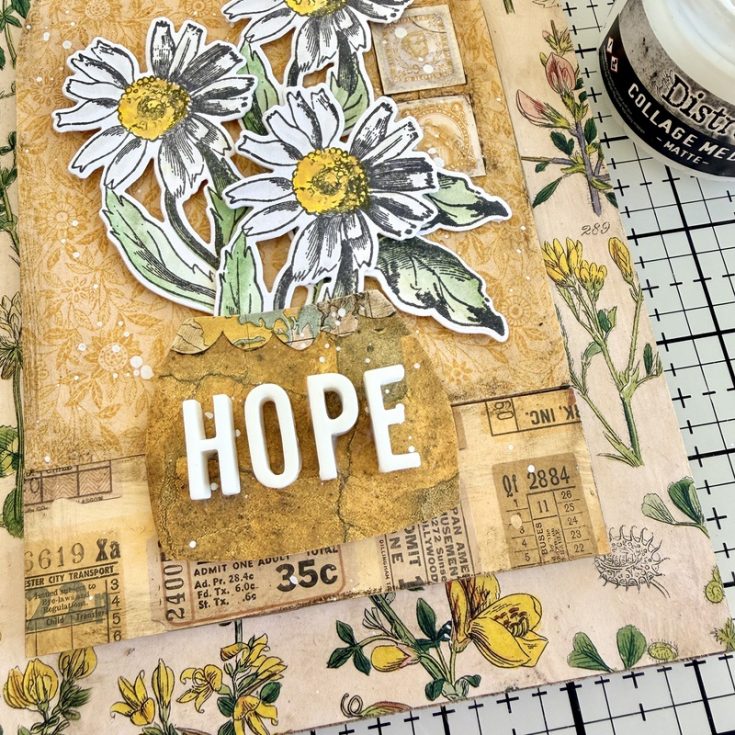
- Just a few more steps, the first being the addition of the word HOPE to the vase. Typography is one of my favorite idea-ology products. The 3D letters always give a pop of something unexpected when added to a piece and they are so easy to use – just glue them down with Collage Medium. I do like to have a tiny brush on hand to wipe away any glue that might squish out from underneath.
- And in one final move, I added Cello Sticker Tape to various areas of the arch and a Clipping Sticker below the word HOPE. I used the Walnut Stain Distress Crayon to create the added buildup around the Cello Tape Stickers. Love the dimension it creates so the tape stands out from the golden background.
SUPPLIES:
|


Thanks so much to Paula for this gorgeous inspiration and to YOU our reader, for stopping by today!







Wow!!!! That’s Beautiful!!! Yellow is my favorite color!!
This is so pretty – I love Paula’s detailed photos
The gameplay in Brush Jjaemu game is deceptively simple but extremely unforgiving in execution. Players only need to move their mouse up and down to brush Jjaemu, yet every movement carries risk. Brushing too slowly leads to low scores, while brushing too quickly increases the chance of triggering the cat’s aggressive reaction. The experience becomes a constant mental balancing act where players must maintain rhythm while carefully observing Jjaemu’s behavior. One wrong move or delayed reaction can instantly end the run with a sudden “YOU DIED” screen, turning an ordinary action into a high-pressure survival moment. This contrast between minimal controls and harsh consequences is what makes the gameplay both frustrating and addictive.
Creative Funny borg names, especially writers and content creators, also benefit from FunnyNamesLab. A funny character name can make a story more engaging and easier to remember. It sets the tone and prepares the audience for humor. FunnyNamesLab offers a wide collection of names that can inspire new ideas. Sometimes a single funny name can lead to the creation of an entire character.
Picking a creative name for a farm bird can make caring for it even more enjoyable and personal. Many animal lovers search for charming turkey names that reflect a turkey’s colorful feathers, funny walk, or lively personality. From cute seasonal names to classic countryside ideas, the right name can give every turkey a unique identity.