Glow-In-The-Dark Halloween Decor
Hi friends! Happy Sunday! I’m always delighted to welcome back special guest Anna-Karin Evaldsson! She’s make this gorgeous piece of decor to share today! Let’s dive in and see how she did it!
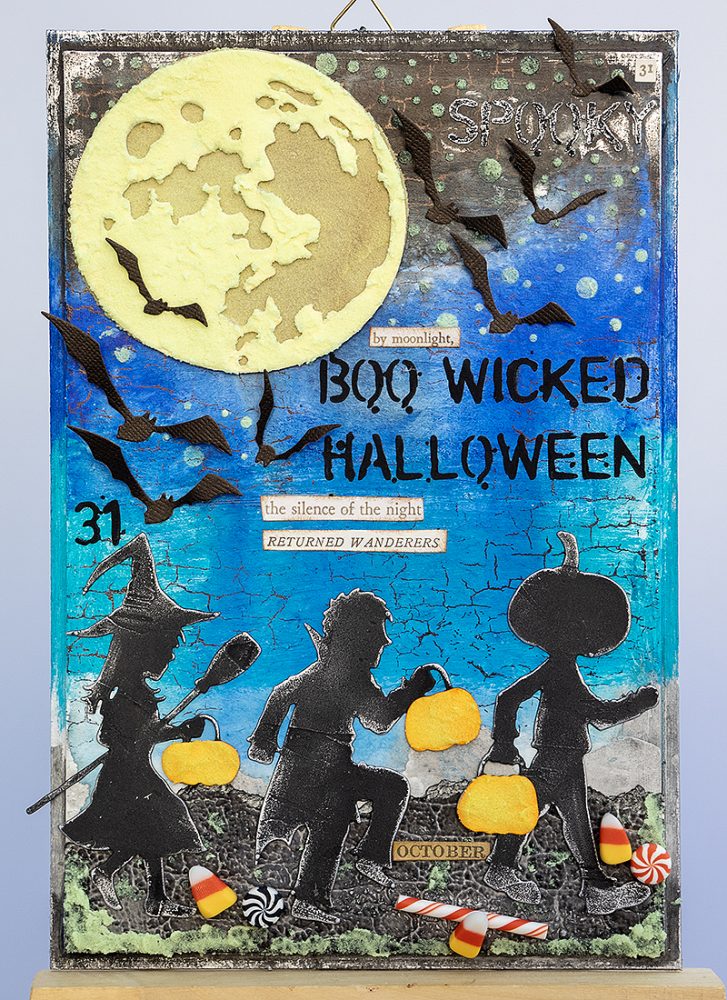
Hi everyone! I am happy to be back here today with a Halloween tutorial. I always have such fun making Halloween decorations and to display them every year. I am going to share a really fun and easy mixed media project which glows in the dark.
As a child I had two small glow-in-the-dark figurines next to my bed. I was very fascinated with them and still like glow-in-the-dark items, which is why I was happy to see Tim Holtz new Glow Grit Paste. This stuff is so cool! I created a trick and treat scene on my project with several different details which glow.
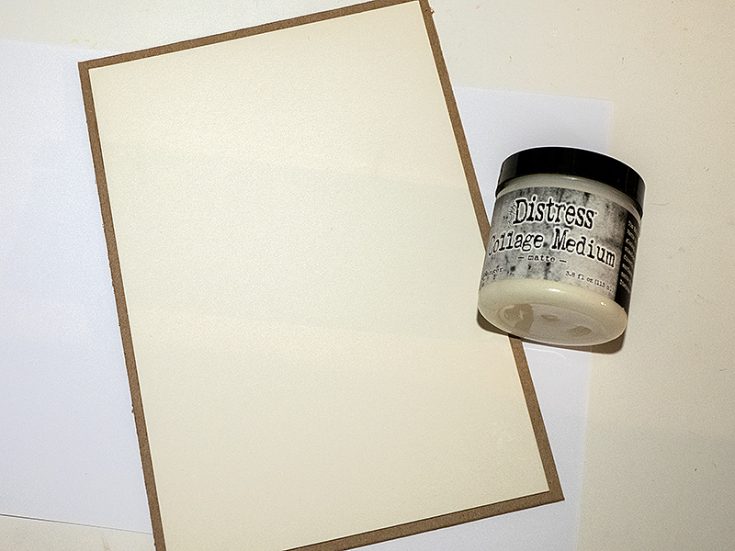
As a base I used Sizzix Little Sizzles Mat Board and Simon Says Stamp chipboard. Cut a piece of mat board to 6 x 9 in. Cut a piece of chipboard which is slightly larger. Glue together with Distress Matte Medium and place under a heavy book.
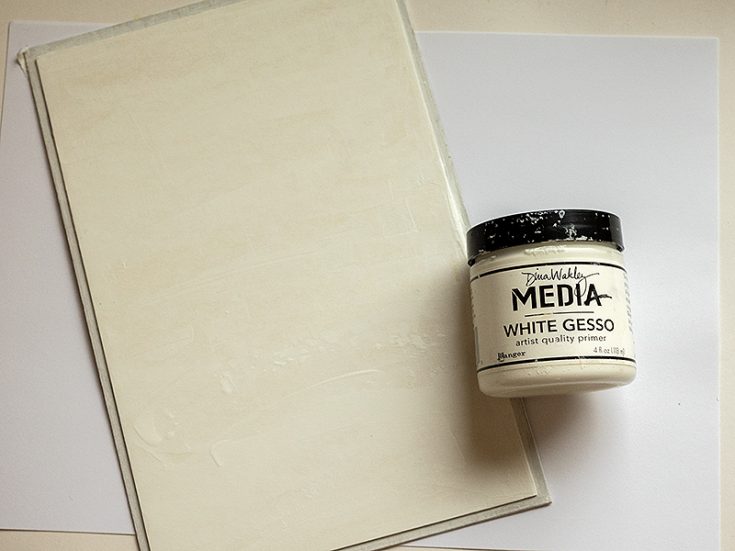
Coat with gesso. Let dry.
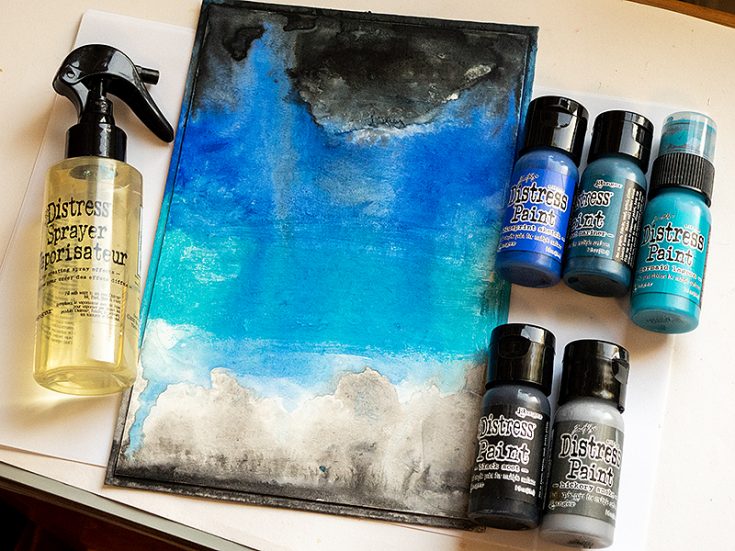
Paint with Distress Paint using blue shades combined with grey and black. Mist with water to blend.
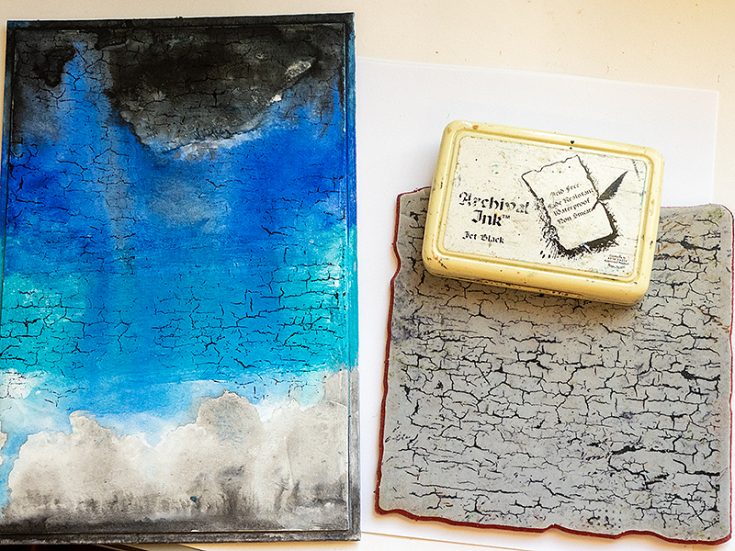
When dry stamp here and there with Simon Says Stamp Crackle Background and Jet Black Archival Ink.
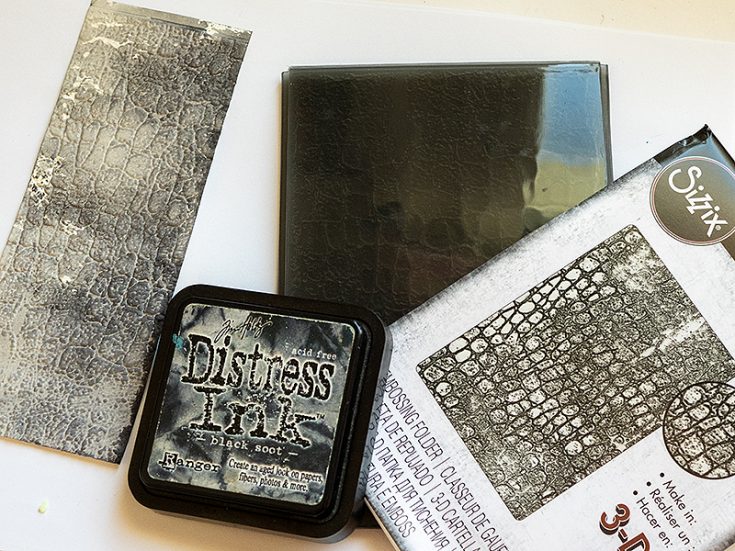
For the ground, cut a piece of watercolor paper. Smear Black Soot Distress Ink on a non-stick craft sheet, mist with water and press the paper into the ink. Immediately emboss in Tim Holtz Reptile folder.
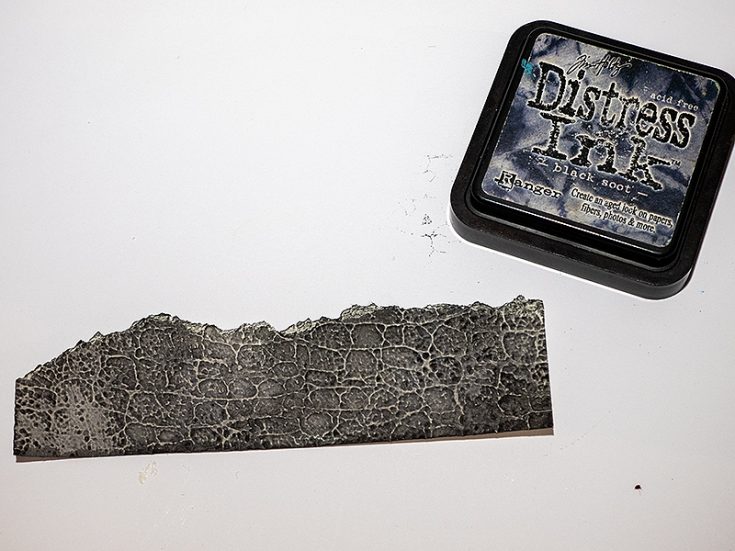
When dry, add more black ink and tear the upper edge.

Apply Distress Black Opaque Texture Paste through some of the words on Tim’s Halloween stencil. Mask off the neighboring words with Simon Says Stamp Very Very Low Tack tape to avoid getting paste there.
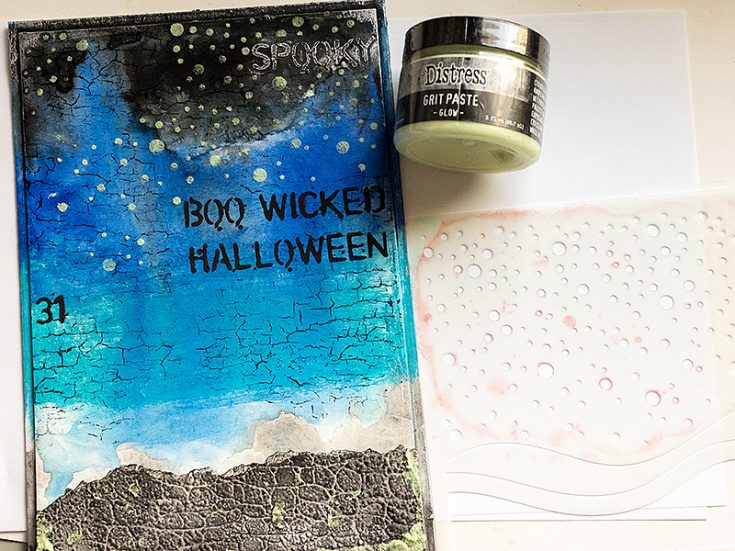
Place Simon Says Stamp Snowfall and Banks stencil on the project and apply Glow Grit Paste through the stencil to create stars. I also added some Glow Grit Paste along the base of the panel.
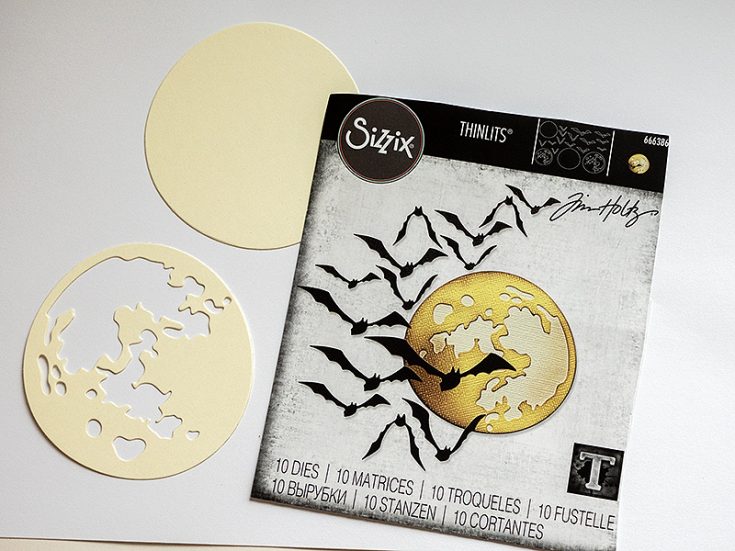
Die cut the moon from Tim’s Moonlight set from heavystock paper.
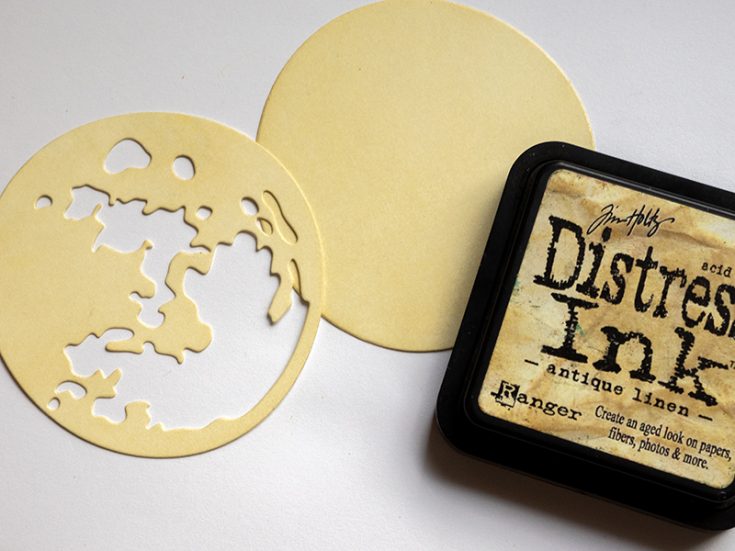
Ink with Antique Linen using an ink-blending tool.
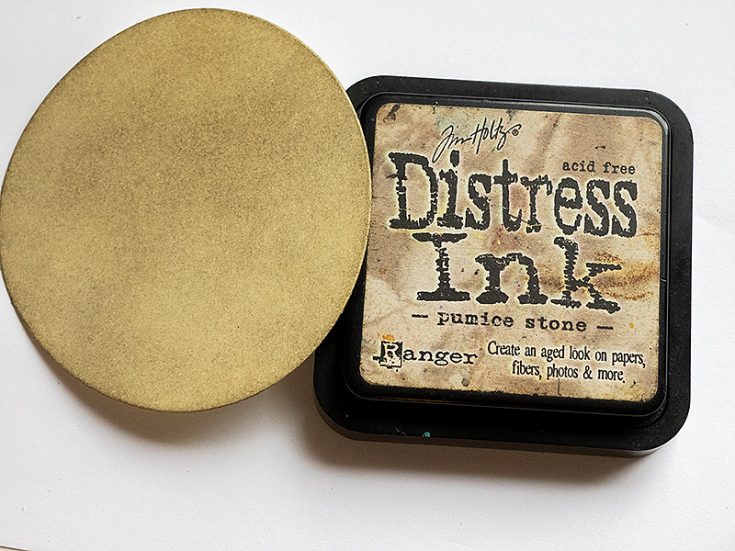
I wanted the shadows on the moon to be darker and inked the base with Pumice Stone.
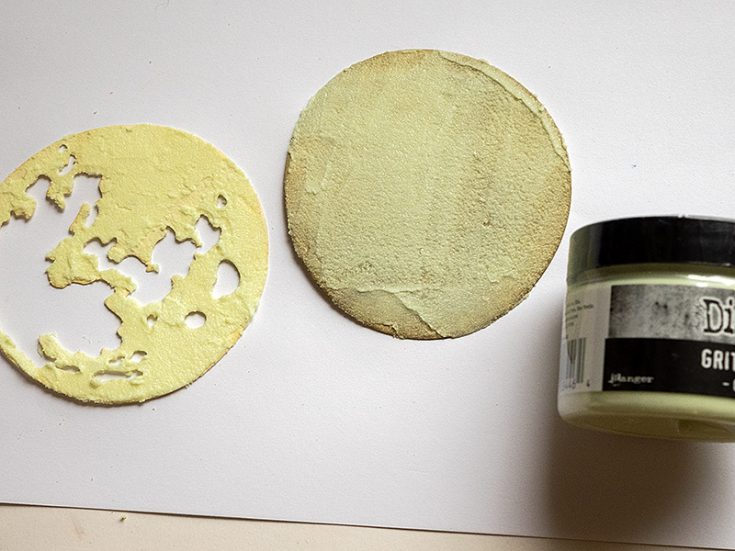
Apply Glow Grit Paste to the moon with a palette knife. I tested the Glow Paste on a whole bunch of inky backgrounds first to see how the ink colors would affect the glow. Different colors and shades of ink give a different effect to the Glow Grit Paste, since the paste will pick up some of the ink. Thus, you can create a very cool shadow glow effect on the moon.
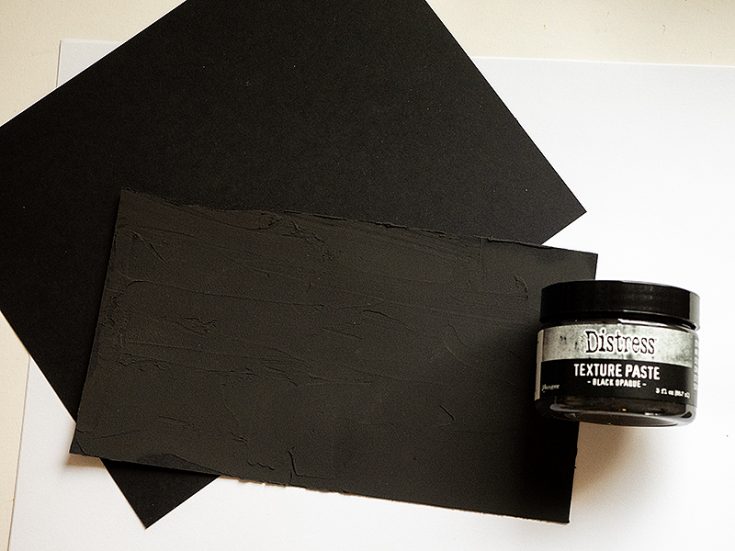
Apply a thin layer of Black Opaque Texture Paste to Simon Says Stamp black cardstock. Let dry.
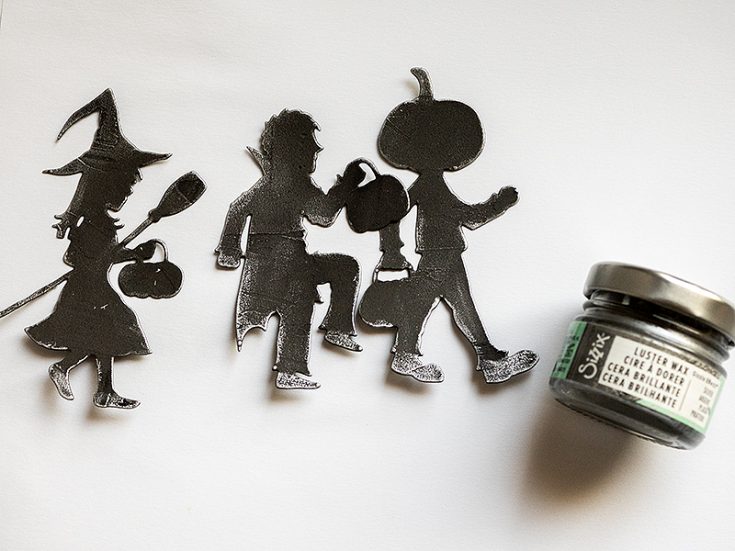
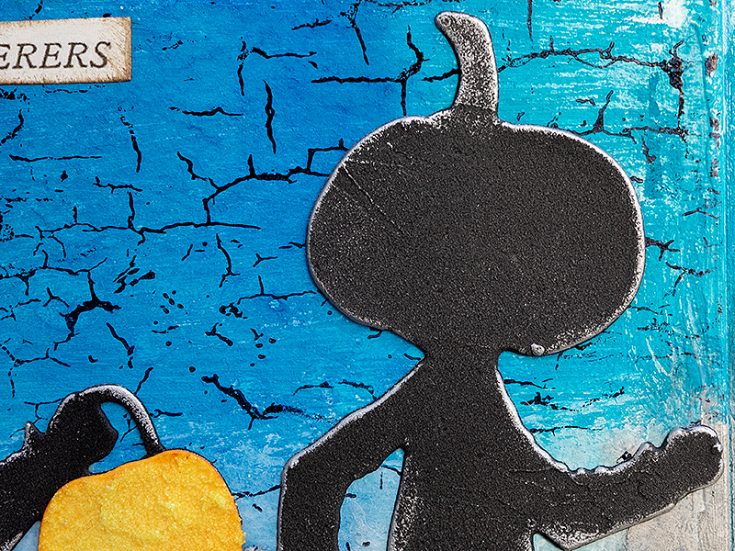
Die cut the three Halloween Night silhouettes from the paste paper. This will give them an interesting texture. Let dry.
Apply a little Sizzix Silver Luster Wax to the figures, to create the appearance of reflections from the moonlight.
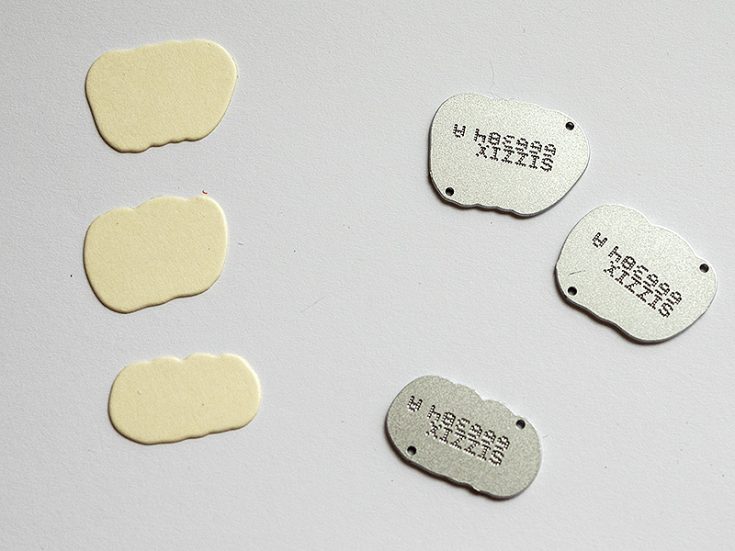
Die cut their pumpkin bags from heavystock paper.
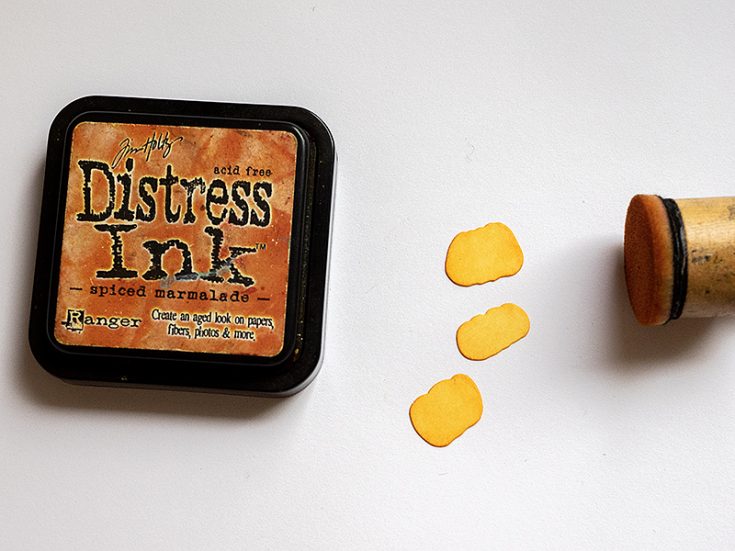
Ink with Spiced Marmalade.
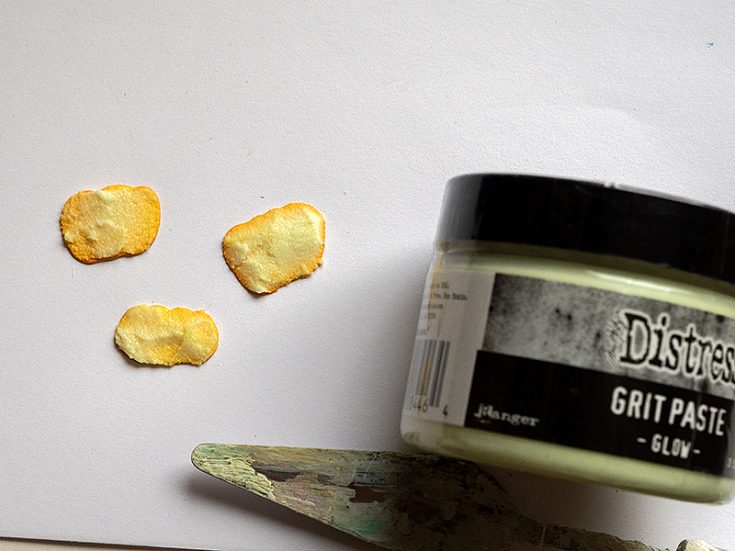
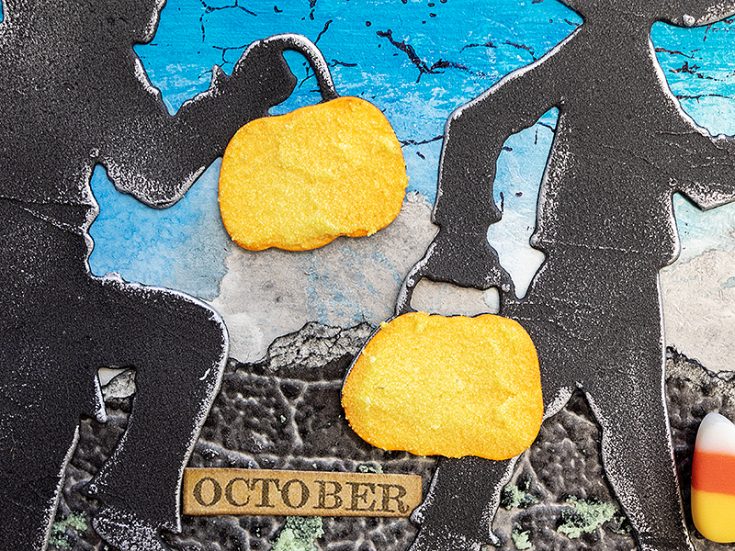
Cover with Glow Grit-Paste.
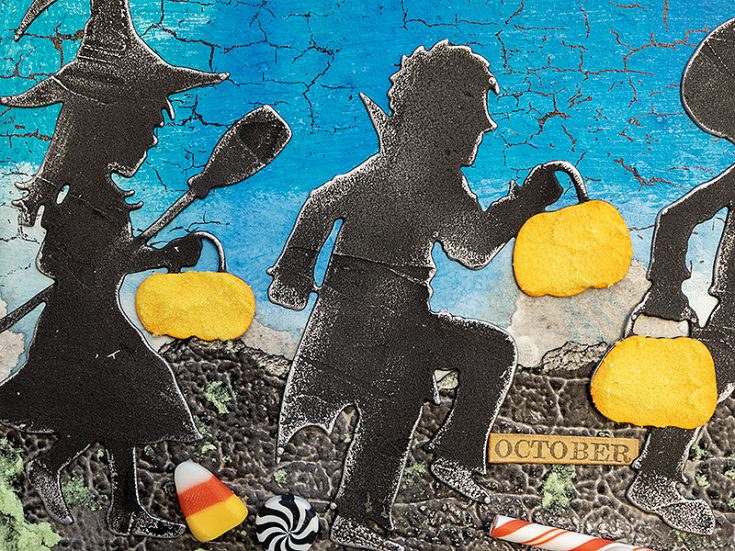
Glue the pumpkin bags to the figures and adhere to the background with Matte Medium.
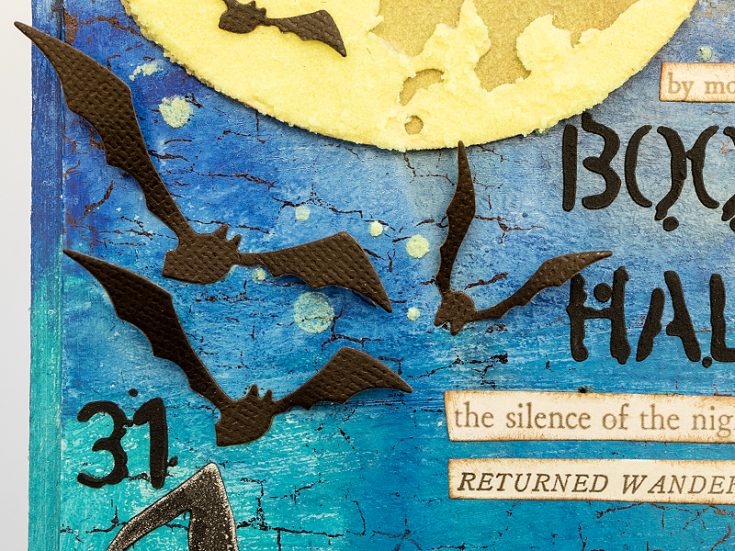
Die cut bats from the Moonlight die set from black kraft stock paper. Shape a little and glue to the background.
Stickers from Tim Holtz Halloween 2023 sticker book were used as additional sentiments.
You can die cut the figures from black cardstock instead, but the Black Texture Paste gives them a pretty cool finish.
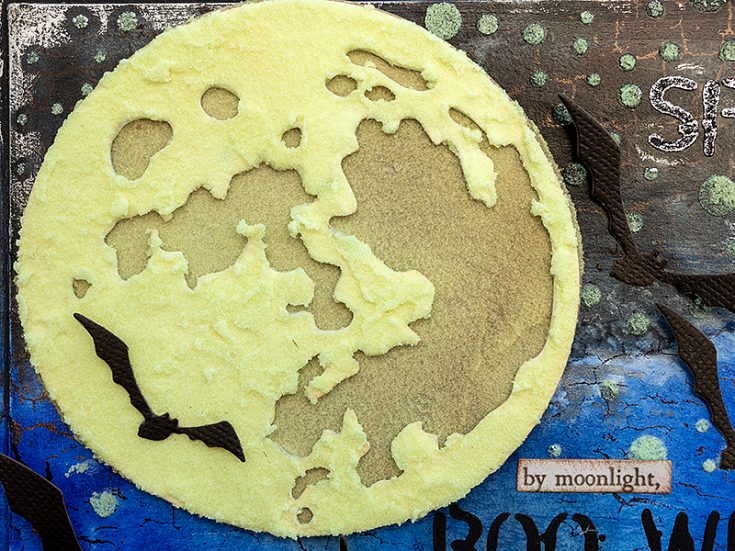
I placed one bat on the moon, which shows as a shadow when the moon glows.
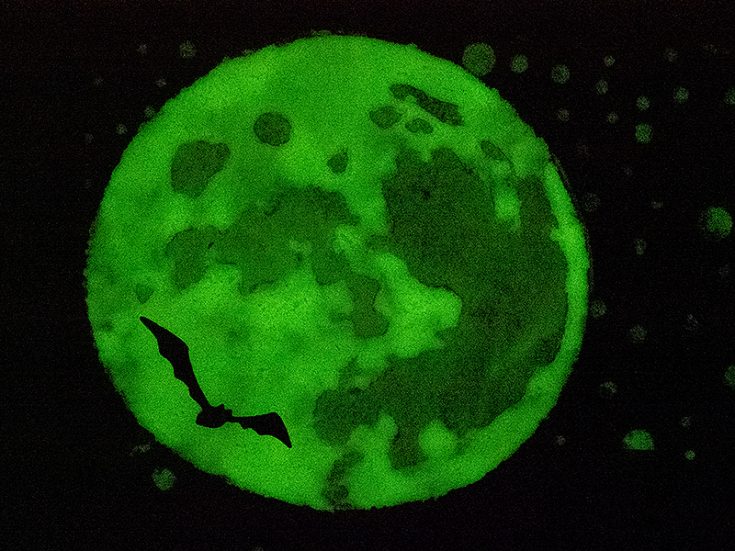
Here you can see the glow effect on the moon, with the two different shades of Distess Ink.
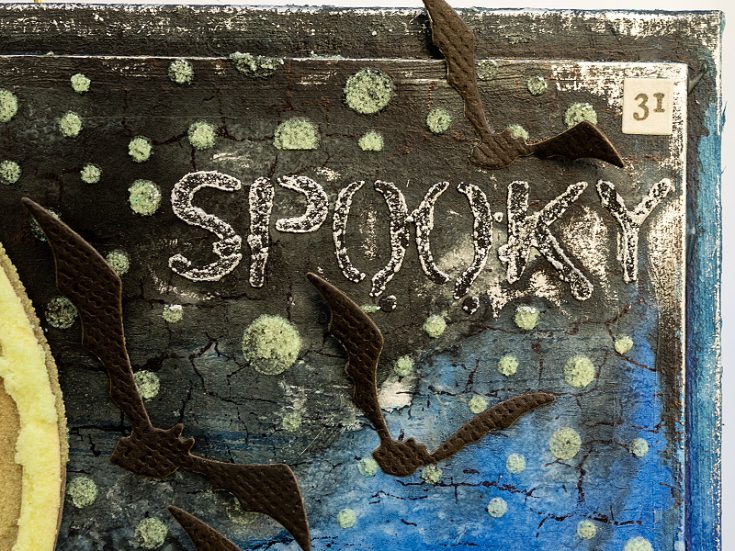
One of the words was almost invisible on the dark background and I added Silver Luster Wax to it to make it more visible.
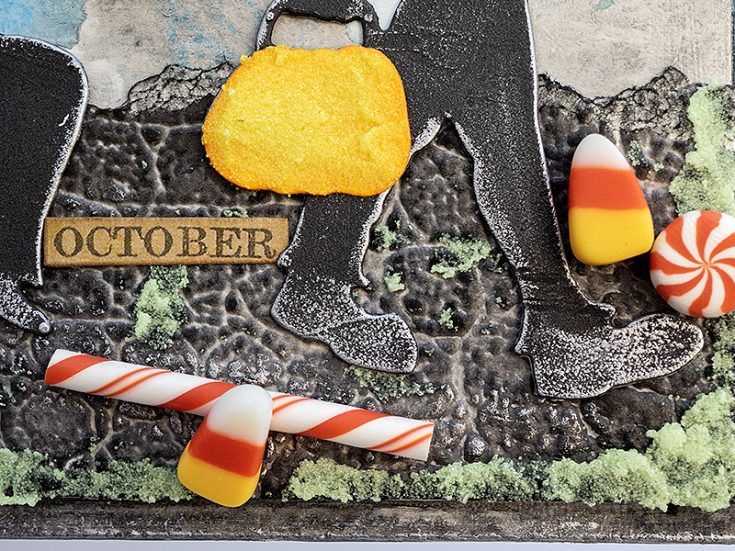
The kids dropped some sweets on the ground, from Tim Holtz Halloween Confections.
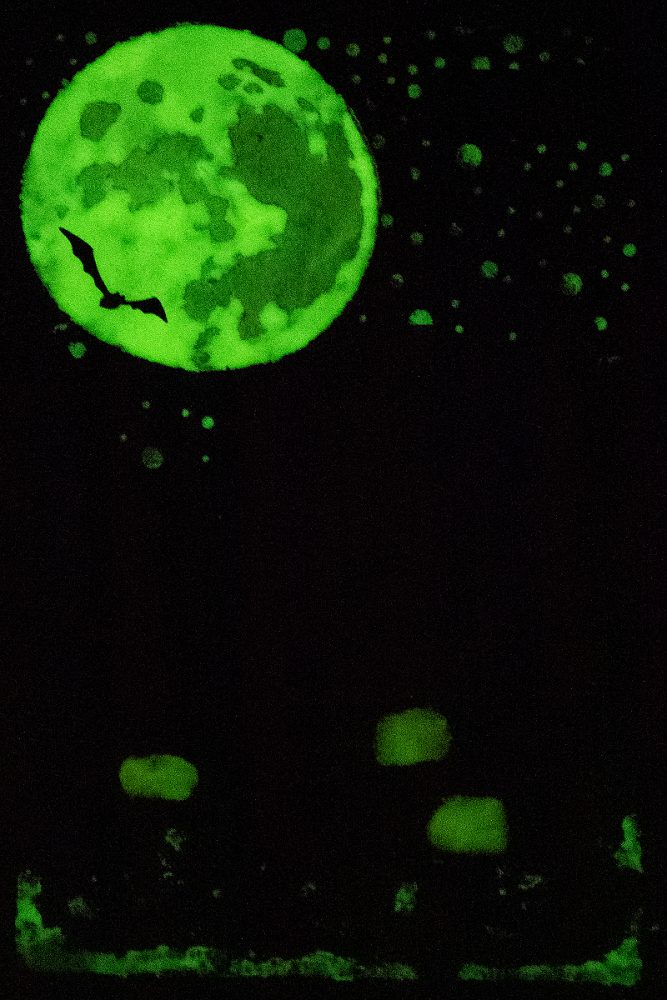
The glow effect is hard to photograph, but here you can see the moon, the stars, the pumpkins and the spots on the ground.
I hope this tutorial inspired you to create Halloween ornaments and to play around with Glow Grit Paste.
Thank you so much for looking! Happy crafting! –Anna-Karin
SUPPLIES:
|


Thanks so much for stopping by, and thanks to Anna-Karin for being our guest!


such a cool card!!
Absolutely Spook-tacular!!!!!!
So so great! I have never seen the sizzix luster wax before and am excited to try it!
This is so cool! And I love the step by step photos
This step-by-step tutorial is very helpful. What an awesome project!! TFS –
Lori S in PA
Good project and performence. Five nights at freddy’s throws jump scares your way, but it also offers a unique blend of strategy, suspense, and a captivating storyline waiting to be unraveled.
Wow, this glow-in-the-dark Halloween decor is absolutely stunning! I love how detailed the tutorial is. Definitely going to try this out for Jinx Manga Fingers crossed mine turns out as good as yours!