Easter Egg Hunt Mixed Media Project!
Hi friends! Happy Sunday! I’m HOPPY to share this sweet mixed media project from Anna-Karin Evaldsson with you today! (see what I did there!? ;) Read on and enjoy!
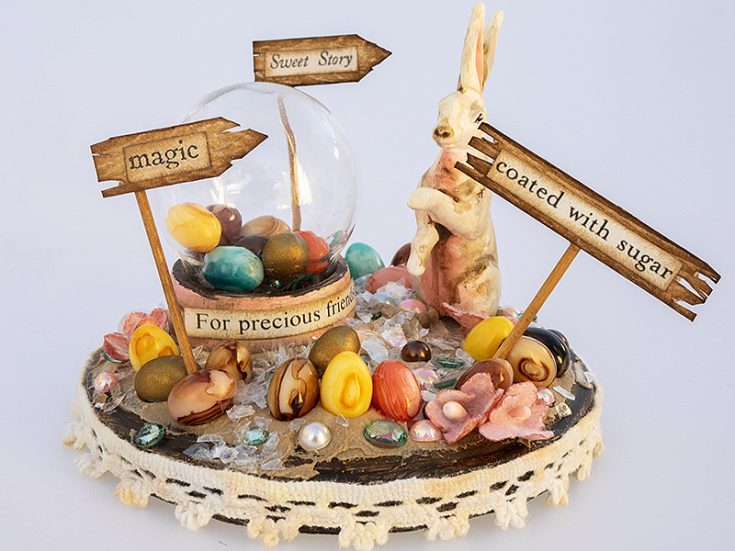
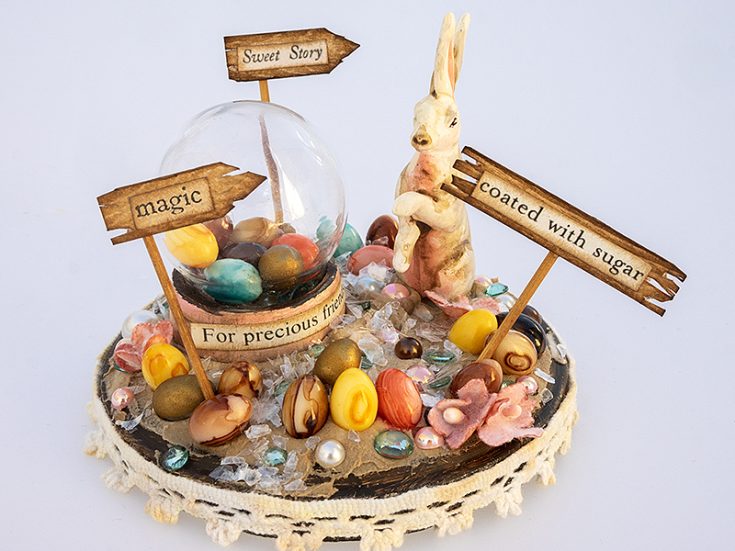
Hi everyone! I am happy to be back here today with a new tutorial. This time I created an Easter Egg Hunt scene. I am very fond of making my own ornaments and little scenes like these. The eggs in the scene are easy to find, because there are lots of them. It might even be where the Easter Bunny stores the eggs and other little treasures. There are also glittering diamonds, pearls and mica flakes.
I wanted a round base and sometimes use wood discs for that, but I didn’t have one at hand so instead I repurposed the metallic lid of a glass jar. You could even put the lid back on the jar and fill the jar with sweets. It would make a great gift.
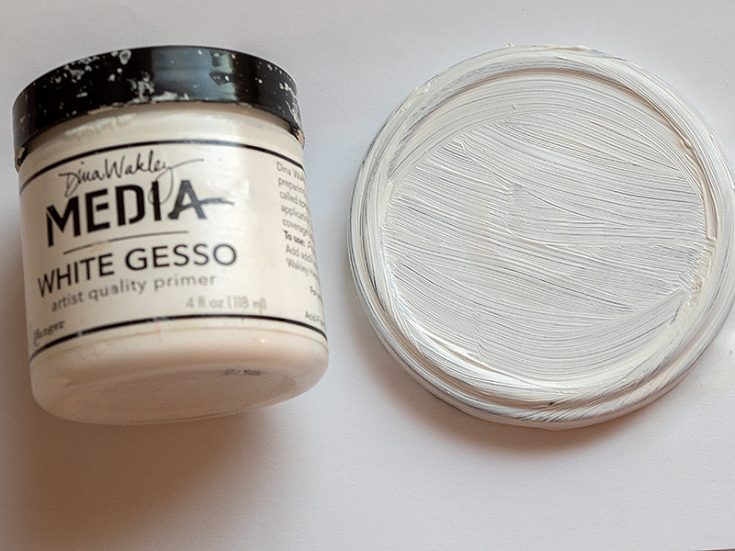
Start by coating the lid with gesso. The lid I used is about 3.5 in in diameter.
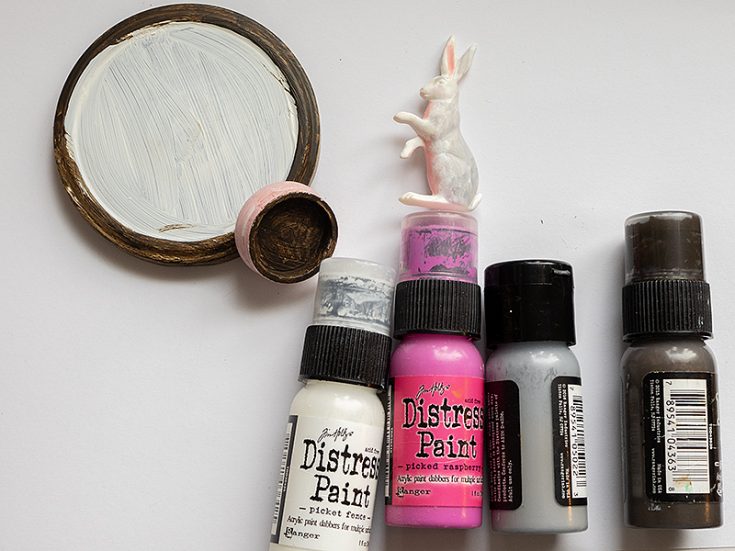
When the gesso is dry, paint the edge of the lid with Ground Espresso Distress Paint. I also painted the Salvaged Rabbit and the base of the snow globe with Distress Paint. The pink and grey paint was mixed with white to get lighter shades.
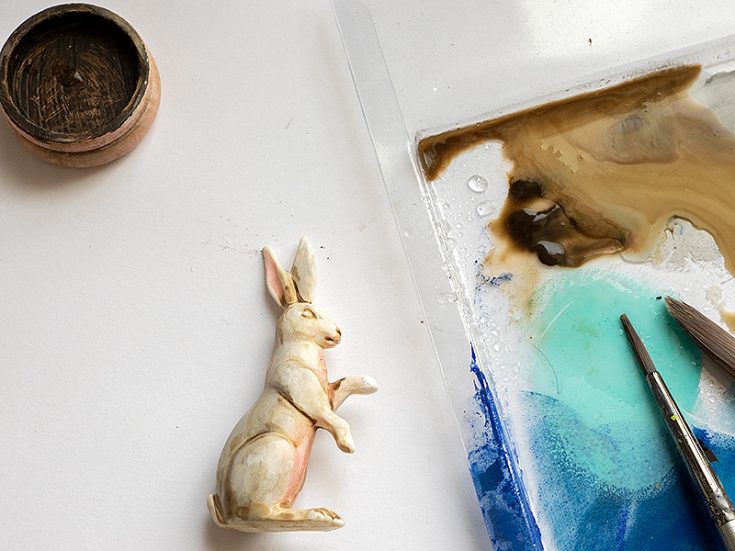
When the bunny is dry, mix a watery brown paint and paint the whole bunny with the mix. This gives a distressed effect and makes the details easier to see. Do the same on the base of the snow globe.

I often find that it is easiest to add the eye with a marker instead of with paint. Don’t worry if it isn’t perfect.
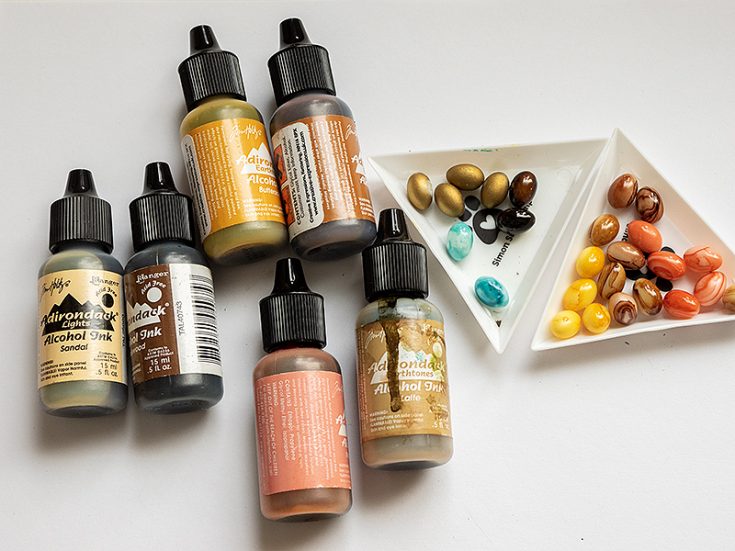
Color the eggs by placing a couple at a time in a plastic bag and add a few drops of alcohol ink. Place them on another plastic bag to dry.
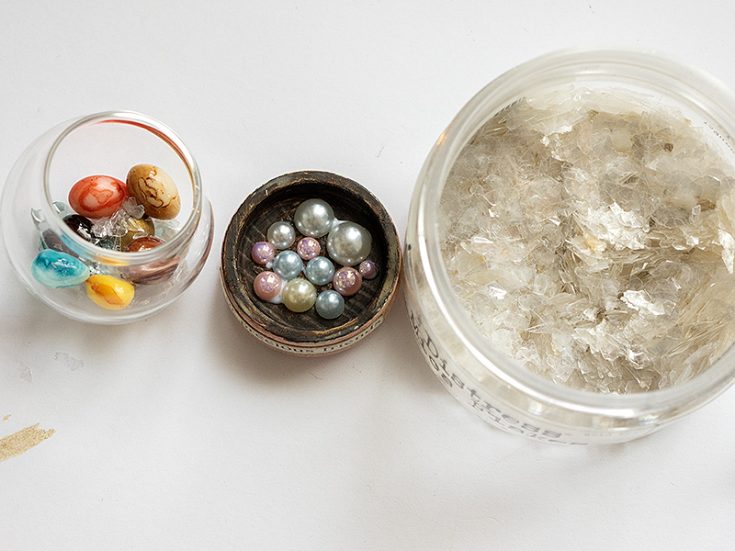
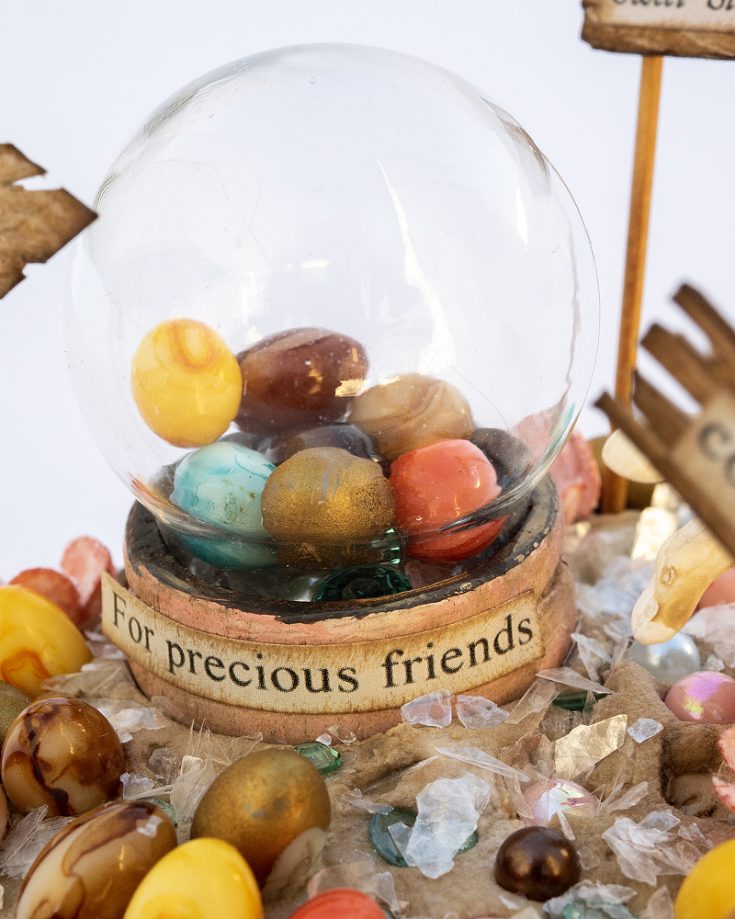
Glue pearls and droplets into the base of the snow globe. Add eggs into the glass globe and sprinkle Mica Flakes into the globe.
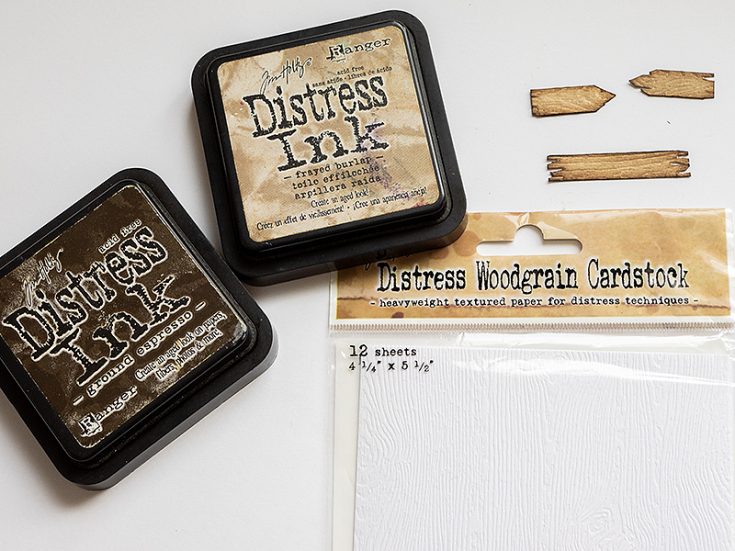
I wanted signs in the scene and made my own by cutting pieces of Tim Holtz Woodgrain paper. Ink them with Distress Ink.
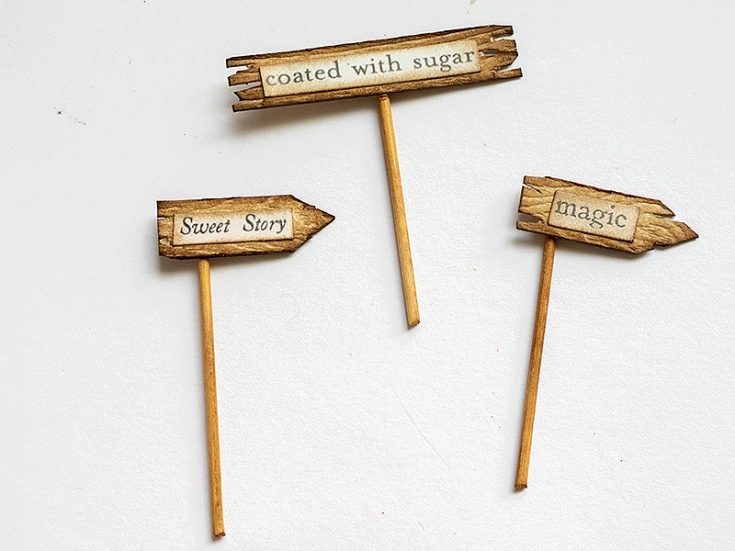
The sentiments come from Tim Holtz Clipping Stickers and I used tooth picks for the posts, inking them with Distress Ink.
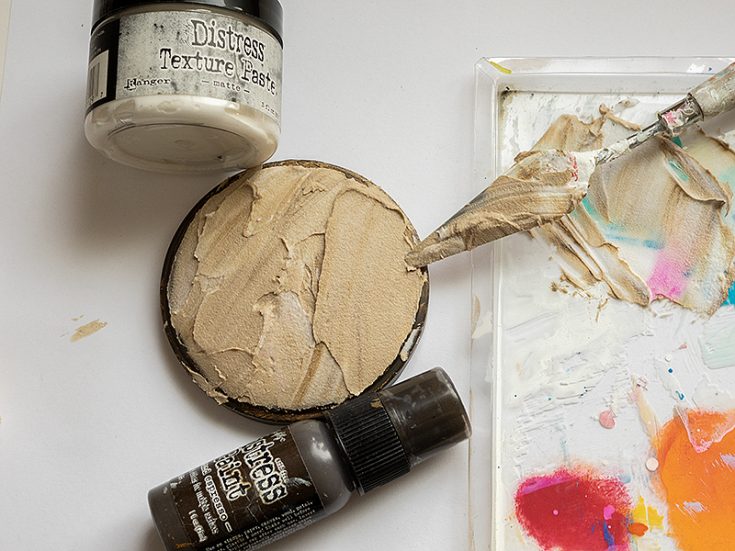
Mix a little brown paint into Texture Paste and apply a thick layer to the top of the lid. You can use green paint instead if you want more of a spring-time look. I recently did another Easter scene with pastel colors and was in the mood for more subtle colors here.
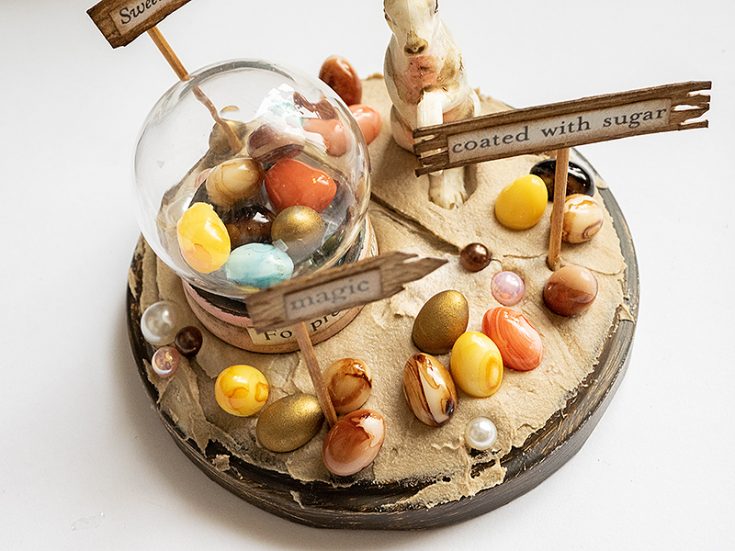
Press the snow globe, bunny, sign posts and eggs into the paste. The paste will act as a glue.
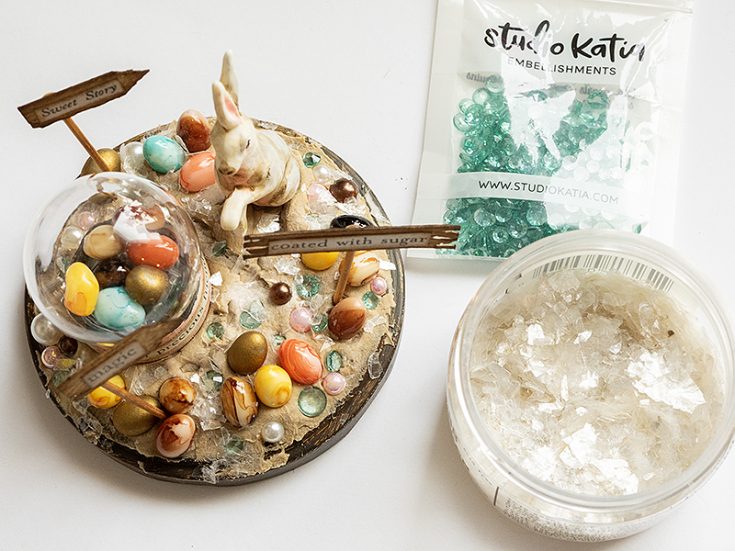
Add pearls, droplets and crystals and sprinkle some mica flakes.
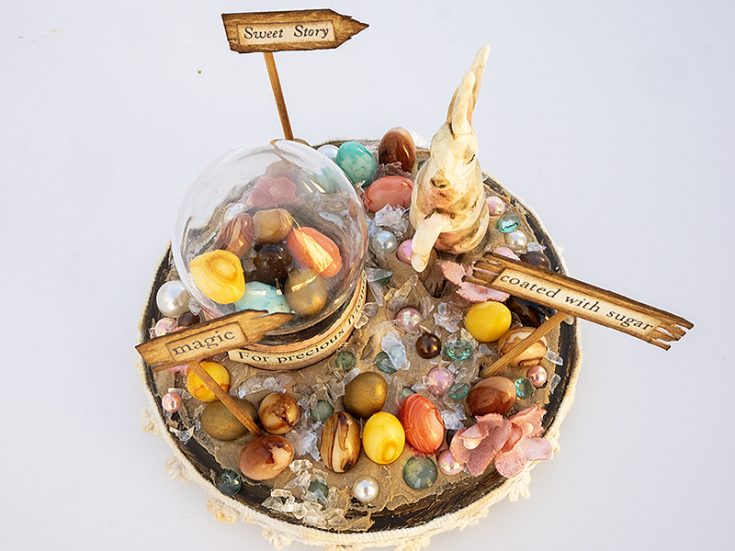
Later, I also added a few Tim Holtz Bouquet Findings flowers, which had been colored with Distress Spray Stain.
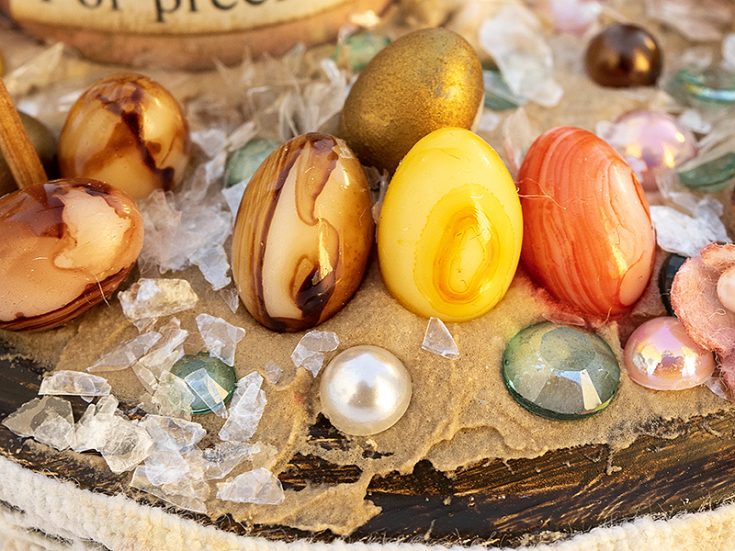
When you place the eggs on a plastic bag to dry, they get this great marbled look.
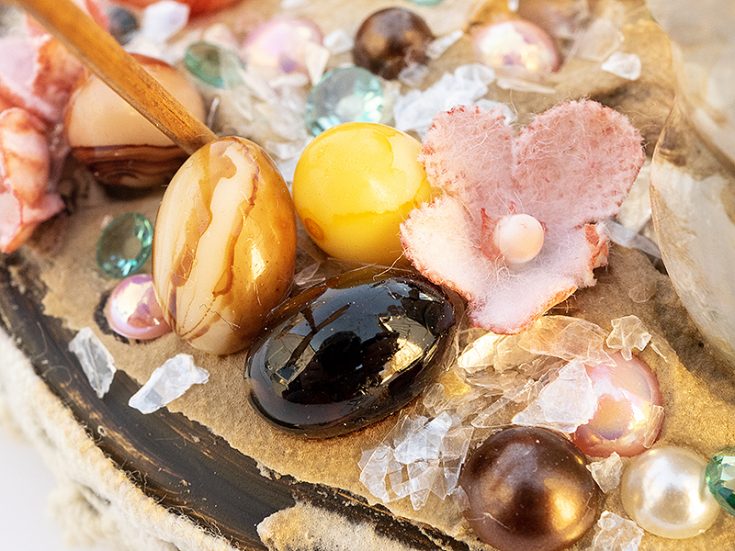
The eggs will all look different. One of my favorites is this shiny brown egg.
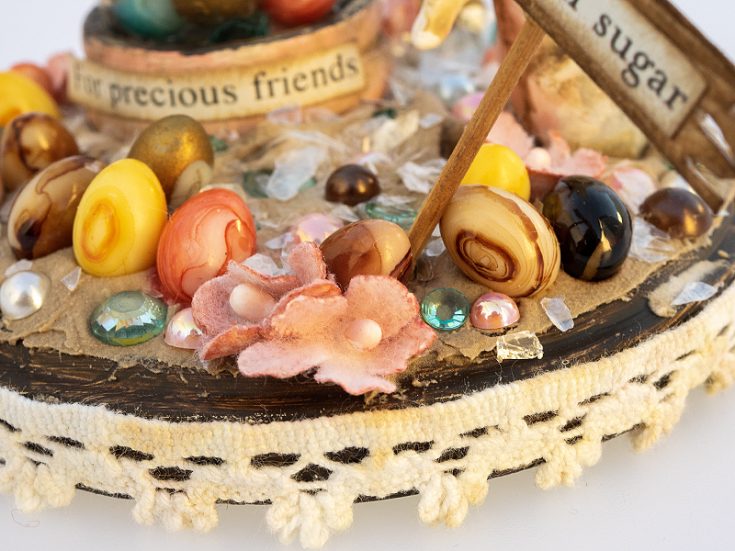
I added lace trim around the edge of the lid. You could also use ribbon or Design Tape.
The mix of shiny eggs, mica flakes, crystals and pearls made me think of a treasure.

The eggs move around in the snow globe if you carefully shake the piece.
The bunny can be painted in many different ways and doesn’t need to have this distressed look. I hope this tutorial inspired you to create your own Easter ornaments or to make other types of 3-D scenes. Thank you so much for looking! Happy crafting! –Anna-Karin
SUPPLIES:
|


Thanks so much for stopping by, and thanks to Anna-Karin for being our guest!


Wow, super fun and beautiful project!! So glad you shared with us!!
This is Amazing!!! I love the swirly eggs!!
This is so cool
This project is adorable. I love it and the eggs were so pretty. What a great technique. Thanks for sharing all these great ideas.
This is wonderful! I love those little eggs!
so lovely