Dwell in Possibility by Paula Cheney
Hi friends! Thanks for popping by the blog today! Please welcome back special guest Paula Cheney to the blog! She made this gorgeous art to feature!! Please read on for more info on how to recreate and enjoy!
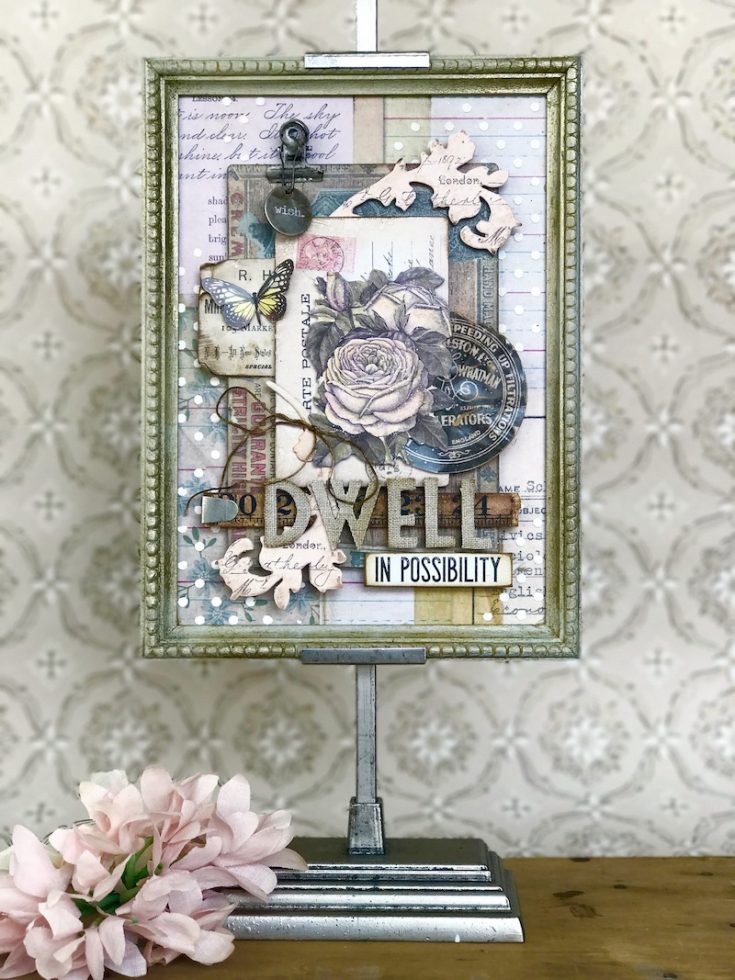
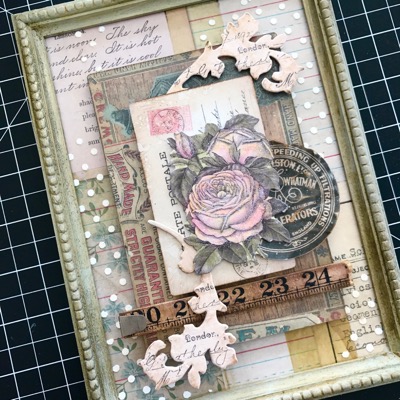
At the beginning of 2017, Tim Holtz idea-ology released Baseboards, Layers and Paper Dolls; they are a group of products specifically created to be used together. The idea behind these products is that no matter the substrate, whether using a Vignette Tray, a Burlap Panel, or a Framed Panel, you can easily layer these products to create a collage. Today I am going to use a Framed Panel and incorporate Baseboard and Layers elements, as well as a couple of my favorite Sizzix Bigz dies, to create a beautiful layered collage. Enjoy!
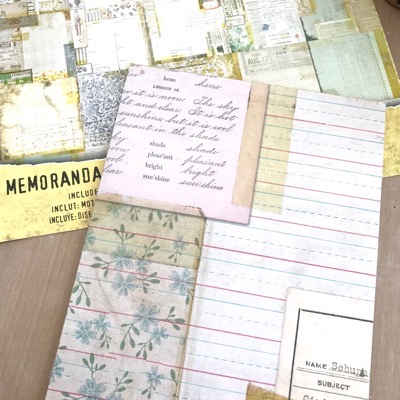
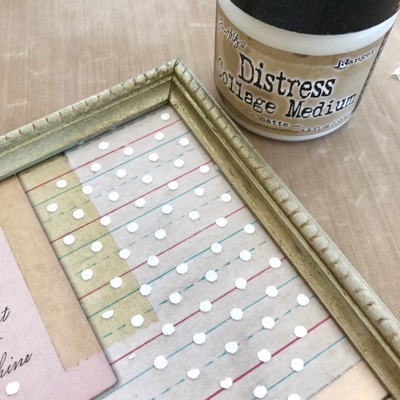
1. Using Collage Medium and a brush, adhere a piece of Tim Holtz Memoranda paper to the back board of the Framed Panel. Cut away any excess paper.
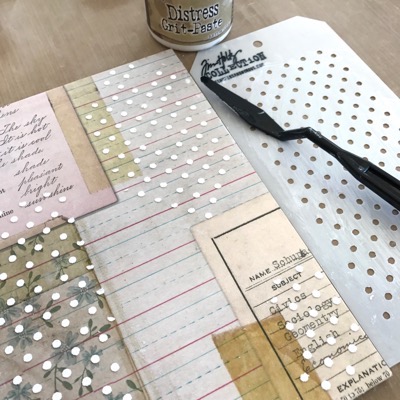
2. Use the Stampers Anonymous Polka Dot stencil and Distress Grit-Paste to create a raised pattern over parts of the patterned paper. Let dry.
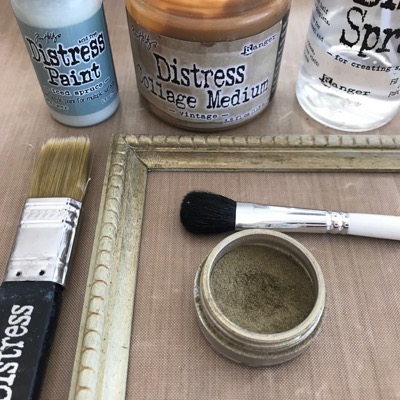
3. The frame has been painted and given a gilded patina using Ranger products. Here’s how I did it:
- Paint the frame with Iced Spruce Distress Paint. Let dry.
- Coat the half of the frame surface with Distress Collage Medium VINTAGE. While the Collage Medium Vintage is still wet, randomly brush on Heirloom Gold Perfect Pearls. I concentrated the powder in the corners and feathered it out from there. NOTE: Vintage Collage Medium dries very fast so it’s best to only paint it on half at a time.
- Brush away the excess powder with a fluffy brush.
- Repeat steps on the other half of the frame, then spray powdered areas with a mist of water. Dry with a heat tool to set the powder. (Do not skip this step.)
4. Adhere Adhere the finished frame to the back panel with Distress Collage Medium.
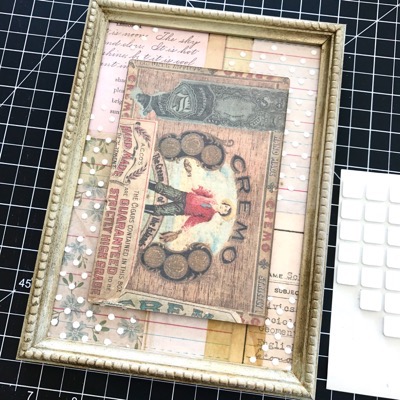
5. Adhere Baseboard to the Framed Panel with foam squares.
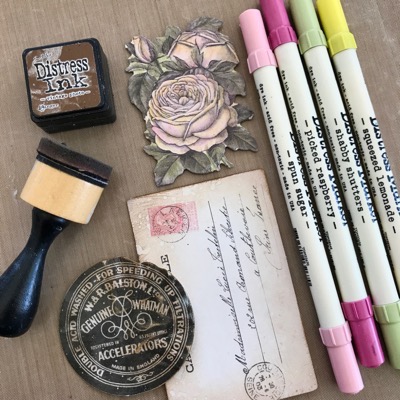
6. Choose elements from the Layers packs (Botanical and Collector) to create the center collage. Tint black and white pieces with Distress Markers (roses) by coloring the image and then wiping away the ink with a soft cloth. This will leave just a tint of color.
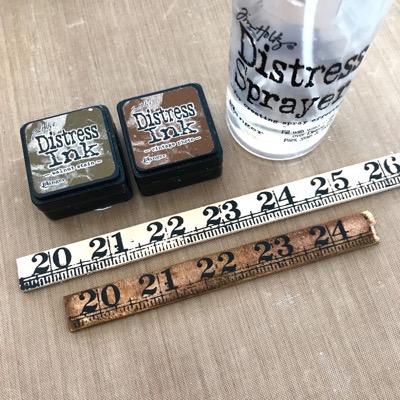
7. Rub wood Ruler Piece with Vintage Photo and Walnut Stain Distress Ink. Spritz with water and pat dry. Break off the end of the ruler to fit the collage.

8. Adhere Layers elements to the Baseboard with foam squares. Add an Index Clip to the end of the Ruler and adhere to Baseboard with Collage Medium. Let Dry.

9. Cut a least two flourishes from chipboard using the Sizzix Scroll die. Paint with Media White Gesso to seal the chipboard before painting.
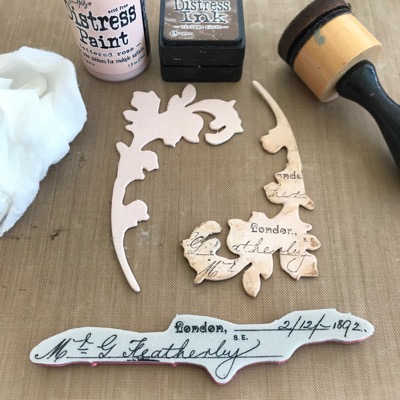
10. Paint the Scroll elements with two coats of Tattered Rose Distress Paint. Once dry, use a Blending Tool to add Distress Ink over surface. Pat inked surface with wet wipe to remove parts of the ink. Stamp over the surface using a permanent ink such as Ranger Archival and any text stamp.
11. Add Scrolls to the collage with foam squares.
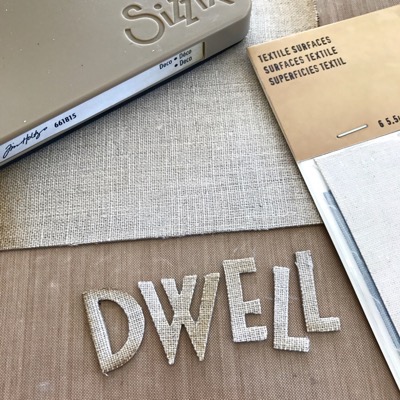
12. Adhere linen Textile Surfaces to a piece of chipboard (this product is self-adhesive). Run the chipboard through the Vagabond Machine using the Deco Alphabet (DWELL).
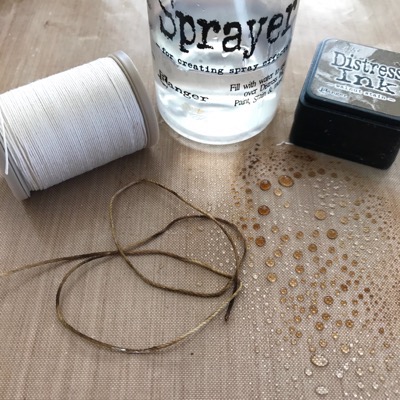
13. Color Tim Holtz Craft Thread with Distress Ink and water. Dry with a heat tool.
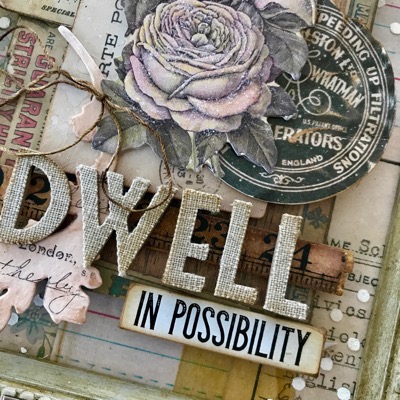
14. Add cut out Deco letters over the Ruler (some letters may need foam squares to level the word over the uneven surface). Part of a Quote Chip was used to create the rest of the sentiment.
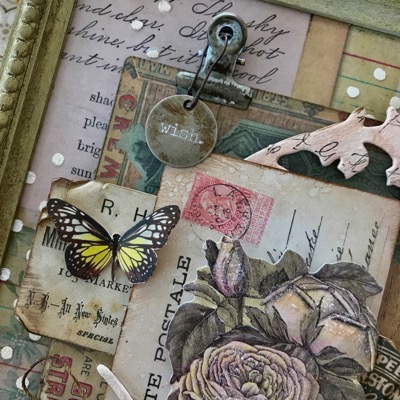
15. Add Hinge Clip, Loop Pin and Typed Token to the Baseboard. Then finish the piece with added Layers elements and a bow made from the colored Craft Thread.
Optional: I added a thin layer of Collage Medium over the rose element, then sprinkled it with Clear Rock Candy to give it a bit of sparkle!
SUPPLIES:
 |
 |
 |
 |
 |
 |
 |
 |
 |
 |
 |
 |
 |
 |
 |
 |
 |
 |
 |
 |
 |
 |
 |
 |
 |
 |
 |
 |
 |
 |
 |
 |
 |
 |
Thanks for reading today and to Paula for being our guest!

Blog Candy Alert!! Follow our blog via email and comment on this post for a chance to win a special blog candy.


This is so beautiful! Love all the elements you used.
What a gorgeous piece of art – thanks so much for sharing!!!
What a neat idea!
Beautiful piece of art. Thanks for sharing…
Beautiful creation Paula! So so pretty.
Lovely piece, excellent tutorial!
Totally beautiful. Thanks for sharing.
Very pretty!
This frame turned out fantastic
Lovely collage piece and I enjoyed your step by step instructions about house the layers were created and added.
Wow, gorgeous Paula! Thanks for sharing and all of the great techniques.
Great project!
All these details are amazing!! Wow!
Beautiful! This makes a lovely home decor item!
Beautiful, shabby chic at its best!
So many elements!!
I love this beautiful framed mixed media picture. An excellent job of layering.
Your framed panel is so pretty. Thanks for the step by step instructions.
Absolutely gorgeous. I love how it turned out! Thanks for sharing.
What a lovely assemblage!
Such a fabulous piece of art! TFS
Very vintage-looking!
Lovely vintage style art work.
Always great to see Paula’s inspiring creations and this is no exception – one of her best using newest Tim Holtz products. Wonderful, Paula! Hope to see you at the Los Gatos Island soon. :-)
WOW!
Great project!
Splendid project Paula! I so love the soft, vintage feel and the sentiment. Oh that we could truly dwell in possibilities instead of getting bogged down with negativity. It would surely make life more beautiful wouldn’t it?
AWESOME!! THANKS for sharing!! =)
Really a wonderful project…but this is too much for me…I feel scared about trying such things…
Cristina
thehouseoftheblackbirds.blogspot.it
So much eye candy to enjoy on this masterpiece. Just beautiful!
very pretty and fab message
Love the mutted colours; and so lady-like!
Awesome!! Thanks for the tutorial!
Just a gorgeous mixed media piece – I love the different layers and how you displayed it. I love the letter die cuts – I just bought that die myself, and the flourishes. I love how you used them here, and I plan on using them for my own home project soon too!
A great tutorial and a beautiful piece of collage art!
This is beautiful lots of details love it!
This is absolutely gorgeous!!
Outstanding! This is so well put together; so coherent.
I just love this! What a great piece! Thanks so much for sharing!
What a beautiful display piece!! Thanks for sharing .
Such a lovely project!
Beautiful, Stunning. I love the look, the elements it’s breath taking.
So beautiful! I love the vintage look
Very nice. Thanks for sharing.
Linda D.
Paula this is just STUNNING, really just stunning. I would grab this up in a heart beat if I saw this in the store, and I would pay BIG bucks, lol. Just Beautiful. It is just my style.
beautiful!!
L
O
V
E
L
Y
Awesome collage, Paula!
Amazing! Beyond my skill level!
Wow, Paula! This is fabulous and thank you so much for the tutorial!! Greatly appreciated!!