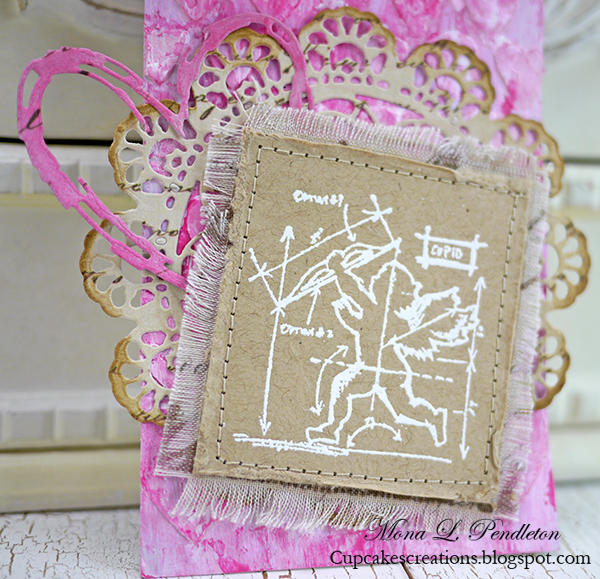
Cupid’s Arrow is Pointed: Heart Textured Tag
Hi readers! Happy Monday to you! I hope you all had a wonderful weekend and are ready to hit the ground running! How about a fun tag tutorial in the name of love? Let’s welcome back guest designer and Monday Challenge design team member Mona Pendleton!
Ready? Let’s go!
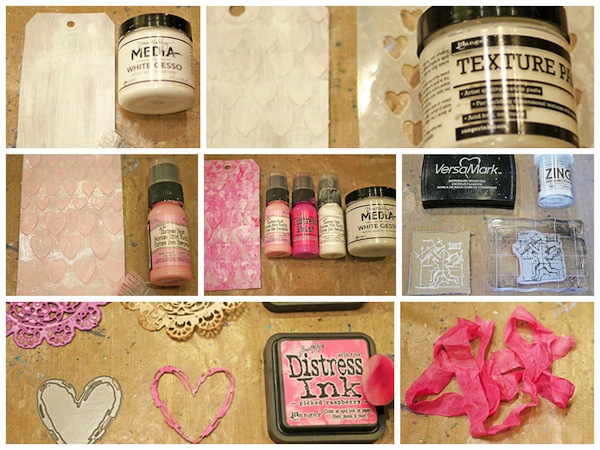
Step 1: Apply White Gesso to tag. Allow to dry.
Step 2: Add texture to tag using Hearts stencil and Texture Paste. Allow to dry.
Step 3: Apply Distress Paint to tag.
Step 4: Repeat Step 3 using various Distress Paints and Gesso until desired look is achieved.
Step 5: Stamp / heat emboss image layer on top of fabric stitch in place.
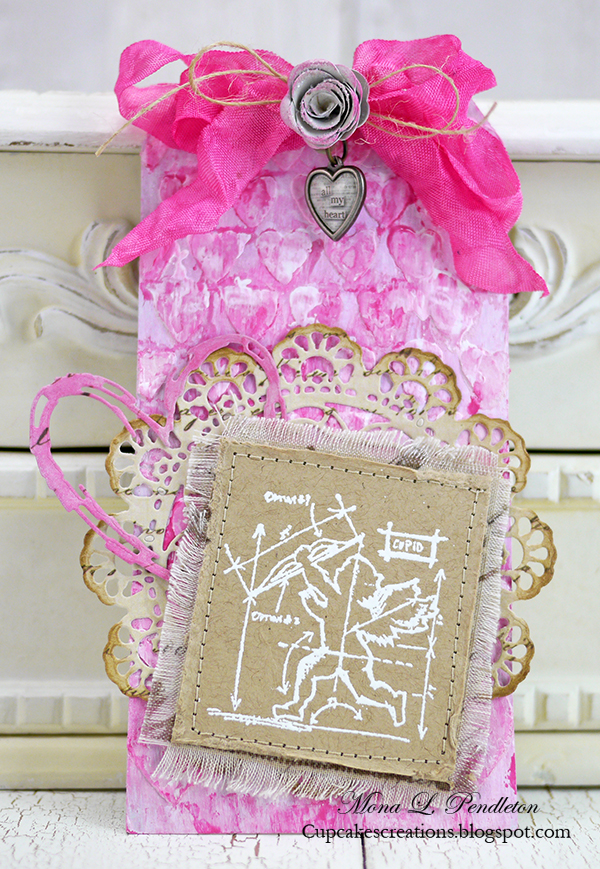
Step 6: Die cut doily and heart die cuts then apply Distress Inks.
Step 7: Apply Distress Ink to ribbon. Layer and adhere embellishments to tag.
SUPPLIES:
 |
 |
 |
 |
 |
 |
 |
 |
 |
 |
 |
 |
 |
 |
 |
 |
 |
 |
 |
 |
 |
 |
 |
 |
 |

Blog Candy Alert!! Follow our blog via email and comment on this post for a chance to win a special blog candy!


wonderful texture and lots of fun techniques on this tag.
Love all the texture!
Beautiful creation! LOVE the Heart Sketch die!!!
Beautiful and oh so feminine! So many great elements and layers on this.
Oooo! This is all full of textury goodness!
LOVE this! So feminine and so pretty!
Very cool, love timholtz
STUNNING!!
how cool is that?!?!
that surely is the most beautiful die cut heart i have ever seen.
Pretty tag – I love the new SSS heart outline die. I follow the blog by email.
What a beautiful tag. I just love the textures and colors. I just adore the heart die!! Thank you Mona!
Beautiful creation, love the pink and kraft! x
I love this technique, Mona. You made a beautiful “love” tag. :-)
I love all the hearts and the valentine colors used!
This is amazing!!!
Great tag. I love that heart die
Monda,
Gorgeous tag – and wonderful colors, layout and embellies used. Thanks for sharing the step-by-step!!
Beautiful!
What a pretty tag. I love the pretty pink colors you used on it. The background is awesome and the finished project, lovely. Thanks for sharing.
I could never in a million years put something like this together. Gorgeous! I already follow by email.
Beautiful! Love how Tim’s Cupid stamp looks in white.
Gorgeous! LOVE the hearts and texture!~kim
Wow. Gesso and colored textures. Love it.
love the white embossed cupid on kraft
love the contrast of distressed fabric embossed in white on to all the pink layers!!
Wow, what a beautiful tag! I love the bright pink and texture.
Great tutorial – enjoyed this tag.
This Valentine tag is gorgeous. I love the texture effect and the pretty pink color with that great new tattered valentine.
Beautiful!
wow… what a gorgeous tag!
How pretty! Love the colors and heart die cut!
Thanks so much Simon Says and Stephanie for the wonderful opportunity to share a project and tutorial here! Thanks to all for the kind comments :)
Beautiful Mona! Love all the layers and textures. TFS
What a beautiful tag! Love all the layers!
Beautiful, so soft and gentle looking!
This is gorgeous! Love the texture!
Love this tag, Mini blueprints2 is going on my to get list. Cupids arrow is just too cute. Great techniques and color. Thanks for sharing! and for the tutorial! Will be trying this one.
Lovely tag, beautiful color palette!
What a beautiful tag! Love all the detail and demension.
Gorgeous project Mona! I love the texture and the details! So very beautiful! :) Jill
Mona always amazes me–gorgeous, feminine creation!
Great techniques. Love all the layers and details.
This is so stunning. Wonderful piece of work.
Loved this tag. So artsy and pretty. Picked raspberry is definitely my all time favourite color.
Lots of texture there!
Wonderful tutorial! This is absolutely stunning! Thanks so much!
i love the vivid color, the stitching and the blueprint cupid. Great job.
Love how she did the textured background, the pictures w/instructions was very helpful!
WOW, what an awesome Valentine’s Day project, Mona! Just beautiful! TFS!