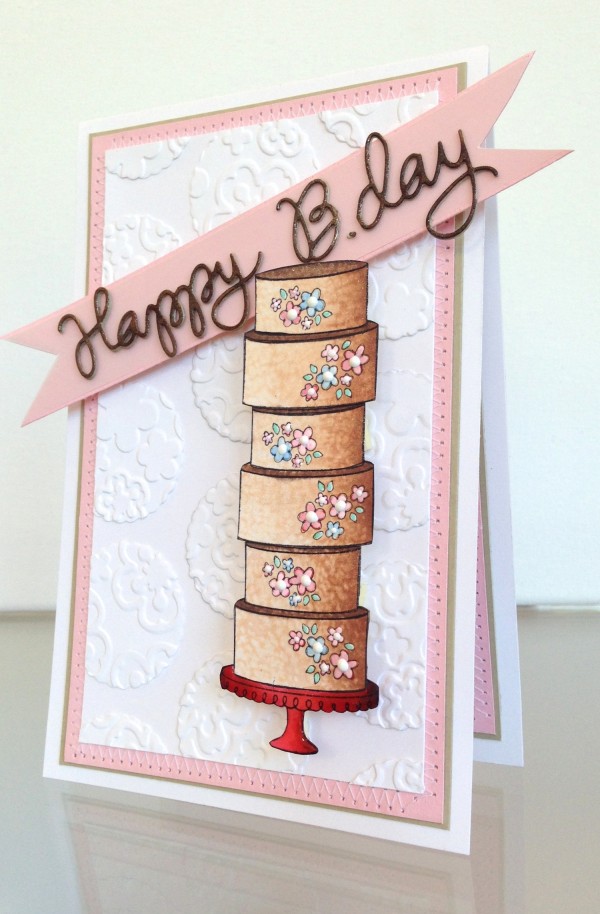
Birthday Cake
Hi readers! Happy Monday to you! I hope you all had a fantastic weekend! Today I’m pleased to bring you two gorgeous cards made by the one and only Kathy Racoosin showing you a variety of tips, tricks, & techniques using some fun Simon Says Stamp exclusive products.
Enjoy!
To create a beautiful and texture background use the scalloped circle from the Cake & Congrats die cut set and die cut enough to cover your background. Use an embossing folder to give the circles lots of texture. Glue onto white cardstock and trim off an access circles.
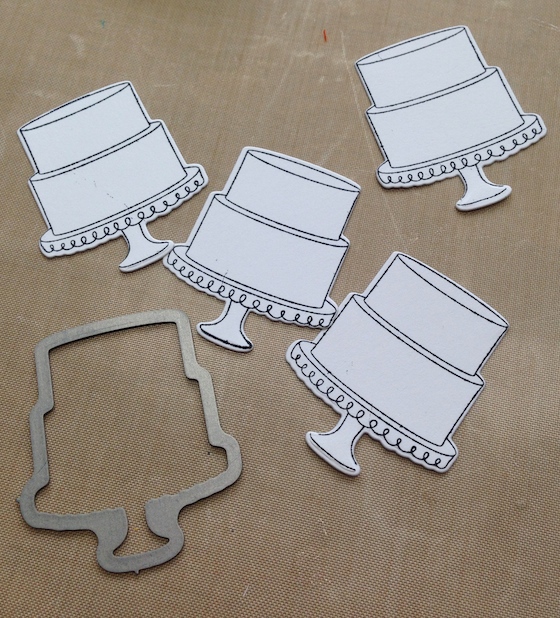
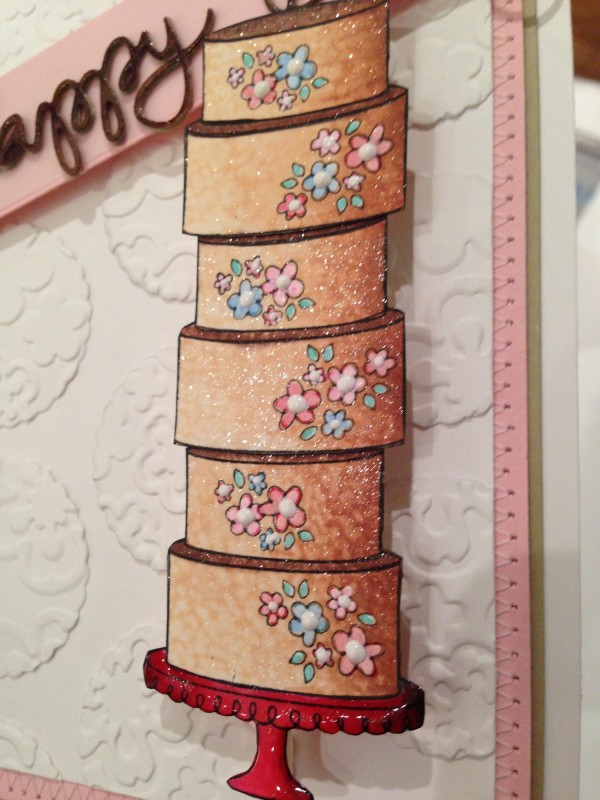
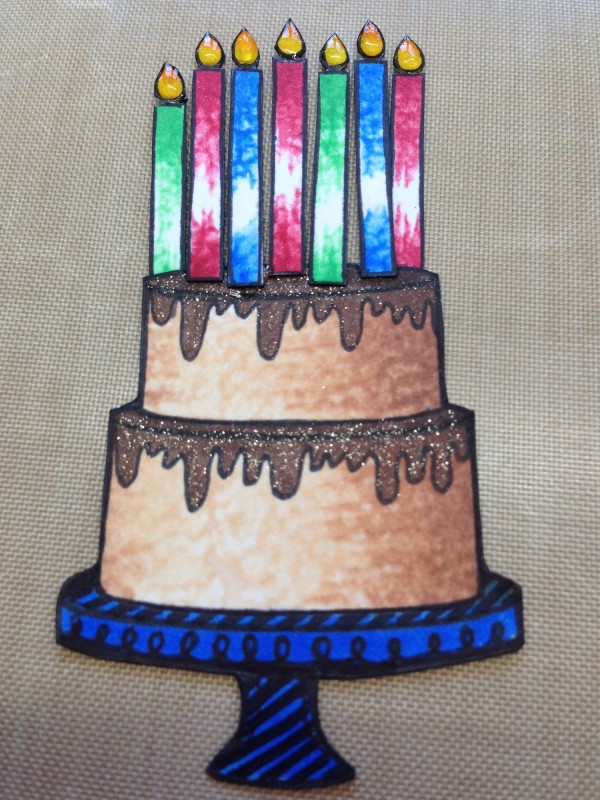
Die cut several cakes. trim and stack to your liking. add color with copic markers, stamp flowers, color and add enamel accents to the flower centers. color only the brown cake (not the flowers) with wink of stella. Add glossy accents to the cake plate.
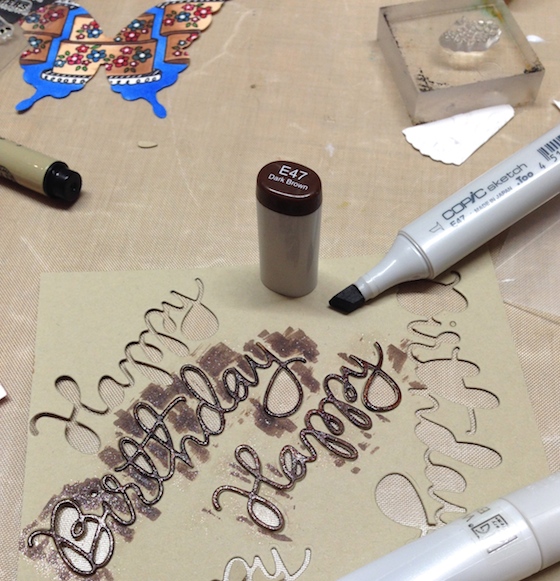
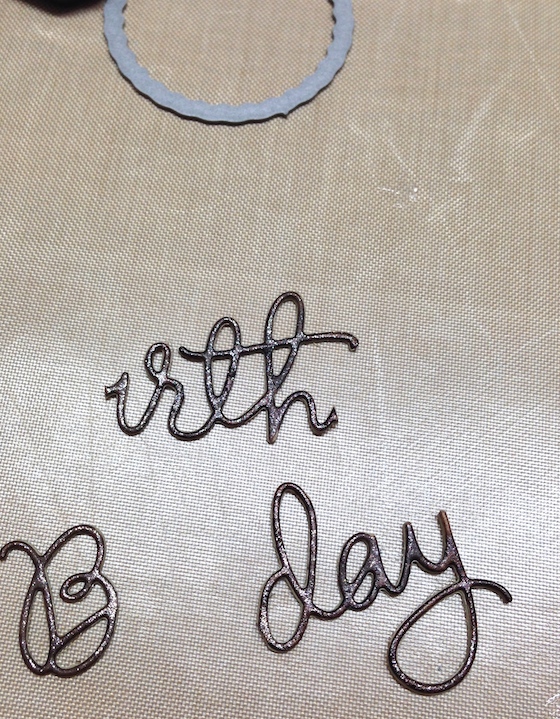
Cut off the letters of the birthday sentiment that you want to use. in my case “B. day” glue the letters on a strip of vellum and pink cardstock and place on your card base.
Using my leftover cake I created a quick masculine cake card. I colored the scallop part of the cake plate to make it more masculine and trimmed part of the stand on the cake plate. Stamp a background with smoke & green apple ink.
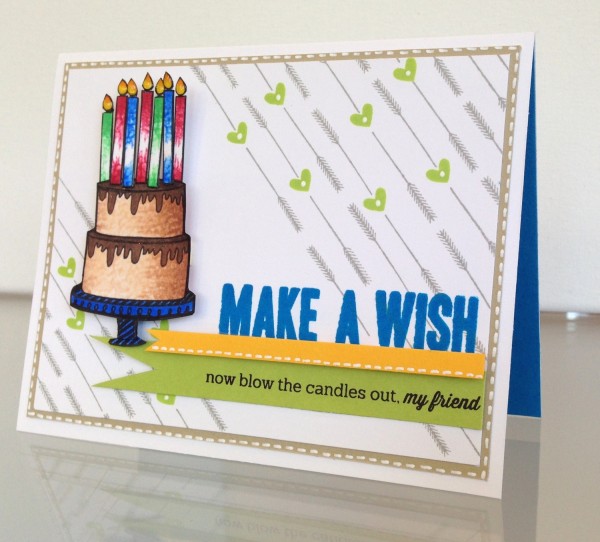
Have some fun and draw some dripping chocolate frosting on the cake layers. Color , add glossy accents to the flames and glue candles on to the cake. cut some banners and stamp the sentiments.
SUPPLIES:
 |
 |
 |
 |
 |
 |
 |
 |
 |
 |
 |
 |
 |
 |
 |
 |
 |
 |
 |
Thanks for reading and thanks to Kathy for being our guest!
Blog Candy Alert!! Follow our blog via email and comment on this post for a chance to win a special blog candy!
Congrats! Blog Candy Winners!
From: The Best of Summer: Judyt28!
From: Sunshine is Coming: Loly Borda!
From: DIY: Bottlecap Magnets: Celeste Goff!
From: Big You: Betty Meyskens!
Please email me ([email protected]) with your mailing address and the name of the blog you won from to claim your prize!


Oh these are beautiful cards!! They look so fun to create!!!
Such a pretty card!
Super creative cards!! Awesome and perfect for his and hers birthdays!!! :)
this would also make a great wedding cake. Love when the dies can be multi-purpose – a small cake or add on the layers to make something bigger. Great cards.
Beautiful card, such pretty details!!!
Kathy always has great ideas and these are great cards.
This is such a useful die that can be used for both male and female cards! How wonderful!
Kathy always knocks her cards out of the park. She’s such a master at coloring and knowing exactly the right design to showcase it.
So beautiful birthdays cards! Love the fist one! Great advice for stretch the use of our dies! Thanks!
So beautiful. Love the background technique in the first card
wow these are awesome birthday cards.. totally love
I happen to be a huge fan of cake, so I am quite smitten with that giant one! Yum! Love both of these fun cards!
Such great cards. Kathy is one of my favorite cardmakers.
Wow! These cards are amazing. Just love the backgrounds and the glossy accents. Thanks for the inspiration!
Clever! I don’t think I would have thought of cutting up “birthday” that way.
Lovely cards and a fab idea! x
I love the ‘thinking outside the box’ way of die cutting the sentiment!!
These are great cards! Love that tall stacked cake!
Now I want to eat cake!
The first birthday card is just gorgeous. Love the details especially the embossing. The 2nd card is just fun and stunning. Awesome inspiration on male & feminine birthday cards.
Love both the cards…
I love your pretty cards! You’ve showed that these dies can be very versatile, must have! Thanks for the tutorial, it was very helpful.
I love the card with the huge cake :-) great idea!
What a tall cake! Funny card it surely is.
Lovely card with fantastic detail!! So pretty and masculine card is great…always use a few of those!!
Wonderfully fun cards!
Dazzling birthday cards!!! I esp like how the cakes were stacked. Great effect!
<3 J
jwoolbright at gmail dot com
HerPeacefulGarden.blogspot.com
LOOOOOVE the texture on the cake!!!!!!!!!!:D It looks good enough TO EAT!!!!!!!! LOL :D
Beautiful cards. I just love Cathy’s work. Love the colors and the detail.
Such an amazing inspiration. Love everything about this cakes… I mean cards :)
These cake cards are delicious–the first one so flowery and feminine, adore it! The second would be perfect for a masculine card–I’m struggling to make my son a BD card today–trying to find some inspiration!
I love the “embossed look” of the white paper and the “stacked” cakes :) Adorable :)
What great cards!!!
Love everything… but mostly that embossing folder. New one to me and my favorite way to pop up die cuts!
So many great ideas to take away from these fab cards.
Your card is lovely!!!
Wonderful cake cards. Love the tall stack on the first one.
Super cute cards:) Love the apple green on the 2nd card, really made the card stand out:) Thanks for the inspiration.
Peace, Love, & Creative Hugs!
Monica L.
Love the creative use of the stamp and die in the first card! What an impresive cake!!!
Fun cards!
They are great cards, fantastic way to use one stamp in different ways.
2 awesome cards, and that first cake is definitely a one of a kind with all these layers ha ha ha. But both are sooo awesome and well made. Great work Kathy.
Cool cards – love the glitz!
These are both such fun cards …what a brilliant way to create that tall and yummy looking cake! Anita :)
Two awesome cards! Kathy is so talented…her coloring is magical! :)
Two fabulous cards….. with so many great details!!
Love that tall birthday cake, so very fun and it’s great to see a masculine card in the mix.
Awesome birthday cakes!
The chocolate frosting on the masculine card looks good enough to eat.
Thank you for sharing.
Wow I love this birthday cake imagine having a piece of that yummy looking cake, yes please I also love that you used the left over pieces to make a fabulous guy card!
That 6 tier cake card is just fabulous! It looks good enough to eat, lol!