Believe in Christmas Magic Vignette Box
Hi friends! I hope you’re having a great weekend! We have quite the treat for you today with a gorgeous Vignette Box project by the super talented Emma Williams! Scroll on and be INSPIRED!
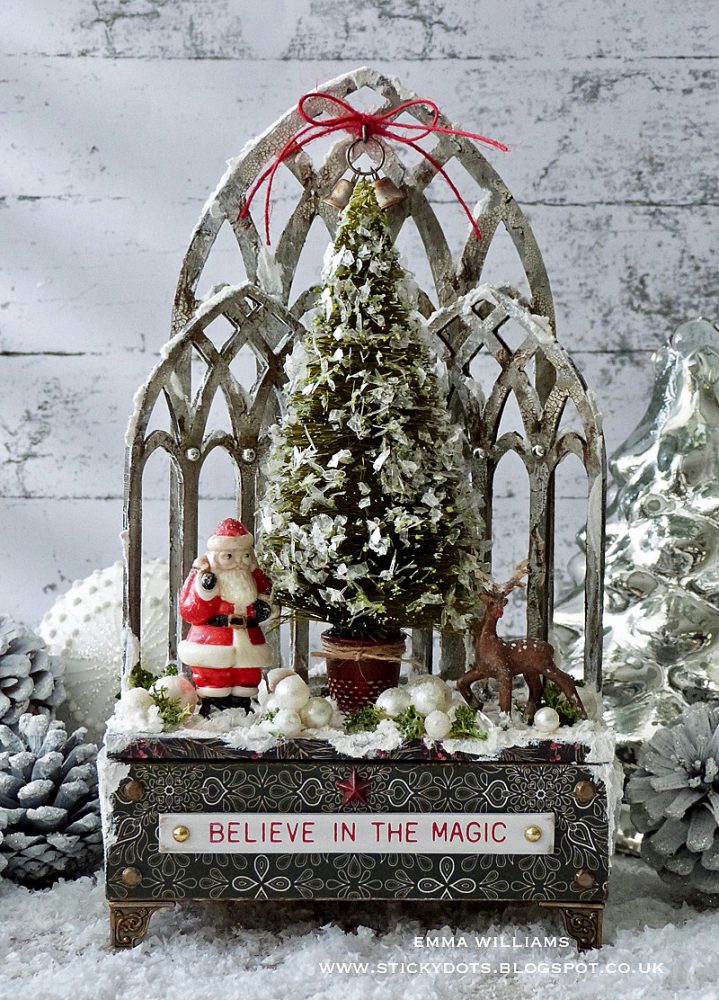
Happy Sunday everyone, it’s Emma here and I’m really happy to be back on the Simon Says Stamp blog to share my latest project with you all ~ a home decor piece that is perfect to display at Christmas time.
I must admit I love Christmas, it really is the most wonderful time of the year and every year, I try to create something that can be put on display in my home. So, with this in mind and with so many wonderful new products from Tim Holtz, I decided to make this decorated vignette box that would not only be useful at Christmas time but also take centre stage amongst all my other decorations and can be filled with festive treats.
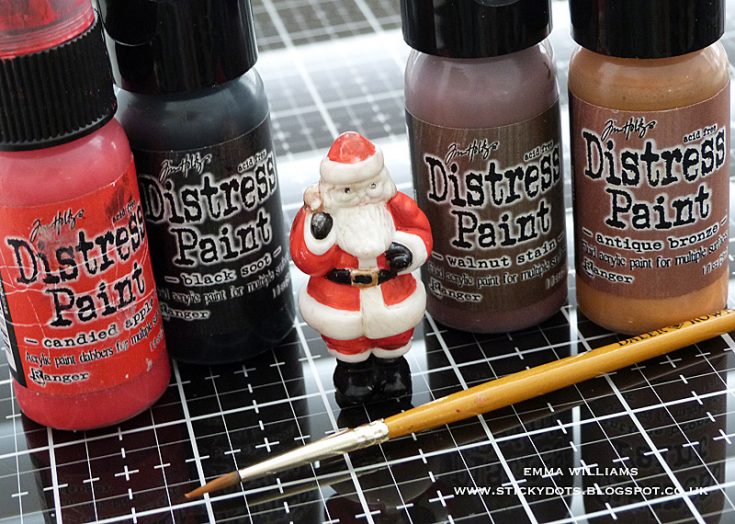
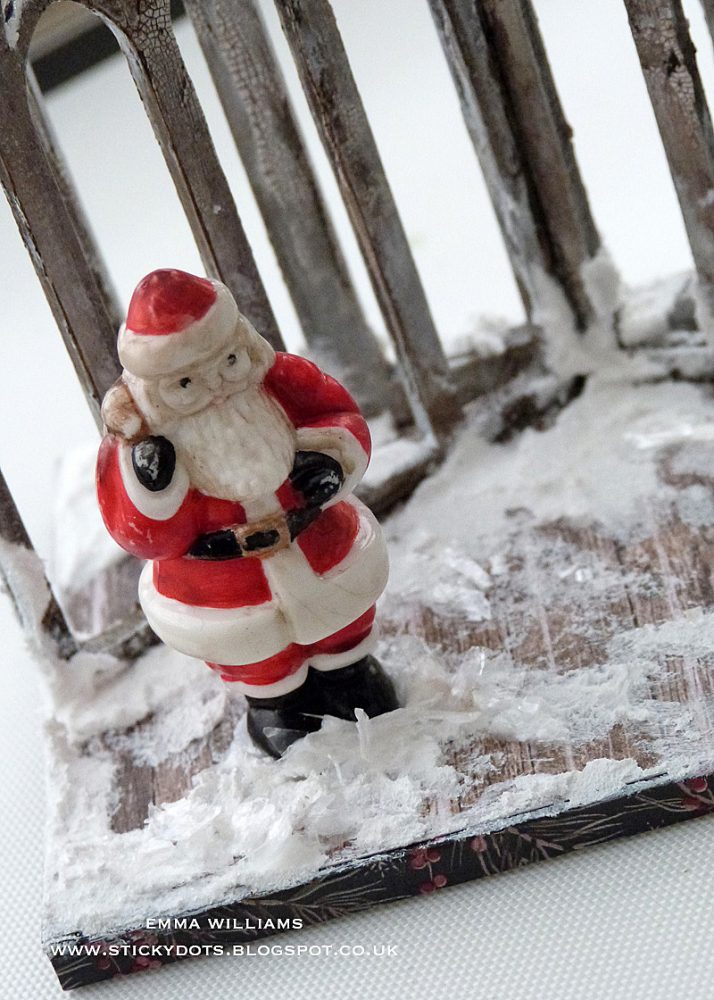
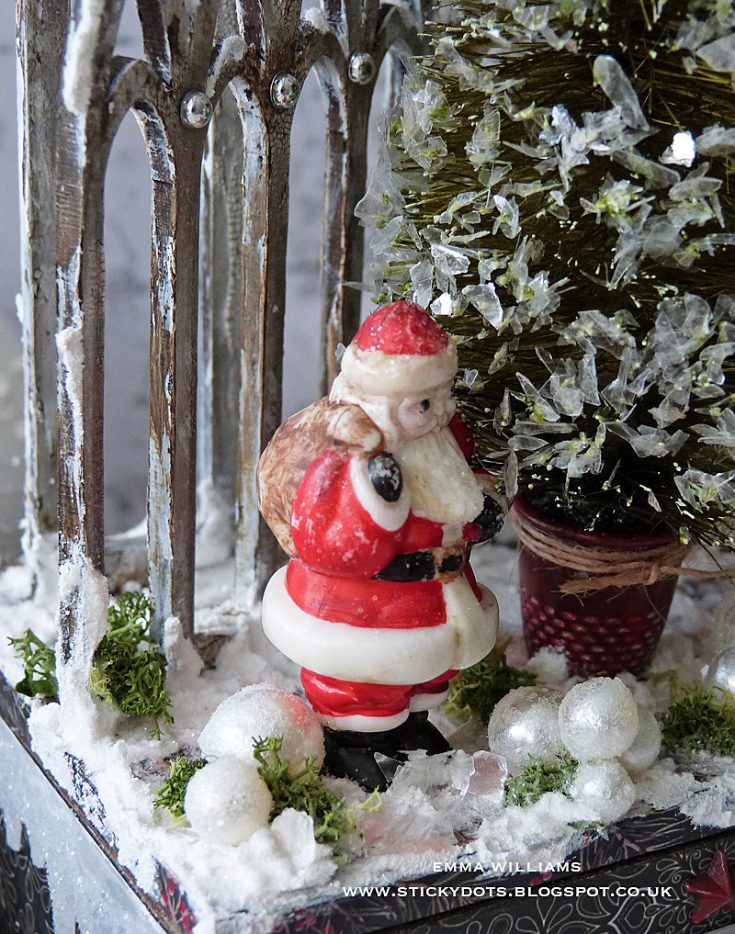
So, let’s get started and the first thing I did was to prep all my embellishments ready to arrange on the lid beginning with the cute little Salvaged Santa. Santa comes in a pack of two, together with a snowman and I coloured him with Distress Paints, painting directly onto the surface with a fine detail paint brush. Candied Apple for his suit, Black Soot for his boots and belt, Antique Bronze for the buckle and finishing with Walnut Stain for his sack.
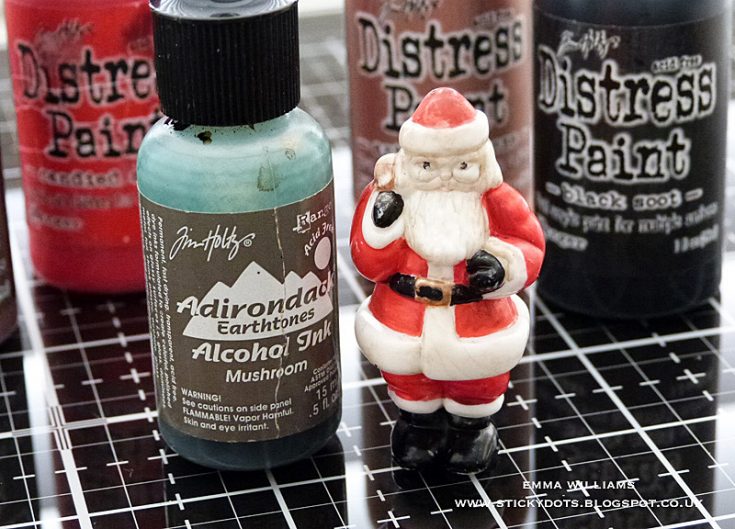
Once the paintwork is complete and dry, I used an Alcohol Ink Applicator Tool to add a touch of Mushroom Alcohol Ink over the surface.
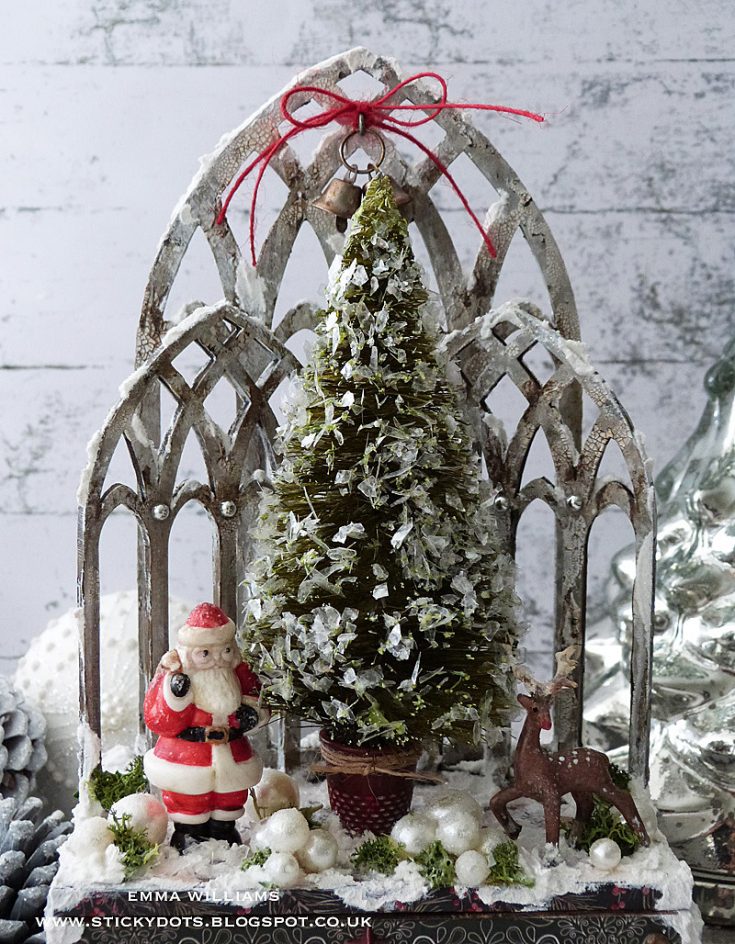
For Rudolph, and yes, if you look hard ~ he does have a red nose…I took one of the larger Decorative Deer from the set and used a combination of Antique Linen for the antlers, Vintage Photo and Ground Espresso for the body and then allowed it to dry. I added some white dots on his back using Gesso and for his little red nose, a touch of Candied Apple Distress paint.
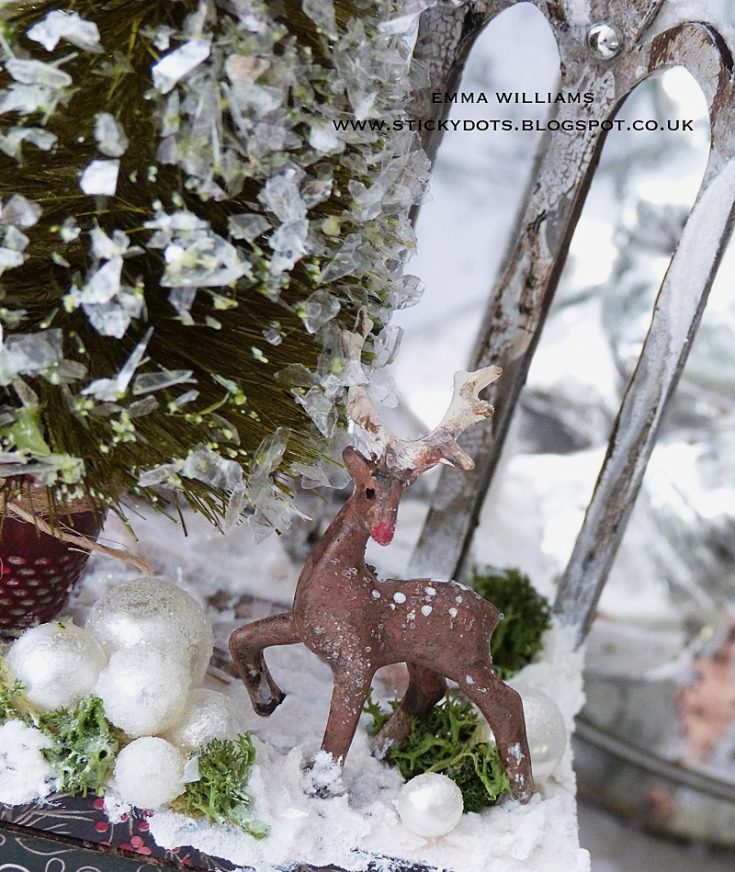
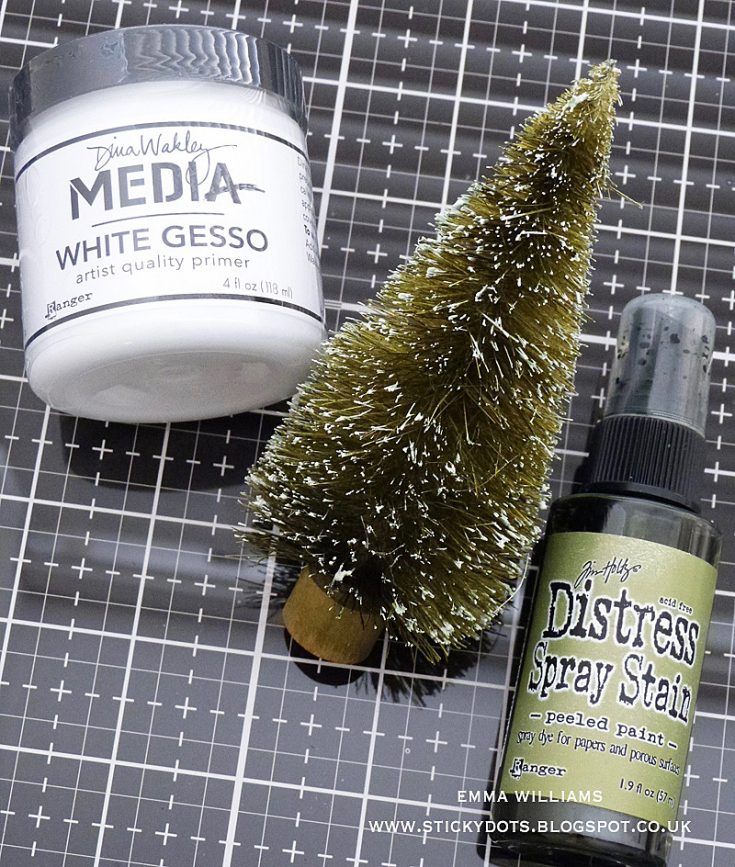
Moving onto the Christmas Tree ~ I used a 5” Tim Holtz Woodland Tree that I had in my stash from last year ~ unfortunately these are discontinued, so if you haven’t got one of these in your stash, then I would recommend using the Tim Holtz Half Woodland Tree which can easily be cut down to 5” in height, so that the top half of the tree is used and will be perfect for this project, (or as an alternative you could also use a Prima Marketing Sisal Tree). With your finger or a paint brush, tip the ends of the tree with a touch of white Gesso and allow to dry completely before spritzing the tree with Peeled Paint Distress Spray Stain. Remove the wooden stand from the tree and then set it to one side to dry thoroughly.
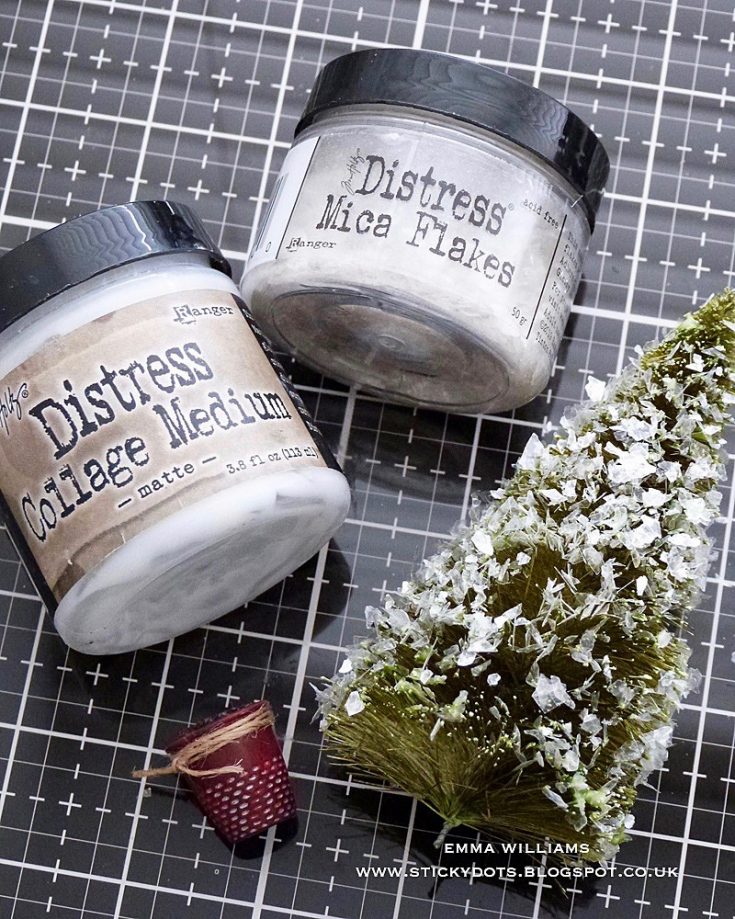
Once the tree is dry, apply a small amount of Matte Collage Medium to the tips and then sprinkle Mica Flakes over the entire tree. Tap away the excess flakes and pop them back into the jar. Allow for the Mica Flake covered tree to dry. To create a pot for the tree, paint a Tim Holtz idea-ology Thimble with Candied Apple Distress Paint and tie a piece of twine around the pot. Add some foam inside the thimble, (I cut a piece from some wrapping that I had in a parcel) and then, place and attach the green tree into the foam inside the thimble, adding a small amount of adhesive to secure it into place.
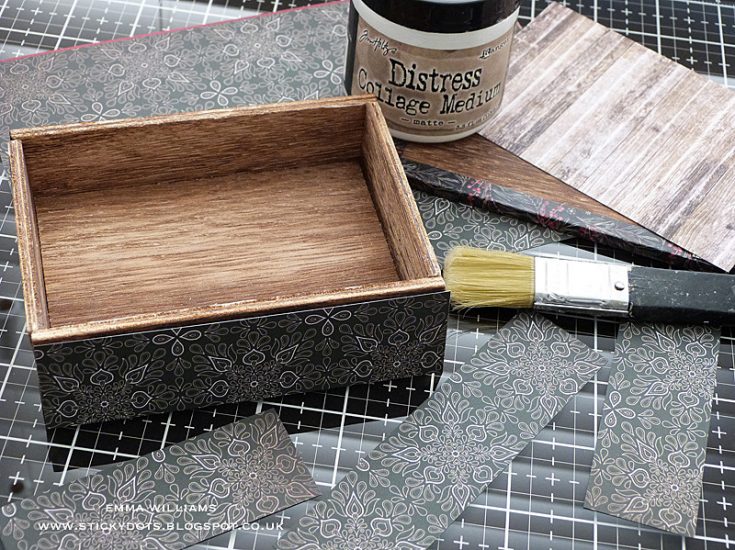
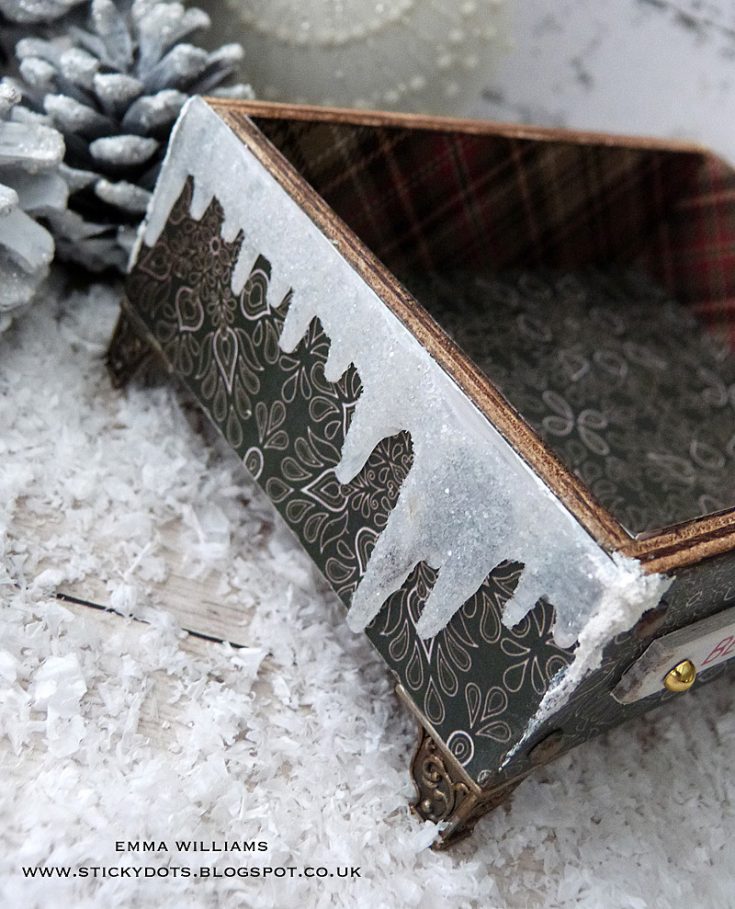
Cover the sides of the second largest vignette box with patterned paper from the Tim Holtz Christmas Paper Stash and adhere each panel with Matte Collage Medium, adding a coat of the medium over the top and allow to dry.
On each side of the box, I added some icicles and took the two smallest icicles in the set and painted the back of each with Picket Fence Distress Paint. Flipping the icicles over, I then applied some Matte Collage Medium to the fronts and sprinkled Rock Candy Dry Glitter over the top. Tap away the excess and leave to dry.
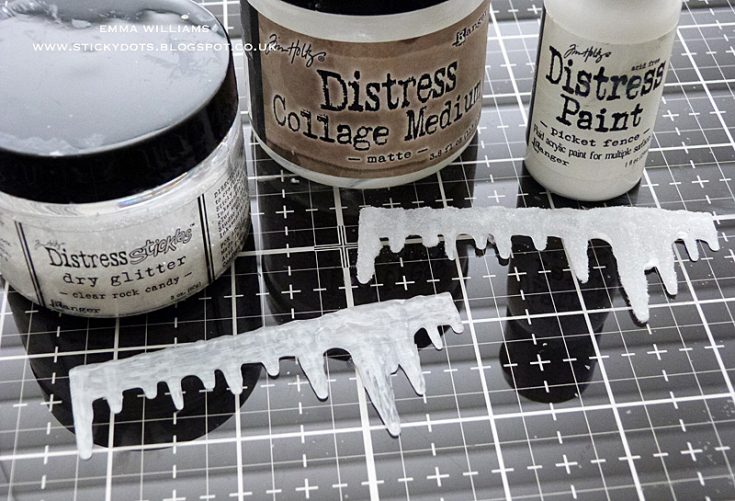
Attach the icicles using Collage Medium, placing them on either side of the box. Add a small amount of Grit Paste to the corners of the box and allow to dry.
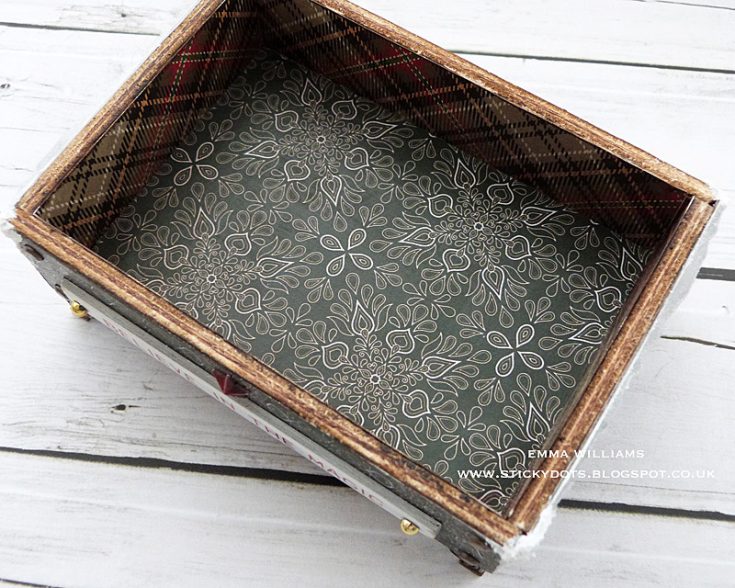
I lined the inside of the box with coordinating papers from the Christmas Paper Stash.
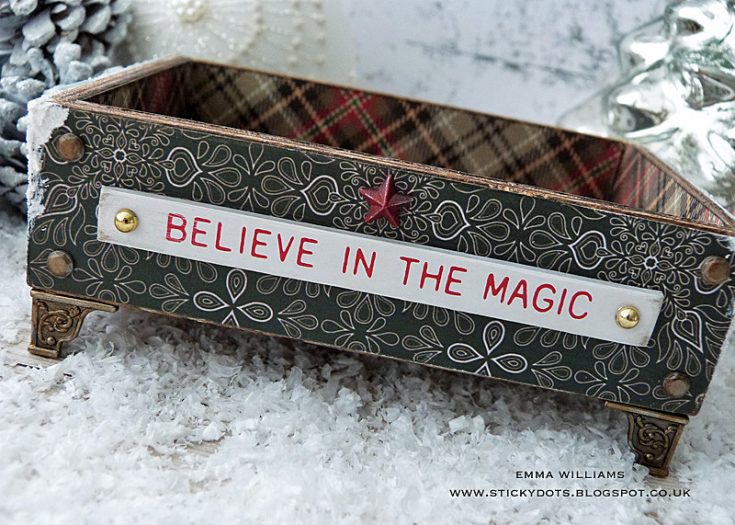
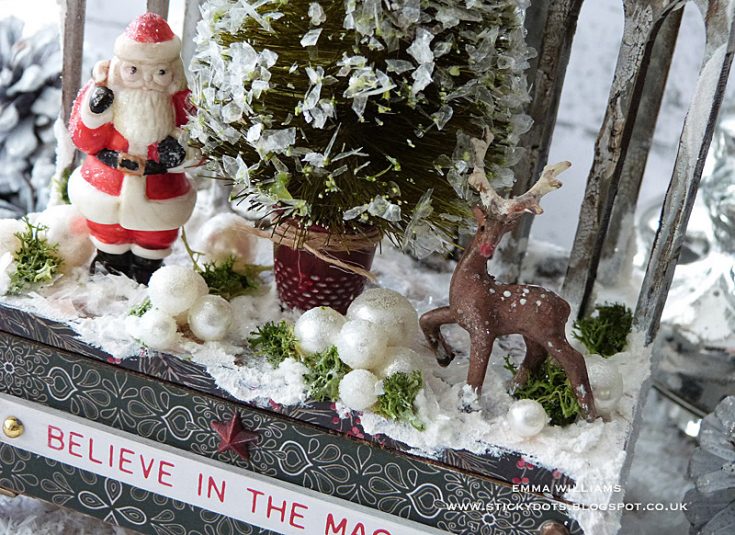
On the base of the box, I added some feet and used four Mini Foundations, one on each corner and attached them with collage medium and then attached the Believe In The Magic Quote Chip to the front, before attaching a Gold Metallic Droplet to either side of the chip. To complete the box, I added some Hardware Heads to each side of the quote chip and then painted a star adornment with Candied Apple Distress paint and attached this above the quote chip.
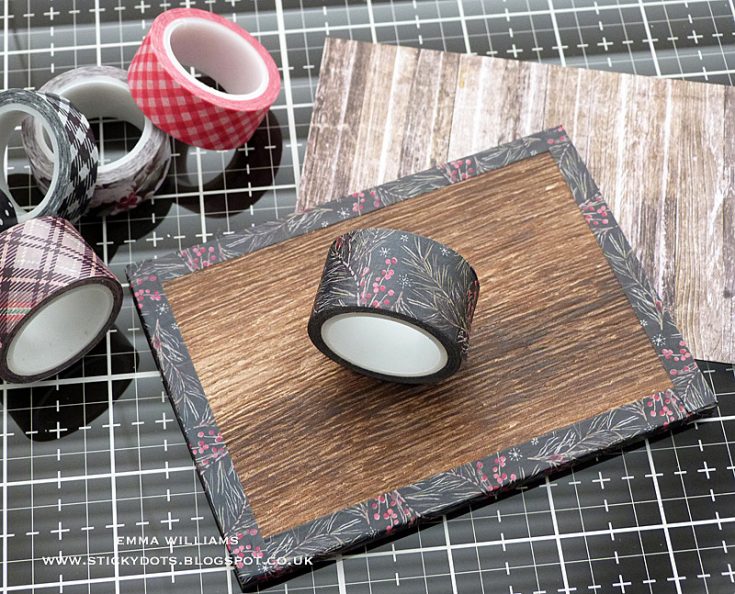
For the lid of box, I used the corresponding size of Vignette Panel and covered the edges with Christmas Design Tape, before adding a layer of wood effect paper from the Christmas Paper Stash and attaching it to the top of the lid, again adhering the paper into place and sealing it with a layer of Matte Collage Medium.
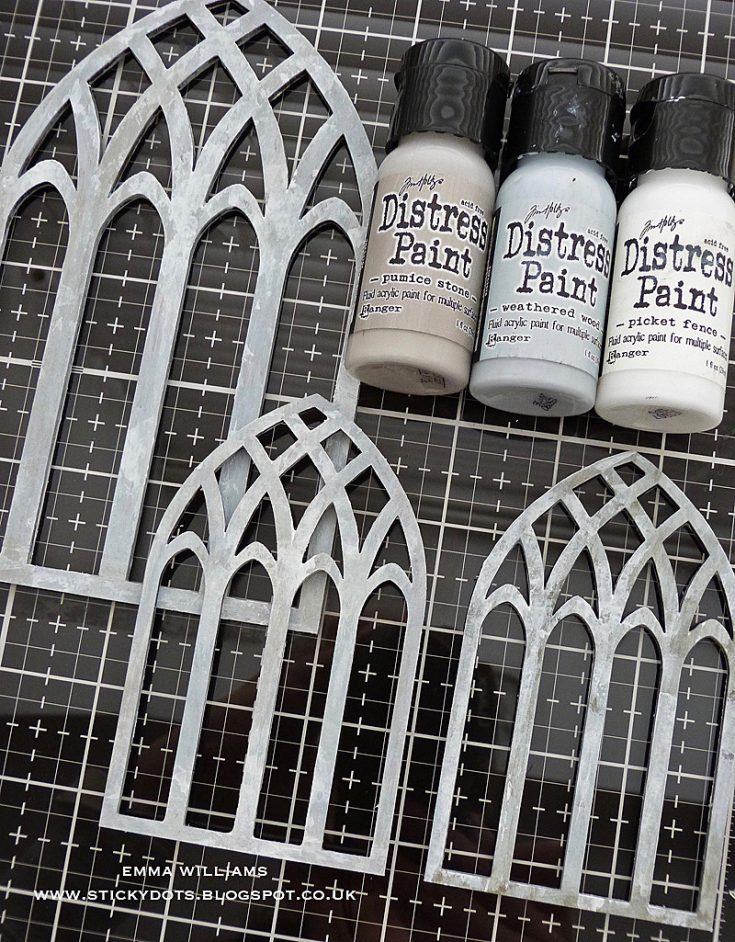
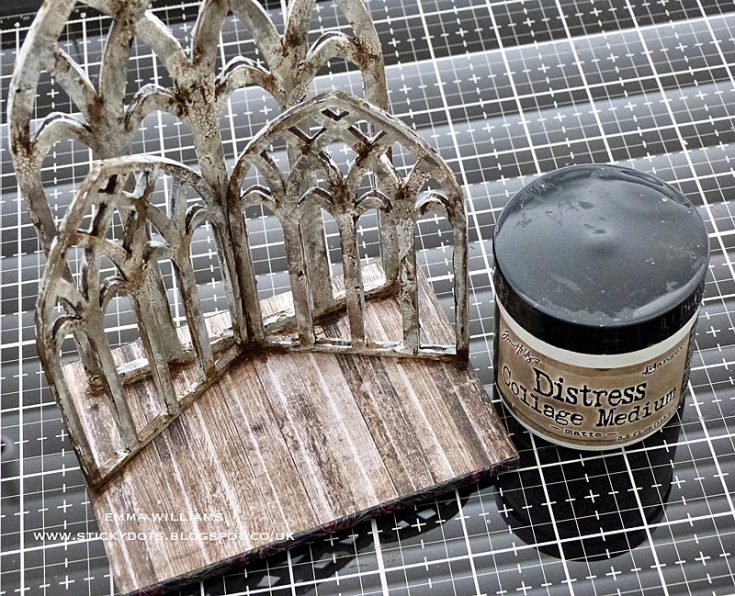
To create the Cathedral frames I took two of the small windows and one of the large windows and prime the surface of the frames with gesso, front and back because this piece will be seen from all sides, so you want to make it look perfect! Once the gesso is dry, add the paint layers to all three frames ~ paint the entire surface with Weathered Wood and gently heat dry the paint. Then using a dry paint brush, dip it into Pumice Stone Distress Paint and then remove the majority of paint from the brush onto a paper towel. With the remaining paint, dry brush the surface of the painted Cathedral Frames with the Pumice Stone paint. Once dry, apply a final paint layer of Picket Fence Distress Paint, stippling the paint over the frames using a paint brush.
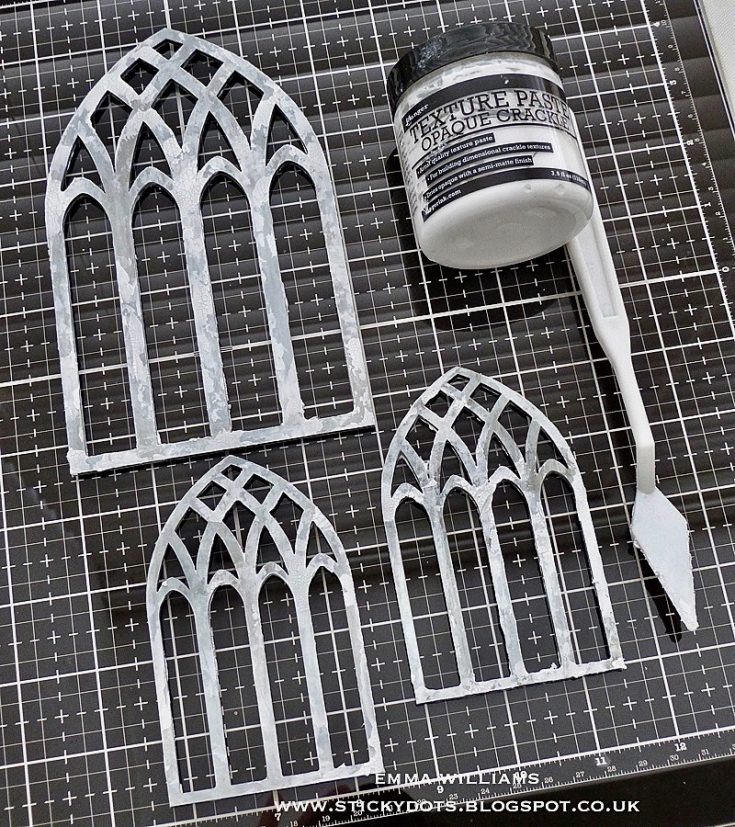
To create the crackle effect, use a palette knife to apply the Crackle Texture Paste to random areas of the frames and set aside to dry.
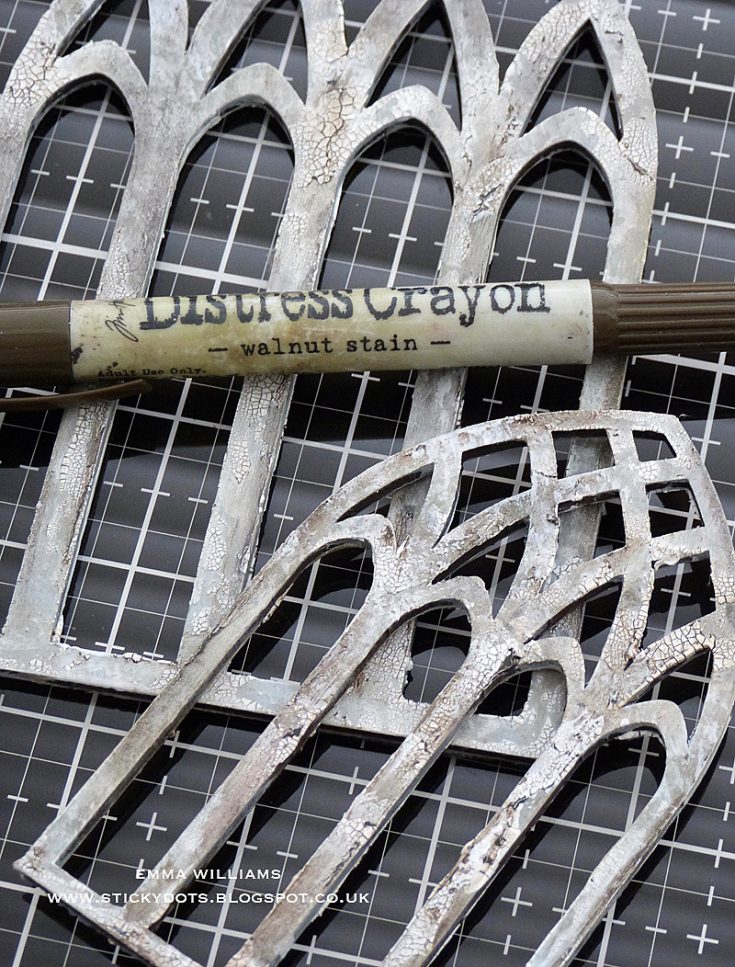
Once the crackles have appeared and the paste is dry, apply Walnut Stain Distress Crayon to the surface and using a water brush, blend the crayon into the crackles, wiping away any excess colour.
Attach the frames to the covered Vignette Panel lid using Collage Medium applied along the bottom edge of the frames and position the largest frame at the back, with the smaller frames placed in the centre of the large frame but positioned at an angle. Set aside to dry.
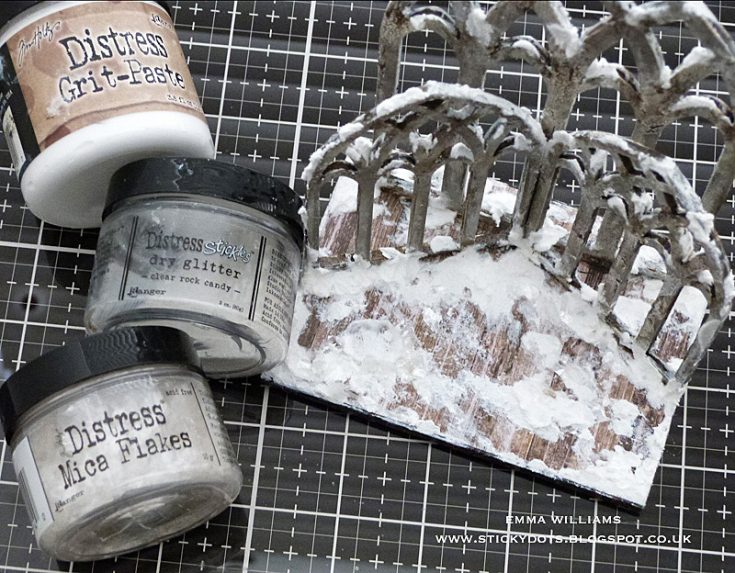
Once the frames were secure on the lid, I added the snow and for this I used Grit Paste which I applied to the covered Vignette Panel lid and also, on the frames itself. Whilst the paste is still wet, sprinkle Rock Candy Dry Glitter over the top. Also sprinkle some Mica Flakes over the top of wet paste.
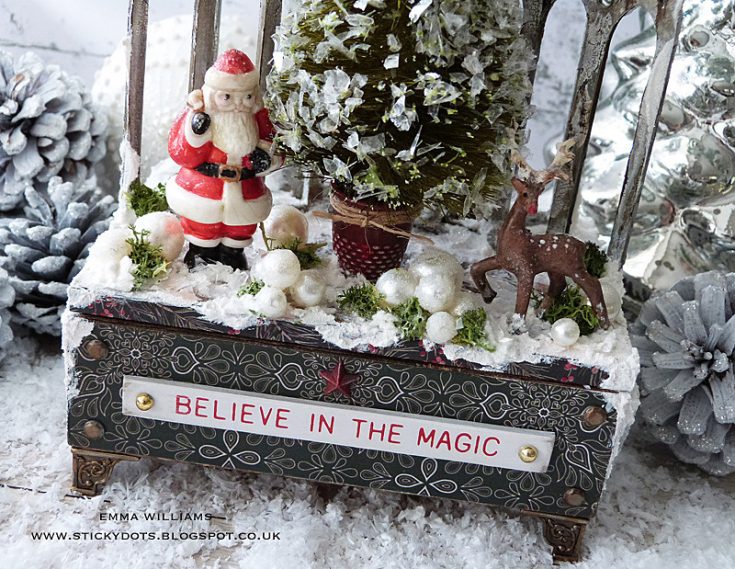
I then attached my painted Santa to the arrangement…
…before attaching some Silver Metallic Droplets onto the frame, attaching them to the back of the large frame and the fronts of both the smaller frames.
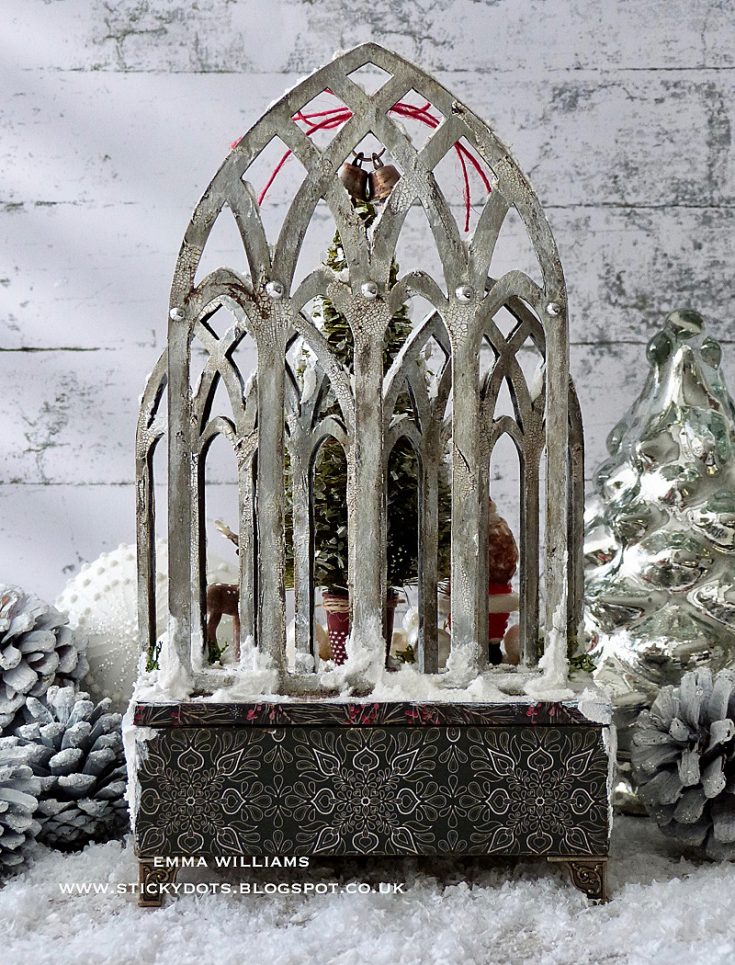
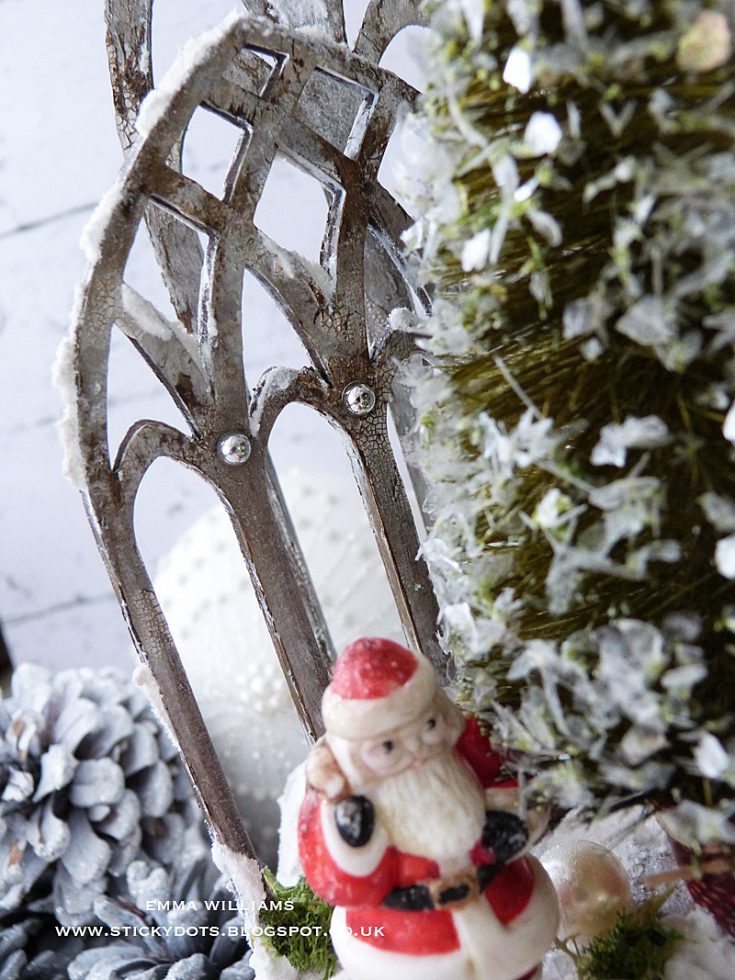
I adhered the tree in the centre of the Cathedral frames using Collage Medium, placed the decorative deer to the right and to complete the scene, I added small pieces of florists moss, tucked between the Grit Paste before moving onto to make all those snowballs.
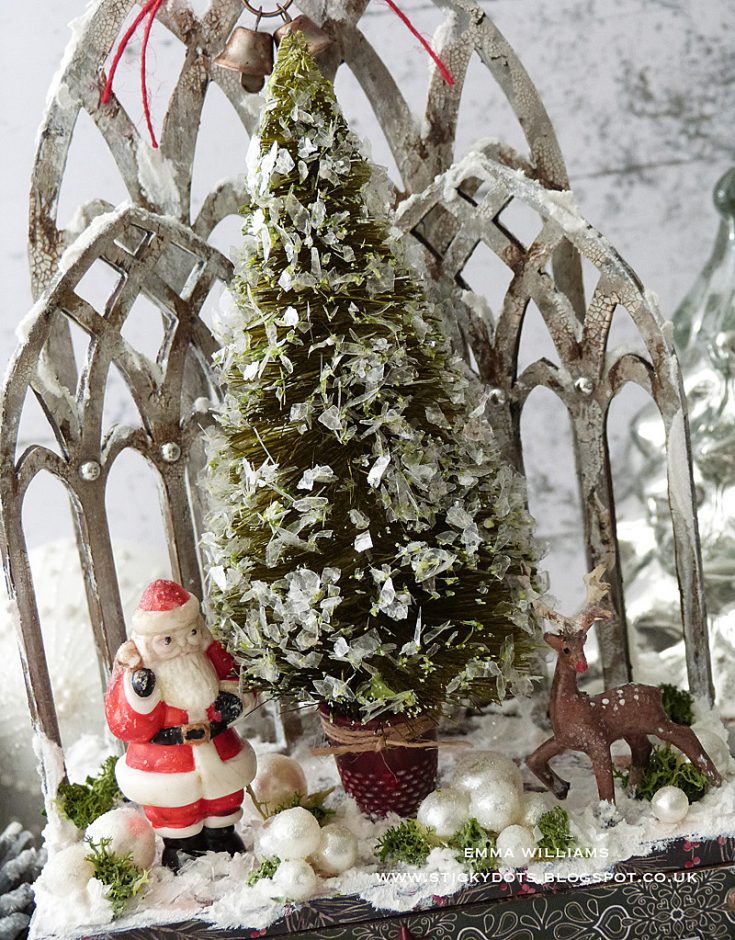
For these I used various sizes of idea-ology Baubles and smeared each bauble with Matte Collage Medium before dipping them into Rock Candy Dry Glitter and coating each bauble to create a snowy effect. Once the baubles were dry, I arranged them on my lid in clusters, placing and attaching each ‘snowball’ with collage medium and adding them in and around the tree, Salvaged Santa and Rudolph.
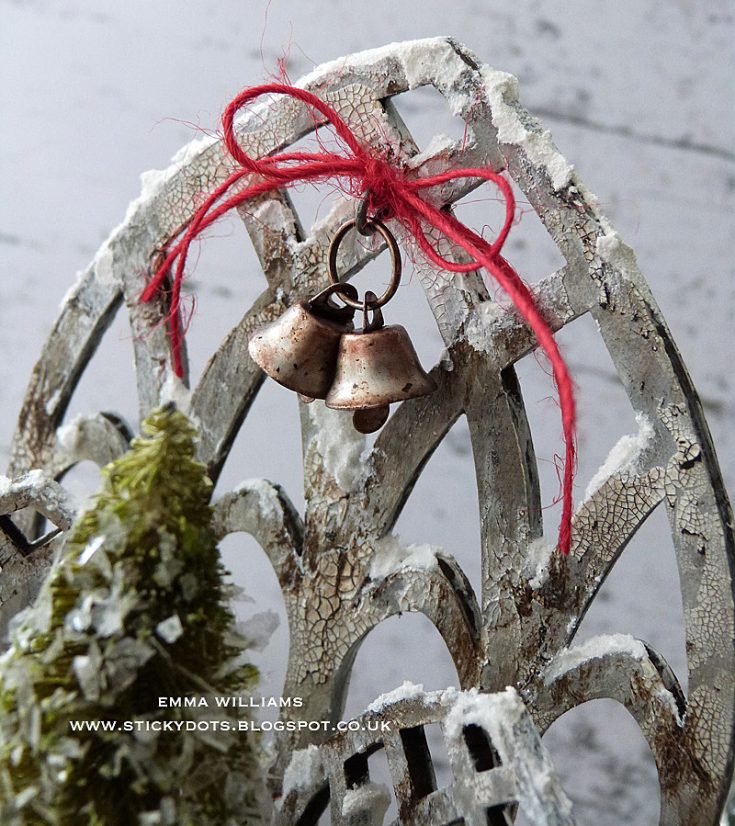
Finally, I added the tiny bells at the top of the Cathedral frame. I used two bells and attached them onto a Jump Ring. To create a rusty effect on the bells, I used an Alcohol Ink Applicator Tool to apply a combination of Mushroom and Rust Alcohol Ink to the metal. I then attached a screw eye fix from the Vignette Hardware Findings set which is screwed into the top of the tallest Cathedral Frame. Attach the bells and jump ring onto the screw eye fixture and as a finishing touch, I tied a piece of red twine onto the fixture.
Thank you so much for stopping by today ~ it’s been fun taking you through the creative process of this Christmas project and I hope I’ve given you some tricks and techniques that will inspire you with some ideas of your own! – Emma x

SUPPLIES:
|
Thanks so much for stopping by, and thanks to Emma for being our guest!

Blog Candy Alert!! Follow our blog via email and comment on this post for a chance to win special blog candy!


Oh wow, this is just stunning!
Such a fabulous project! What great detail!
Beautiful–I like the icicles.
These look great. The Windows are very cool.
omg the tree with the flakes – so GORGEOUS!! Love this!
Such a gorgeous project. Love it.
This is a beautiful decorator piece.
I love your Christmas creation. So vintage and adorable!
Amazing! I don’t think I have the skills to do this yet but I will save it for another day. Thank you for sharing this lovely project.
Wowww!! So many details and textures!! Fabulous project!! <3
What a detailed work of art!
This is absolutely magical! Wow!!!
Wow!! This is incredibly stunning!!
Believe in the Magic is my favorite Christmas sentiment. For me it says it all. And this is my kind of crafting-everything about is perfect. Thank you so much for sharing it with us.
Fabulous project! I love the cathedral windows behind the scene.
This is amazing! I love every little detail!!
So beautiful! It is a wonderful addition to any home!
Nice one, Emma. Love her style xx
Stunning, creative and beautiful I love this very much! TFS
Oh my goodness Emma, this is adorable. My Mom would absolutely LOVE this! Thanks for the tutorial.
That is gorgeous!
Beautiful vignette box for the holidays! Thanks for the inspiration.
Wow, such a beautiful project. Gorgeous !
Wow!! This is so beautiful!! So many details and fabulous embellishments! I LOVE those window frames; so elegant!
such a great project
Wow that is so cool!! What great ideas on how to use all these great things!!