Did You Know? May 2026 Edition: New Product You Don’t Want to Miss!

Hello crafters, it’s Shari Carroll here with you for a new edition of our popular Did You Know series! Today I’m celebrating some of the new products that we have scouted and developed that you may find interesting.
TIM HOLTZ IDEA-OLOGY PALETTE PAPER COLLECTIONS FOR 2026
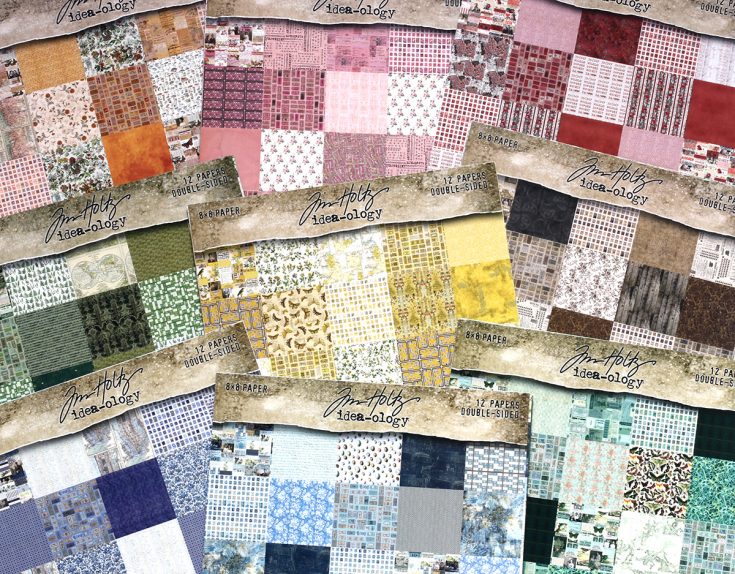
New for 2026, Tim Holtz Idea-ology are releasing 3 new Paper Palette Collections every other month.
Kicking off in January, we saw Pink, Red, and Orange. These colors were a welcome relief from Winter doldrums.
As we were trying to step into Spring, beautiful tones of Yellow, Neutral, and Green were released for March.
And now for May, the collections bring us teal, indigo, and blue reminding us of the warm Summer months ahead.
Each collection features 12 double-sided designs filled with nostalgic patterns, subtle textures, and timeless ephemera style, making them perfect for cardmaking, scrapbooking, journaling, and mixed media.
CREATIVE OVERLAYS
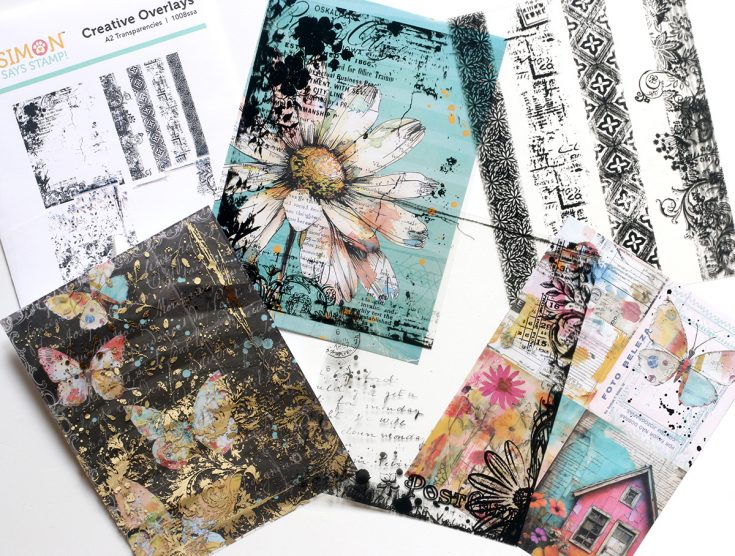
We’ve recently came out with Create Overlay acetate sheets. Each package contains four crystal clear beautifully designed A2 sheets. You can use them as they are as a full sheet over decorative papers, or cut them up to use portions for collaging.
TIP: Use transfer foil and a laminator to enhance the black toner ink. Look closely and place the toner side up (the toner looks dull), cover with transfer foil (shiny side up) and place into a heated laminator.
SIMON SAYS STAMP ARTFUL PALETTE LAYERING TEMPLATES
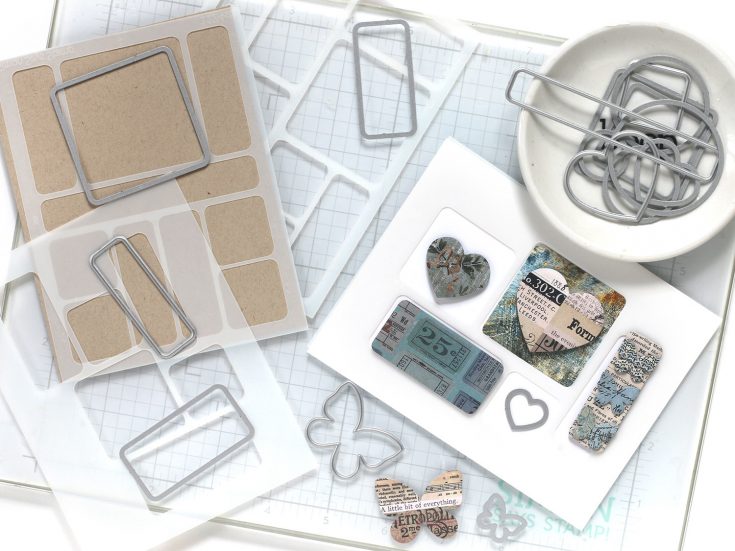
We have developed an amazing set of templates and dies to help with collage card designs.
The Simon Says Stamp Artful Palette layering templates are a set of five A2-sized templates designed to help you build balanced, eye-catching card layouts. Pair these templates with the coordinating dies that include additional accent shapes like hearts, circles, and butterflies giving you even more options for layering and embellishing.
TIP: Ink blend through the templates to start your card design and die cut some of the elements to put over top.
I hope these tips have helped you learn about some of the new items in our store! Thanks for tuning in today and spending some time with me!
SUPPLIES:
|


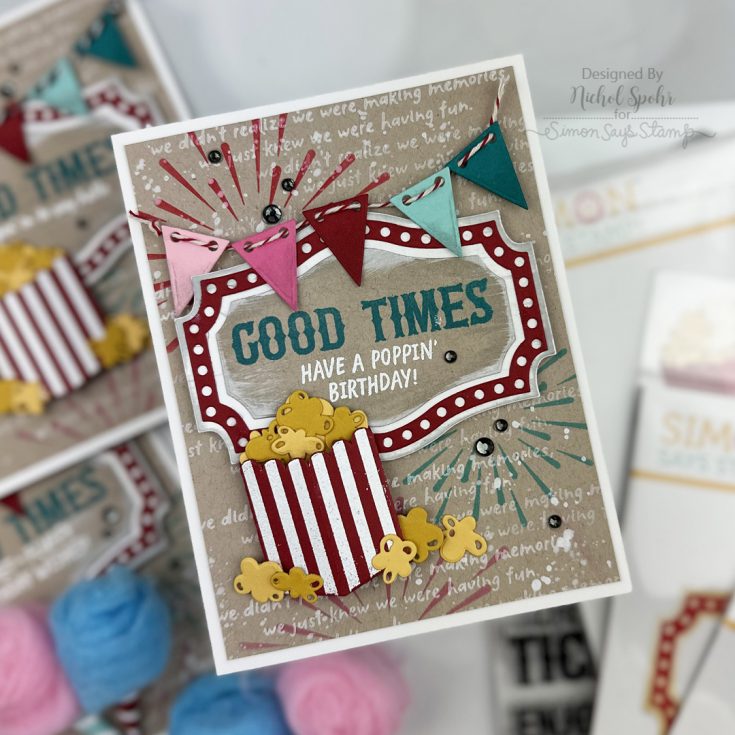
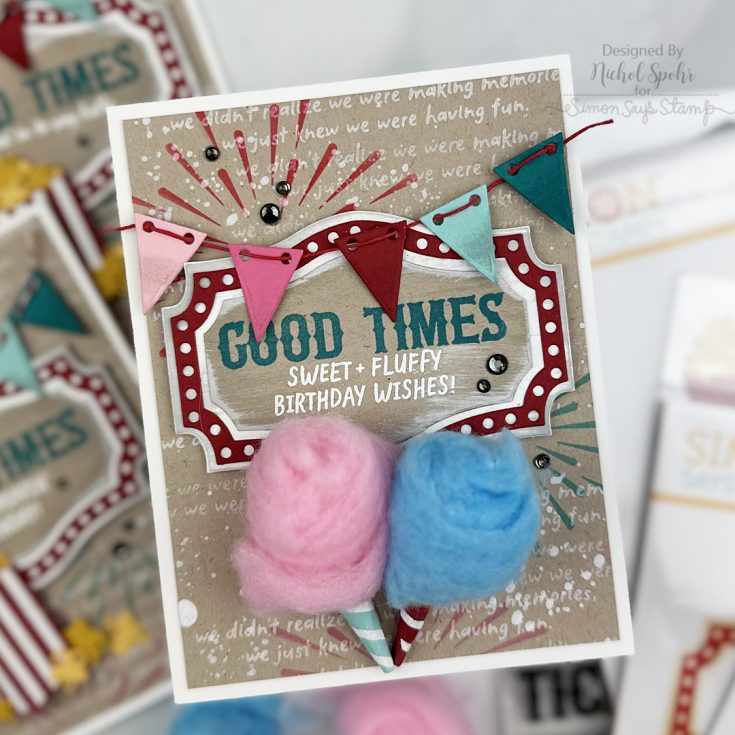
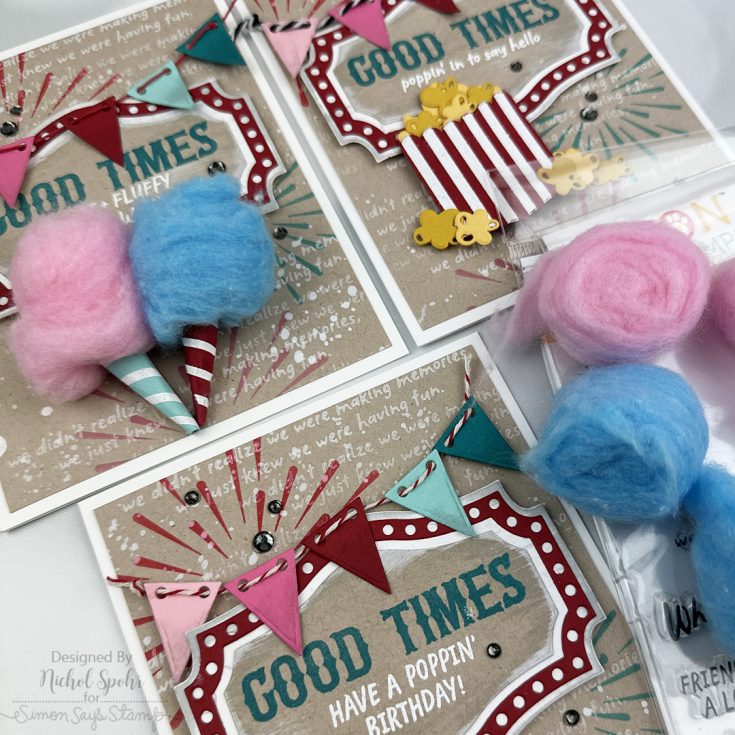
Bright Carnival-Themed Cards by Nichol Spohr

Hi friend! Happy Tuesday! We’re delighted to welcome back special guest Nichol Spohr with this pretty card featuring components of our June 2026 Card Kit, Step Right Up! This kit sold out super fast! We’re so excited you loved it! If you missed it, you can still purchase individual components to create what Nichol made! Be sure to watch the video for all the details, and enjoy!
WATCH THE VIDEO:

SUPPLIES:
|


Thanks so much for stopping by, and thanks to Nichol for being our guest!
Did you know?! We’ve made our card kit subscription BETTER THAN EVER!
Learn more:

Here’s what makes our new service a crafting paradise:
Exclusive Access: As a subscriber, you get first dibs! Each month, you’ll get an exclusive sneak peek at our new kit, with the option to add more coordinating items to your cart, including handy replenishable supplies, all shipped together for your convenience.
Hassle-Free Payments: Say goodbye to monthly billings! Our automated system smoothly charges your preferred card, ensuring an uninterrupted flow of crafty goodness – unless you decide to pause, of course!
$5 Off Magic: Enjoy a special $5 discount off our kit’s retail price, exclusive to our beloved subscribers – no codes needed, just automatic savings!
Crafting Inspirations: Dive into a sea of creative ideas monthly, all tailored around your kit, to keep your inspiration flowing endlessly.
Flexibility First: Fear of commitment? Not here! Our subscription is as flexible as it gets – pause or cancel anytime, no strings attached.
Why wait? Step into the realm of our NEW Simon Says Stamp Monthly Card Kit service. Welcome a box full of crafting marvels, right to your doorstep. Craft with ease and let creativity come to you!
Ready to elevate your craft? Subscribe Now and open the doors to boundless creativity!
We’re thrilled to have you in our crafting community and can’t wait to embark on this renewed creative adventure together!
Word Background Art Journal Page by Anna-Karin Evaldsson
Hi friends! Happy Monday! Please join me in welcoming back special guest Anna-Karin Evaldsson to our blog as a special guest sharing a fun art journal page idea! Read on and enjoy!

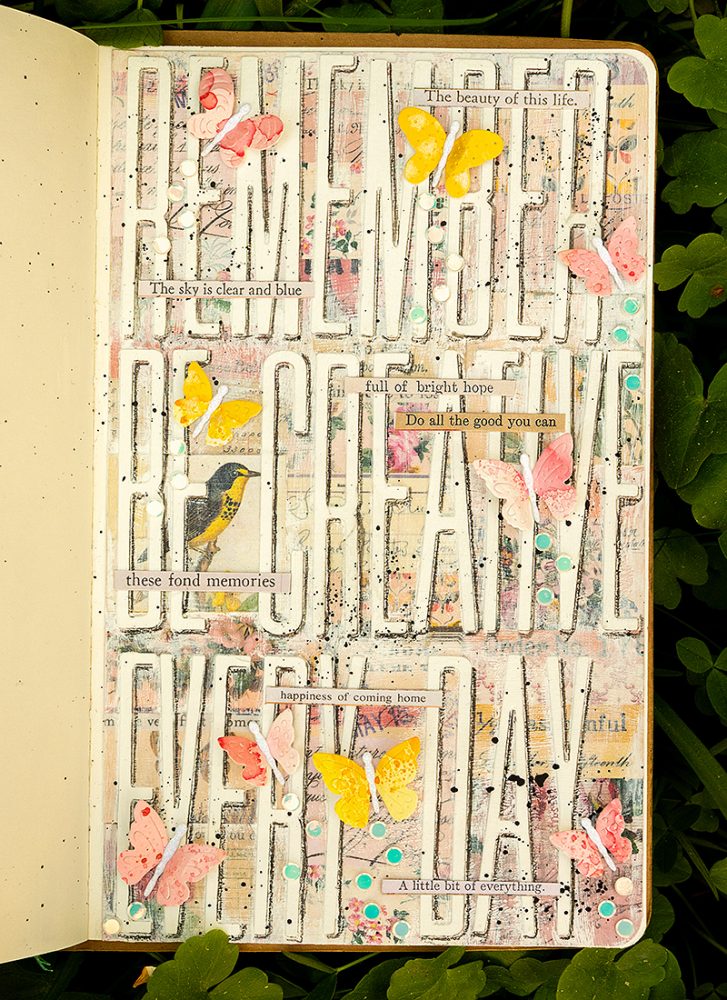
Hi everyone! I am happy to be back here on the blog with an art journal page inspired by alphabet dies. I am very fond of alphabet dies; with them you can create any word or message imaginable. Here, I made them a part of the background, at the same time as they carry the message of the page. The techniques are easy to do and work great for cardmaking too.
I was looking at the shapes of some of Tim Holtz Alphanumeric die sets and thought it would be fun to cover almost an entire background with large letters. I wanted to combine it with the pretty papers from Tim’s Palette Paper sets, but without the patterns overwhelming the letters. Using gesso, the background was toned down, while the letters were made more visible with the help of some simple shading. Let’s start.
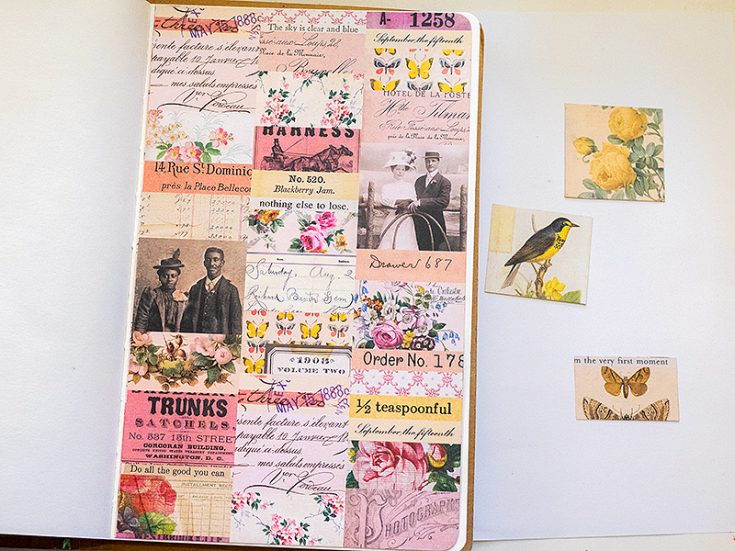
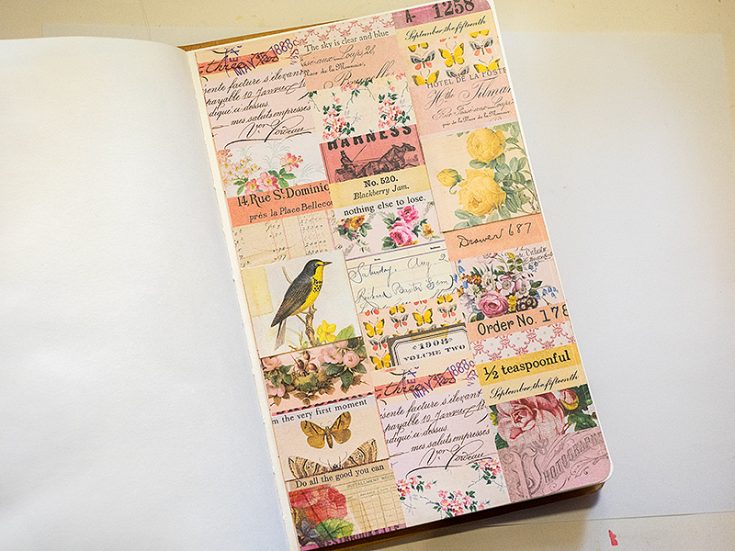
I wanted to use one of the sampler pages from Tim Holtz 8×8 in Palette Papers as my background. They are all beautiful, but I ended up picking the Pink Palette one. I did not want any photos in the background and cut images from the yellow sampler paper. Round two of the corners with a Corner Chomper.
Glue the images from the yellow sampler paper on top of the photos and on one of the pink panels.
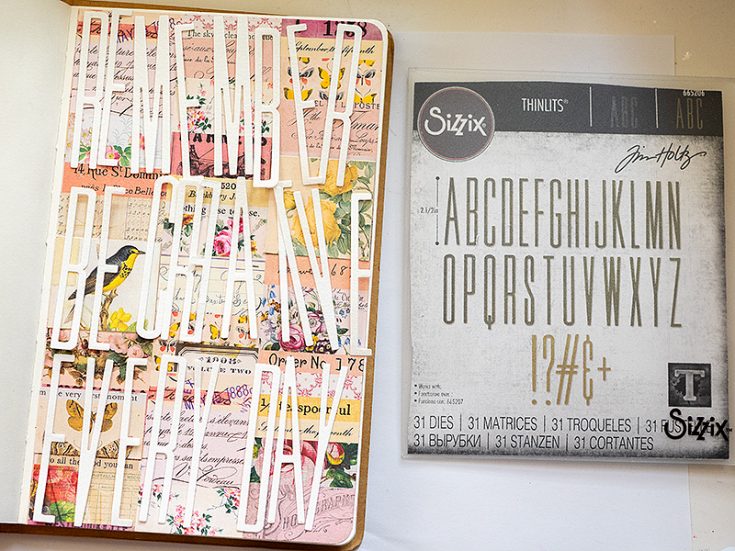
Die cut letters with Tim Holtz Alphanumeric Stretch Upper alphabet. These letters are tall (2.5 in) and narrow. They fit perfectly in three rows in my Dylusions Small Creative Journal. The letters were die cut from watercolor paper.
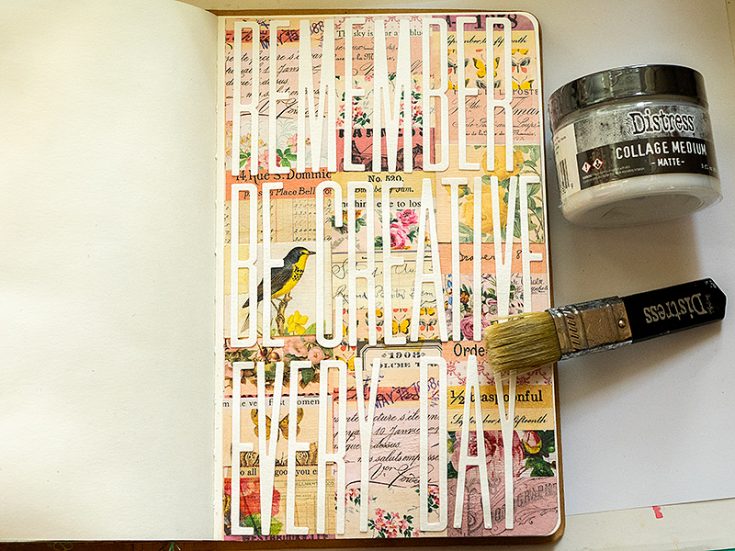
Glue the letters with Ranger’s Collage Matte Medium and coat them with a layer of medium too.
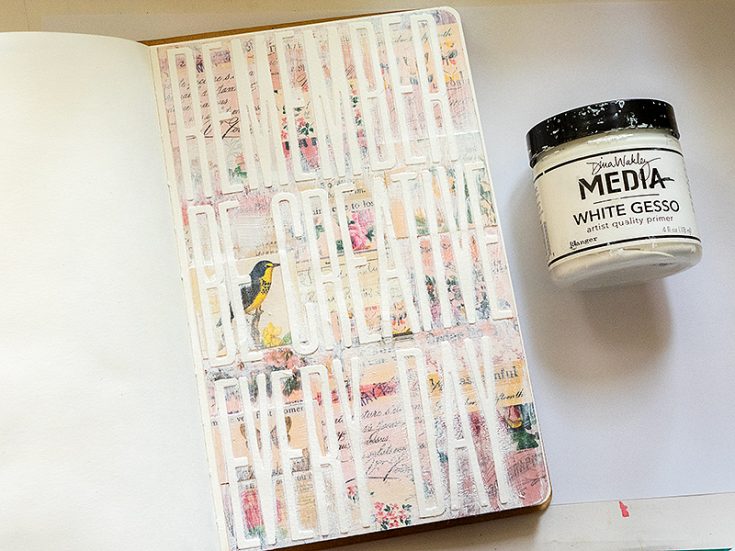
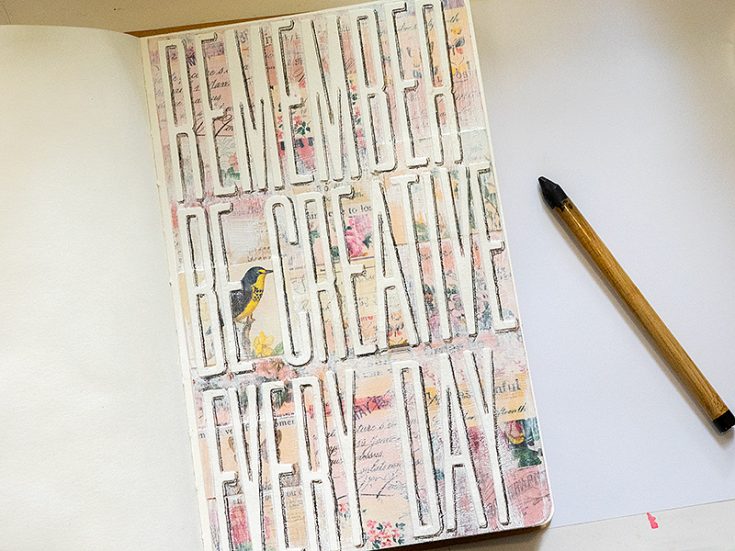
When dry, paint one word at a time with gesso and wipe off with a paper towel. Mist a little water on the paper towel to make it easier to remove the gesso.
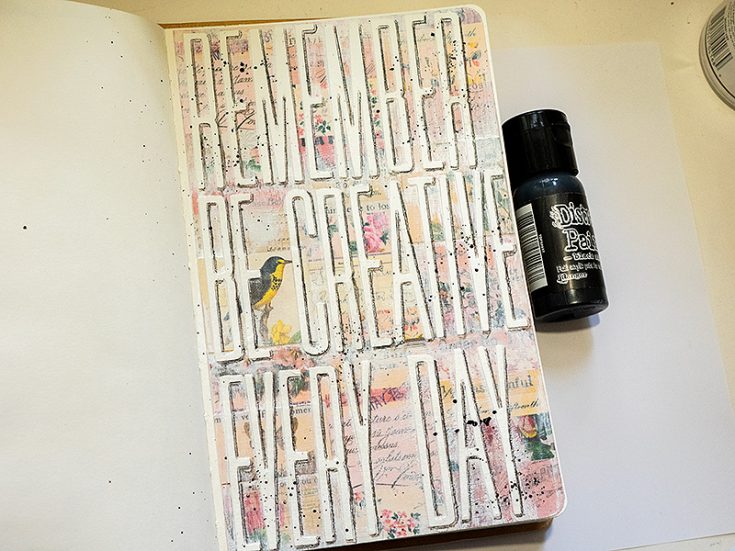
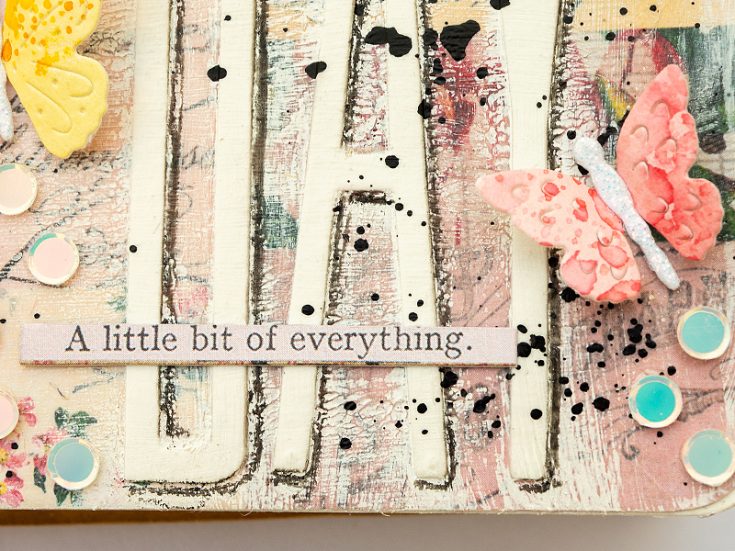
Use a Black Soot Distress Watercolor Pencil to add shading to the letters. This makes them stand out from the background.
Splatter with a little Black Soot Distress Paint.
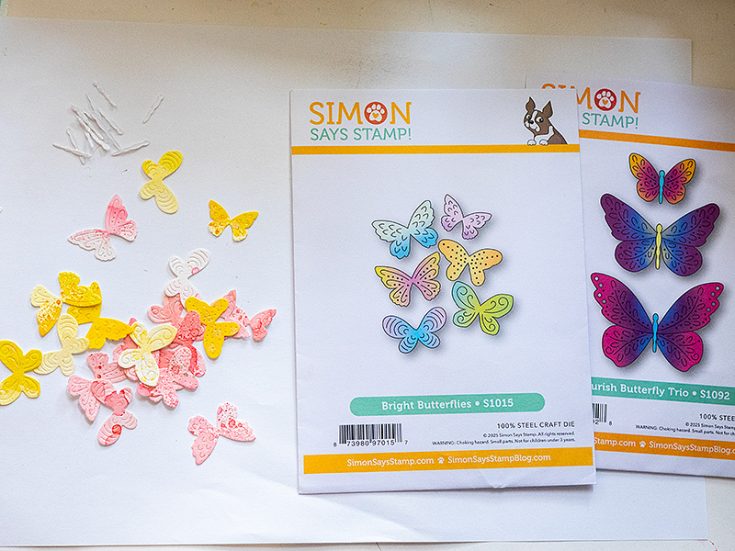
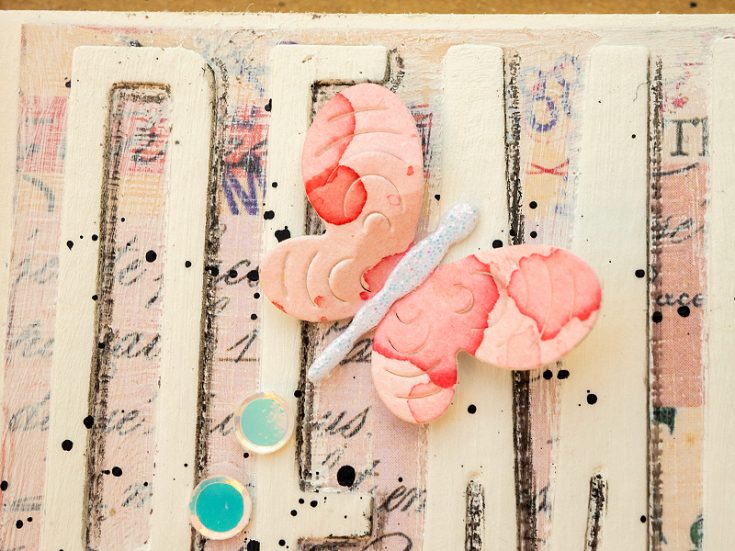
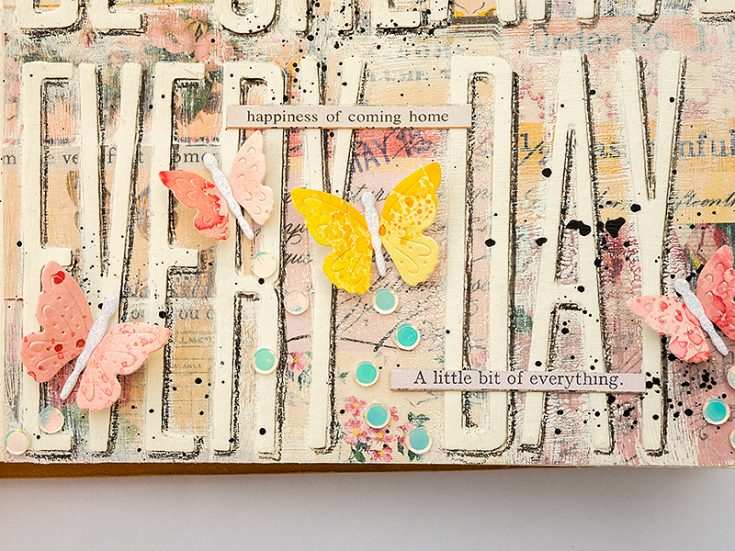
I wanted small butterflies to flutter over the page and die cut Simon Says Stamp Bright Butterflies from leftover pink and yellow inky papers. Their bodies were die cut from Simon Says Stamp White Glitter Cardstock using a die from Simon Says Stamp Flourish Butterfly Trio.
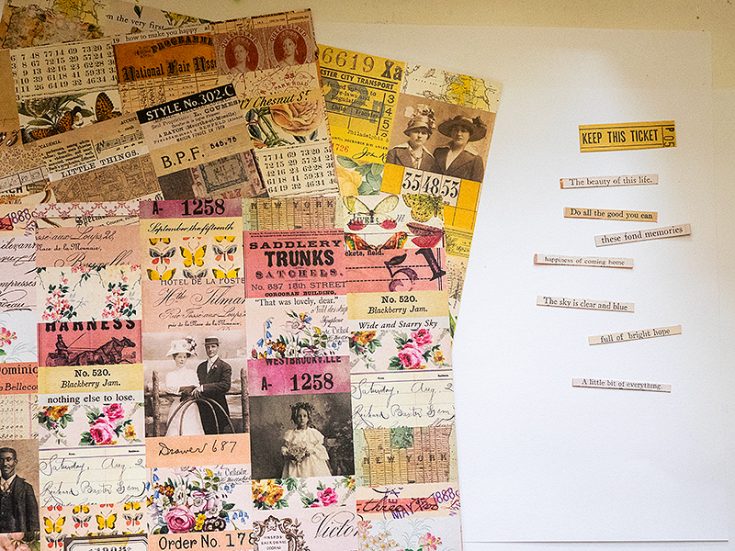
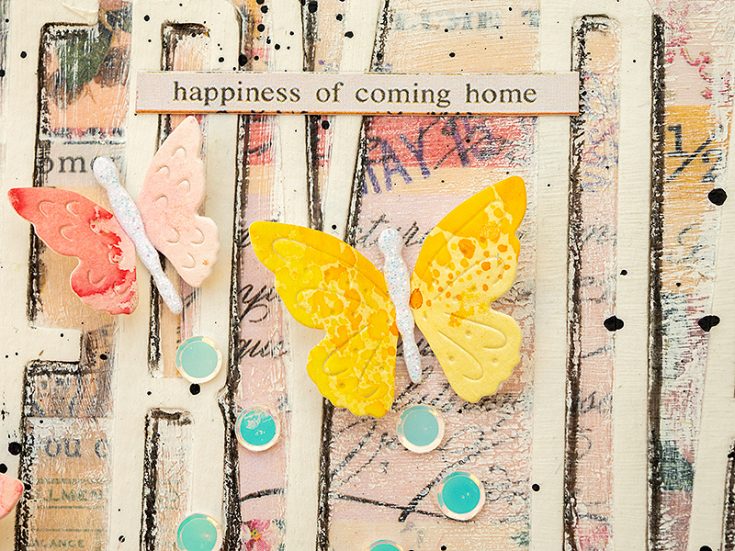
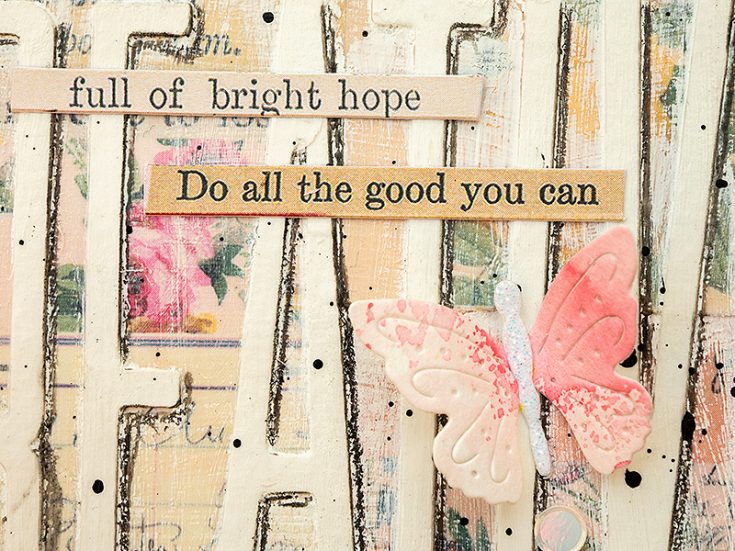
The collage sampler pages from Tim’s 8×8 in Palette Papers contain a lot of nice sentiments. Cut some of them out to use on the page. I used the Pink, Yellow, Orange and Neutral Palette Papers.
Fold the wings of the butterflies and glue to the page.
Add trails using Simon Says Stamp Cream Puff Embellishments. I always use a Simon Says Stamp Place and Score Embellishment Tool when gluing sequins or gems to my projects.
Glue the word strips here and there.
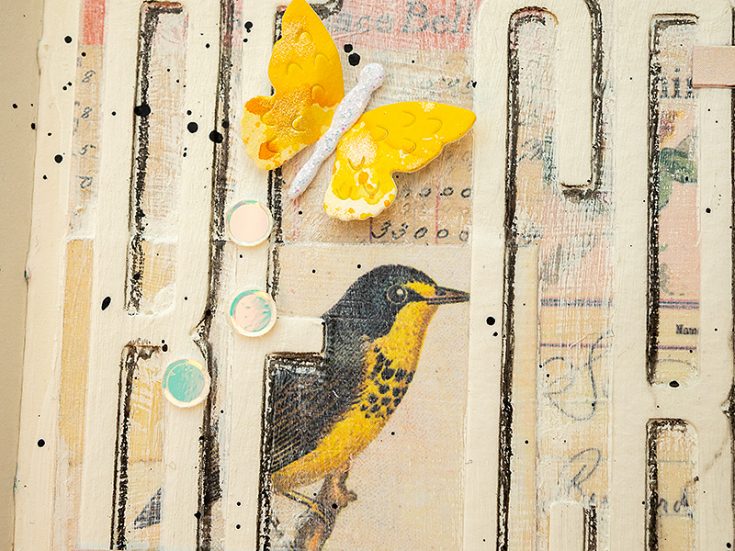
I wanted this bird and some of the flowers in the background to be more visible and therefore removed most of the gesso from those elements.
The gesso will pick up some of the texture from the matte medium.
I tried to place the butterflies so that the background word would still be easy to read.
I hope this tutorial inspired you to use your alphabet dies and to make them a part of the background of a project at the same time as you create large and impactful sentiments. Happy crafting! –Anna-Karin
SUPPLIES:
|


Thanks so much for stopping by, and thanks to Anna-Karin for being our guest!
ENDS TONIGHT!!


