Always There Blog Hop 2!

Hello, friends, and welcome to day two of our Always There release blog hops! If you missed yesterday’s hop, be sure to circle back and check it out HERE.
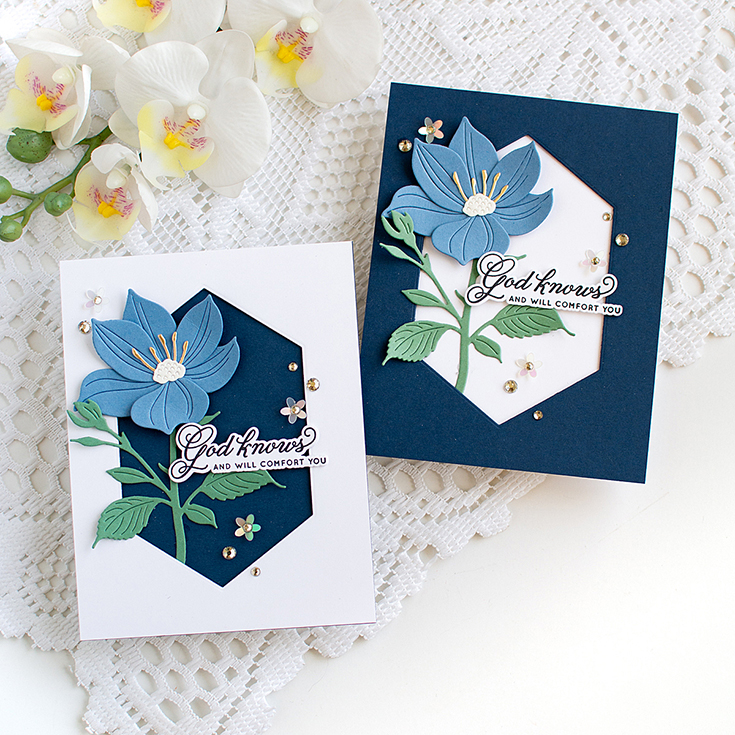
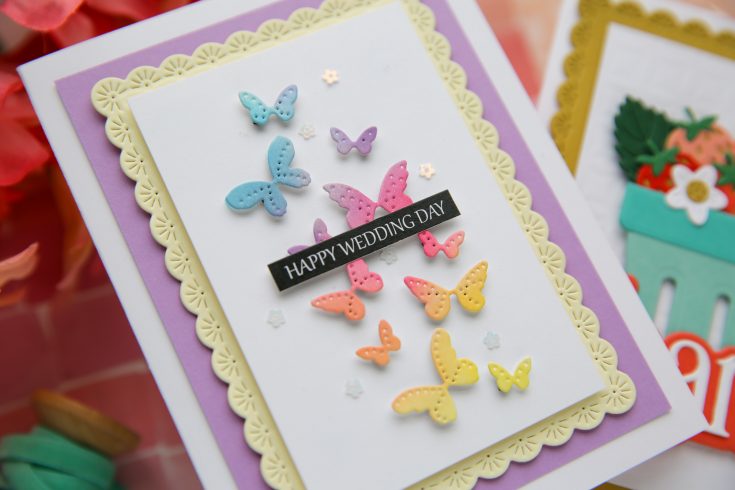
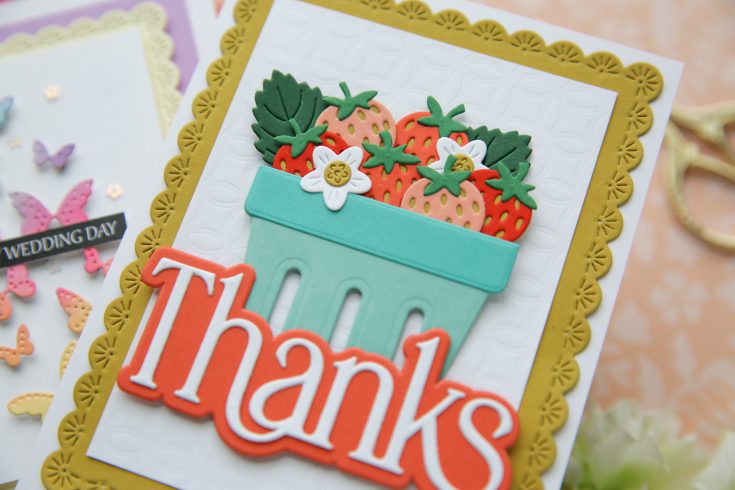
Before we hop, let’s take a look at some fabulous inspiration from Heather Hoffman and Nina-Marie Trapani:
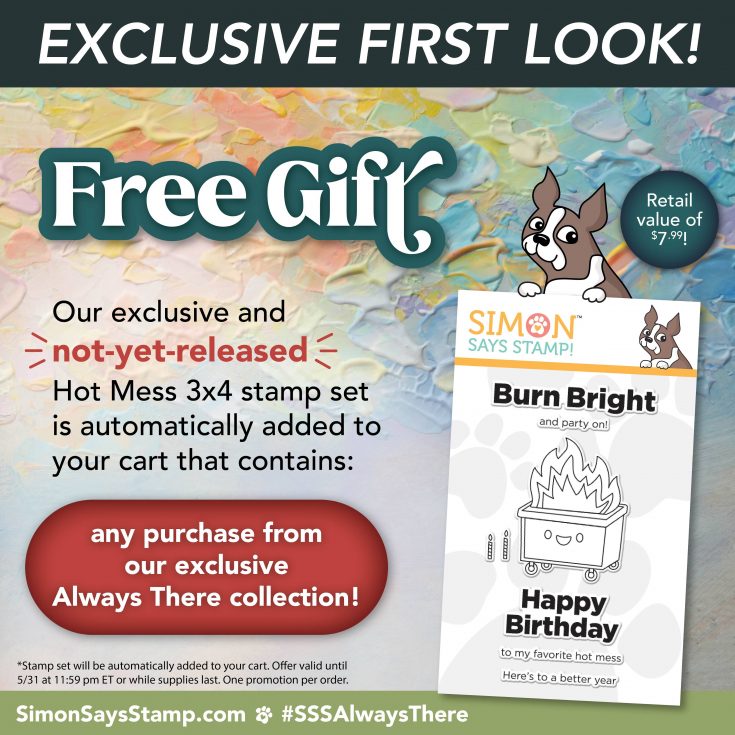
We love our customers! And we love your enthusiasm for our exclusive releases and blog hops. To celebrate, Simon has set aside a free gift just for you! Our not-yet-released Simon Says Stamp Hot Mess 3×4 stamp is automatically added to your cart that contains any purchase from our exclusive Always There collection! Check out the details on the banner at the top of this post for information about claiming your gift.
Ready for even more Always There inspiration? Hop along with these talented designers!
- Simon Says Stamp Blog <<YOU ARE HERE!
- Barbara Tarayao
- Emily Midgett
- Nichol Spohr
- Nicky Meek
- Tina Smith
- Heather Ruwe
- Keisha Charles
- Lisa Addesa
- Sandi MacIver
- Miriam Prantner
- Alberto Gava
- Caryn Davies
- Kath Stewart
- Carly Minner
- Natasha Polite
Please share some feedback with these creative artists who work hard to inspire and excite us! Your comments mean so much to them.
Thanks again for joining us today!
We hope you will join us on Instagram on Monday, June 1st for an Instagram Hop featuring our Always There release! We are excited to share awesome ideas from several creative minds using these fantastic products.
You’ll love browsing our Always There gallery on our blog for loads of additional inspiration, and you can add your projects to these galleries as well!
Shop the entire collection:


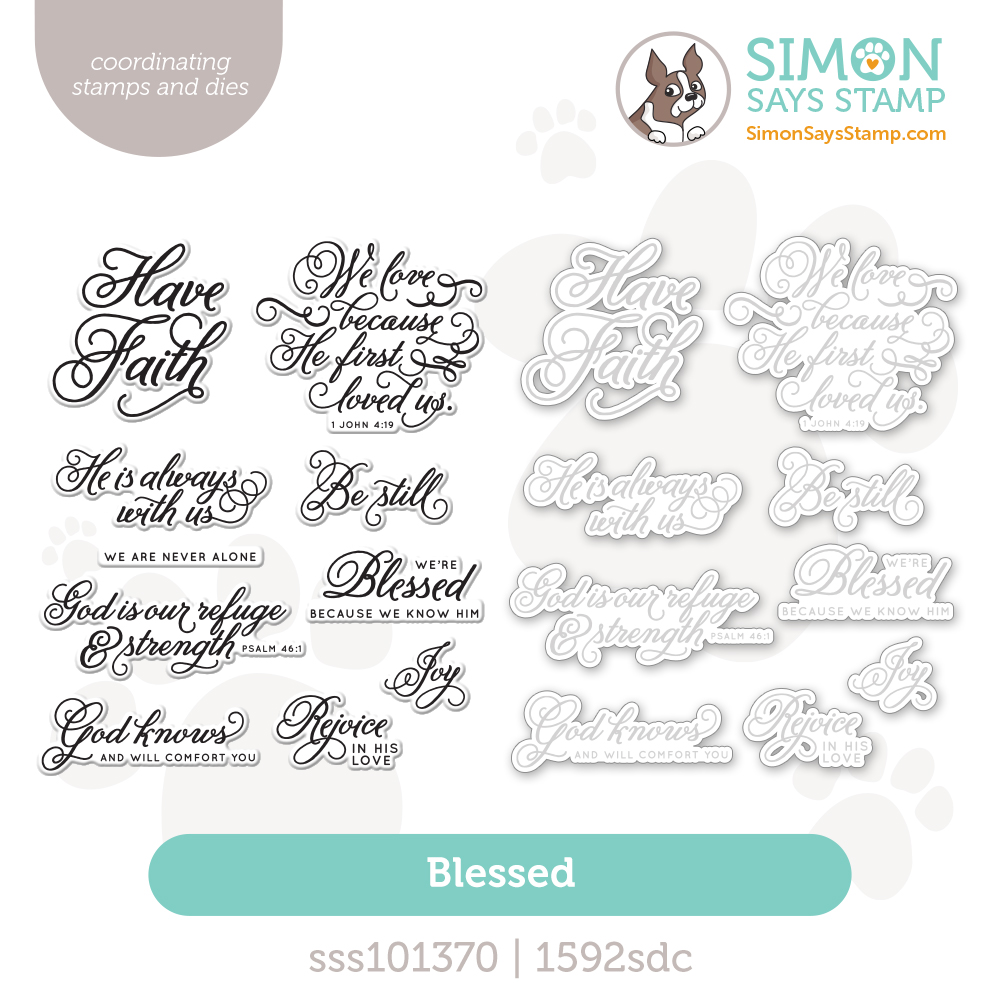
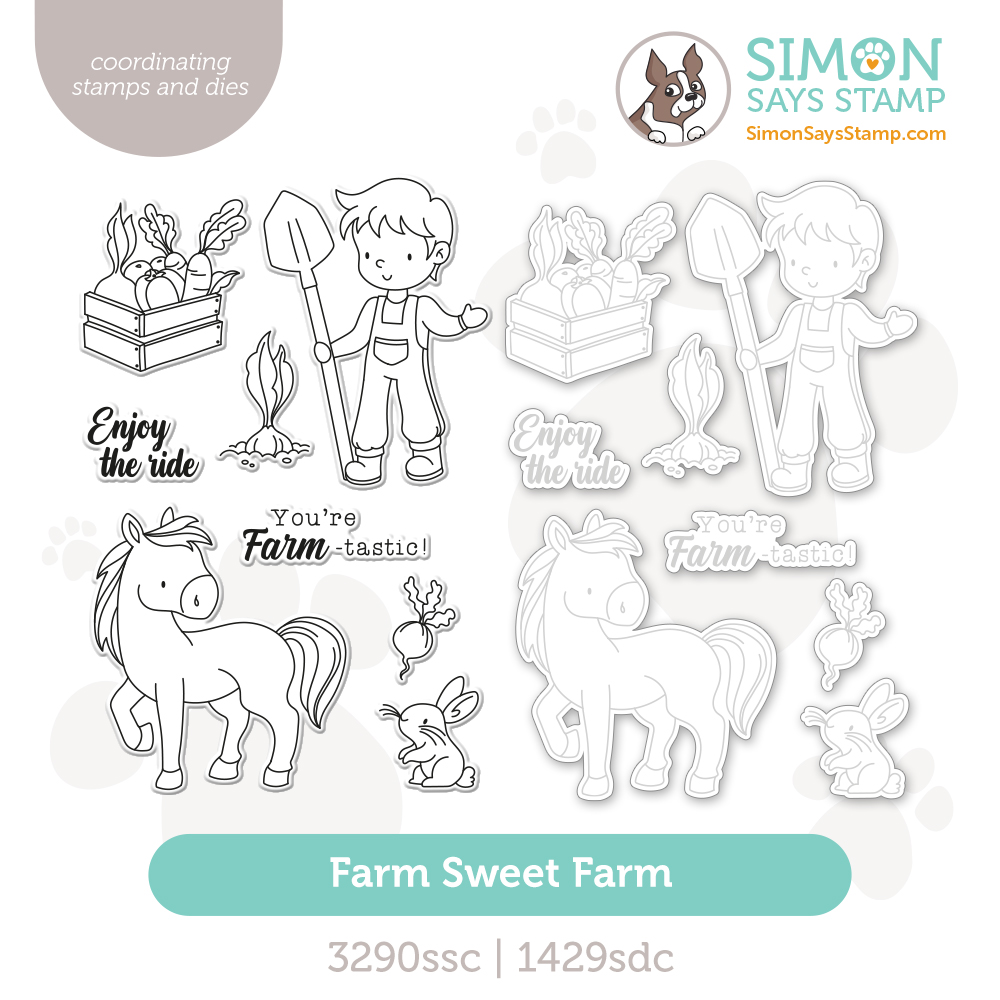
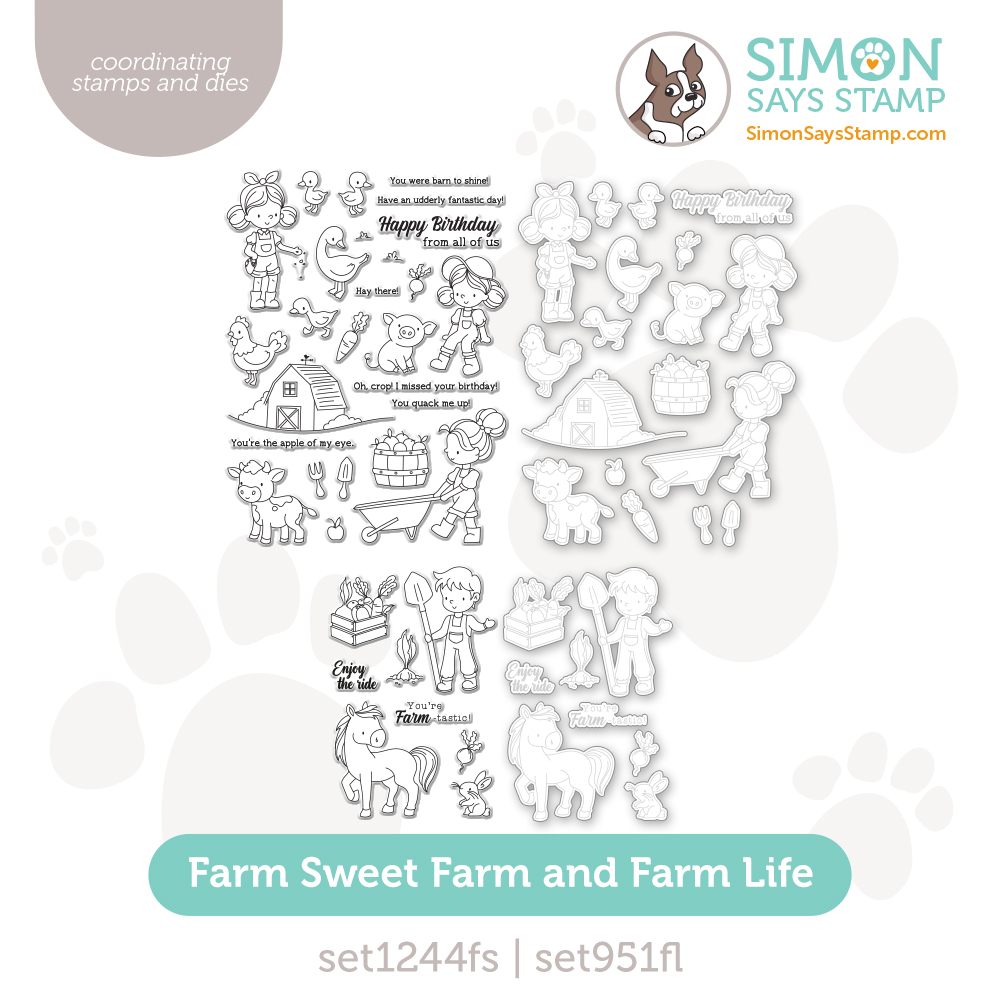
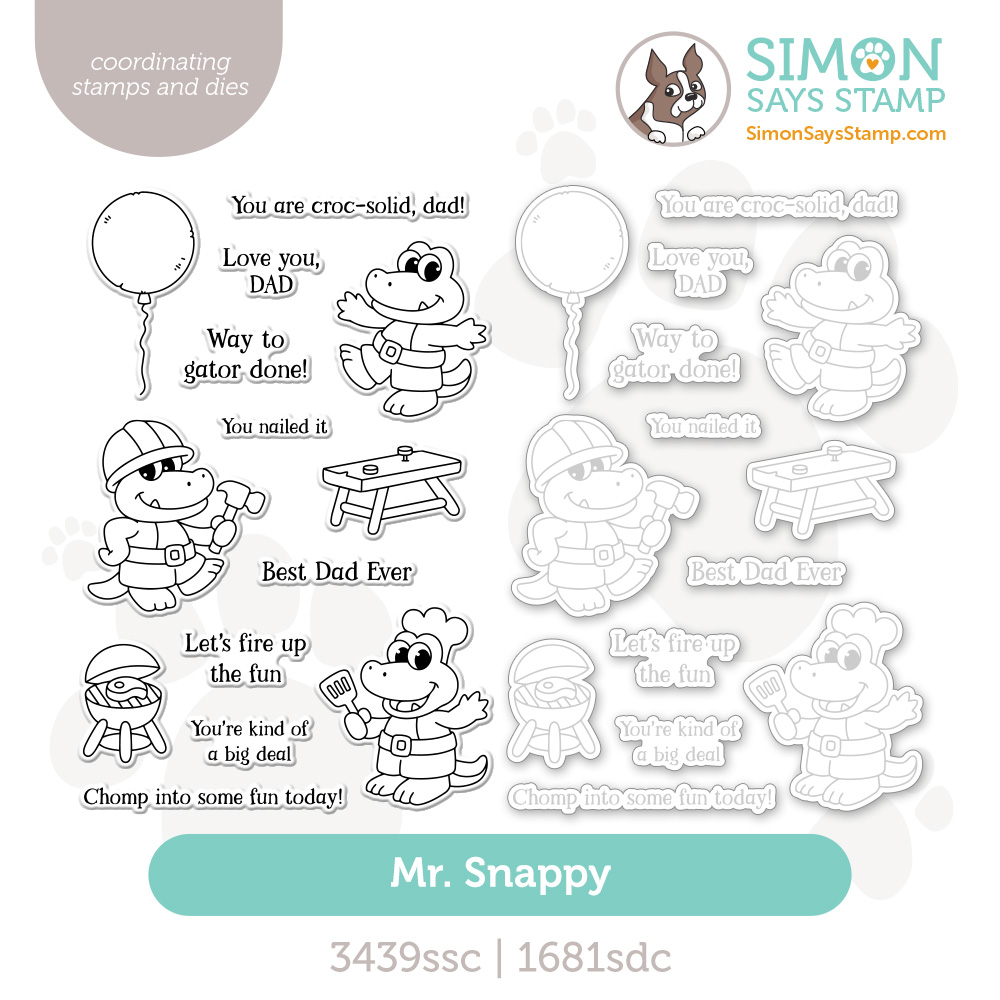


Can’t pick a favorite? Shop our NEW Bundles:
Catch the Rewatch!
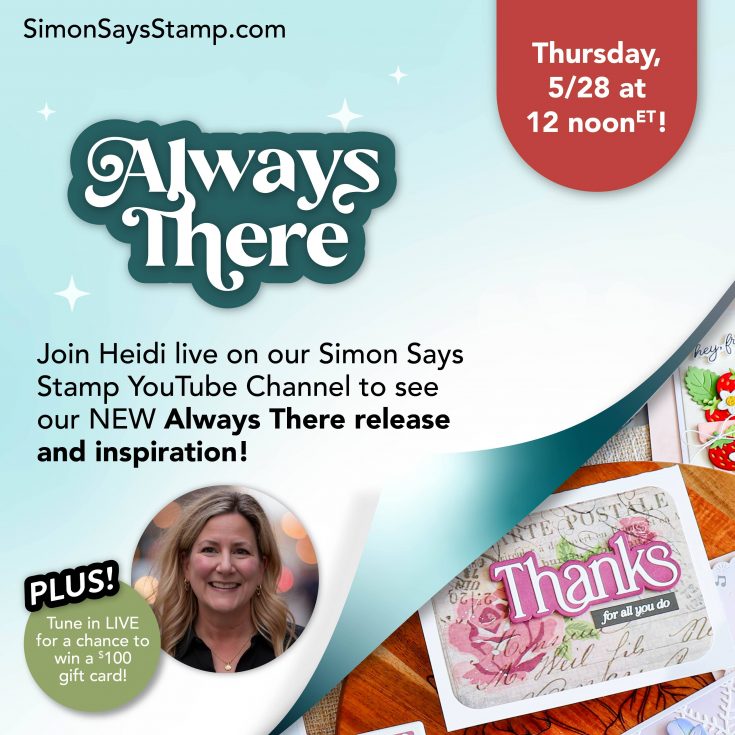
We went live on Thursday, May 28th at 12 PM ET to showcase our brand new + exclusive collection Always There! Come get inspired and excited by this amazing summer release!
Always There Blog Hop 1!
Welcome to day one of two special release blog hops celebrating our Always There release! Come back tomorrow for more amazing inspiration!
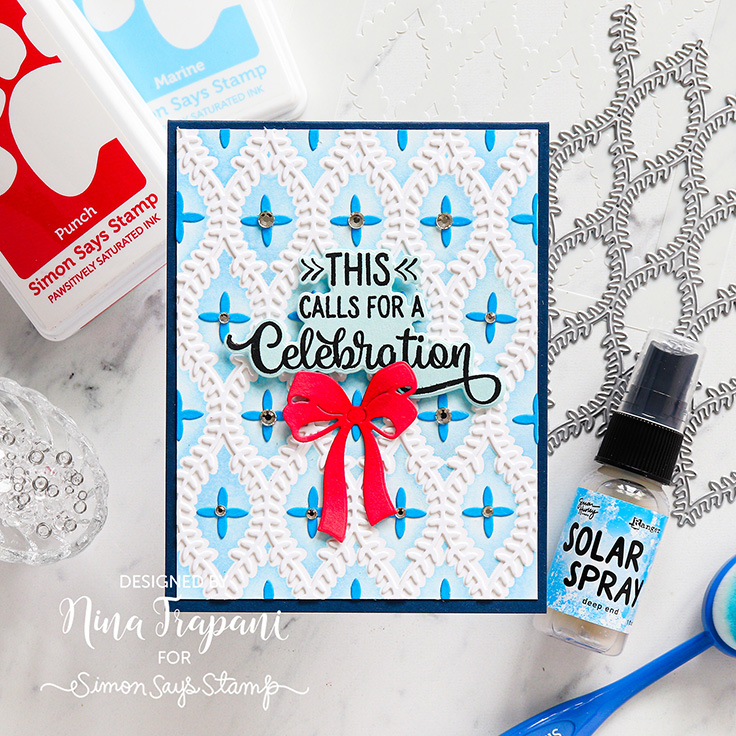
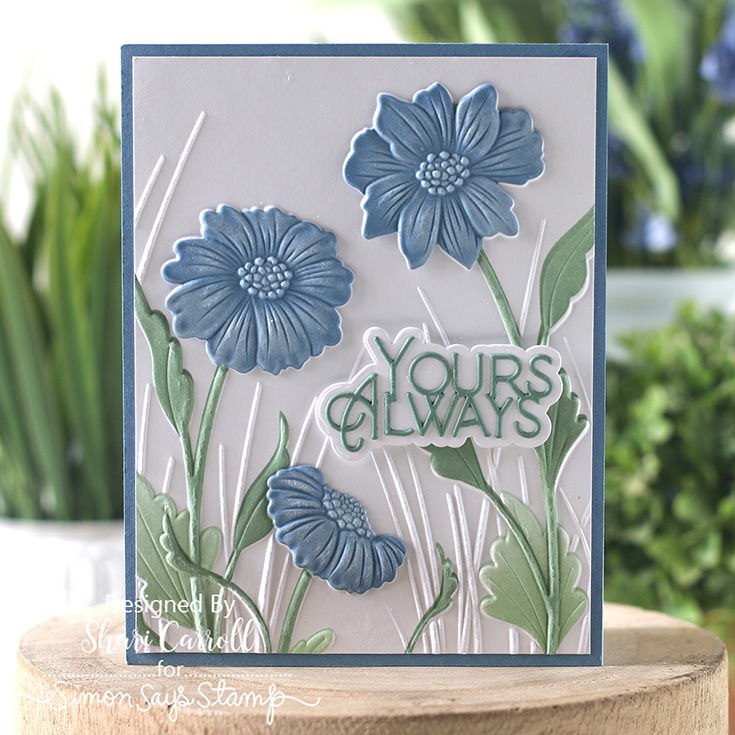
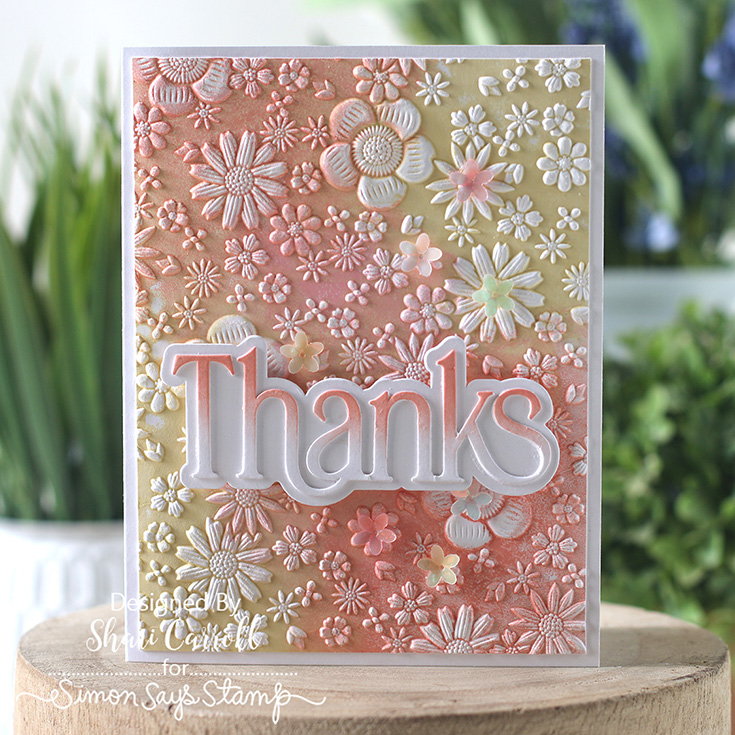
Let’s get a sneak peek of what’s in store for our blog hop today with inspiration from Shari Carroll! She used products from our Always There release to make these fantastic projects:
We love our customers! And we love your enthusiasm for our exclusive releases and blog hops. To celebrate, Simon has set aside a free gift just for you! Our not-yet-released Simon Says Stamp Hot Mess 3×4 stamp is automatically added to your cart that contains any purchase from our exclusive Always There collection! Check out the details on the banner at the top of this post for information about claiming your gift.
Ready for even more Always There inspiration? Hop along with these talented designers!
Please let these talented designers know how much you appreciate their designs. They work hard to inspire and excite us!
- Simon Says Stamp Blog <<YOU ARE HERE!
- Nina-Marie Trapani
- Heather Hoffman
- Cathy Zielske
- Laura Bassen
- Suzy Plantamura
- Amy Rysavy
- Mindy Eggen
- Cheiron Brandon
- Lea Lawson
- Barb Engler
- Yana Smakula
- Heejung Hunsberger
- Kristin Sluhan
- Susan Valle
Thanks again for joining us today!
We hope you will join us on Instagram on Monday, June 1st, for an Instagram Hop featuring our Always There release! We are excited to share awesome ideas from several creative minds using these fantastic products.
You’ll love browsing our Always There gallery on our blog for loads of additional inspiration, and you can add your projects to these galleries as well!
Shop the entire collection:
Can’t pick a favorite? Shop our NEW Bundles:
Catch the Rewatch!
We went live on Thursday, May 28th at 12 PM ET to showcase our brand new + exclusive collection Always There! Come get inspired and excited by this amazing summer release!
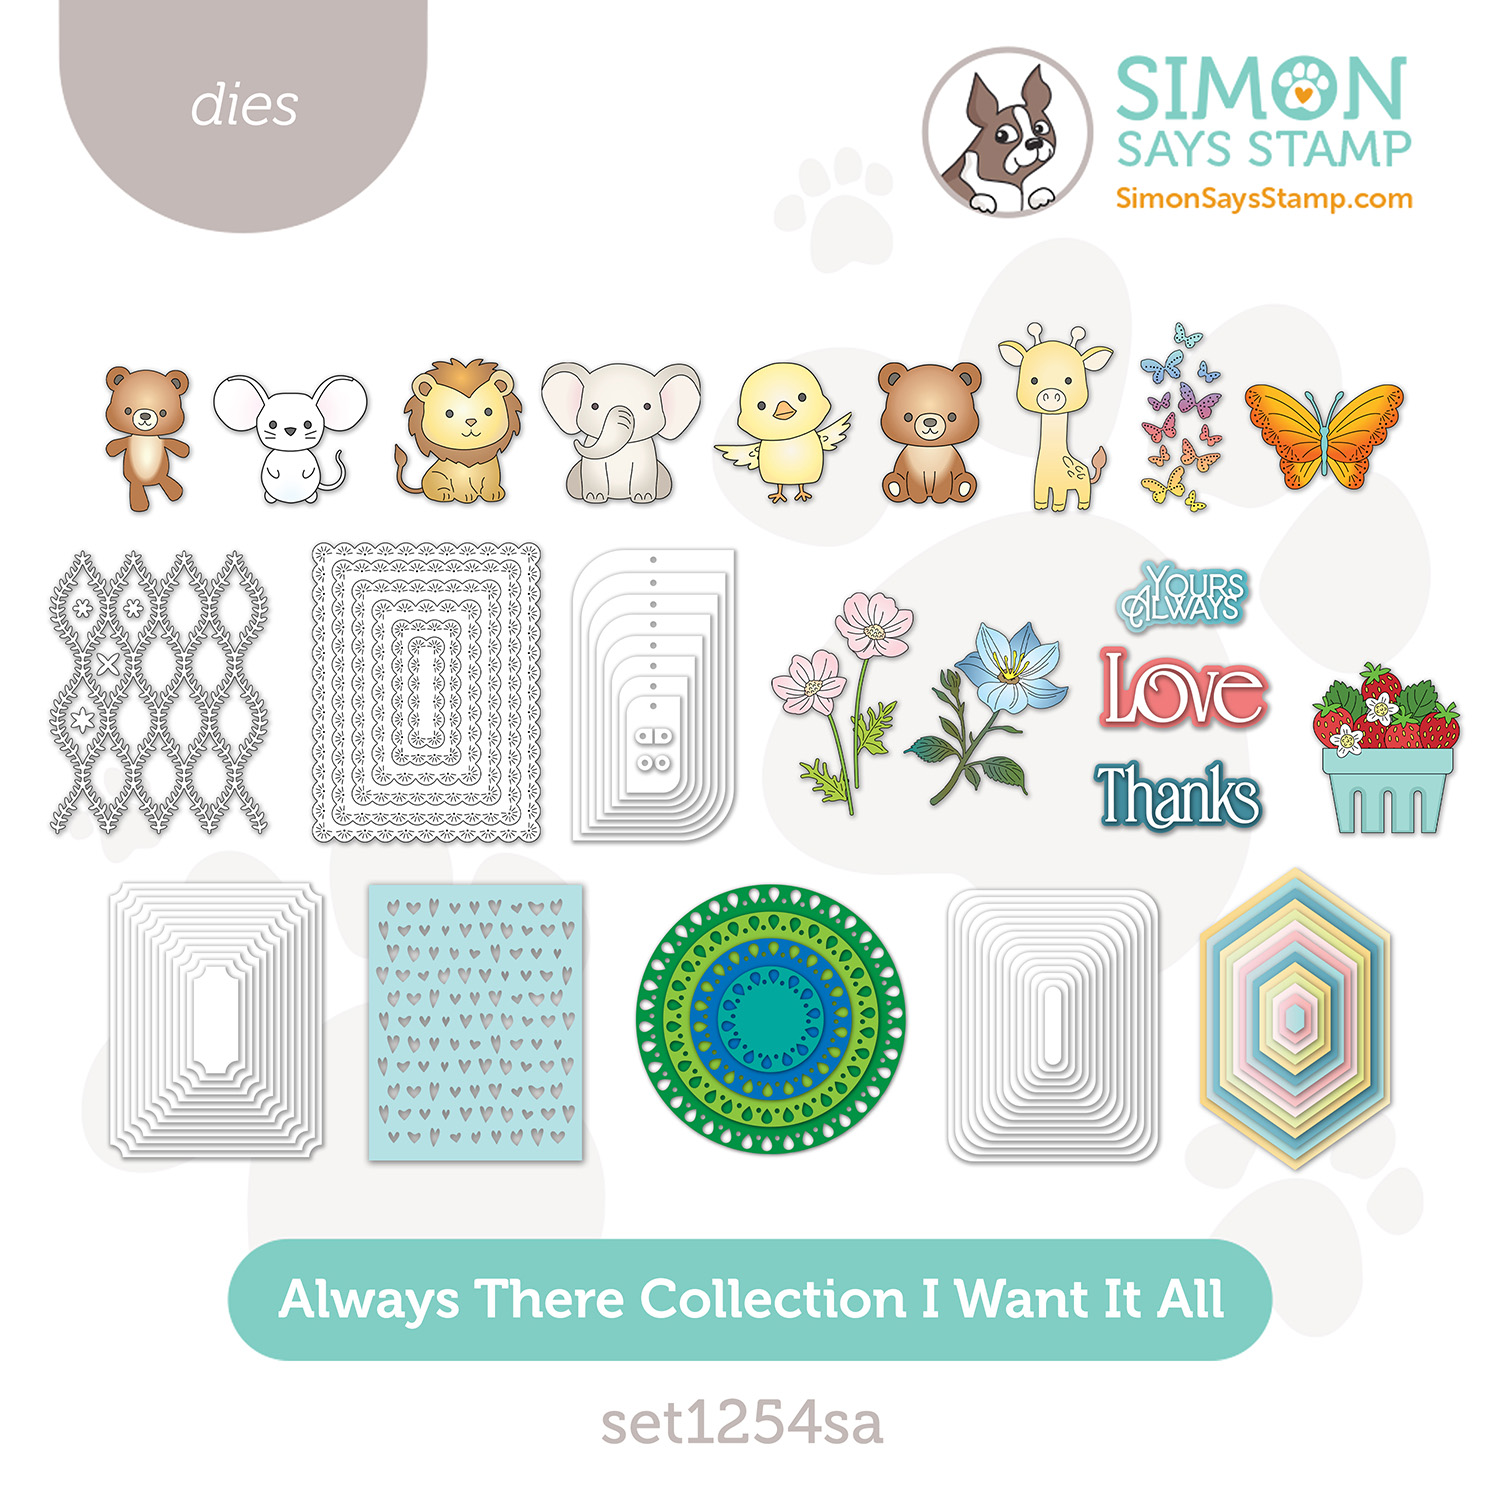
Always There ✨ A Collection for Cherished Connections

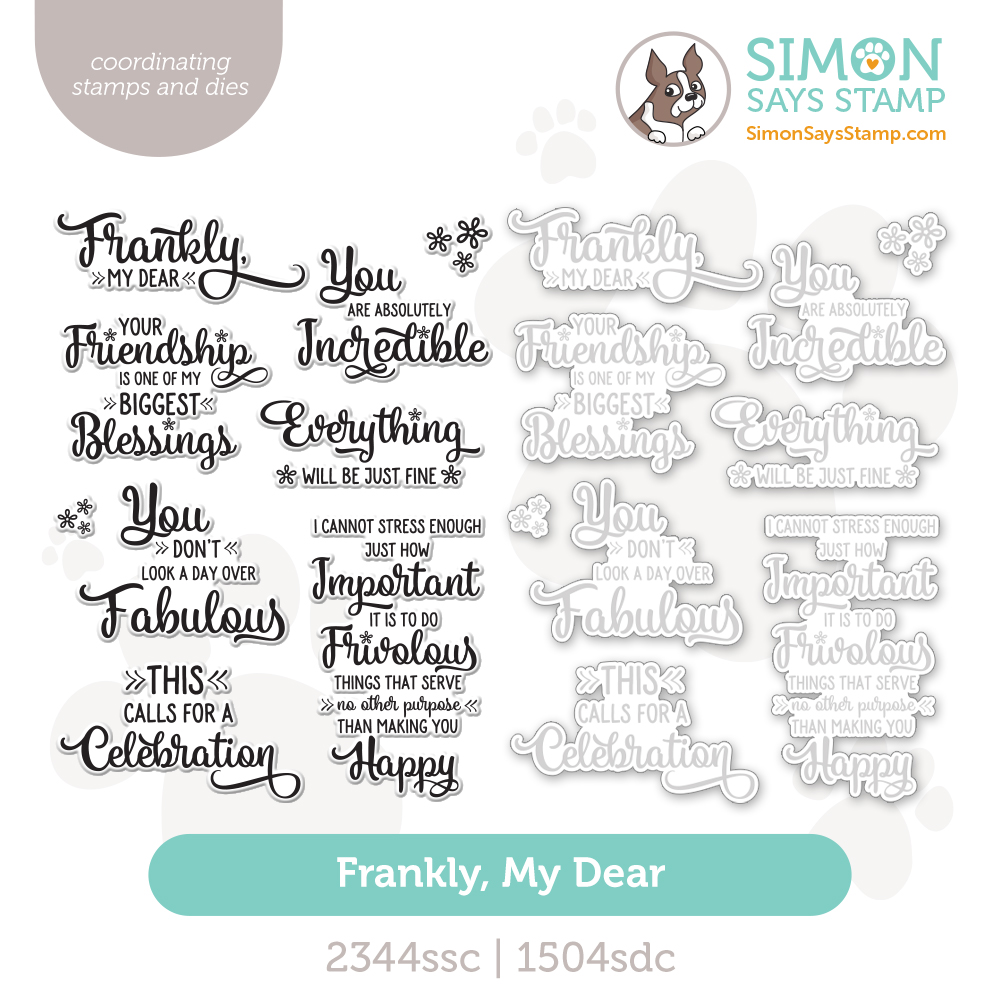
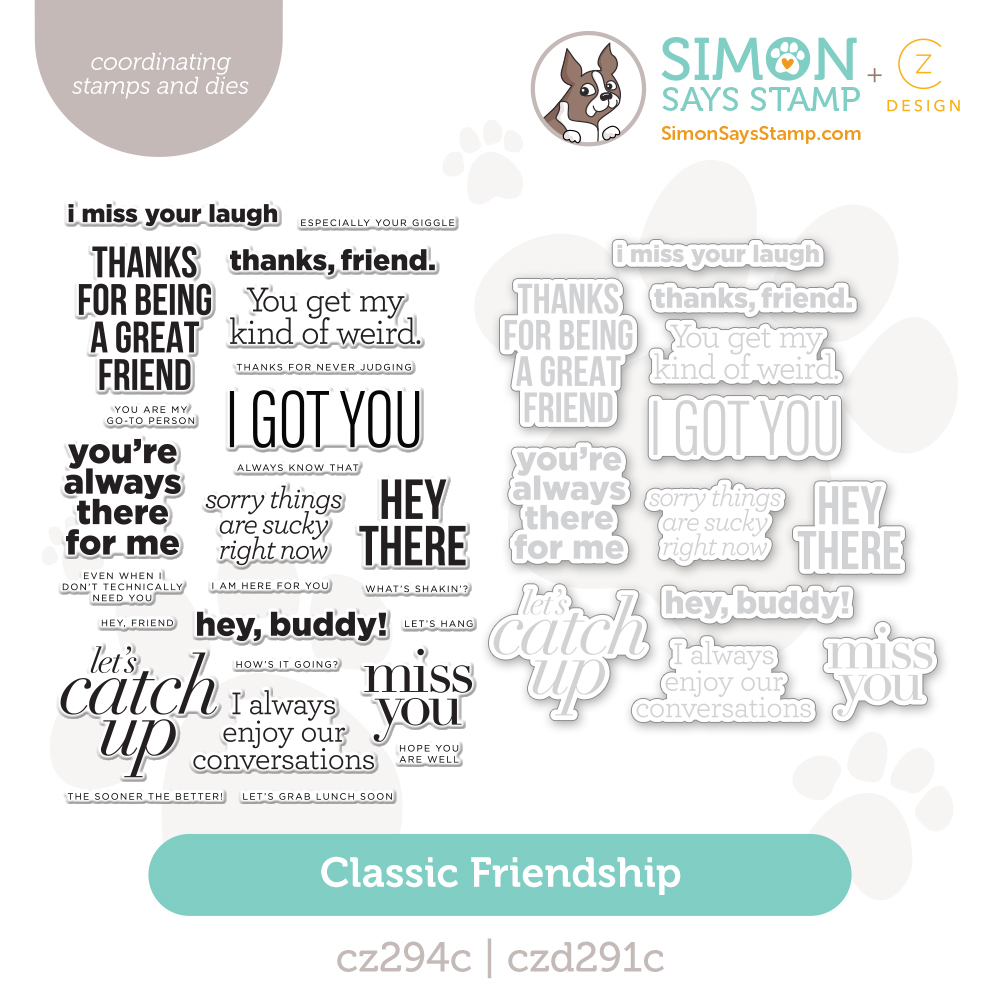
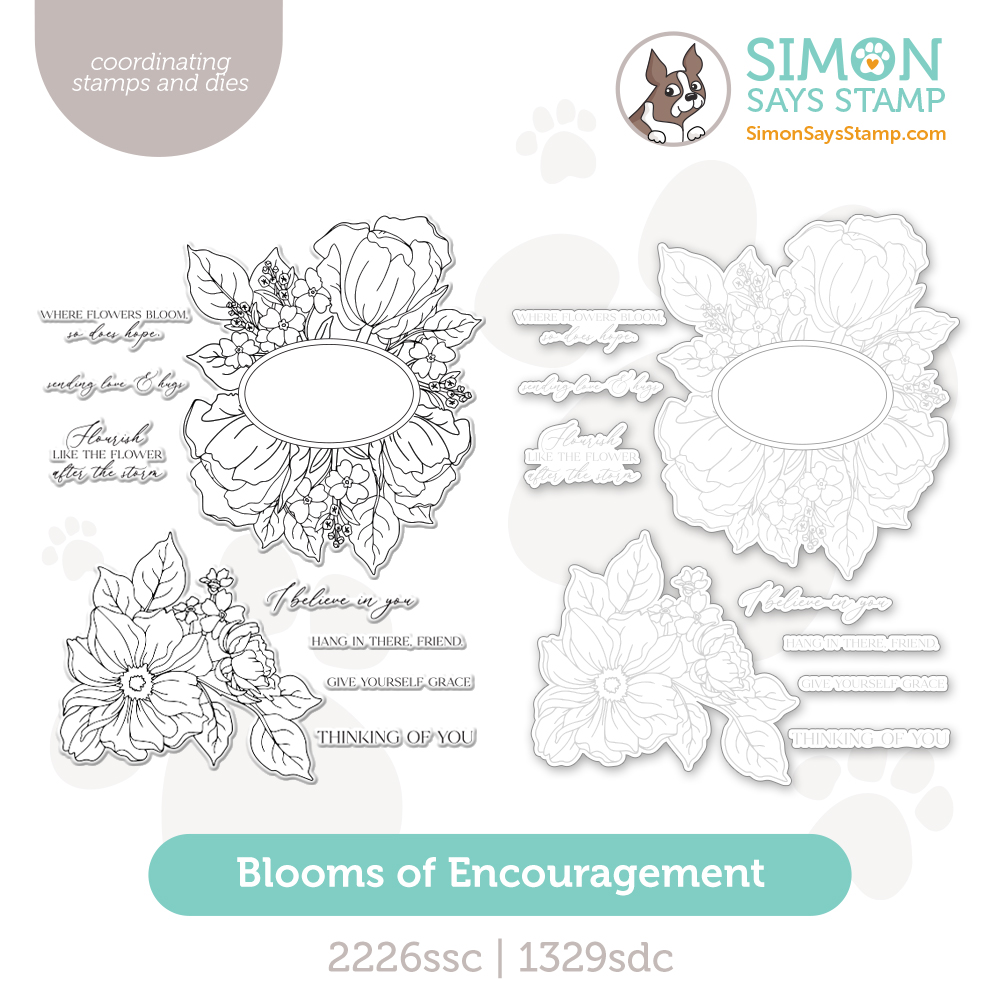
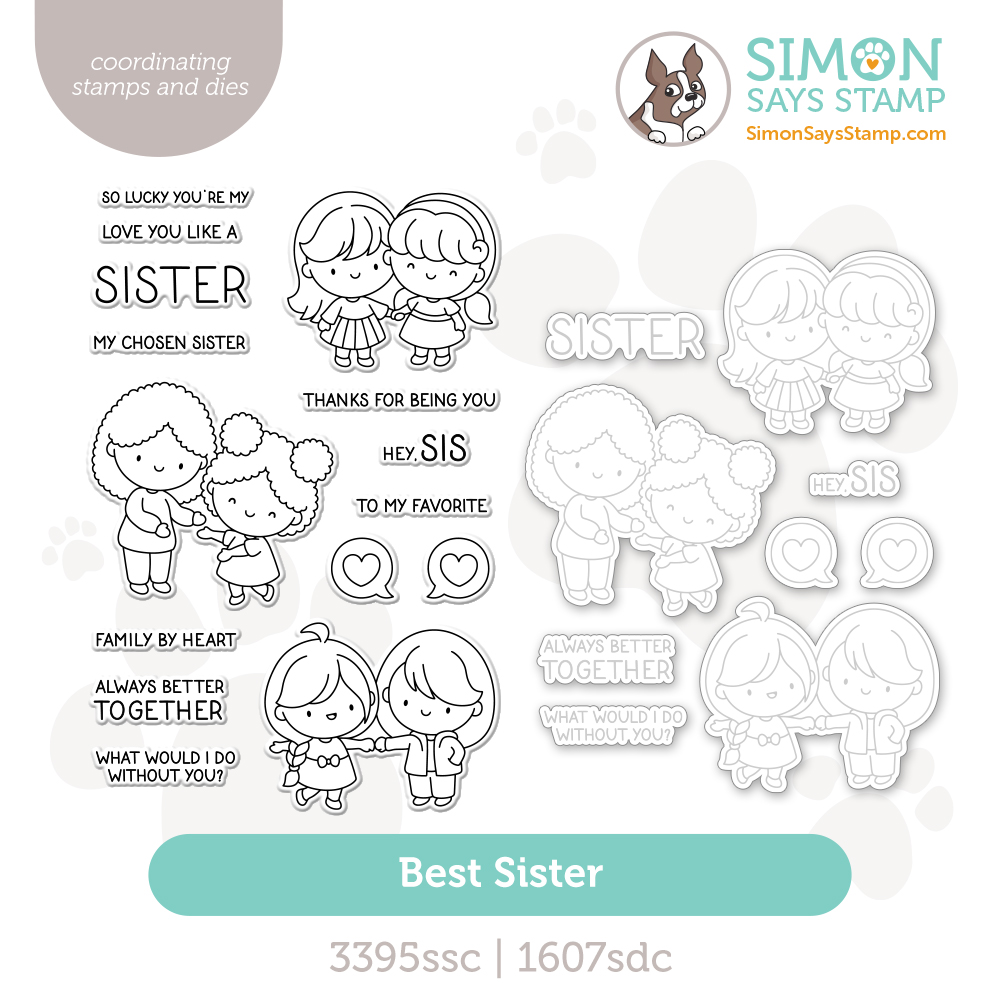
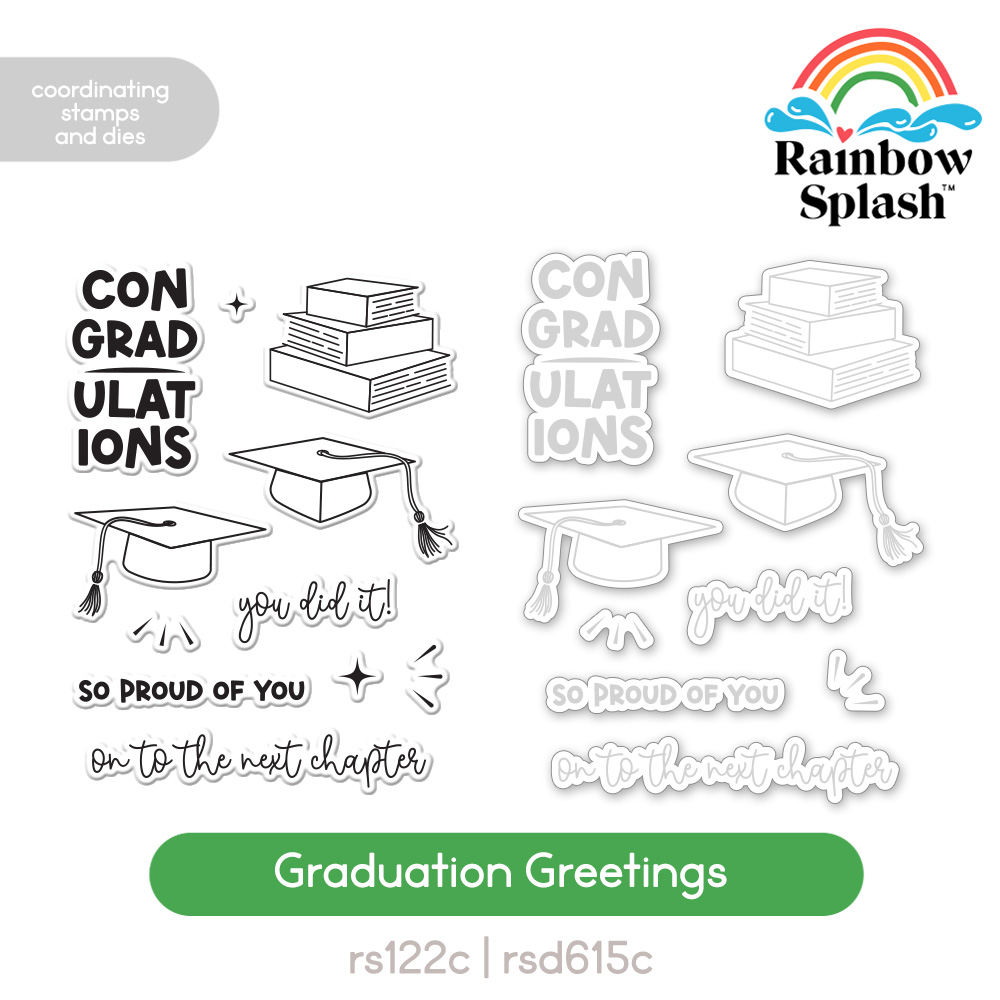
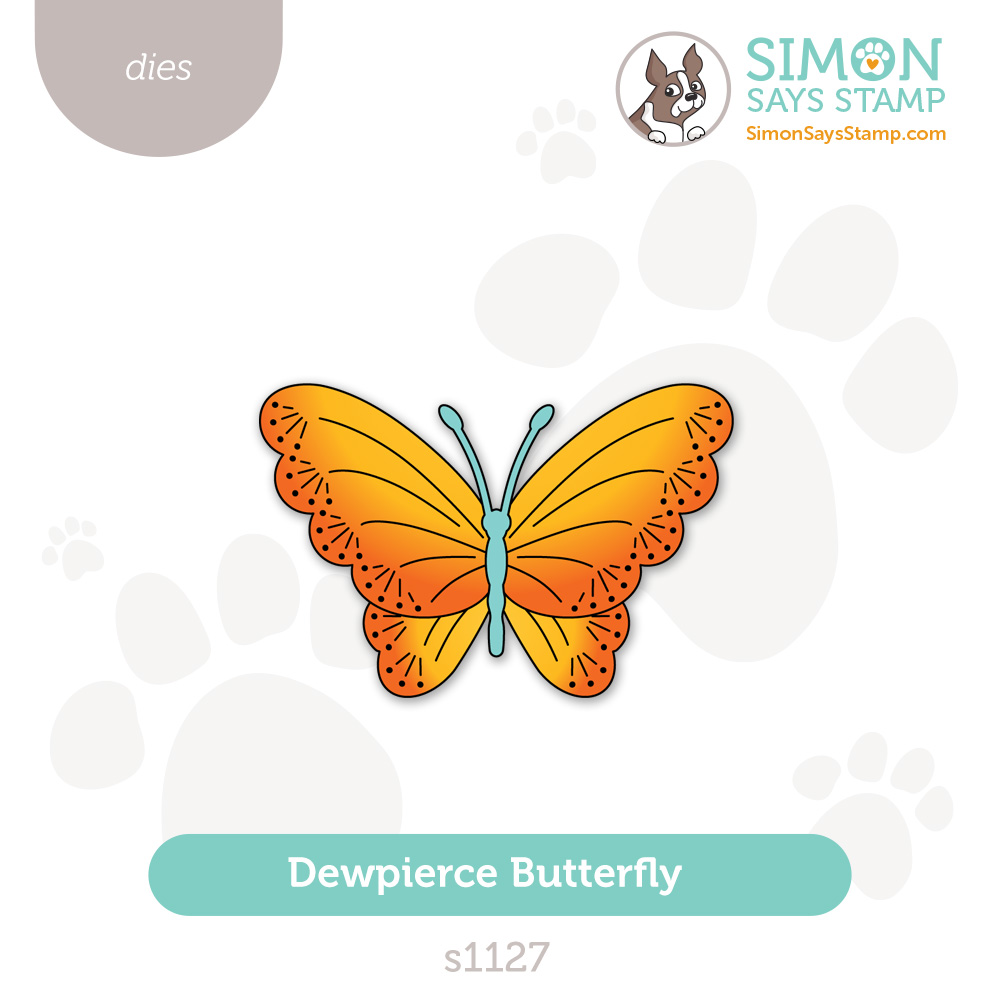
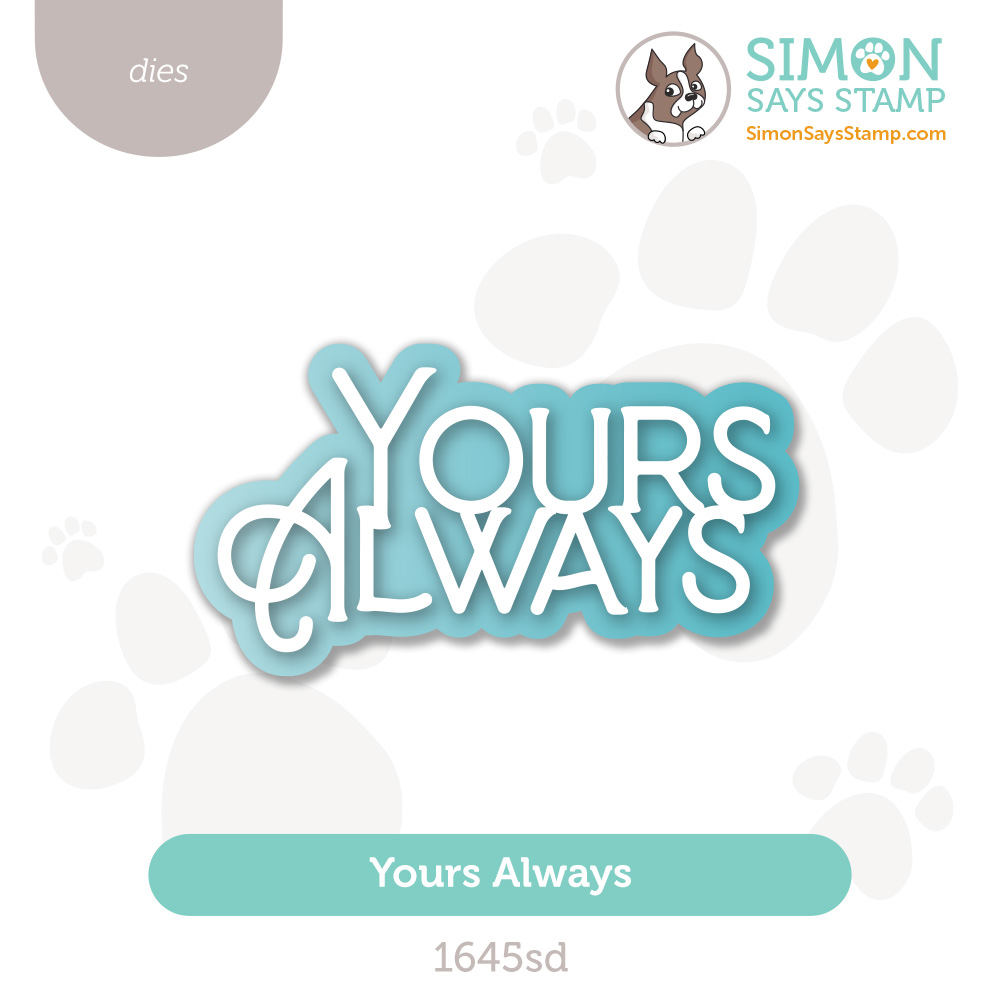
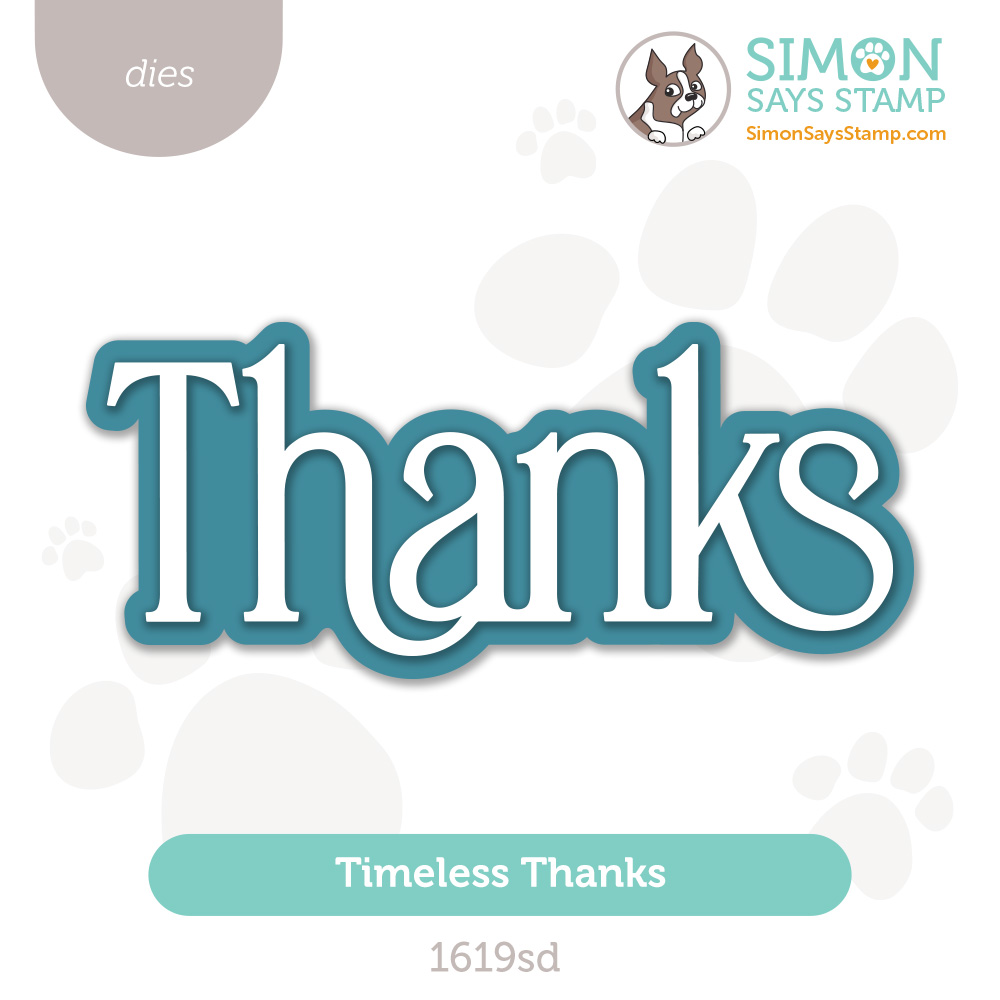
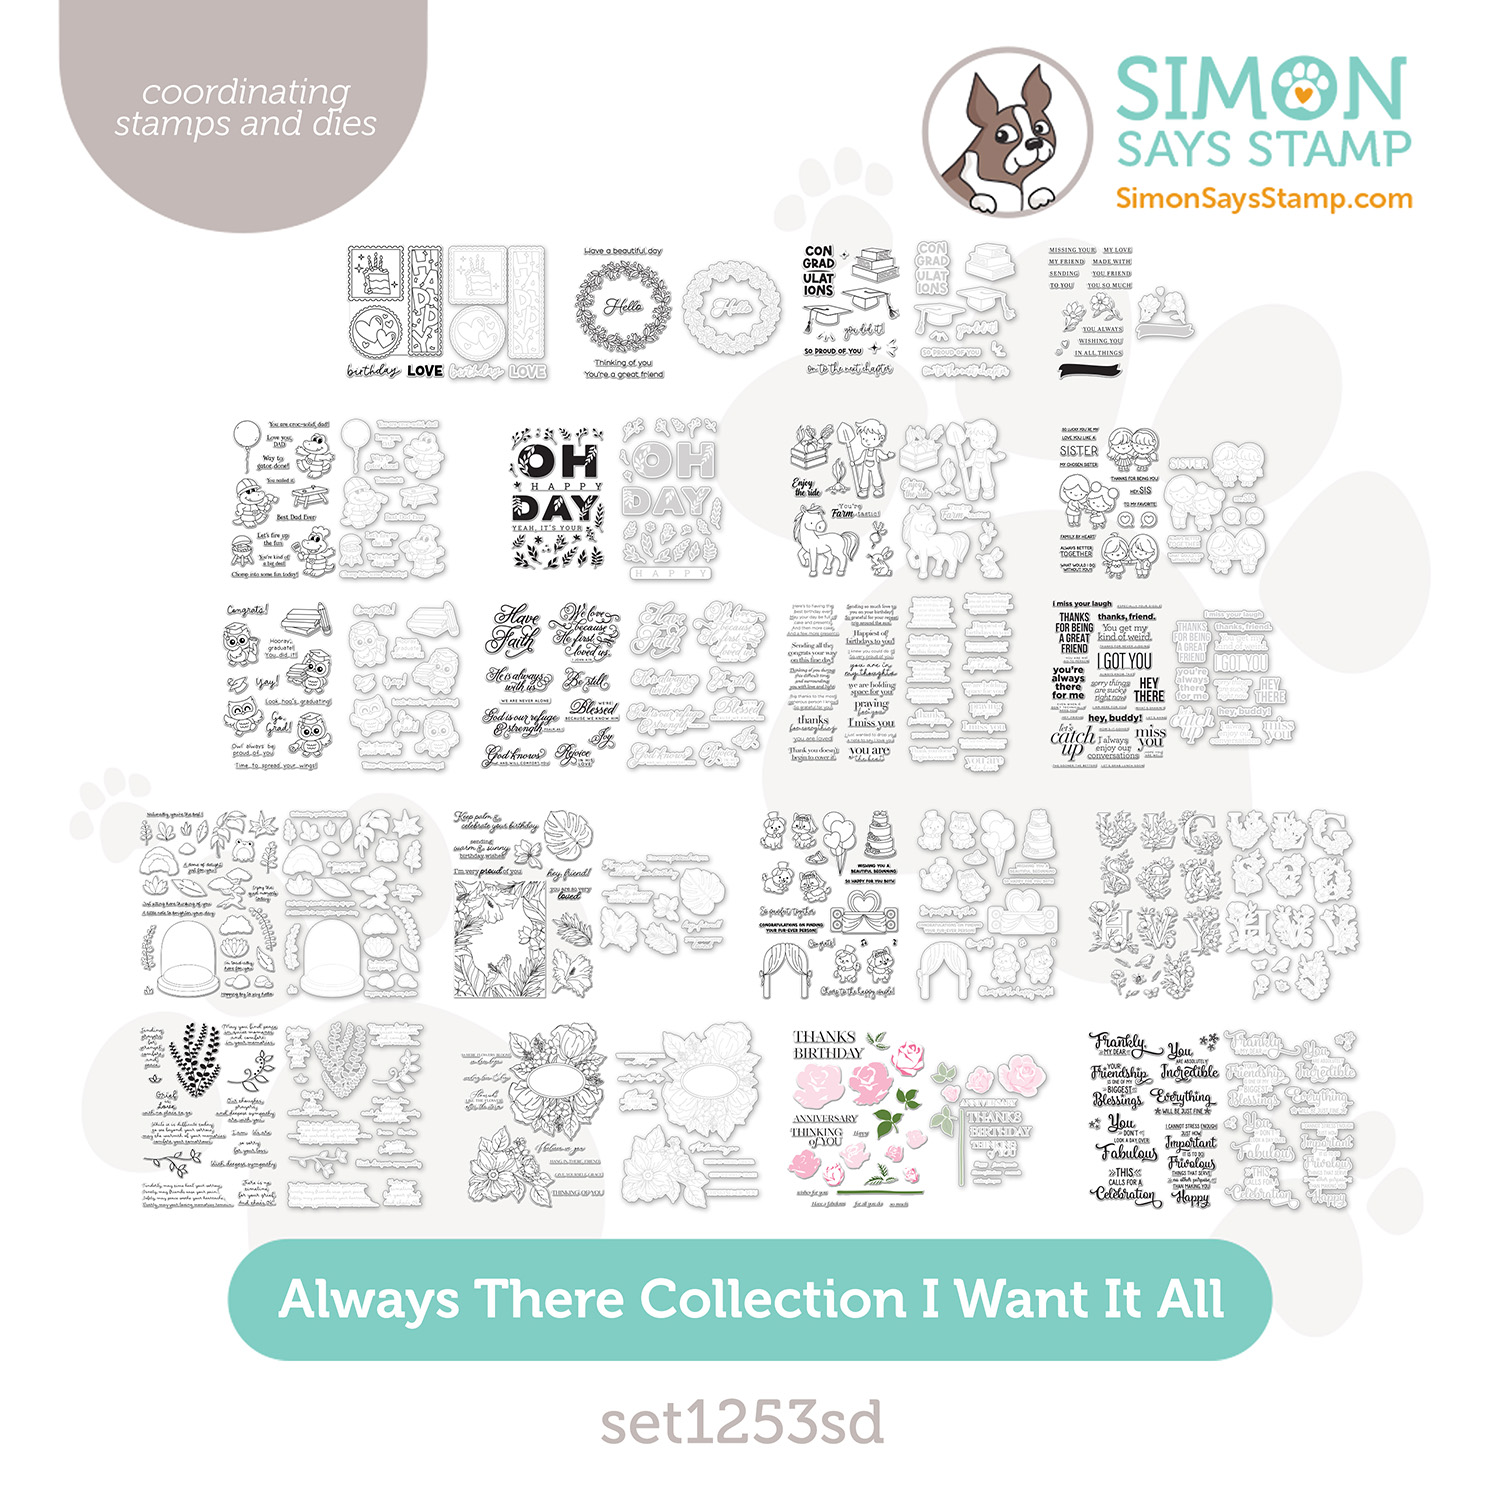
You know how some people are Always There for you? Our latest collection celebrates those wonderful folks in a big way with products like our Best Sister stamps and dies, Yours Always and Timeless Thanks dies, and Classic Friendship set.
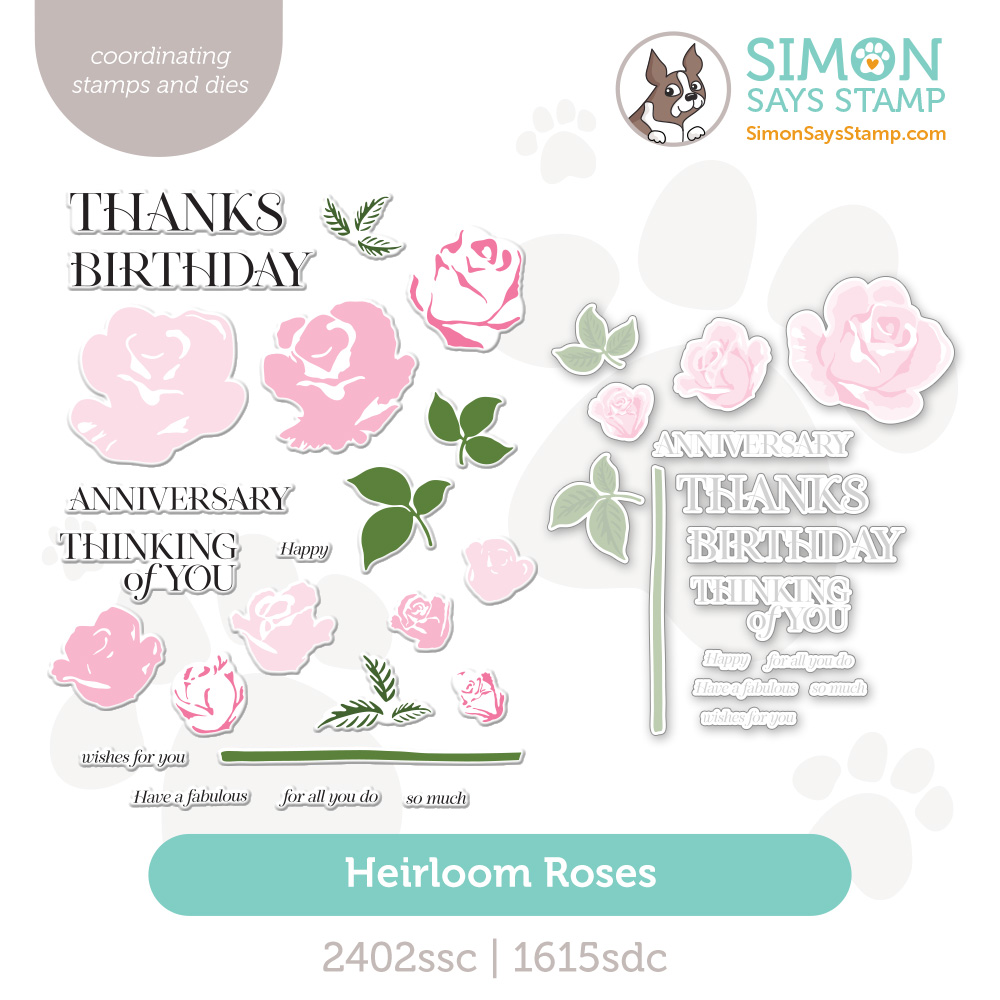
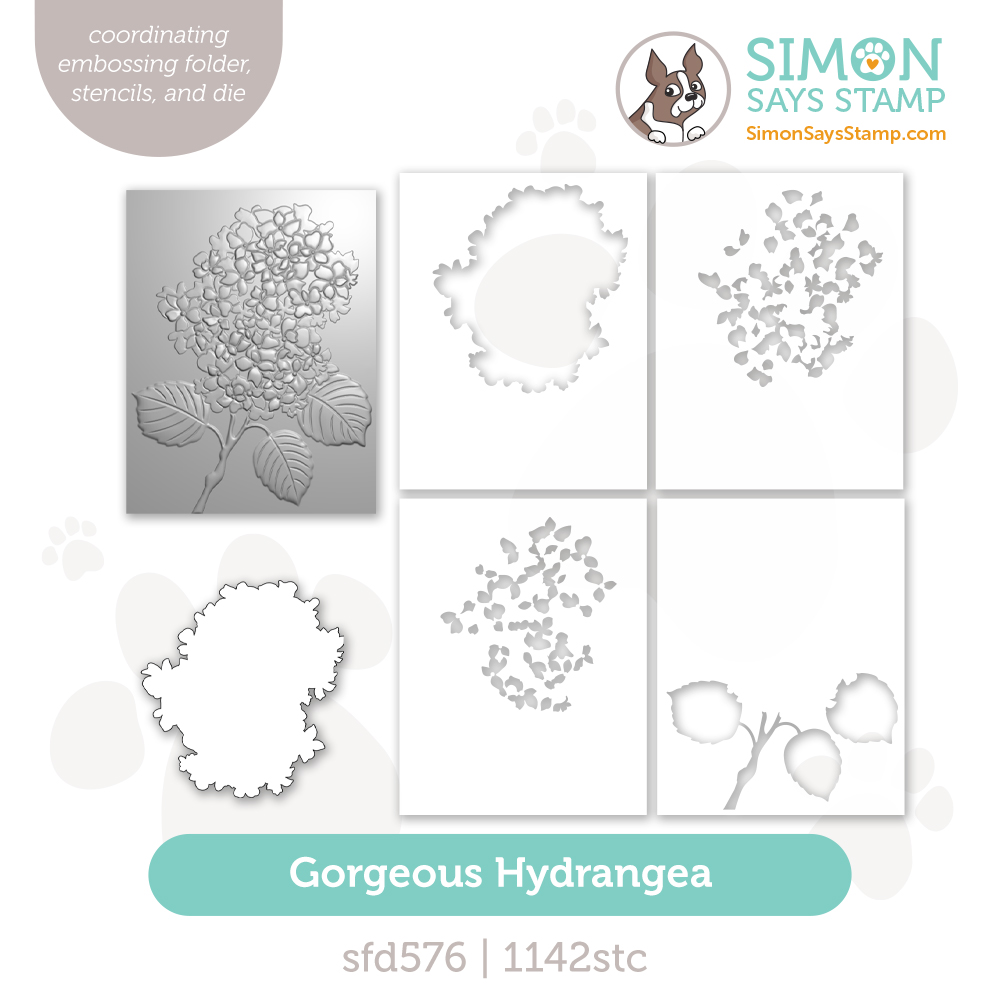
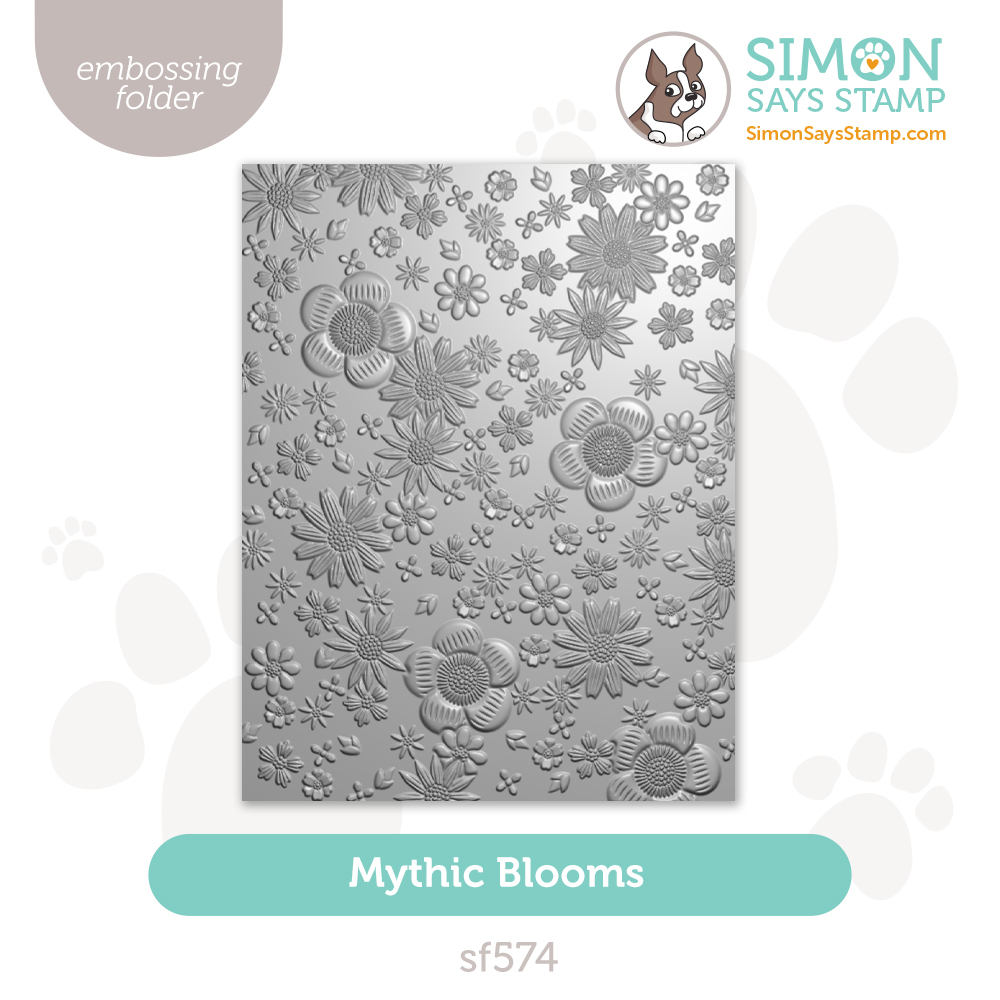
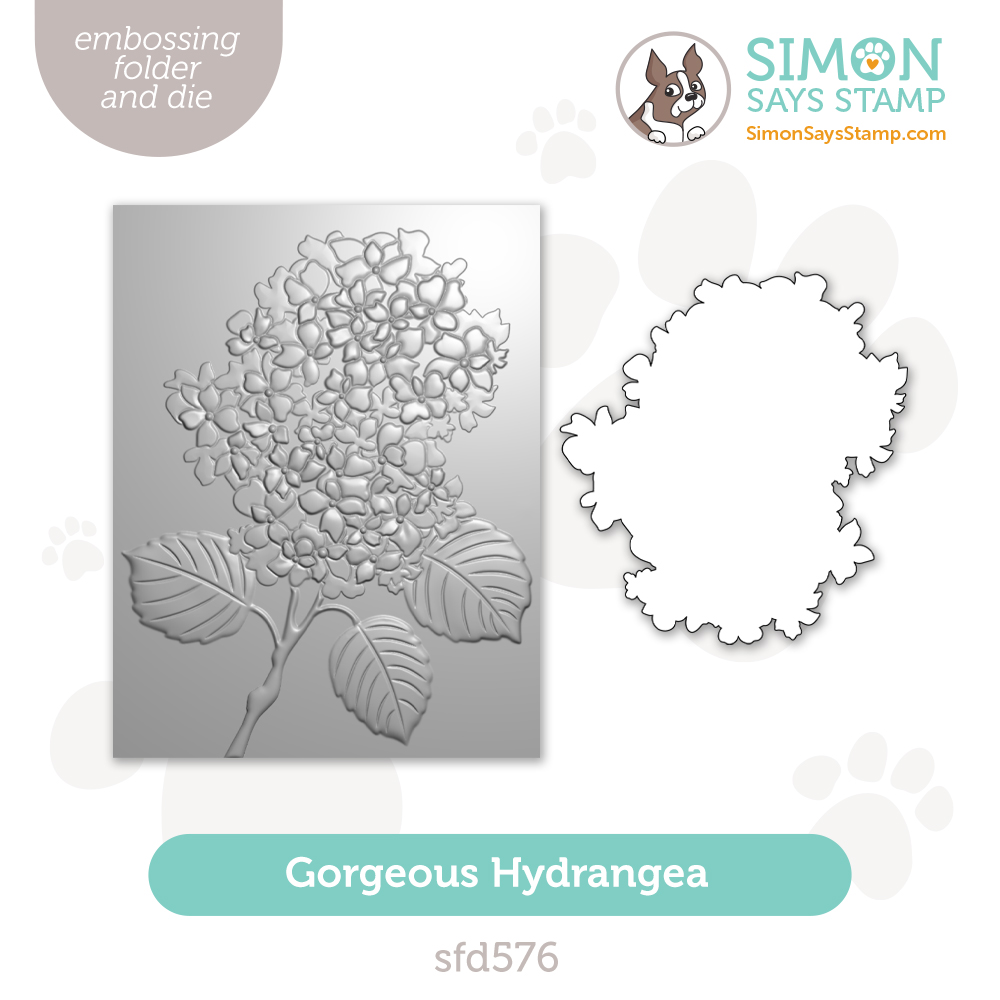
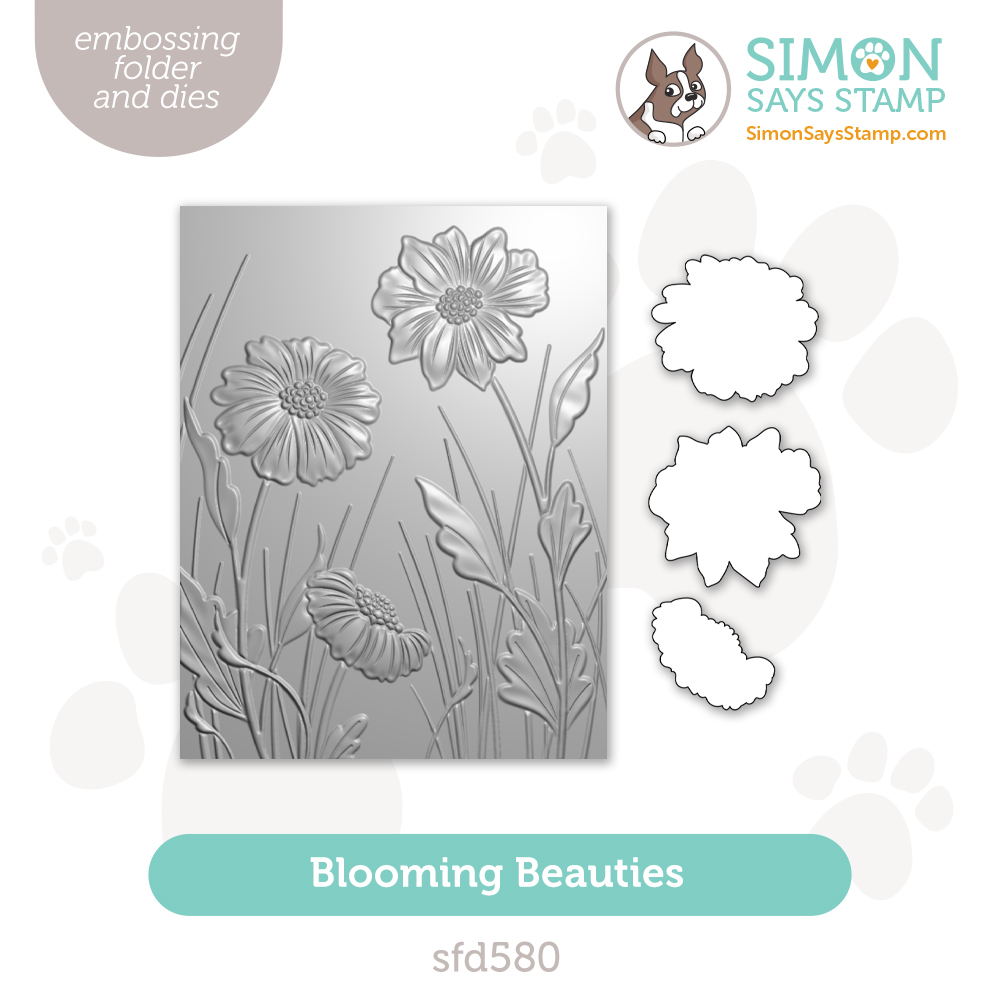
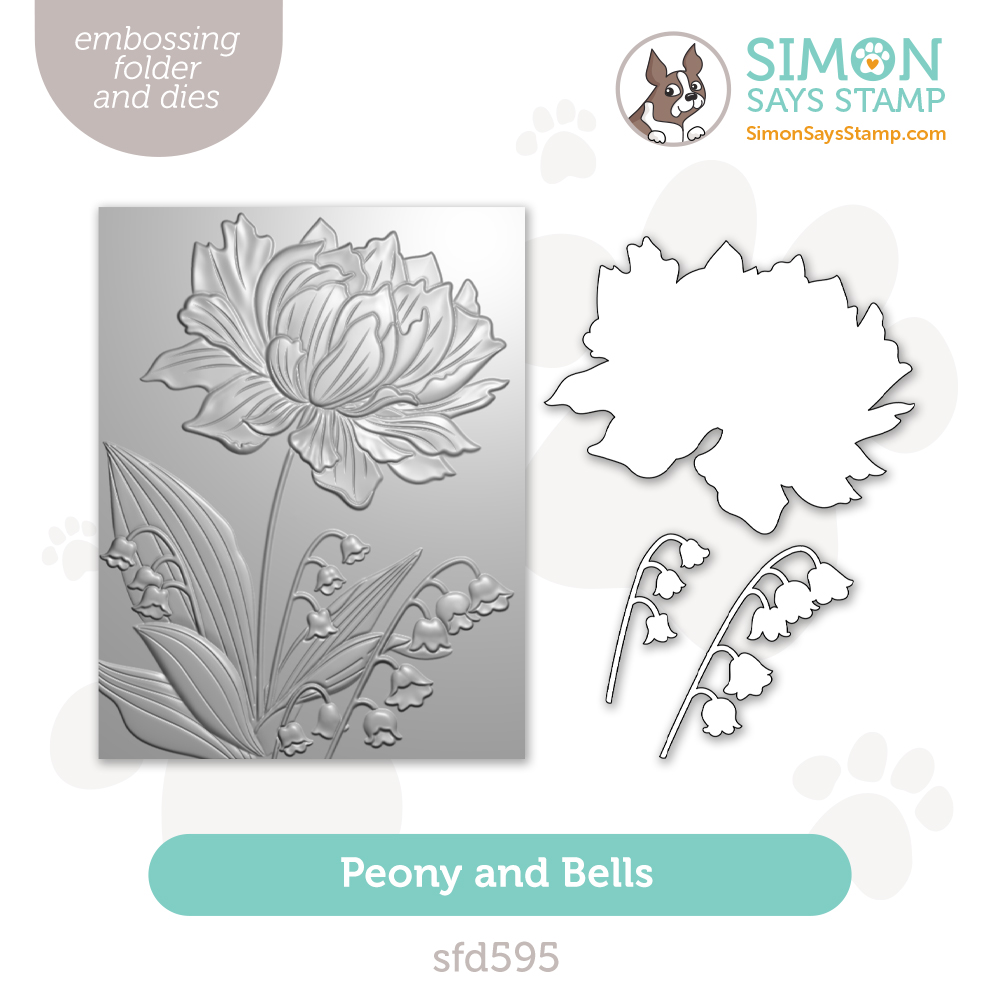
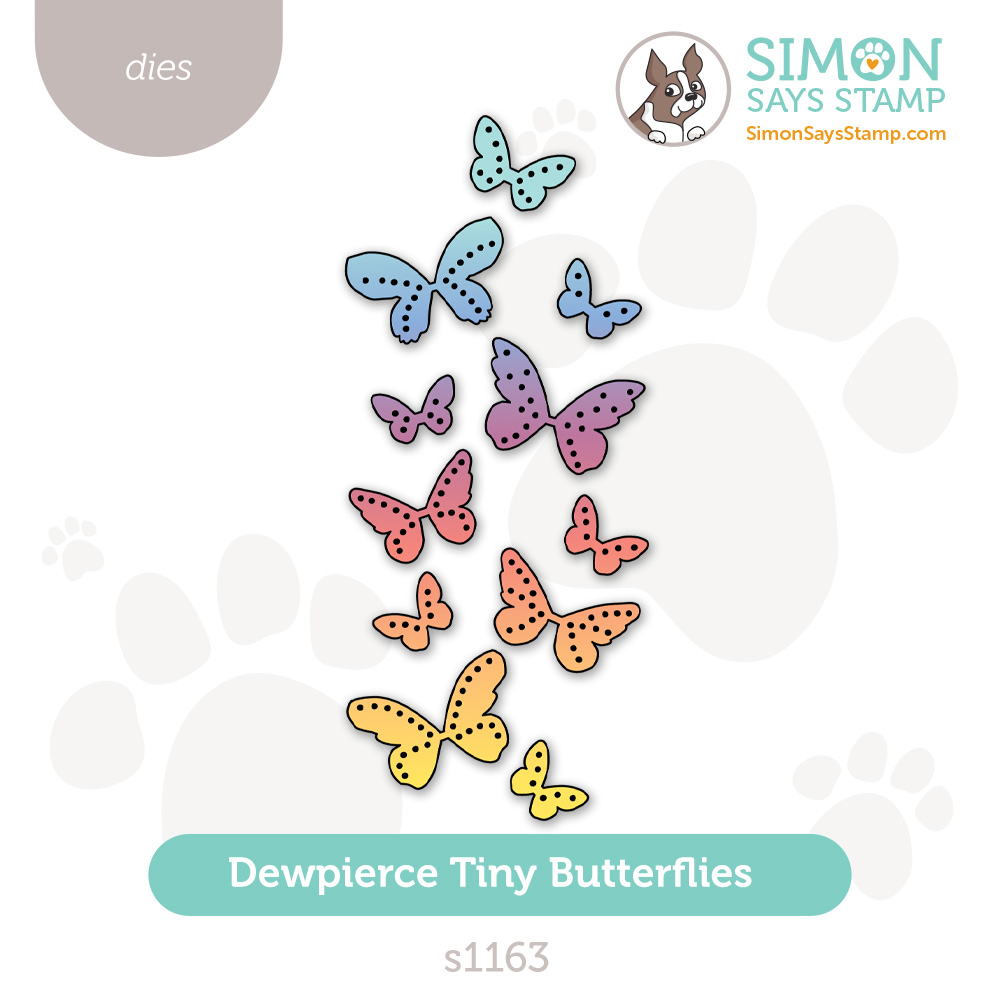
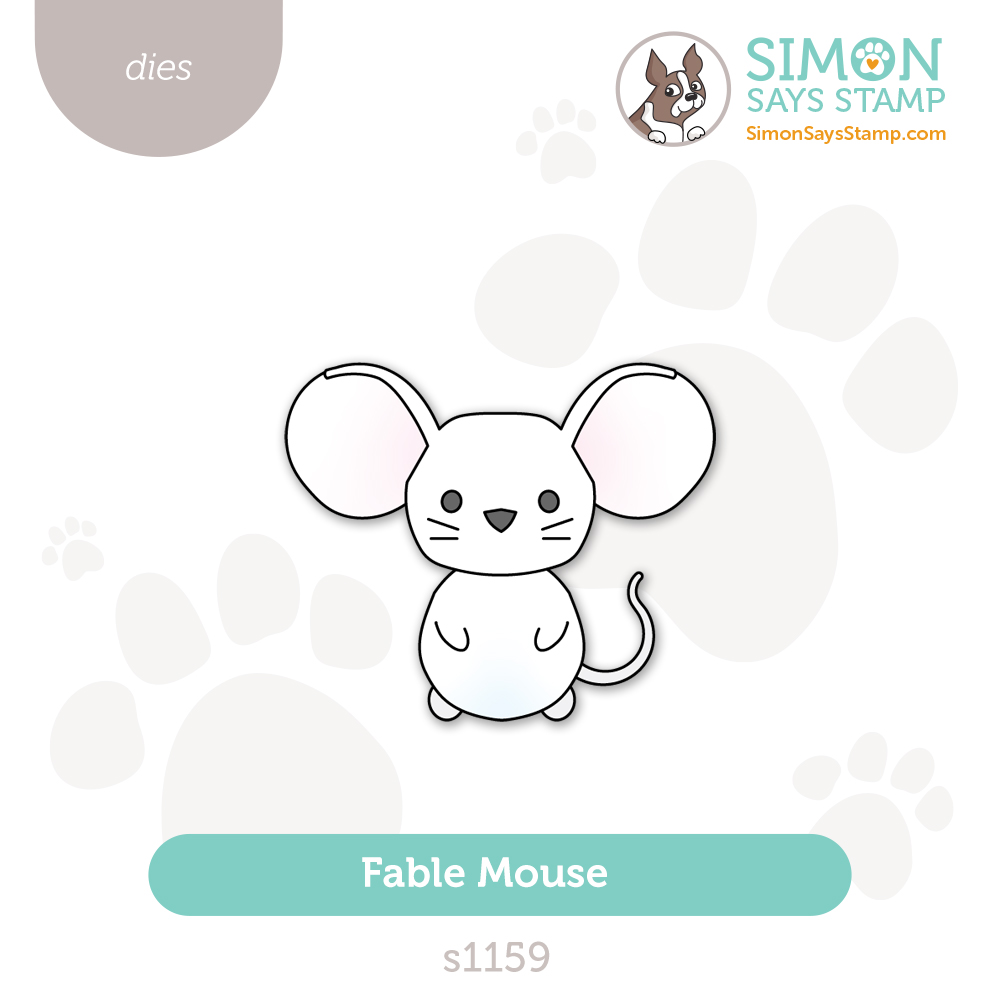
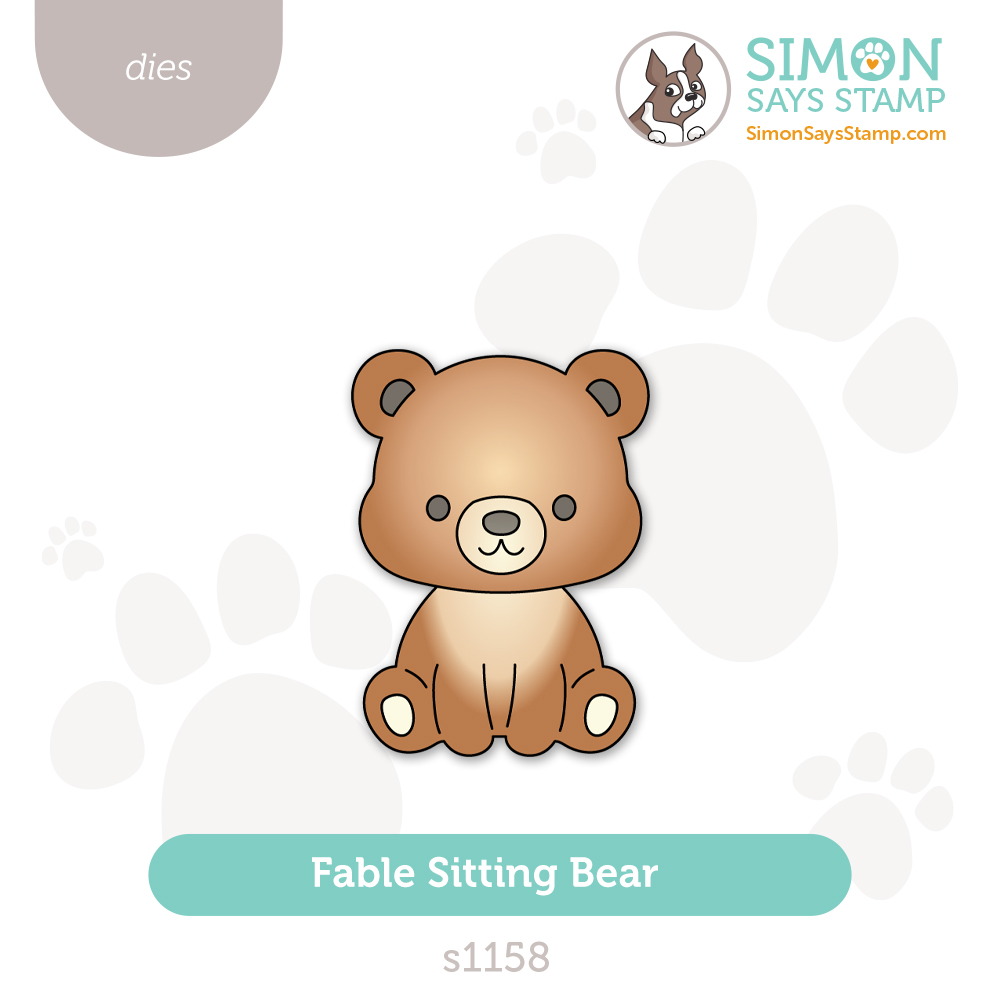
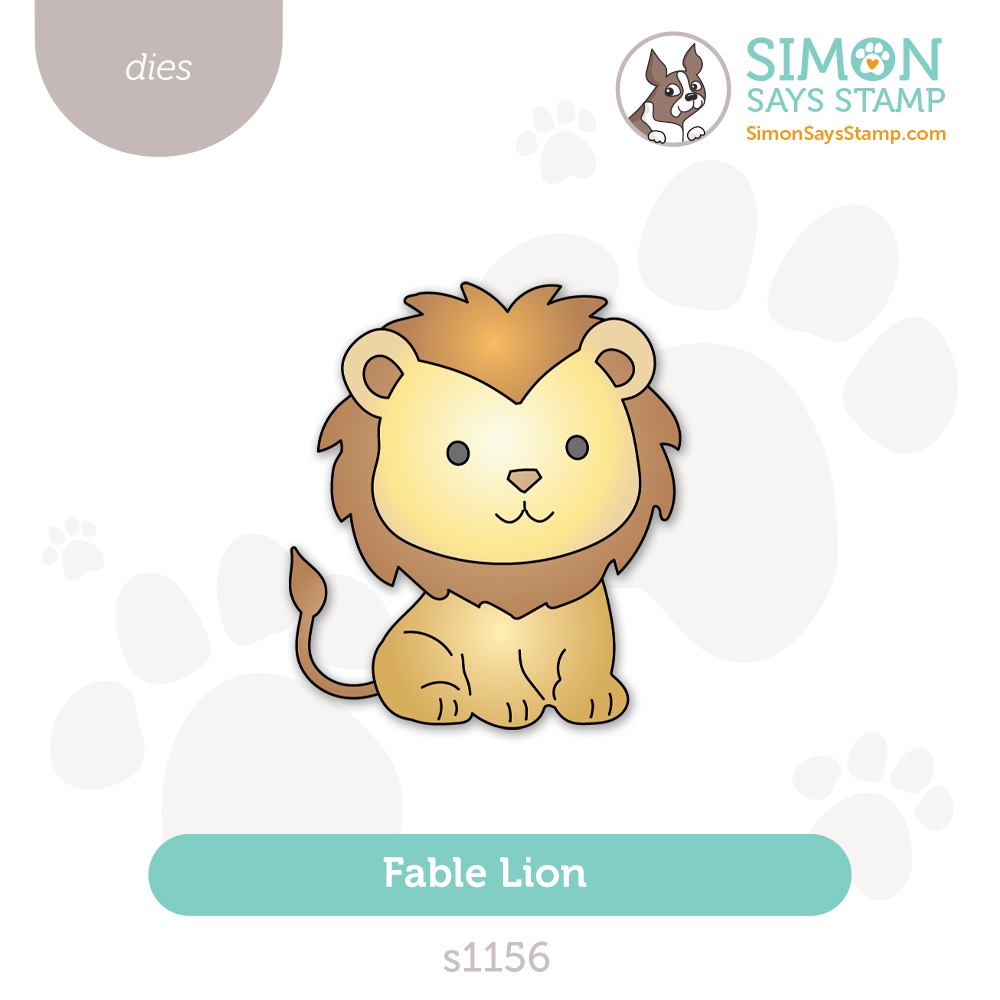
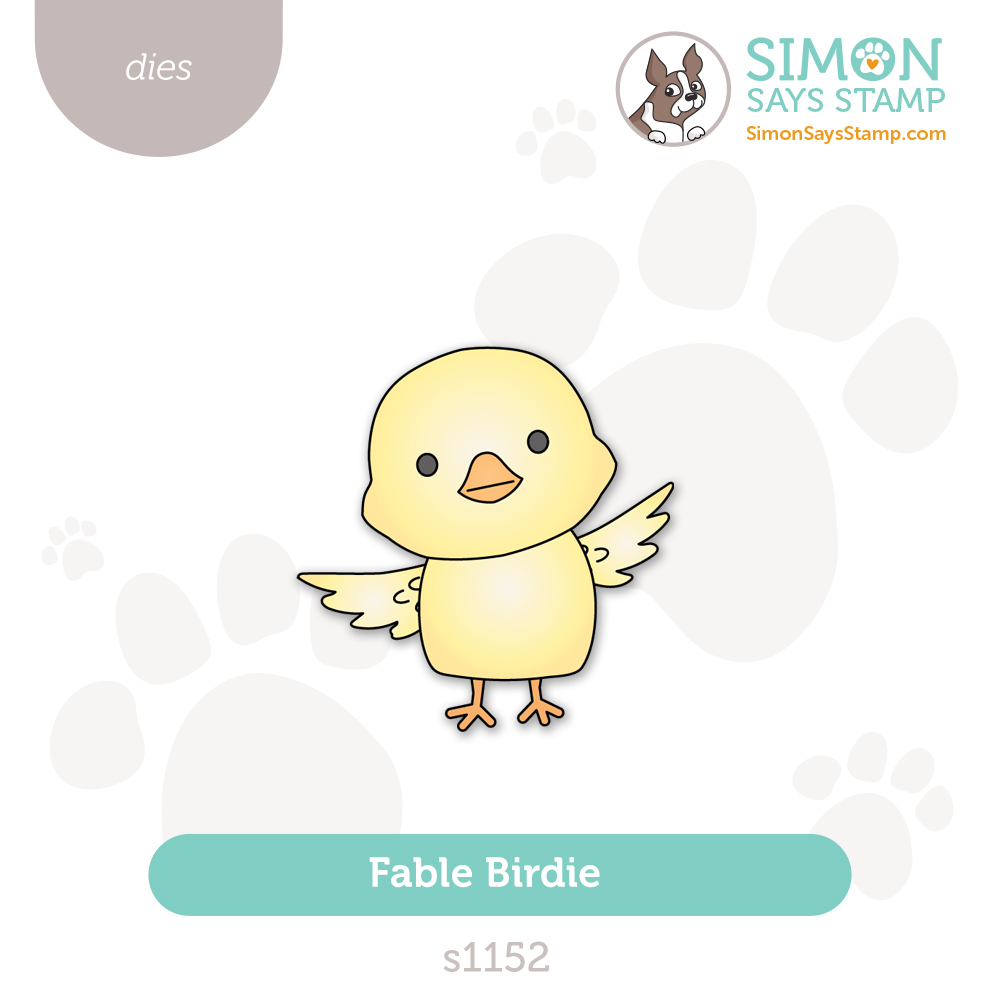
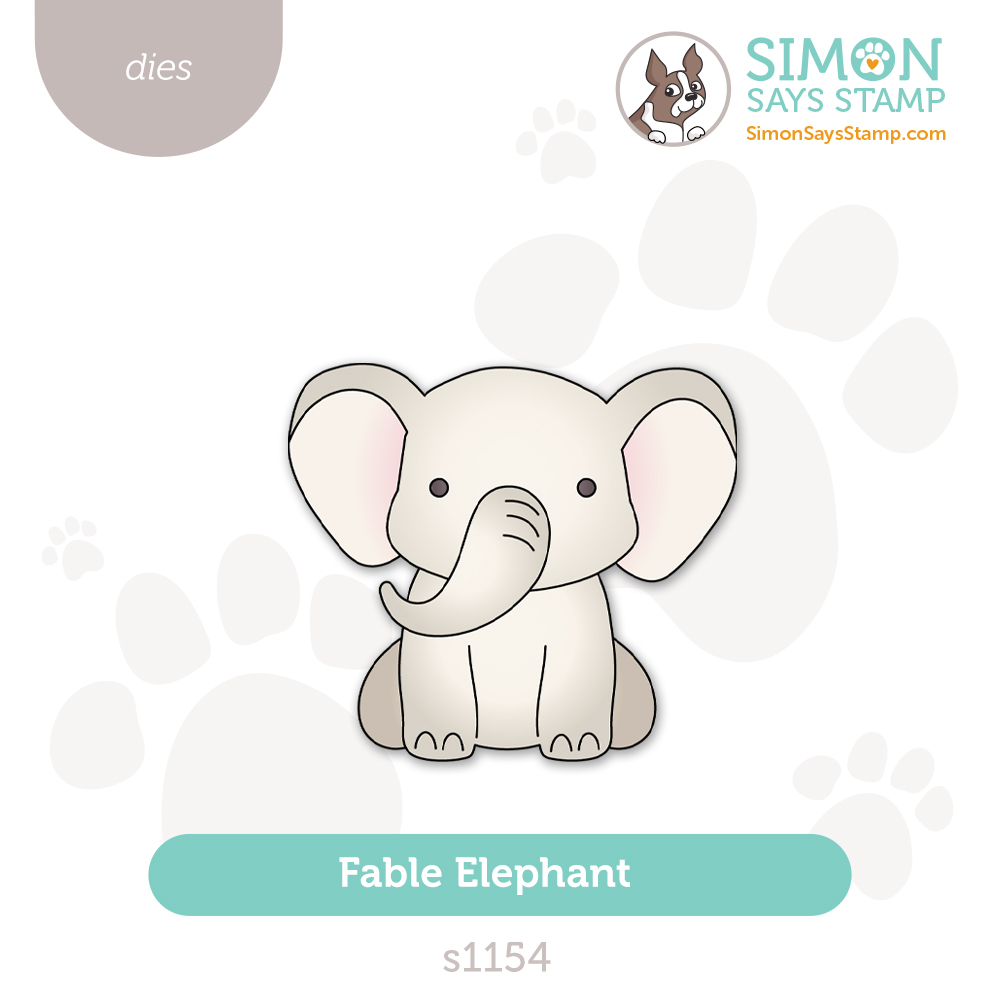
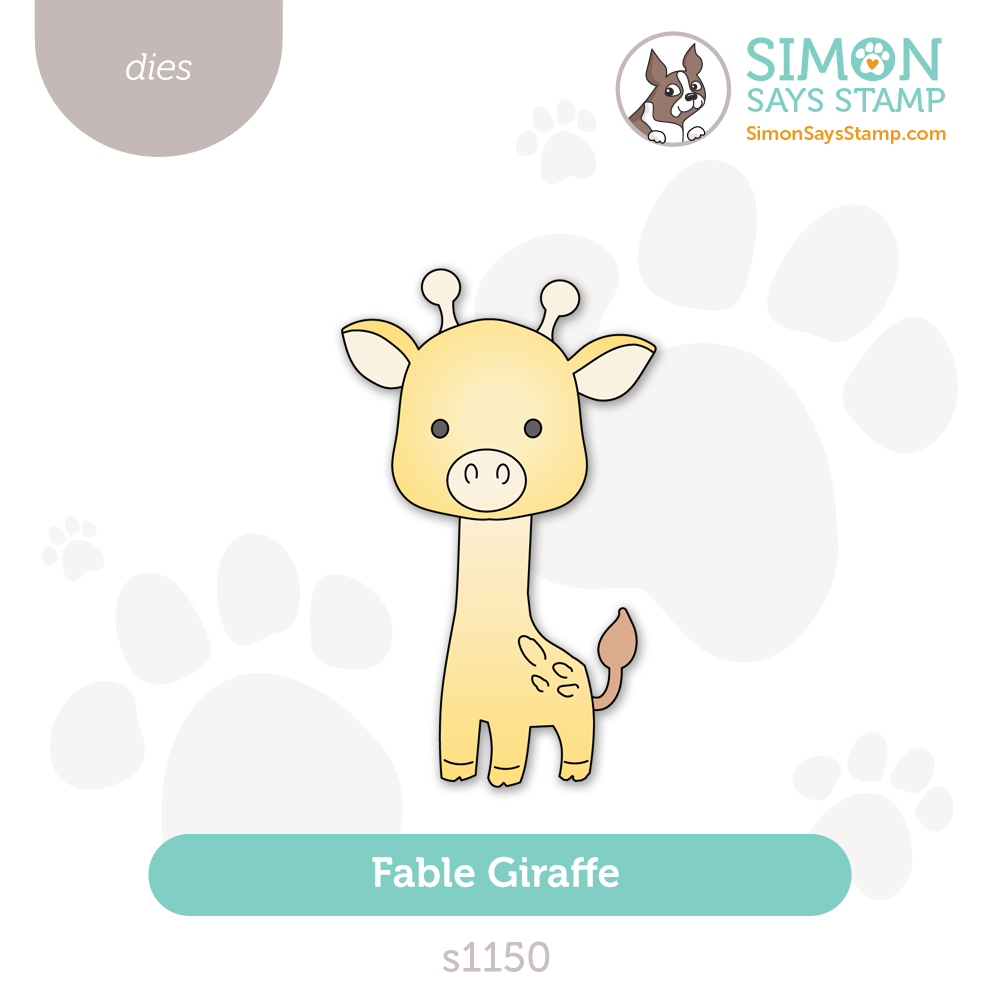
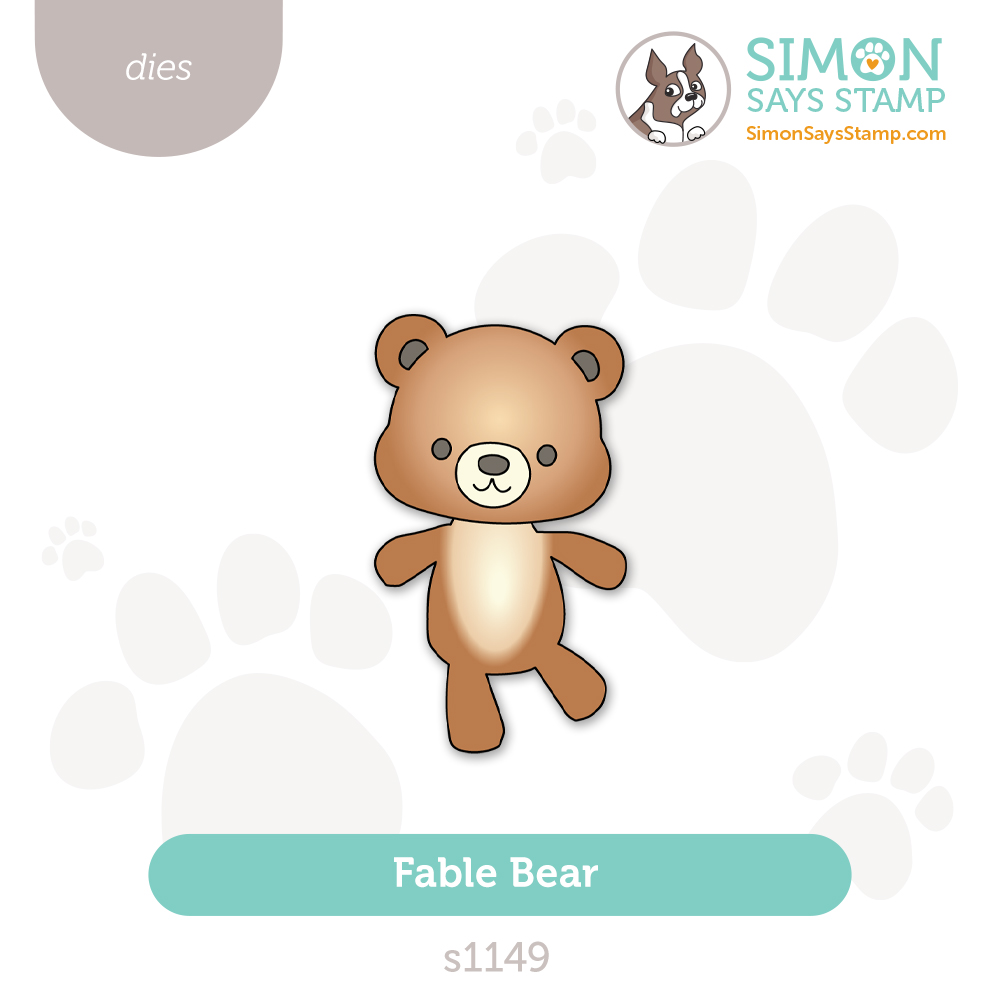
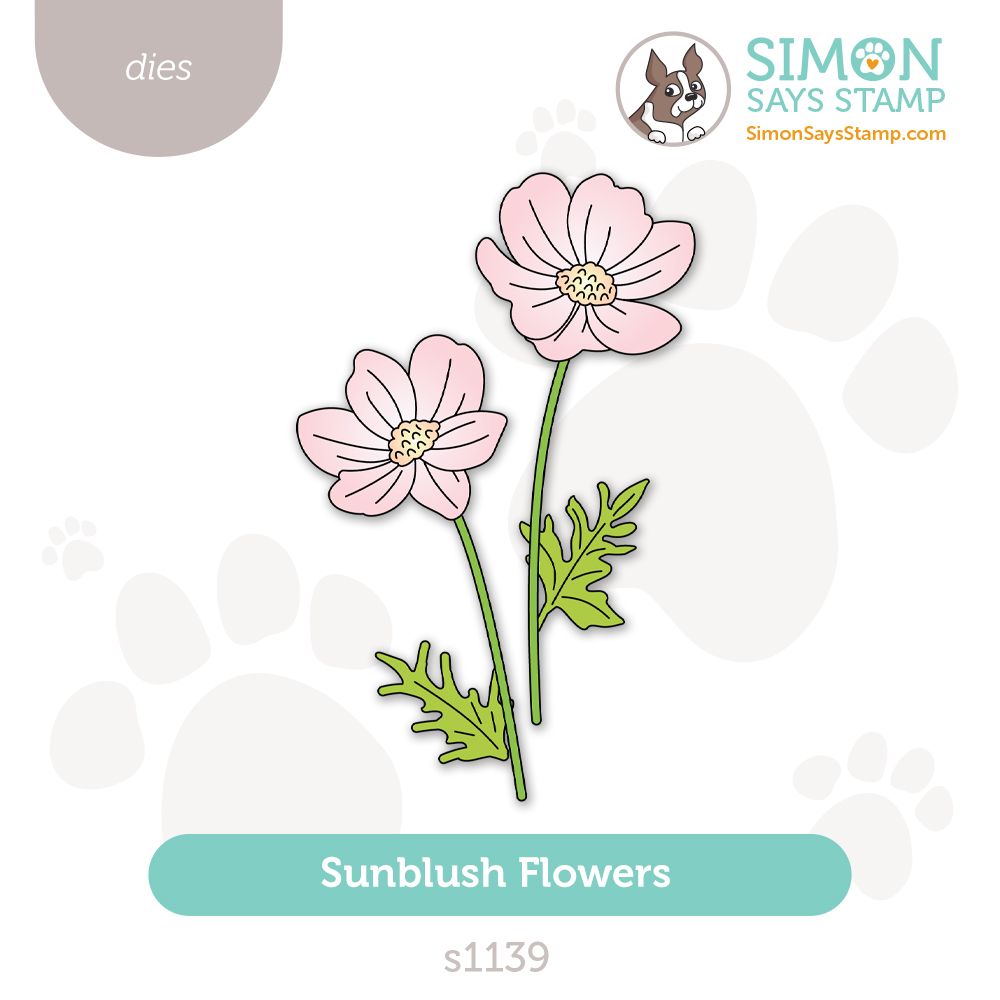
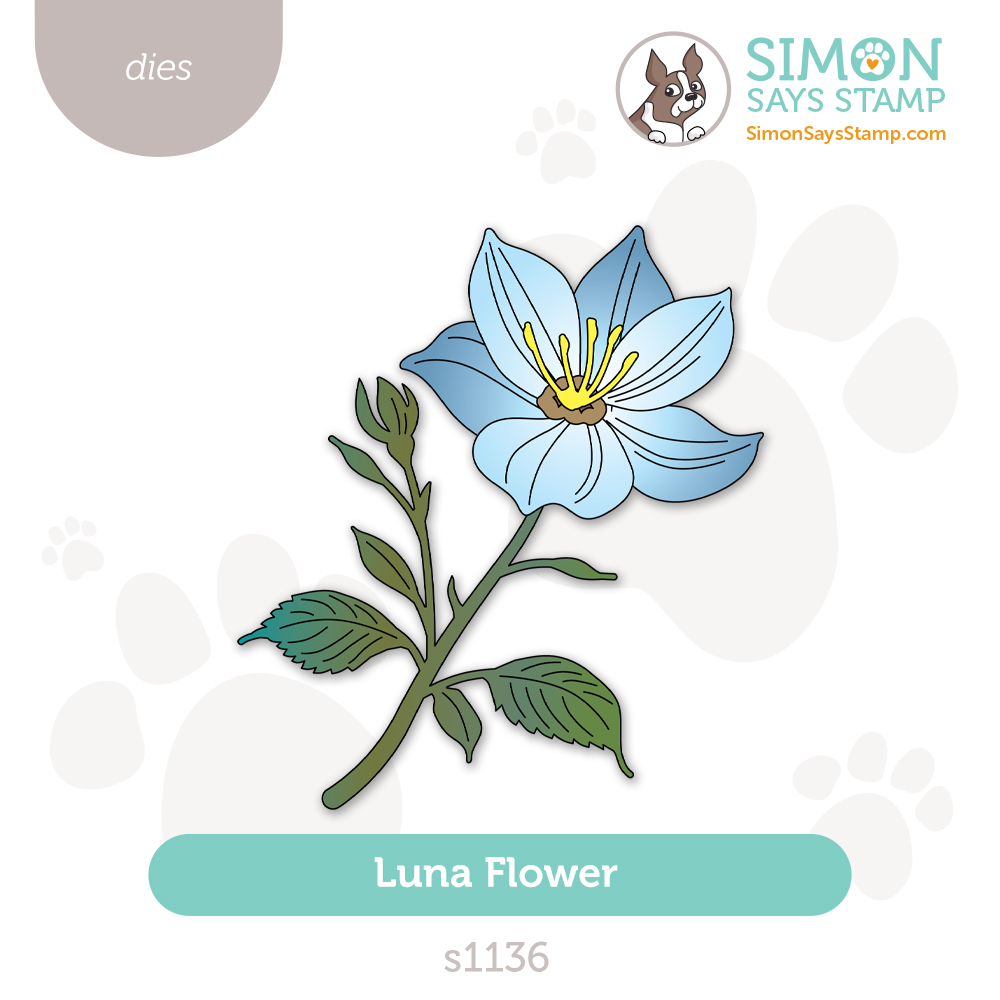
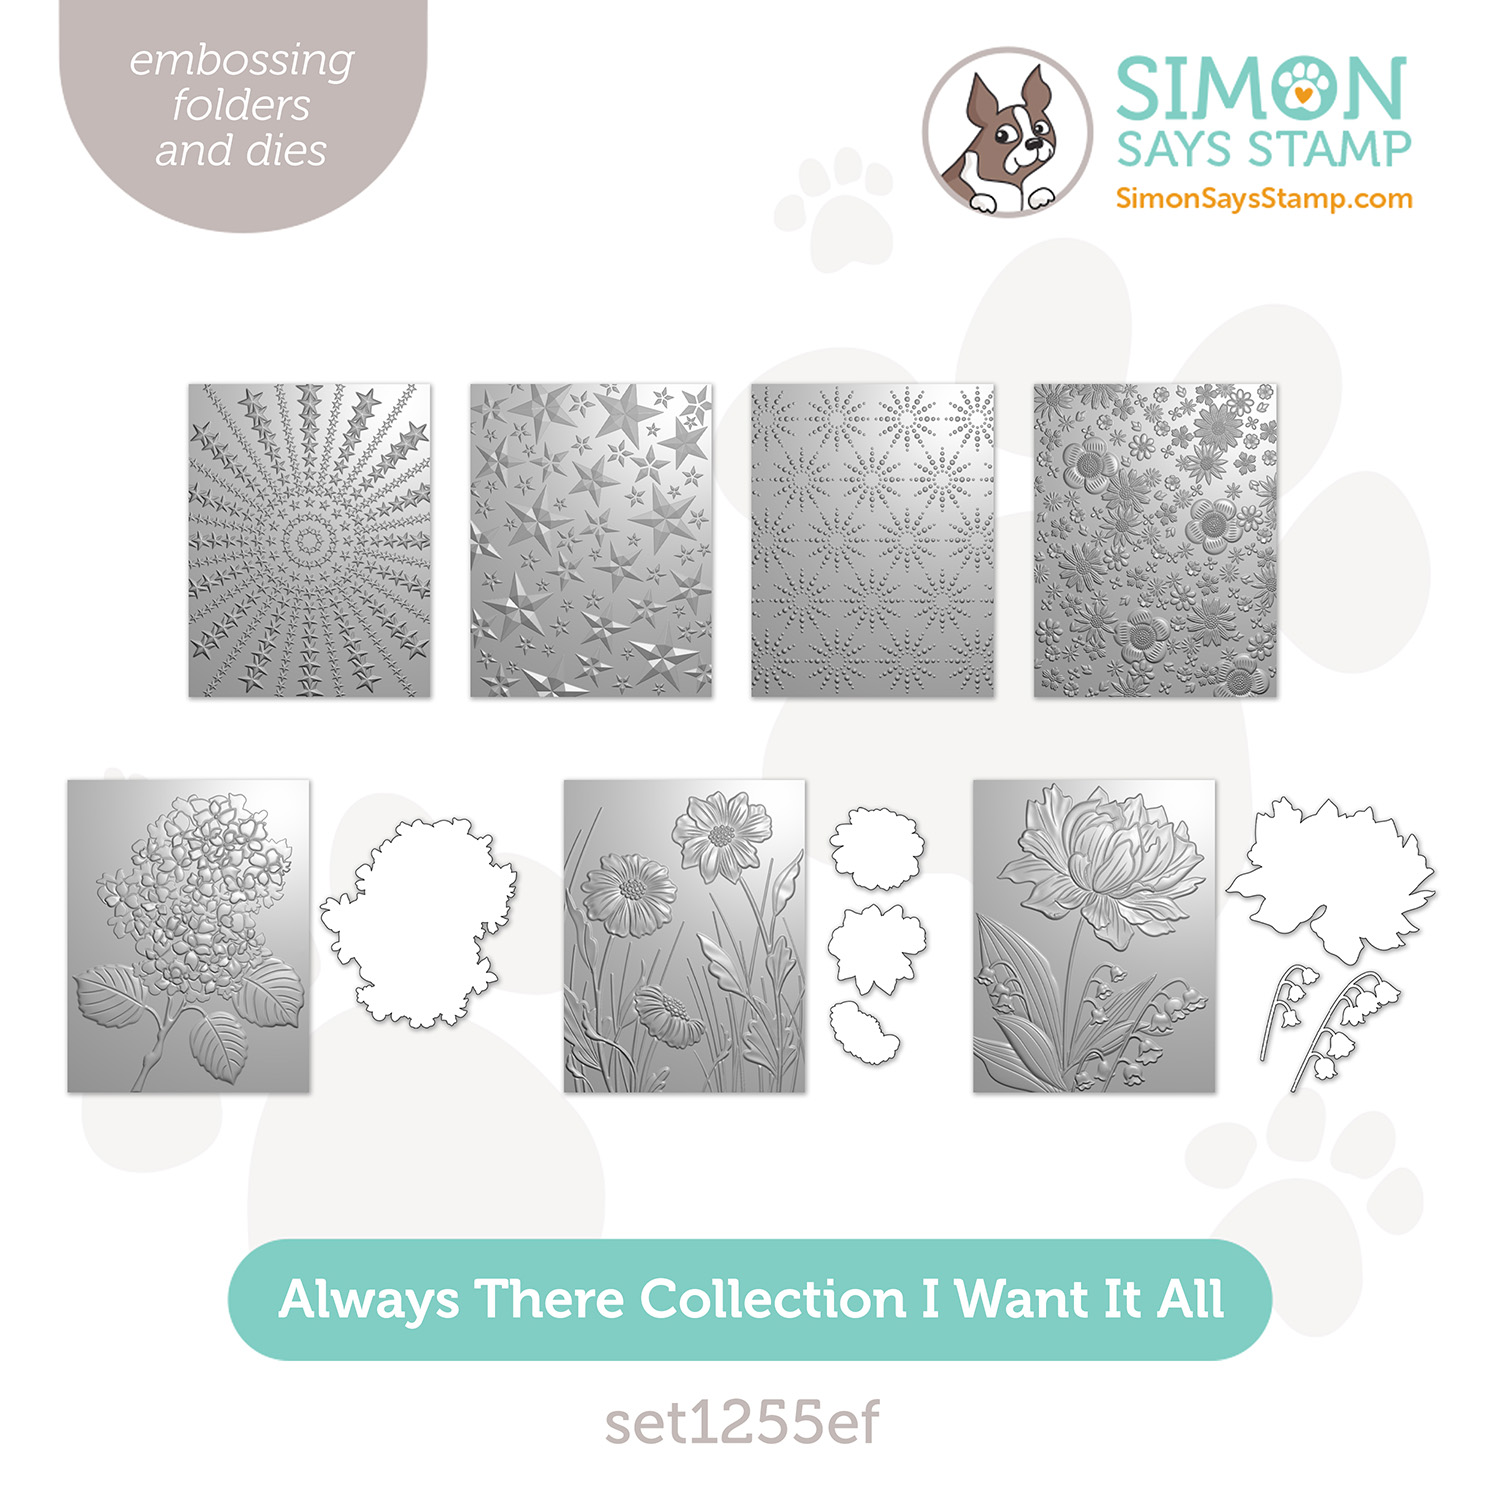
We just KNOW you’re going to be won over by our newest Fable animal dies, including Fable Giraffe, Fable Lion, Fable Mouse, and more; and you’ll linger in the garden with our Mythic Blooms embossing folder, Heirloom Roses set, and Gorgeous Hydrangea embossing folder, dies, and stencils.
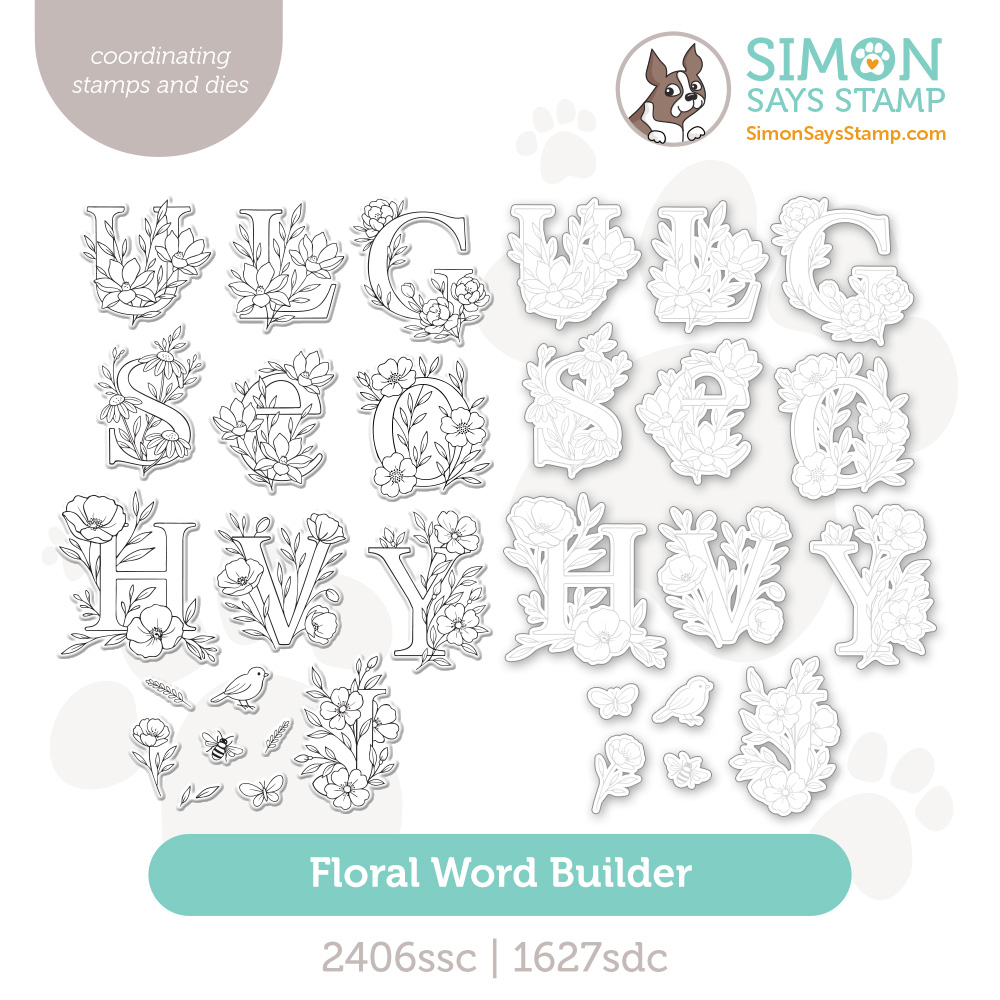
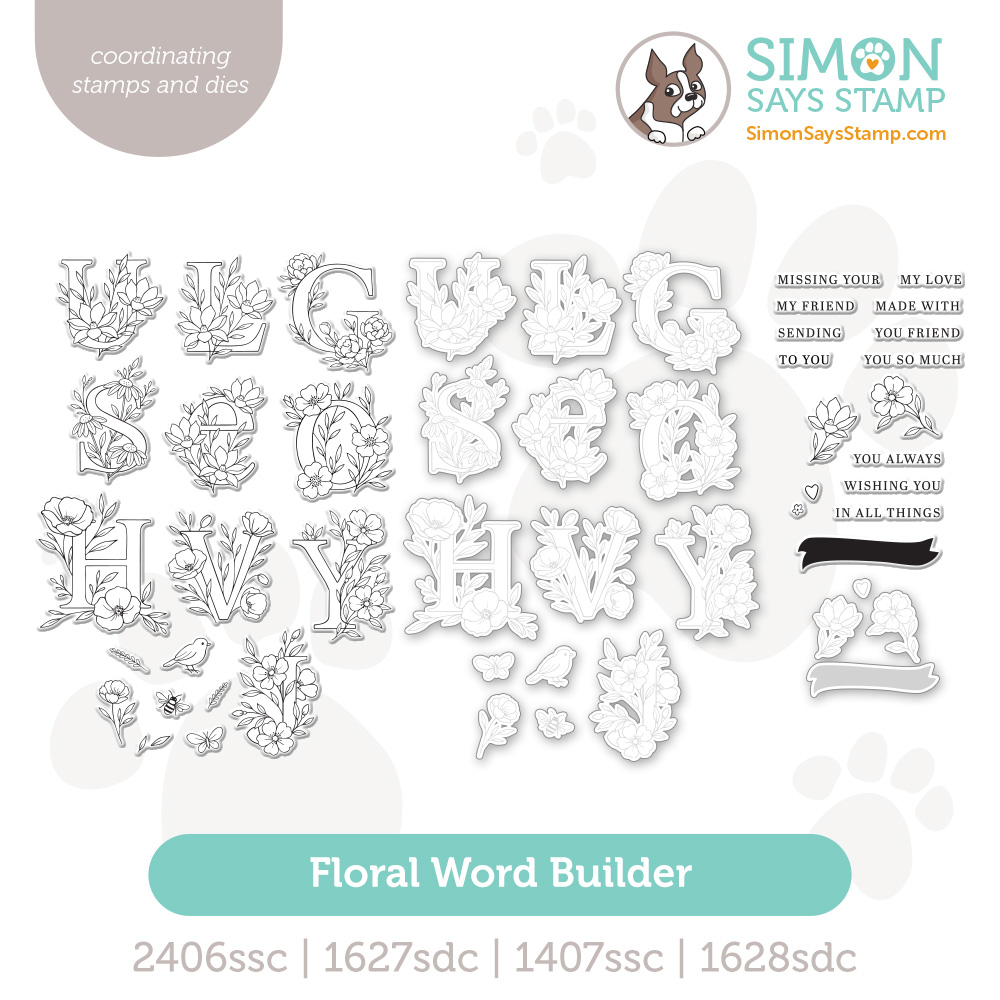
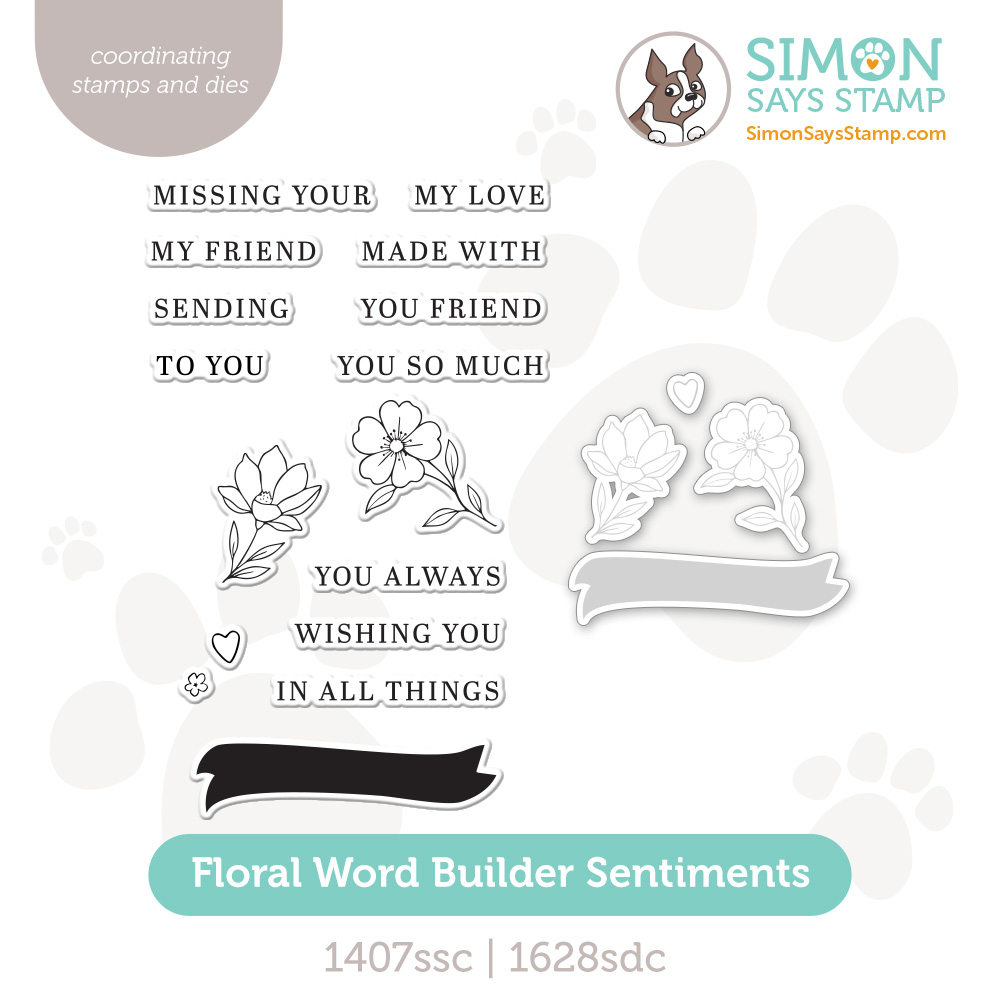
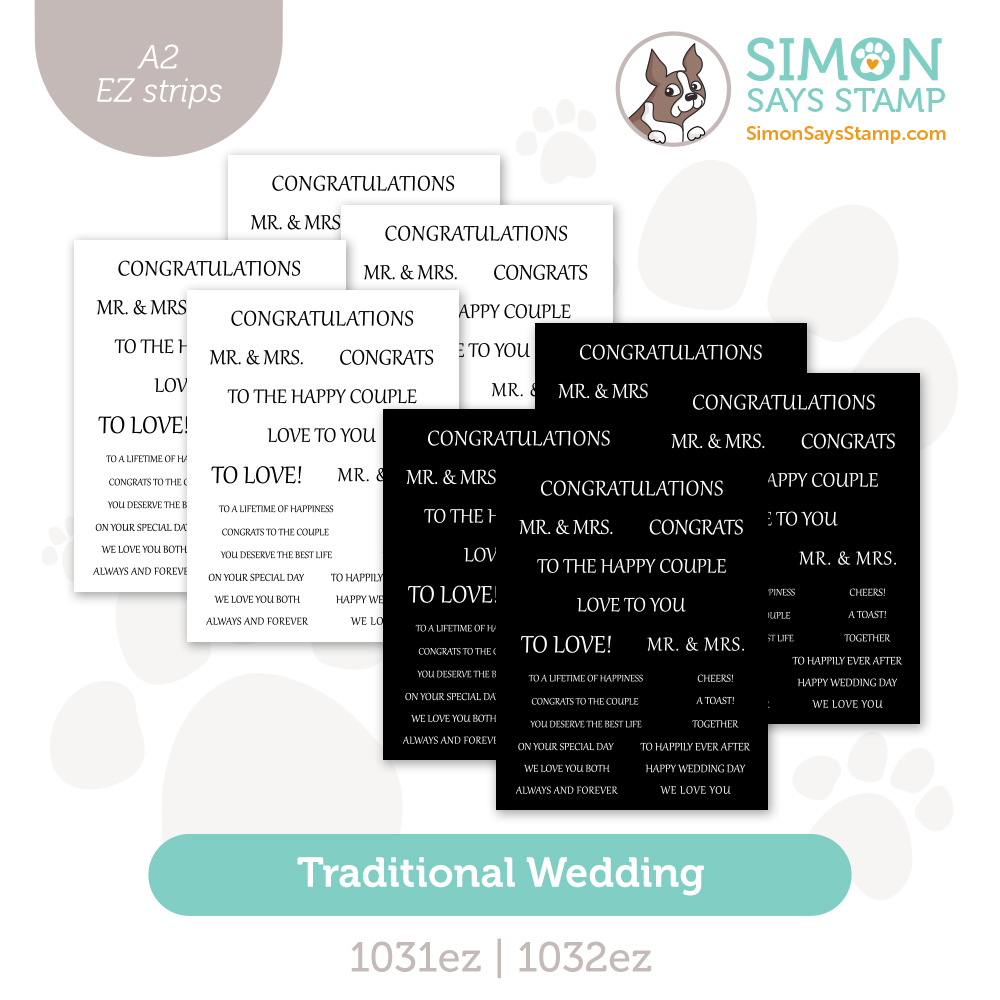
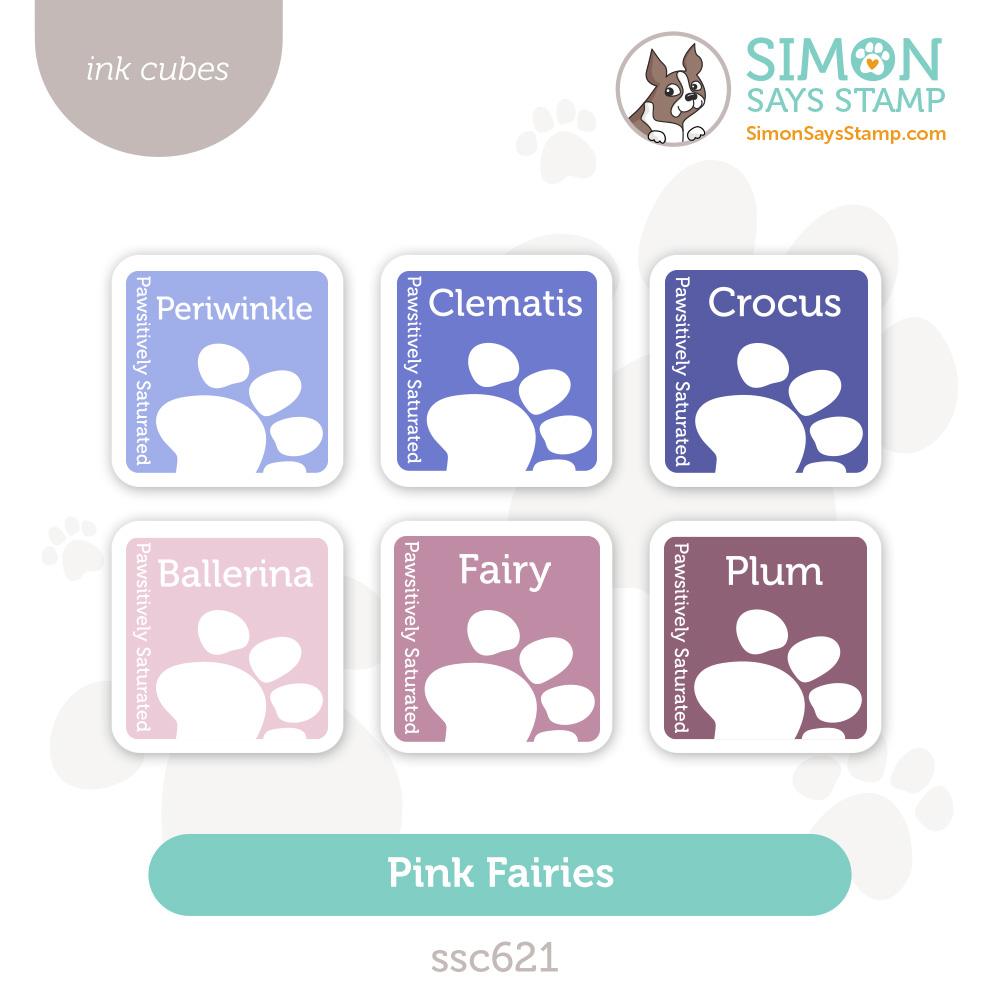
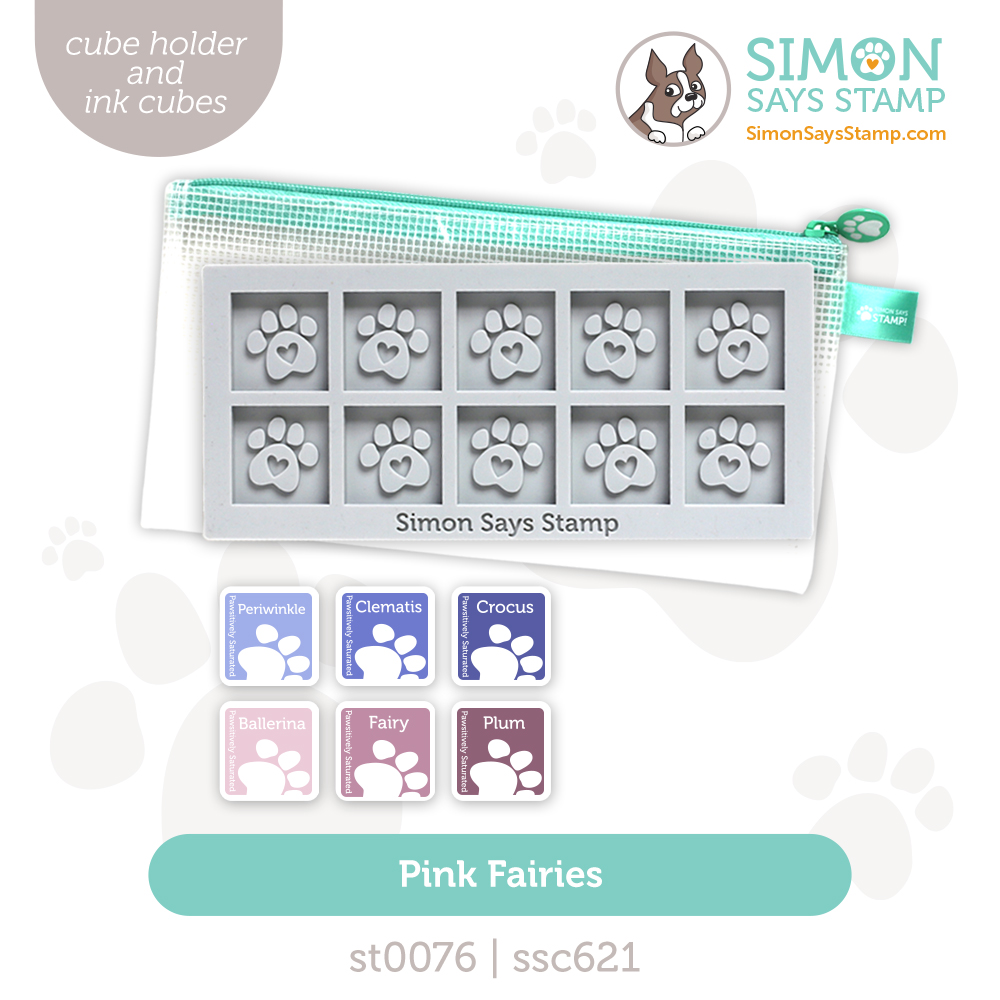
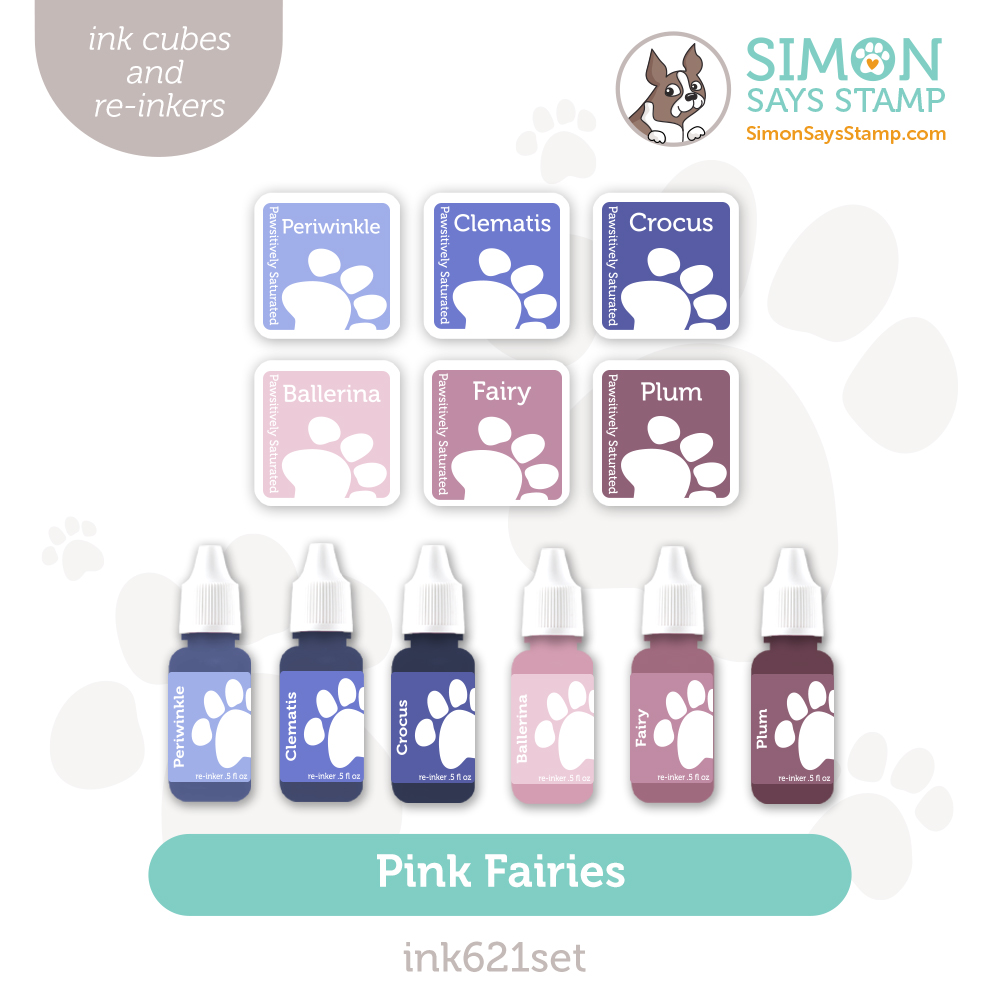
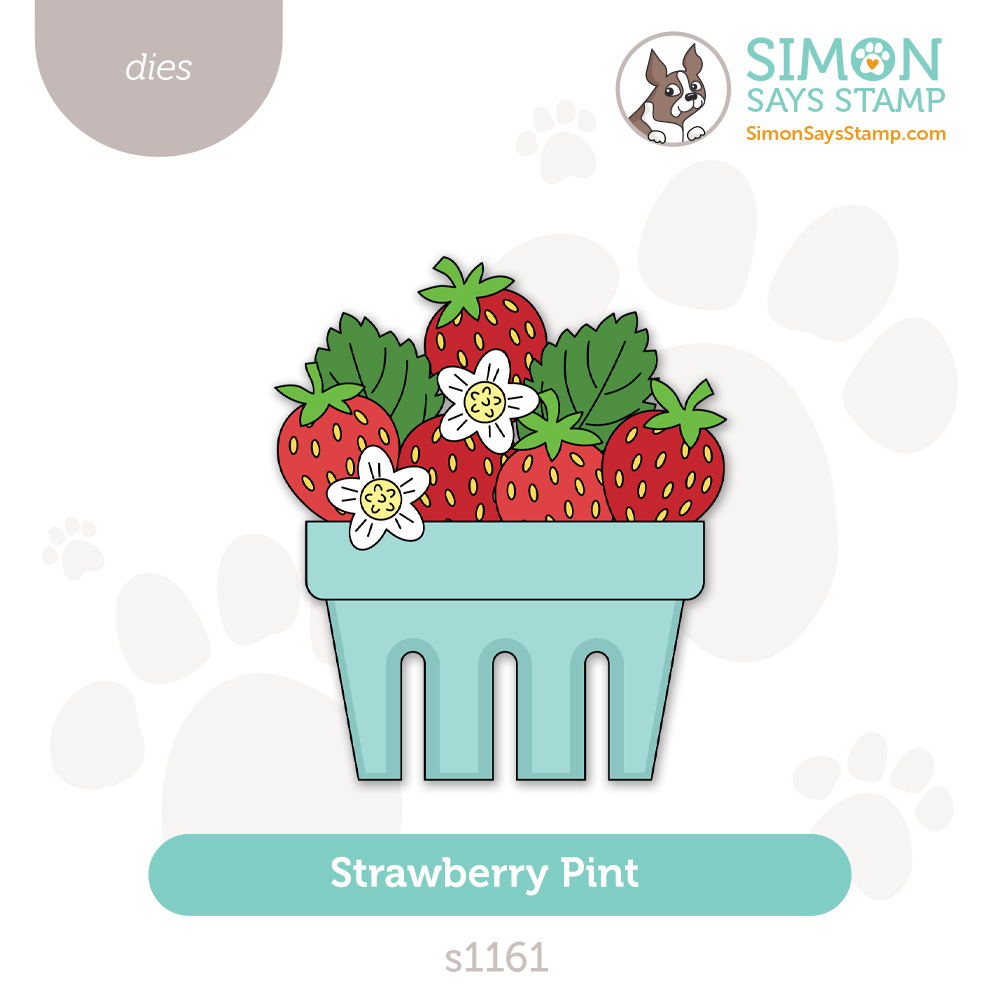
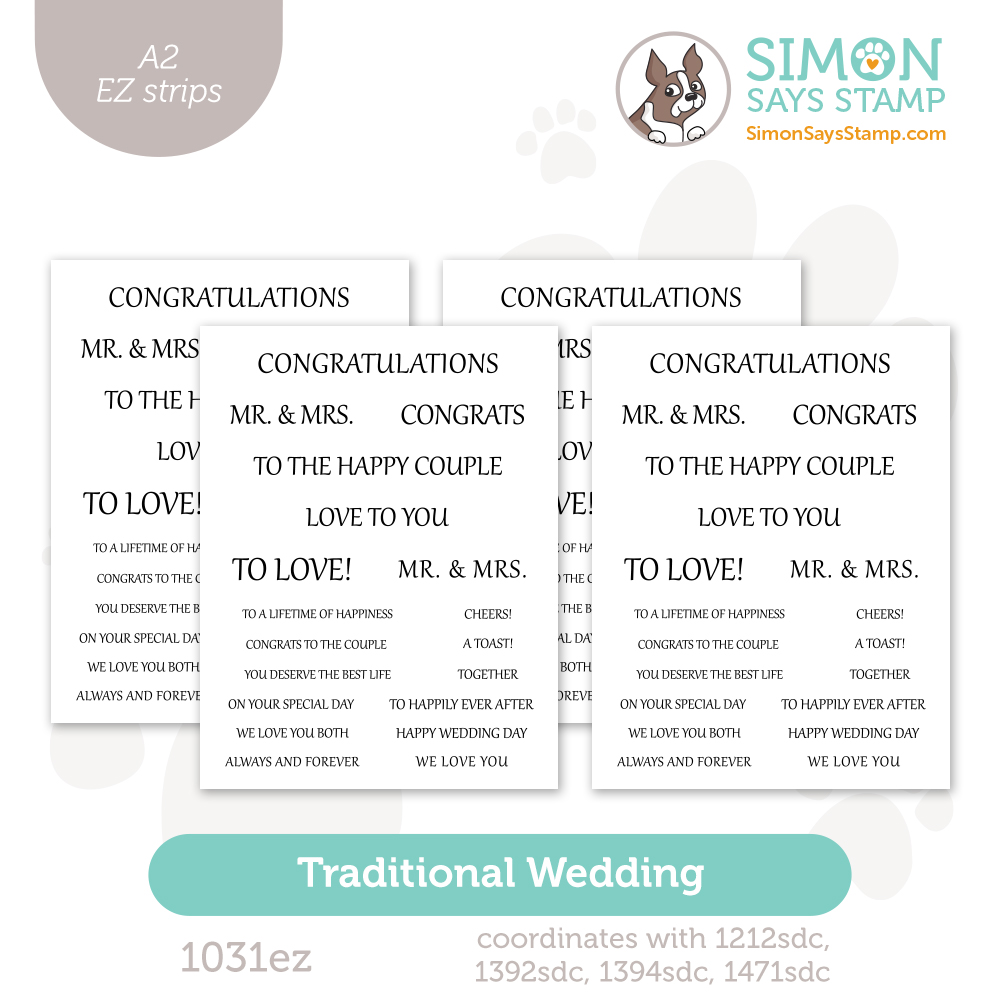
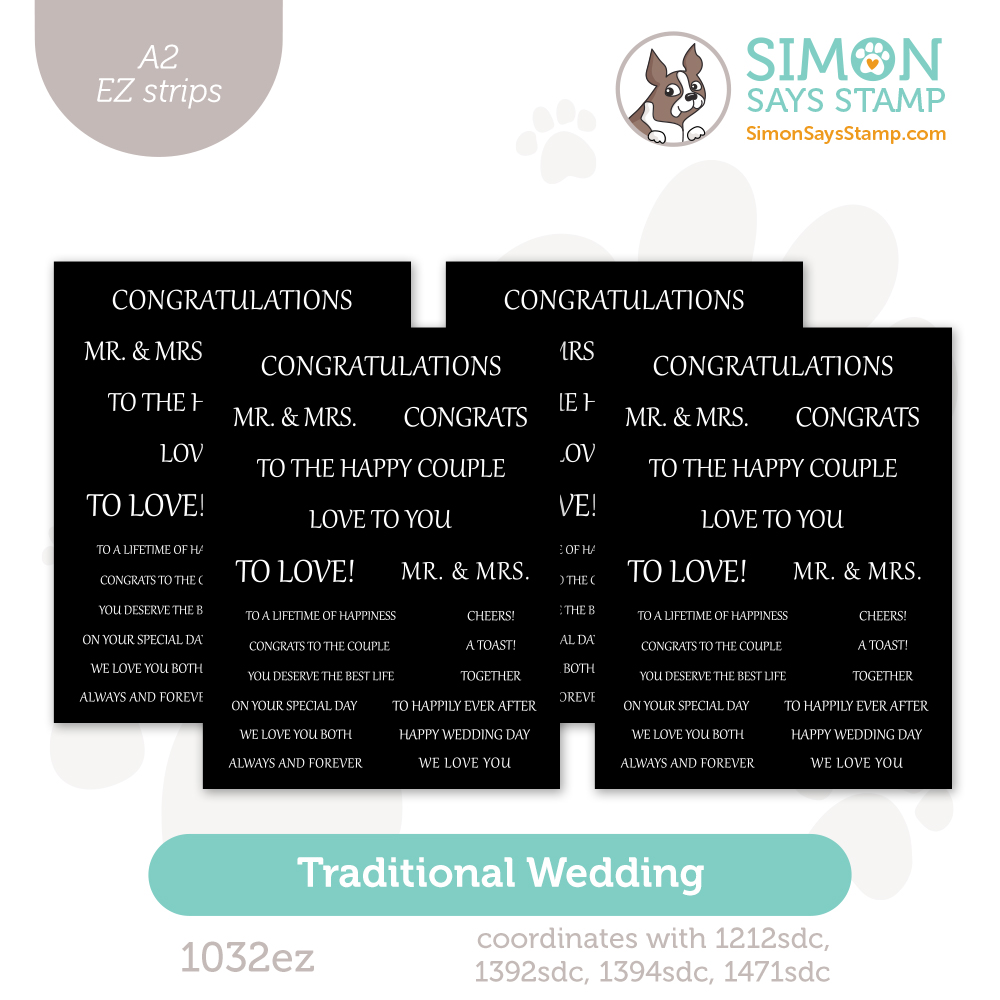
Plus, don’t miss new Pink Fairies ink cubes and re-inkers, Traditional Wedding EZ Strips, charming Strawberry Pint dies, and the innovative Floral Word Builder set.
WATCH THE VIDEO:

Shop the entire collection:
Can’t pick a favorite? Shop our NEW Bundles:
Get Inspired!
Join us LIVE!
We’re going live TODAY! (Thursday, May 28th at 12 PM ET) to showcase our brand new + exclusive collection, Always There! Come get inspired, plus comment live for a chance to win a $100 gift card!


