One Stamp Five Ways: Cosmos Background
Hi friends! Happy Monday! We hope you had a fabulous weekend! As the month draws near a close (where did February go?!) It’s time for the latest edition of our much beloved “One stamp five ways” with Suzy Plantamura. Read on for more information and enjoy!
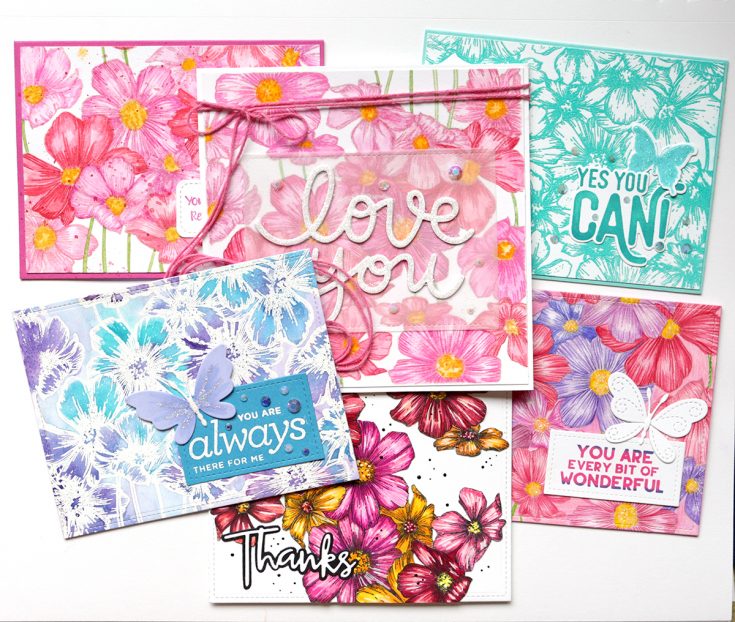
Hello SimonSays Stamp friends! Today I have a “One Stamp, Five Ways” post to share with you using a cling background stamp. This is very different than what I usually pick for these posts as it only has one design, but I thought it would be a fun challenge to try to use it in 5 different ways. For today’s post, I am using the Cosmos Background stamp as I love the flowers on this one! Here are all of my cards together:
I actually ended up making 6 cards as I used a technique to colorone of my backgrounds that I wanted to try two different ways. Now let’s getstarted with the details on each card!

This first card is watercolored using a no-line stampingtechnique. This image has so much detail and so many fine lines in the flowers,that I decided to add colored pencils over the watercolor. After I completedthis step, I decided I liked it better with just watercolor as it gave theflowers a softer look, so I made another one that way.
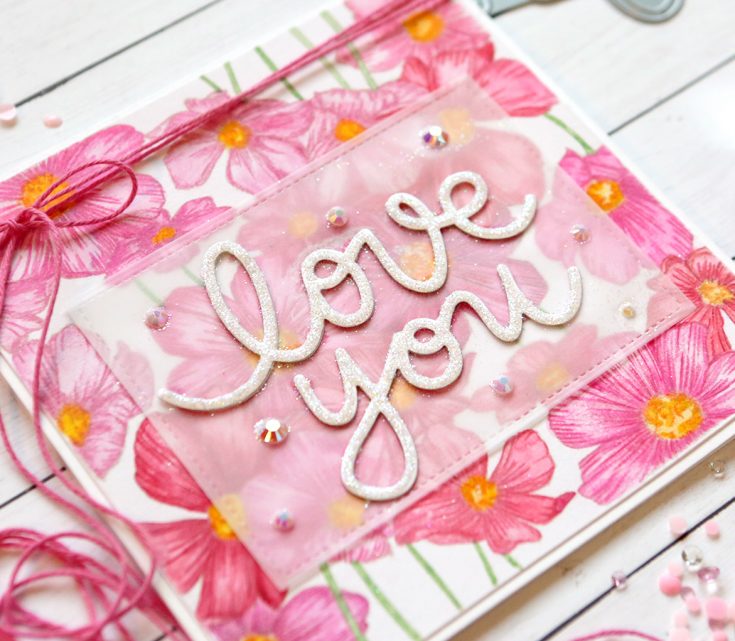
I left the stamped image the full size for this card. I hated totrim any of that gorgeous background off! I attached it to a 6×6 card base asit is a little smaller when trimmed. I used the Big Love You Wafer Die for thegreeting by die-cutting them twice out of white cardstock and gluing the twotogether so it is thicker. Then I covered it with White Blizzard Tonic NuvoDrops to add sheen and glitter. I wanted it even more sparkly, so I poured morewhite glitter on top of the Nuvo Drops. I attached the greeting on top of adie-cut rectangle from vellum so it wouldn’t cover up any of those prettyflowers I spent so long coloring!. I then added some Pretty Pink Posh jewels around the sentiment and some bright pink twine to the top of the card.
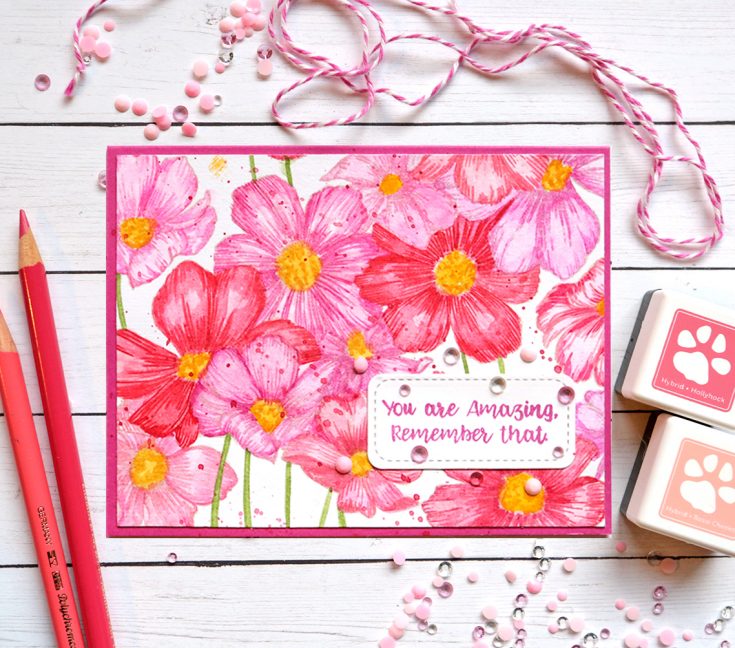
This is my second version of this technique with JUST watercolorthis time for a softer look. I used a very fine brush (2) for all of the linesin the flowers. After watercoloring it, I splattered some splotches ofsaturated paint over the card. I die-cutthis one into a rectangle (before I painted it so I didn’t waste time paintingthe extra part!) and attached it to a fuchsia card base.
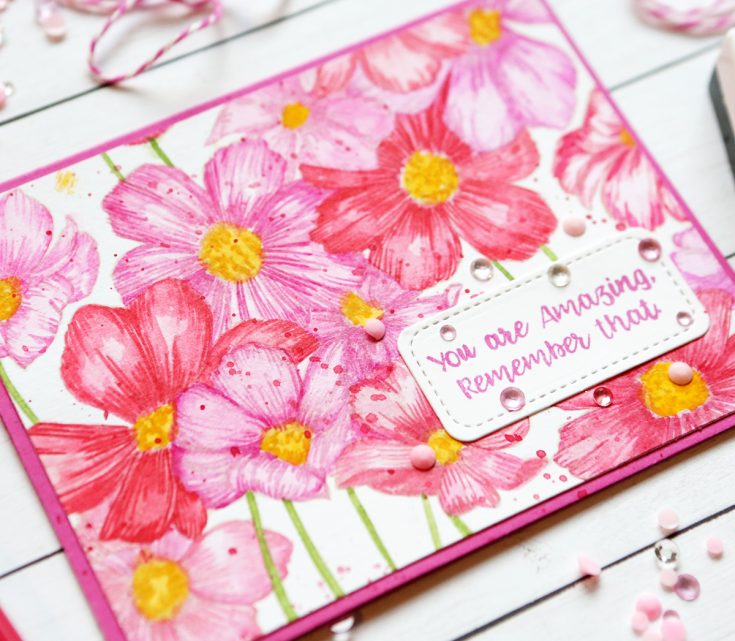
I stamped the sentiment using the Simon Says Stamp Sketch Lotus Flowers stamp with Hollyhock ink on a stitched rectangle from the Pretty Pink Posh Stitched Pieces die. I attached that to the front of the card. I added some PPP Sparkling Clear Jewels.
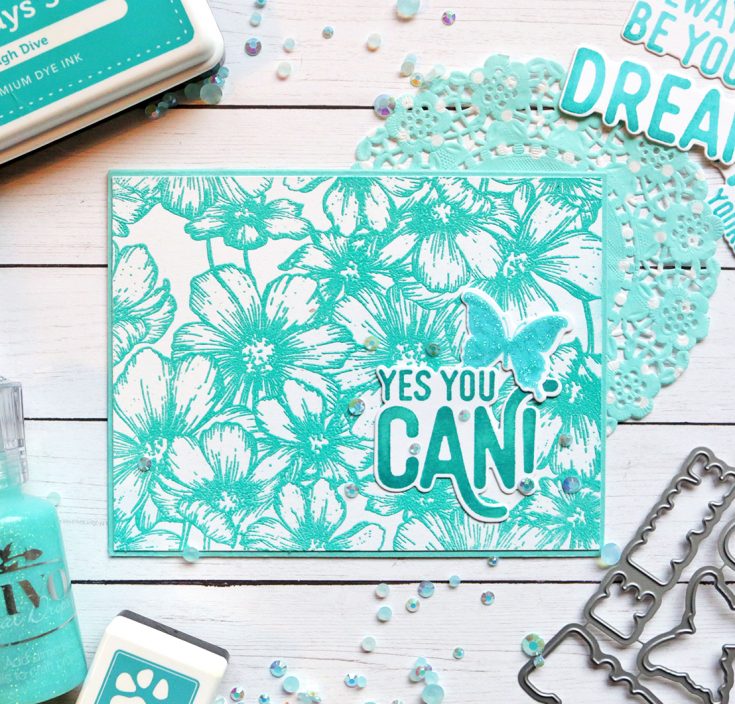
This card is a totally different look with the stamp and probablythe easiest card I made! I embossed the Cosmos Background Stamp on a whitecardstock rectangle using Wendy Vecchi Garden Patina embossing powder. I wasgoing to color in the flowers with Copic markers, but I thought they lookedgood just like this (like I said, easy!).

I used the CZ Yes You Can stamps and dies for the sentiment and the butterfly. I stamped them with two colors of SSS inks – Audrey Blue for thelighter shade and High Dive along the edges. I covered the butterfly with Aquatic Mist Tonic Nuvo Drops. I attached the sentiment and butterfly to thebottom of the card and added some PPP Sea Glass Jewels around them.

I stamped the entire Cosmos stamp with black ink this time onwhite cardstock. I’m not a big fan of black outlines, but I had to do it on atleast one of my cards to show you how it looked. I colored the images in withcolored pencils. I then cut the flowers out and attached them over a white cardbase. I added some white Uniball marker over them to try and balance out allthat black.
I die-cut the Script Thanks Wafer dies from white and blackcardstock and layered them on the bottom of the card. I then used some small droplets of Ebony Black Nuvo Drops around and on the flowers. Flicking black paint over the card would have given me a similar look, but I was too scared! haha
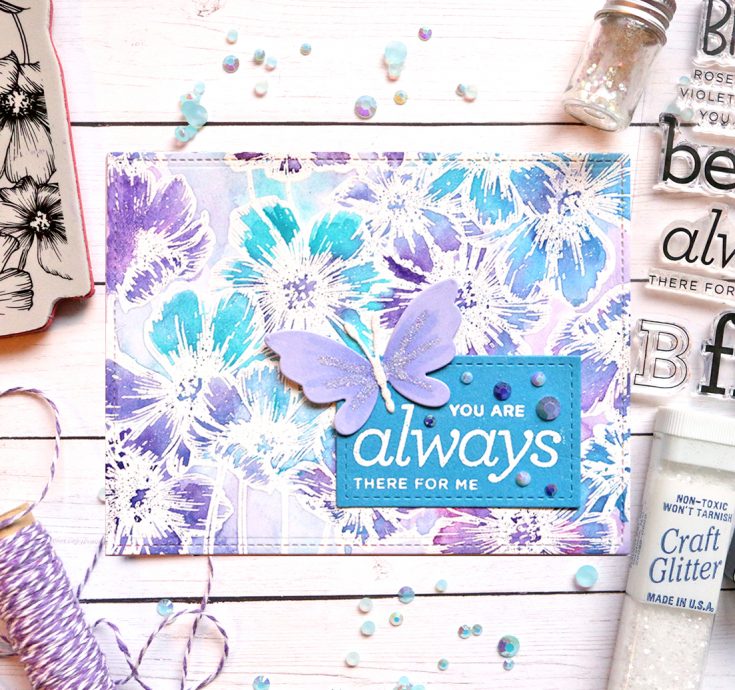
This is my favorite card as I just love the colors and prefer white images to black images. I embossed the Cosmos stamp with white embossing powder on Ranger Watercolor paper (because it is so white). I then watercolored inside all of the images with Daniel Smith watercolors.
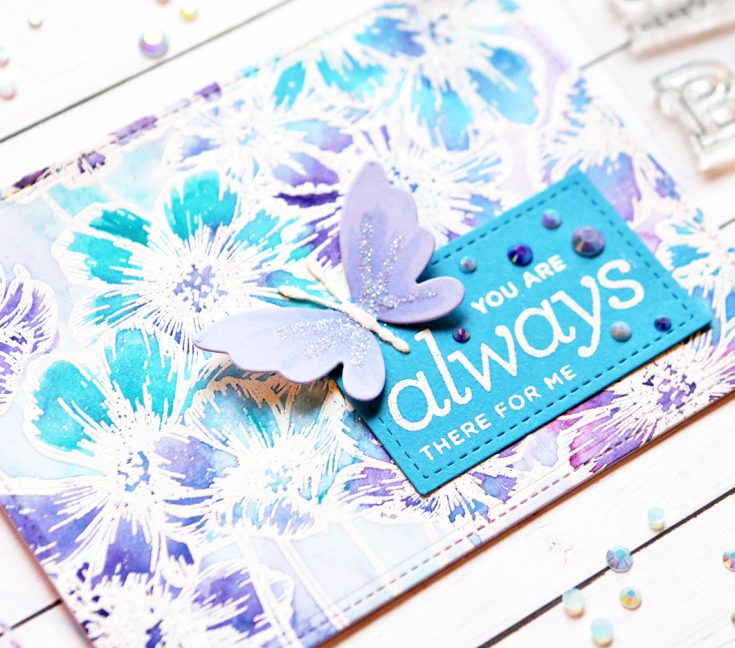
I die-cut a stitched rectangle from the PPP Storybook 1 die out ofteal cardstock. I embossed the sentiment from the CZ Design Besties stamp. Idie-cut a butterfly from the Adeline Butterfly Dies from white cardstock andcolored it with Copic markers. I used white glitter on the inside of the butterfly and on his wings. I attached both of those to the bottom corner ofthe card and added some PPP Sugar Plum Jewels Mix around the sentiment.
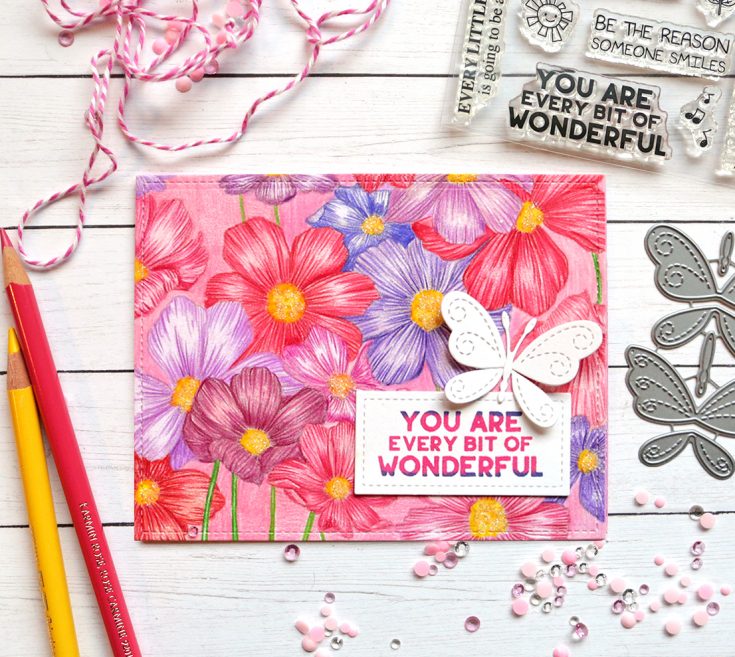
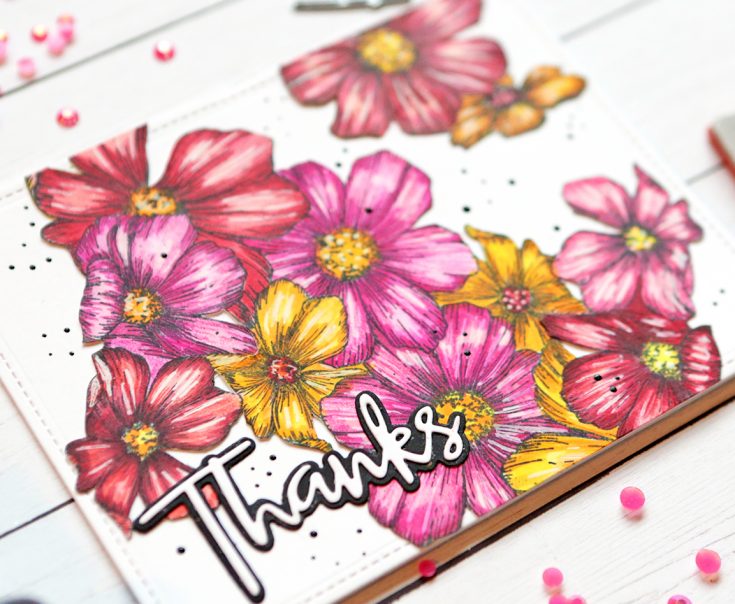
This was definitely my most time-consuming card from this group! Istamped the image on white cardstock with a light color of ink. I then coloredthem in with colored pencils. I did love the challenge of adding depth to theflowers by outlining all of those lines in the flowers. I colored thebackground with pink pencils as well.
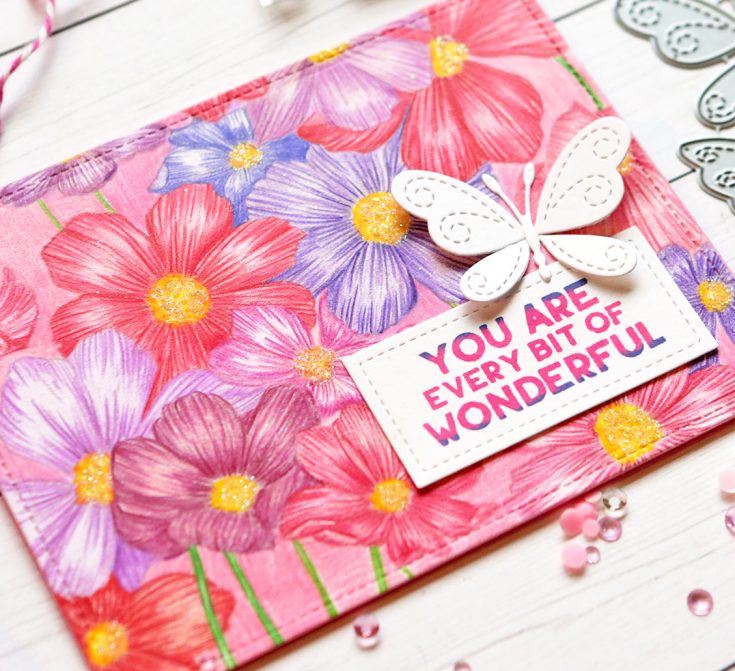
I added some glue and white glitter to the center of the flowers. I stamped the sentiment using an older stamp set in my stash called uplifting thoughts. I stamped it with Hollyhock Ink first and then added some Blue Violet ink on the edges for a two-toned look. I also added a white Stitched Butterfly Die above the sentiment.
I challenge all of you to challenge yourselves to try and use one stamp set in many different ways. Thick out of the box and try different techniques to get the most use out of your stamps. I loved seeing how
SUPPLIES:
|


Thanks so much for stopping by, and thanks to Suzy for being our guest!

Blog Candy Alert!! Follow our blog via email and comment on this post for a chance to win special blog candy!
Interactive Cards by Jess: Magnetic Slider Card

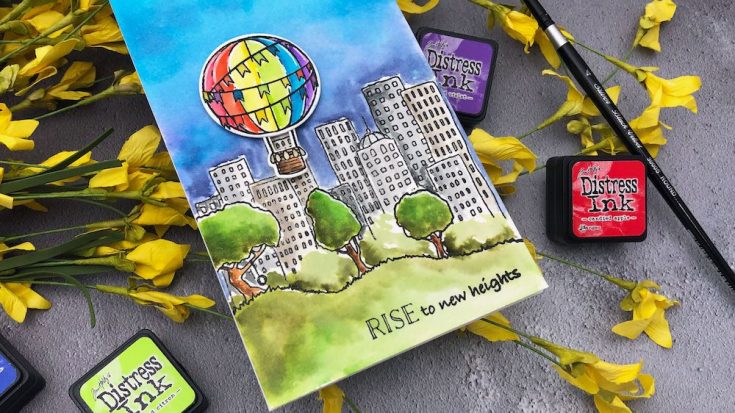
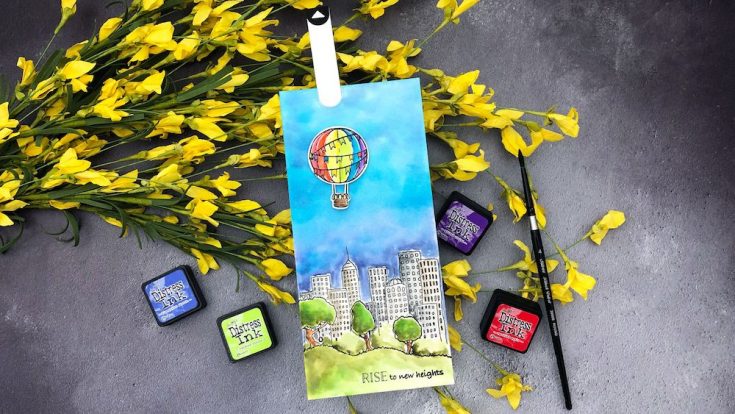
Hi friends! Happy Sunday! Please join me in welcoming Jessica Frost-Ballas back to our blog for the latest installment of Interactive Cards by Jess! She’s using Hero Arts’ Sky’s the Limit clear stamps and Concord & 9th’s City Stacks clear stamps to build this fun scene with a fun magnetic surprise! Read on to learn more about this technique and enjoy!
SUPPLIES:
|


Thanks so much for stopping by and thanks to Jessica for being our guest!

Blog Candy Alert!! Follow our blog via email and comment on this post for a chance to win special blog candy!
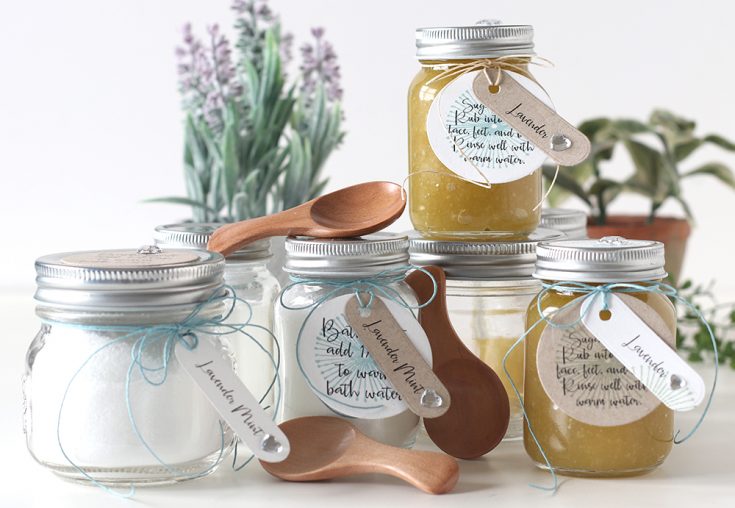
DIY Soothing Bath Salt and Sugar Scrubs

Hey everyone!!! I’ve got something a little different for you today. Since it’s been so cold, cold, cold and our heater has been running non-stop for months, the air in the house is so terribly dry! I don’t know about you but my skin needs a break!! I’m thinking of doing some therapy to get ready for Spring! Are you with me?
There are a couple of homemade remedies that can not only help with dry skin but also with relaxation. To make things easy, I’ll be using ingredients that most of you might already have in
SUGAR SCRUB:
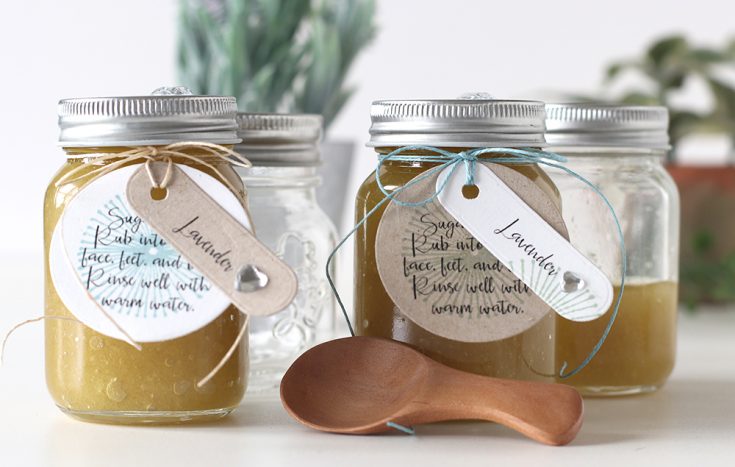
Exfoliation is key to removing dry skin. Sugar scrubs can be used to rub onto your hands, face, feet or body as a natural exfoliant and add oil to keep your skin silky smooth. Use as much as needed to moisturize several times a week.
A basic recipe to try:
- 1 cup granulated sugar, either white or brown, preferably organic.
- ½ cup oil (olive oil and coconut oil work great)
- 5-10 drops of your favorite essential oil (optional)
Mix sugar and oil in a bowl until fully combined. Add your favorite essential oil. Scoop
BATH SALT:
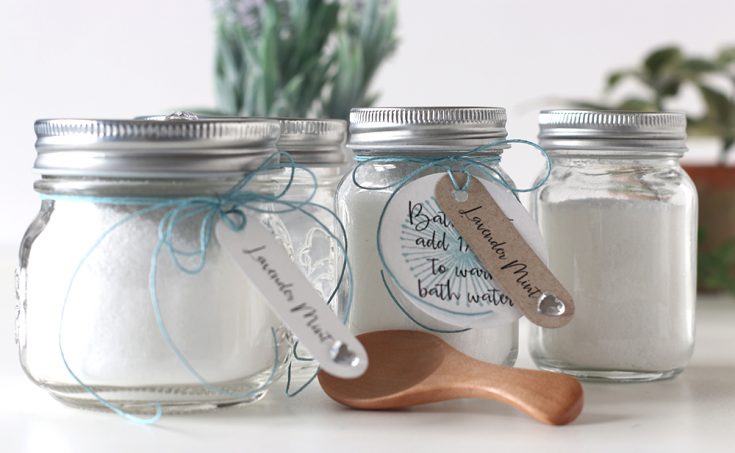
Adding a salt mixture to your bath softens the water, soothes muscles, calms skin irritations and relieves stress. Add 1/2 cup to warm bath water.
A simple recipe to follow:
- 1 cup Epsom salt.
- 1/2 cup coarse grain salt (sea salt or kosher salt work well)
- 1/4 cup baking soda.
- 5-10 drops of your favorite essential oil (optional)
Add dry ingredients together into a bowl, mix well. Add essential oil and scoop into a jar for storage.
JARS:
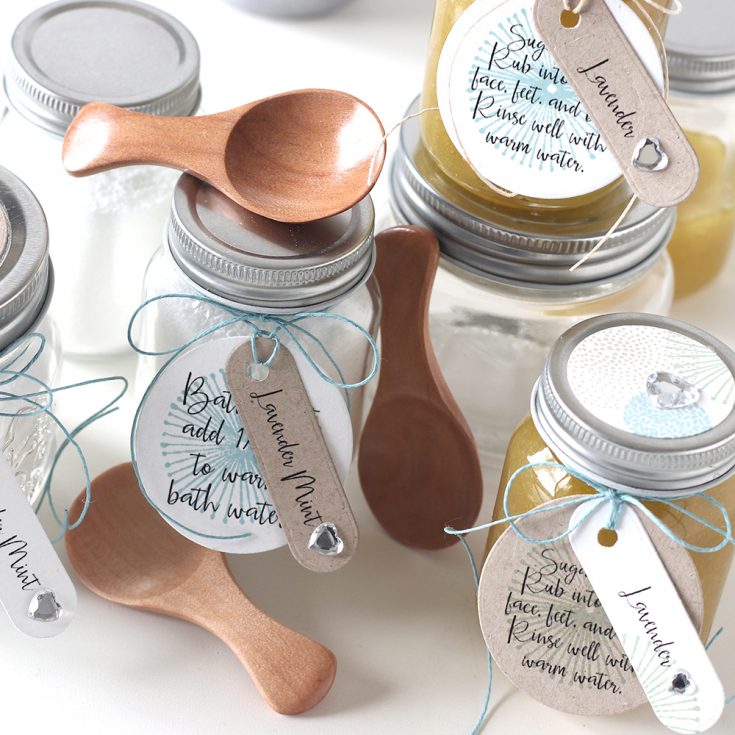
Try using jars that are food safe as they will have a better seal to hold in oils. Refrigerate your mixtures and keep them for about a month. Make cute tags to decorate your finished jars and to identify the scents used for your Salts and Scrubs.
I’ve created a printable PDF for you to use to create labels. You can download it HERE.

Blog Candy Alert!! Follow our blog via email and comment on this post for a chance to win special blog candy!
|


