New Paper Smooches Inspiration!
Hi friends! Happy Tuesday! Please welcome special guest Kim Hughes back to our blog! She took a bit of a designing hiatus from Paper Smooches, but we sure are glad she’s back with her fun and whimsical addition to the crafty world! In case you missed them, check out the new February 2019 and March 2019 editions by clicking or tapping here! Keep reading for some new inspiration with the March collection and enjoy!
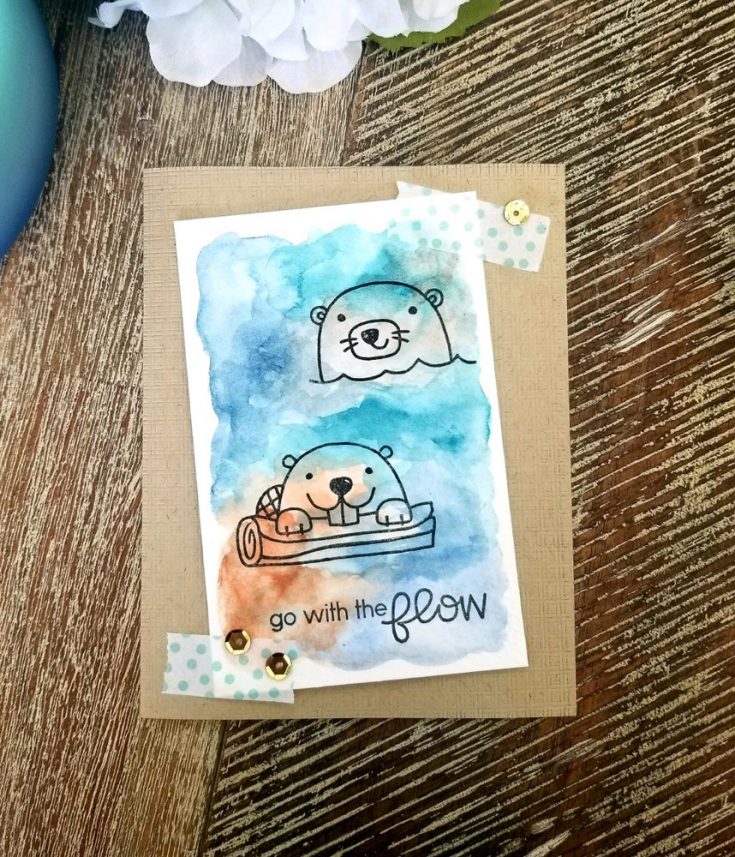
Directions:
- Stamp critters onto watercolor paper.
- Apply watercolors over images.
- Mount onto kraft card base.
- Embellish with washi tape and gold sequins.
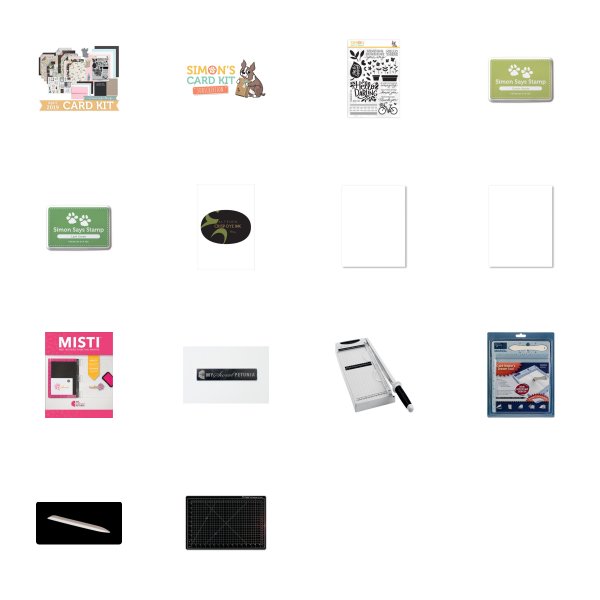
SUPPLIES:
|


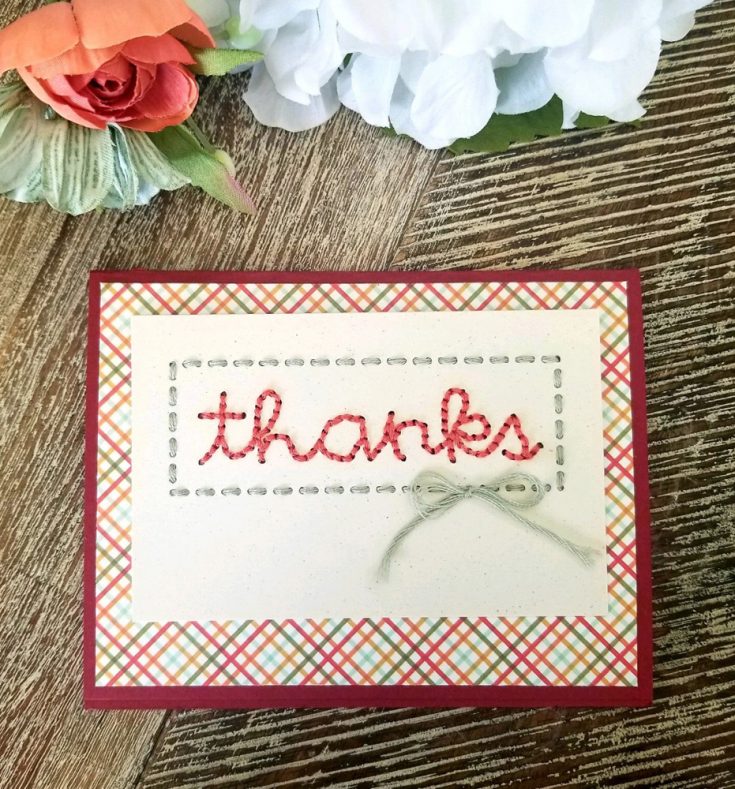
Directions:
- Use die to cut holes in the frame and “thanks” word.
- Stitch along word and frame with embroidery floss.
- Cut patterned paper and mount onto cardstock base.
SUPPLIES:
|


Thanks so much for stopping by and thanks to special guest Kim for being with us today!

Blog Candy Alert!! Follow our blog via email and comment on this post for a chance to win special blog candy!
Floral Wedding Inspiration
Hi friends! Happy Monday! Please join me in welcoming Ankita Gupta as a special guest on our blog today! We are also so honored to say that she is on our weekly Wednesday Challenge blog! Please stop by her blog, Glitter Doodles, for lots of gorgeous inspiration!
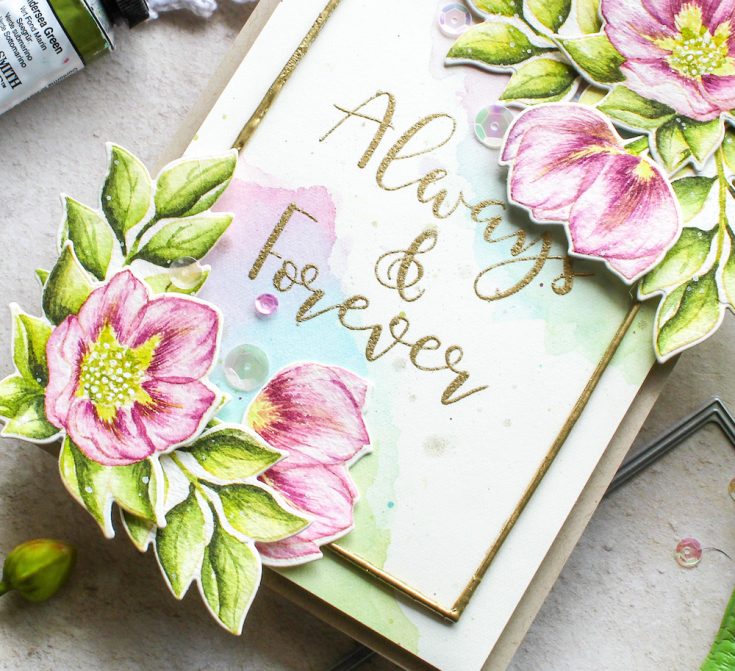
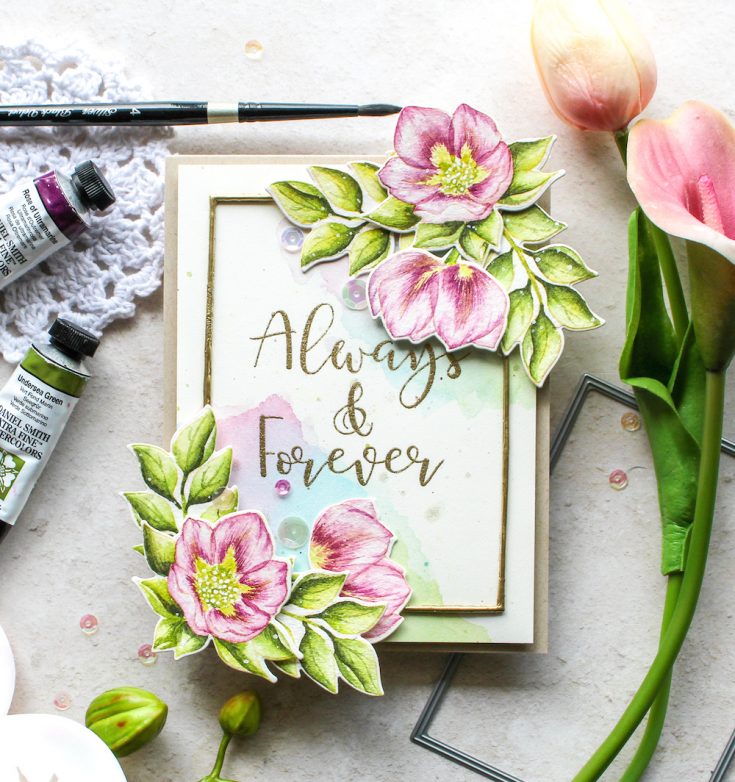
Hello, everyone! It’s Ankita here with you today and I’m so happy and honored to be guest designing for Simon Says Stamp store blog today with a card featuring some fabulous and pretty as ever products from Simon Says Stamp. I made a floral card for this post, where I used watercolor as a medium with spring as my inspiration.
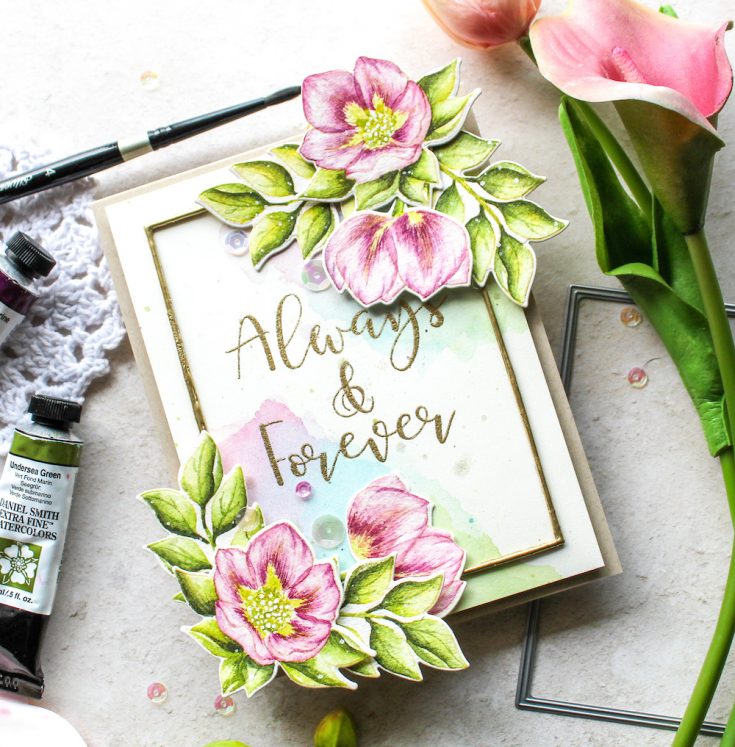
To begin, I stamped the Hellebores images from the Even More Spring Flowers set on a piece of Arches Cold Pressed Watercolor paper using Antique Linen Distress Ink and my MISTI stamp positioner. I was very careful with stamping the images very lightly so that when I color them in the outlines are barely visible. I used my collection of Daniel Smith Watercolor Paints to color them in.
For the flowers, I started with Green Gold in the center and around it. I used Rose of Ultramarine, Quinacridone Pink and Ultramarine Blue with a hint of Hansa Yellow Light to color the petals. I used the wet on dry technique, where I created the strokes first and blended them out by bringing some water in and then added strokes again later when the paper was semi-dry. That way, I was able to create details and also soften the strokes and edges of the petals while I was coloring. For the leaves, I used Green Gold, Sap Green, Undersea Green, and Lunar Blue.
I started by creating a softly colored base using Green Gold and Sap Green, again using wet on dry technique, creating highlights as I went. I later came in with a layer of Undersea Green and deepest shadows were created with a mix of Lunar Blue and Undersea Green. I find using a good quality brush, like Silver Black Velvet on a premium quality paper like Arches really makes all the difference especially for me because I picked up watercoloring only last year. I die cut the images using the coordinating dies when I was finished with the coloring.
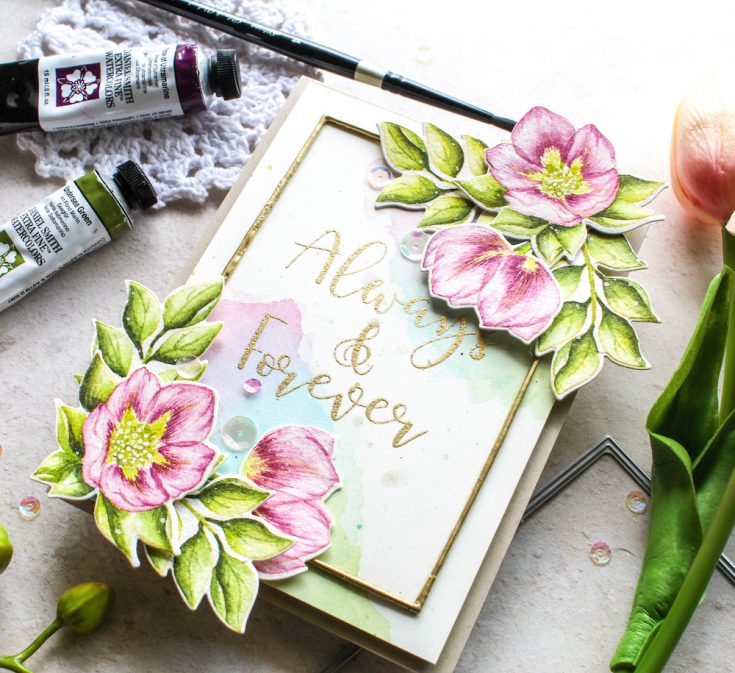
For the background wash, I did some watercolor smooshing using the same paint mixes from above. I had a vague idea of how I wanted to place my flowers so I created a soft wash on a piece of Bristol Smooth Watercolor Paper. Since smooshing requires a paper that can take water without losing form and I wanted the paper to have a smooth texture, I went with this choice of paper. I used a small piece of acetate sheet and using the paints, which were intensely watercolored down, from my palette I did some smooshing. I did two layers. I dried the first layer with my heat gun and then came in with the second layer. I also splattered some white gouache, Perfect Pearls and some paint on both the flowers and the background panel.
For the frame, I used the thin rectangular frame from the Frames Die Set and die cut white cardstock four times individually and stacked the die cuts together using liquid glue. Once they were dry, I coated them with Antique Gold embossing powder using clear embossing ink and heat embossed it. I did three layers of coating and embossing. The idea was to create a vintage distressed frame and the slightly weathered edges that heat embossing when done in layers creates is absolutely beautiful!
I trimmed my background panel to be about 4 inches by 5.25 inches in size and stamped the sentiment, which is from the Always and Forever stamp set, using clear embossing ink and heat embossed with Antique Gold Embossing Powder. I used an A2 sized top folding card base made from Neenah Desert Storm 100 lb cardstock and attached the watercolored background panel using foam tape. I attached the frame on it using liquid glue and placed something heavy on it for a while so that it sticks properly. I stuck the flowers on it using foam tape and added some clear sequins from the Peaches and Cream confetti and Pixie Dust sequins collection.
Thank you so much for visiting and reading this post. I hope you enjoyed it.
Have a wonderful day!
Ankita
SUPPLIES:
|


Thanks so much for stopping by, and thanks to Ankita for being our guest!
Blog Candy Alert!! Follow our blog via email and comment on this post for a chance to win special blog candy!
Just Stamps & Ink with the April 2019 Card Kit
Hello, all! Kristina Werner here! Today I have some clean and simple (and fun!) inspiration for you using the Simon Says Stamp April 2019 Card Kit. These two cards use only stamps, ink, and paper! Simple and quick! While more complex cards can be fun, I love “back to the basics” cards like this, too!
Plus, since today is St. Patrick’s Day, let’s play with green inks!
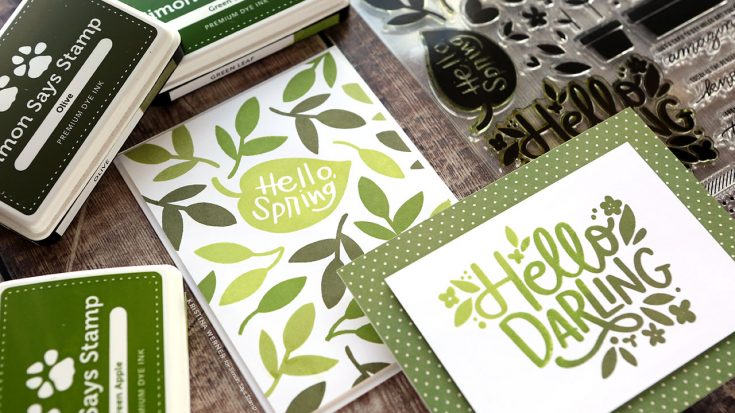
I used the Hello Darling stamp set from the kit and three colors of Simon ink for my cards: Green Apple, Green Leaf, and Olive (which is actually discontinued–I’d recommend Altenew’s Moss ink for a similar color).
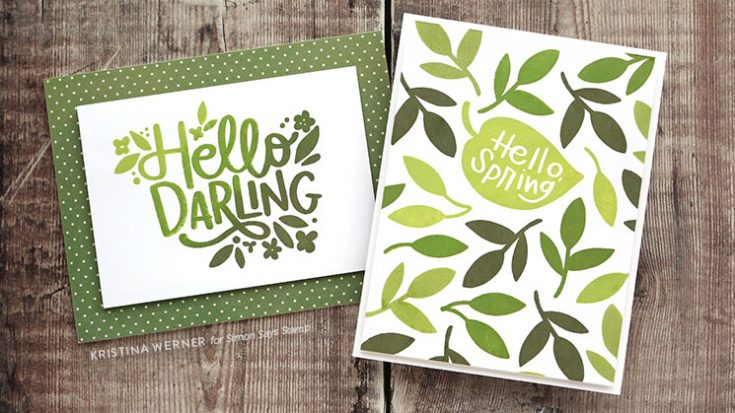
I did simple cluster stamping on the first card and alternated the ink colors of the leaves. For the second card, I did multicolor stamping.

You can picked up the April 2019 Card Kit HERE, or subscribe to receive this kit and future kits HERE. The Hello Darling stamp set is also available separate from the kit HERE.
Thanks for stopping by today! See you again soon! :)
Supplies