Mother’s Day Weekend Sale!
Hi friends! Popping in quickly to let you know about a very special sale we’re running this weekend in honor of Mom! Please enjoy $20 off your purchase of $100 or more with code THKUMOM! Or if you’re just looking for one item save $5 off $5 or more with code SUBFVE! Shop early for the best selection and enjoy!
Did You Know? Fun Facts and Crafty Tips! May 2019 Edition
Hello crafters!!! It’s Nina-Marie Trapani here, bringing you the May 2019 edition of “Did You Know?”
If it’s your first time seeing this feature, each month we bring you fun facts, creative tips and even crafty hacks about your favorite supplies and brands; you can then use these awesome tips that you learn in your next crafting projects! Are you ready to learn some fun tricks? Keep on reading!
ThermoWeb Stencil Pal
I’ve always loved stenciling, but I feel that with the release of ThermoWeb’s Stencil Pal at the beginning of 2019, stenciling just got even more fun and easier! The Stencil Pal is a large scraper, that in one simple swipe, gives your paste-covered stenciled design a perfectly smooth finish. In the past, it was quite a pain-staking task to try to create a smooth finish using just a palette knife. Stencil Pal has truly become one of the most important tools in my studio!
Waffle Flower Media Mat
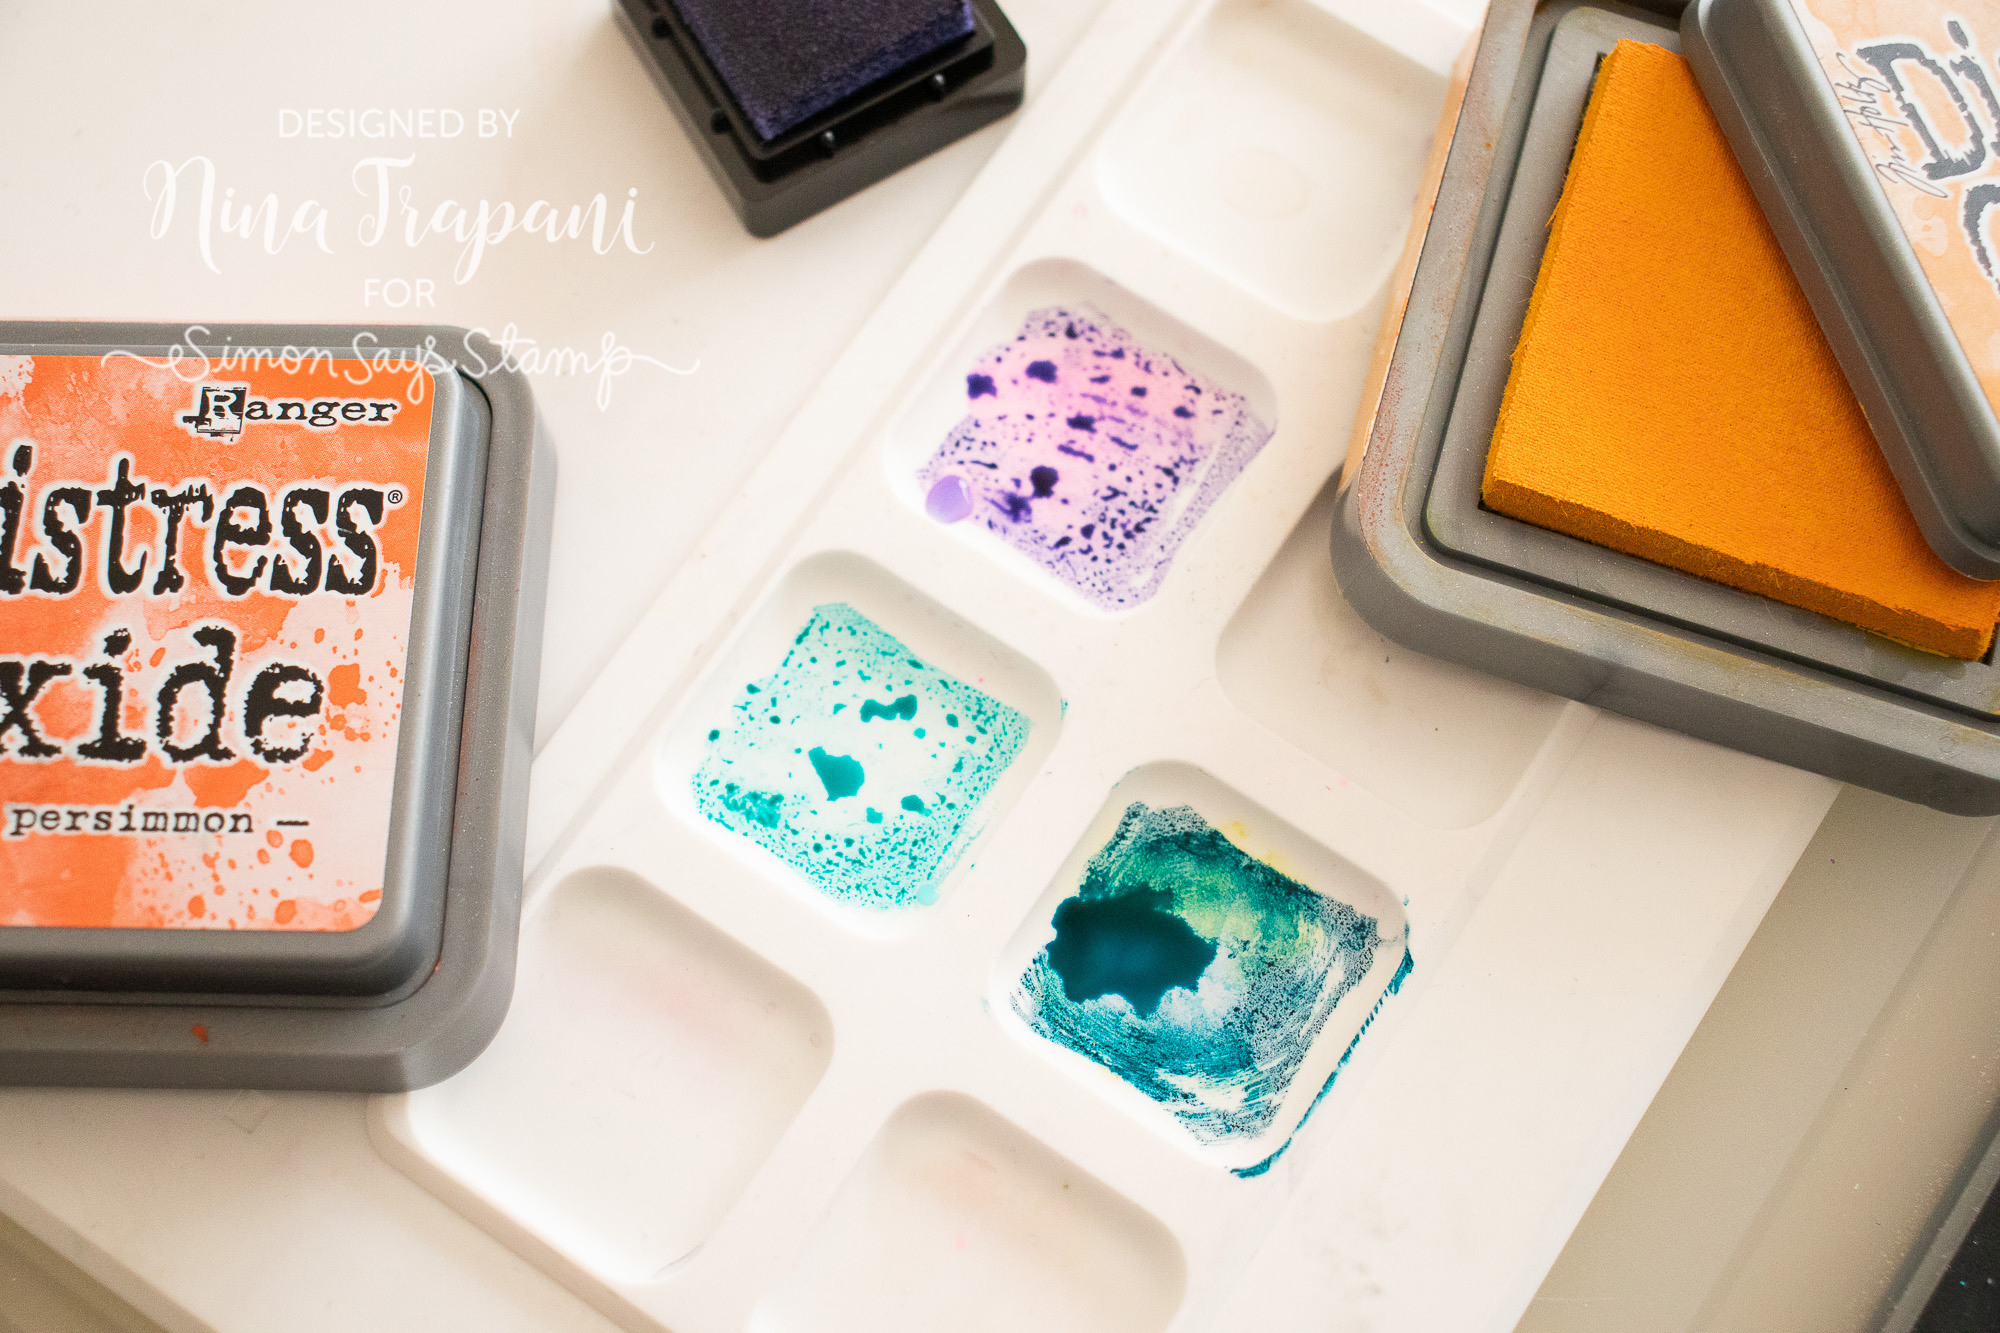
If you love to watercolor with “all the things” then you’ll probably be a big fan of the Waffle Flower Media Mat; I know I am! This silicone mat is a white surface, perfect for showing the true colors of whatever medium you have sitting on top. There are clever little wells on the side of the palette, that will hold all your favorite colors; and they just so happen to be the exact size of a mini ink cube (talk about easy)!
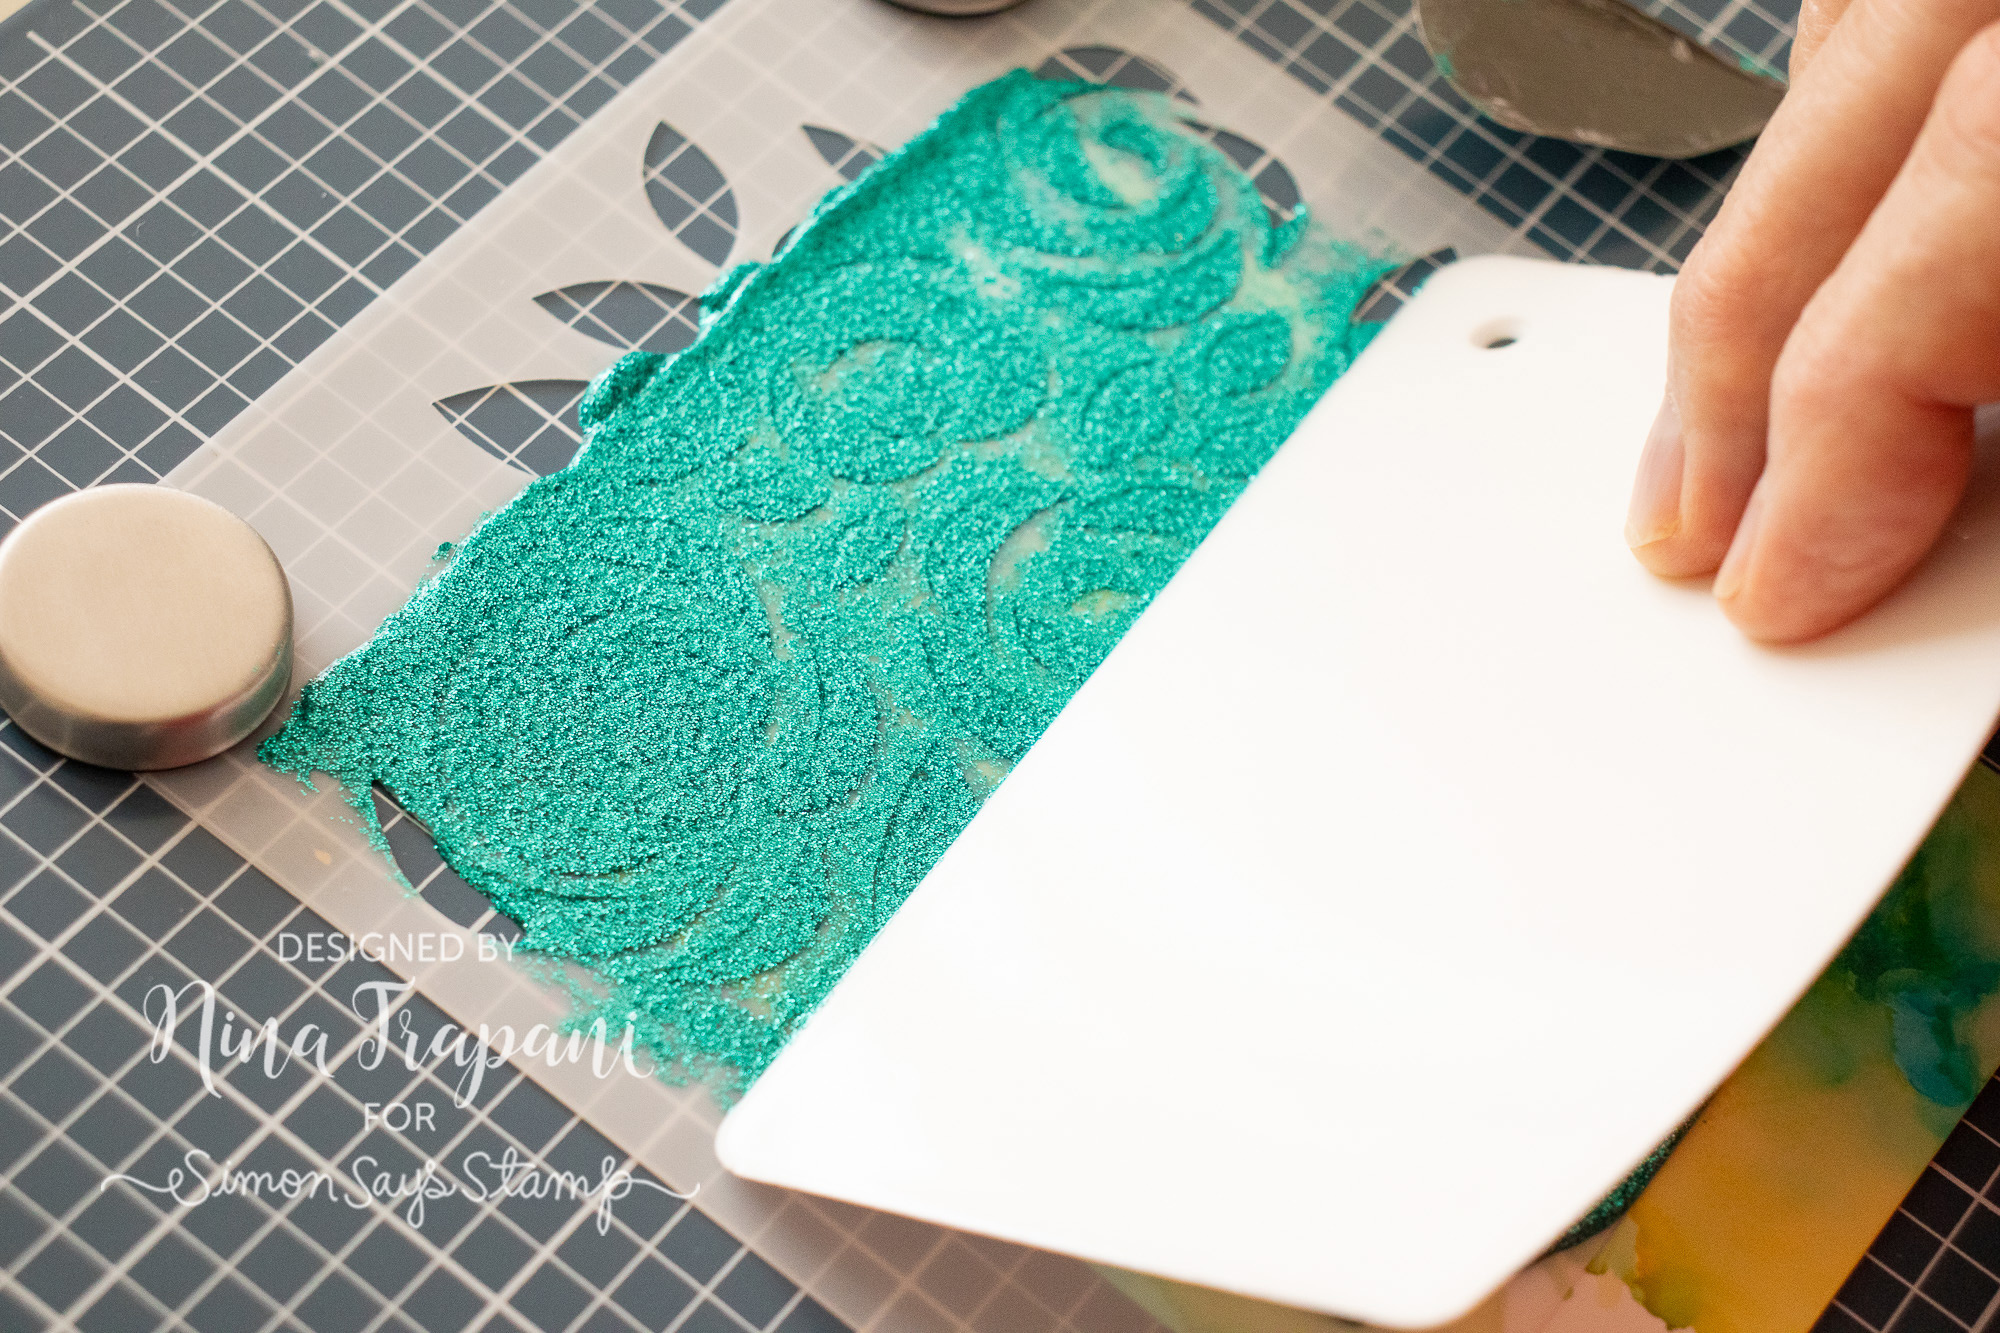
Transparent Texture Paste
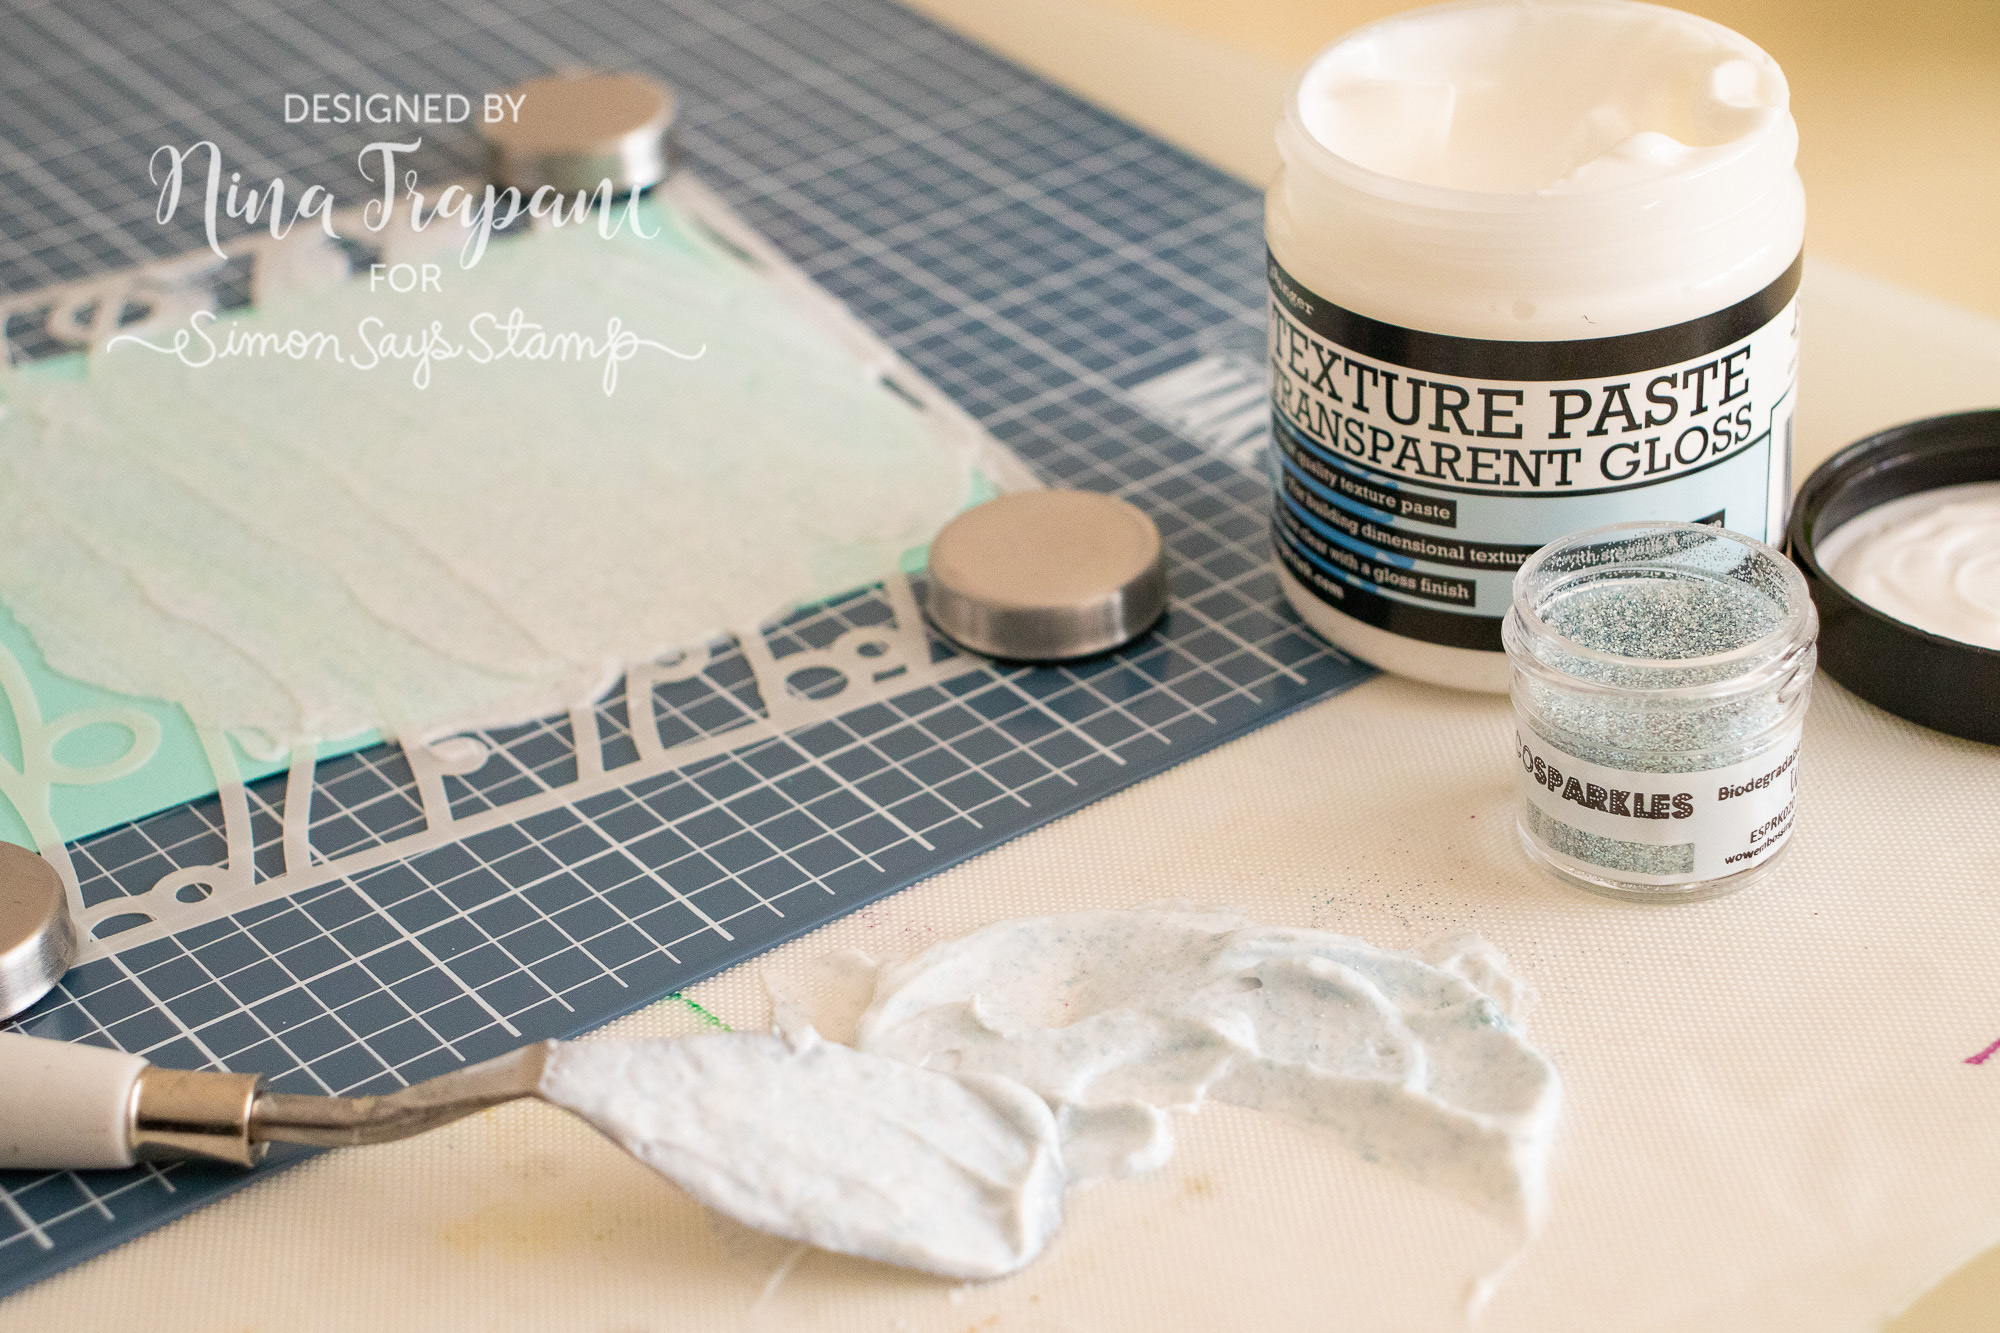
We all love a gorgeous glitter paste – especially since glitter pastes are one of the “non-shedding” glitters! But sometimes we need that “perfect” glitter paste color and we just don’t seem to have it in our crafty stashes. This is where the Transparent Texture Paste from Ranger comes in handy! Mix with your favorite ink and/or glitter …. voila! You have a DIY glitter paste in the *exact* shade you were looking for! It really is quite simple and the results are always stunning.
DIY Outlines for Word Dies

Speaking of DIY, have you ever wished you had an outline for one of your favorite sentiment dies? I know I have! I find that when I don’t have an outline die for a specific greeting I want to use, it takes no time at all to make one on my own! Simply lay your sentiment die face down onto the paper you want to have the outline cut from; then lightly trace around the die with a pencil. Using some fussy cut scissors, cut along your traced lines and use a soft eraser to clean up any lines that are still visible after cutting. Fake it ’til you make it, right?
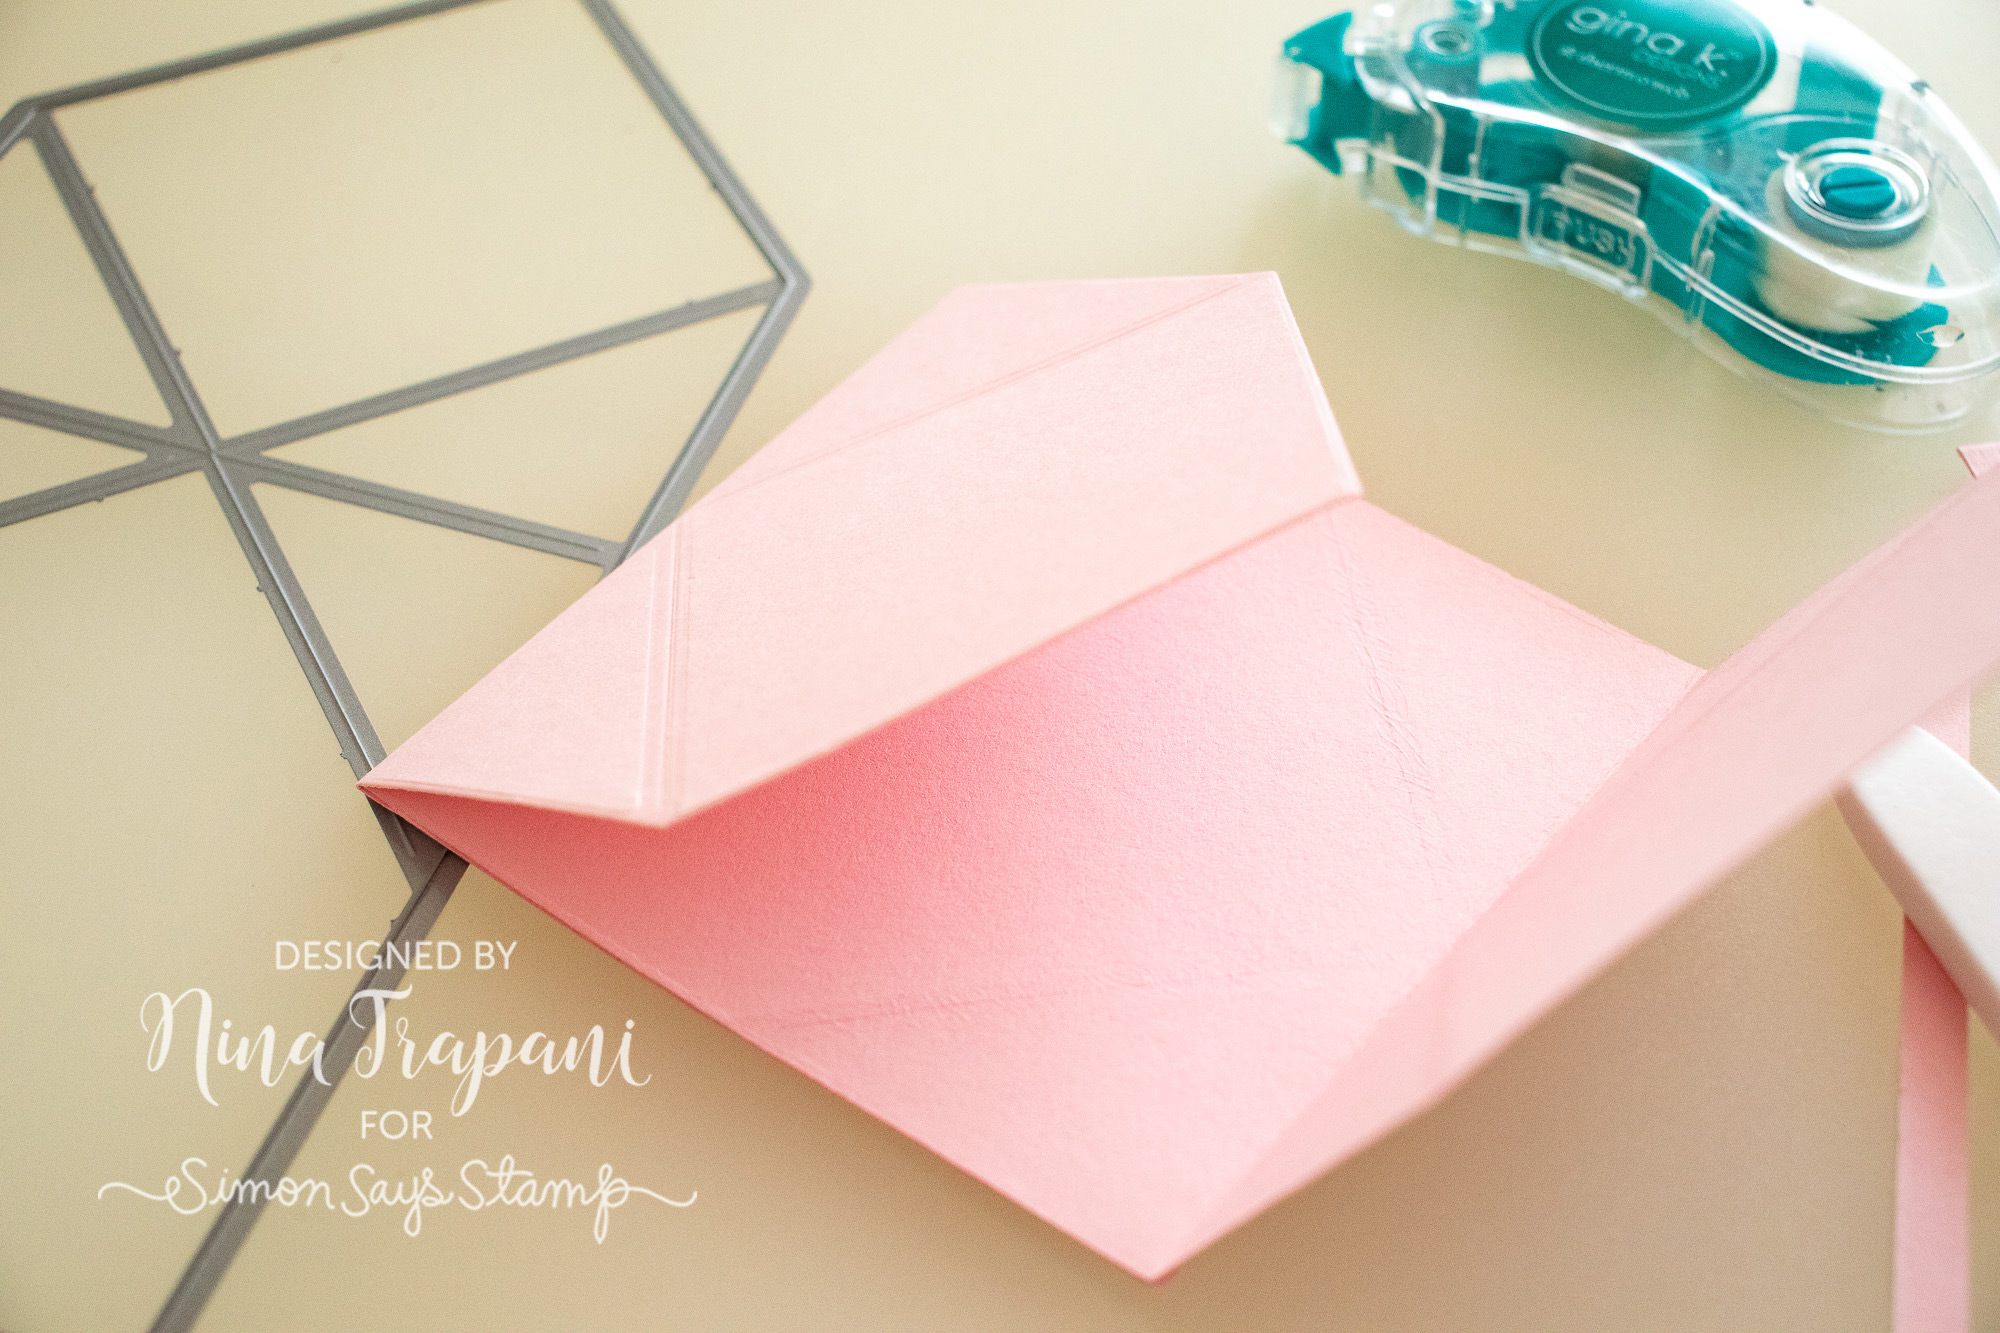
Congrats Grad die
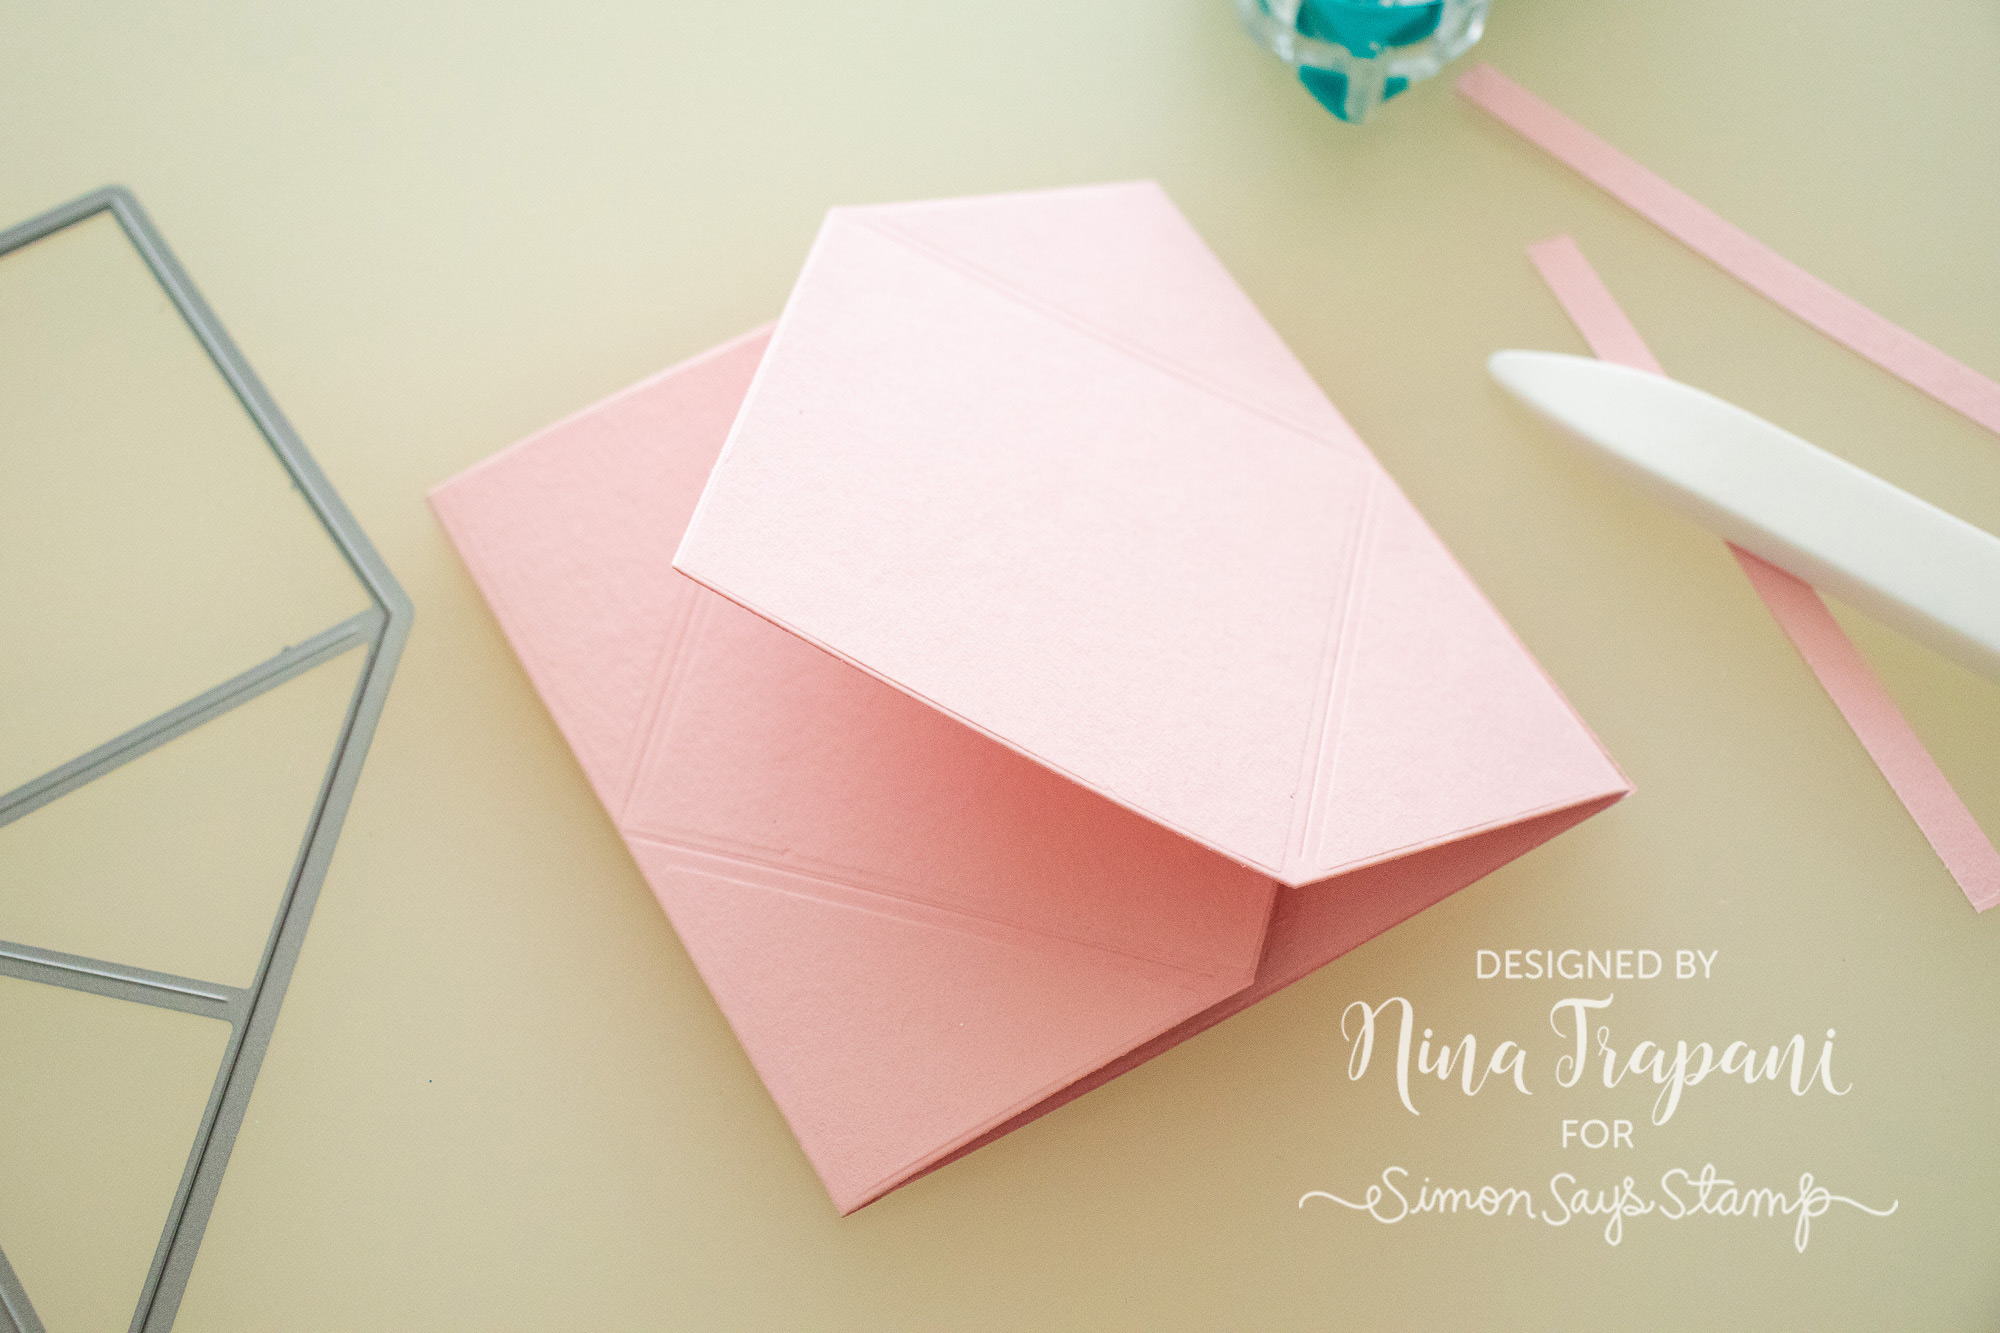
Many of you probably picked up our Congrats Grad die from our latest release, Blossoms and Butterflies. You might be inclined to think that once all the graduations are over, this die is going to end up in the back of your stash… not so fast! Not only did we include some versatile accessory pieces in the set (for example, the gift card slots and the congrats greeting), but the body of the die set (the piece that makes a graduation cap), can be used beyond grad caps! Simply cut the large graduation cap body twice from your choice of cardstock; trim 1/4″ off the flat ends of each die cut panel. Glue the square areas together and fold along the score lines to make flaps. You’re left with a super-clever and adorable gatefold card that can be used all year long!
We hope you have enjoyed this month’s installment of Did You Know?! Tune in again next month for a brand new edition of this fun series!
SUPPLIES
|


Blog Candy Alert!! Follow our blog via email and comment on this post for a chance to win special blog candy!
Yippee for Yana: Messy Watercolor Mother’s Day Card

Hi friends! Happy Wednesday! Please join me in welcoming the always awesome Yana Smakula in our Yippee for Yana series where she is making a special Mother’s Day card in honor of this weekend’s upcoming holiday, but really you could take this design and make a card for any occasion! Be sure to read on and watch the video for more information! Enjoy!
Hi everyone, this is Yana Smakula, welcome back for another Yippee For Yana video!
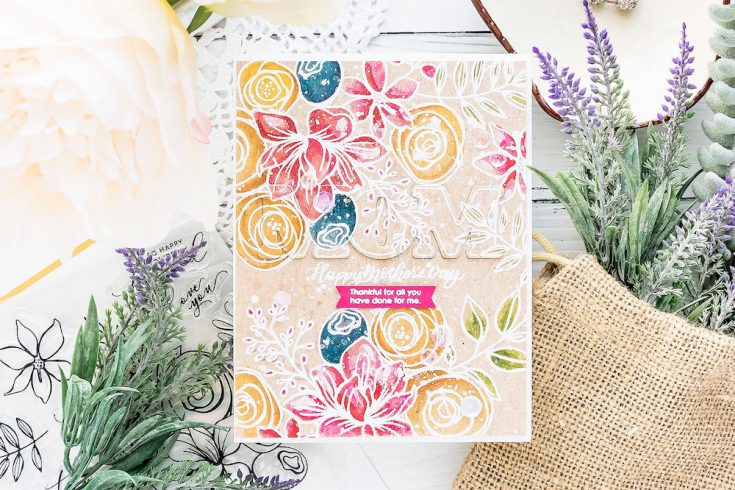
In this episode, I’m sharing easy and messy watercolor floral card Mother’s Day card using some older goodies from Simon Says Stamp. I know how much you enjoy watching tutorials using not only new but also older products so I’m hoping you’ll find this video useful.
The main stamp set I’m using today is the Sketched Flowers 6×8 clear stamp set by Simon.
I also have a “Happy Mother’s Day” sentiment stamp from another stamp set, called Mom Flowers. I also used a sub sentiment from here, another sentiment for the inside of the card and also a coordinating die.
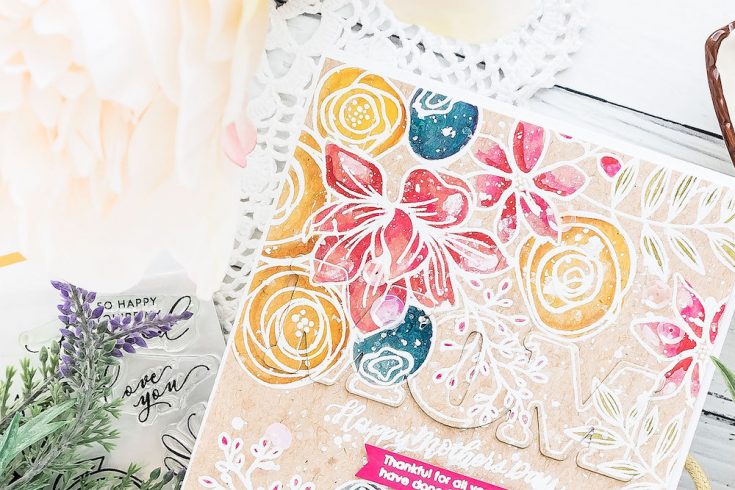
I wanted to do simple and messy watercoloring. I started working on this card by prepping cardstock for heat embossing. I wanted to heat emboss image outlines to simplify the watercoloring. When I have raised outlines to my images I find that I can watercolor faster, as I am not afraid to go outside the lines, the embossed outlines help me stay inside the image boundaries.
The paper I am using today is actually not a watercolor paper, it is regular cardstock. This Neenah Desert Storm 80lb cardstock. I picked this paper for my card today because I wanted my watercoloring to have a nonwhite background to it, but I didn’t really want to spend the time coloring the background itself.
I’ve done it in the past – I would color the images themselves and would later come in and also color the background to whatever color I wanted. Results are usually phenomenal, but this is also a very time-consuming process. A way around is to use colored paper right away.
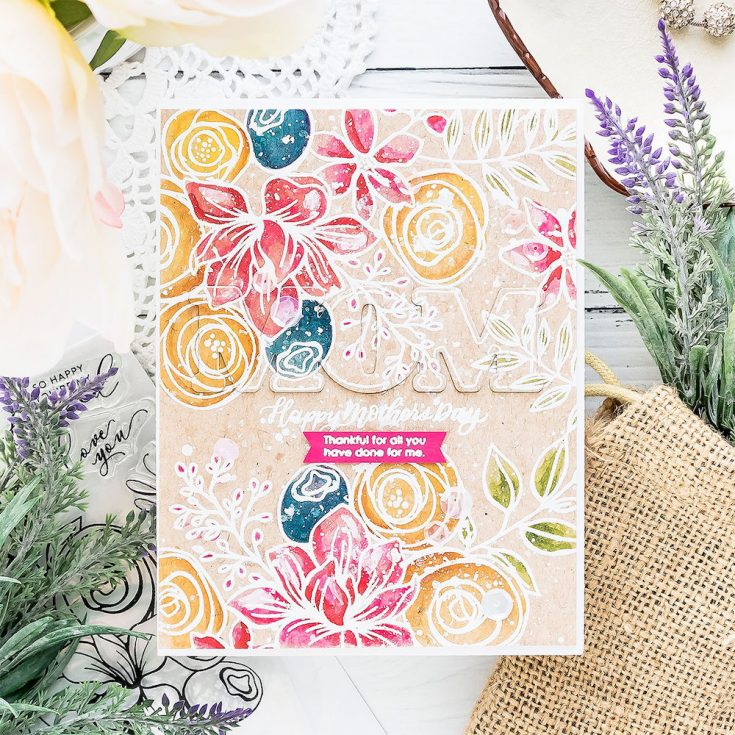
I stamped images and sentiment on the front panel, covered them with Hero Arts White Detail embossing powder and heat set.
Now comes the fun part! Coloring! Similar to my previous Simon Says Stamp video I used my Daniel Smith Watercolors and a water brush.
You would think that watercolor would not show or would not work on kraft paper, but if in fact does work beautifully. Yes, the colors are not as vibrant and saturated as they would have been on white, the kraft color of the paper does dull some of the colors, but water coloring on kraft still works.
I started by coloring leaves using Serpentine Genuine and also Sap Green colors for some shading. Next, I used Quinacridone Rose, Opera Pink, Imperial Purple (although this is one of the colors that turned muddy, I later colored over it with PhtalhoTurquoise), Cadmium Yellow Medium, Quinacridone Gold, and Quinacridone DeepGold.
The trick to coloring on non-watercolor paper is using very little water. This kind of paper is not designed to take and hold water so you need to go easy on the amount of water you add with your watercolors. Using a water brush here helps me as I know exactly how much water is coming out and I can control the amount of water to make sure I’m not letting too much out and not over saturating my paper.
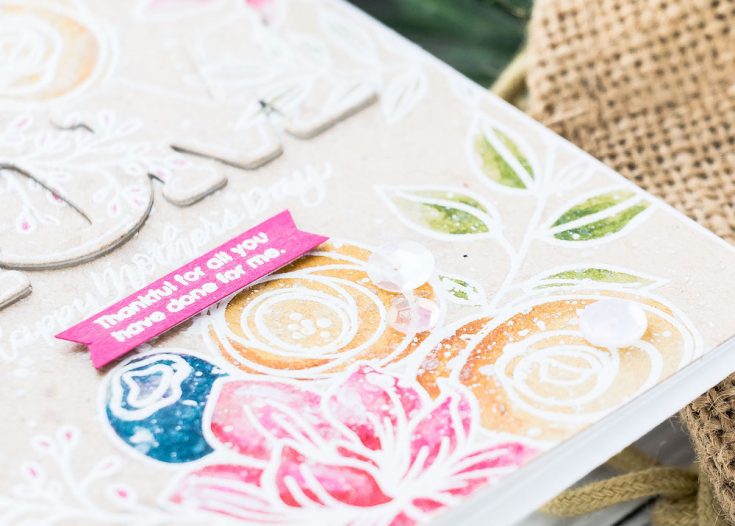
After the coloring was done, I added a generous spritz of Hero Arts Iridescent Shimmer. This is step number one to make the watercolor piece messy. Next, I used some white acrylic paint, diluted it with water and splattered onto the card rather heavily.
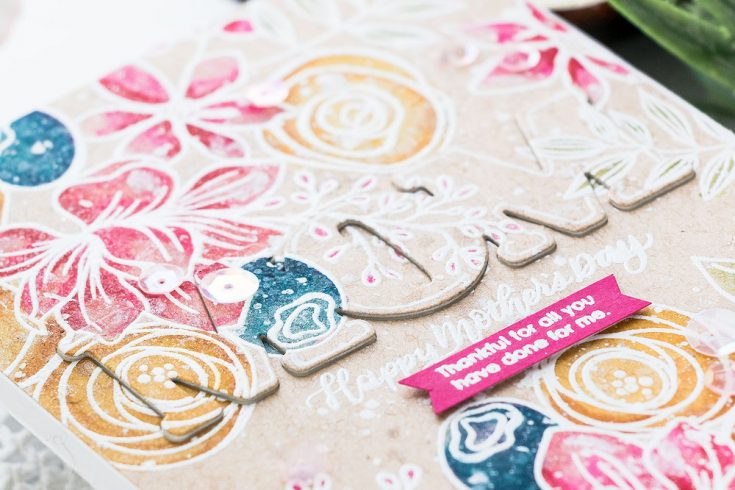
At this point, I felt like the sentiment was lost on this card, so I decided to use a coordinating die from the Mom’s Flowers stamp set and die cut word MOM into this panel. My plan was to inlay it back in but with the help of thin foam adhesive to pop it up just a tad on the card.
I inlaid it back into the background and added the negative piece from the letter O back into the background to make it look solid.
Finally, I outlined the die cut letters to help them stand out a little bit on the card. The coordinating stamp is a solid one and while I could have used it, I didn’t want to have solid stamping on these letters, I only wanted an outline, so I drew one myself using a white pen. This ended up looking like the MOM outline was positioned under all of the florals on the background as if it was masked.
The messiness of this card disguised any of the imperfect hand-drawn lines on the word MOM and helped them blend and become a part of the design.
I also used a few sequins from my stash to add some sparkle to the card front and finally stamped another message on the inside of the card.
I hope you will give this idea a try!
SUPPLIES:
|


Thanks so much for stopping by and thanks to Yana for being our guest!

Blog Candy Alert!! Follow our blog via email and comment on this post for a chance to win special blog candy!


