Cathedral Window Tags by Paula Cheney
Hi friends! Happy Sunday! We’re honored to have the super talented and creative Paula Cheney as a special guest on our blog today bringing us some absolutely AMAZING Cathedral Window tags! Read on for more information and enjoy!
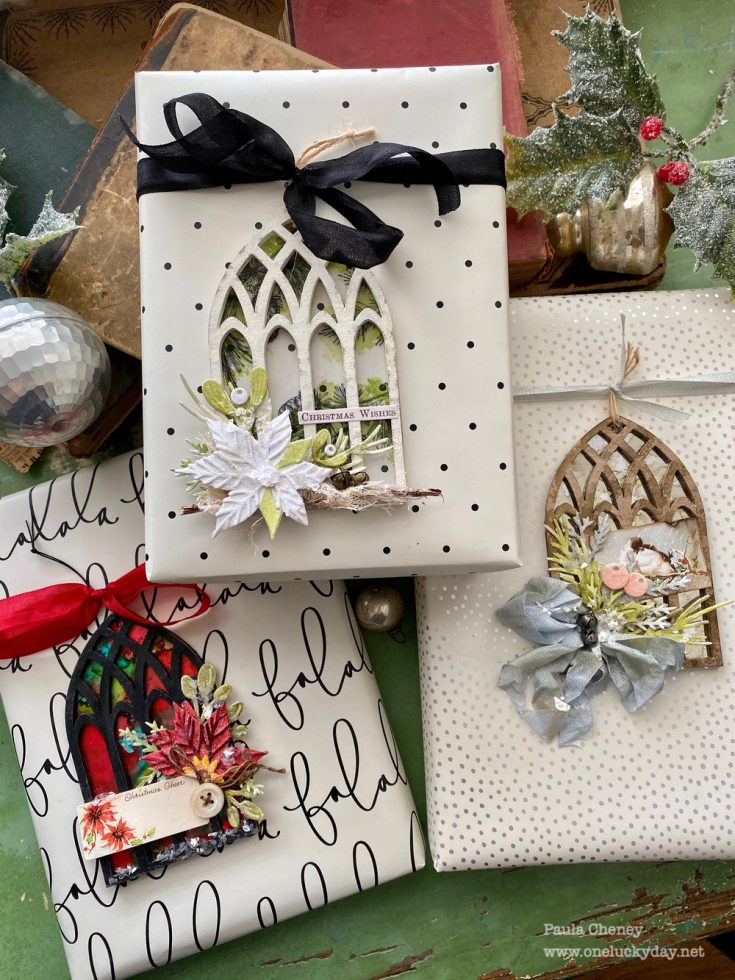
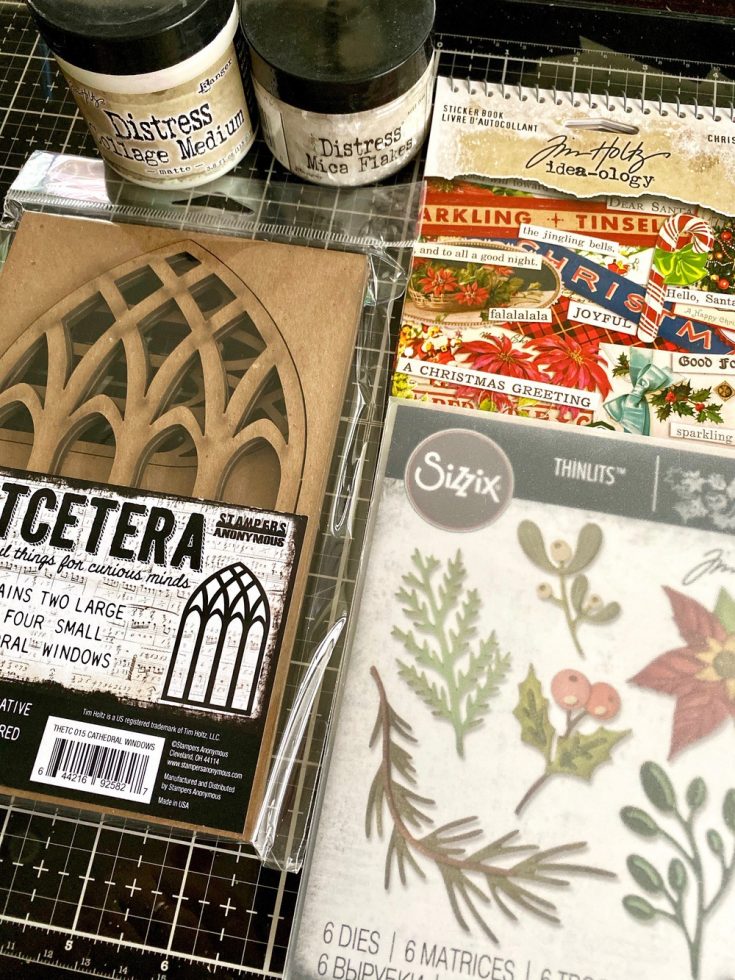
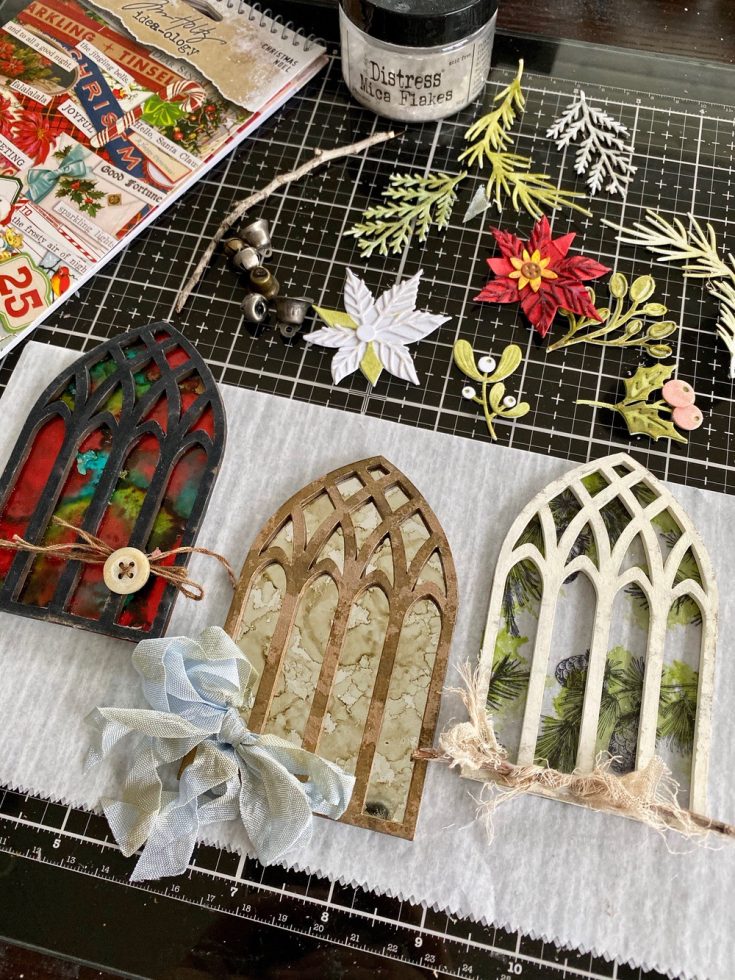
When the Etcetera Cathedral Windows came out, I knew I wanted to use the smallest ones to create a few special embellishments for my Christmas packages. I gathered a few of my favorite products of the season but soon realized there were so many ideas to create whatever style you wished just by varying the colors and theme. Follow along and I’ll show you what I mean!
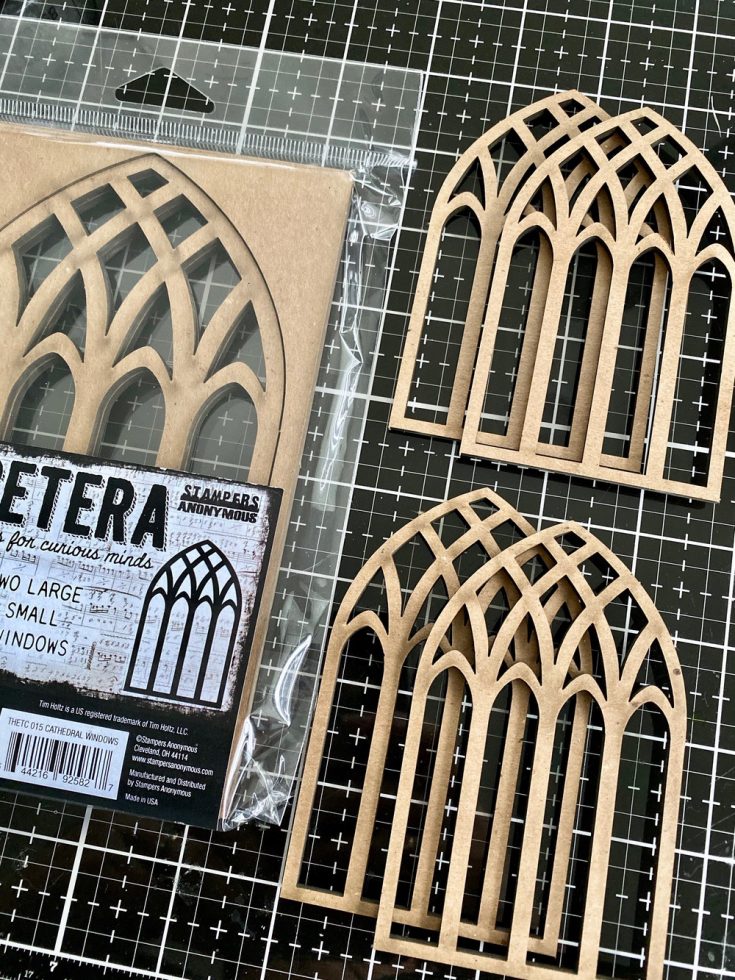
As I said, I chose the smallest Cathedral Windows for the base. There are four, 2.75 x 4.25” windows in each package which was perfect for my project.
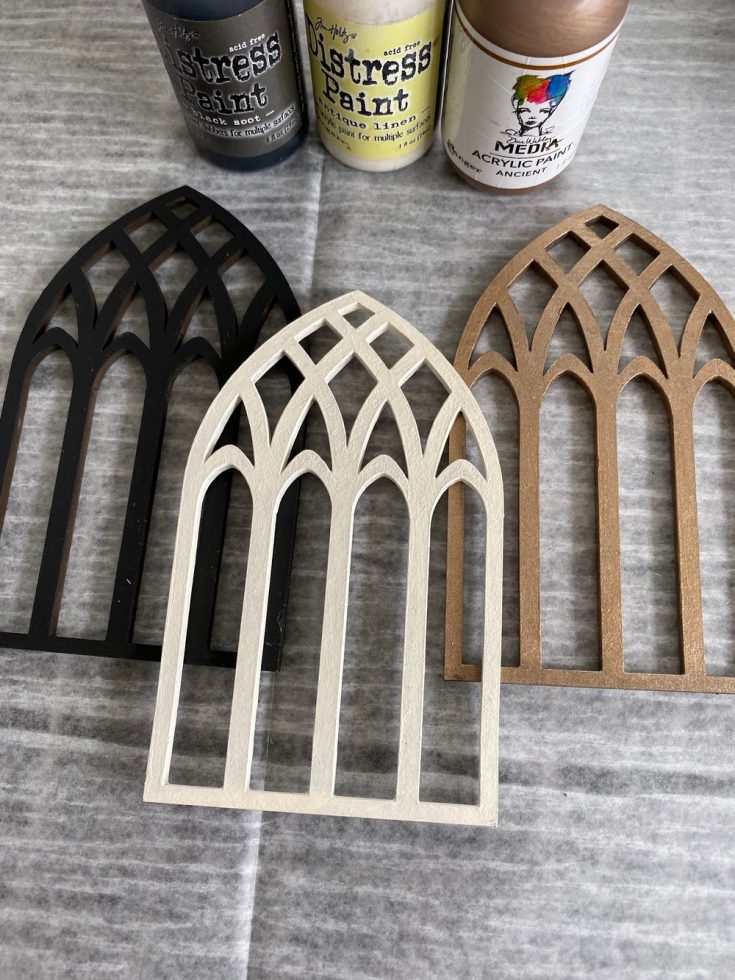
To create three different styles using the same product…start with color. I painted each window with a different color paint: Distress Paint in Black Soot, Antique Linen, and Media Acrylic Paint in Ancient (a great metallic color).
Let’s start with the three different backgrounds and then we will pull everything together at the end.
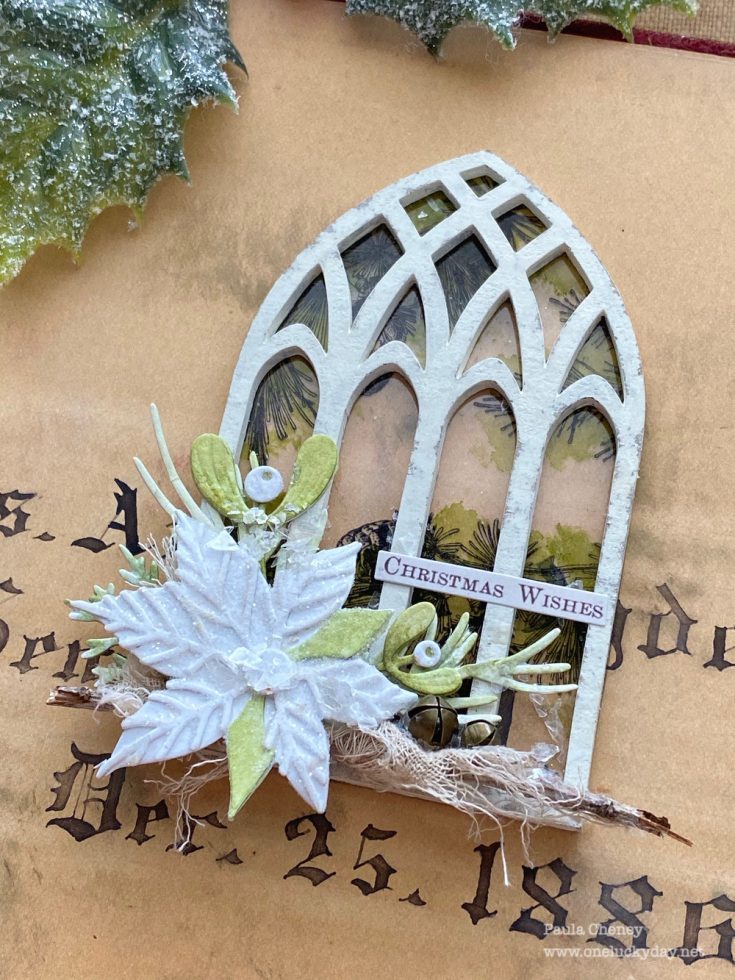
Shabby Chic Window
- Use StazOn ink to stamp the pine branch from Stampers Anonymous Yuletide Gatherings onto piece of transparency.
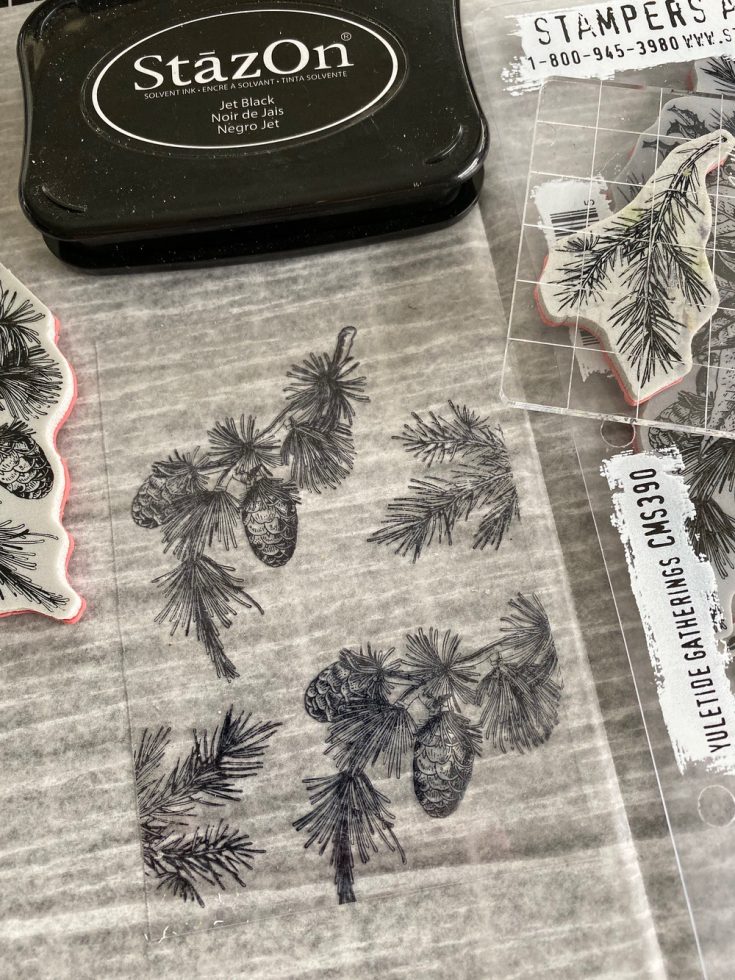
- Cut the transparency to fit the window.
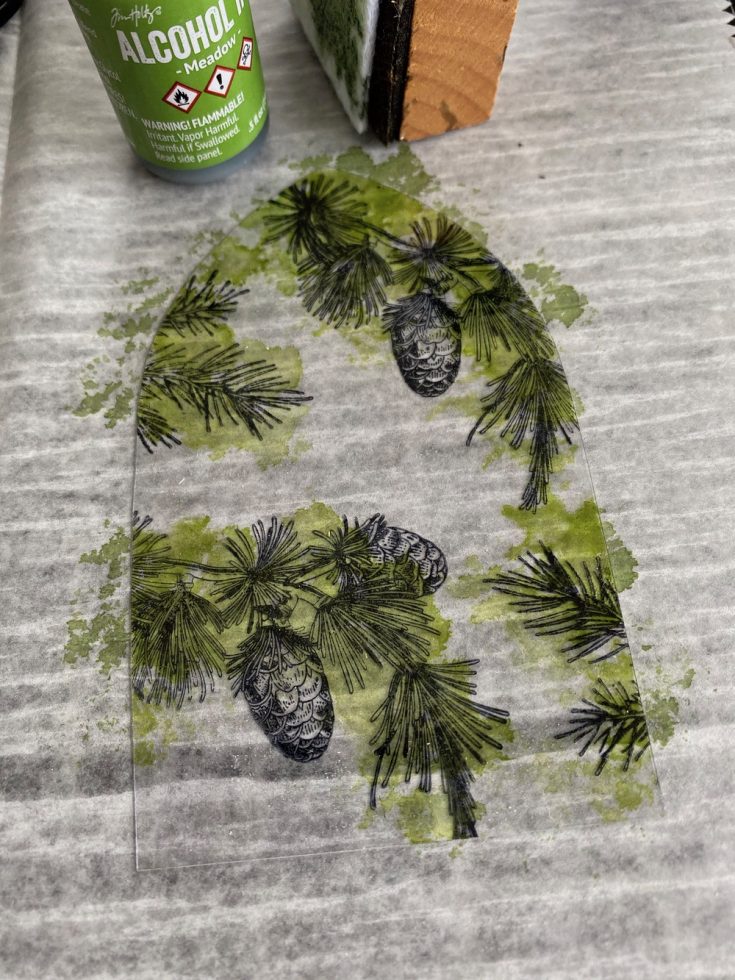
- TURN THE TRANSPARENCY OVER (to protect the inked image). On the BACK of the transparency, pounce Meadow Alcohol Ink over the branches of the stamped image.
- Turn the transparency to the right side and adhere the window with Collage Medium.
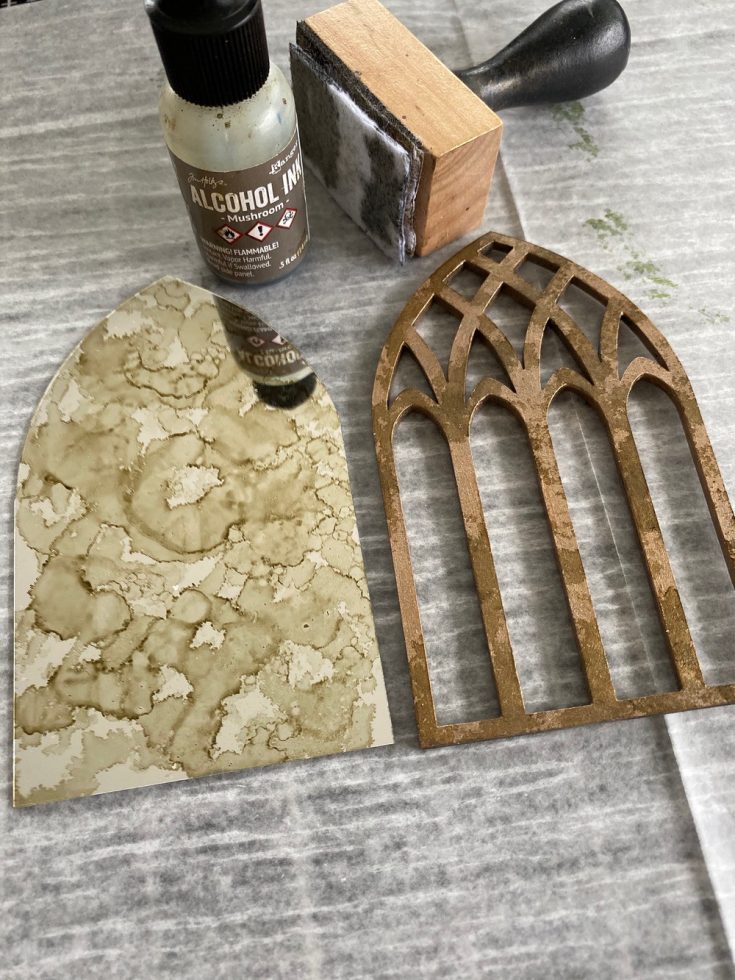
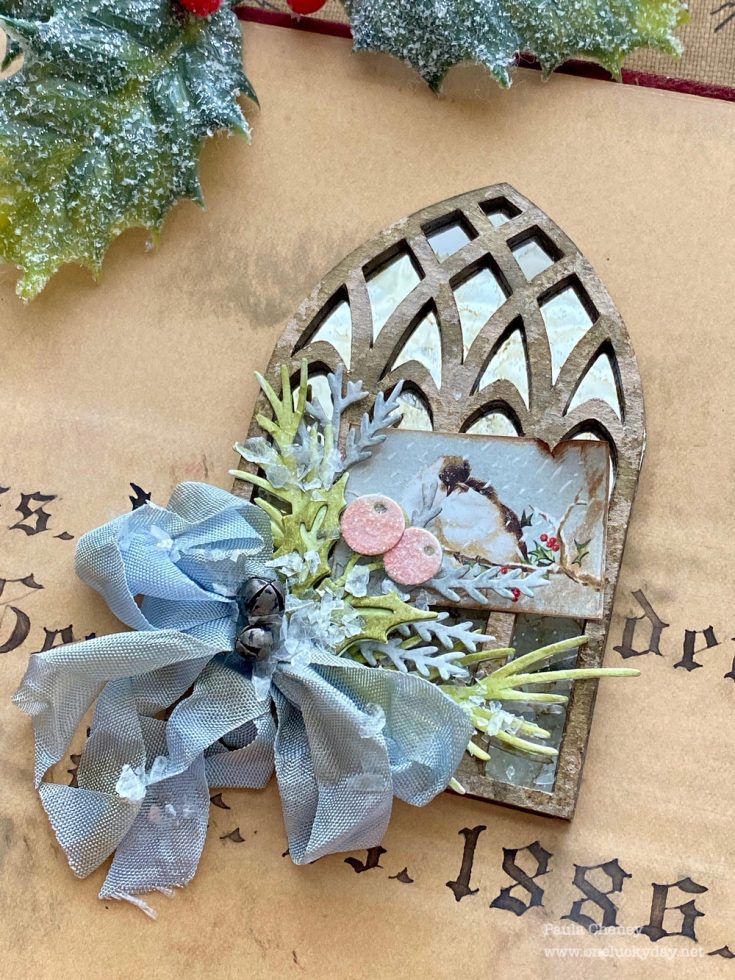
Gold Mirrored Window
- Cut a sheet of Mirrored the same size as the window.
- Pounce Mushroom Alcohol Ink over Mirrored as well as the painted frame to age.
- Adhere the cathedral window to the Mirrored piece with Collage Medium.
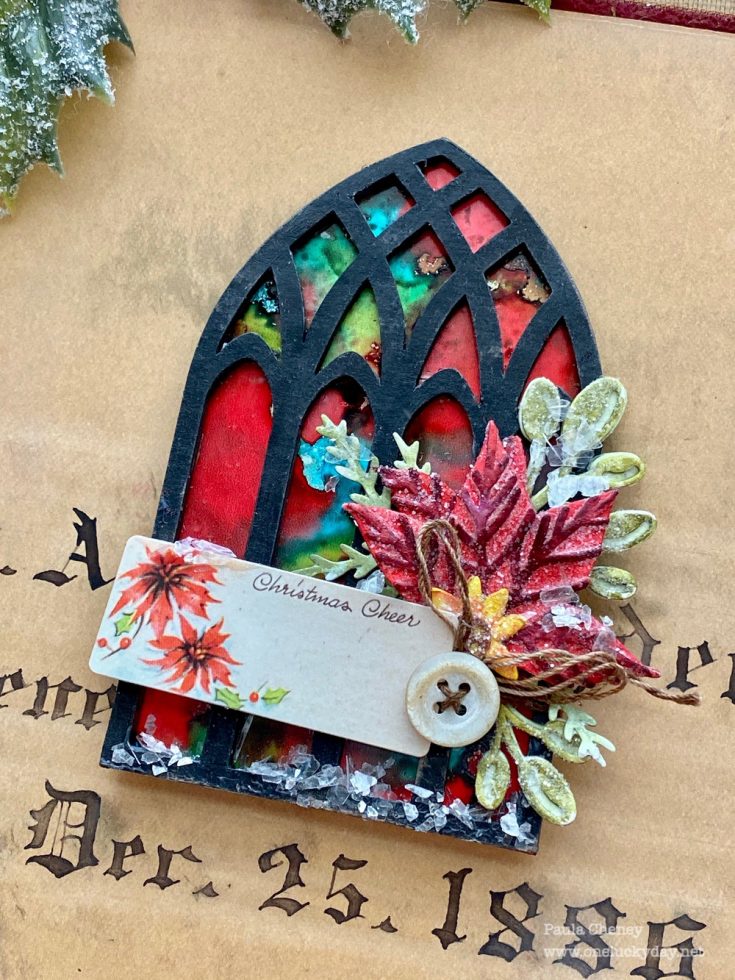
Stained Glass Window
- Cut a piece of Brushed Silver Alcohol Ink cardstock. I like the brushed silver cardstock because it gives the Alcohol Ink an iridescent finish that will look amazing under the lights of the Christmas Tree. You will not be disappointed!
- Spritz 91% Isopropyl Alcohol over cardstock (use in a well ventilated room).
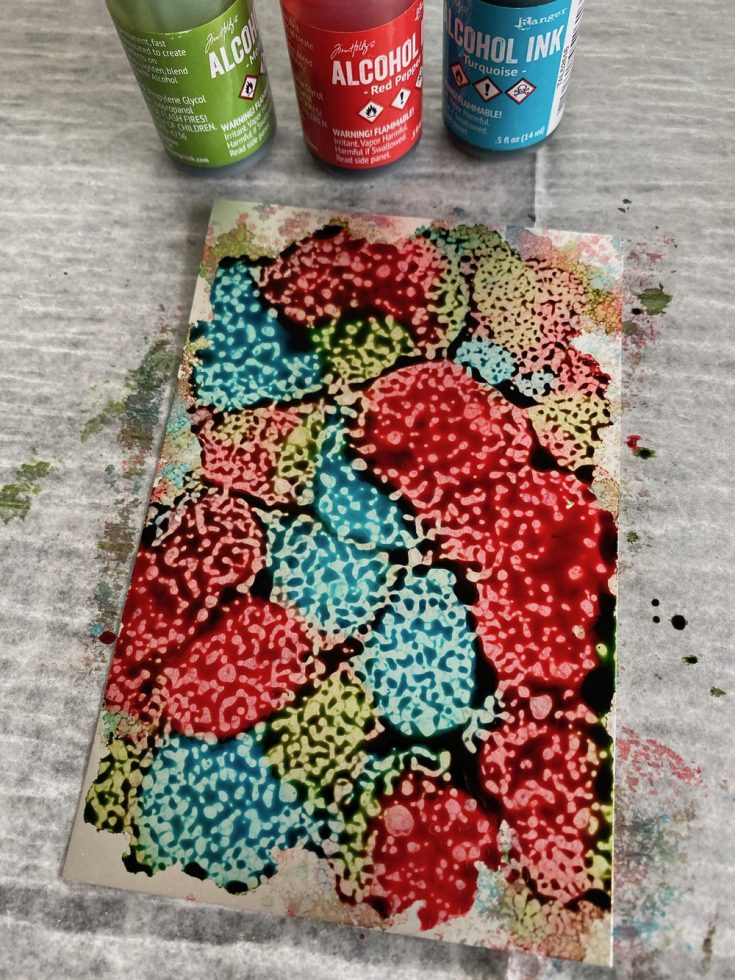
- Quickly shake multiple colors of Alcohol Ink over the surface.
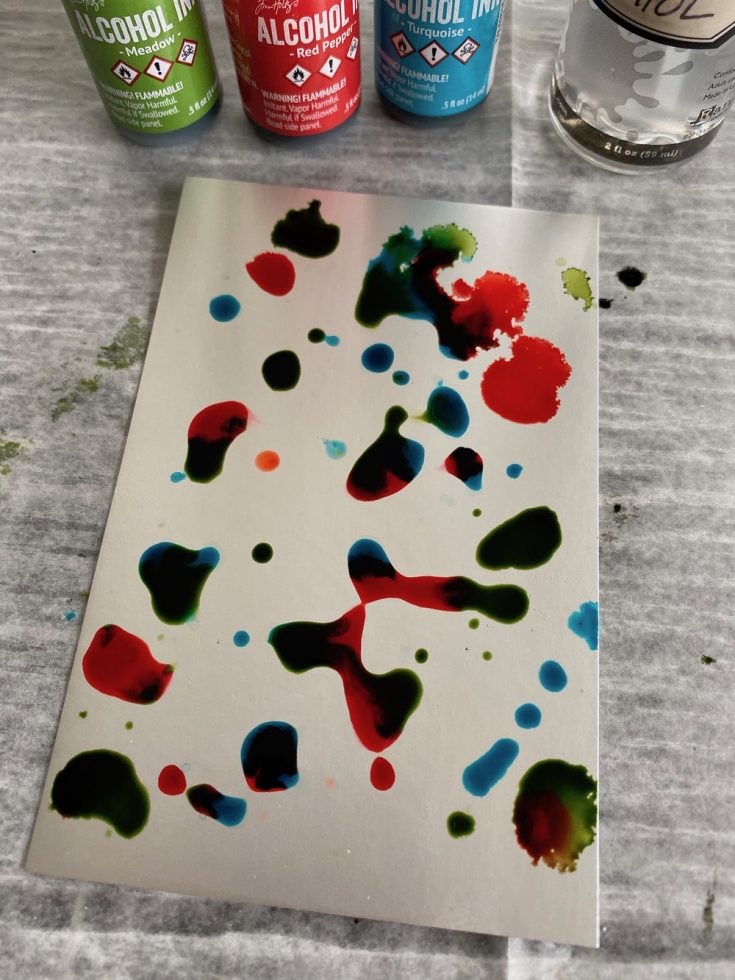
- Use a blending Tool with a clean felt pad to pounce over the Alcohol Ink.
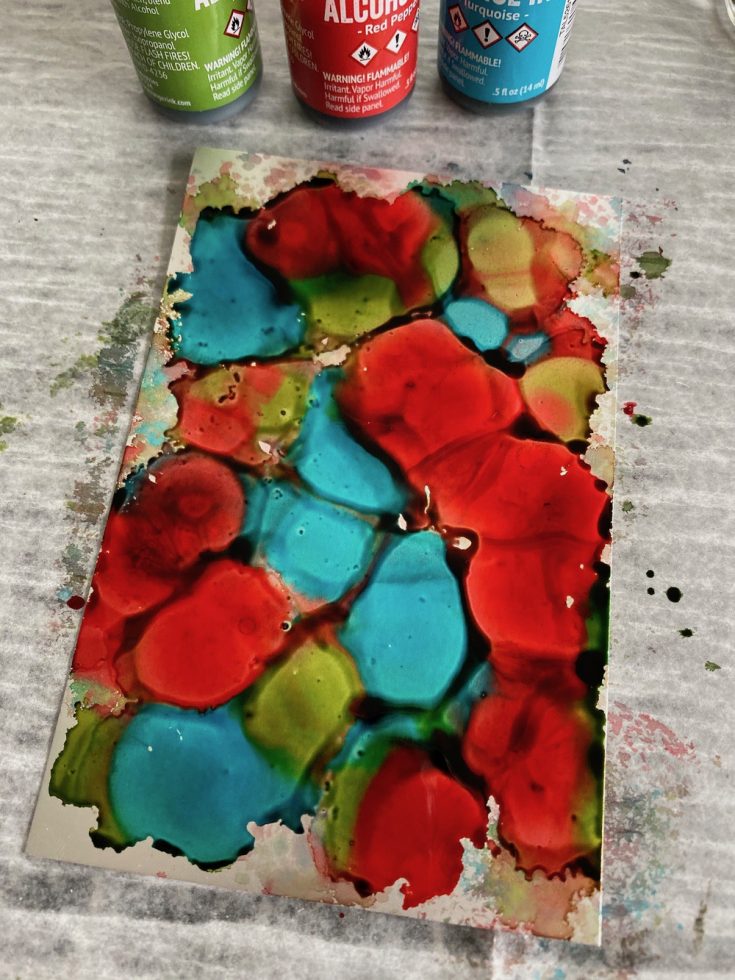
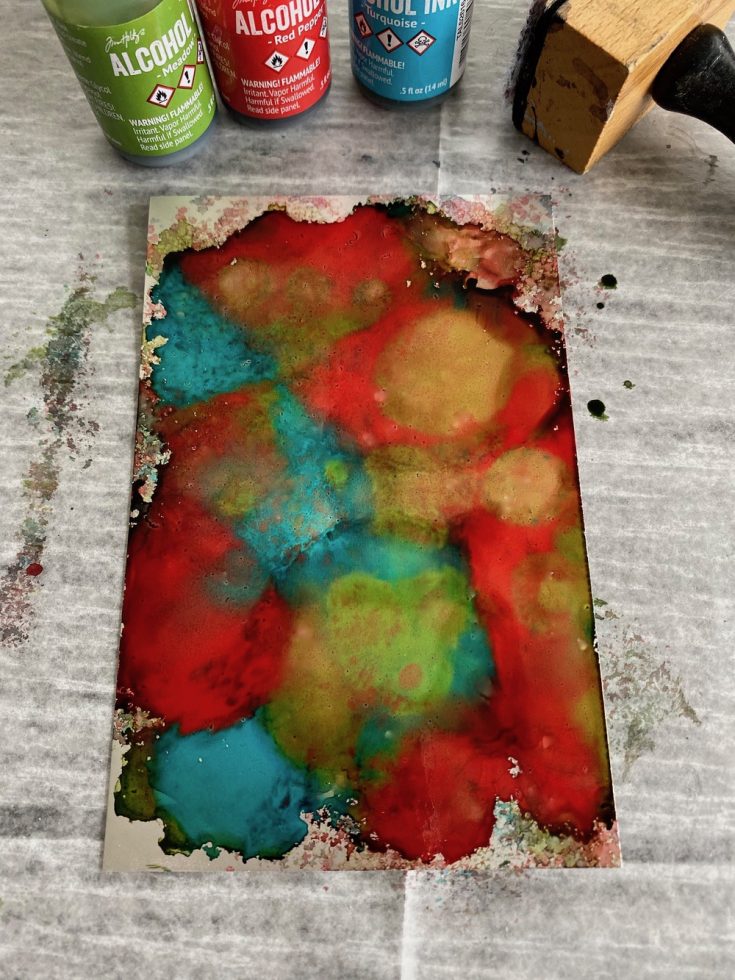
- Spritz 91% Isopropyl Alcohol over cardstock. Don’t worry, you haven’t messed up your work. Just wait, and in a few minutes it will all blend back together. just like magic.
- At this point you can decide if you want to add more layers or be done. Totally a matter of taste. Once you are happy, cut the cardstock to fit the window and adhere with Collage Medium.
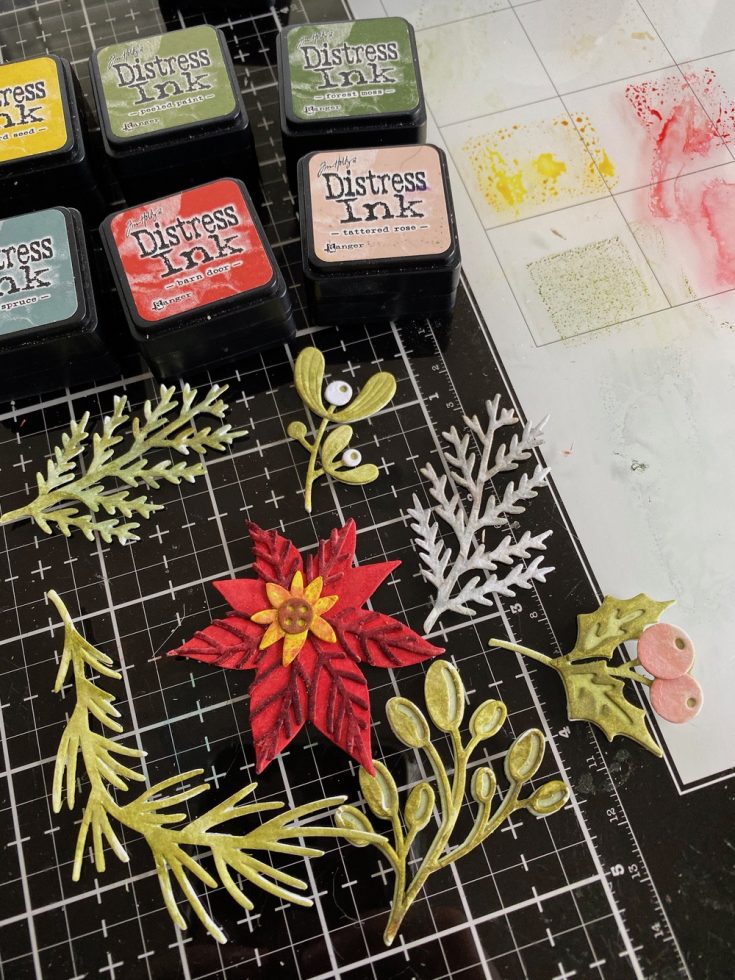
Set aside the windows while you create some flowers using the Large Funky Festive die.
- Cut all die pieces using Distress Watercolor paper. Cut the pine, jumper and poinsettia twice.
- Use a Detailer Water Brush and Distress Ink to color each flower/greens.
NOTE: You could easily cut the same dies with colored cardstock and skip the hand coloring if you wish.
Now bring everything together to finish the windows.
Stained Glass Window: thread a vintage button onto string and wrap it multiple times around the window, ending in a bow.
Gold Mirrored Window – tie a bow with ice blue ribbon (that might seem strange for Christmas but it will work for what I have in mind)
Shabby Chic Window – wrap a thin stick with Mummy Cloth and glue to the window.
Notes on the fishing touches:
- The windows are small, so every piece of greenery was clipped into at least two pieces after coloring.
- I added Clear Rock Candy Glitter over the top of both poinsettias, and the pink berries.
- Distress Mica was added to each window at the very end. To do that, just tap on a small amount of Collage Medium and sprinkle Mica over the top (do not press down). Let dry, then tap off excess.
Shabby Chic Window
White and green floral + Tiny Bells and sentiment from the Christmas Sticker Book.
SUPPLIES:
|


Stained Glass Window
Cut the poinsettia in half to fit around button + gift tag from the Christmas Sticker Book.
SUPPLIES:
|


Gold Mirrored Window
Added greens and holly + Tiny Bells + postcard sticker from the Christmas Sticker Book.
SUPPLIES:
|


To use on a wrapped present, just poke a hole through the top of the window. Thread with string or jute and add to the bow or ribbon.
Thanks so much for stopping by, and a BIG thank you to Paula for this gorgeous trio of inspiration!

Blog Candy Alert!! Follow our blog via email and comment on this post for a chance to win special blog candy!
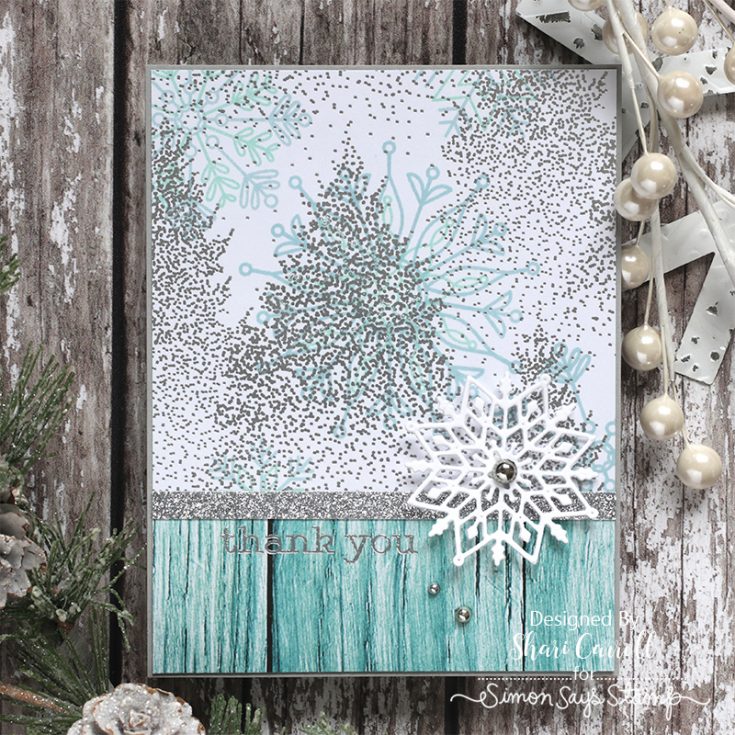
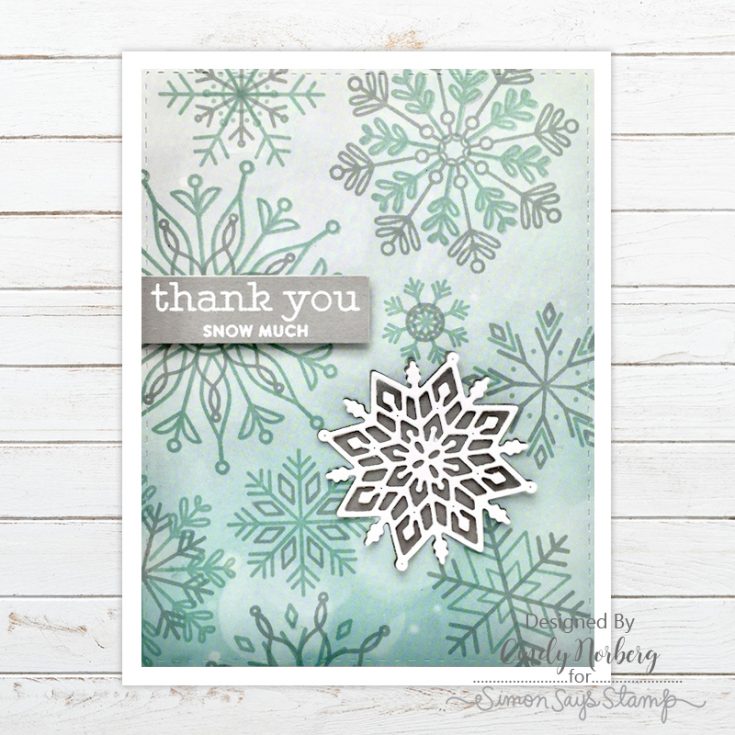
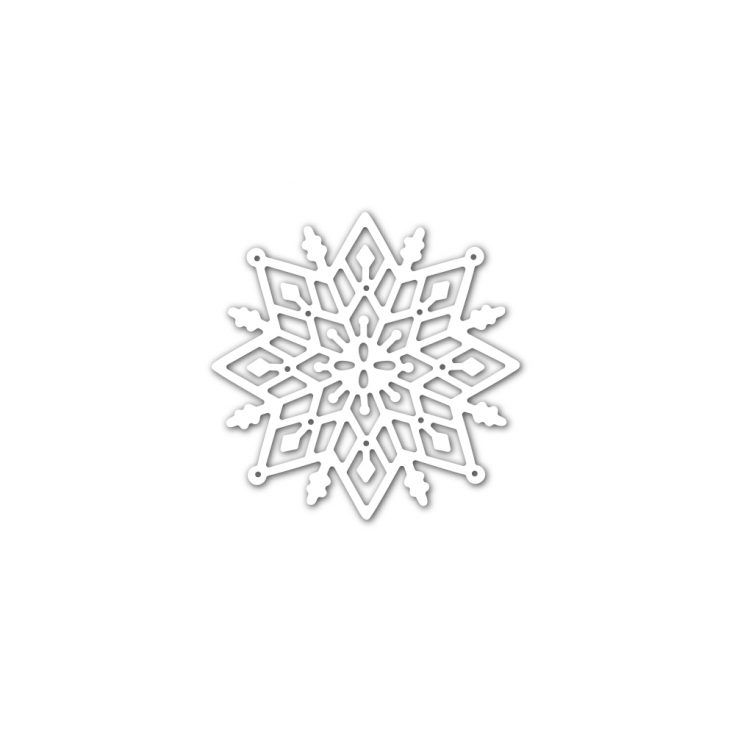
Card Kit Reveal and Inspiration: Snowflake Builder
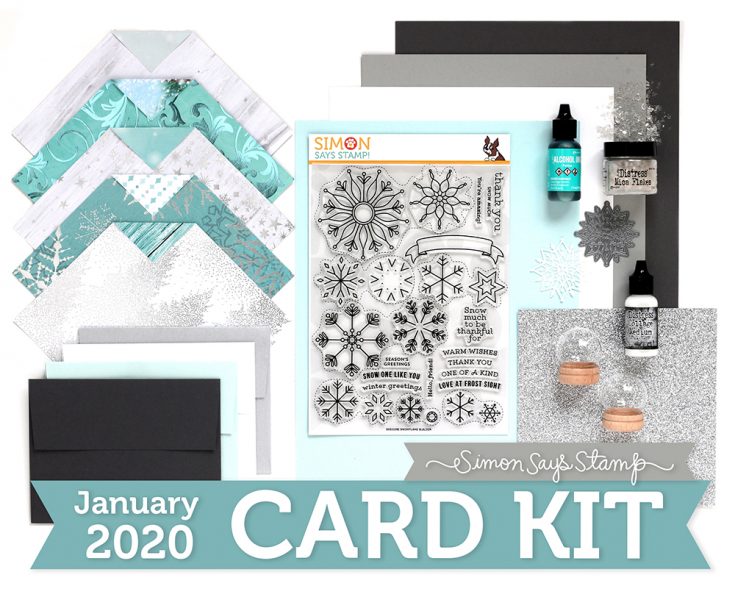
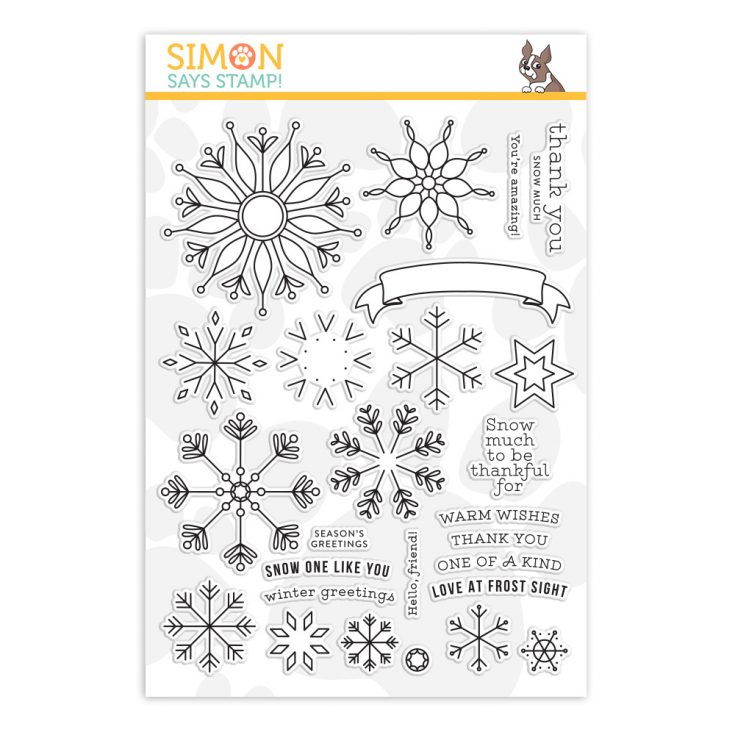
Our January 2020 Card Kit, Snowflake Builder will dazzle you with the shimmer and sparkle of winter! This kit features two gorgeous Simon exclusive products—the 6×8 Snowflake Builder stamp set and the intricate Mini Snowflake Mandala die!
Try your hand at some new techniques with these amazing Tim Holtz products you’ll find in our January Kit—one bottle each of Alcohol Ink, Distress Collage Medium Matte and Distress Mica Flakes. Plus, you’ll get two adorable Idea-ology Snowglobes, a variety of beautiful Kaisercraft patterned papers with metallic accents, a sheet of silver glitter cardstock, and coordinating Simon brand cardstock and envelopes.
Our Snowflake Builder Card Kit will bring the stunning beauty of winter to your craft room – without the bitter cold!

The NEW Snowflake Builder 6×8″ stamp set and Mini Mandala Snowflake die are available for individual purchases in our store!
Don’t forget! We have LOTS of gorgeous card kit inspiration to access and add to in our Card Kit Galleries!
You can purchase the kit at $34.99, or you can subscribe to our kit of the month program for just $29.99 (plus S&H) per month to have our kits delivered right to your door each month!
If you are a subscriber who used Paypal to purchase your subscription, please be sure to pay the invoice that we send you within 3 business days. We have a limited number of this card kit in stock and don’t want you to miss out. For easier and quicker monthly processing, please contact us via email or telephone and we will put your credit card on file as a courtesy for you. Card kits bill and ship anytime between the 16 – 30 of every month.
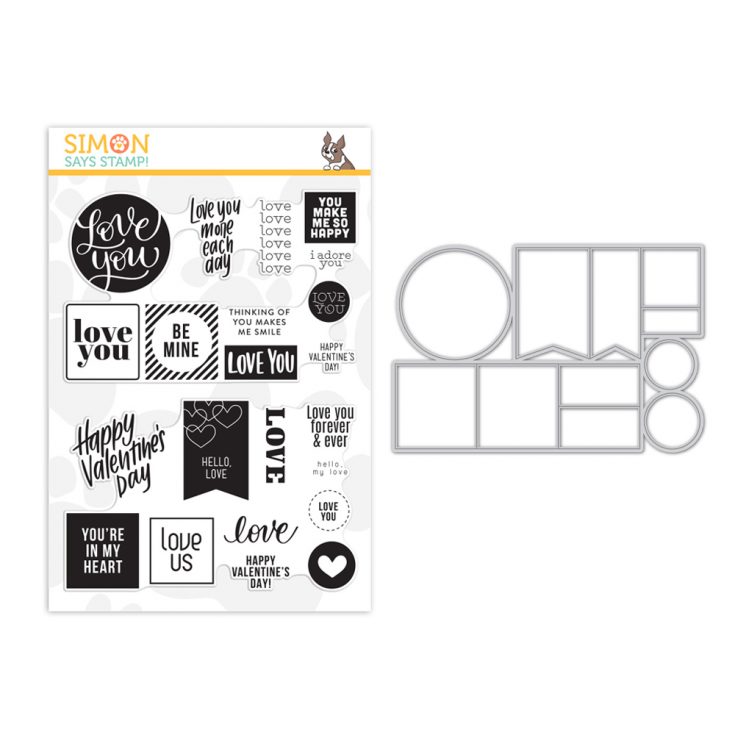
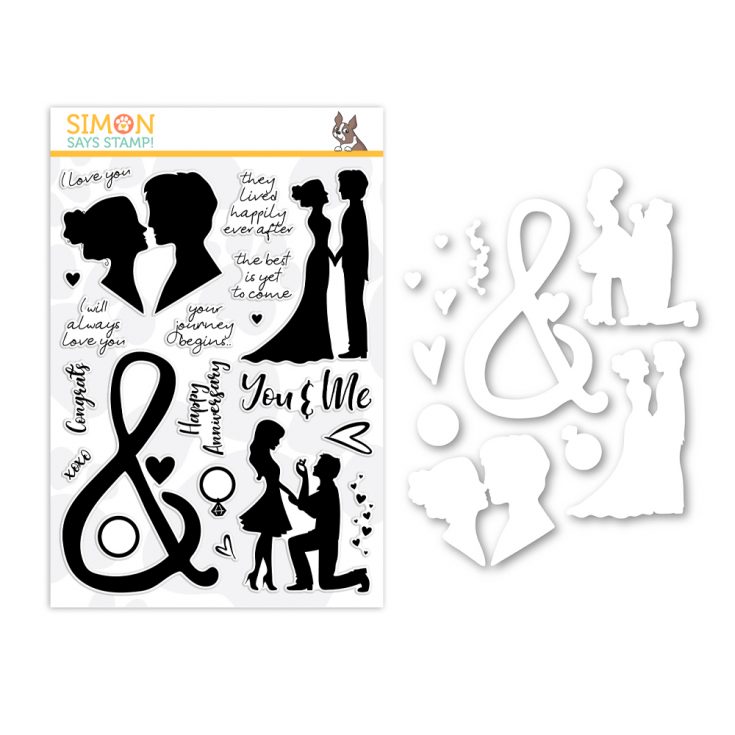
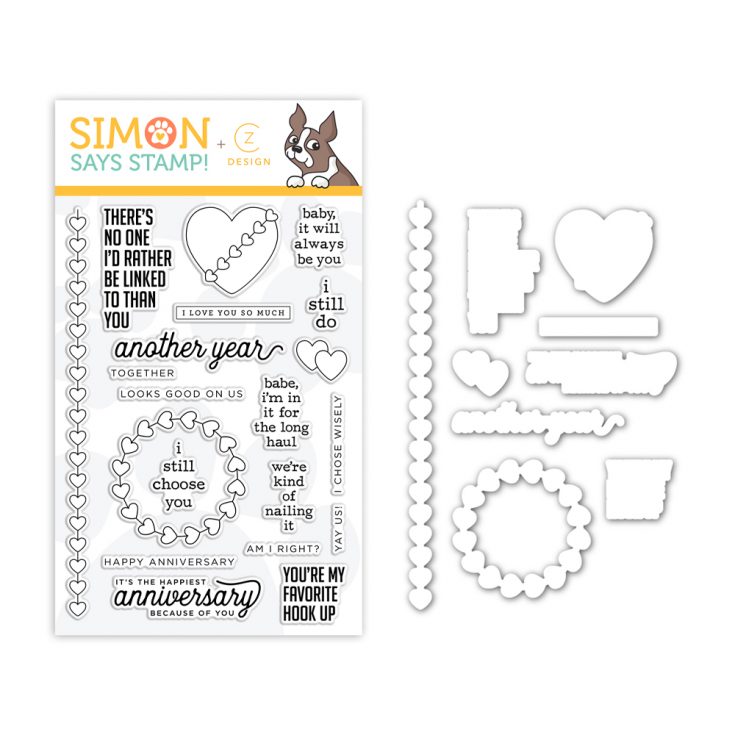
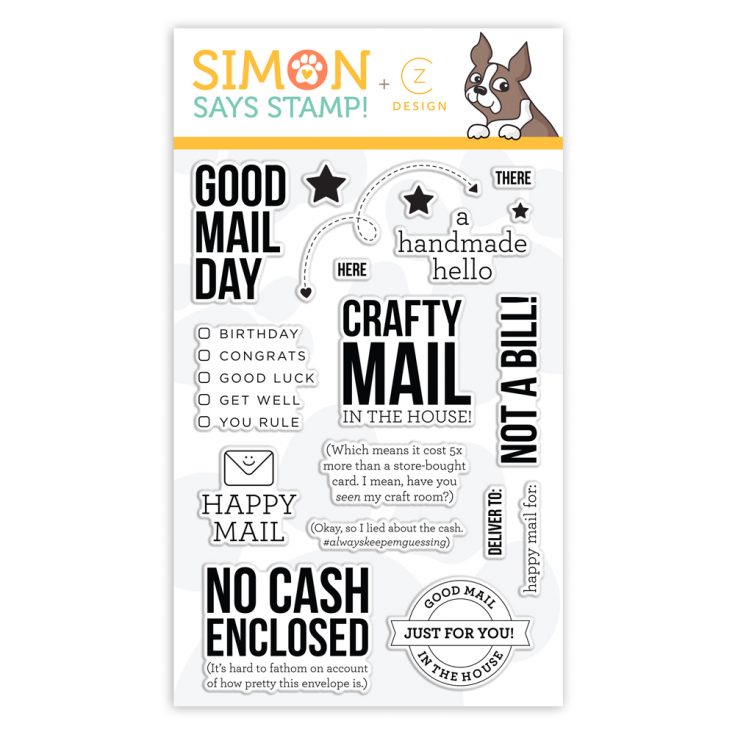
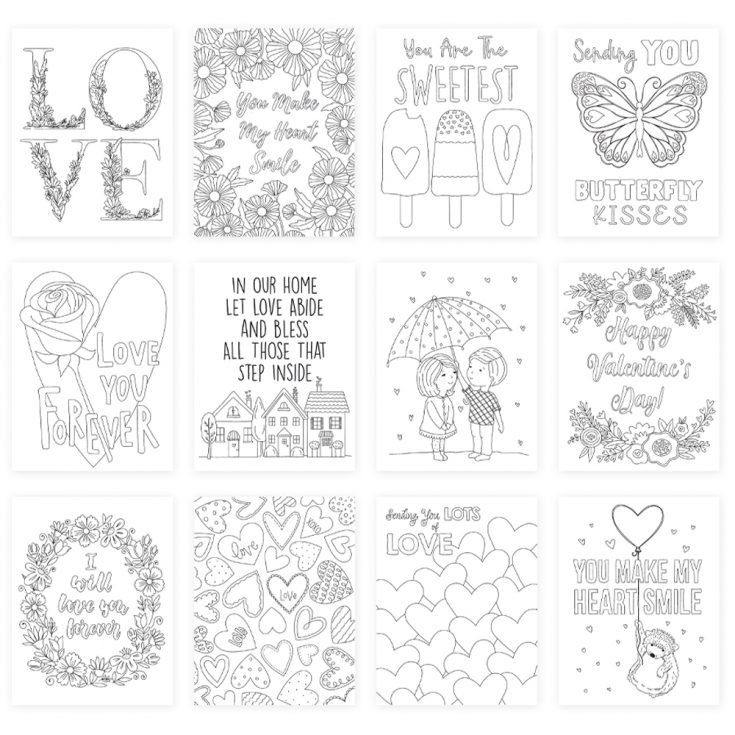
Introducing… Love You More!
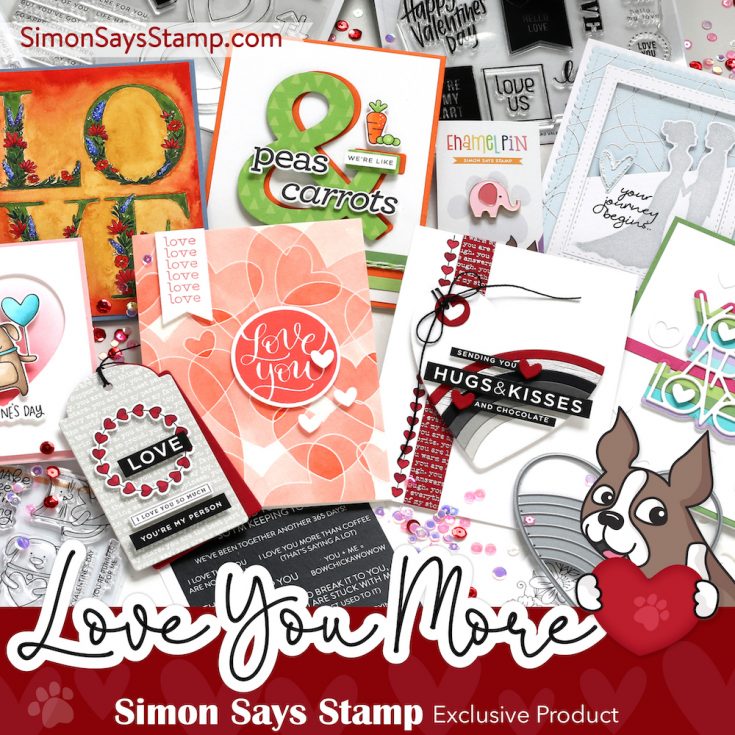
Hi friends! TGIF and welcome to the reveal of our collection that was made with Love…. Love You More! The collection name is especially dear to me as this is a sentiment I exchange with my Mom on the daily. :)
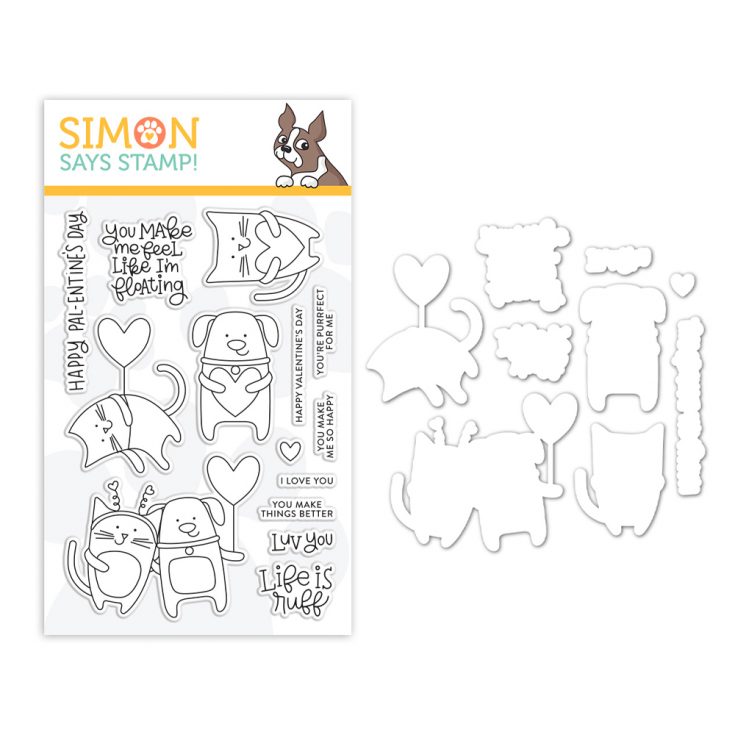
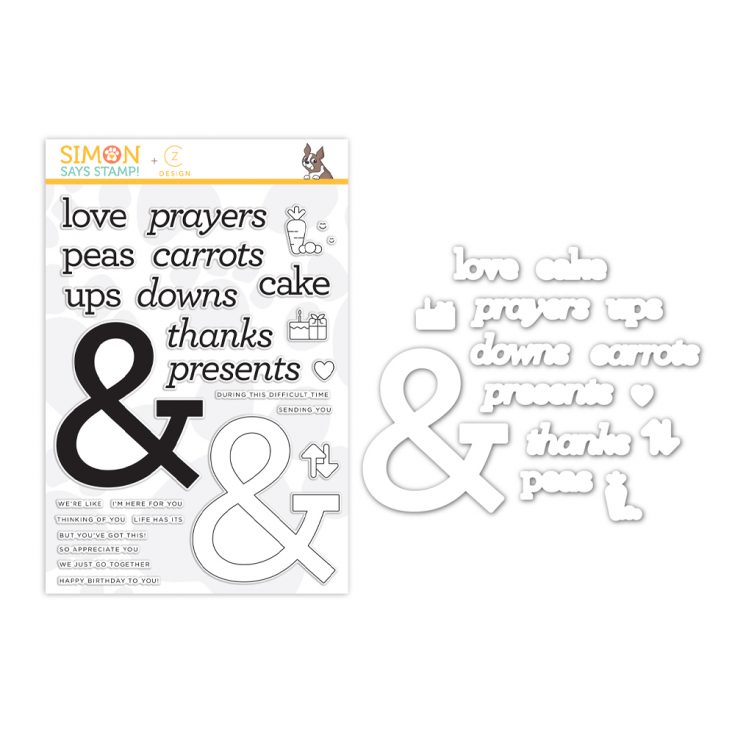
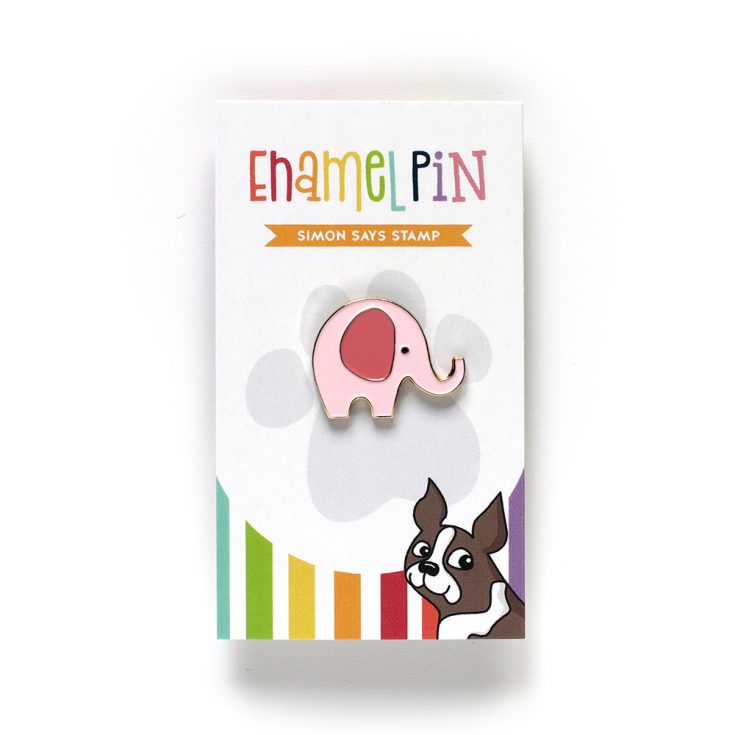
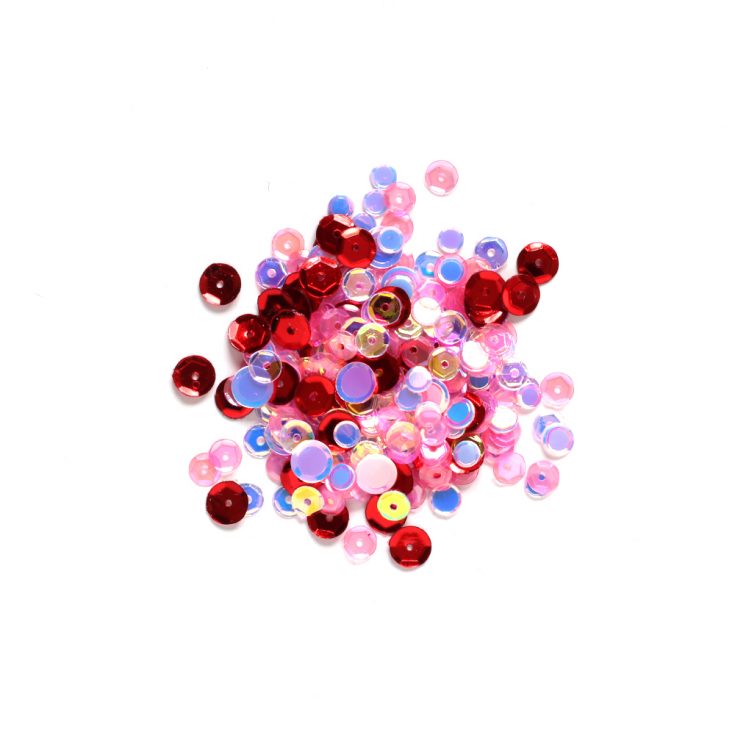
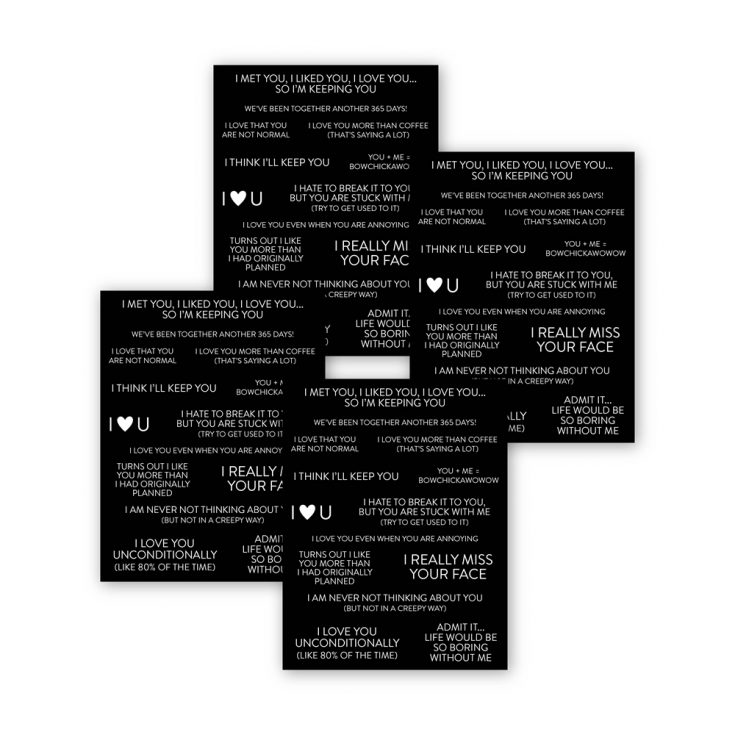
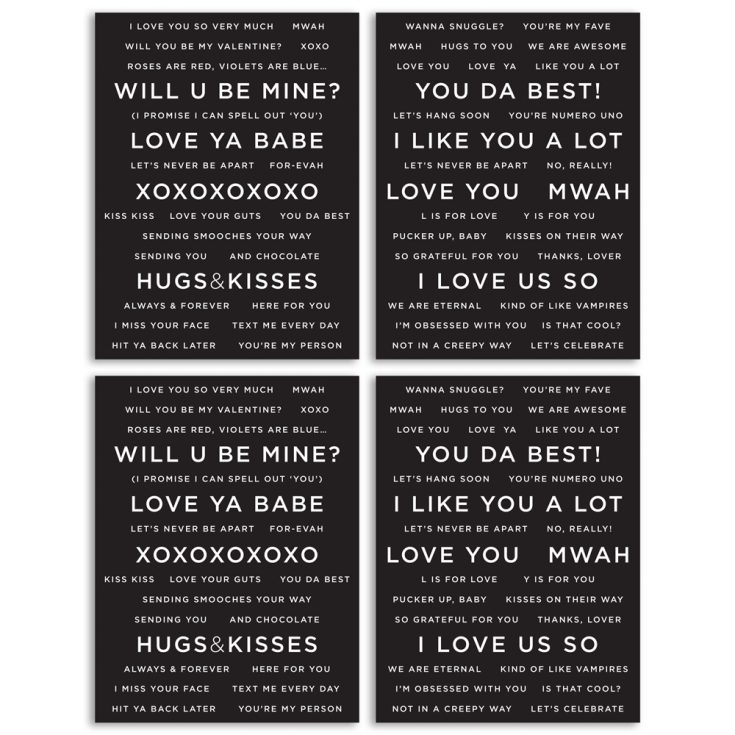
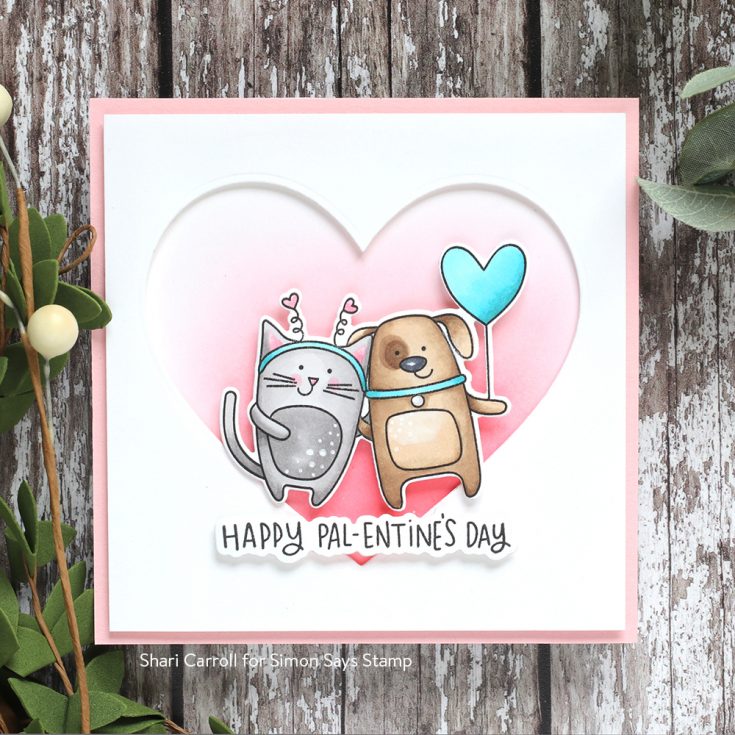
This collection was made with a variety of tastes and styles in mind from the darling whimsy Pawsome Love for the animal lovers, to the I Still Do set designed by the one and only Cathy Zielske that has sweet and sassy messages about lasting love. We rounded out this collection with a pretty Love You collection of sequins, a Cheeky Love and Reverse Love collection of sentiment strips, a new collection of Suzy Paintables, and SO MUCH MORE! Have a peruse to find something YOU love! ;)
The amazing and always inspiring Jennifer McGuire made a WONDERFUL intro video to this collection to give you an up-close look at the collection, as well as lots of ideas of projects to make!


Thanks so much for stopping by!
In celebration of FRY day, we are offering a Free Fries die with ANY purchase today or while supplies last — no code required!


