Yippee for Yana: Stamping & Hot Foiling
Hi friends! Welcome to the latest edition of Yippee for Yana, hosted by our friend, the one and only, Yana Smakula! Read on and enjoy!

Hi everyone, this is Yana Smakula, welcome back for another Yippee For Yana video! Today we are going to do traditional stamping in combination with hot foiling to create a beautiful, one of a kind greeting card.
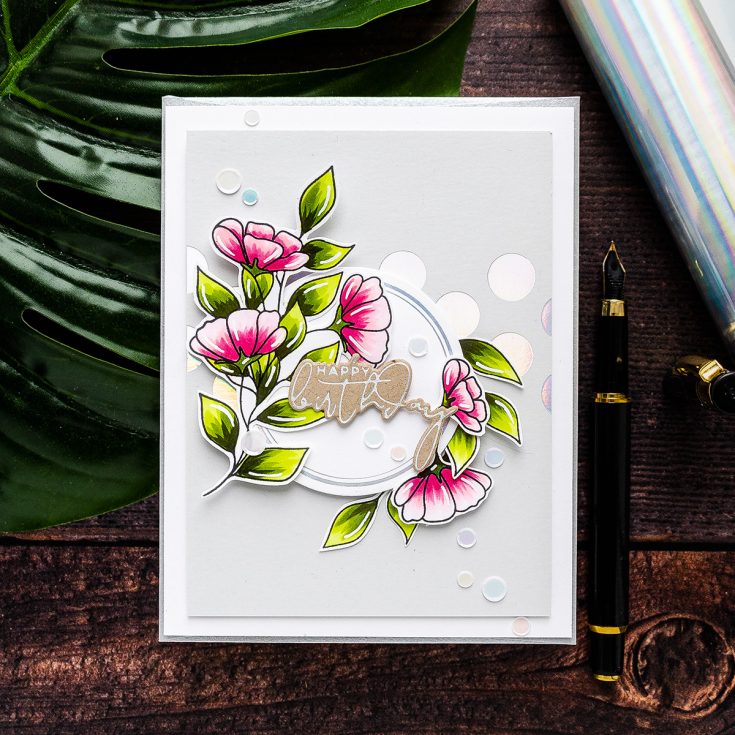
I started to work on my card by stamping several images from the Stronger Together stamp set by Simon Says Stamp in Simon’s Intense Black ink on white cardstock, Neenah Solar White 80lb, with the help of my Mini MISTI stamping tool to be able to double stamp my images if needed.
I have a floral cluster, 2 separate flowers – a smaller and a larger one and 2 leafy branches.
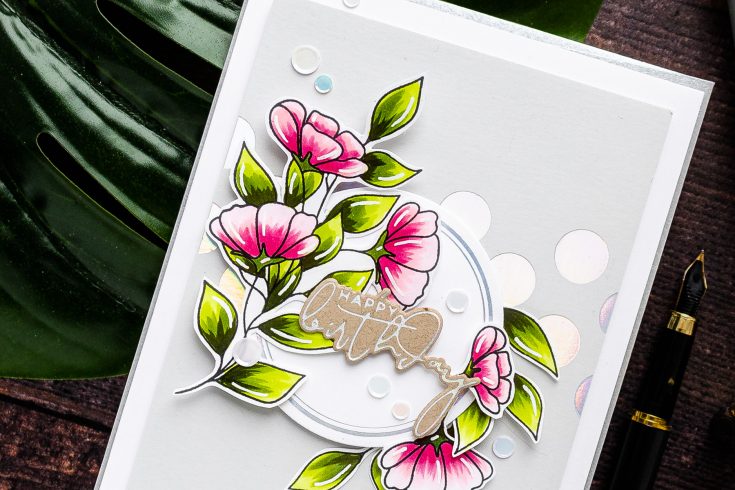
Next, I colored images using Copic markers: RV00, RV21 and RV34 markers to color the flowers pink and YG01, YG03, G94, and G99 markers to color the leaves green.
I went with Flick Style coloring, I did not blend the colors together, but rather intentionally left visible flicks or brushstrokes, if you will, on my images.
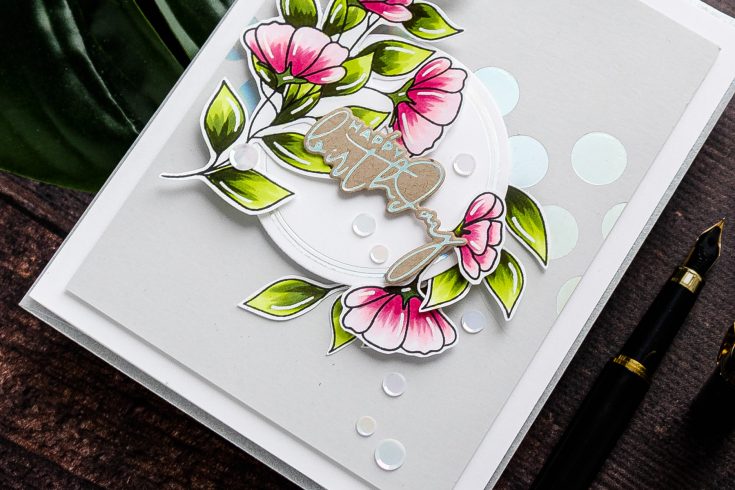
After my coloring was done I cut the images out using scissors. Next, I did some hot foiling using the Spellbinders Glimmer Hot Foil System. I foiled the Polka Dot strip foil plate from Spellbinders on a piece of Simon Says Stamp Fog cardstock in Spellbinders Prism foil. It is a very pretty foil color that looks like silver at first, but as it catches the light, it shines in all sorts of possible colors. It looks particularly gorgeous when foiled with solid designs.
I also foiled two more pieces for my card – a circle to house some of the flowers and also a sentiment. Both of these Glimmer plates come from my Foiled Basics collection, the circle is from the Foliage Border set and the sentiment is from the Yana’s Sentiment set.
I used a coordinating die for the sentiment to cut it out, the die comes together with the glimmer plate, and to cut a circle out I used the 3rd largest circle from the S4-114 set from Spellbinders. If you don’t have this specific circle die set, look through your stash – I’m sure you’ll be able to find a circle die that goes well with this plate.
Next, I trimmed the foiled background to 3 3/4 x 5” and foam mounted it to an A2 white side folding card base. I’ve foam mounted the foiled circle, it is not placed in the center, but slightly off to the left. Using glue I adhered the floral cluster onto the circle. Next, I added the Happy Birthday sentiment using foam adhesive squares. I chose to use a birthday sentiment for this card as I seem to constantly lack birthday cards, but this design can be easily adapted to so many different occasions.
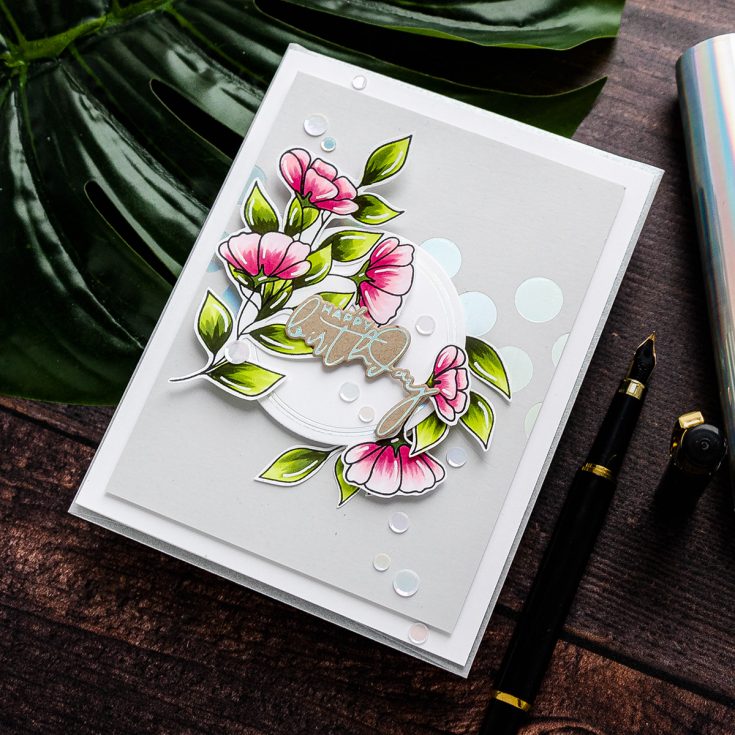
I also used glue to adhere leafy branches, I love how they follow the curve of my circle – almost as if they were designed to do so. I happen to love the look of foil with Copic coloring – it is the perfect combo for a handmade card.
Lastly, I decided I wanted to carry on the polka dot theme and add additional dots onto the card. I did that with the help of white sequins from the Strawberry Shortcake sequins mix from Simon Says Stamp – I scattered a bunch of them going diagonally and that finished my project!
Have fun stamping (and foiling)!
SUPPLIES:
|


Thanks so much for stopping by, and thanks to Yana for being our guest!
Color Coordinates: Ready For Spring

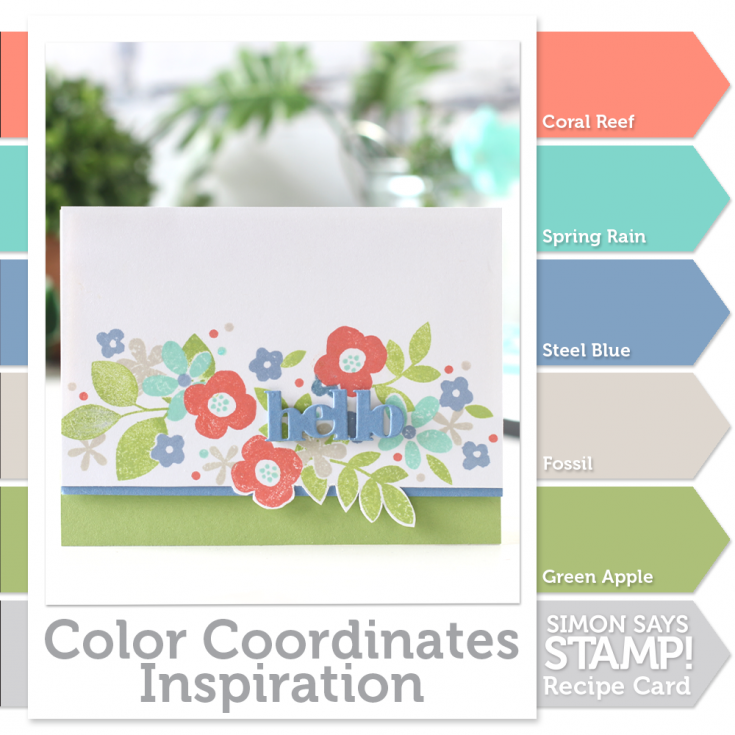
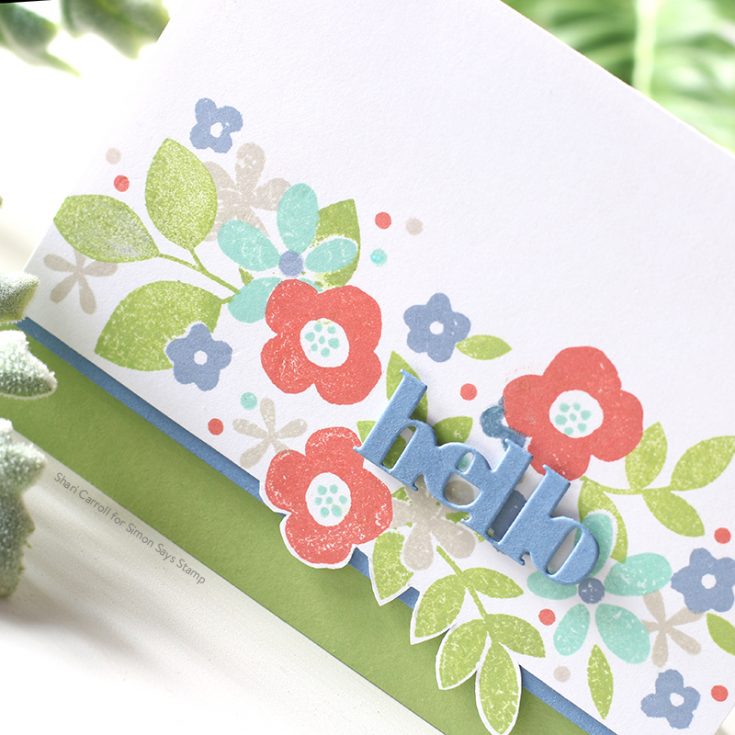
Welcome everyone!! Happy Sunday! I’ve got a Color Coordinate combination using some soft tones which are perfect for Spring flowers. They are Simon Says Stamp inks in Coral Reef, Spring Rain, Steel Blue, Fossil, and Green Apple.
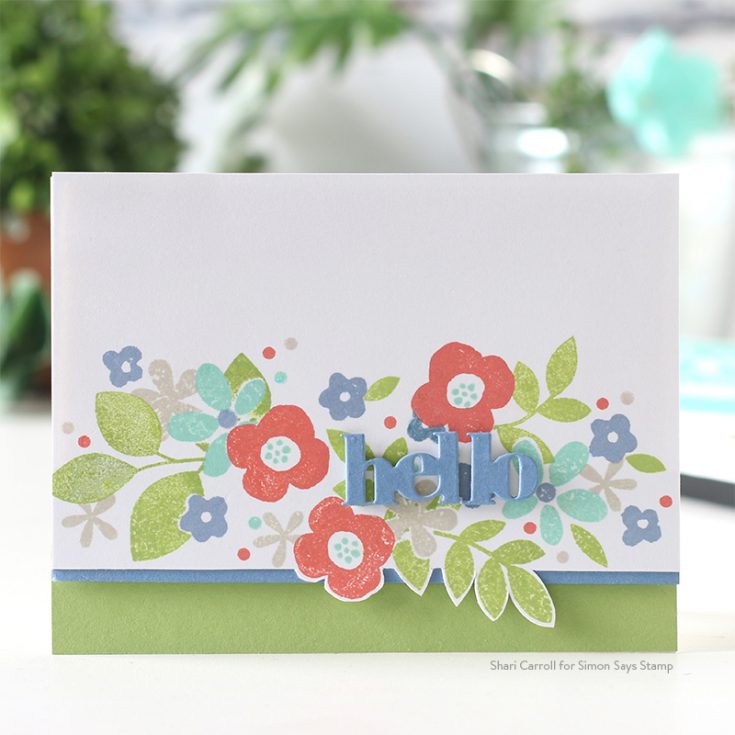
I’ve used the Paper Smooches Botanicals 3 stamps with my Misti for single-layered stamping. I masked off some of the flowers as I went along to overlap images so some could sit forward and some behind.
If you are interested in printing out the Color Coordinates and creating a swatch book, I have the downloadable templates available below.
- Book template and past Color Coordinates
- May 2018
- July 2018
- August 2018
- October 2018
- January 2019
- March 2019
- April 2019
- May 2019
- June 2019
- July 2019
- August 2019
- October 2019
- December 2019
- February 2020
|


Did You Know? Fun Facts and Crafty Tips! February 2020 Edition

Hello crafters, it’s Nina-Marie Trapani here with you! Today I have a new edition of our popular Did You Know series!
If it’s your first time seeing this feature, each month we bring you fun facts, creative tips and even crafty hacks about your favorite supplies and brands; you can then use these awesome tips that you learn in your next crafting projects! Are you ready to learn some fun tricks? Keep on reading!
DIY Envelopes
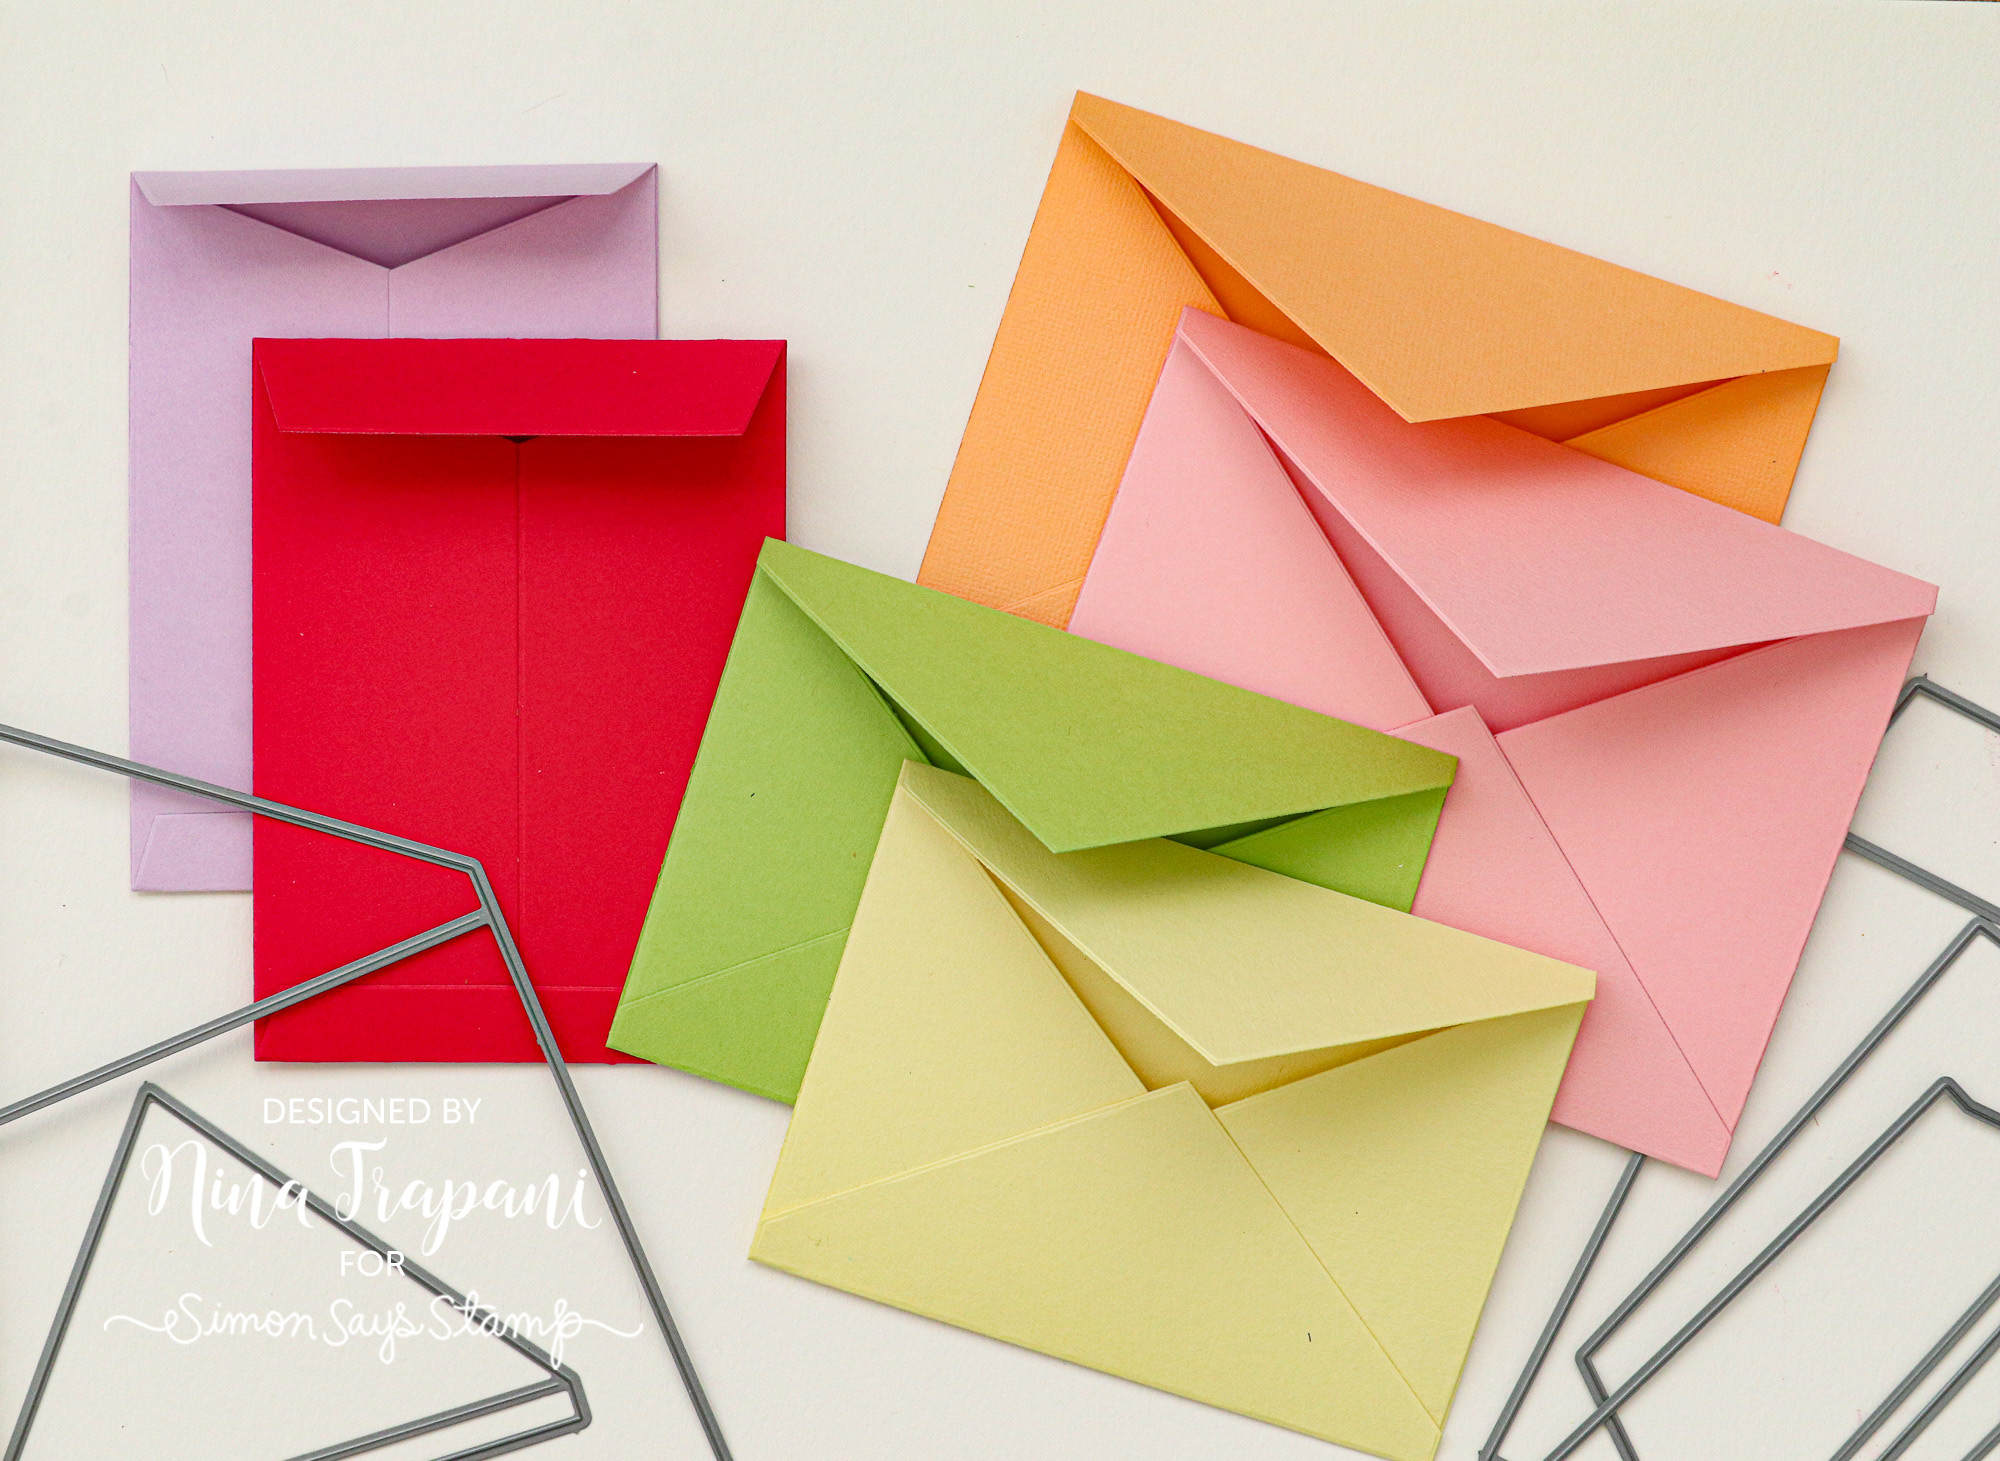
Sometimes you want a special envelope to coordinate with a card you made! Did you know that you can use our Simon exclusive A2 V-Flap, 4 Bar Square Flap and 4 Bar V-Flap envelope dies to make pretty, custom envelopes? Use pattern paper or cardstock to make the envelope and then either leave them simple, or let your imagination go crazy with decorating!
Therm O Web Pixie Spray
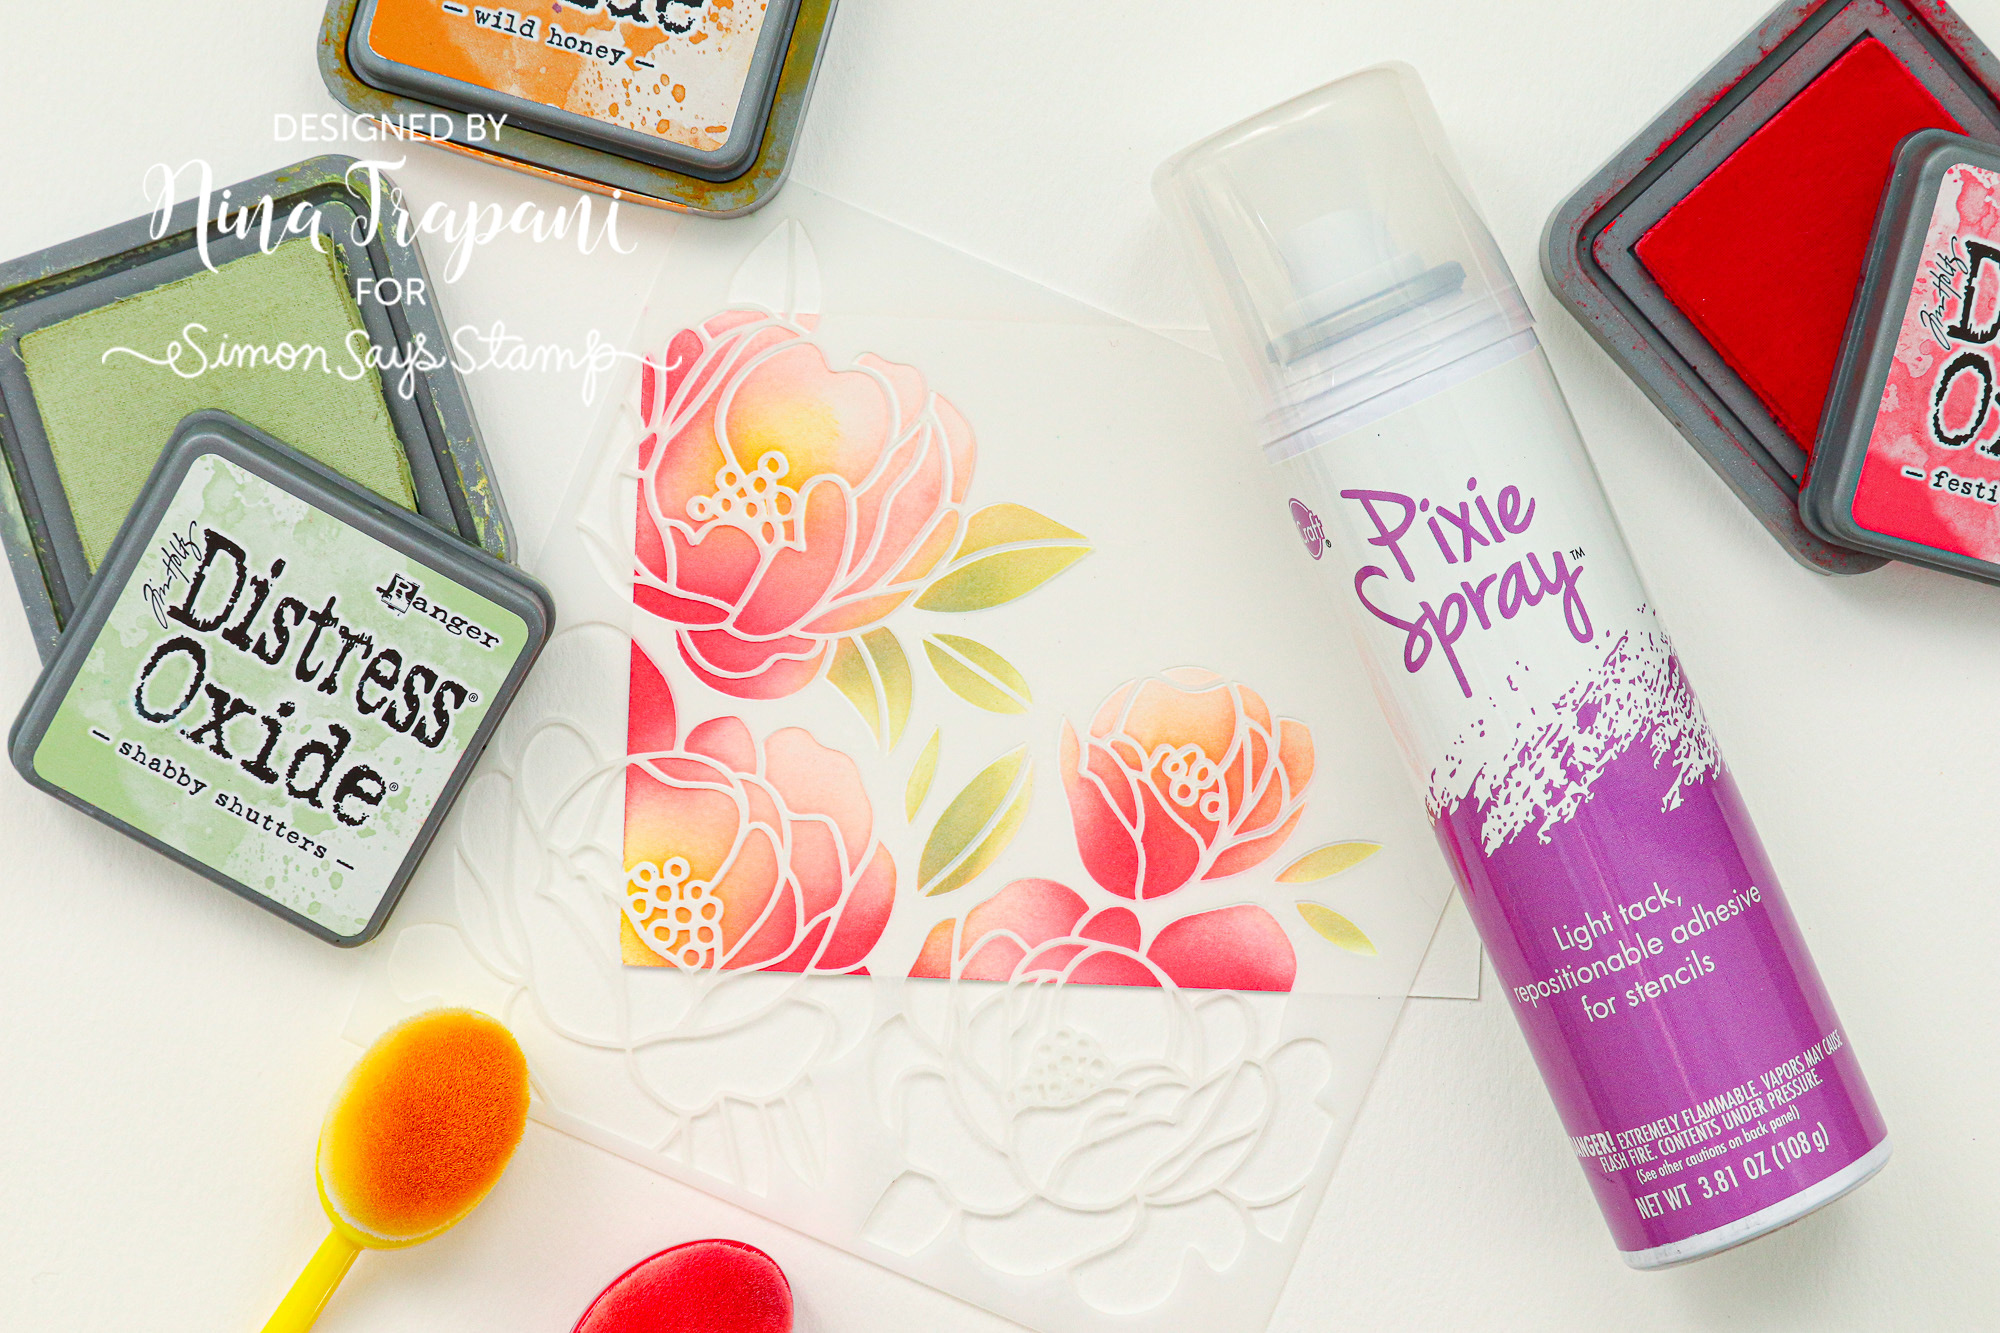
If you love working with detailed stencils but have trouble with the stencils not staying in place as you work with them, you’ll want to check out the Pixie Spray from Therm O Web! This low tack adhesive is perfect for holding stencils in place while you ink blend, add paste and more. The best part is that the adhesive doesn’t leave a residue on your project after removing the stencil!
Reverse Sentiment Strips + Black Marker
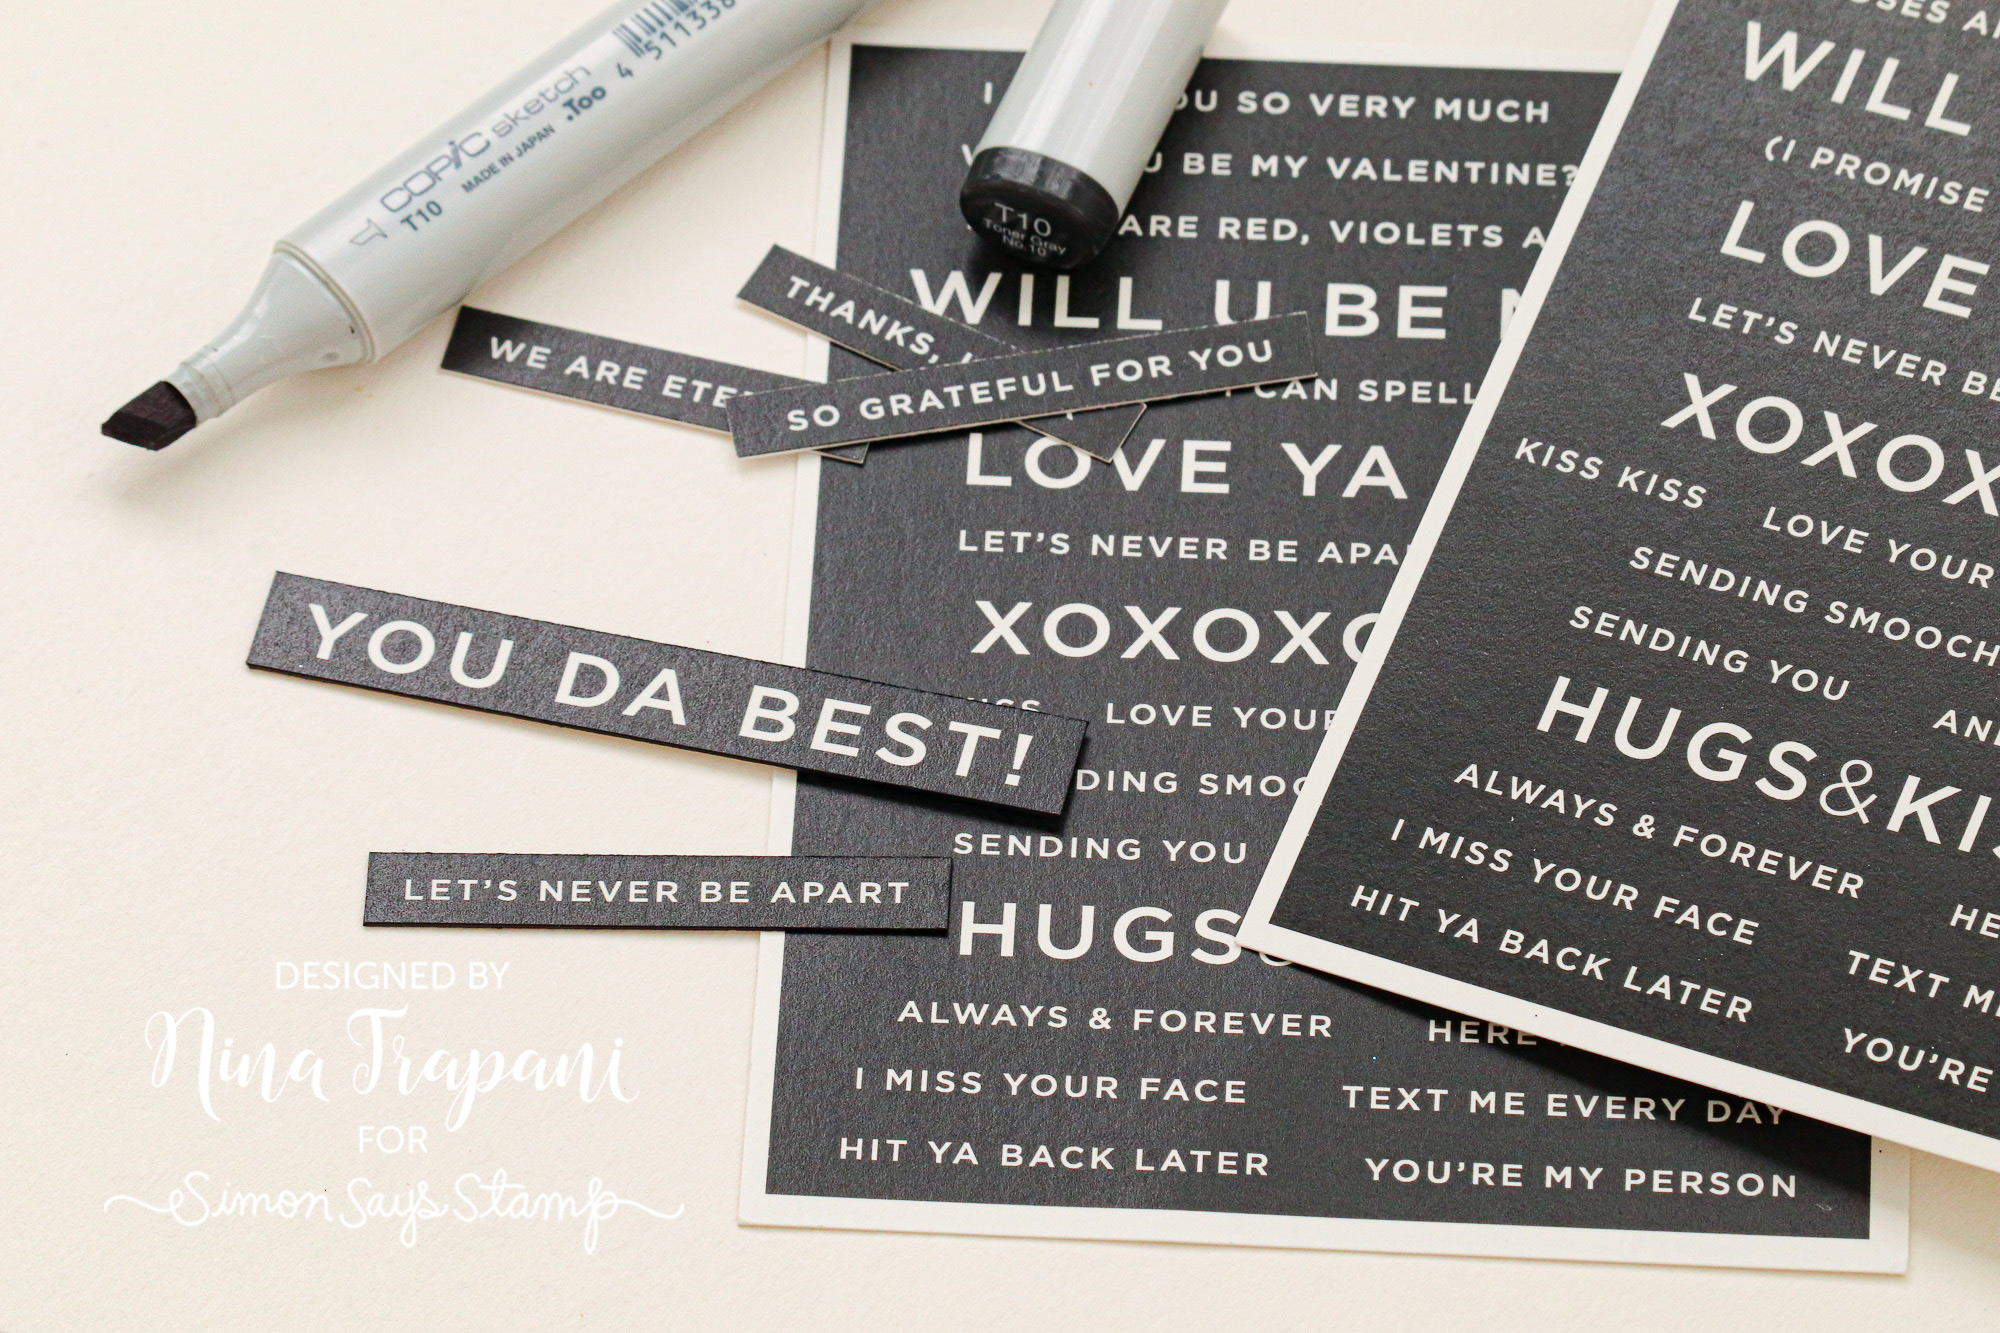
Our popular, Simon exclusive Reverse Sentiment Strips are pre-printed on white cardstock, which means after you trim each strip out of the sheet, you can see the white core of the cardstock. If you want the strips to look like they are made from black cardstock, simply take a black marker to trace along the edges of each strip! The result looks super-pro and crisp!
Waffle Flower Mini Water Media Mat
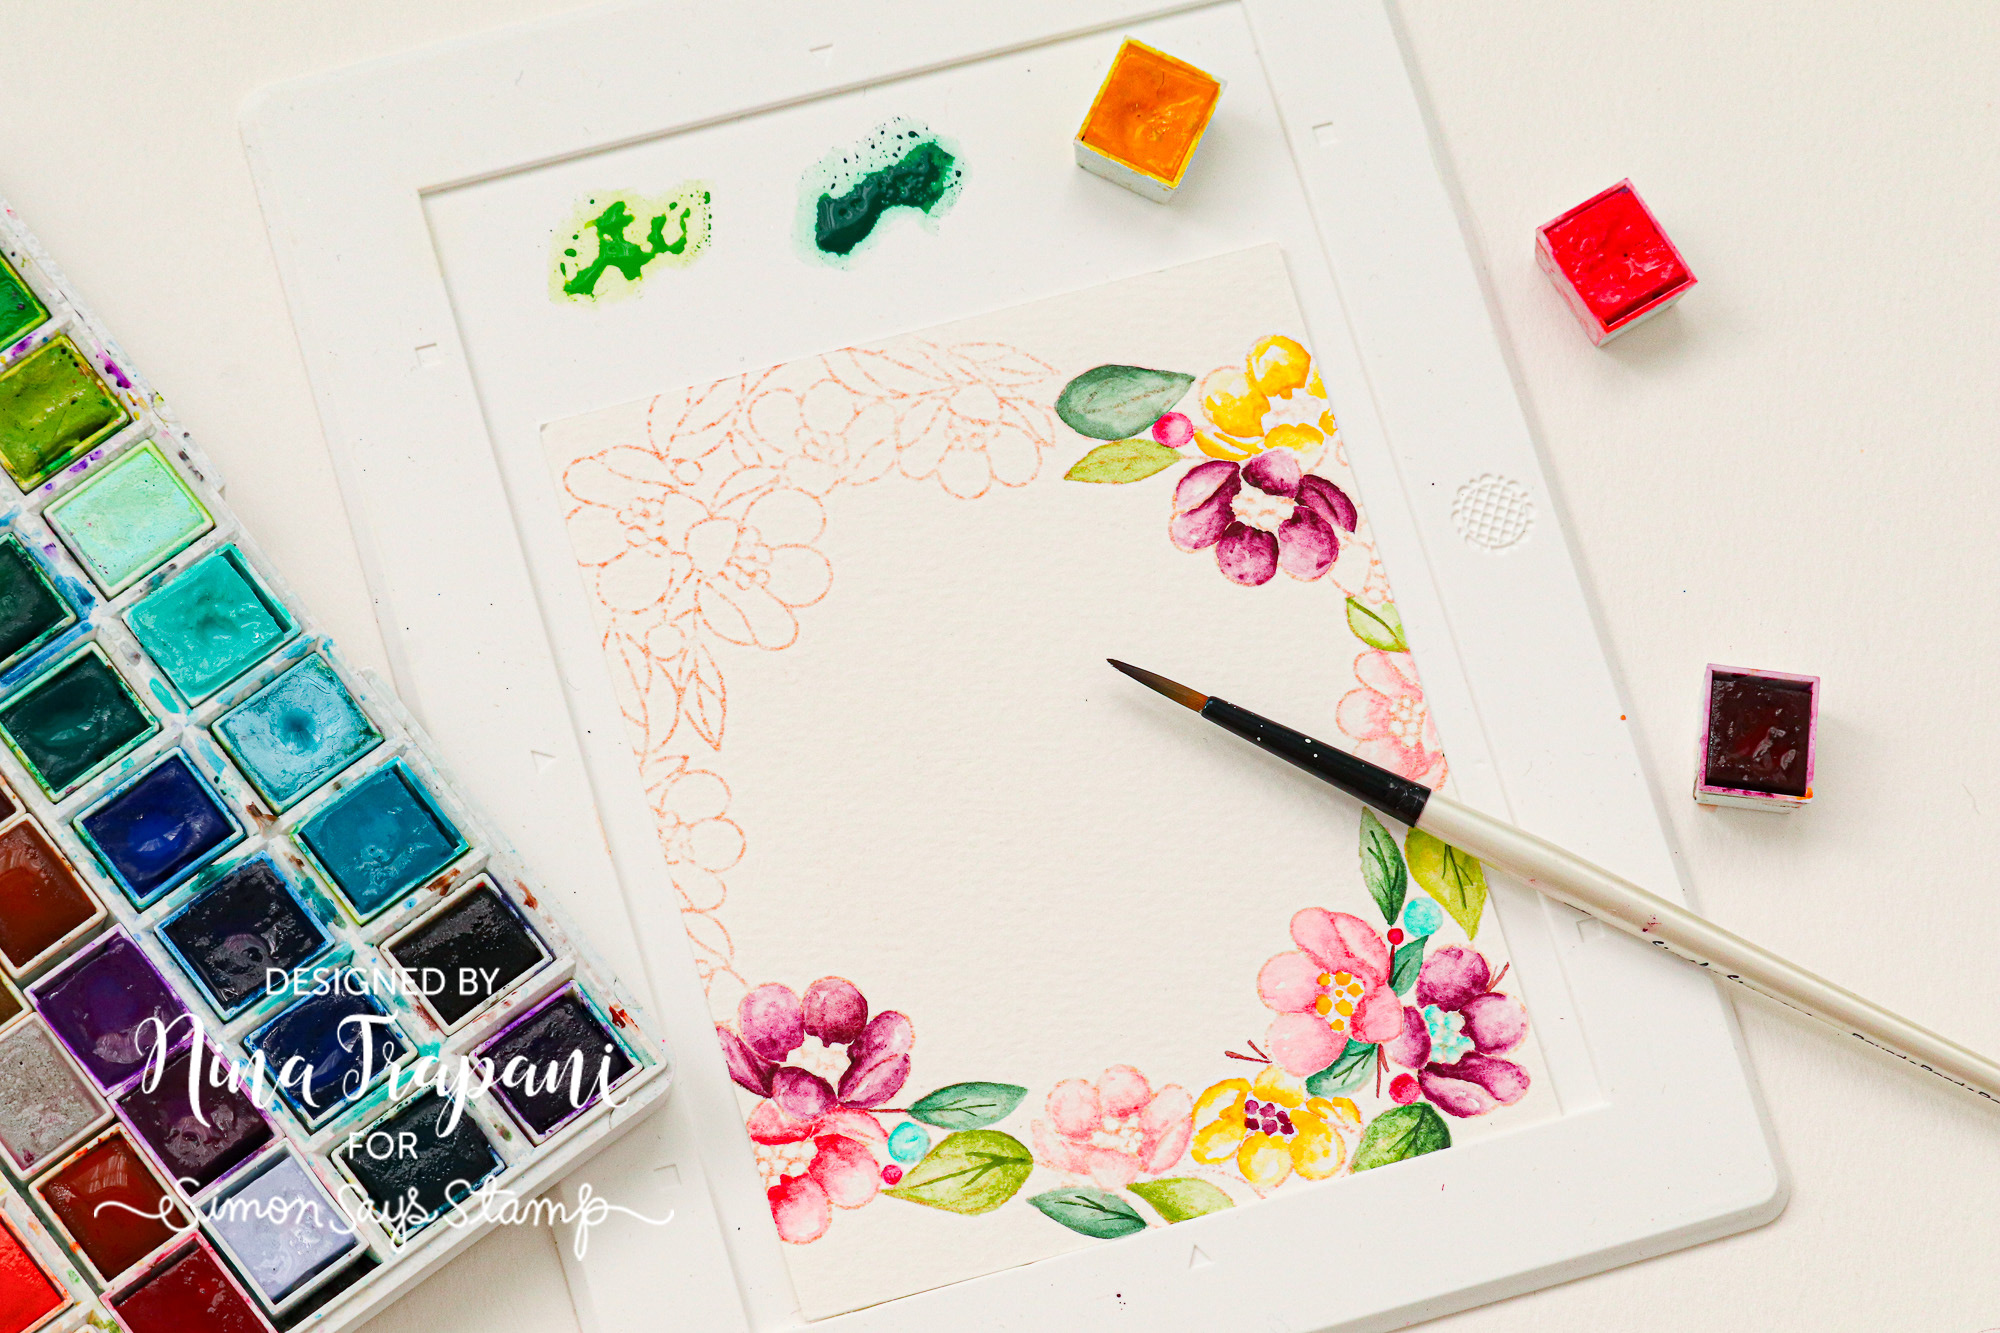
If you love to watercolor as much as we do here at Simon, you’re going to enjoy working with the Waffle Flower Mini Water Media Mat! This silicone mat can be used to hold your paper as you color, since the surface of the mat has a natural grip to it. You can also use it as a palette for mixing colors; the bright white color of the mat shows the true colors of the pigment beautifully for accurate color mixing.
Chameleon Colored Pencils
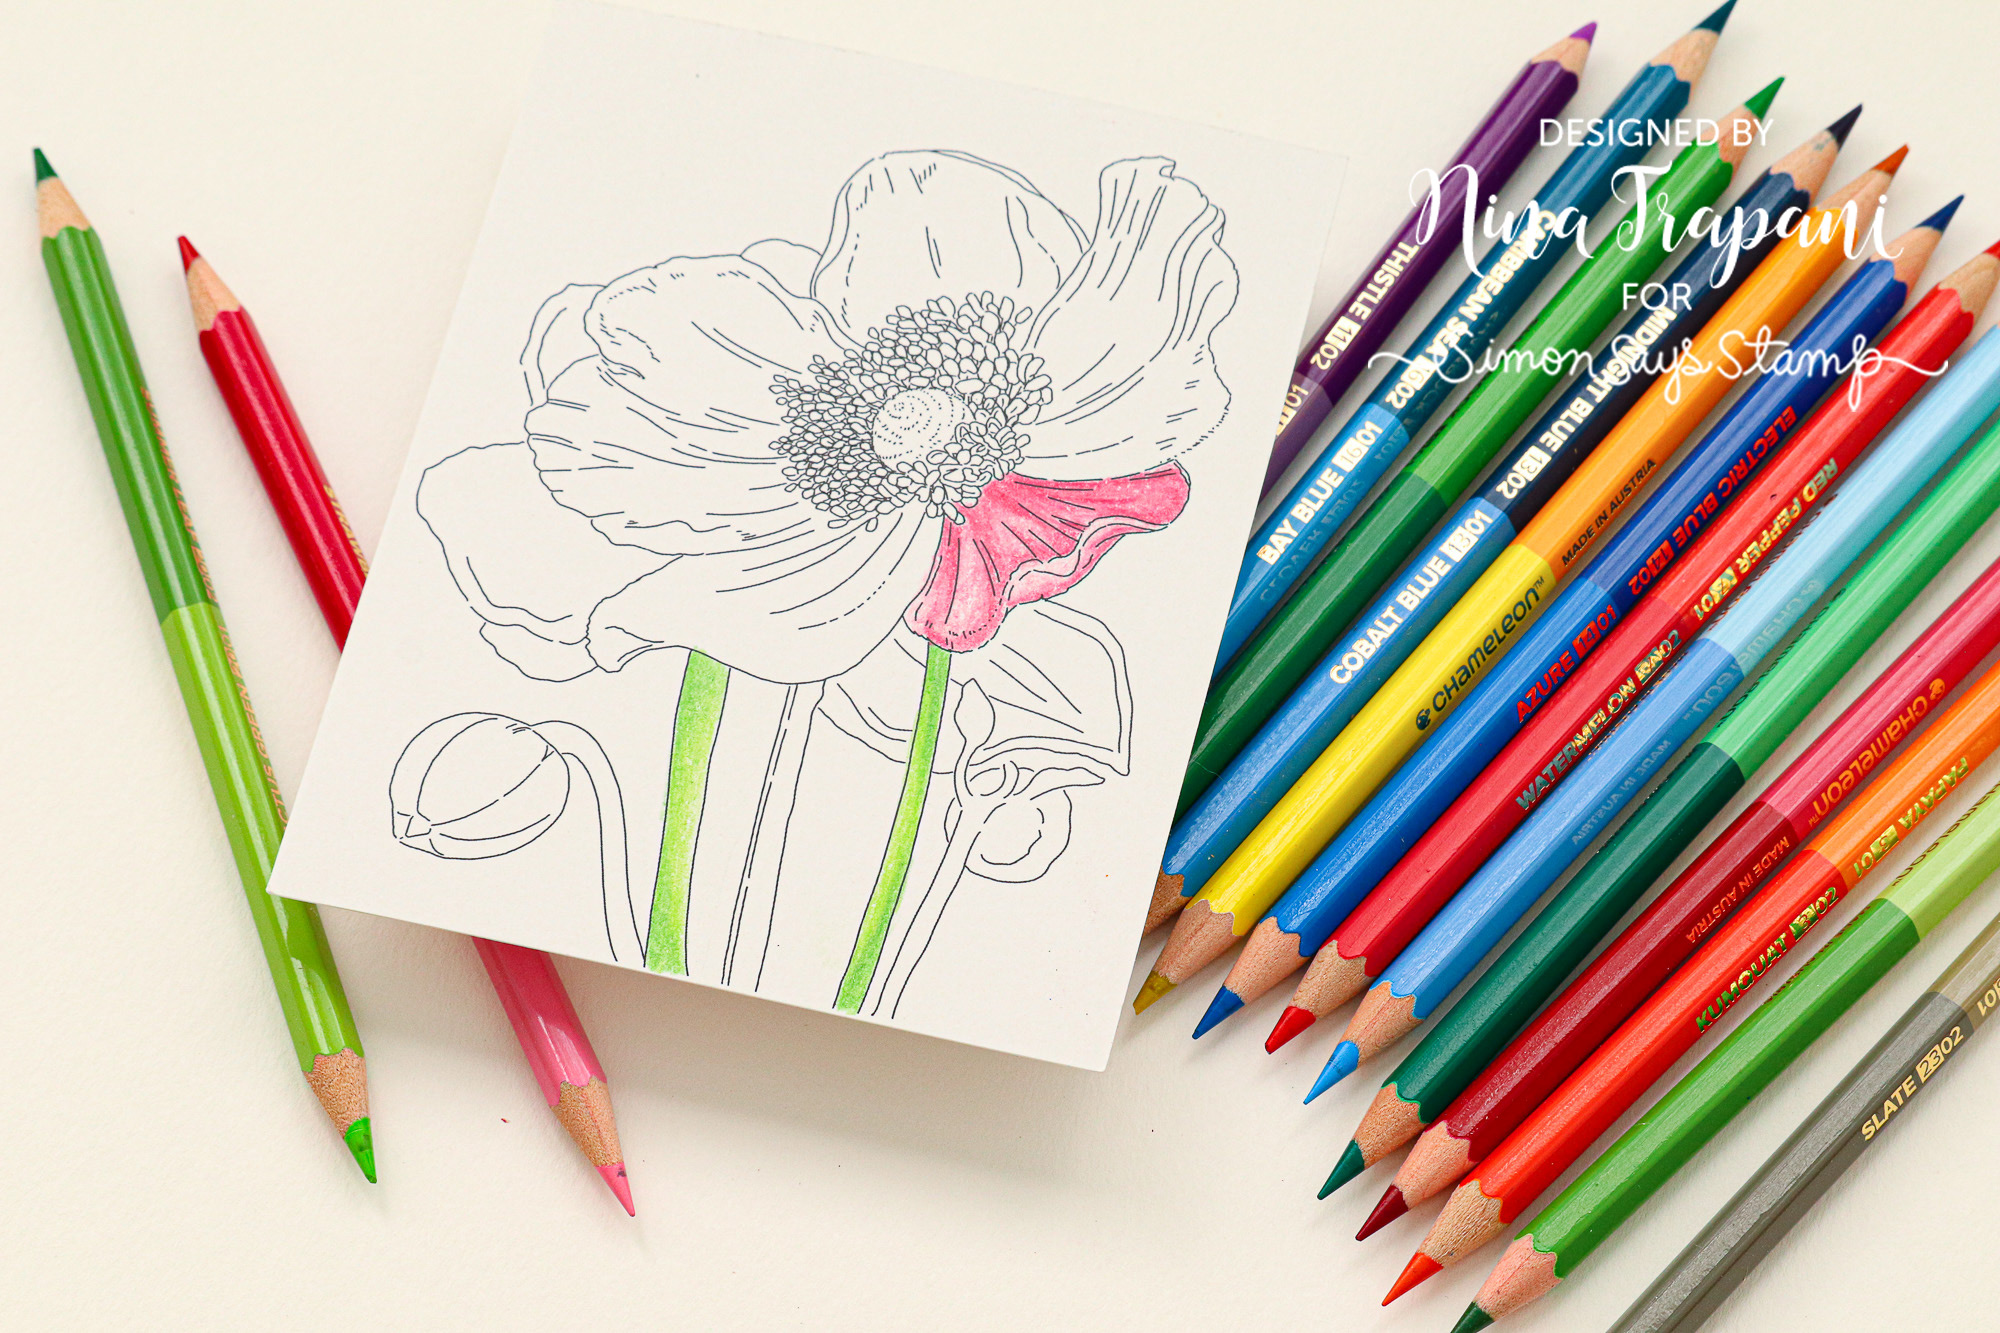
Did you know that Chameleon colored pencils are designed with a light and dark end on each pencil so that you can create shading easily? Simply pick a pencil and start with either the lighter or darker end; then flip the pencil and finish the coloring with the other side of the pencil! In no time at all, you’ll have beautifully shaded coloring! We love using these pencils with our exclusive, Spring Flowers coloring cards!
I hope these tips have helped you learn a few tricks for your upcoming crafting projects… Thanks for tuning in today and spending some time with me!
SUPPLIES
|


