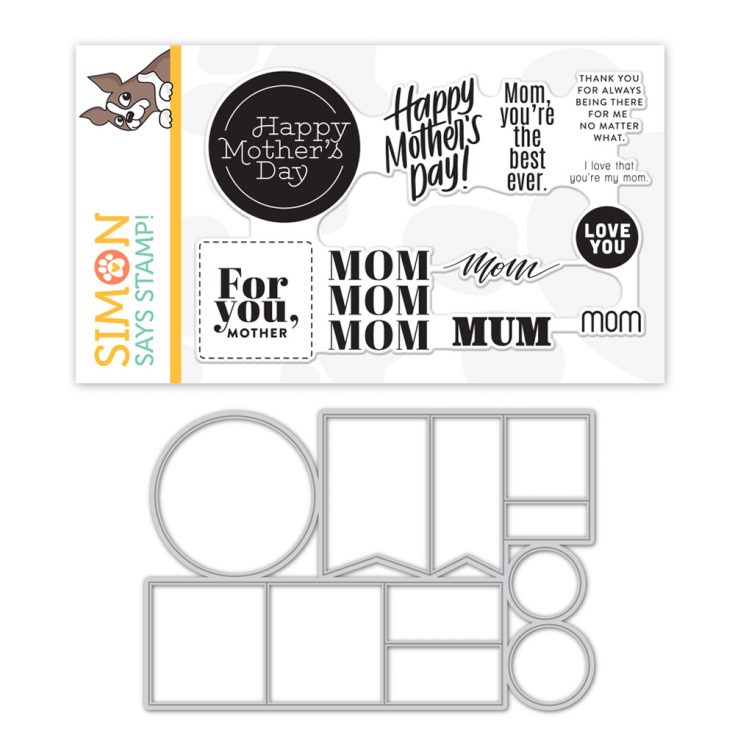
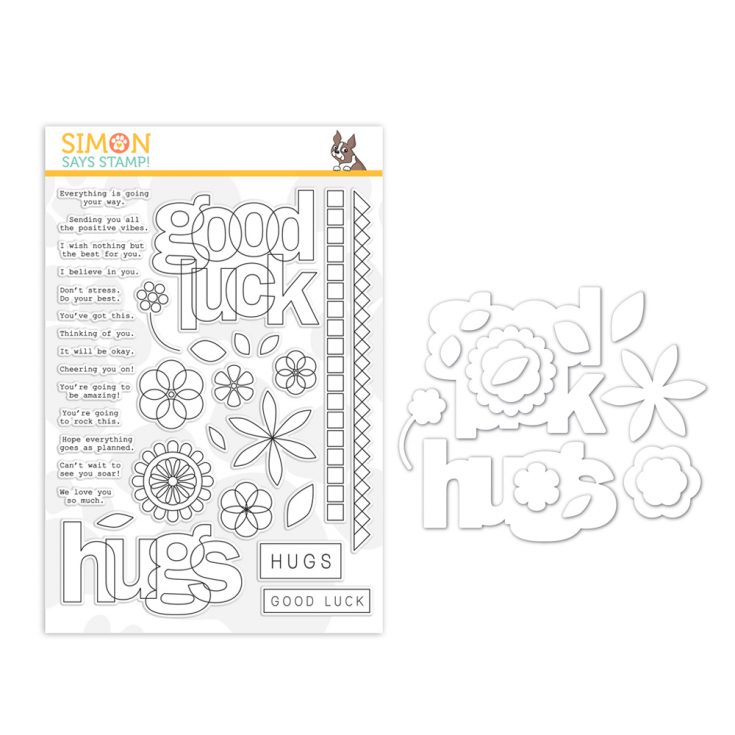
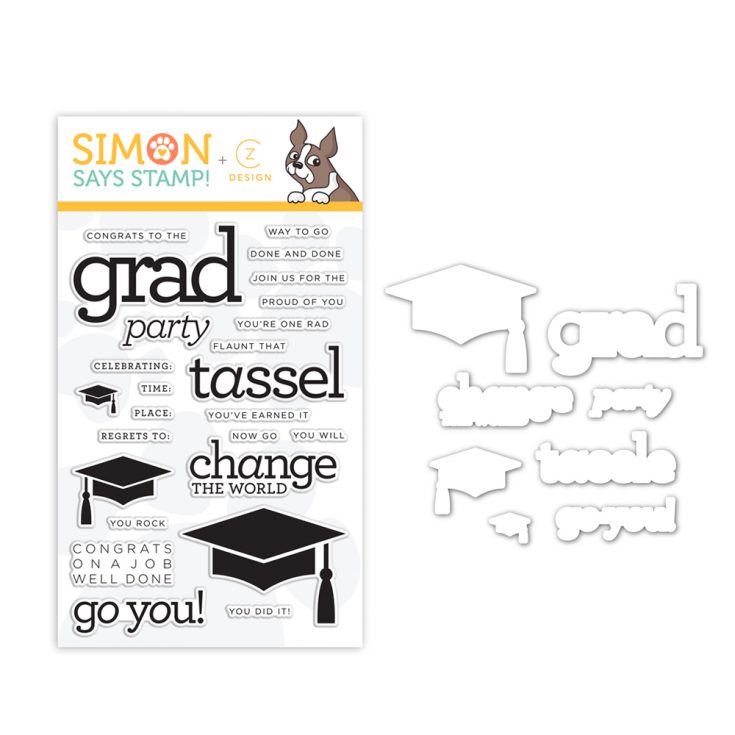
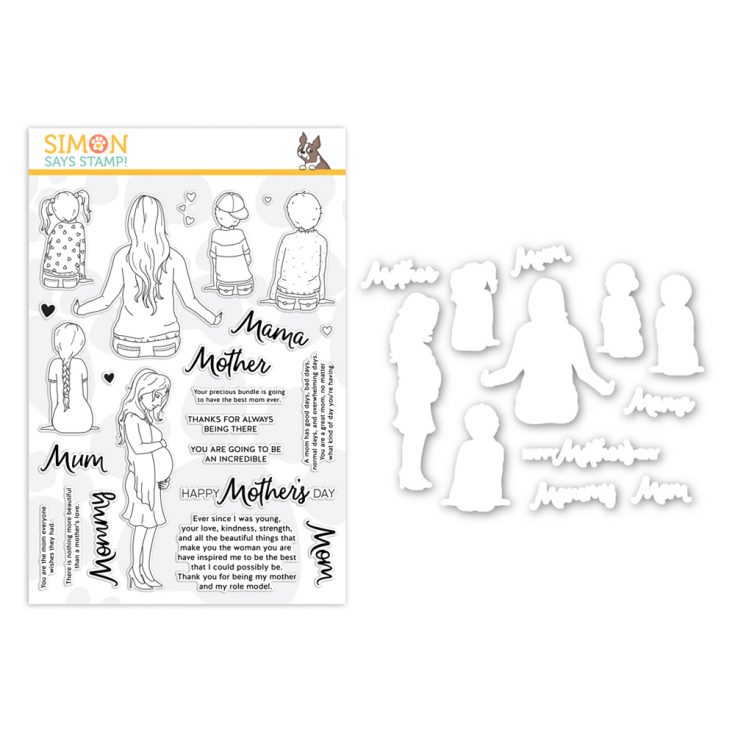
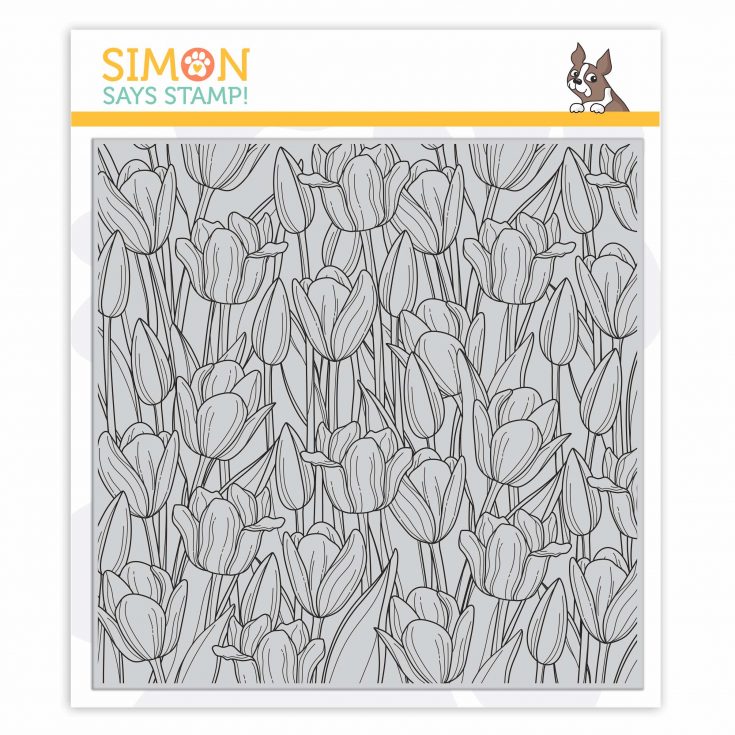
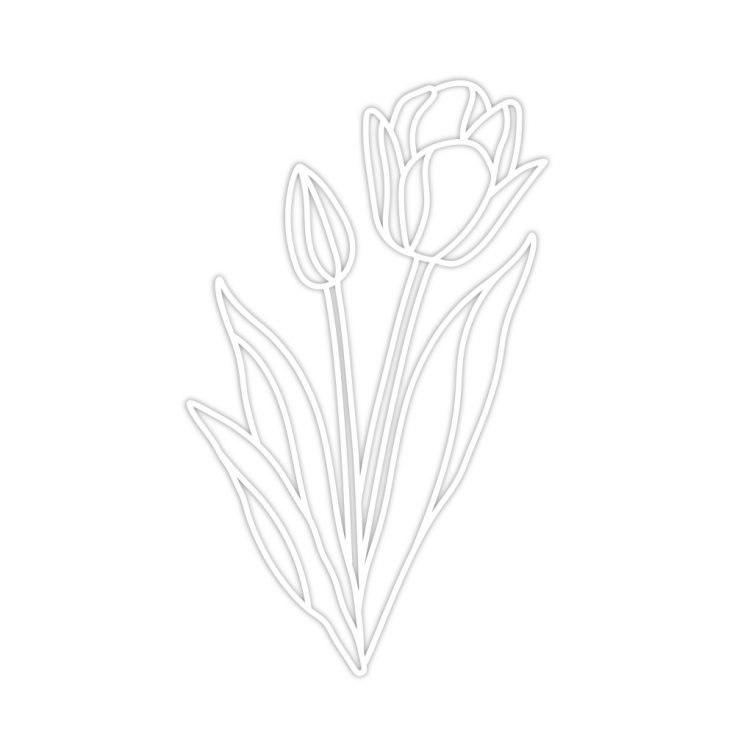
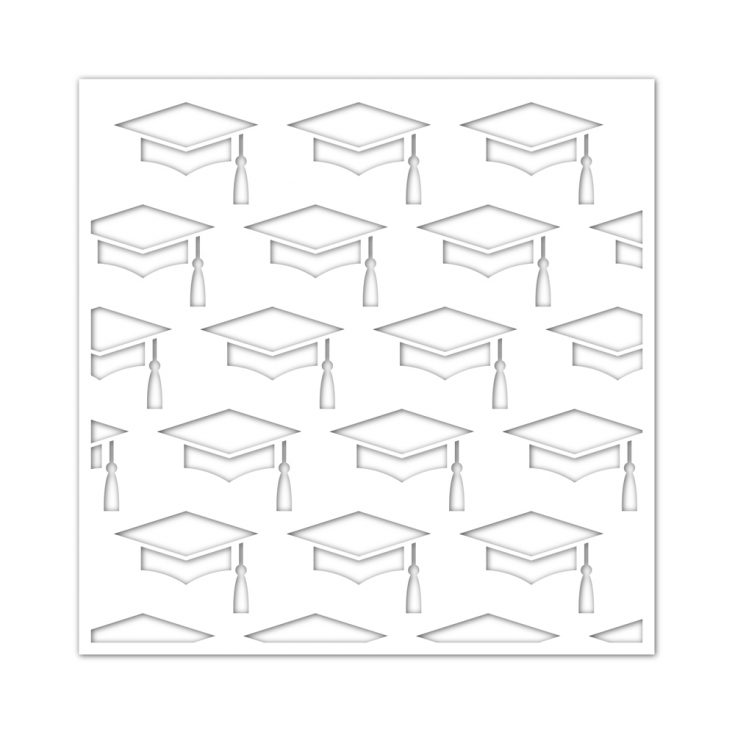
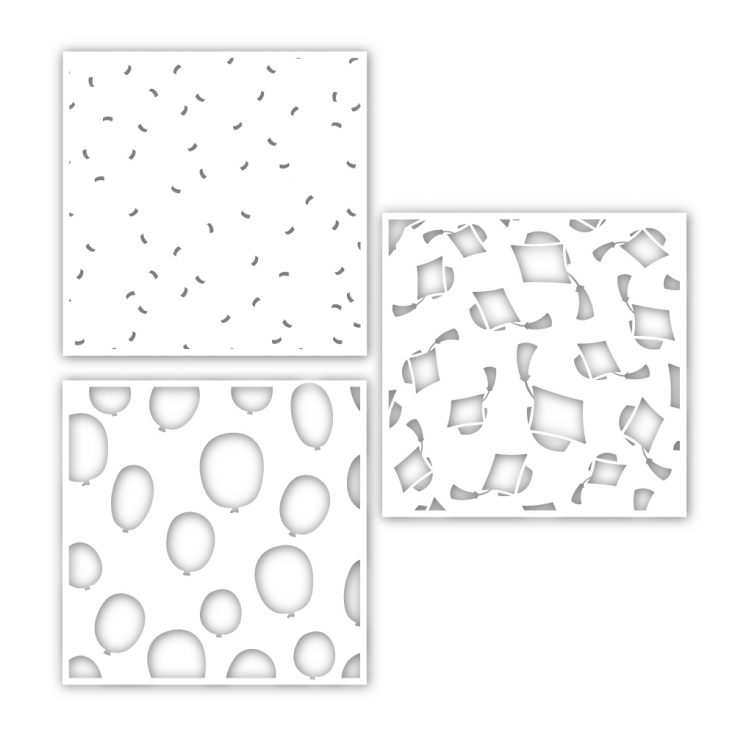
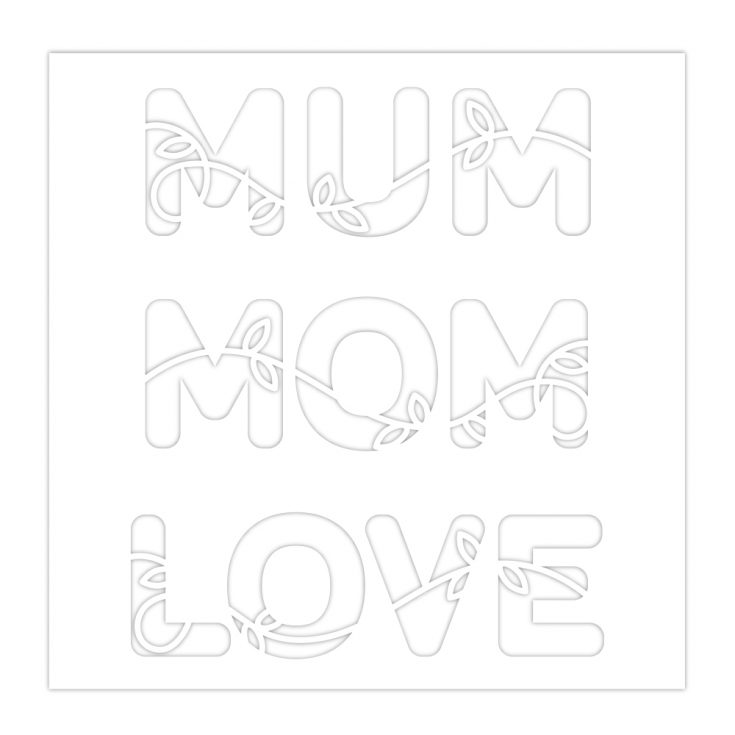
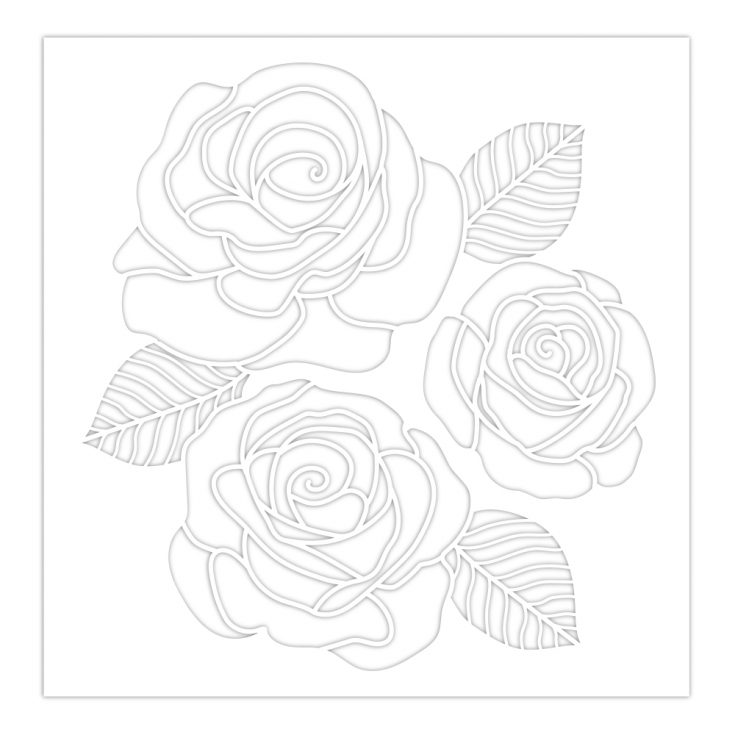
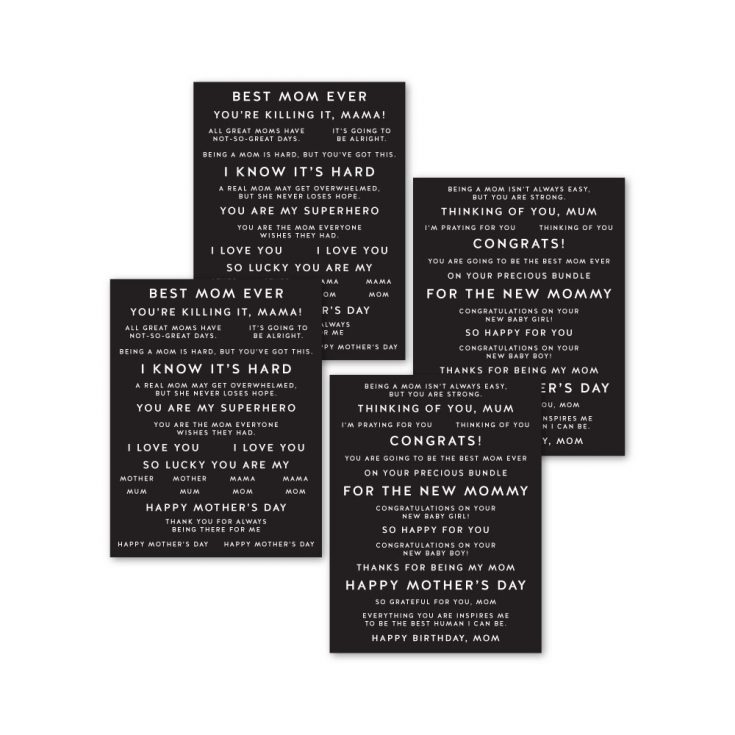
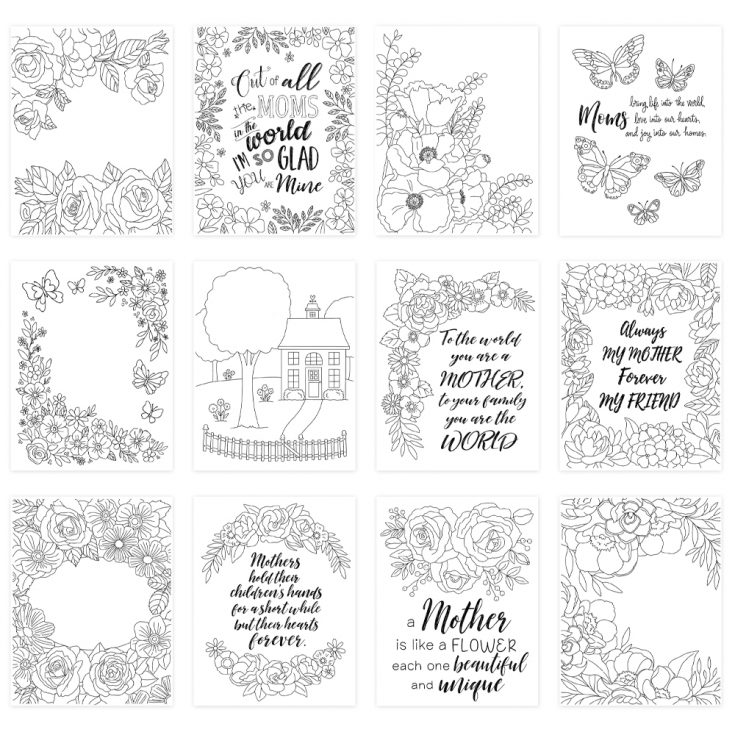
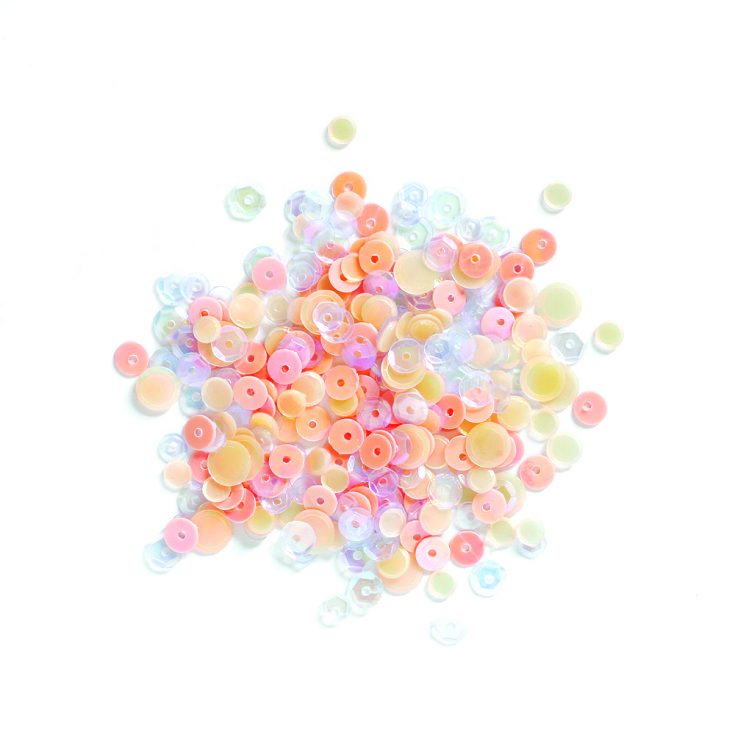
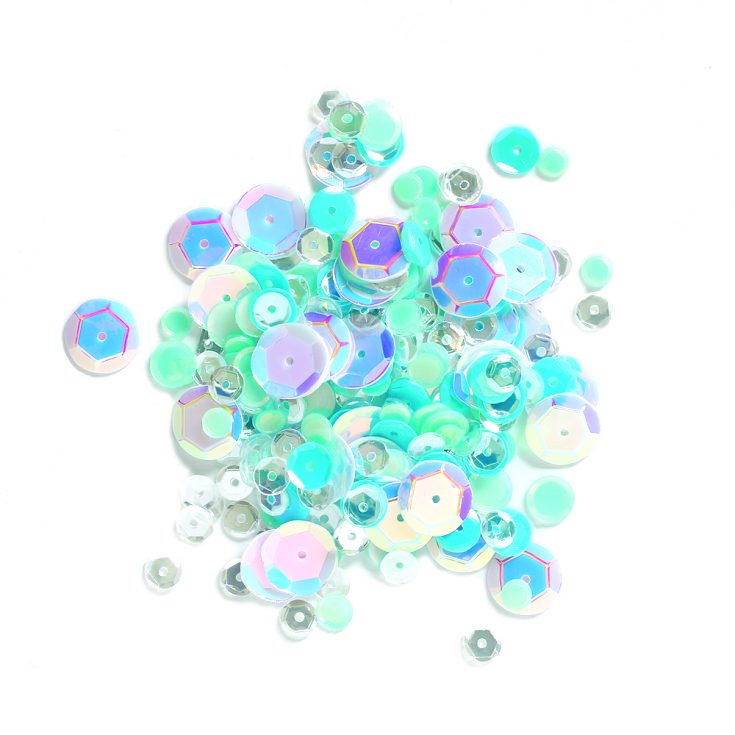
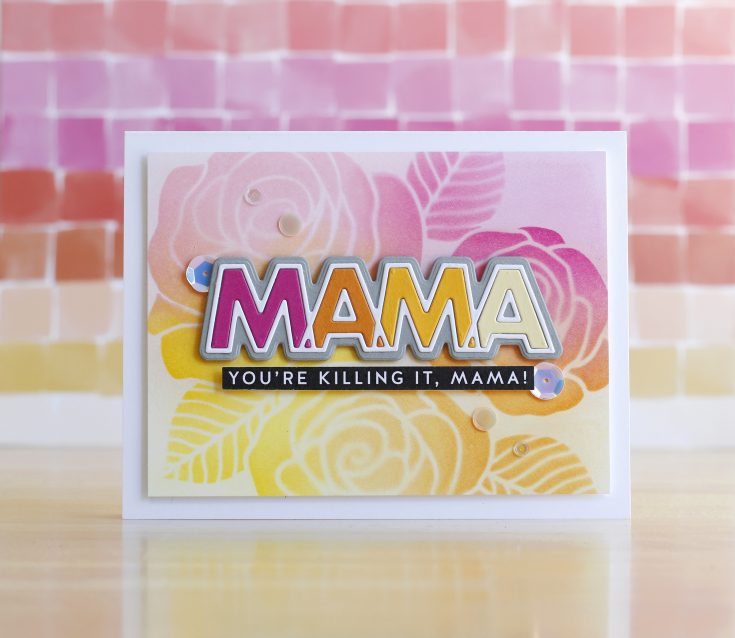
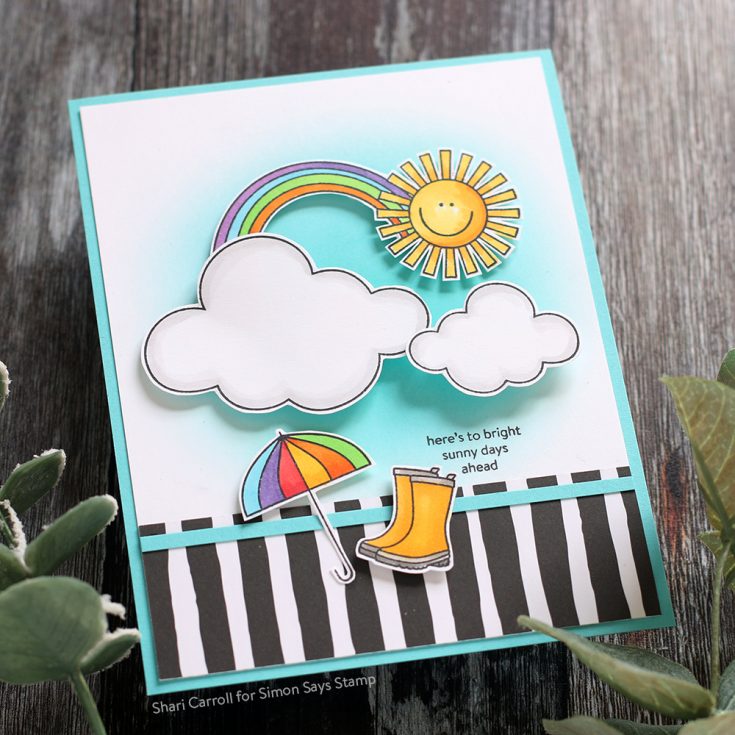
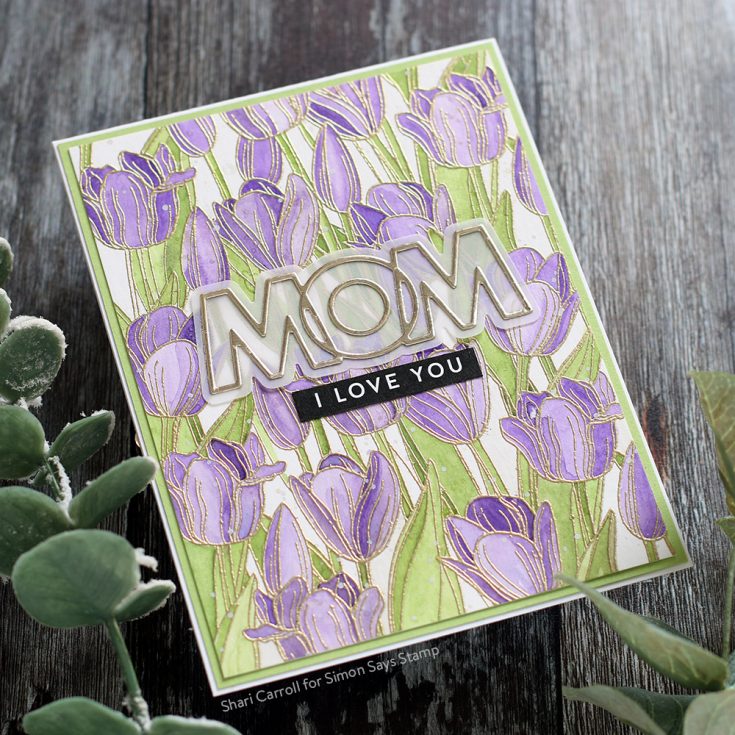
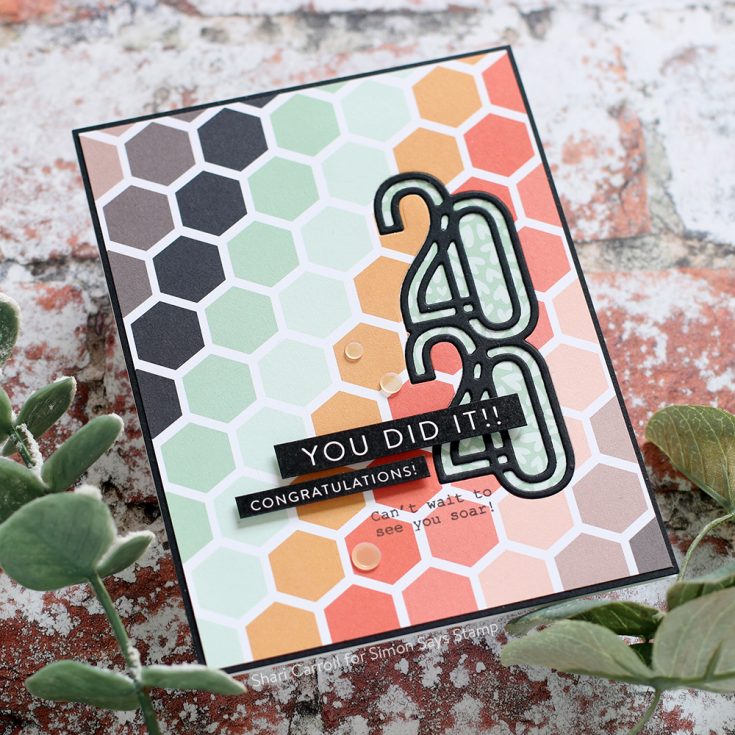
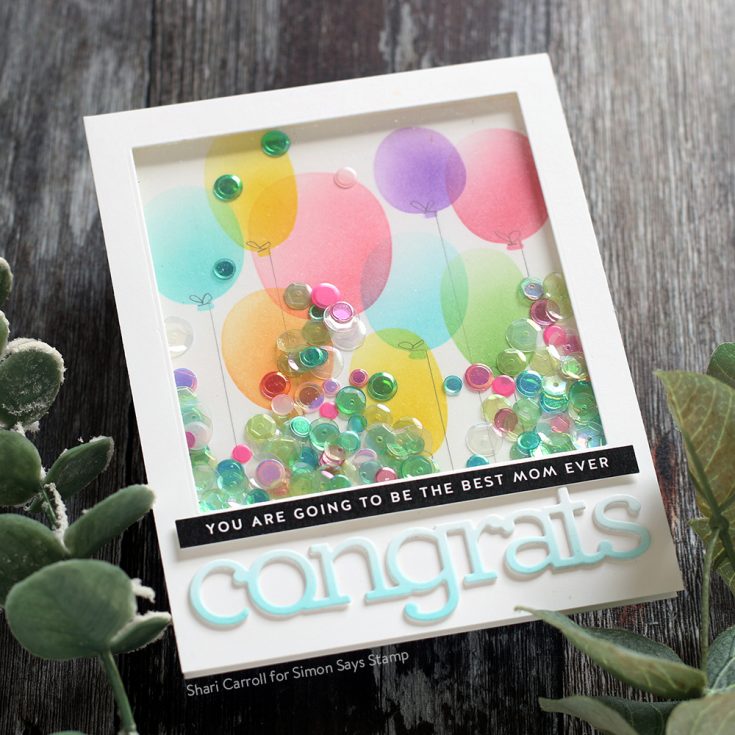
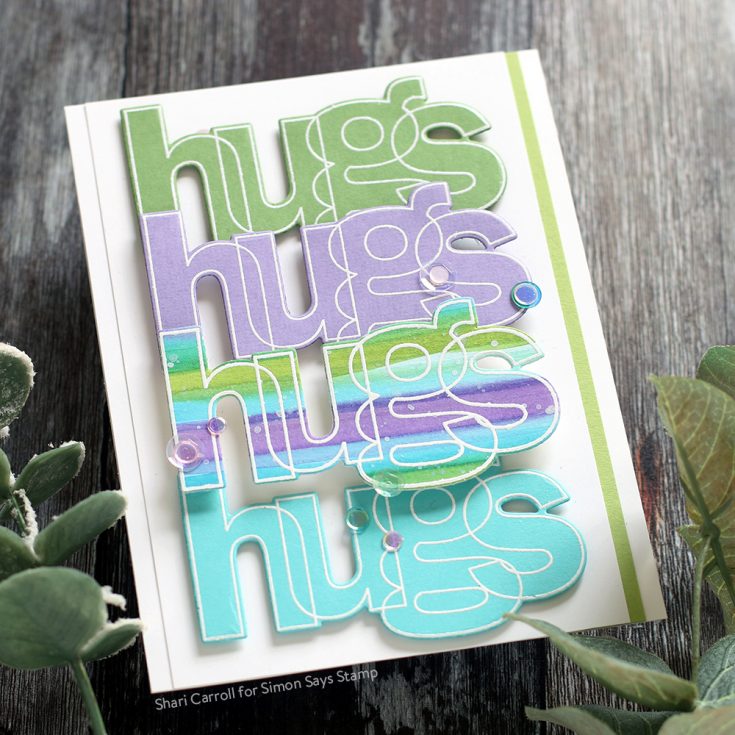
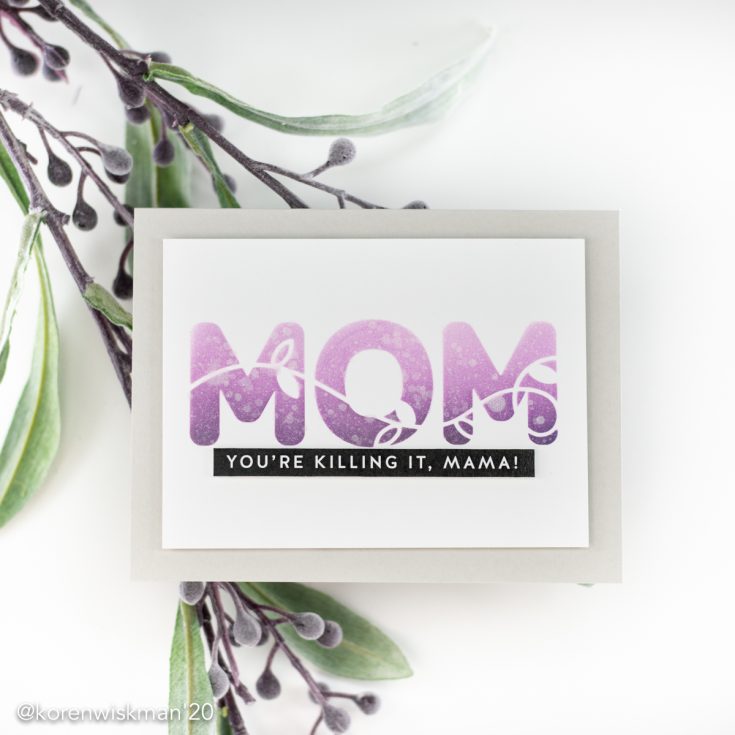
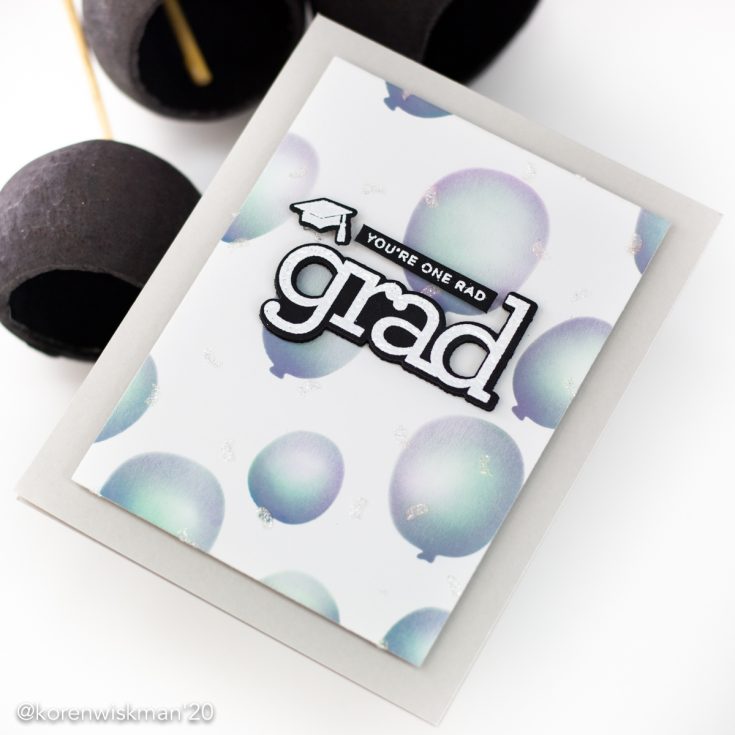
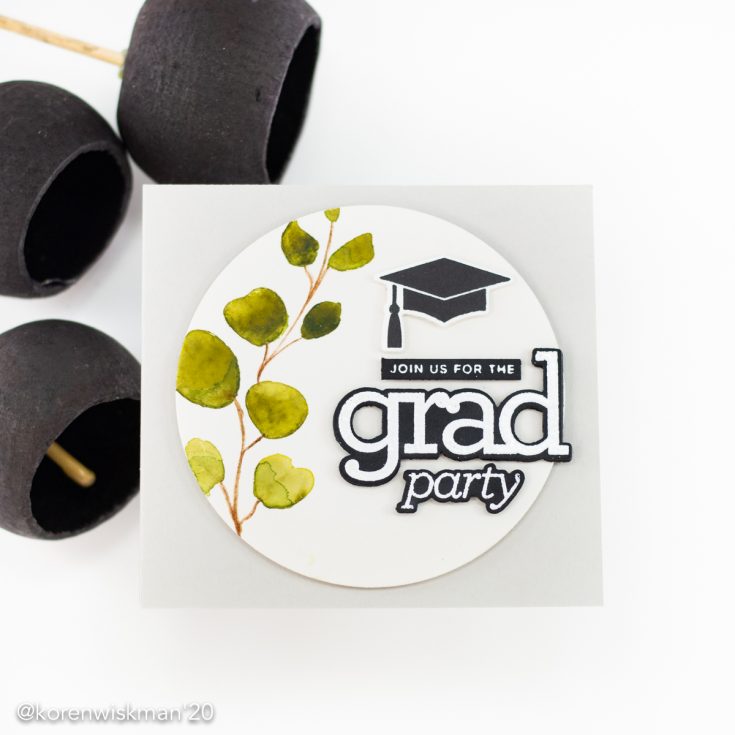
NEW Collection: Sunny Days Ahead!
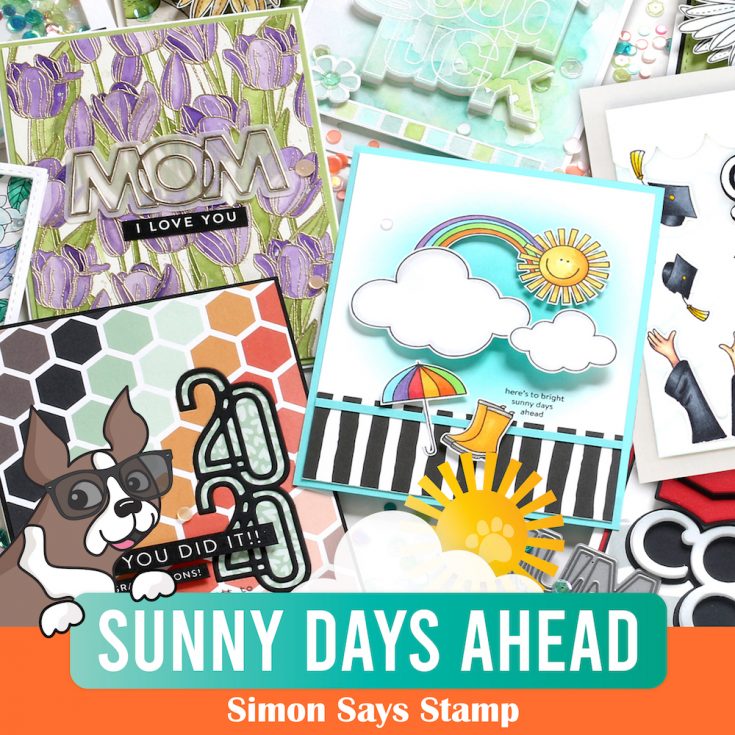
Hi friends! Happy Thursday, and welcome to the reveal of our brand new collection called Sunny Days Ahead, while we optimistically look forward to celebration of Mom, Grads, prettier weather, and more!
The always amazing Laura Bassen has made a reveal video for this collection. To see each piece up close along with some fab samples, be sure to watch the video!
WATCH THE VIDEO:
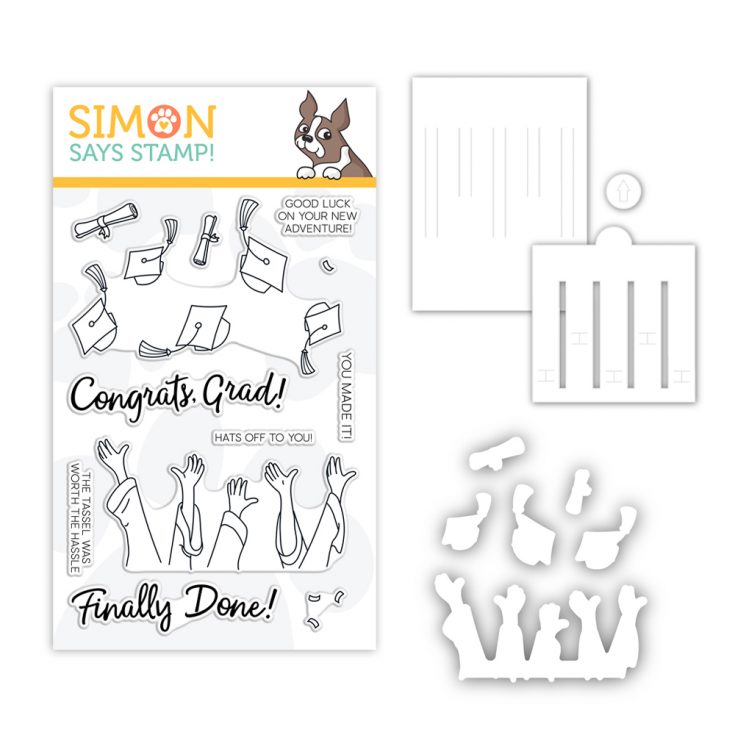
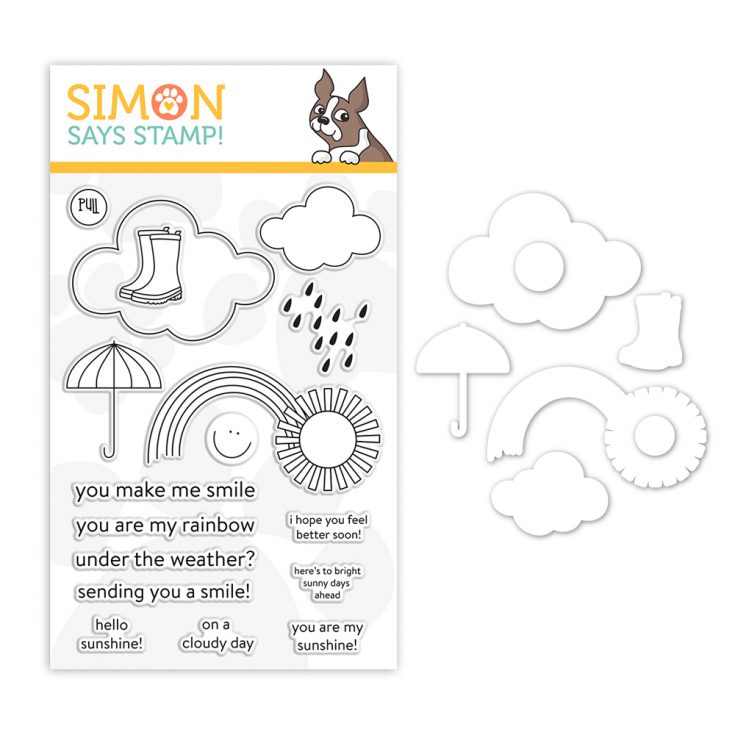
Shop the entire collection below:


INSPIRATION:


For more inspiration (and to share what you made) visit our galleries!
For even MORE inspiration, stop by our blog tomorrow (April 24) AND Saturday (April 25) for back to back BLOG HOPS!
Yippee for Yana: No Line Watercolor
Hi friends! Please join me in welcoming back special guest Yana Smakula in her bi-monthly Yippee for Yana blog series! For more information, keep reading, be sure to watch the video, and enjoy!

Hi everyone, this is Yana Smakula, welcome back for another Yippee For Yana video! I have been trying to keep busy lately by doing watercoloring and I’ve grown to really enjoy it. I love to color in general, but I seem to never have enough time in the day to dedicate the proper amount of time that watercolor needs. I typically color with alcohol markers, as I find that to be a lot faster. Now, during the quarantine, I finally have all the time I need to color pretty images with watercolors.
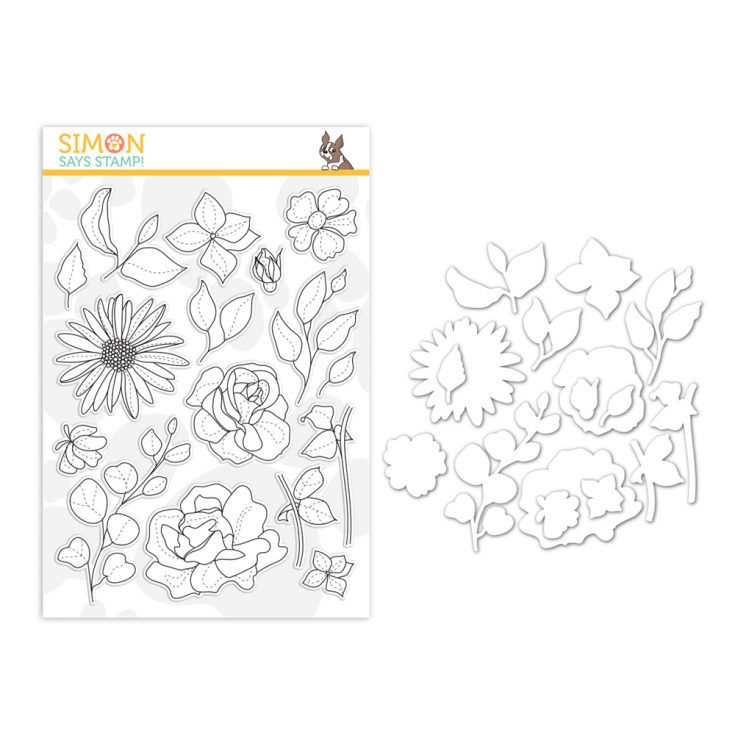
For today’s project I pulled out an older stamp set from Simon, More Spring Flowers, it is a beautiful floral set, particularly fitting for Spring. I also prepped a sheet of watercolor paper, Arches Cold Pressed watercolor paper and a Distress ink pad in Old Paper.
I stamped all the images I had in mind onto my watercolor panel and proceeded to color. For my coloring I used a medium water brush – this is a water brush from Tonic Studios, it holds a nice amount of water and I find I don’t even need a separate water container on my desk when I have this water brush. I also used two paintbrushes – Silver Black Velvet Brushes in size 2 and size 4. I colored using the smallest size 2 brush and the size 4 brush was mostly used as a thirsty brush to soak up any excess water.
Watercoloring is not quick. You need to have the time to fully enjoy the process and also you need the time to have good results. Rushing watercolor will only result in a big mess. I am far from being a watercolor pro, but that doesn’t stop me from trying and practicing and enjoying this amazing coloring medium.
When it comes to coloring flowers you need to color one petal at a time. You can’t color the whole flower at once as the ink will just bleed and make a mess. So prepare yourself and get ready to color each one of those petals you see on the flower by itself. As you color, you also need to move from petal to petal that does not touch each other. As if they touch, again the ink might and will most likely will bleed and all your watercolor efforts will vein.
I like to begin by using my water brush to wet the petal. Next, I come in with a paintbrush holding a small amount of pigment and I work my brush to distribute the pigment on the petal. I come back and bring more pigment to the areas I want to be darker.
By wetting the paper first I am simplifying the process – the water does a lot of the work for me and moves the pigment on the paper.
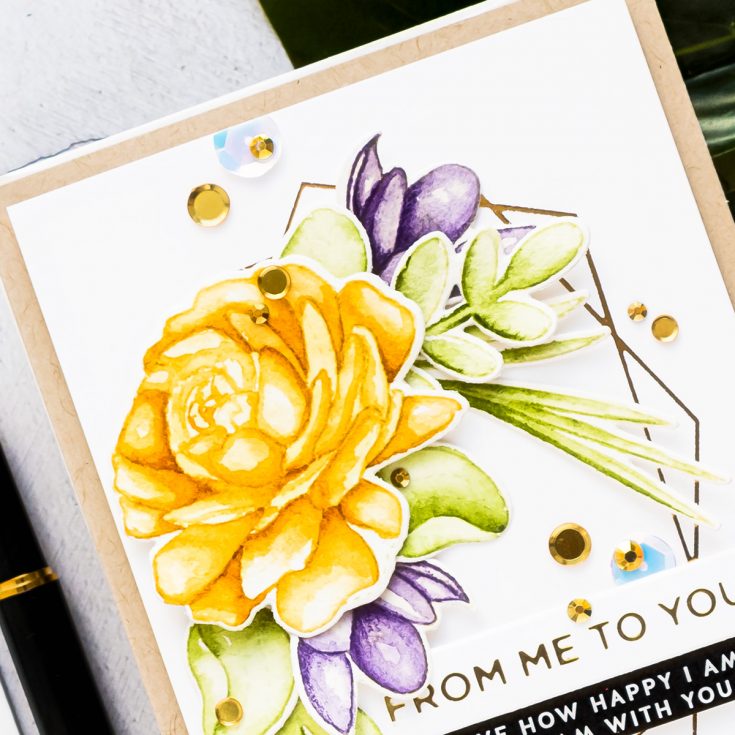
Here I used just one color to color this flower, Quinacridone Gold. Because I worked with water and diluted the pigment it might look as if I used several shades of yellow to color.
When you watercolor something you need to work in layers. Doing just one layer is ever hardly enough. And once you finish applying the first initial layer of color onto the paper you will need to come back with additional color to deepen the shadows and define the petals even further.
With all of the coloring done I used coordinating dies and cut these images out in my Deep Sea Die Cutting machine. My plan for this card was to decorate a foiled frame with watercolor imagery. I have already foiled several panels in various colors of foil. Do watch my previous Yippee For Yana video for tips on Hot Foiling. I used a new Glimmer Hot Foil Plate by Spellbinders – Geometric Floral and just foiled it in the center of my panels, I used various colors of cardstock for foiling and also various colors of foil. And this is how I typically like to foil – I foil the same image several times using my go-to cardstock colors and my go-to foil colors.
I wasn’t sure which foiled panel I liked the most and I just played around a bit until I’ve found one I liked more and, no surprise, it was white panel foiled with regular gold foil.
Next, I used Simon’s Tacky glue to adhere all of the pieces in place. I also shaped many of the leaves using my fingers to make them slightly more dimensional. I used foam adhesive squares to foam mount the main flower over the cluster.
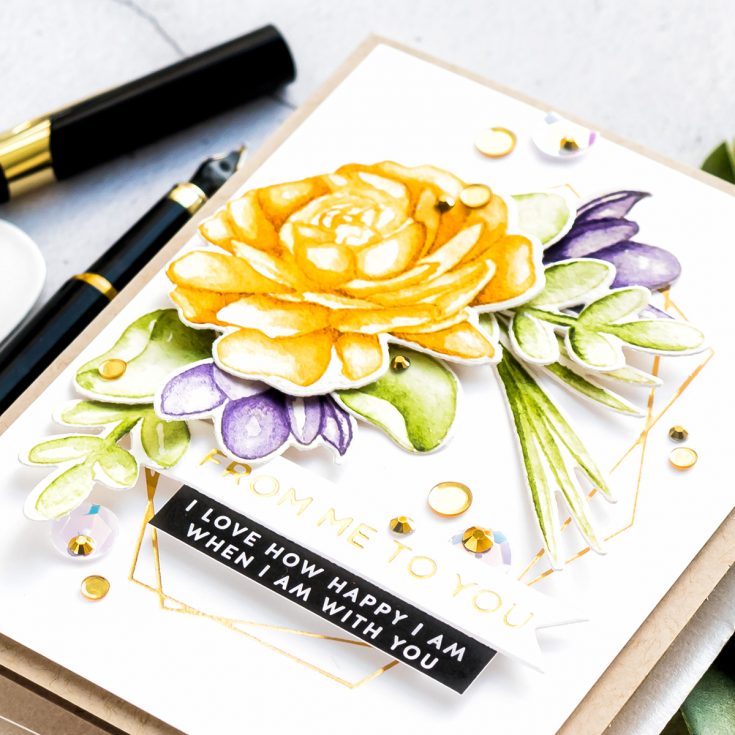
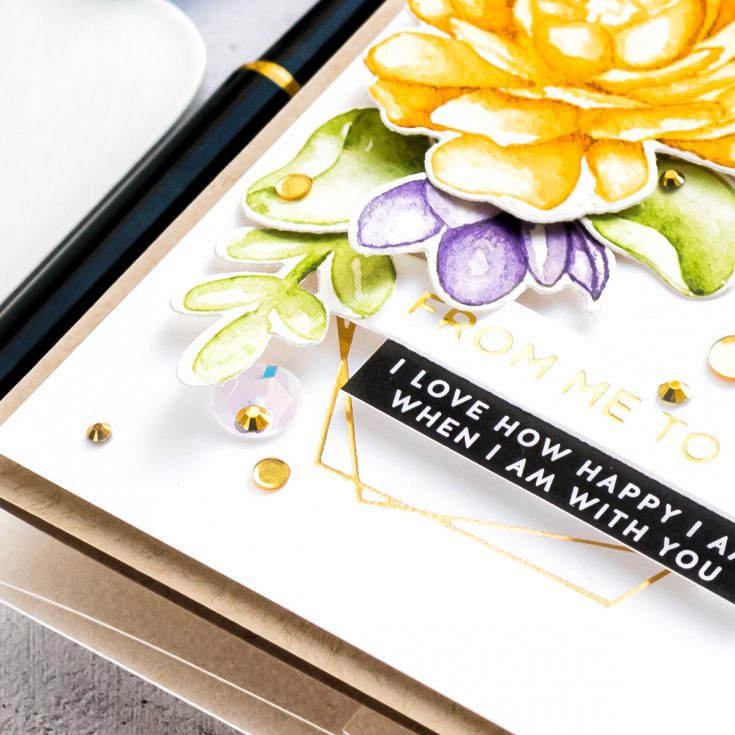
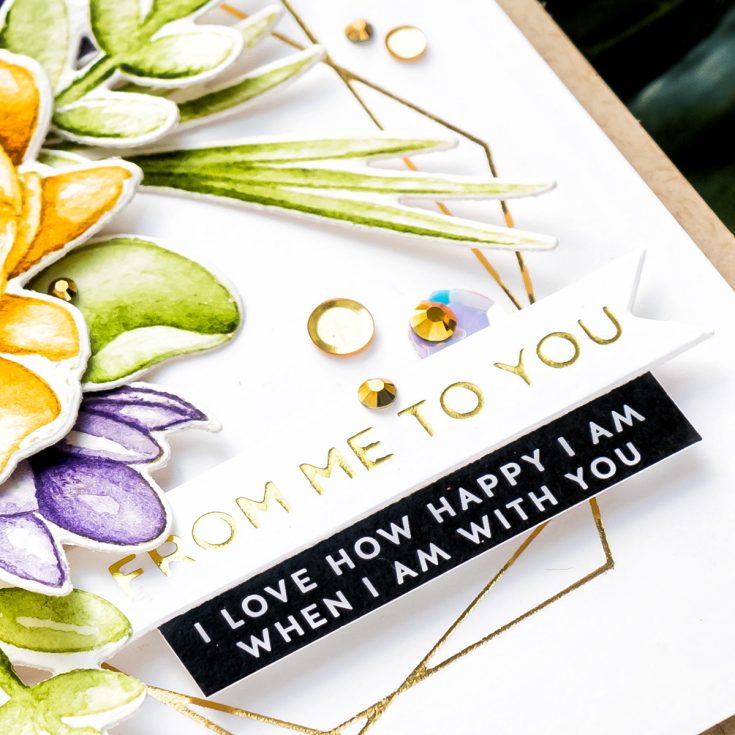
To create a sentiment for this card I first foiled one that reads “From Me To You”, I used gold foil and white cardstock, this was foiled using a “More Sentiments” Glimmer Hot Foil plate set and I also added that onto a sub sentiment that reads “I Love How Happy I Am when I am with you”, the sub sentiment comes from Simon’s Sentiment Strips from Simon – I’ve come to really love them lately.
I used foam adhesive squares and foam mounted both sentiments onto the card. I foam mounted the panel onto an A2 kraft card base and used several sequins from my stash to embellish it. I used Stay Gold Sequins from Simon, several gold jewels from Pretty Pink Posh and several largest sequins from Star Spangled set from Simon to dress this card up.
Here’s a look at the finished card – you can see how beautifully that foiling shines in the background and complement the flowers. I hope you’ll give this idea a try!
WATCH THE VIDEO:
SUPPLIES:
|


Thanks so much for stopping by and thanks to Yana for being our guest!
Shipping update from Heidi, our Simon Says Stamp President
Hi friends! Please watch the video below for our most current shipping status. Thank you so much for your continued support!


