Junk Drawer Panel by Anna-Karin Evaldsson
Hi friends! Happy Sunday! Please join me in welcoming the super creative Anna-Karin Evaldsson back to our blog as a special guest! Read on to learn all about this fun project and enjoy!
Hi everyone! I am so happy to be here today to share a tutorial with you. The beautiful month of May has arrived and it helps to bring a light into these hard times. I hope you are all healthy and keeping the hope up.
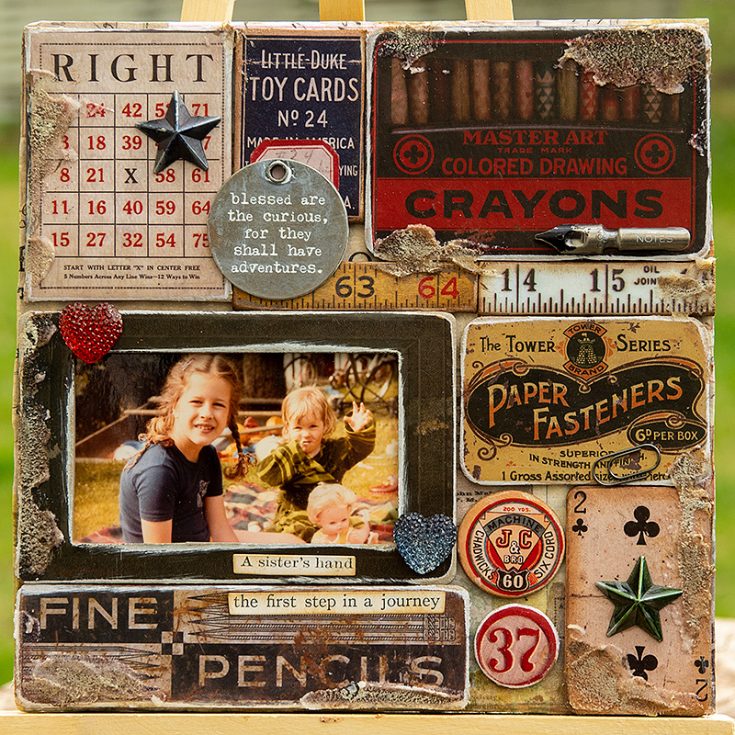
For today I made a wall-hanging mainly using Idea-ology products by Tim Holtz. I was looking through his Junk Drawer Baseboard set and realized that I like the vintage designs so much, that I wanted them to be the stars of a project. I didn’t want to cover them up too much and only used small embellishments. I paired them up with an old photo of my sister and me.
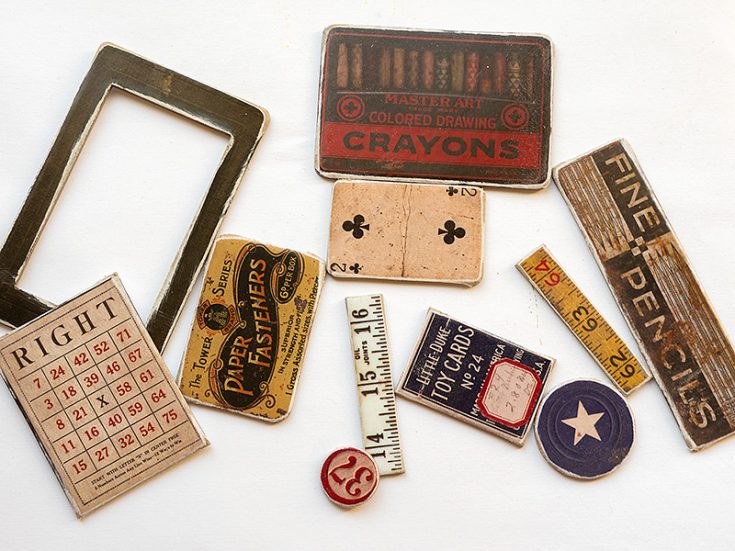
Pick out your favorite Junk Drawer pieces and sand the edges. Some of the edges were later inked brown, others were left white. The frame comes from the Halloween Baseboards and Layers Frames set.
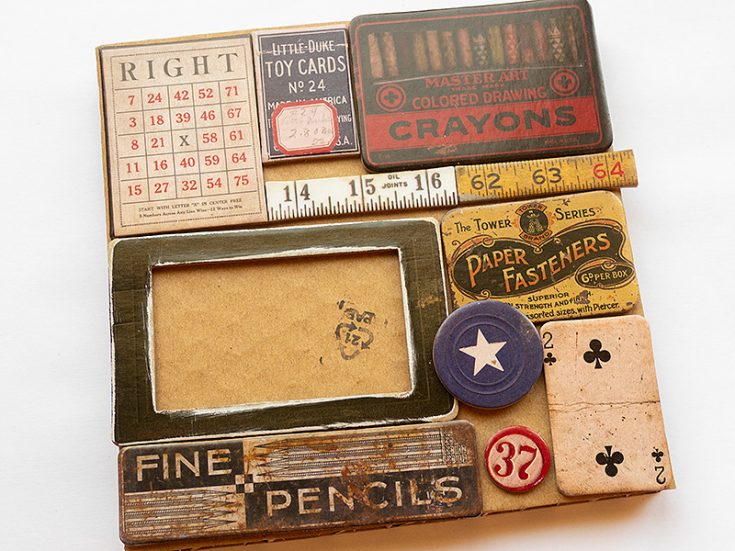
Arrange the pieces on your surface. Move them around until you are happy with their placement. It is like doing a puzzle. I ended up not using the blue circle with the star. As a base I used a thick piece of 6 x 6 in cardboard, which was a piece of packaging from IKEA. I knew it would make a good base for a project. You can also use ordinary cardboard, canvas board or a deep edged canvas.
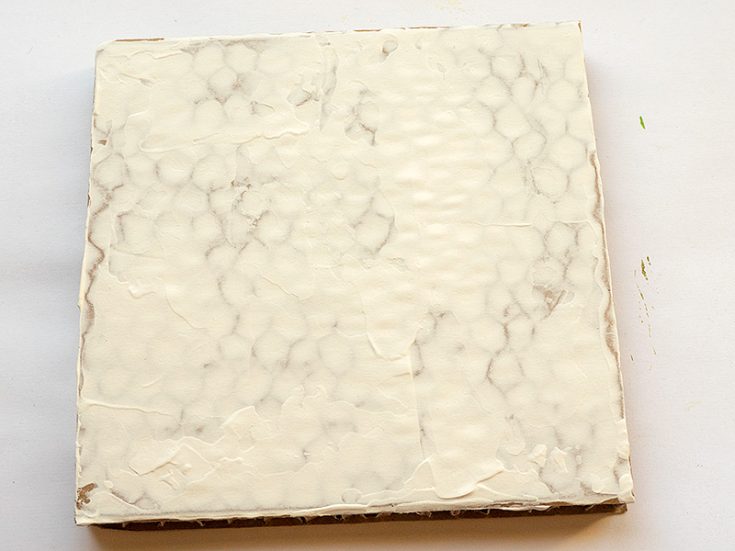
Coat your surface with gesso. Let dry. If you use a light surface, you can skip this step.
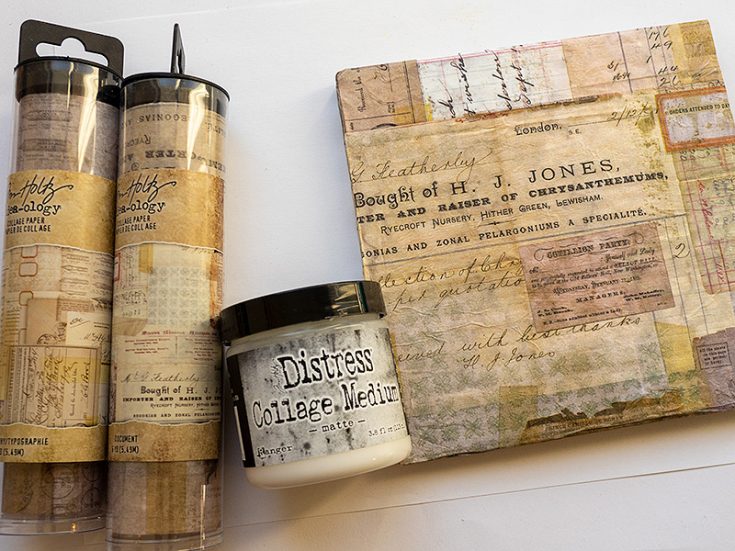
Apply a layer of matte medium to the background and carefully place Collage Paper on top. Wrap it around the edges, to cover the edges too. Add another layer of medium on top of the collage paper. I used both the Documented and Typography Collage Papers. Let dry. This makes for a great background on its own if you don’t want to cover the entire thing with baseboard pieces.
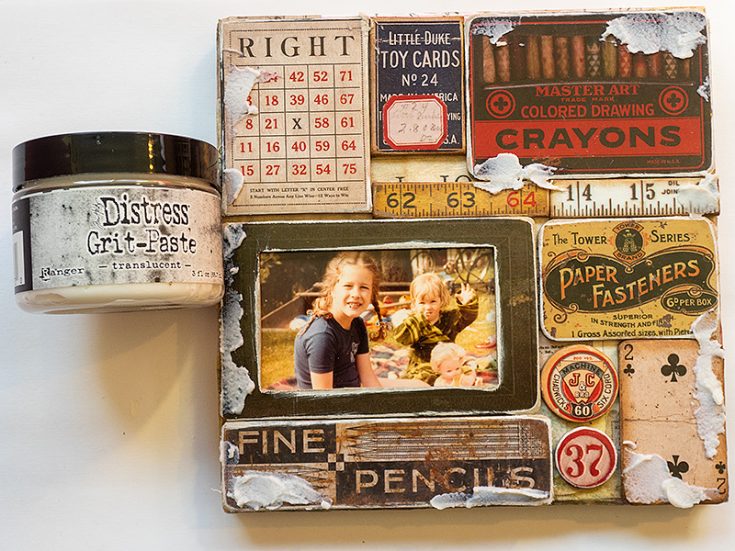
Glue the pieces to the background with matte medium. Then I decided to add some Translucent Grit-Paste here and there, as an experiment. Let dry.
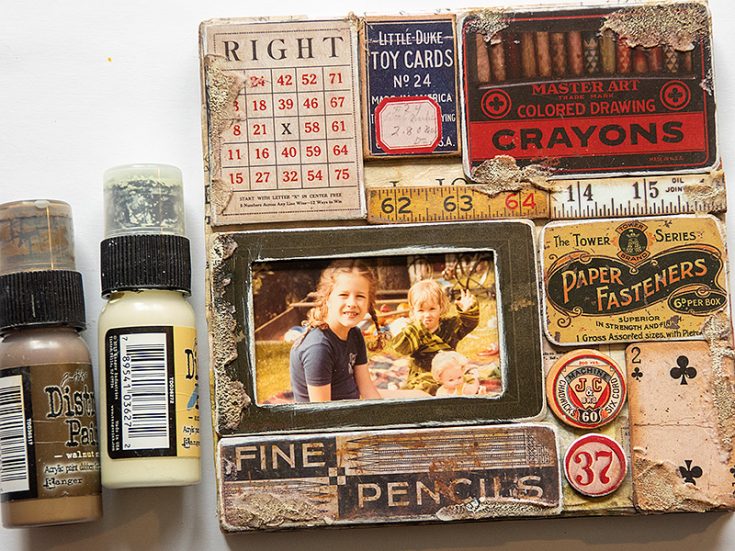
Paint a little Walnut Stain and Antique Linen on the grit-paste. It increases the textured look and almost makes the paste look like sand. In the background of the photo that I used, is the sand box that my dad built for us, which actually made sand fit the project.
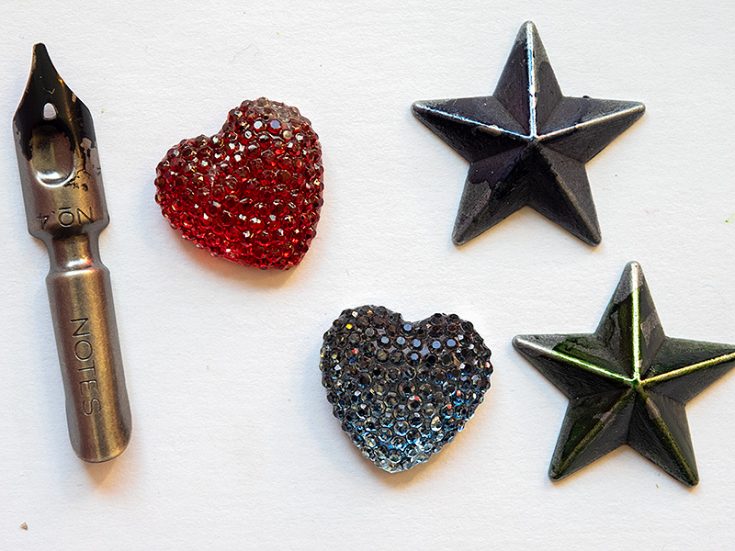
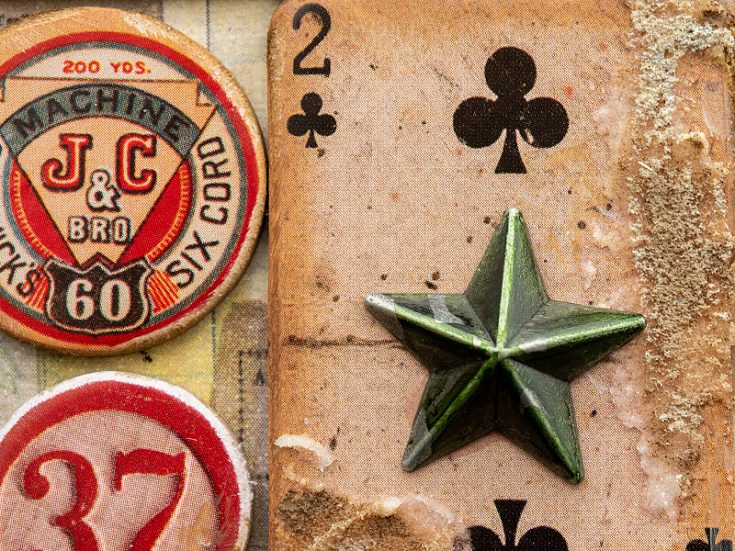
Pick out some idea-ology embellishments. I used a Pen Nib, Heart Gumdrops and Stars. Dip the tip of the Pen Nib in Black Soot paint. Add a drop of alcohol ink to the gumdrops and the stars to color them. I used Poppyfield, Denim and Meadow.
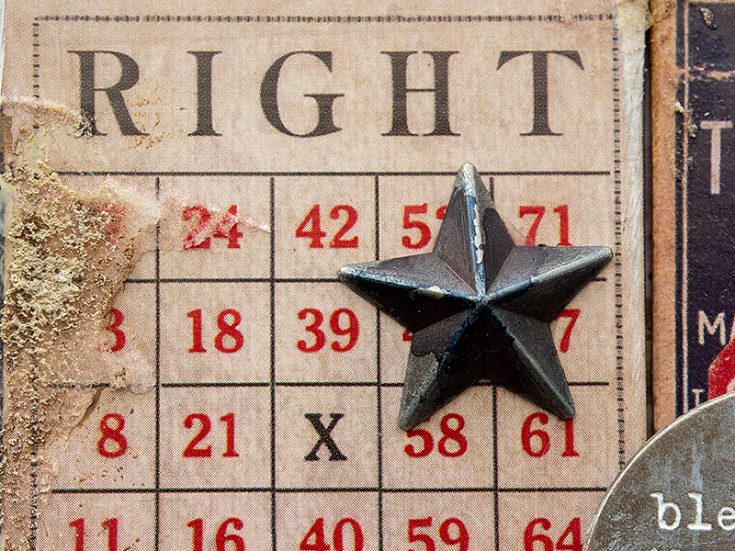
The alcohol ink colors the metallic stars while still letting them look metallic, since the ink is transparent.
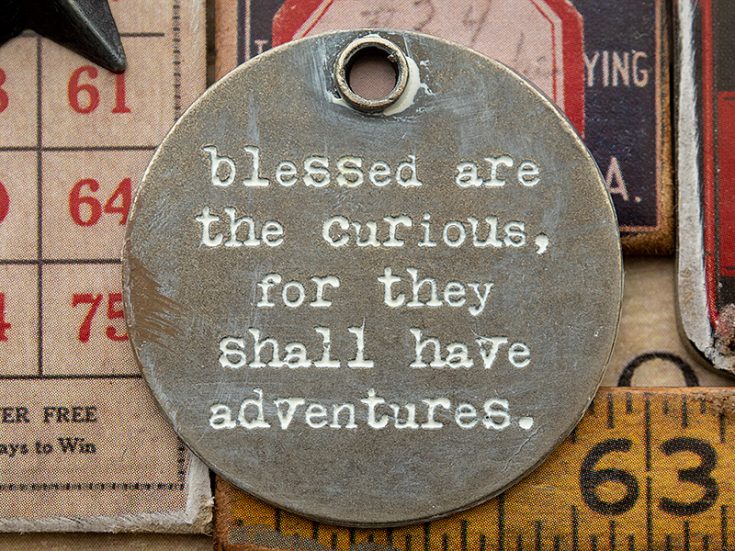
Rub a little Picket Fence paint into the words of a Quote Token, to make them stand out better.
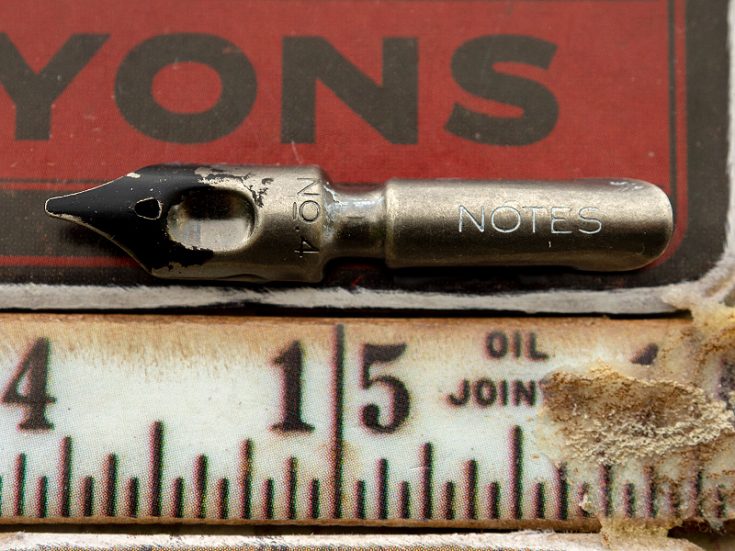
I also rubbed a tiny bit of white paint into the word on the Pen Nib.
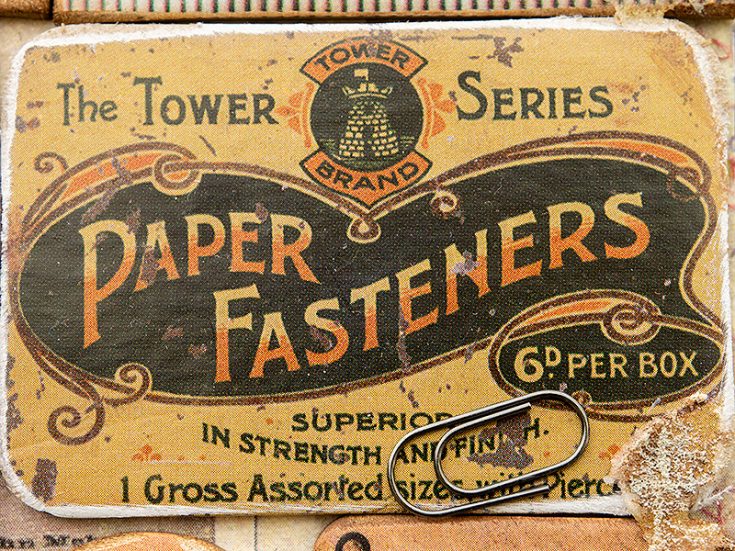
Glue one of Tim’s Mini Paper Clips to the Paper Fasteners baseboard piece.
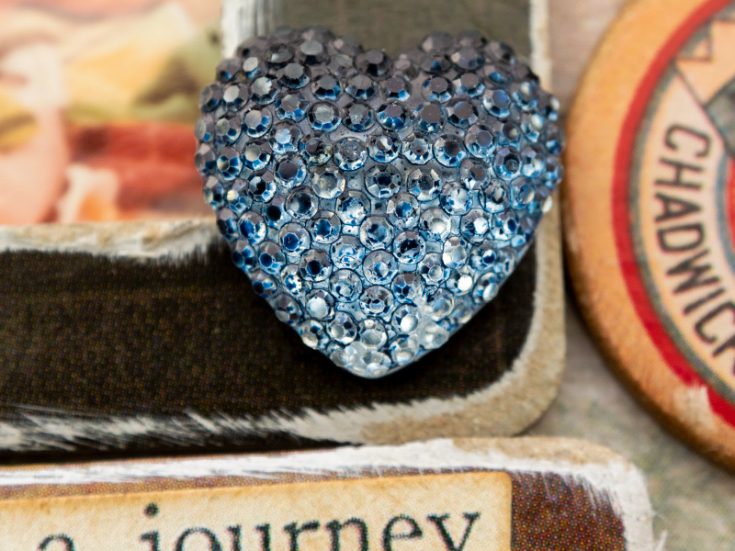
I just love the look of gumdrop embellishments colored with alcohol ink. They catch the light in such an amazing way.
Here you can see the sandy texture of the painted grit-paste. It would work great for a nautical project too.
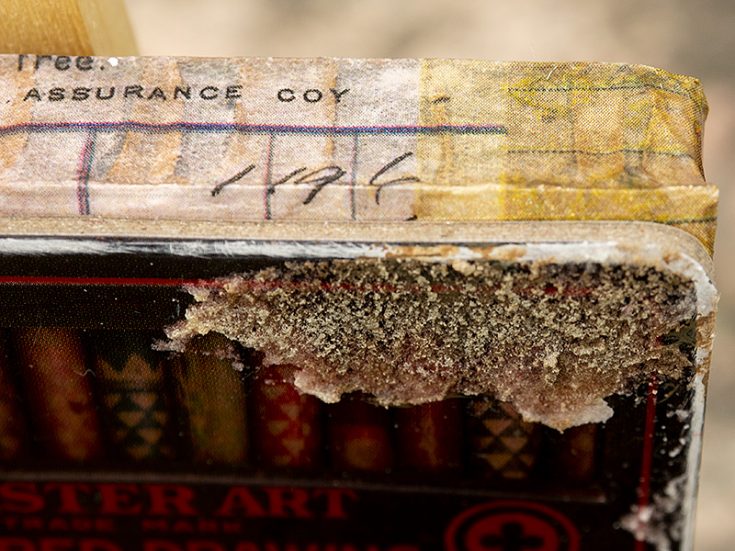
Around the edge of the panel, you can still see the collage paper.
This is a great way of using any type of ephemera or pretty paper which you don’t want to cover up. Make them the star of the project instead, by creating a grid or puzzle type of design.
I hope this tutorial inspired you. Thank you so much for looking! Stay safe! Happy crafting! -Anna-Karin
SUPPLIES:
|


Thanks so much for stopping by, and thanks to Anna-Karin for being our guest!
Sunny Days Ahead… 2 new ideas!
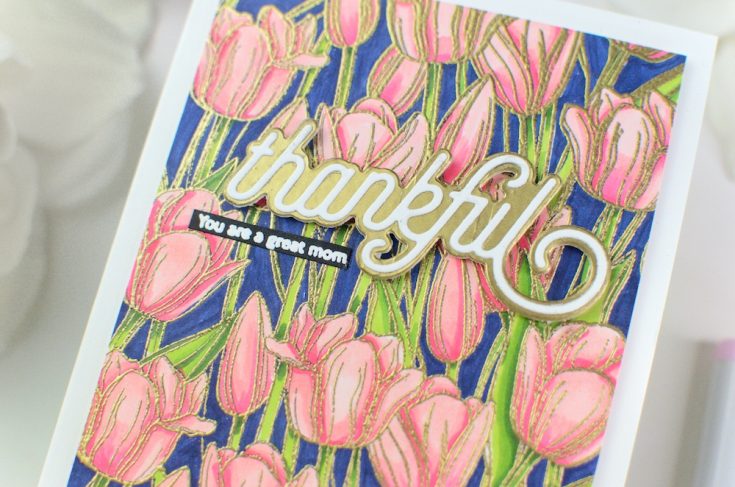
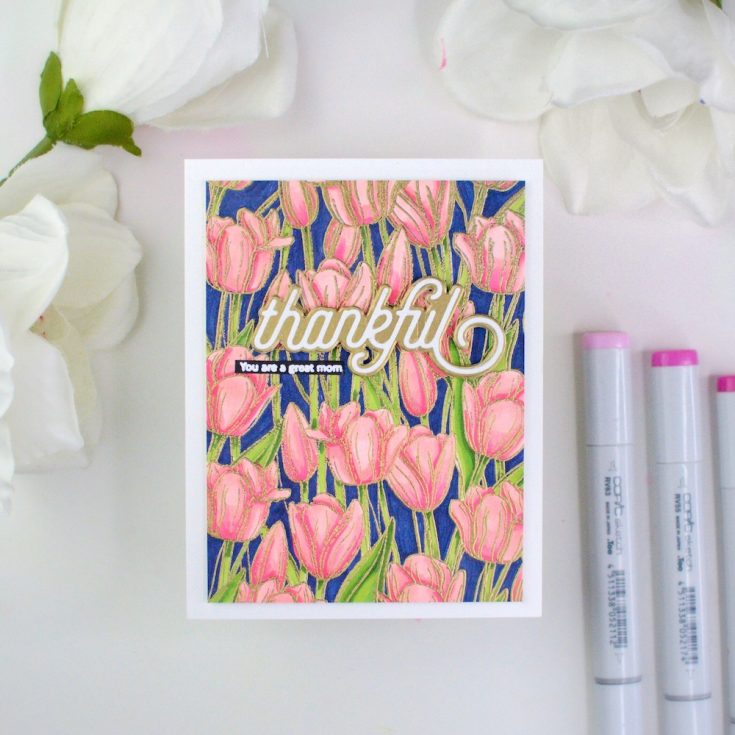
Hi friends! Happy Saturday! I’m delighted to welcome back special guest Ashlea Cornell to our blog with 2 fresh ideas using stamps from our Sunny Days Ahead collection just released last week! She’s showcasing the Tulip Background along with CZ Design’s Thankful 2 die, and A Mama’s Love stamps, but be sure to watch the video for more information and enjoy!
WATCH THE VIDEO:
SUPPLIES:
|


Thanks so much for stopping by, and thanks to Ashlea for being our guest!
May 2020 Brand of the Month: Mama Elephant!

Happy Friday, friends! We are so excited to reveal to you our May 2020 Brand of the Month, Mama Elephant!
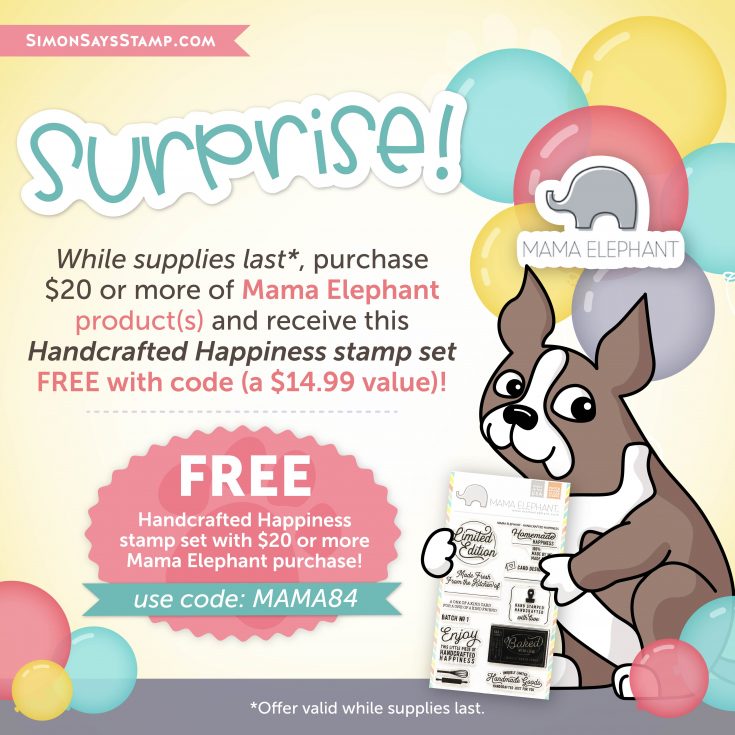
To celebrate, we’re giving away this AWESOME 4×6 inch Handcrafted Happiness clear stamp set from Mama Elephant with code MAMA84! Simply purchase $20 or more of Mama Elephant products and use the code at checkout!
Are you ready for some Mama Elephant inspiration?? Check out this fun project by Thi Lam below!
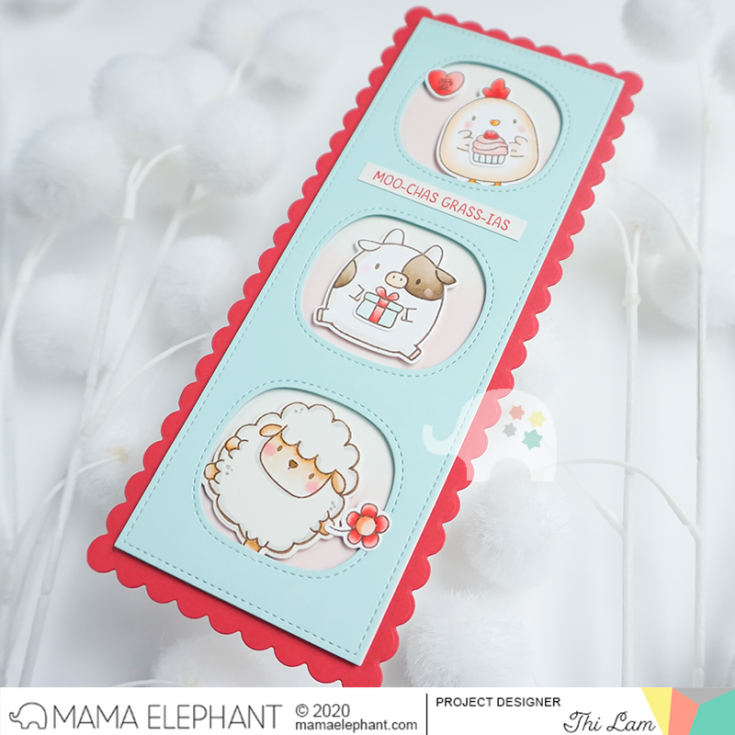
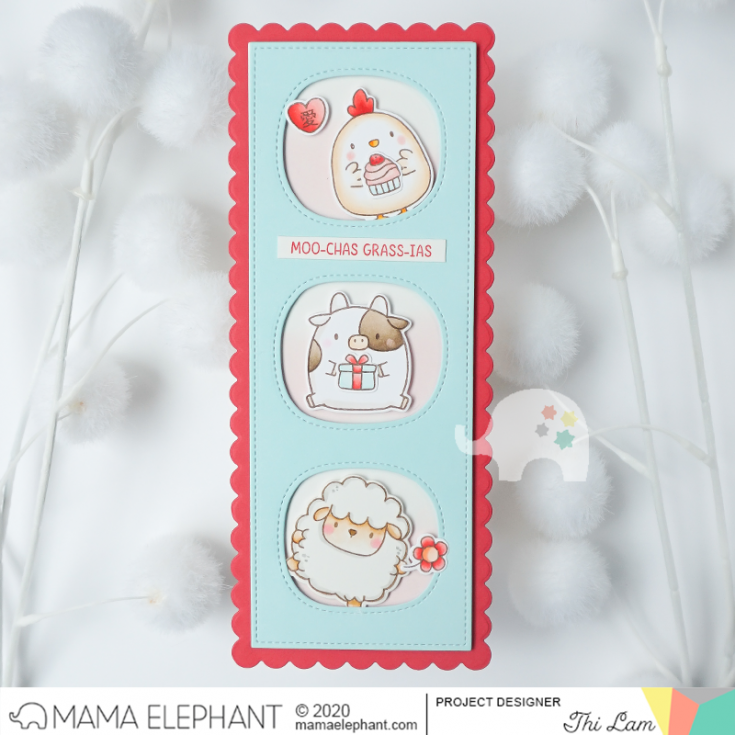
Hello crafty friends! Thi here today with a project for Mama Elephant! 2020 has been the year of adorable Zodiac animals for Mama Elephant so I decided to combine a few of my favorites for a fun card using the new Slim Card Basics Creative Cuts to make a long, slim card that fits into a standard #10 envelope.
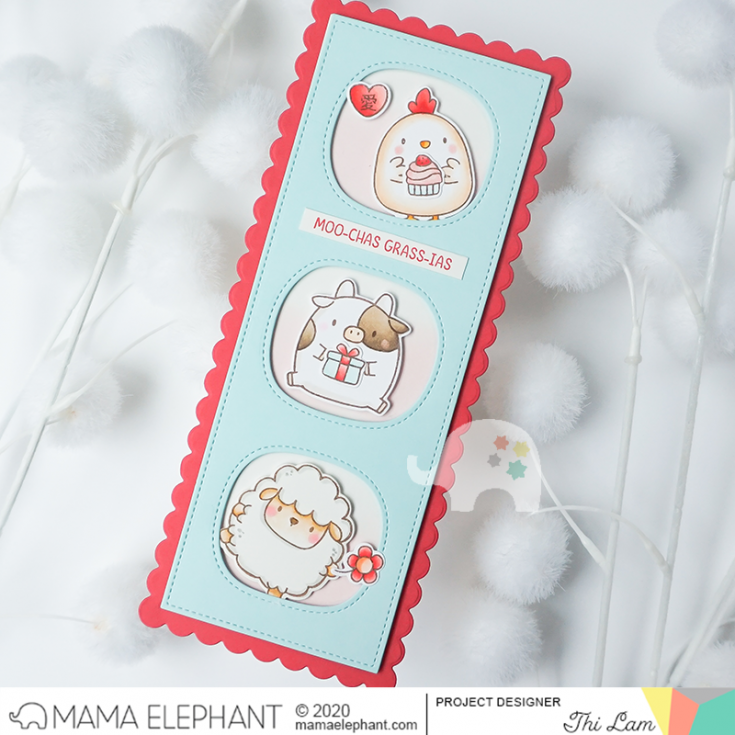
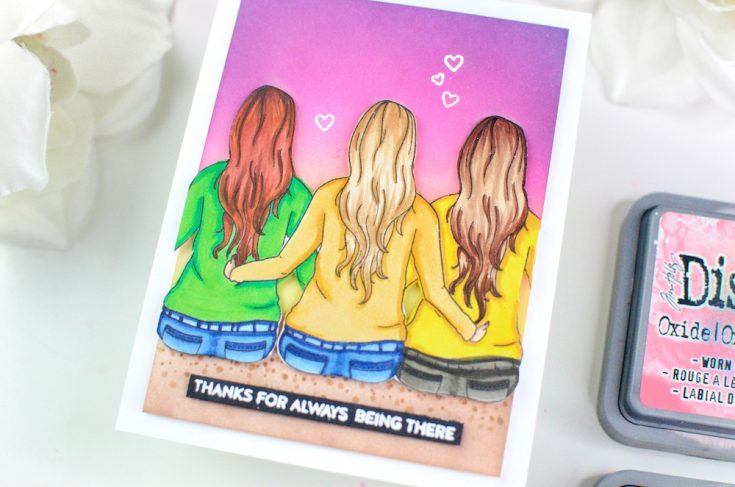
To start, I stamped my images in a dark brown Copic-friendly ink and colored with Copic markers. I choose one critter each from Zodiac Rooster, Zodiac Ox and Zodiac Sheep. The best part of about the Zodiac series is that you can mix and match all the little images, so I borrowed the heart, flower and present from Zodiac Horse since they coordinated with my “thank you” card theme better. I stamped the sentiment from Zodiac Ox with some red pigment ink onto a strip of white card stock.
For the card base and background, I die cut everything out of the Slim Card Basics Creative Cuts out of colored cardstock. Inside each of the windows, I did a little light ink blending with Distress Oxide in Spun Sugar just for a little interest. I adhered everything together and popped my images onto the card with foam tape. I glued my sentiment strip directly onto my card and my card is finished.
SUPPLIES:
|


Thanks so much for stopping by and thanks to Thi for the gorgeous inspiration!


