Did You Know? Fun Facts and Crafty Tips! May 2020 Edition

Hello crafters, it’s Shari here with you! Today I have a new edition of our popular Did You Know series!
If it’s your first time seeing this feature, each month we bring you fun facts, creative tips, and even crafty hacks about your favorite supplies and brands; you can then use these awesome tips that you learn in your next crafting projects! Are you ready to learn some fun tricks? Keep on reading!
SIMON SAYS STAMP INTENSE BLACK INK:
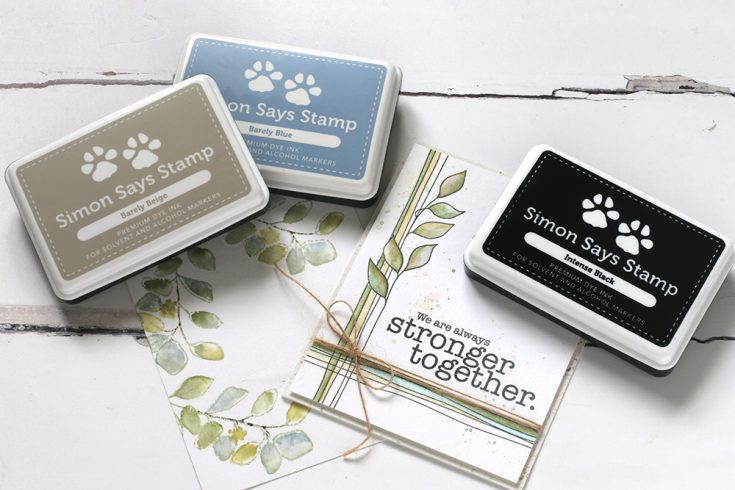
Simon Says Stamp Intense Black ink was designed to be used with watercolors and all types of markers including Copic, Zig, Tombo, Spectrum Noir, plus color pencils and more. It’s also a great choice as your everyday stamping ink.
It’s quick-drying, smudge-free, and a permanent ink that is an intense black.
Tip: Barely Beige and Barely Blue are made with the same formula as our Intense Black ink so you can use them with all your favorite coloring mediums. The colors were designed for No-Line coloring. Use Barely Beige for warm tone coloring and Barely Blue for cool tones.
TIM HOLTZ DISTRESS EMBOSSING DABBER:
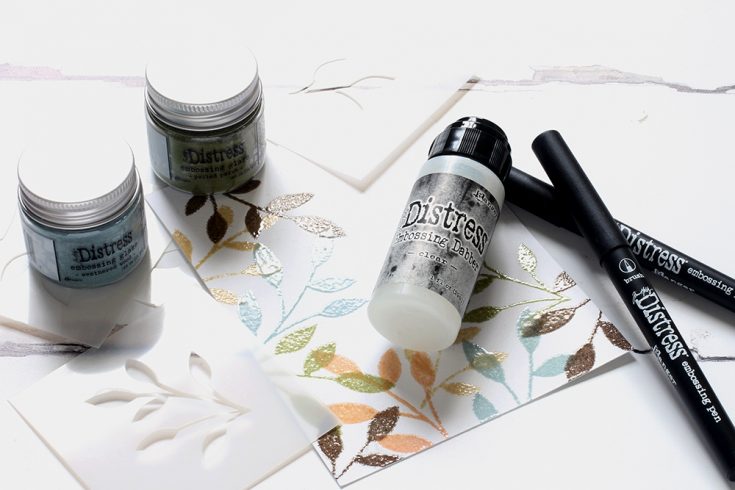
This handy dabber delivers embossing ink where ever you’d like it. With a quick swipe, you’re off to embossing with your favorite powders. It is clear embossing ink with a light, pleasant cinnamon scent in a bottle with a cloth covering.
Inking through a stencil is quick and easy! You can also draw your own shapes to emboss!
Tip: If you have smaller areas to cover or would like to emboss your handwriting, give the Distress Embossing Pens a try!
TIM HOLTZ DISTRESS EMBOSSING GLAZES
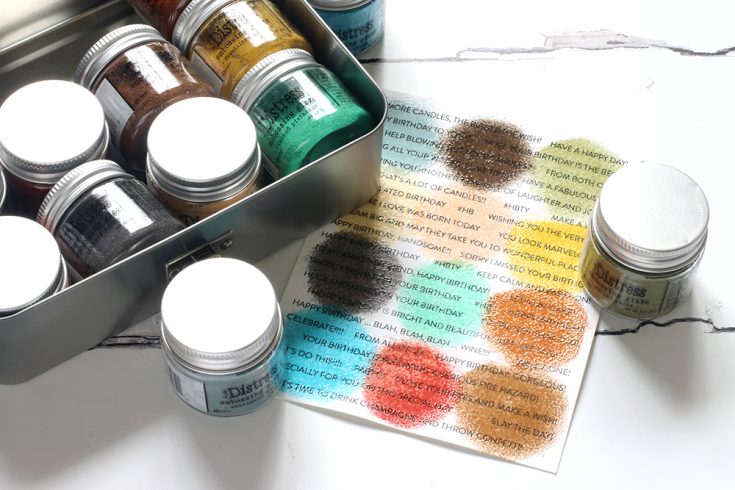
These embossing powders are like no other. They are translucent. They will tint anything you emboss with them. You can use them over stamped and printed items and they will actually accentuate the black print. There are presently 12 colors to chose from.
Tip: A set of 12 glaze jars fit perfectly into a Distress Crayon Tin for easy storage.
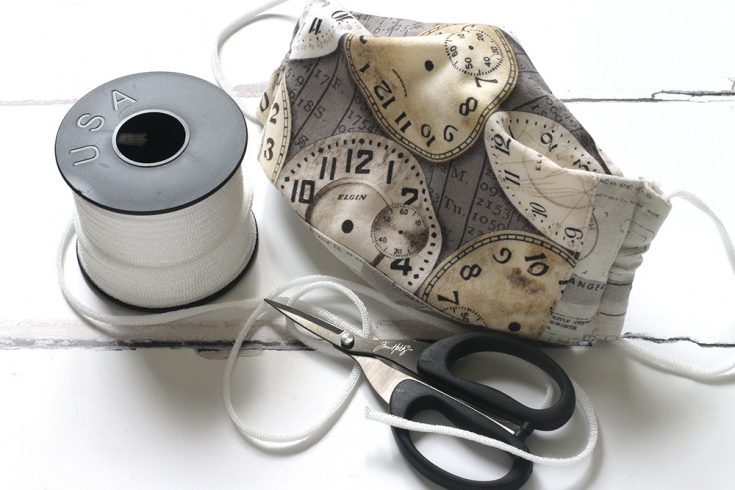
If you’re in need of creating your own fabric masks, Simon Says Stamp carries this lycra, 5/32 inch round elastic. It is soft and pliable and does not pinch or pull the hair or skin and it is made in the U.S.A. This rounded elastic is very comfortable behind the ears. Each spool is approximately 100 feet in length.
NEW PRODUCT WEBSITE NAVIGATION

Did you know that our brand managers are constantly updating our website with New Arrivals? The coral banner at the top of our home page will take you to the latest and greatest product available. Be sure to check often!
I hope these tips have helped you learn a few tricks for your upcoming crafting projects and how to find them. Thanks for joining me today!!
SUPPLIES
|


Doodling with Debby: Easy Embossed Watercolor Background
Hi friends! Happy Sunday & Happy Mother’s Day to all the SUPER HERO Mom’s out there! We appreciate you all! Please join me in welcoming back the always inspiring Debby Hughes as a special guest for our May 2020 installment of Doodling with Debby. Be sure to watch the video and enjoy!

Hi, it’s Debby here and thank you for joining me for Doodling With Debby this month. For last month’s video of a woman and umbrella with a textured background, I went for lots of technique and detail. For this month, I wanted to mix it up with an easy heat embossed and watercolored background and include my key tip for keeping your white embossing white!
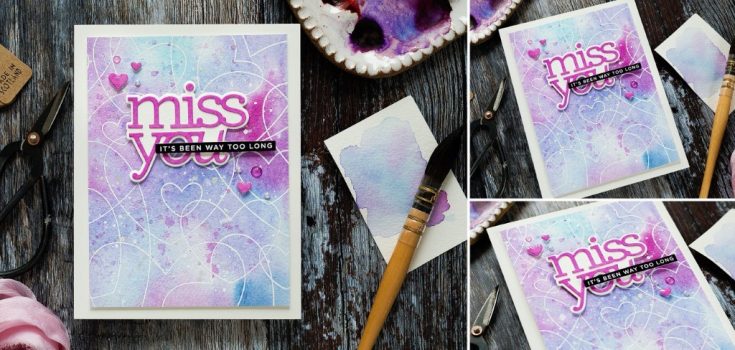
I used the Heart To Heart Background stamp, and although I love Daniel Smith watercolors, I’m also enjoying exploring other watercolors, and so I used the Mijello Mission Gold watercolor set on this card.
I taped a piece of Fabriano Artistico Extra White cold-pressed watercolor card to a board and using a broad brush, liberally applied water over the piece. I chose an analogous color scheme from the Mission Gold paints of Prussian Blue, Bright Clear Violet and Red Violet with a touch of Peacock Blue too. With the paper wet, the colors mix and blend, creating beautiful new hues. I didn’t mix the colors on the palette; all the action was right there on the paper. With a background like this, I aim to get a variation in the depth of color with some darker patches and equally some lighter areas too, and a great way to do the latter is to add water splashes which push the color away to the edges of the water droplets. I also added splatter from a solution of Perfect Pearls for a bit of sparkle to the mix and then dried with a heat tool.
It was only at this point that I got out the Heart To Heart Background stamp to white heat emboss the pattern. And this is my tip; you could’ve heat embossed the pattern before watercoloring which does allow for lovely puddling of the color in the wells created from the heat embossing. However, you often get paint over the embossed lines, which isn’t always the easiest to wipe away without disturbing the painted background. By heat embossing after watercoloring you don’t have that problem, your beautiful white embossed lines will stay pristine and white.
I placed the Heart To Heart Background stamp in the Misti along with the watercolored panel. I kept the paper in place with a piece of masking tape as I stamped this multiple times to get a good impression on the watercolor card. I treated the card with anti-static powder to prevent the embossing powder randomly sticking everywhere and then I inked the stamp with Versamark ink and gently pressed the stamp onto the card. My tip here is not to go in with heavy pressure but gently rub the stamp onto the card and repeat stamp several times. This way the resulting embossed lines will be as delicate as they are intended to be rather than heavy and squished out by too much pressure. I sprinkled the card with white embossing powder from Simon Says Stamp, making sure to cover the whole area and then gave it a good tap off before using a hot heat tool to melt the embossing powder.
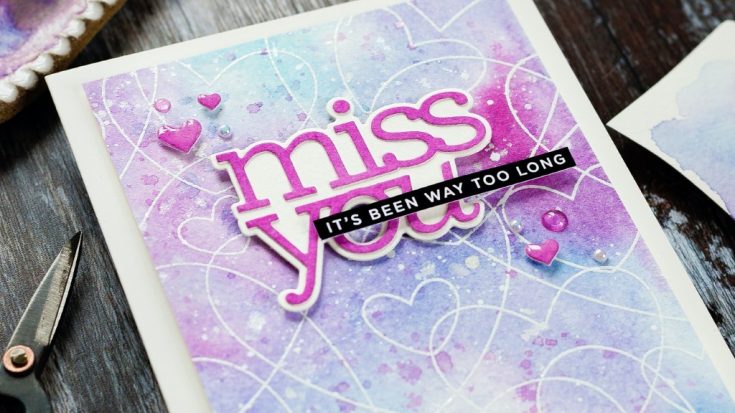
I love splatter, I know it isn’t everyone’s cup of tea, but for me, it adds extra layers of color and dimension and as such interest. I splattered with leftover paint, Perfect Pearls solution and white gouache. These may muddy the white embossed lines a little, and you could do this step before heat embossing to prevent that, but sometimes the splatter leaves a less than smooth surface and I didn’t want to risk lumps and bumps preventing me from getting the best embossed design.
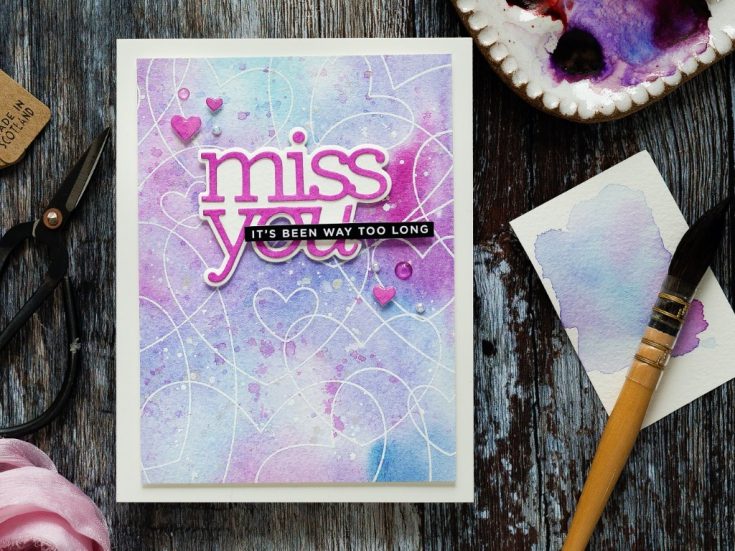
I think we are all missing seeing people at the moment, family and friends in particular and so I pulled out the Miss You dies from CZ Design. These dies have the letters and then a background piece. I wanted to cut the words themselves from toning card. So, I took another piece of watercolor card and using the same Red Violet and Bright Clear Violet paints from the Mijello Mission palette, I quickly whipped up a custom piece of colored card, dried with a heat tool and then ran the letters through my die cutting machine. I also cut the background piece from the plain watercolored card while I did so. This way, everything matches up nicely.
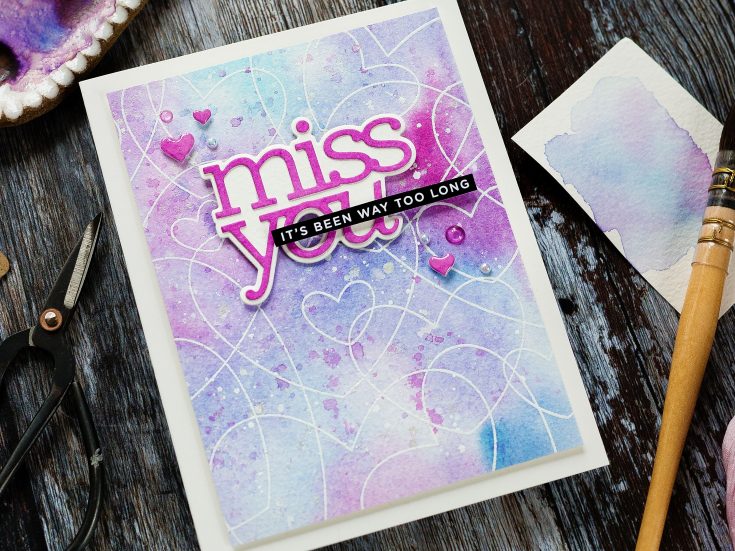
I adhered the letters to their background with Gina K Connect glue and then added foam adhesive to the back. I took a coordinating sentiment from the Reverse Miss You sentiment strips from CZ Design and added foam adhesive to the back of that too. I then started playing around with placement I did debate whether to cut the watercolored piece with a circle die as I felt the sentiment was getting a bit lost, however, in the end, I plumped on simply trimming the background down a bit. This leaves the focal point less lost in a big space and also frames the panel nicely with a broader border from the card base which I’d cut and scored from Ivory card.
I added foam adhesive to the back of the panel and adhered it to the card base and then, in turn, added the Miss You dies and coordinating sentiment. I die cut a few hearts from the leftover watercolored card using the Holiday Shapes dies from Simon Says Stamp and adhered these with foam adhesive before taking them up a notch with a coating of Nuvo Crystal Glaze to give them a lovely shine. Following on from the shiny theme, I also added Nuvo Droplets and Little Things From Lucy’s cards pearls.
Well, that’s me for this month, thanks for joining me today and I hope you join me next time for Doodling With Debby.
WATCH THE VIDEO:
Watch below or in HD on YouTube.
SUPPLIES:
|


Thanks so much for stopping by, and thanks to Debby for being our guest!
Watercolor Rainbow Grad Caps
Hi friends! Happy Saturday! I hope your weekend is starting off wonderfully! I’m delighted to welcome back special guest and Simon Says Stamp designer Cathy Zielske to our blog as a guest using some of her fabulous designs! Be sure to watch the video for more information, and enjoy!
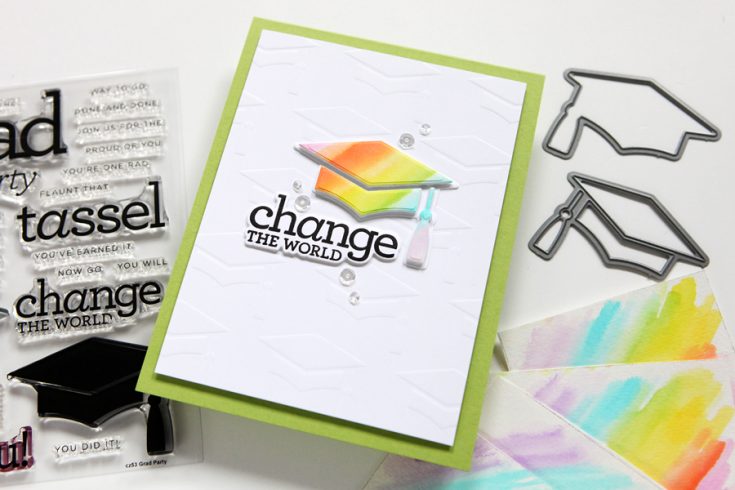
Hi everyone! It’s Cathy Z. here with another installment of Super Simple with CZ. Today’s card project might have a bit more up front work but it creates multiple watercolored panels to die cut grad caps for multiple cards.
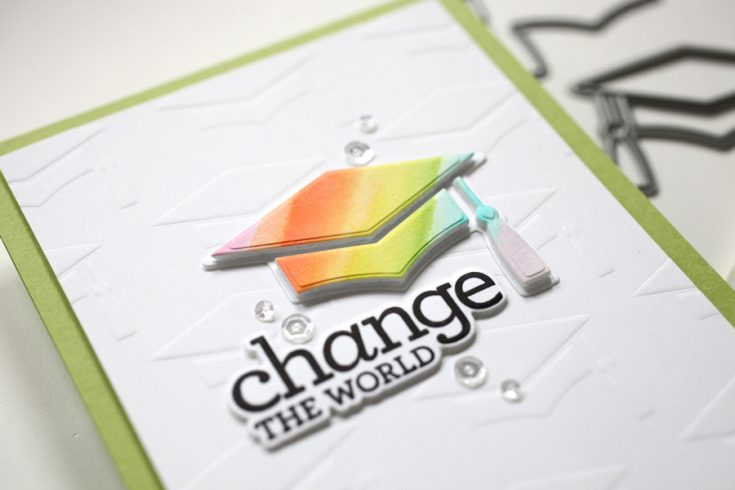
Graduation season is almost here and more than ever, our graduates will appreciate cards to celebrate their accomplishments. This simple design was created using Zig Clean Color Real Brush Markers, some watercolor paper, a die and a stencil, plus a fun Grad Party sentiment set.
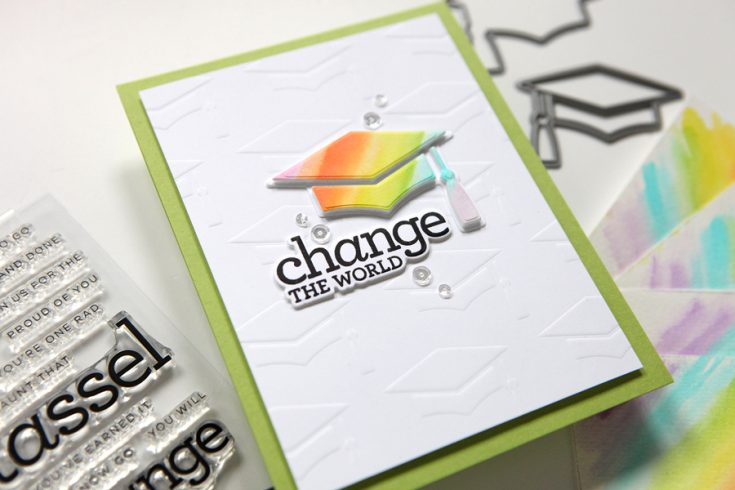
I used the stencil to dry emboss a grad cap pattern onto a card panel, which adds a subtle texture in a clean and simple way.
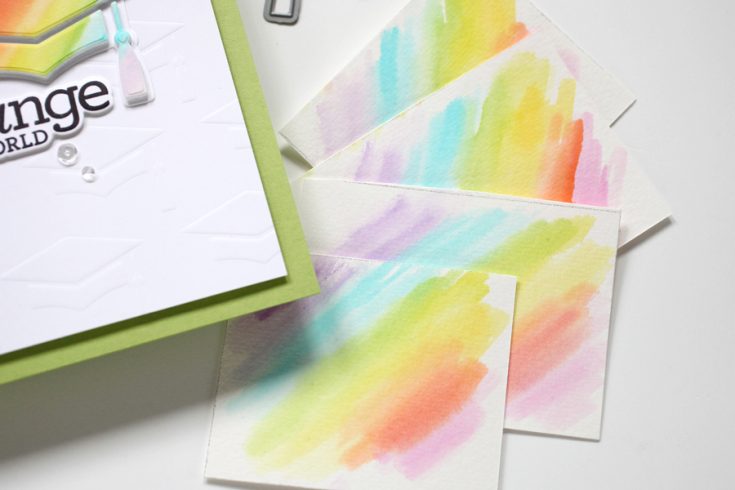
Plus, as you’ll see in my video, I created multiple little watercolor panels, each destined to become a grad cap for another card project.
Here’s my video showing you how I made it; WATCH THE VIDEO:
Thanks so much for stopping by! And if you have a grad in your home this season, I’m sending my congrats!
SUPPLIES:
|


Thanks so much for stopping by, and thanks to Cathy for being our guest!


