GOING ON NOW: Design Team Call!

Would YOU like to join the Simon Says Stamp Wednesday Challenge Design Team? If so you may be just the person we’re looking for!
- Are you fun loving?
- Do you have a blog or are you active on Instagram?
- Are you a team player and ready to help your fellow teammates?
- Are you drama free?
- Are you active on social media, or ready to join in on Facebook, Instagram, Pinterest, etc?
- As a Simon Says Stamp Design Team member you would be required to create a project for our weekly challenges and promote the Simon Says Stamp Store wherever possible. Would you be able to commit to that?
If the answer is YES to the above questions then please go ahead and apply to join the team! Click or tap HERE to learn more! Our call will remain open for two weeks (from today) for all that would like to apply! HURRY! The call closes soon!!!
July 2020 Card Kit Inspiration with Kristina Werner
Hello, all! Kristina here with some cards using the July 2020 Card Kit! And all three of my cards today do NOT require coloring! These cards work up fairly quickly!
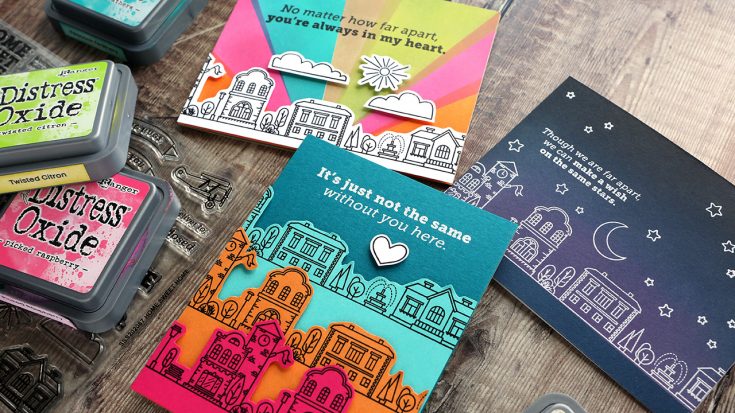
My first card is all about the colored cardstock! I stamped the city scene from the Home Sweet Home stamp set on three colors of Hero Arts cardstock (Azalea, Papaya, Mist) at different heights on the cardstock, and then cut out the top line of each. I adhered them to a piece of Hero Arts Adriatic cardstock and white heat embossed a greeting from the stamp set above the city scene.

For my second card, I used strips of masking paper and ink blending to create a “sun rays” pattern for the background. I used various colors of Distress Oxide ink for the blending, and then kept the city scene bright white.
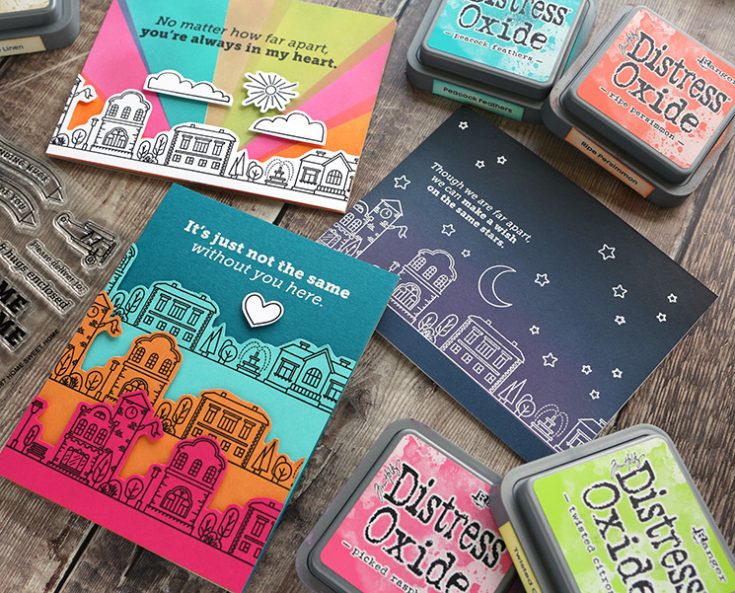
My final card started with the Soft Navy cardstock included in the kit. I masked off the very bottom and then ink blended with Picked Raspberry, Chipped Sapphire, and Black Soot Distress Oxide inks. This created the horizon line and nighttime sky for my scene. After the ink was dry, I stamped and white heat embossed the city scene, moon, stars, and a greeting.
Thanks for stopping by! Be sure to check out the video of these three cards below. And you can picked up the July 2020 card kit HERE, or subscribe to receive this kit and future kits HERE.
Supplies
|


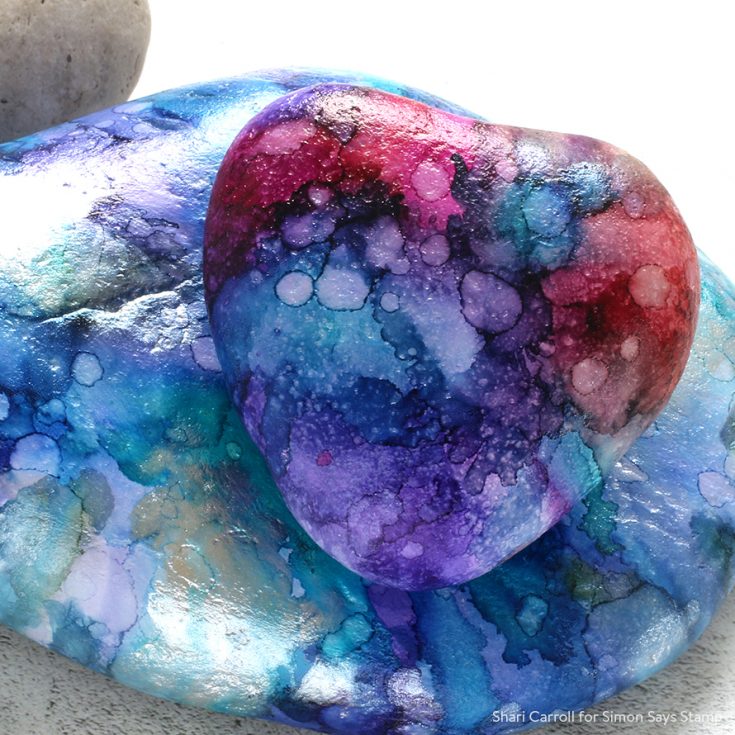
DIY: Alcohol Inked Rocks

Welcome to the blog everyone!! It’s Shari here with a super fun DIY project for you and your family.
Painted rocks are all the rage, especially on trails. There are apps where you can track the ones you’ve left to see how far they’ve traveled.
My husband has been bringing home rocks for years, specifically heart rocks. Also, our front garden is edged with more of his found beauties, so I had plenty to work with.
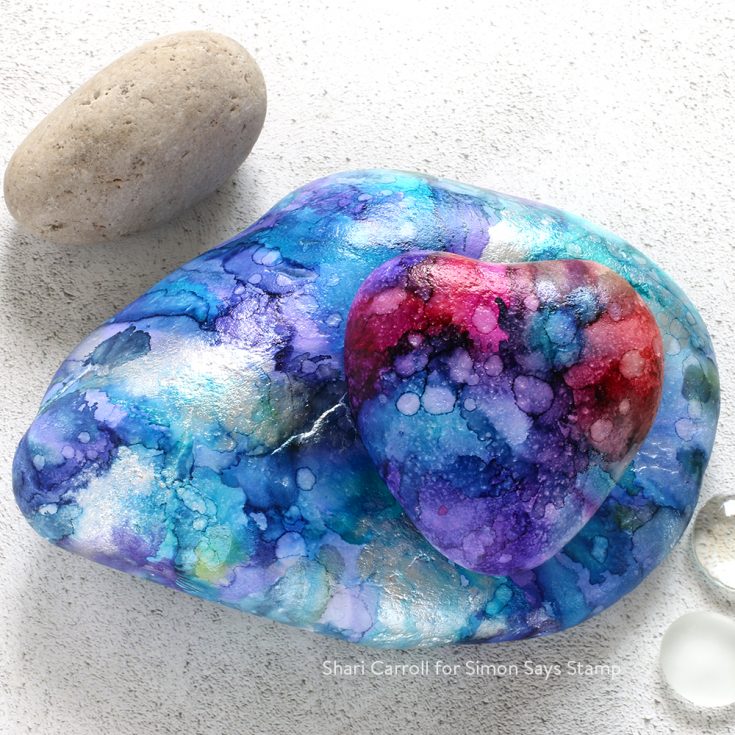
My goal was to create colorful rocks to sprinkle in and around our flower garden to add more splashes of color.
Wash and dry your rocks before stating. I painted mine first with Picket Fence Distress paint until they were as white as possible, this helps the color of the inks pop. Use as many coats as needed (I used two). You can use gesso as long as your final coat is acrylic paint (it’s smoother). Let them dry completely before adding your alcohol inks.
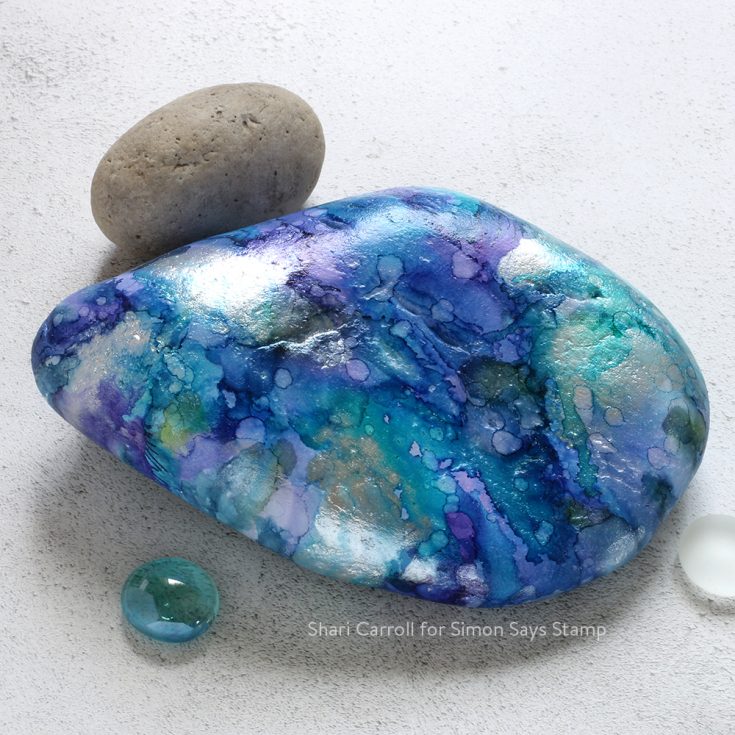
Use a crumpled piece of foil to prop your rocks up from the surface, this allows the alcohol inks to flow down and around the sides. I’ve used my favorite colors, plus a Silver Alloy for some shine.
Once you have your rocks colored, you can decorate them with dots, gems, and doodling.
If you plan on displaying your rocks outdoors, coat them with a waterbased polyurethane found at the hardware store.
Check out the video below for the full process.
SUPPLIES:
|


