Studio Monday with Nina-Marie: Slimline Cupcake Card!

Hello friends, it’s Nina-Marie Trapani here with you! I’m showcasing Honey Bee Stamps today as we celebrate them being our June Brand of the Month.
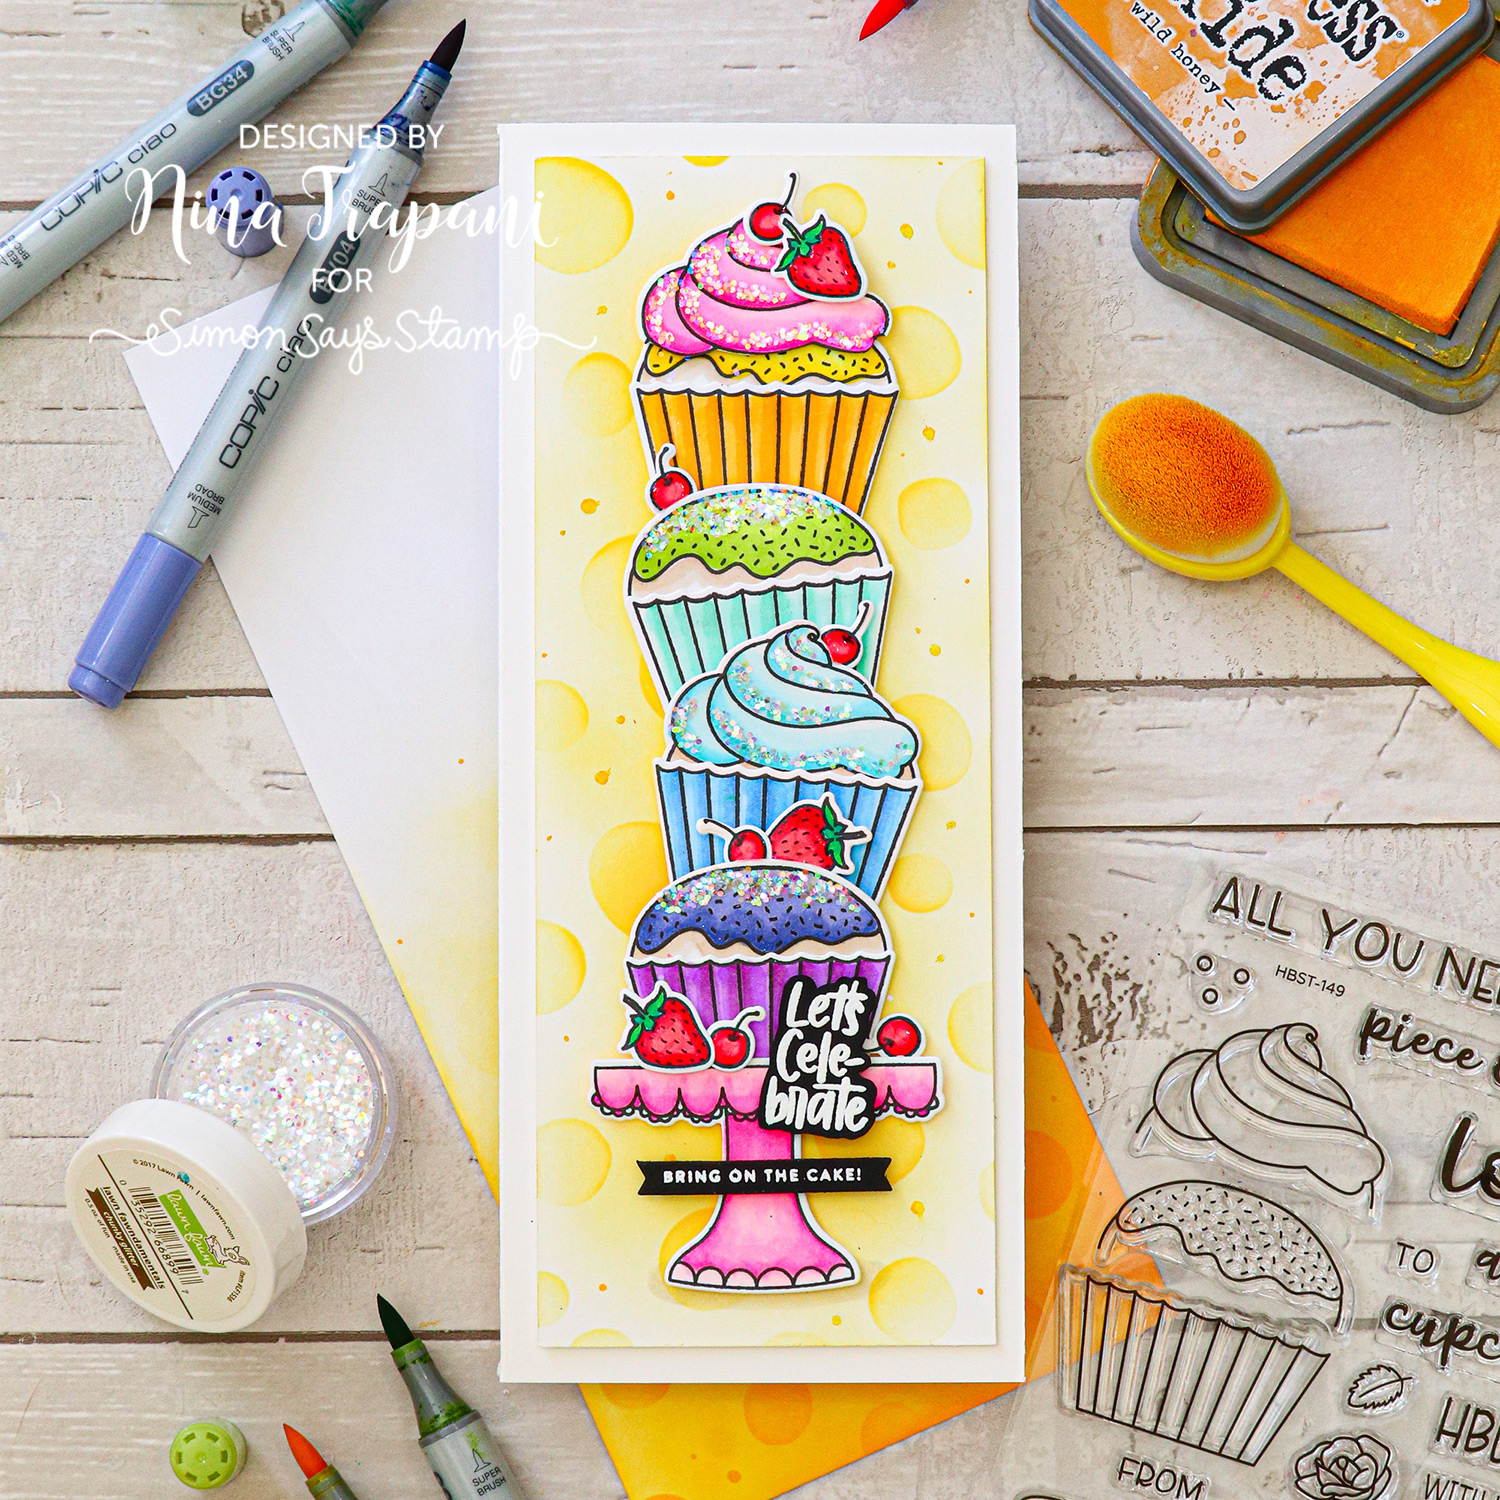
Today’s card features a slimline design (which is SUPER popular right now) and the Honey Bee Stamps Piece of Cake stamp and die set! I adore this set with all the fun buildable cupcake elements.
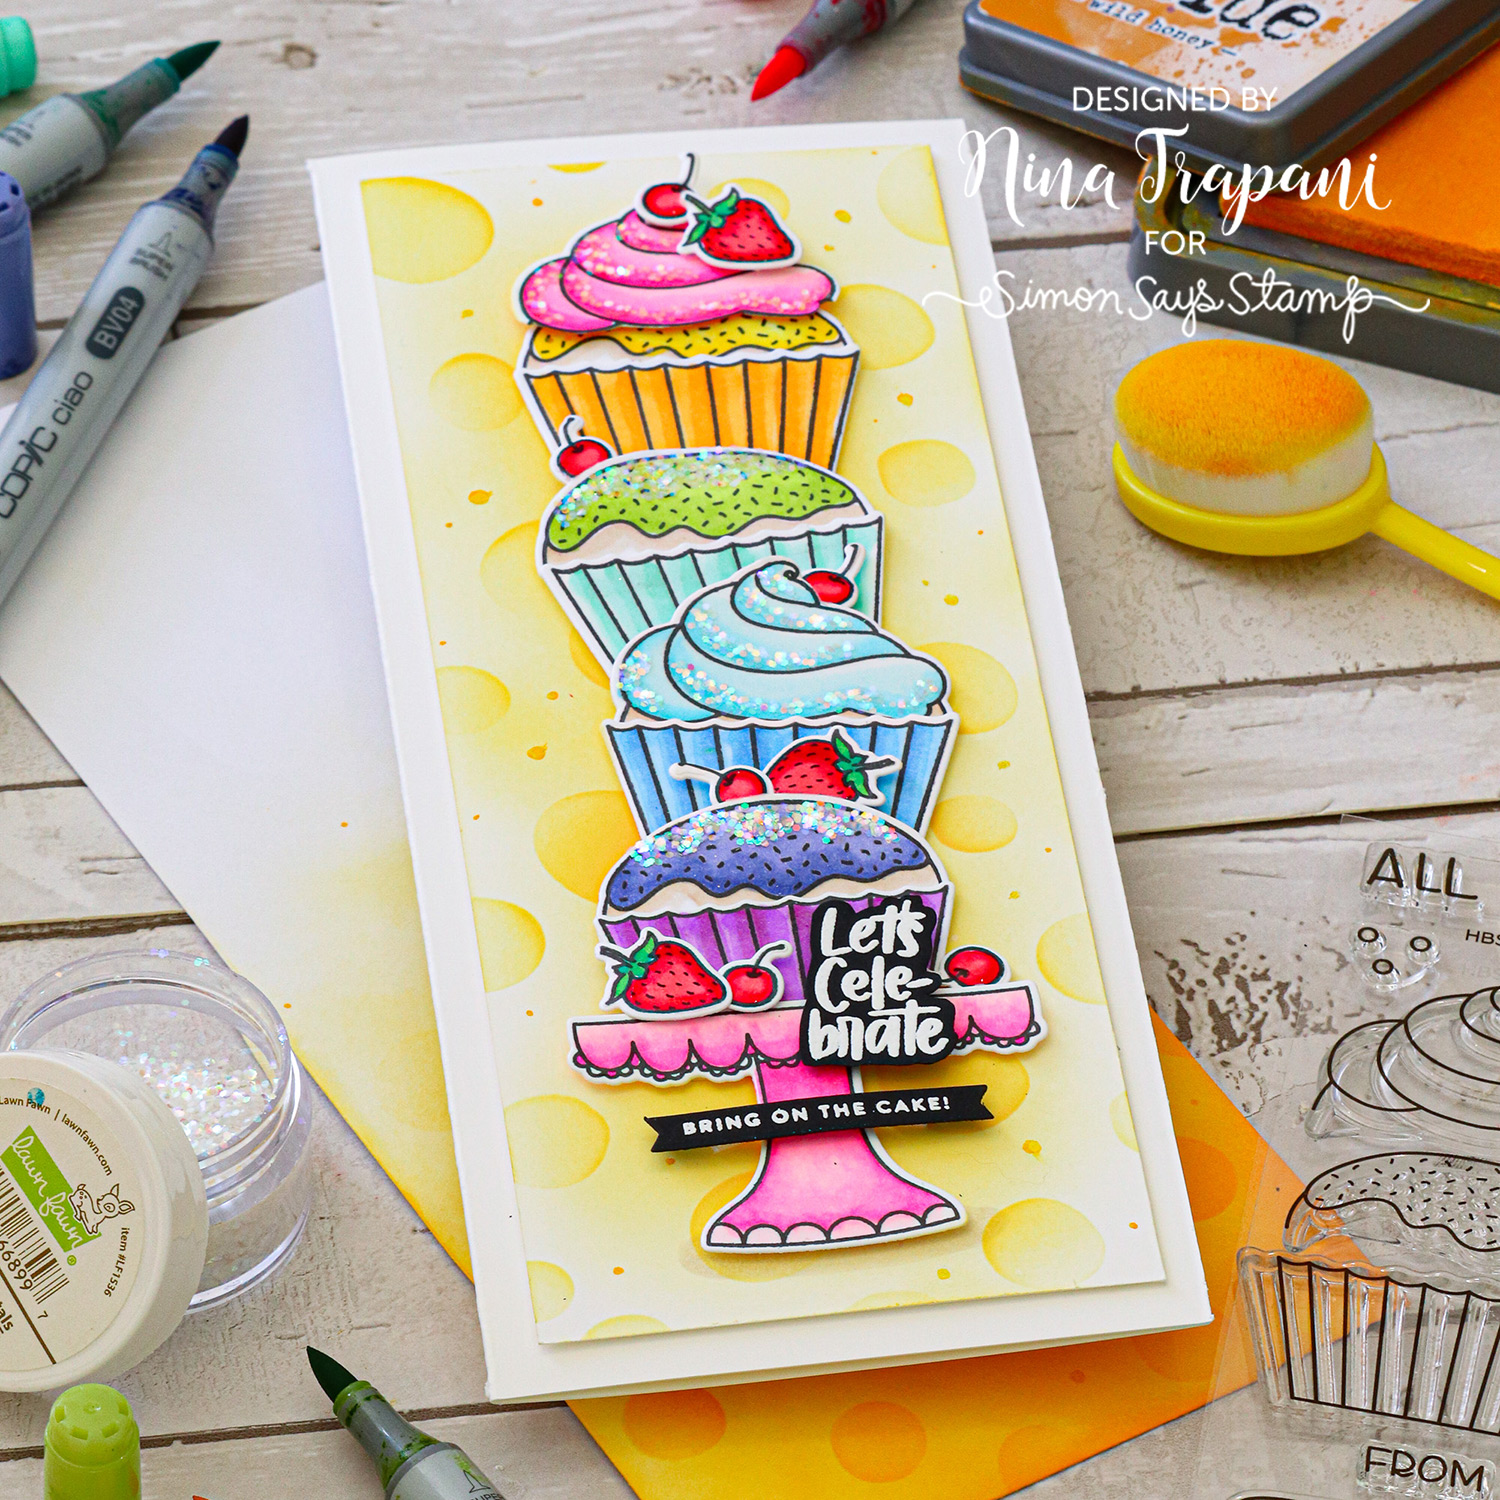
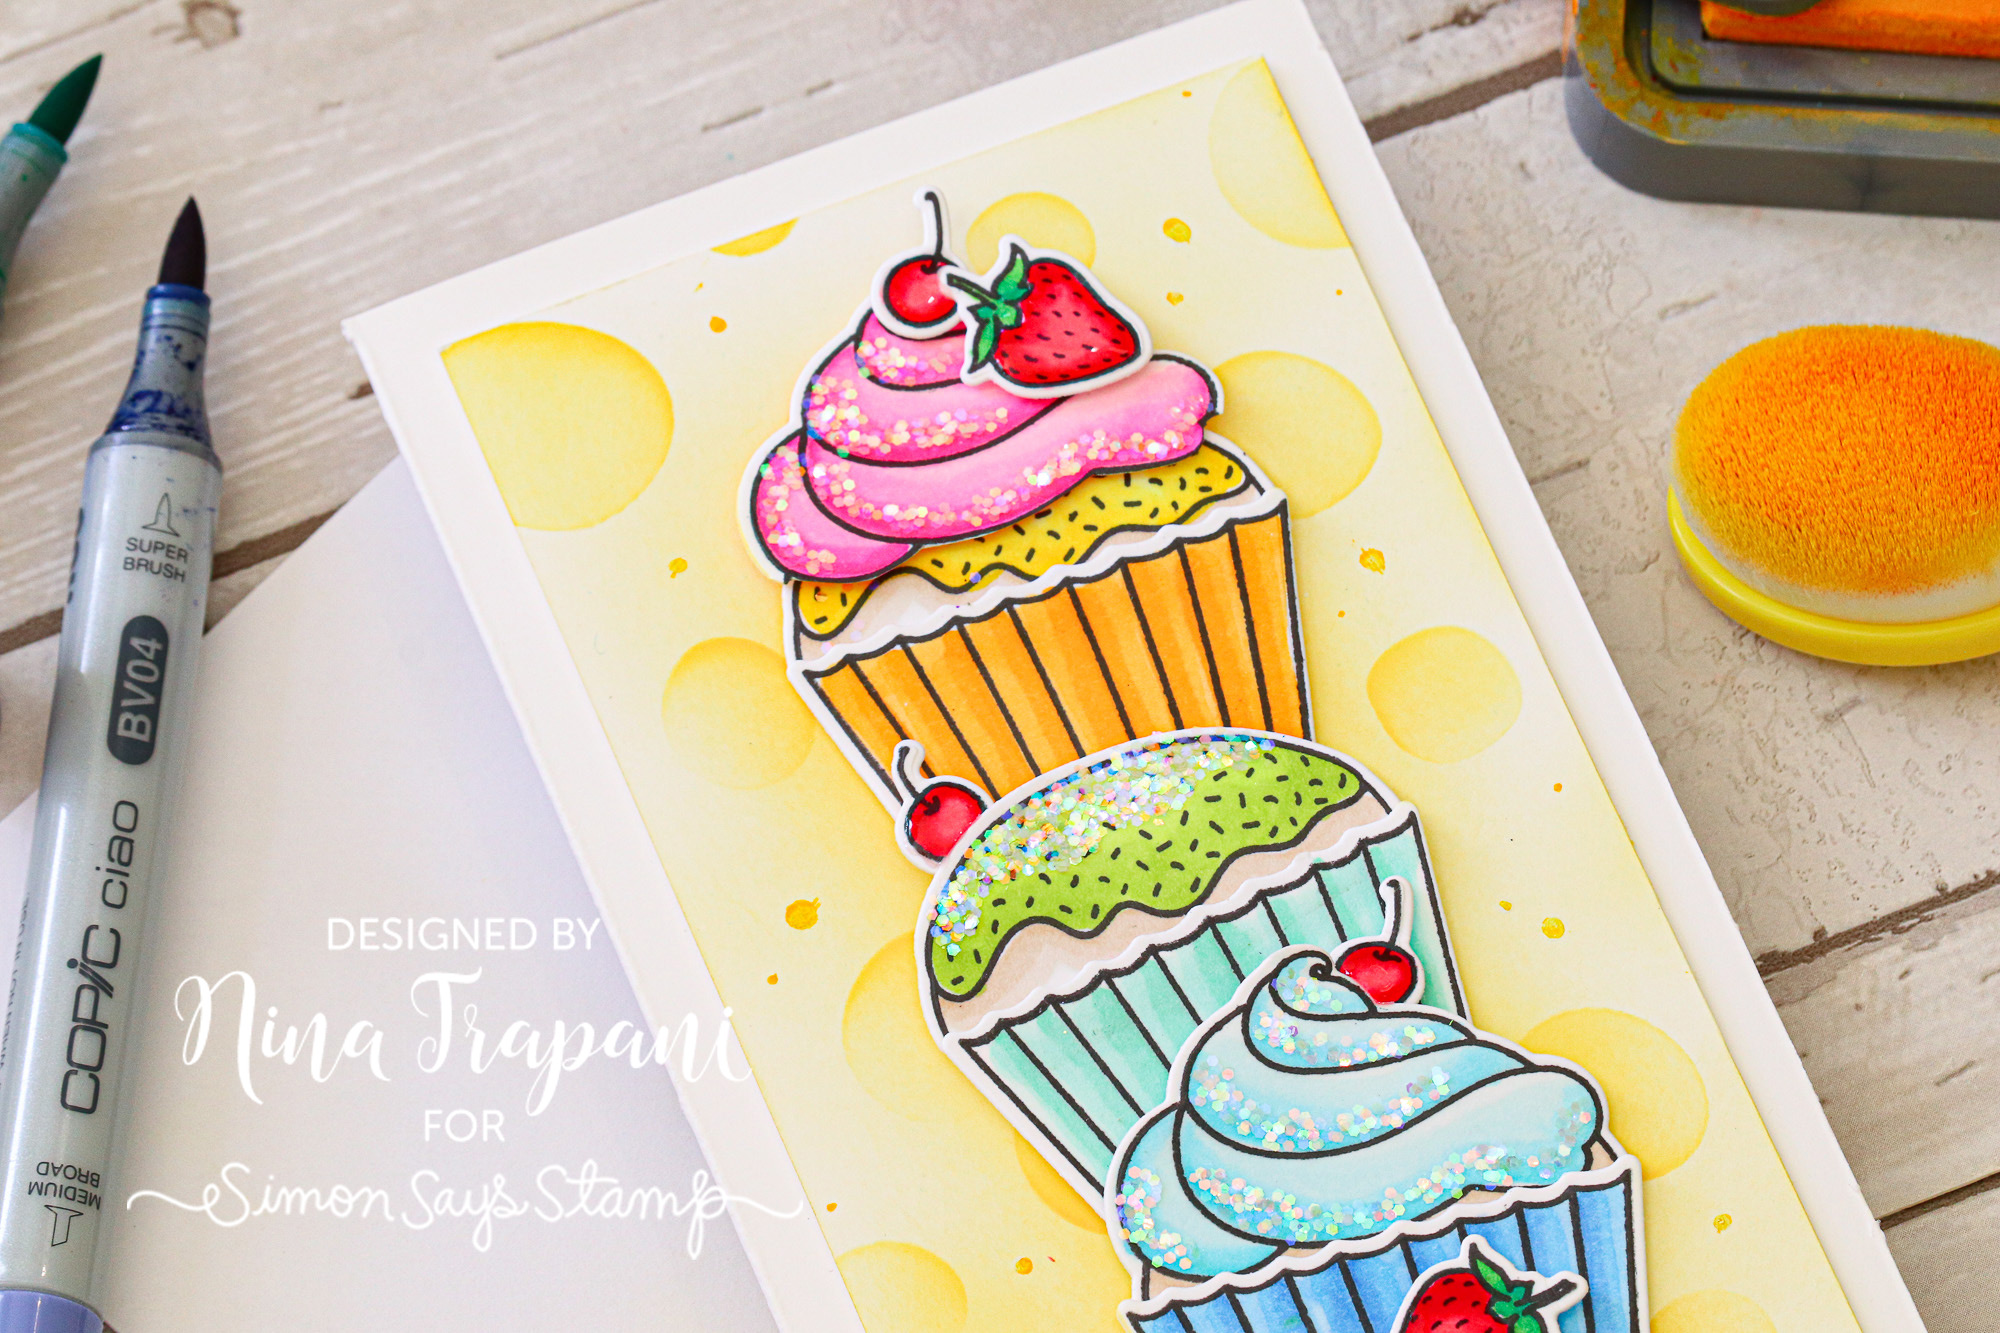
I thought it would be fun to make a HUGE stack of cupcakes in a rainbow of colors. The slimline card size is perfect for this design because it allowed me to fit 4 sparkly cupcakes and the stand all on the front of the card. Check out all that yummy Chunky glitter!
Want to see exactly how I made this one-of-a-kind birthday card? Watch the video below to see all the details!
WATCH THE VIDEO
SUPPLIES
|


Yippee for Yana: Blending Free Alcohol Marker Coloring
Hi friends! Happy Sunday and welcome to the latest edition of our bi-monthly Yippee for Yana card making series with Yana Smakula! Please be sure to watch the video for all the details, and enjoy!

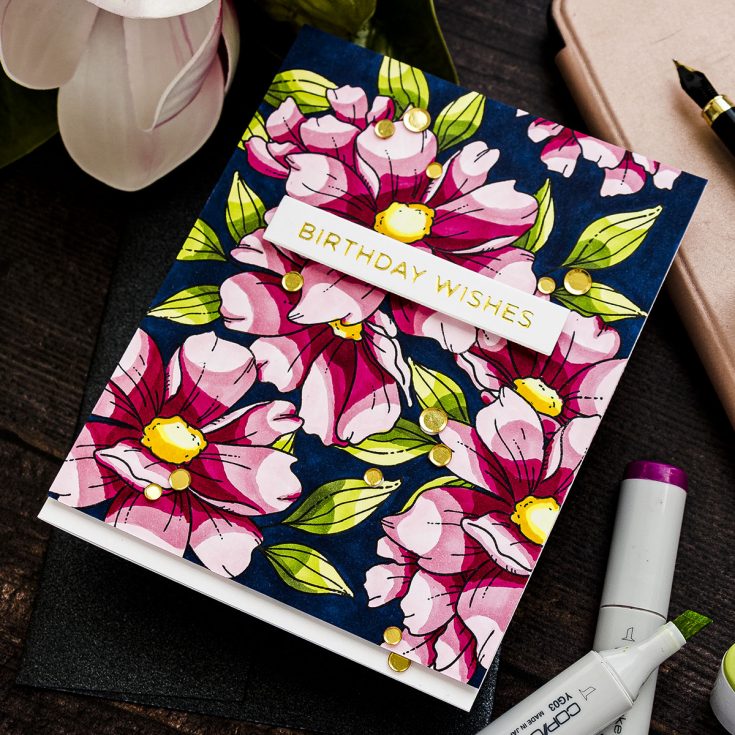
Hi everyone, this is Yana Smakula, welcome back for another Yippee For Yana video! In this episode, I’ll show you a different way to color your floral images with alcohol markers without the stress of blending. I call this abstract coloring technique, it has a modern graphic colored look to it, and the best part about it is that you don’t need alcohol markers that blend well together, in fact, the greater difference in color or shade of your markers, the better it is for this technique. I know we all have those odd marker colors in our collections that we can’t really get to blend or work in other markers in our stash, so this technique is perfect for utilizing those markers.
In my previous Yippee For Yana video, I showed you how to stamp a background pattern using masking technique and Simon’s Look For the Rainbows stamp set. I am using the exact same stamp set for today’s video and I am also doing background pattern stamping using masking. Because I shared the stamping and masking process in the previous video, I am not going to repeat the same thing in this episode, if you missed the previous episode I encourage you to go back and watch it.
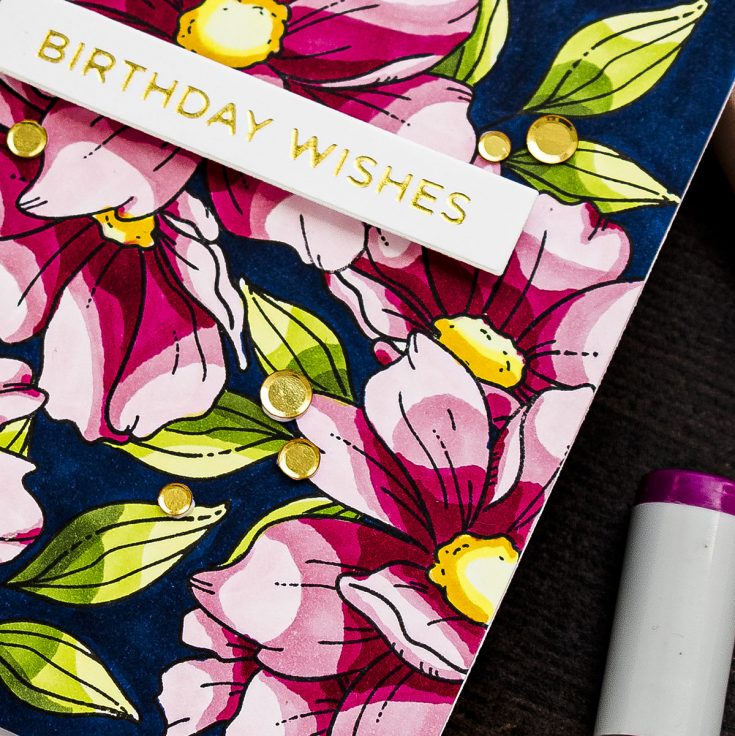
Now let’s talk about the abstract, blending free coloring technique. You can use this coloring method with many different images, I find that I like to use florals the most for this. I like to begin my graphic coloring by applying the lightest color to the entire image.
When you color with Copics you typically saturate your paper with the lightest color or go back to the lightest color to blend all the colors together. While the paper is wet it makes it easier to blend the colors, hence why you’d often start with the lightest color and apply it to the area you are coloring. When you color with alcohol markers in the usual way you also don’t color the entire image, you work in sections. You color one petal at a time as this allows the ink to remain wet long enough on that area to help you do your blending.
Here, we don’t want any blending to take place. In fact, it is rather best if blending doesn’t happen. So color the entire image using your base color and even set it aside for a few seconds or minutes to dry. Next, you apply medium color, let it dry, and apply dark color.
You want to avoid using colors that are too close together as they won’t provide enough contrast on your finished piece. The darker you go, the less of an area you cover. Remember not to blend anything, just apply a solid layer of color. It is up to you how many marker colors to use to color your image in this way. I would say use 3 markers, a light, a medium, and a dark. If you have a big marker collection you can add a 4th or even a 5th color to add greater color variation to the flowers.
You can try this technique not just with Copic markers, I know a lot of you have other alcohol markers in your stash and so I encourage you to try this coloring method with any alcohol markers you have. Some markers have a bullet nib and I think using a bullet nib marker would work even better for this coloring method. I have some Altenew and Tonic Studios Nuvo alcohol markers in my stash and they both have a bullet nib, I’m going to try using those markers next for this coloring method.
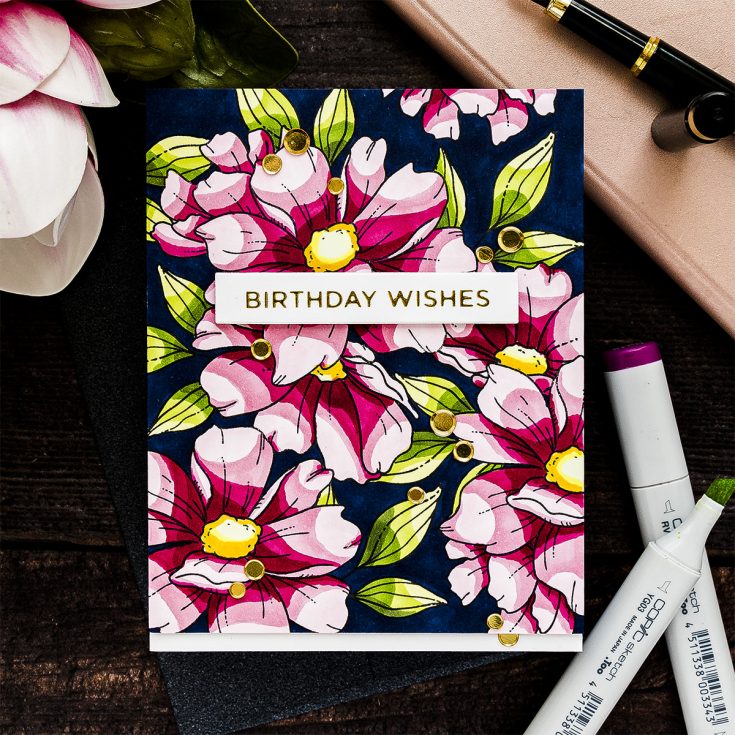
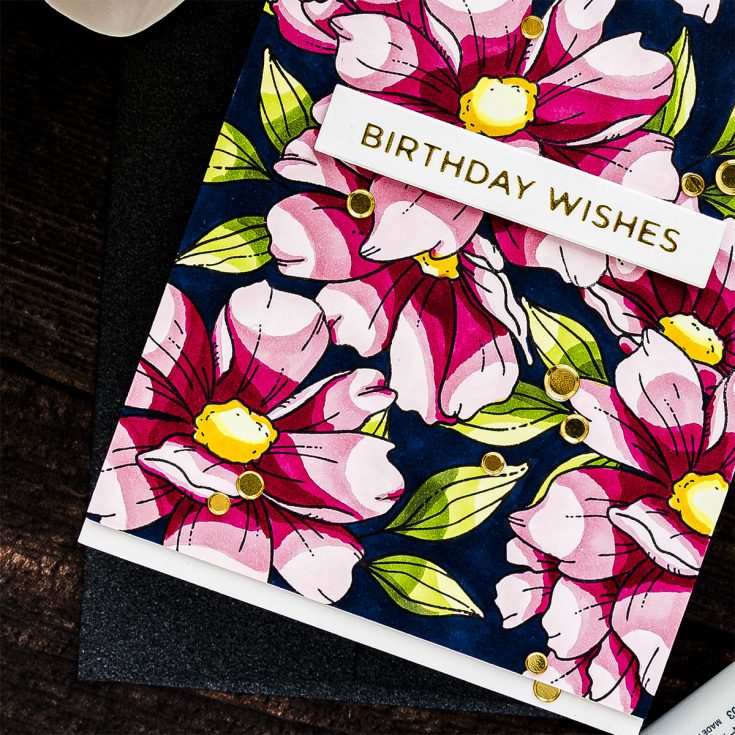
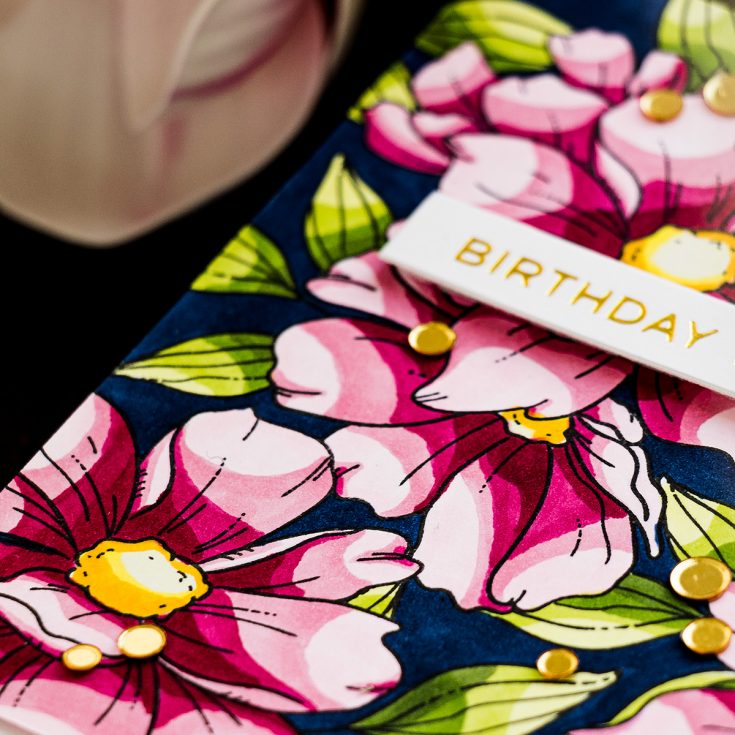
From here you can use the colored background to make a card. With a gorgeous background like this, all you need to do is add a skinny strip sentiment. A skinny strip because you don’t want to cover much of the background. You can stamp a skinny sentiment, foil it, or use one of Simon’s pre-printed skinny strip sentiments to finish this card.
To create a sentiment for this card I foiled one that reads Birthday Wishes. This comes from Spellbinders Everyday Sentiments II Glimmer Hot foil Plate and die set.
I trimmed the colored background panel to 4 1/4 x 5 1/4” and adhered to an A2 white side folding card base so that a bit of a white card base showed at the bottom of the card.
I embellished the card with Simon’s Stay Gold sequins – I adhered them over areas where I had marker bleeding to cover the bleeding up and also scattered some over the background and lastly, I foam mounted my Birthday Wishes sentiment and that finished this card.
Have fun stamping!
WATCH THE VIDEO:
SUPPLIES:
|


Thanks so much for stopping by, and thanks to Yana for the gorgeous inspiration!!
Did You Know? Fun Facts and Crafty Tips! June 2020 Edition
Hello crafters, it’s Nina-Marie Trapani here with you! Today I have a new edition of our popular Did You Know series!
If it’s your first time seeing this feature, each month we bring you fun facts, creative tips and even crafty hacks about your favorite supplies and brands; you can then use these awesome tips that you learn in your next crafting projects! Are you ready to learn some fun tricks? Keep on reading!
Word Mix Stamp and Die Sets
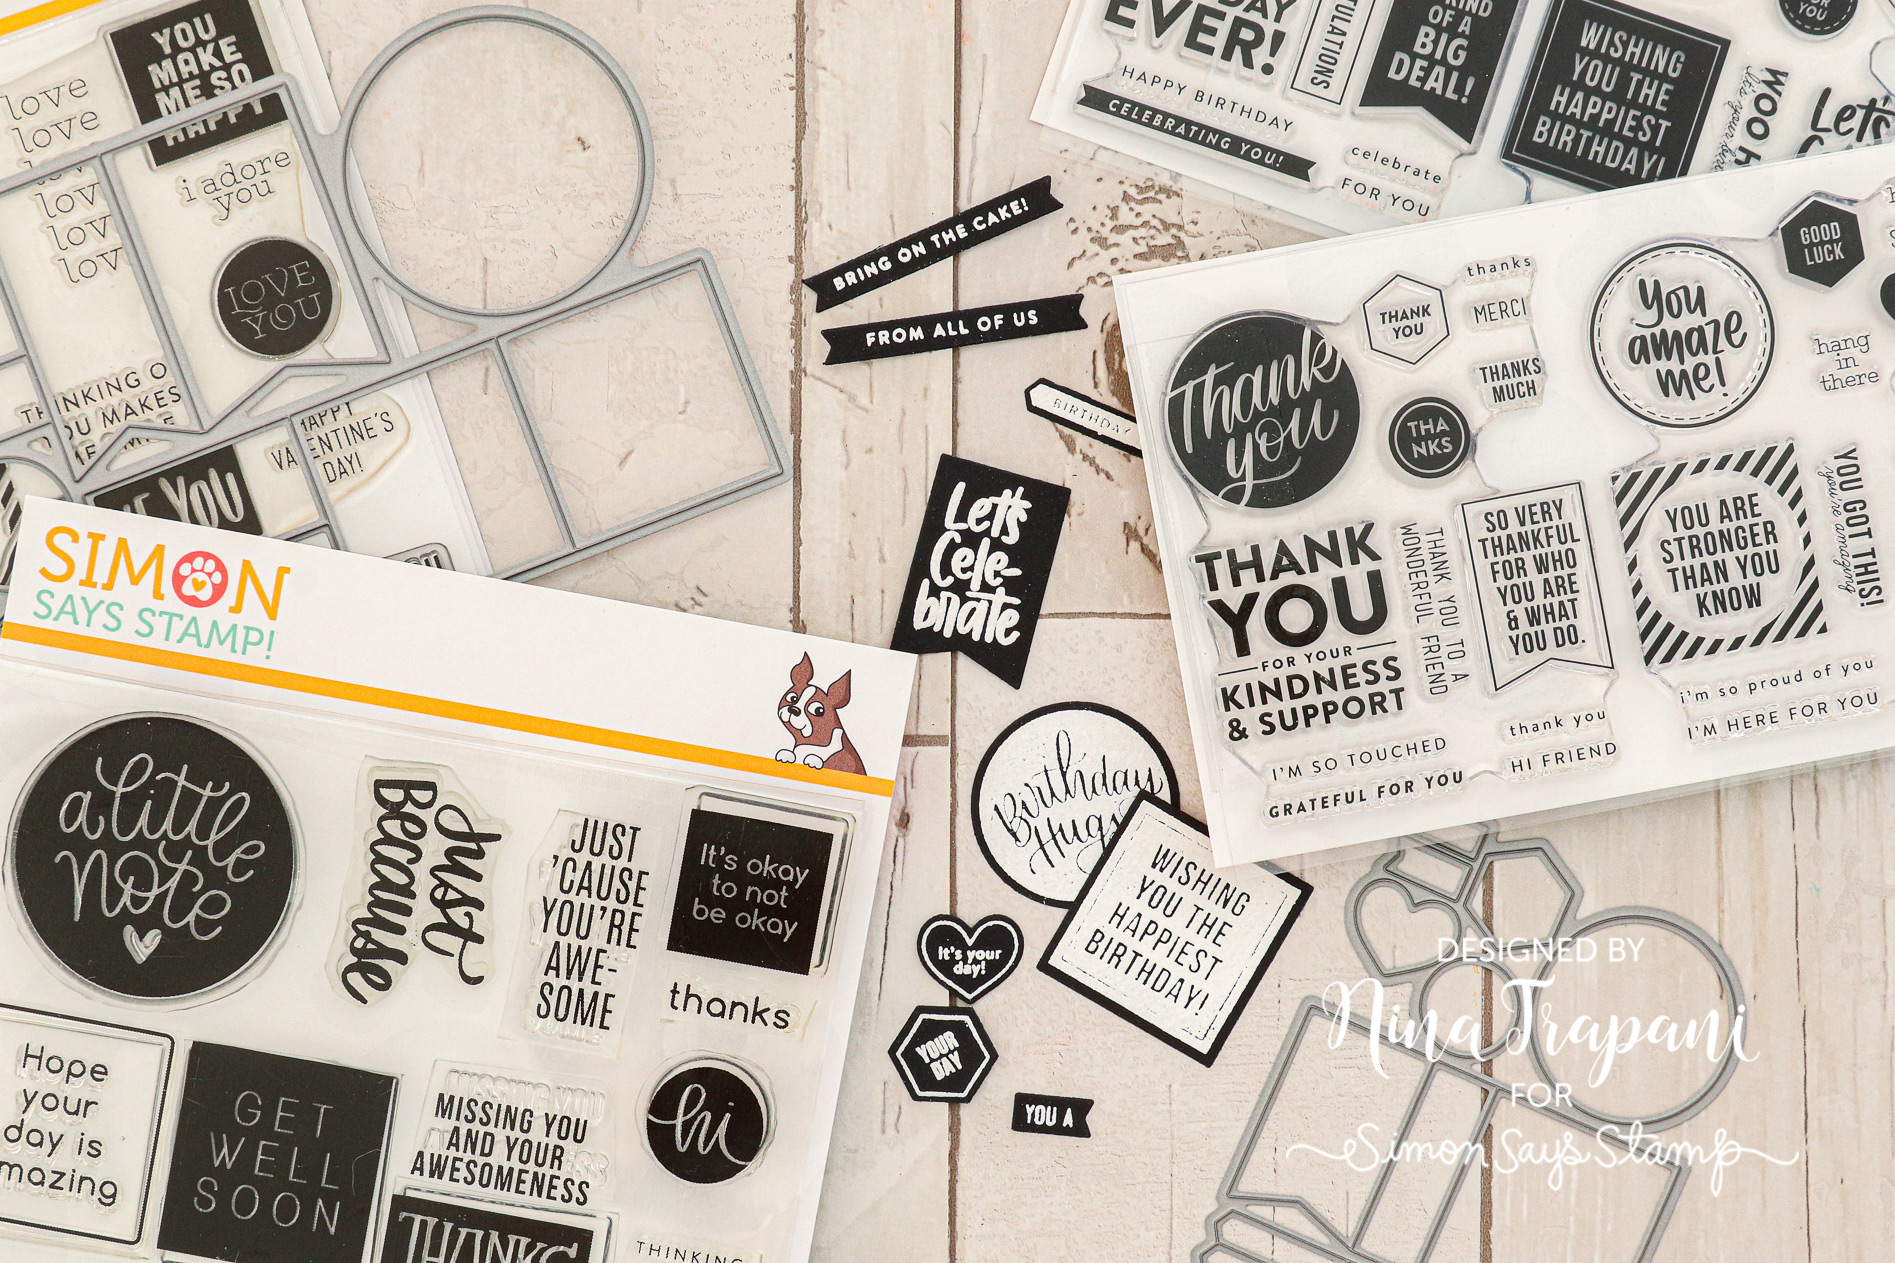
If you like making lots of cards at once, that means a whole lot of sentiment stamping! Did you know that you can simplify your stamping life by using our Word Mix stamp and die sets to make over 10 greetings in with a single stamp! The best part is that the coordinating dies for each set also cut all the sentiments with one pass through your machine!
Slimline Envelopes
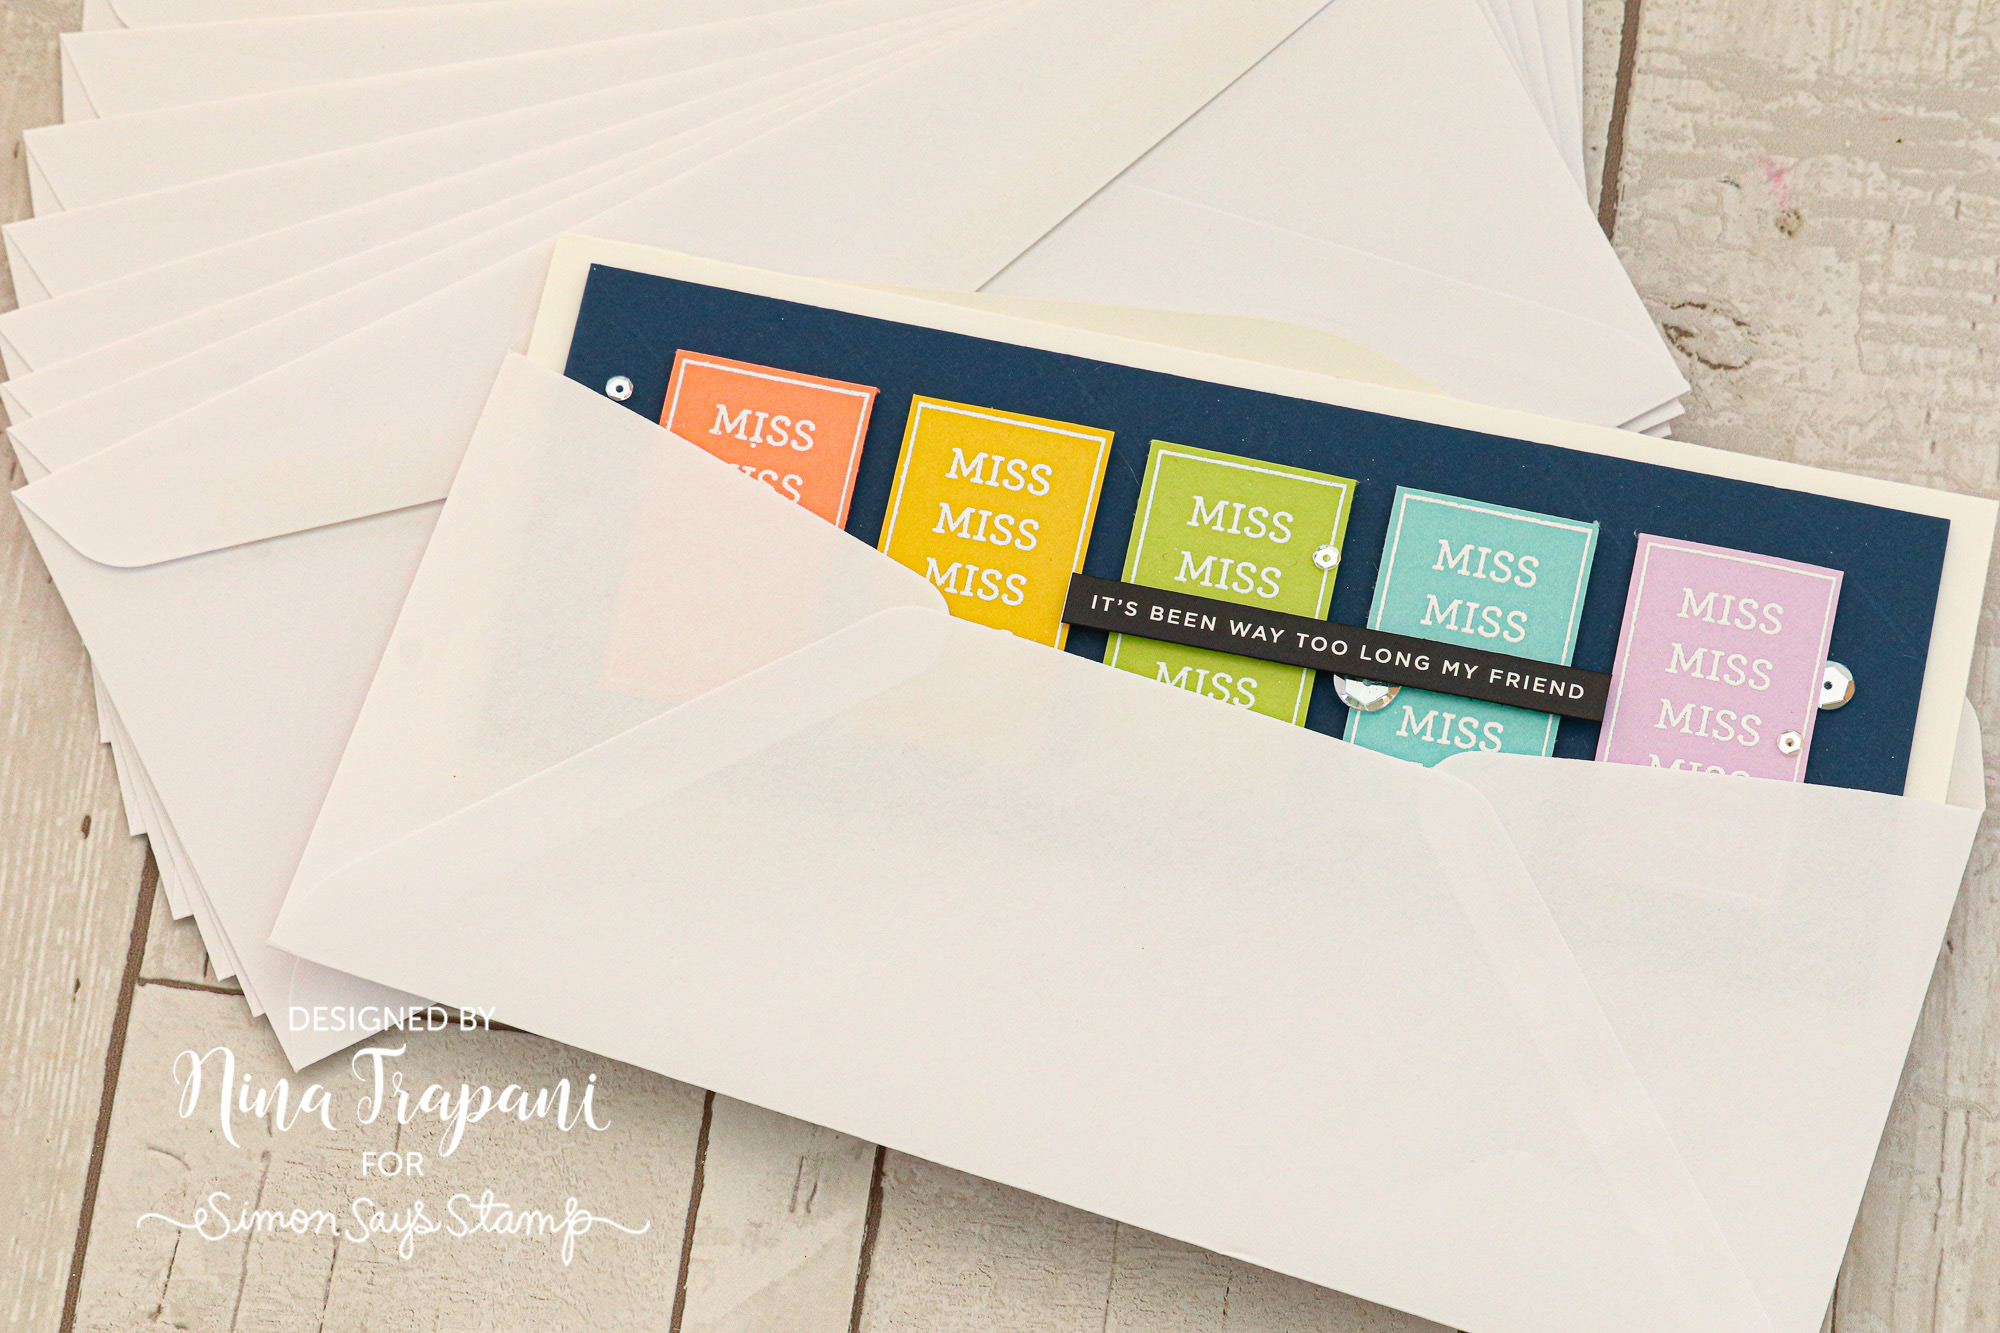
Slimline cards are all the rage right now! Did you know we now carry envelopes for your handmade slimline cards?? These white, v-flap envelopes are perfectly sized so you can mail those beautiful cards as soon as you’ve made them!
Petal Envelope Die
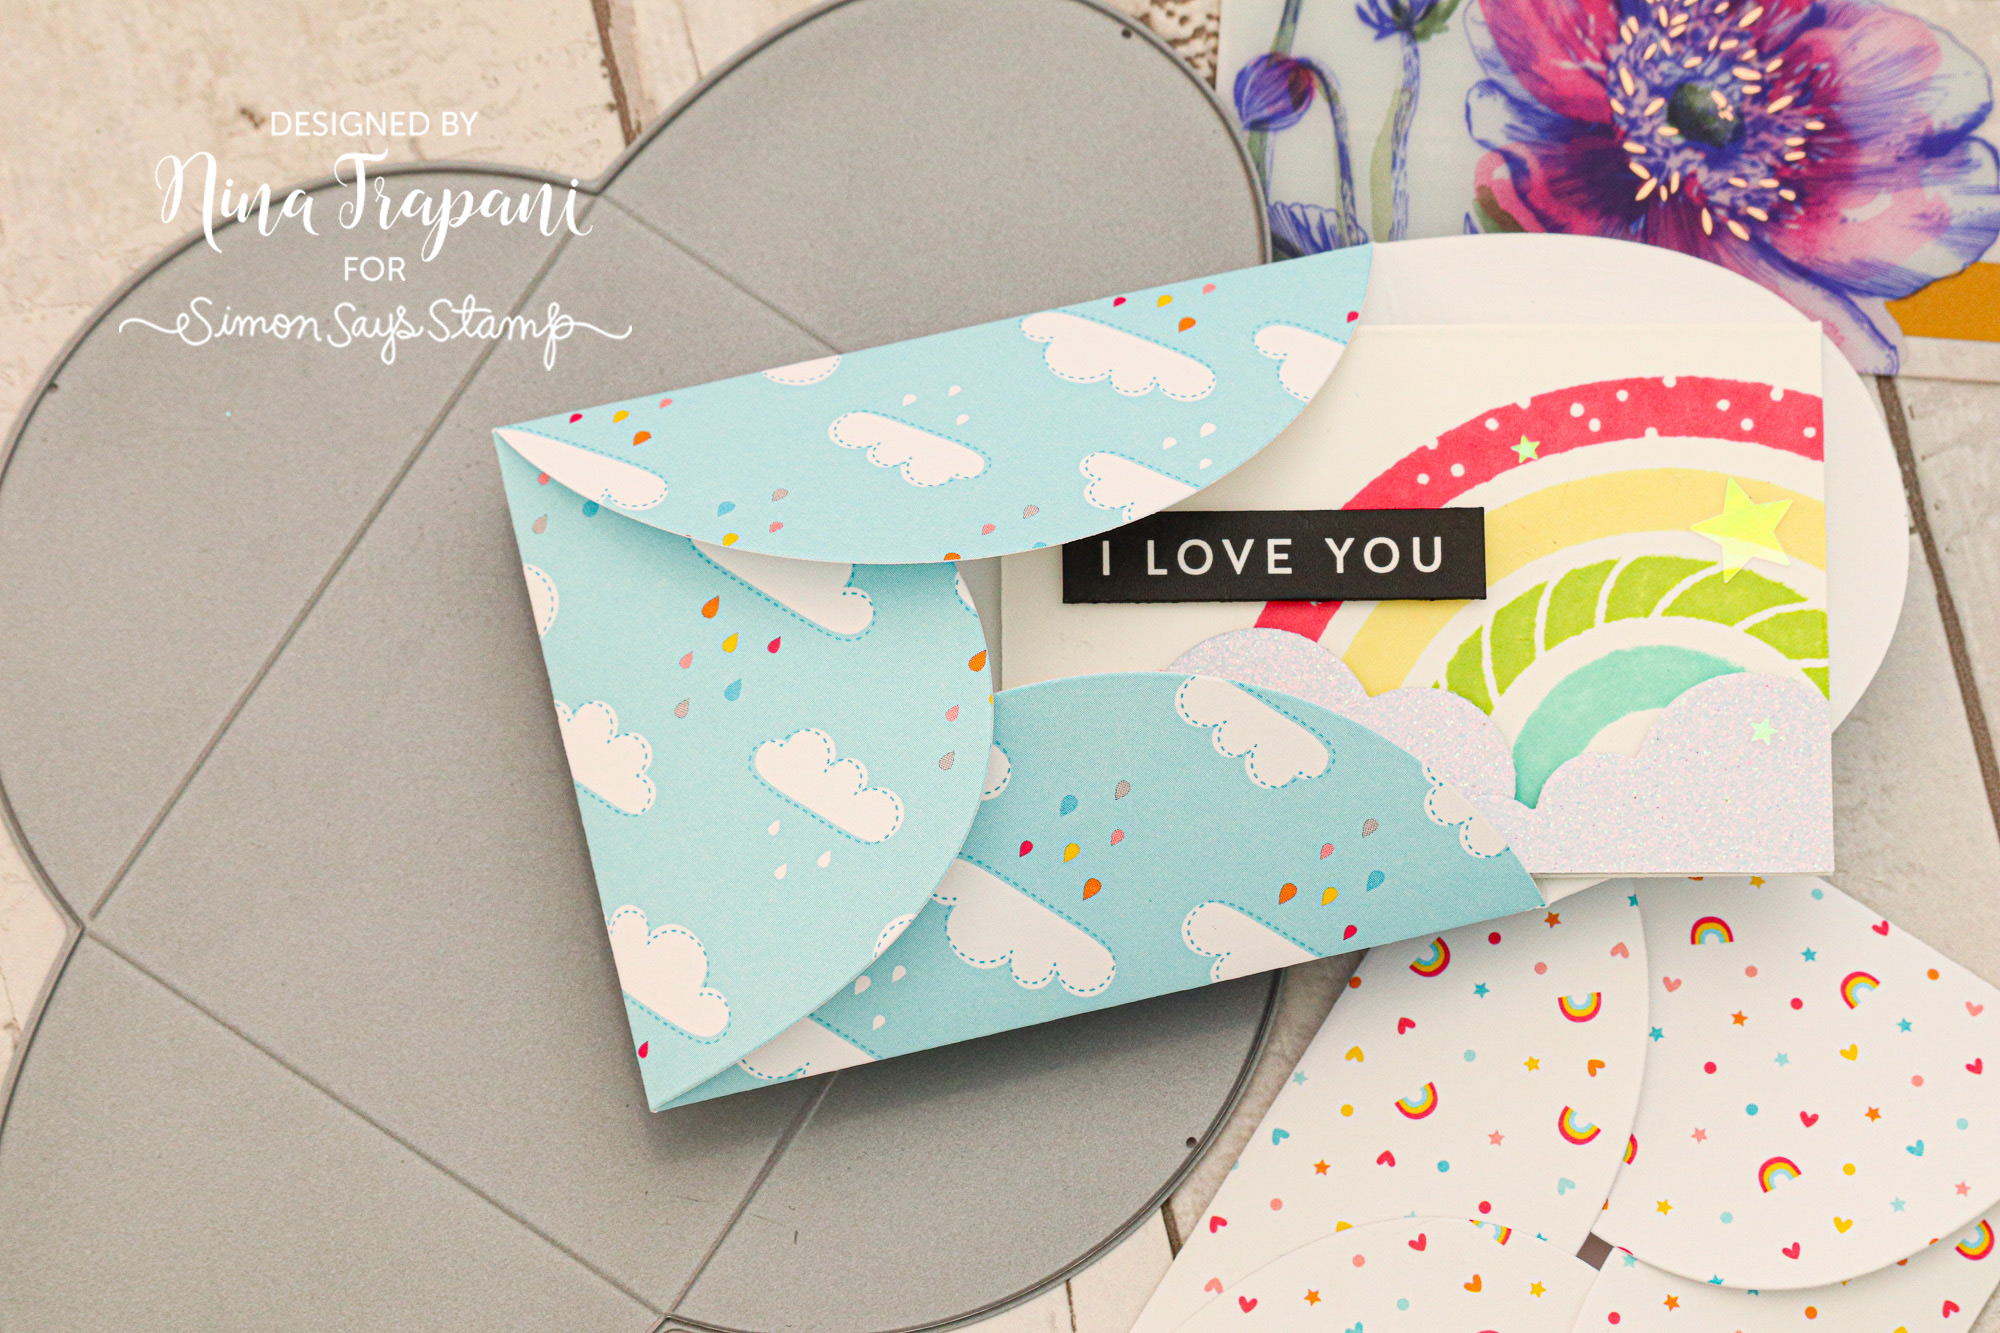
Did you know that our Petal Envelope die is a small but versatile little die that can be used to make envelopes for mini cards or gift cards? We love cutting this die from 6×6 pattern paper (such as the Lawn Fawn Hello Sunshine Remix collection). Once cut, simply fold all the petal flaps into the center and tuck them under each other to close the envelope!
Prima Watercolor Case + Coloring Cards
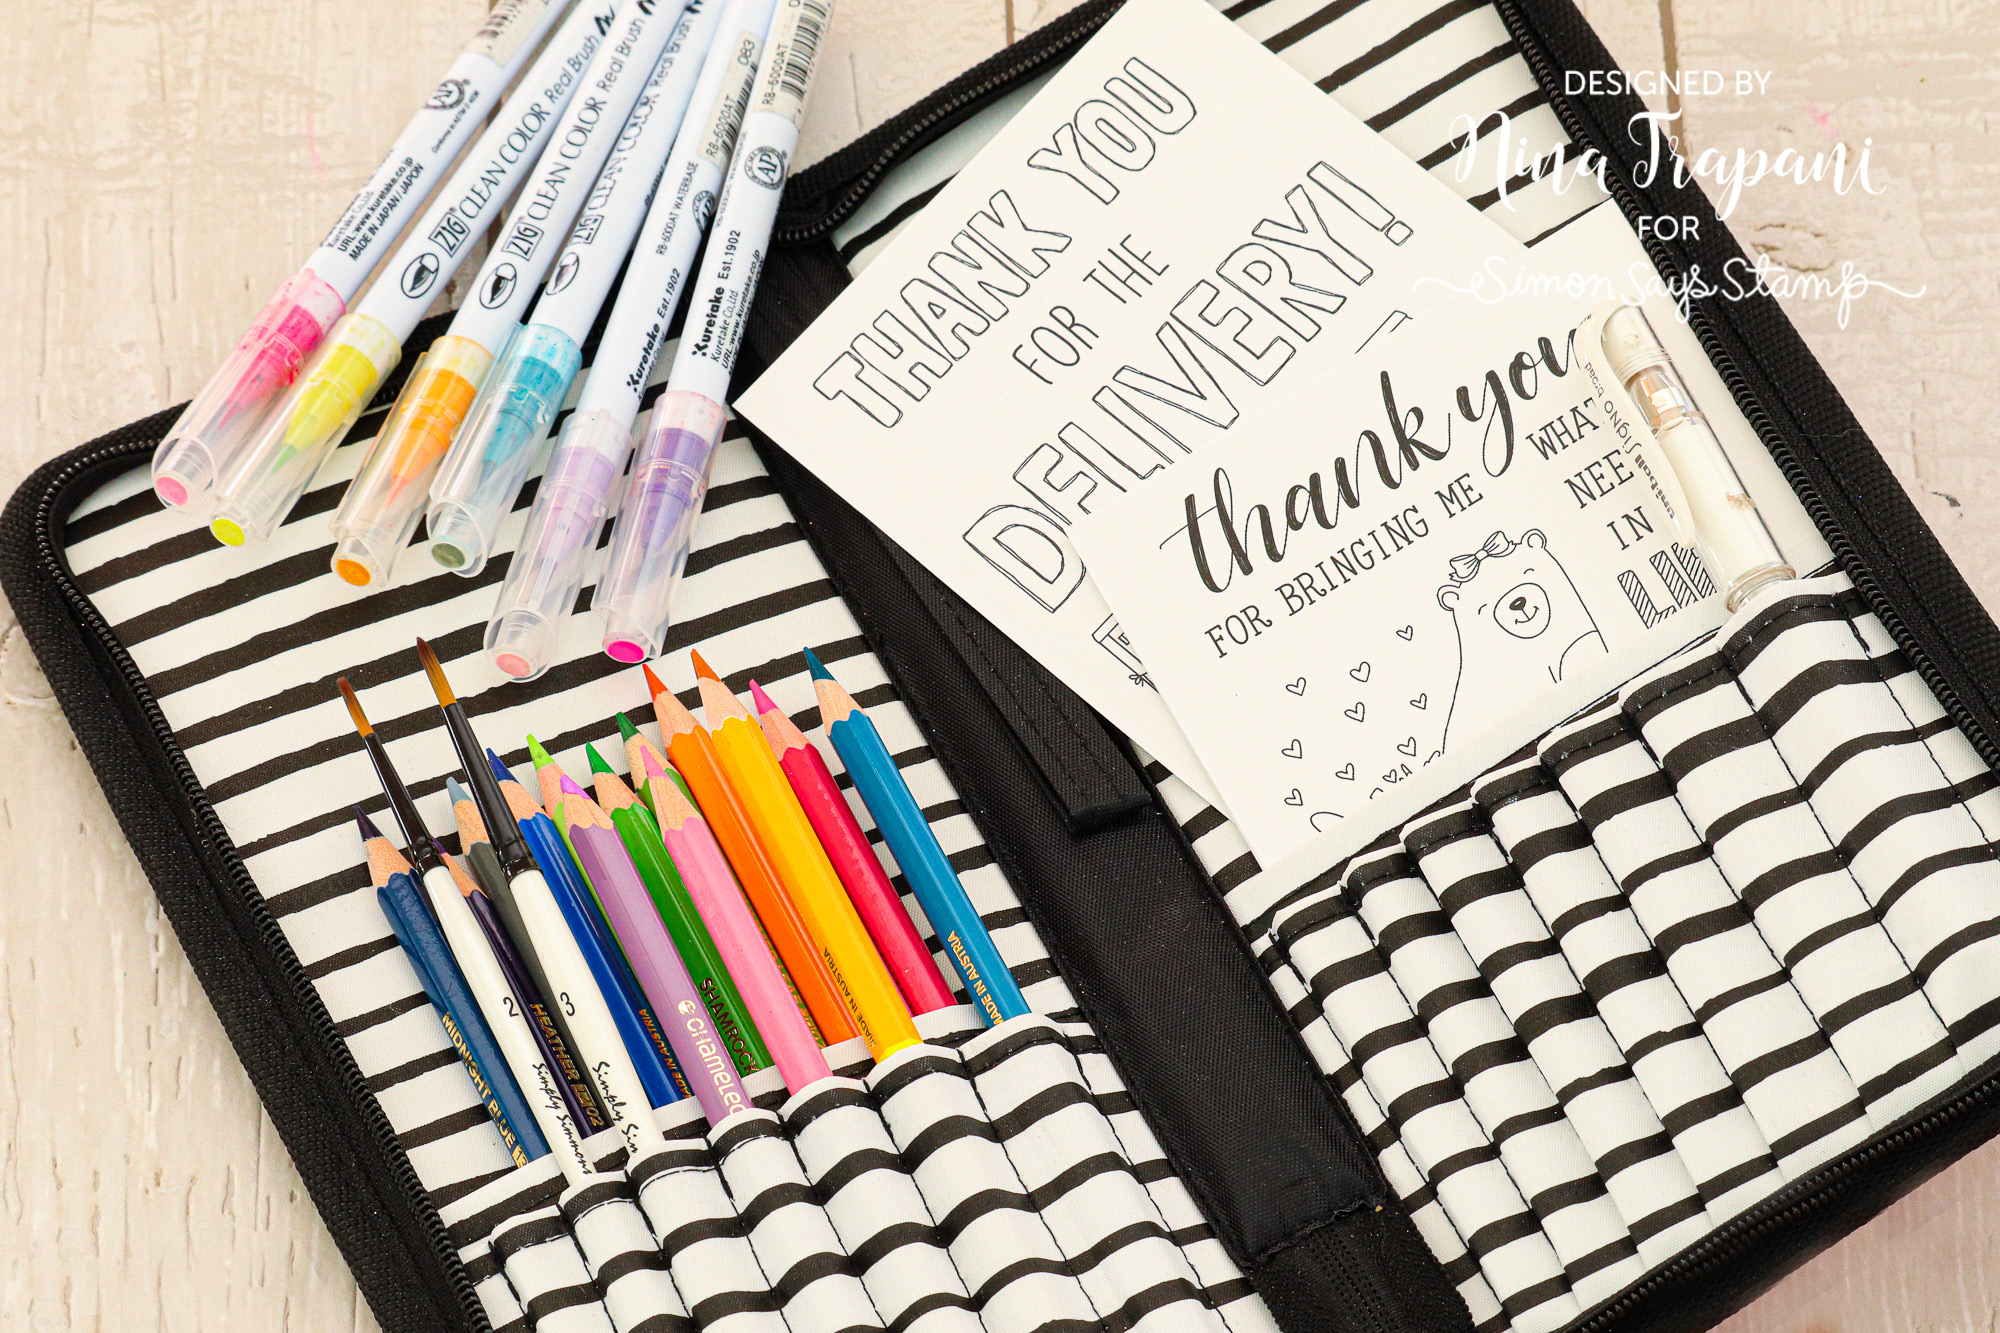
Watercolor is such a fun activity to take on the go and it couldn’t be made easier than with the Prima Watercolor Brush Case! This handy little zipper pouch has enough room to 14 different brushes AND a project! We love slipping a few of our exclusive Watercoloring Cards into the case to take outside the house for crafting fun!
Therm O Web Transfer Gel Duo Gel
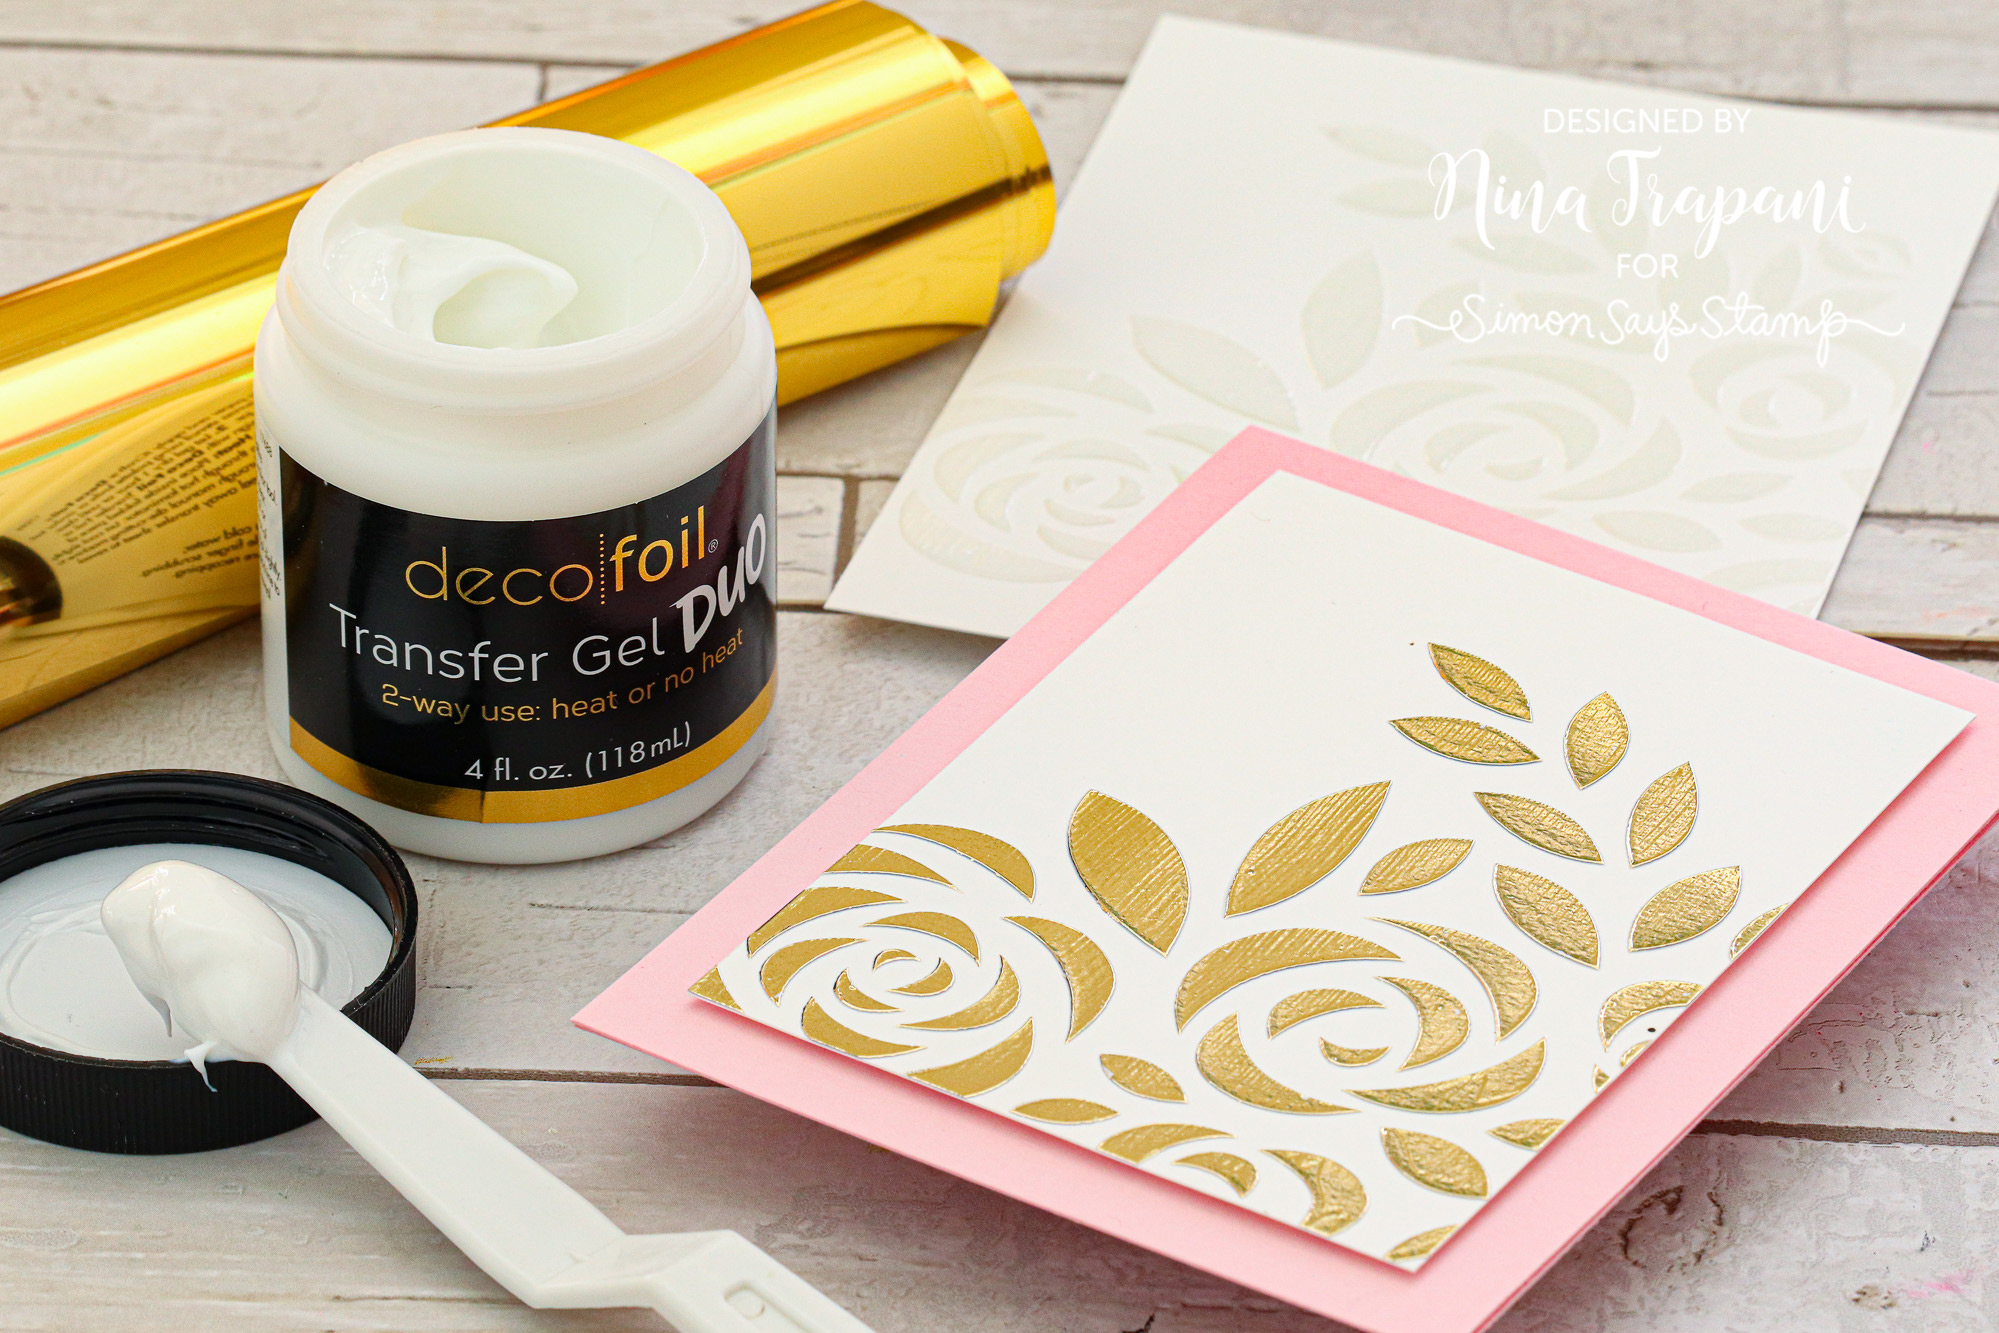
Did you know that you can now foil without a laminator or heat transfer machine? With the Therm O Web Transfer Gel Duo you can apply this through your stencils; once dry, add your foil overtop and run through your die cut machine to apply pressure. The pressure presses the foil into the dry Duo gel and gives amazing, foiled results!
I hope these tips have helped you learn a few tricks for your upcoming crafting projects… Thanks for tuning in today and spending some time with me!
SUPPLIES
|


