DIY: 3D Paper Ornaments

Welcome, everyone!! It’s Shari here with a DIY inspiration for you.
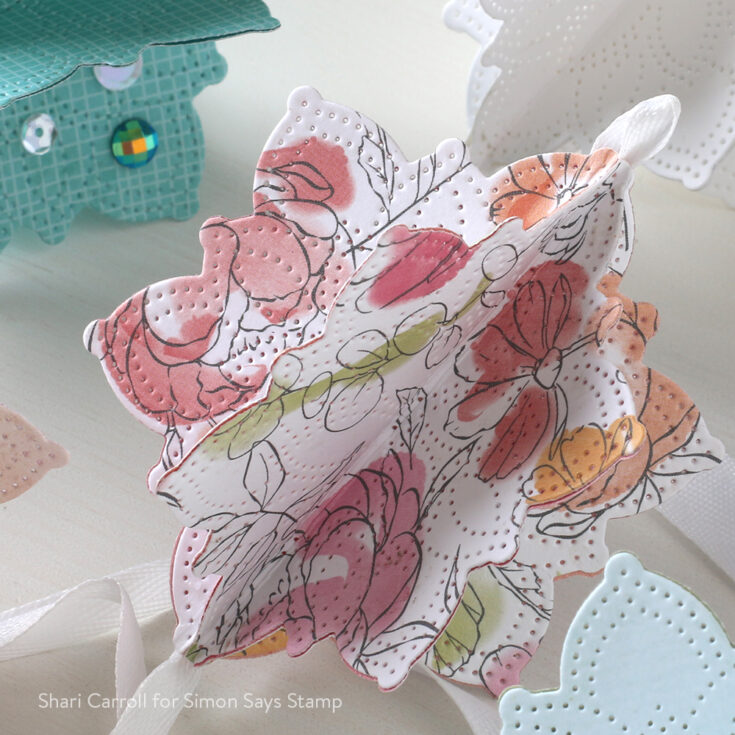
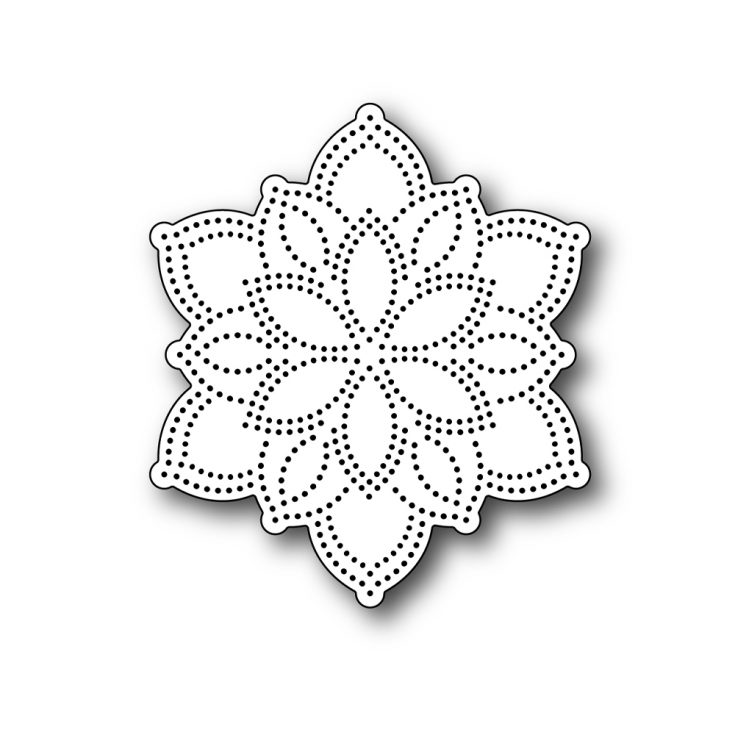
I’m always looking for ways to extend the use of my cardmaking supplies for other purposes. The moment I saw the NEW Simon Says Stamp Medallion die, I thought 3D Paper Ornaments!! I LOVE the detail of the medallion that die cuts the tiny detail dots.
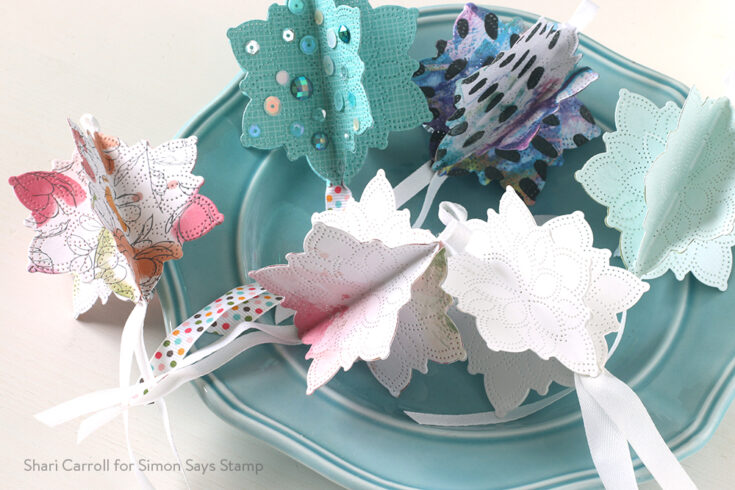
I’ve created simple paper ornaments by die-cutting 5 from each type of paper and glued the sides together leaving a channel in the center for ribbon or twine.
These can be embellished with sequins, gemstones, glitter, paper flowers, beads, and on and on. I’ll leave the embellishing to you to suit your own decor.
They can be hung on a tree, strung to create a garland, decorate a table, even used as a place setting with a nametag. I’d love to hear how you would use them too!!
SUPPLIES:
|


Kathy from The Daily Marker Hosts Your New Best Coloring Friend!
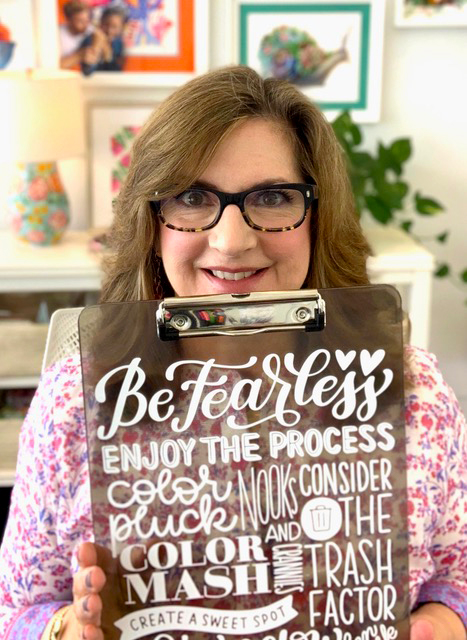
Hey there, coloring friends, we’ve got a special treat for you today brought to you by the talented Kathy Racoosin! Kathy hosts the wildly popular Daily Marker blog and also regular “virtual” coloring challenges that you can find using the hashtag #thedailymarker30day. Kathy’s Road trip is on pause now due to the Pandemic, but we are excited to host her as soon as travel makes sense again. Kathy’s attention to detail and sense of humor are second to none. We highly recommend following her and joining her challenges whenever possible.
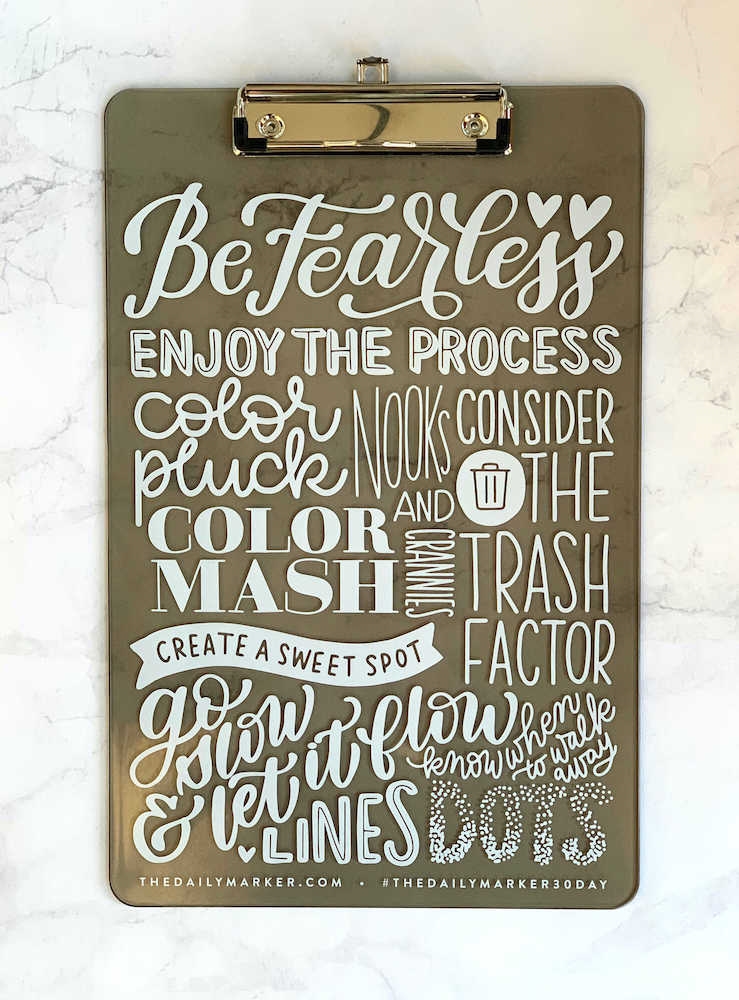
Did you know that Kathy has a special Clipboard designed exclusively for crafters? This tool will be your new best friend when you color because no matter where you’re sitting, using the tool will help you maintain good posture. You’ll never be grabbing for a random magazine or “too small” book to use for a hard surface again! You’ll find yourself much more comfortable during and after your coloring because you’ll be positioning your coloring at the right angle. Plus, all the tips written on the clipboard will inspire your art!
Want to see the clipboard in action? Check out Kathy’s awesome video for all the details!
WATCH THE VIDEO
SUPPLIES
|

Yippee for Yana: Floral Patterns with Solid Stamps

Hi friends! Happy Saturday! I’m so excited to share the newest Yippee for Yana blog installment with you today by Yana Smakula! Read on, and be sure to watch the video for more info! Enjoy!
Hi everyone, this is Yana Smakula, welcome back for another Yippee For Yana video! Today I’ll show you how to stamp beautiful colorful floral patterns for your cards using solid floral stamps. The stamp set I will be using is Anna’s Flowers set from Simon, but you can also look through your stash for similar type solid floral images. I love that this set has the same type of flower in various sizes and we will be stamping nearly every size to make backgrounds and our cards.
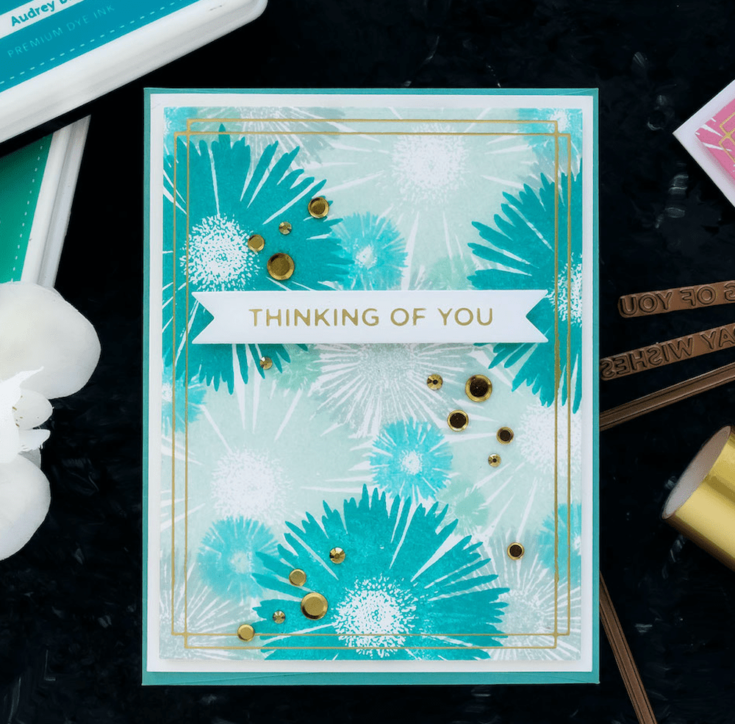
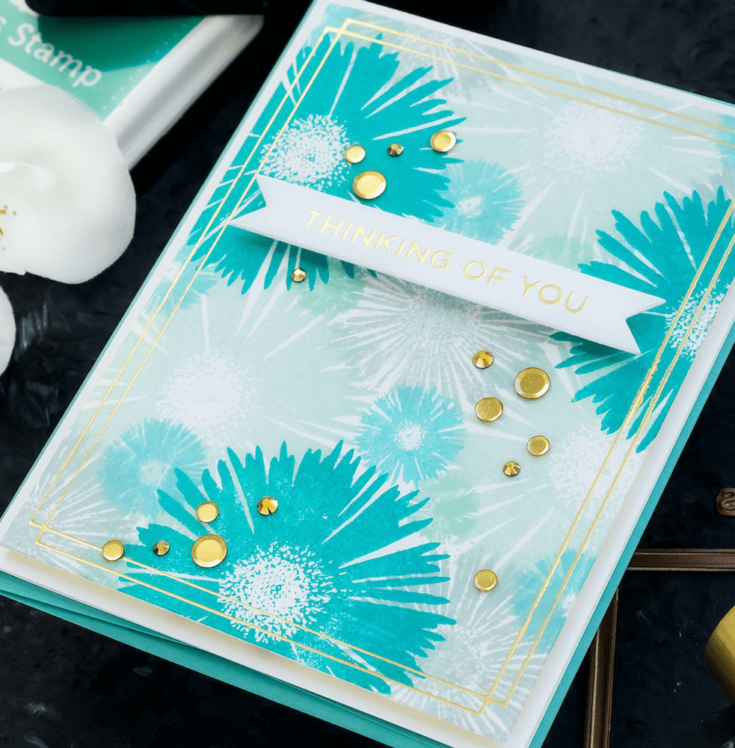
I’m going to stamp 3 patters today, all monochromatic, and I’ll stamp the flowers using just various shades of one color of ink. My first one is going to be stamped in blue and teal and the colored I have picked are Lake Shores, Spring Rain, High Dive, Cloudy Sky, and Audrey Blue, all of these are Simon’s Dye ink pads. You can use any other ink pads you have in your stash. I happen to prefer to use Dye type inks for these kinds of backgrounds. I have 5 colors, but you can just as easily stamp a pattern like this using just 4 or even 3 colors of ink.
I will be doing my stamping on the Neenah Solar White 80 lb cardstock and stamping with the clear blocks, not MISTI. I am not looking for absolutely perfectly stamped images, these do stamp really well as is, but should I have slight stamping imperfections on my panel – I am not going to worry about it because of the style of the background pattern I am going for, once we are done – should there be any imperfections, they really won’t be visible on the card.
When stamping patterns like this the only rule I follow is the rule of a triangle. I try to stamp my images in groups of 3 and when stamping them I try to form a triangle, this makes the pattern a lot more pleasing to the eye.
Backgrounds like these are super easy to make, just follow that one rule and you’ll have yourself awesome background.
The yellow pattern was stamped with Sunshine, Duckling, Apricot, Clementine, Melon, and Lemon Zing. The pink pattern was stamped with Rose Apple, Doll Pink, Teen Bikini, Twirling tutu, and Hollyhock ink colors.
The flowers look really phenomenal and you can also layer them. You can stamp the medium size flower over the large one in a slightly different color of ink to have a dimensional flower. Or you can use the smallest flowers as flower centers. I am yet to explore stamping that.
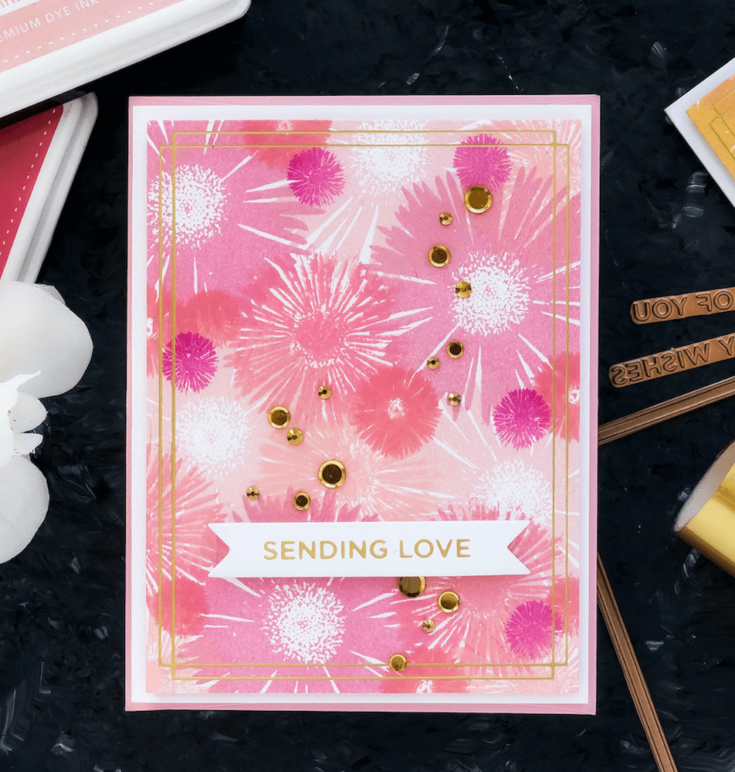
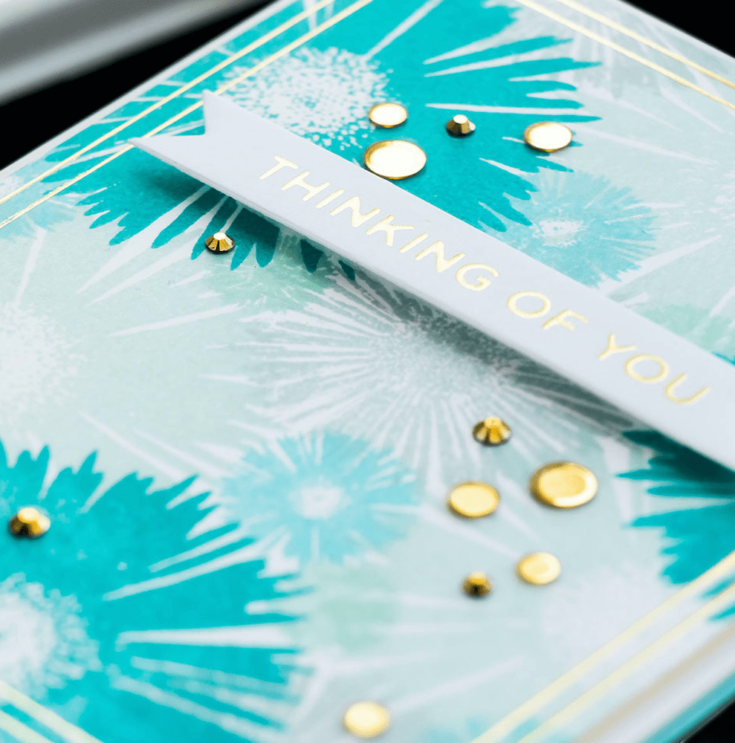
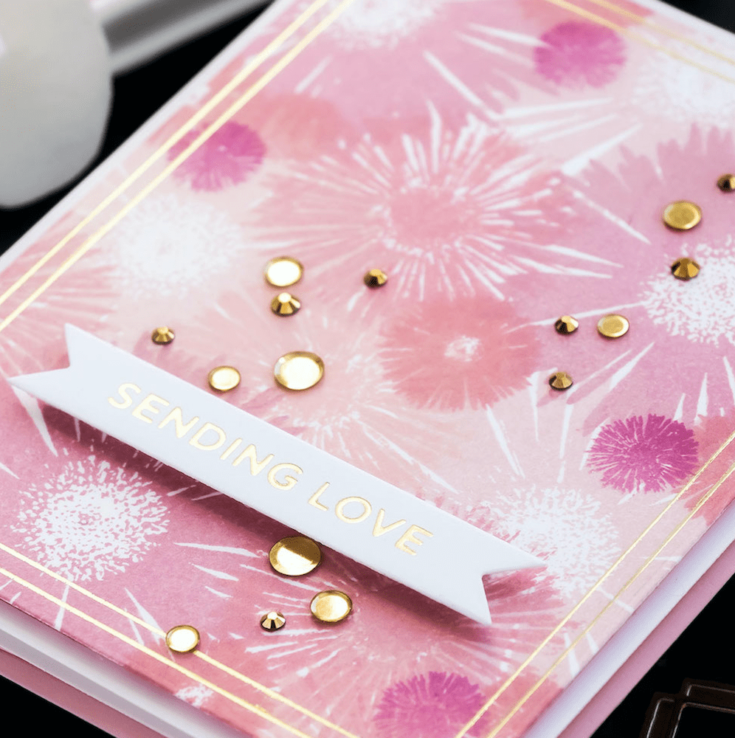
From here you can take your background any way you like. You can stamp on them, you can die-cut them, you can heat emboss a sentiment on them – really anything you want to do. I love to foil so I thought I’d use a few Glimmer hot foil plates from Spellbinders and foil a frame as well as a sentiment for each of these. I used a beautiful geometric frame from the Framed Details glimmer Hot foil set – I love the double line on this plate and foiled it in matte gold foil on all panels. I then used a rectangle die and cut the foiled panels out.
As for the sentiments, I picked several messages from the everyday Sentiment 2 set and foiled Birthday Wishes, Thinking of You and Sending love.
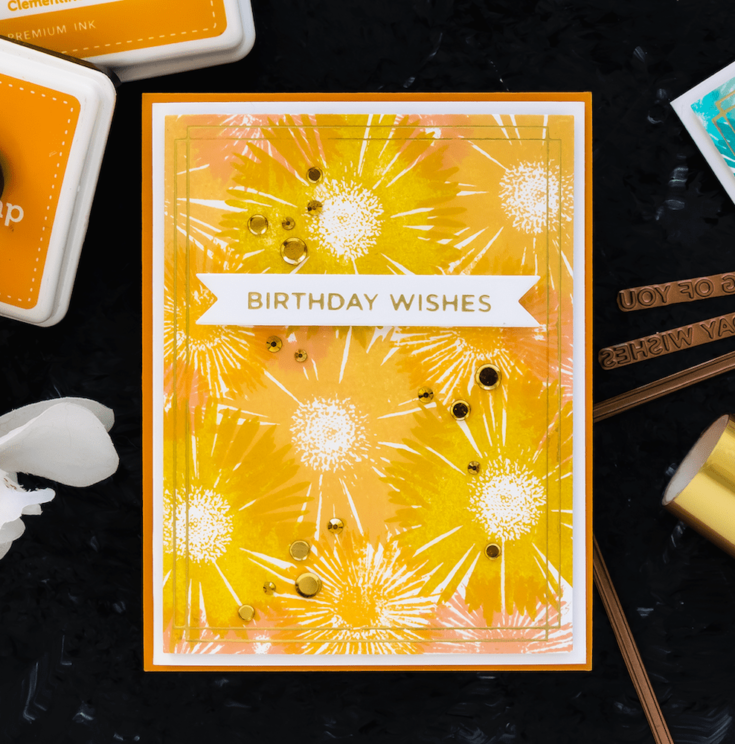
Lastly, my cards would not be complete without some sequins! I used gold sequins from Simon and scattered them around the panel.
Here’s a look at the 3 projects I have for you today – these were easy to make and stamping the floral pattern was a treat! I love all of these, but I think the teal one is my favorite! Which one do you like best? let me know in the comments below
Have fun stamping!
WATCH THE VIDEO:
SUPPLIES:
|


Thanks so much for stopping by, and thanks so much to Yana for this trio of gorgeous inspiration!


