Yippee for Yana: Pun Intended Greeting Cards
Hi friends! Happy Thursday! Welcome to the first edition of Yippee for Yana for 2021! Keep scrolling and be sure to watch the video to see how Yana made 5 gorgeous clean and simple cards! Enjoy!

Hi everyone, this is Yana Smakula, welcome back for another Yippee For Yana video! The cards I have for you today are all extremely simple to make, and each offers some sort of wordplay. These are fun and quirky to give to your loved one, your partner, or even your close friend.
The star of the show for today’s projects is this awesome Light Me Up stamp set from Cathy Zielske for Simon Says Stamp. This stamp set has loads of wordplay sentiments, such as – You Light Me Up, You Are the Light of My Life, Love You Watts and Watts, My Light is Always On, We Are Electric, and more! It also has several images of light bulbs in different shapes. There are additional other images in this set, but we will just be using the light bulbs for the cards I have in mind today.
This stamp set has coordinating dies available, they are sold separately, and I encourage you to pick up the dies as well – they not only cut the images but also the sentiments from this set. Of course, if you have a similar set in your stash – do take it out and play! I urge you to join me and create several punny greeting cards.
In addition to this stamp set, we will also need black cardstock, to symbolize darkness, yellow cardstock to symbolize light, some Copic marker friendly ink, to do our stamping, and a handful of Copic markers to color the light bulbs for our cards.
These cards can’t get any simpler. Begin by stamping the images of the light bulbs on white cardstock in Memento Tuxedo Black ink and do simple coloring.
I used several gray and several yellow markers. I used C5, C3, and C1 gray markers, these are cool grays and they work really well for coloring nonliving things gray. Like this metal part of the light but. Next, color the light bulbs yellow. For this, I used 4 markers – Y11, Y13, Y15, and Y35.
Use your coordinating dies and cut the light bulbs out. With the main element ready, we can build the other elements for our cards. Use black and yellow cardstock, white heat emboss sentiments, and white plastic hearts to pull these cards together.
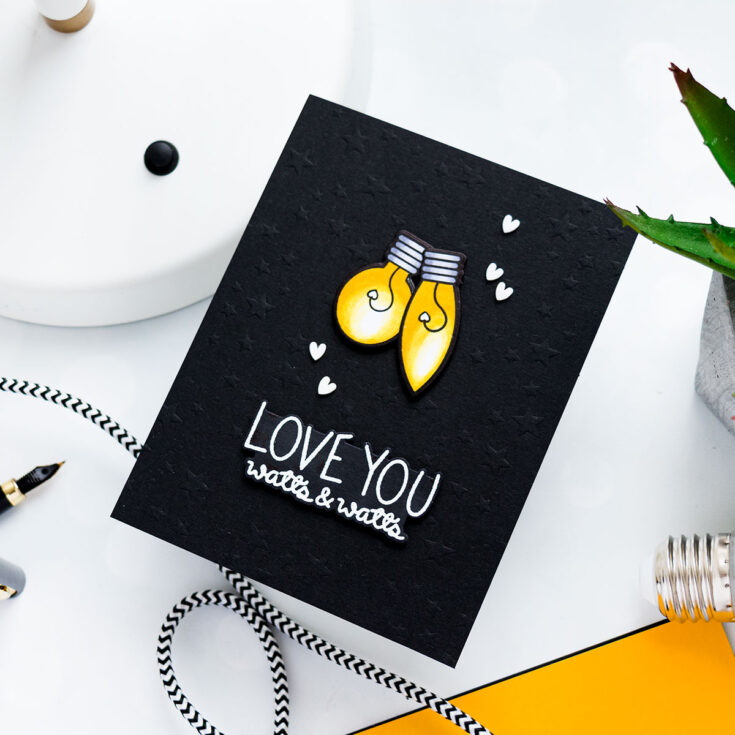
Love You Watts & Watts card:
- Dry emboss 4 ¼ x 5 ½ black cardstock panel using Scattered Stars stencil. Adhere panel to A2 white card base.
- Color the white border around the lightbulbs black using a black marker. Foam mount onto the card.
- White heat emboss “Love You Watts & Watts” sentiment. Cut out with coordinating die. Foam mount to the card.
- Embellish card with white plastic hearts.
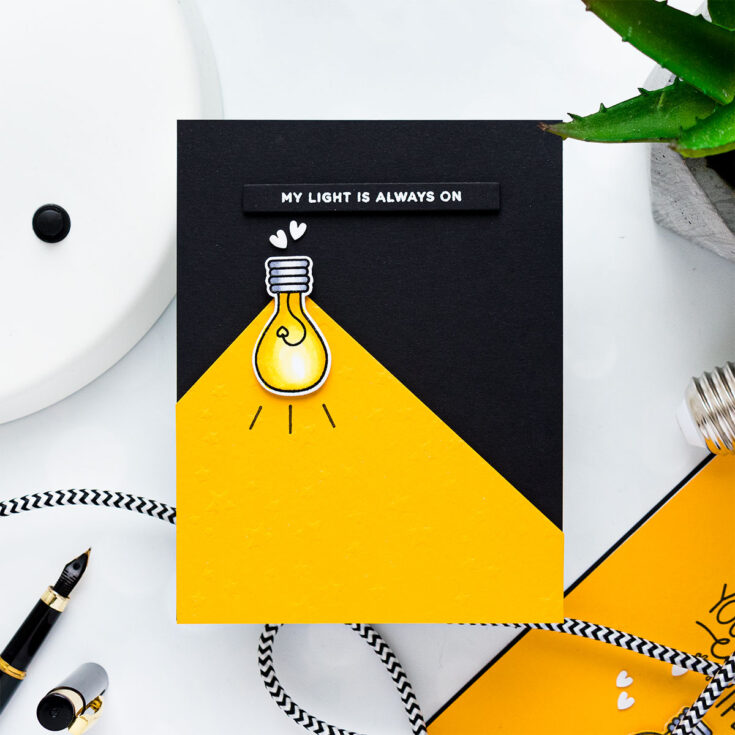
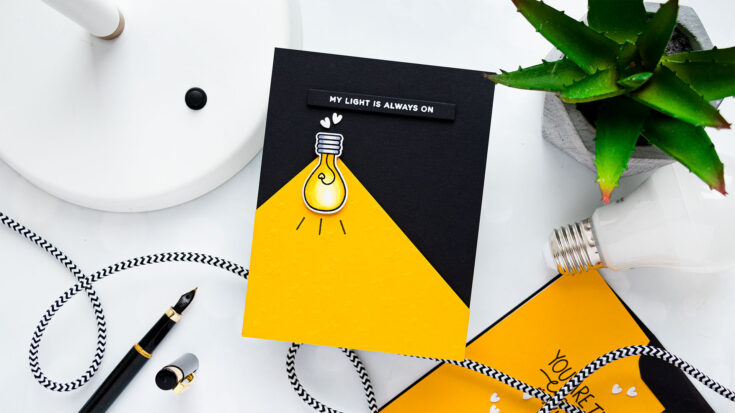
My Light is Always On Card
- Cut black cardstock panel to 4 ¼ x 5 ½”. Adhere to A2 white card base.
- Cut yellow cardstock at an angle. Dry emboss using Scattered Stars stencil. Foam mount onto the card.
- Foam mount light bulb. Stamp black lines under the light bulb.
- White heat emboss “My Light is Always On” sentiment. Cut out using a strip die. Foam mount to the card.
- Embellish card with white plastic hearts.
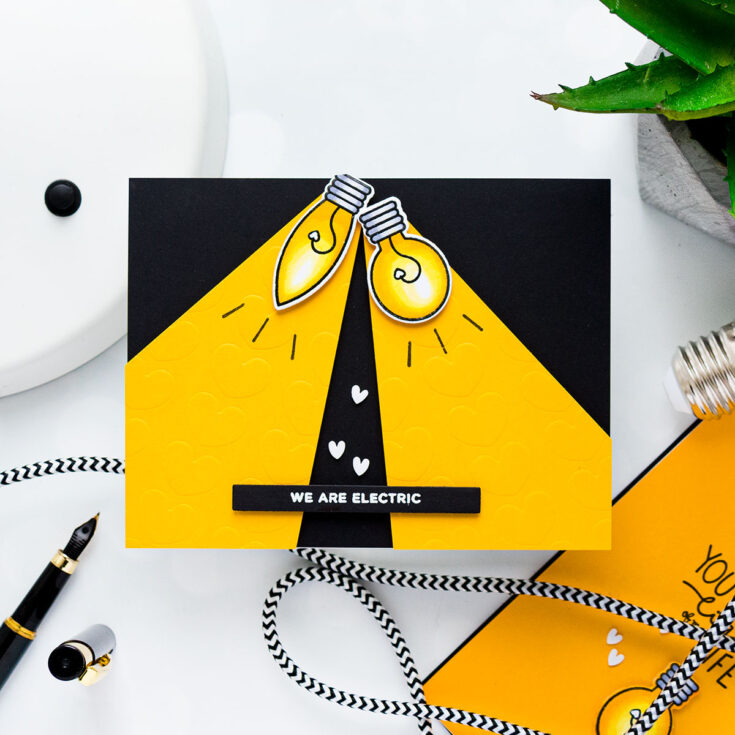
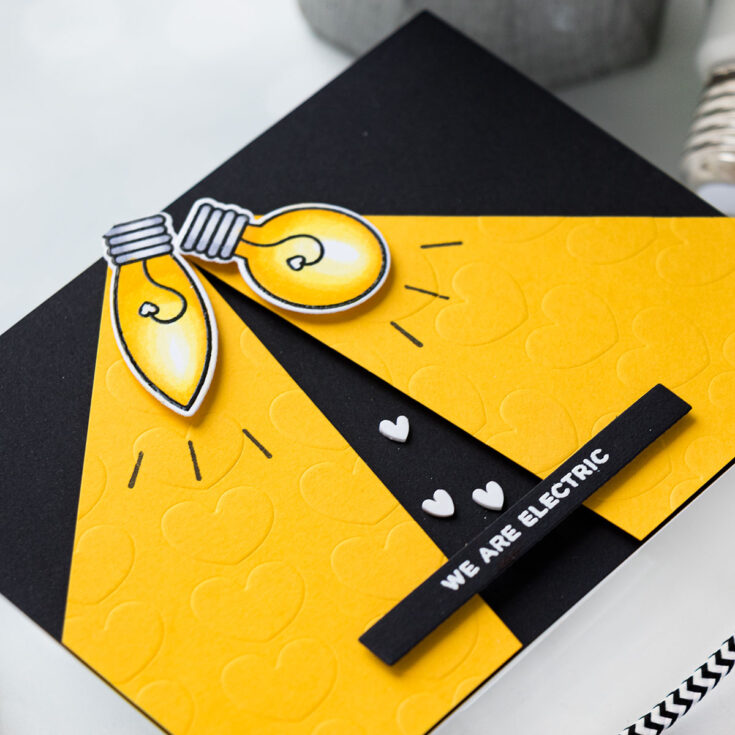
We Are Electric Card
- Cut black cardstock panel to 4 ¼ x 5 ½”. Adhere to A2 white card base.
- Cut 2 yellow cardstock panels at an angle. Dry emboss using Layering Hearts stencil. Foam mount onto the card.
- Foam mount light bulbs. Stamp black lines under the light bulbs.
- White heat emboss “We Are Electric” sentiment. Cut out using a strip die. Foam mount to the card.
- Embellish card with white plastic hearts.
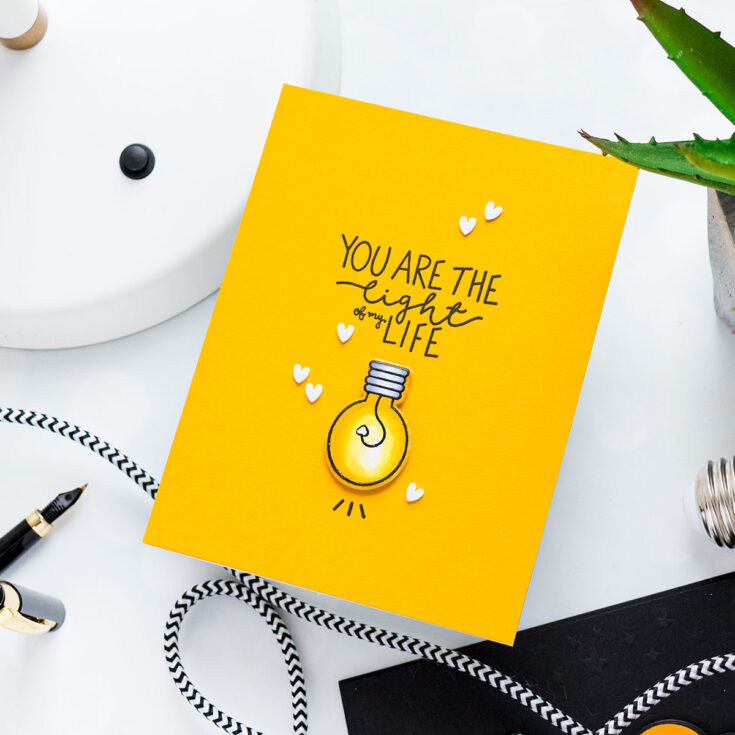
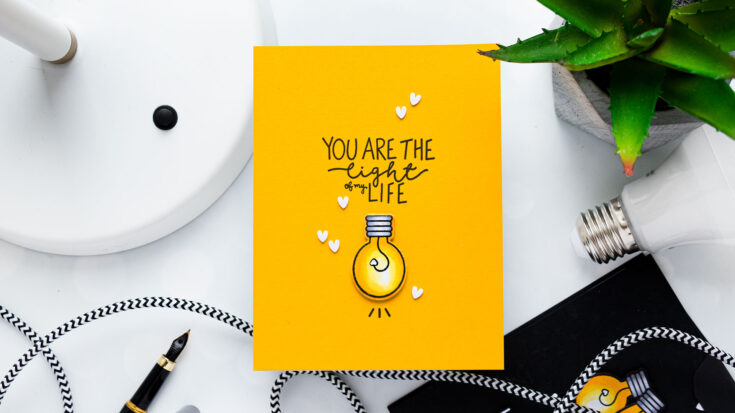
You Are The Light of my Life Card
- Stamp sentiment, lightbulb, and lines in VersaFine Onyx Black ink onto yellow panel cut to 4 ¼ x 5 ½”. Adhere panel to A2 white card base.
- Foam mount light bulb onto the card.
- Embellish card with white plastic hearts.
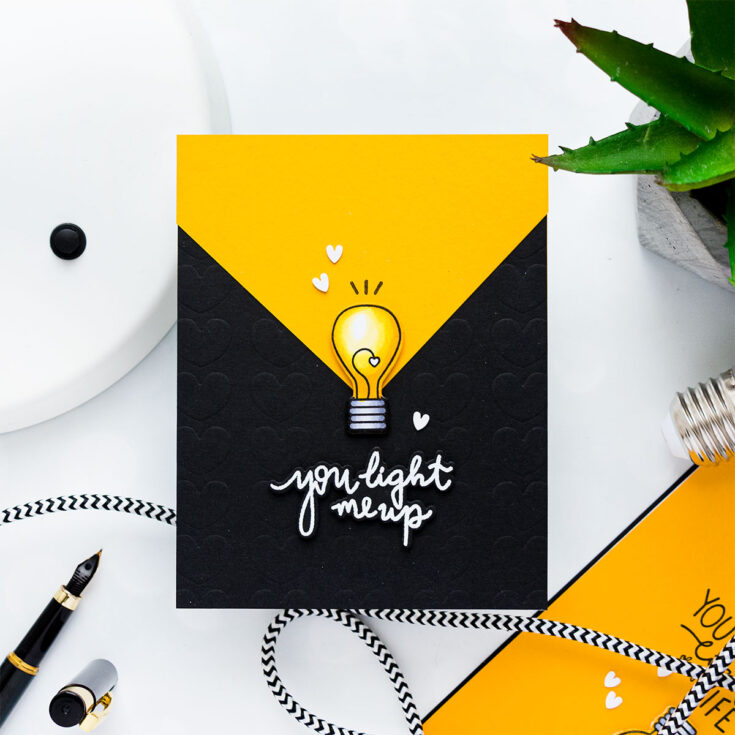
You Light Me Up Card
- Cut black cardstock panel to 4 ¼ x 5 ½”. Dry emboss using Layering Hearts stencil. Adhere to A2 white card base.
- Cut yellow cardstock panel at an angle. Adhere to the card.
- Foam mount light bulb. Color white border using yellow and black marker to match the background. Stamp black lines above the light bulb.
- White heat emboss “You Light Me Up” sentiment. Cut out using a strip die. Foam mount to the card.
- Embellish card with white plastic hearts.
Have fun stamping!
WATCH THE VIDEO:
SUPPLIES:
|


Thanks so much for stopping by, and thanks to Yana for being our guest!
You da BEST! Watercoloring with Karin Brushmarker Pro Markers: reprise!
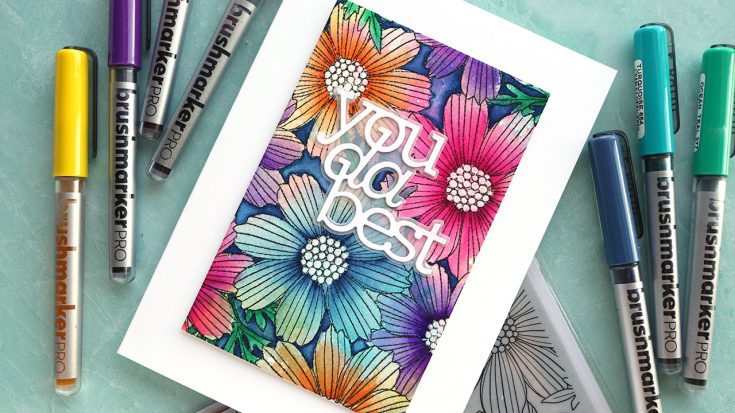
Hello, all! Kristina Werner here. Have you tried these amazing markers yet? Brushmarker PRO markers from Karin are dye-based liquid ink markers and work beautifully for watercolor! Today I’m sharing with you a card made using various colors of markers and the new Cosmos Bloom Background stamp.

I used two techniques for watercoloring with the Karin Markers. First, I scribbled three different colors on a slick surface, sprayed the ink with water to liquify it more, and then smooshed the watercolor paper into the ink. The colors mixed and melded and created a beautiful, organic background.
For the second technique, I took the markers and colored directly onto the watercolor paper. Then I spread the ink with a water brush. The ink spread out so easily and seamlessly! Practically effortless.
I finished off the card by cutting the watercolor panel with an A7 Layers die from Waffle Flower, and diecut a greeting from CZ Design’s You Da Best die set.
Thanks for stopping by today! You can check out all of the Karin Markers in the Simon store HERE.
Supplies
|


Simon’s Top 10 Crafty Must-Haves!!!
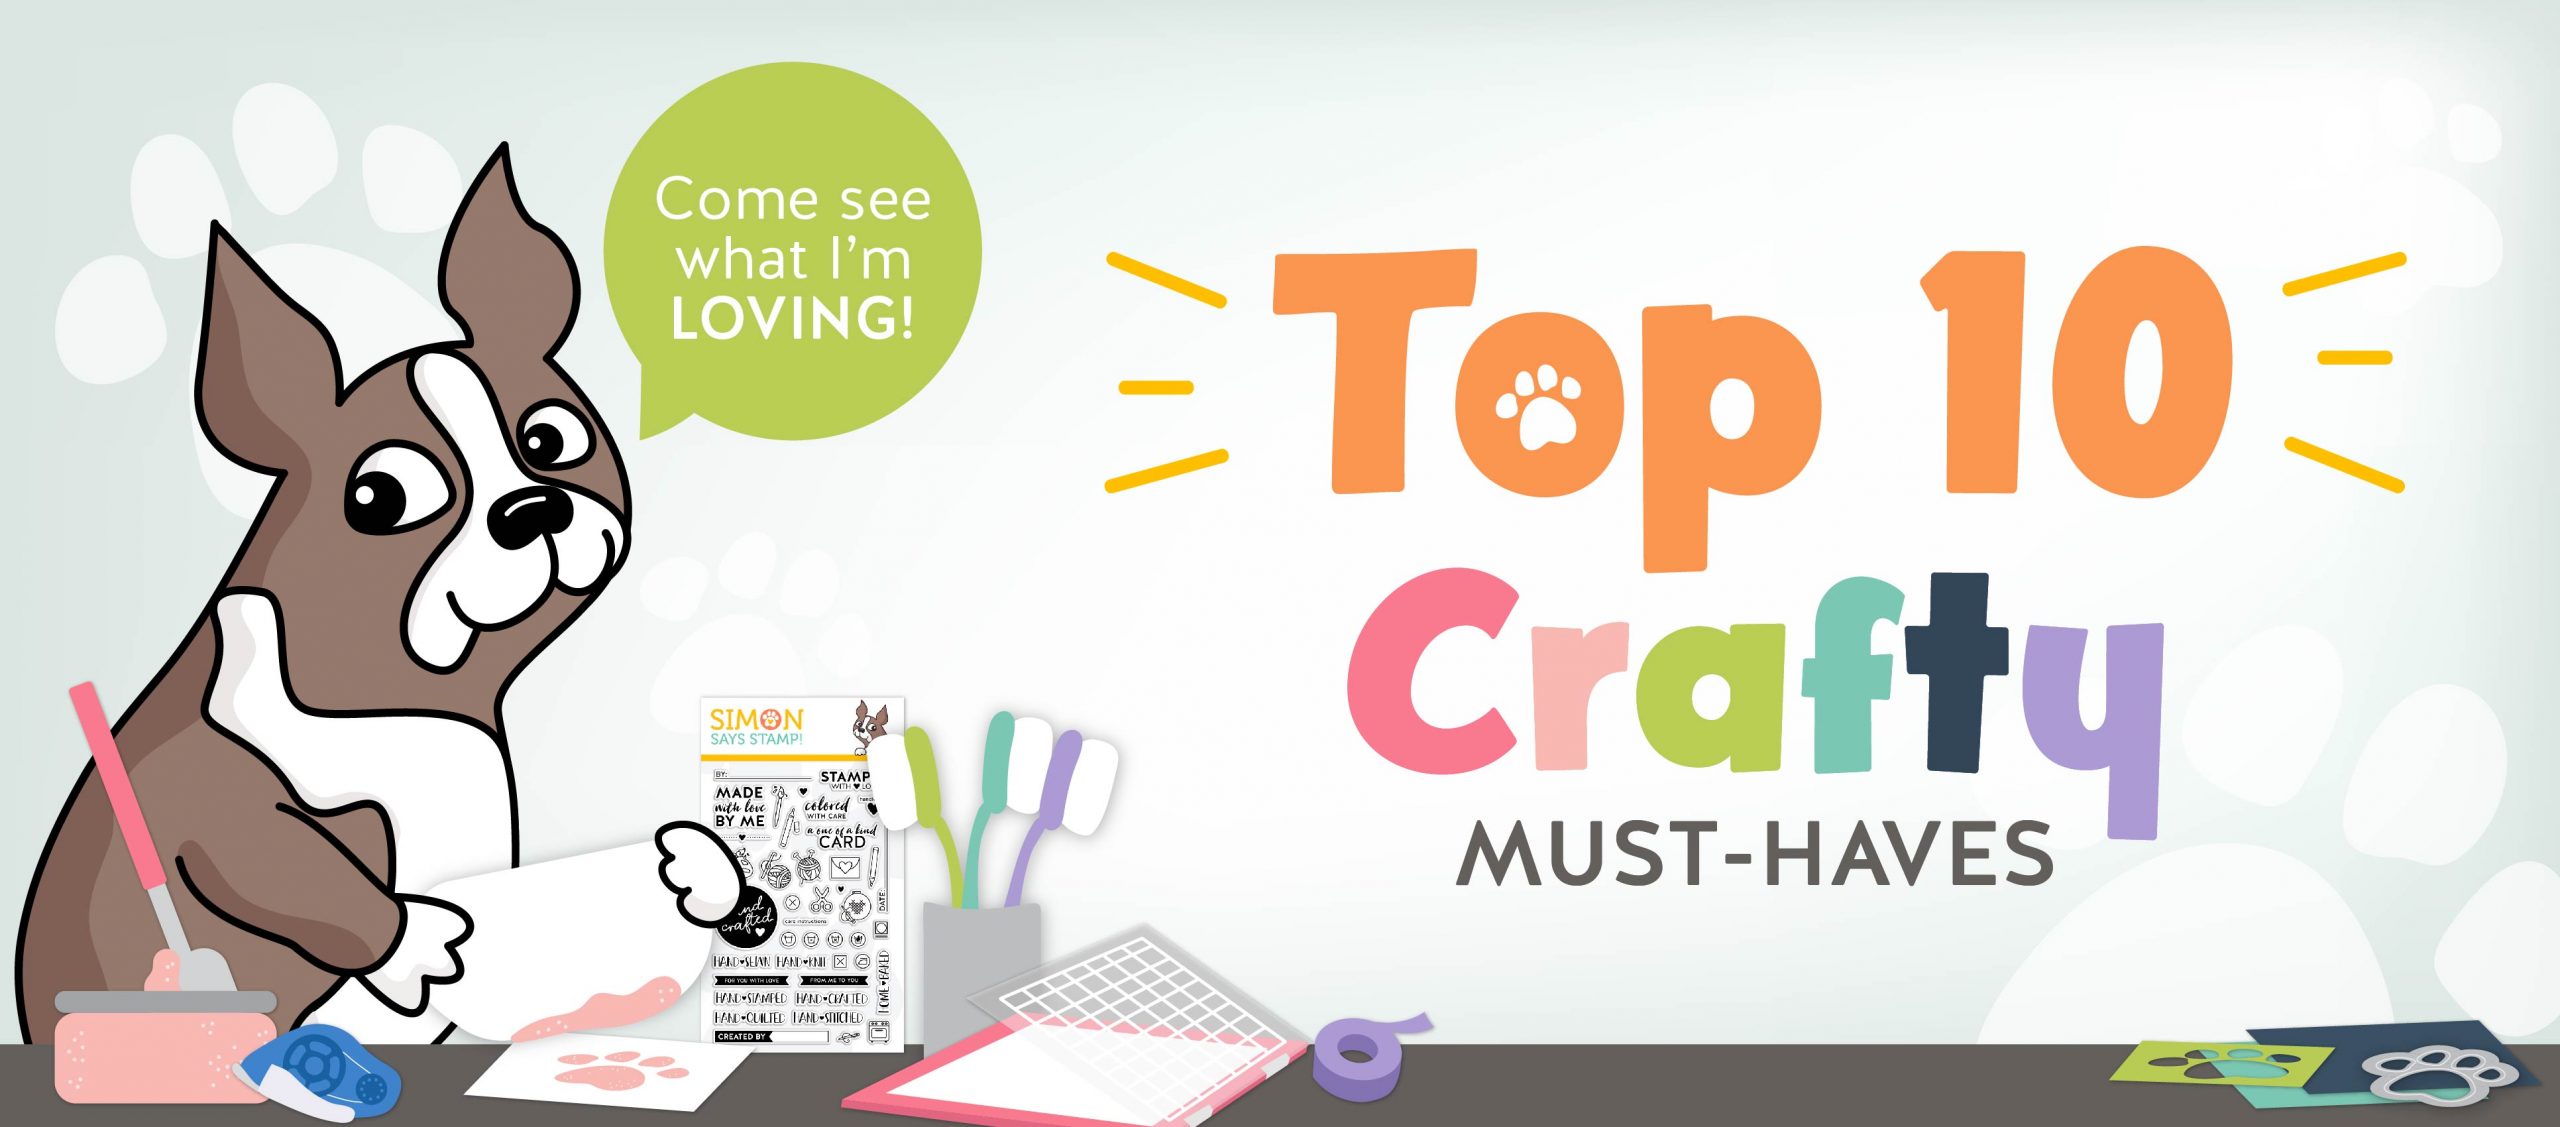
Hello crafty friend! With so many amazing products continually being released, it’s often hard to decide what you truly need to have in your creative arsenal.
We’re resharing a recent lineup of our popular Top 10 Crafty Must-Haves!
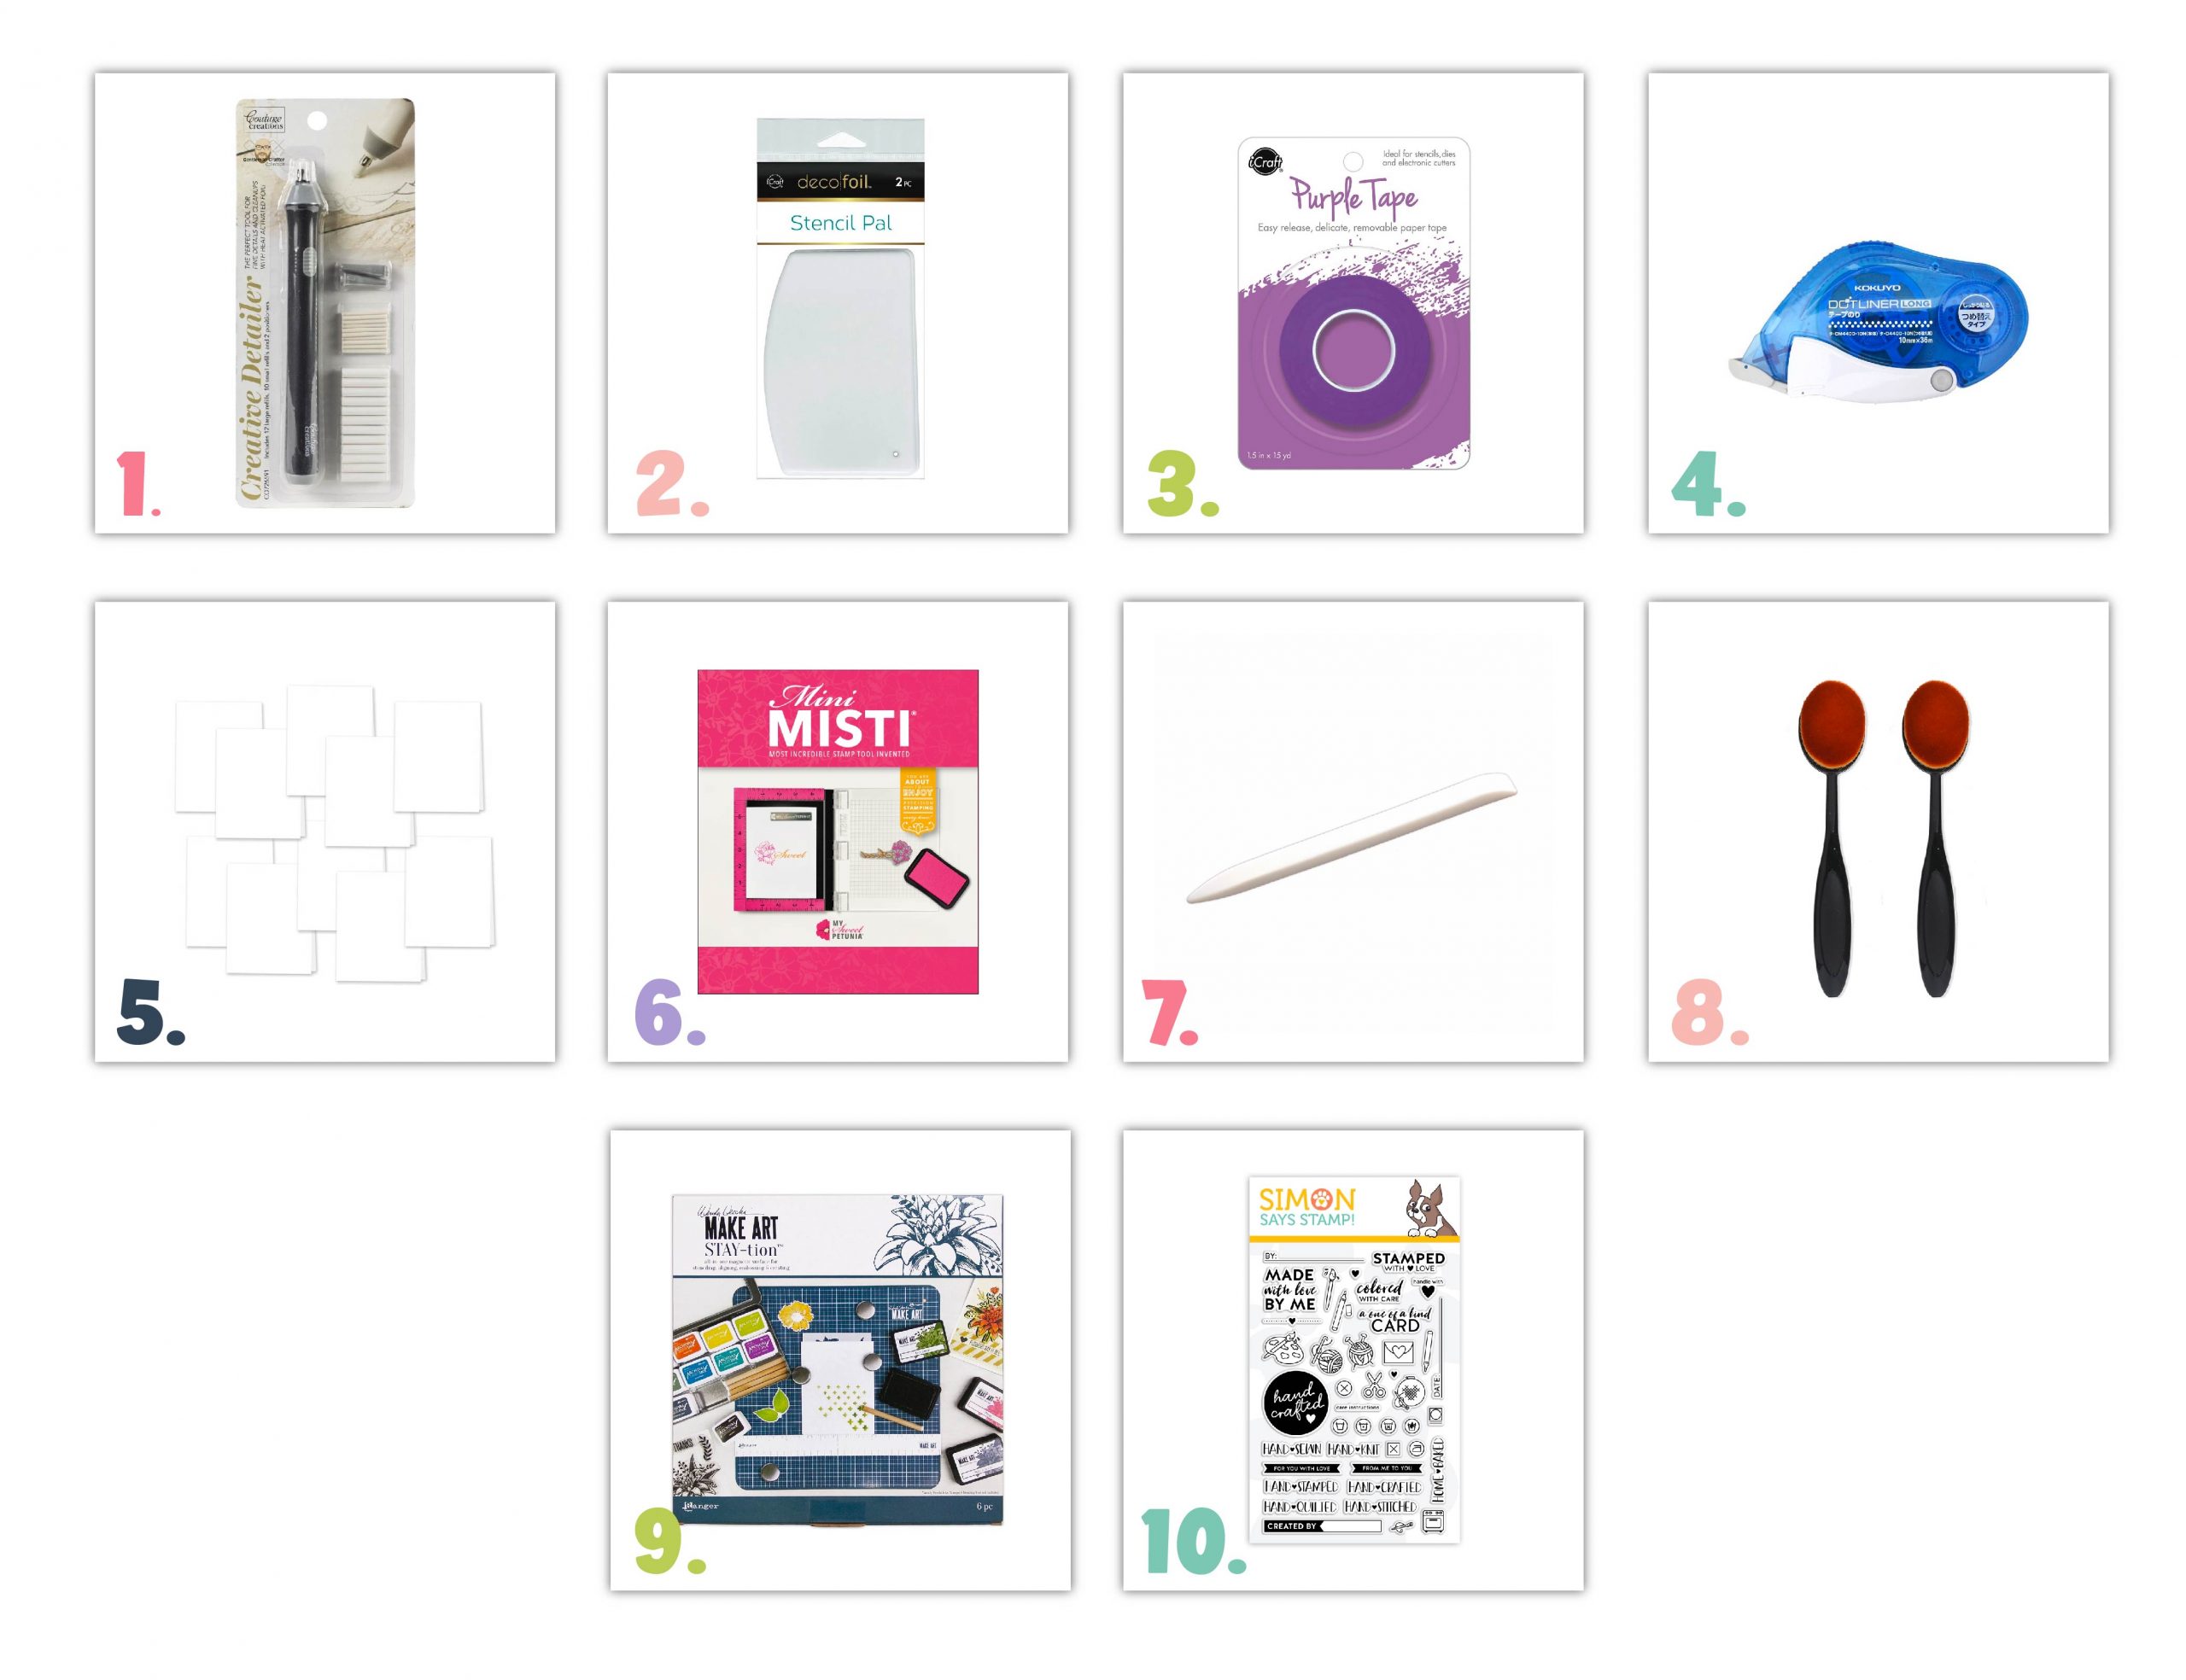
#1 Creative Detailer Tool
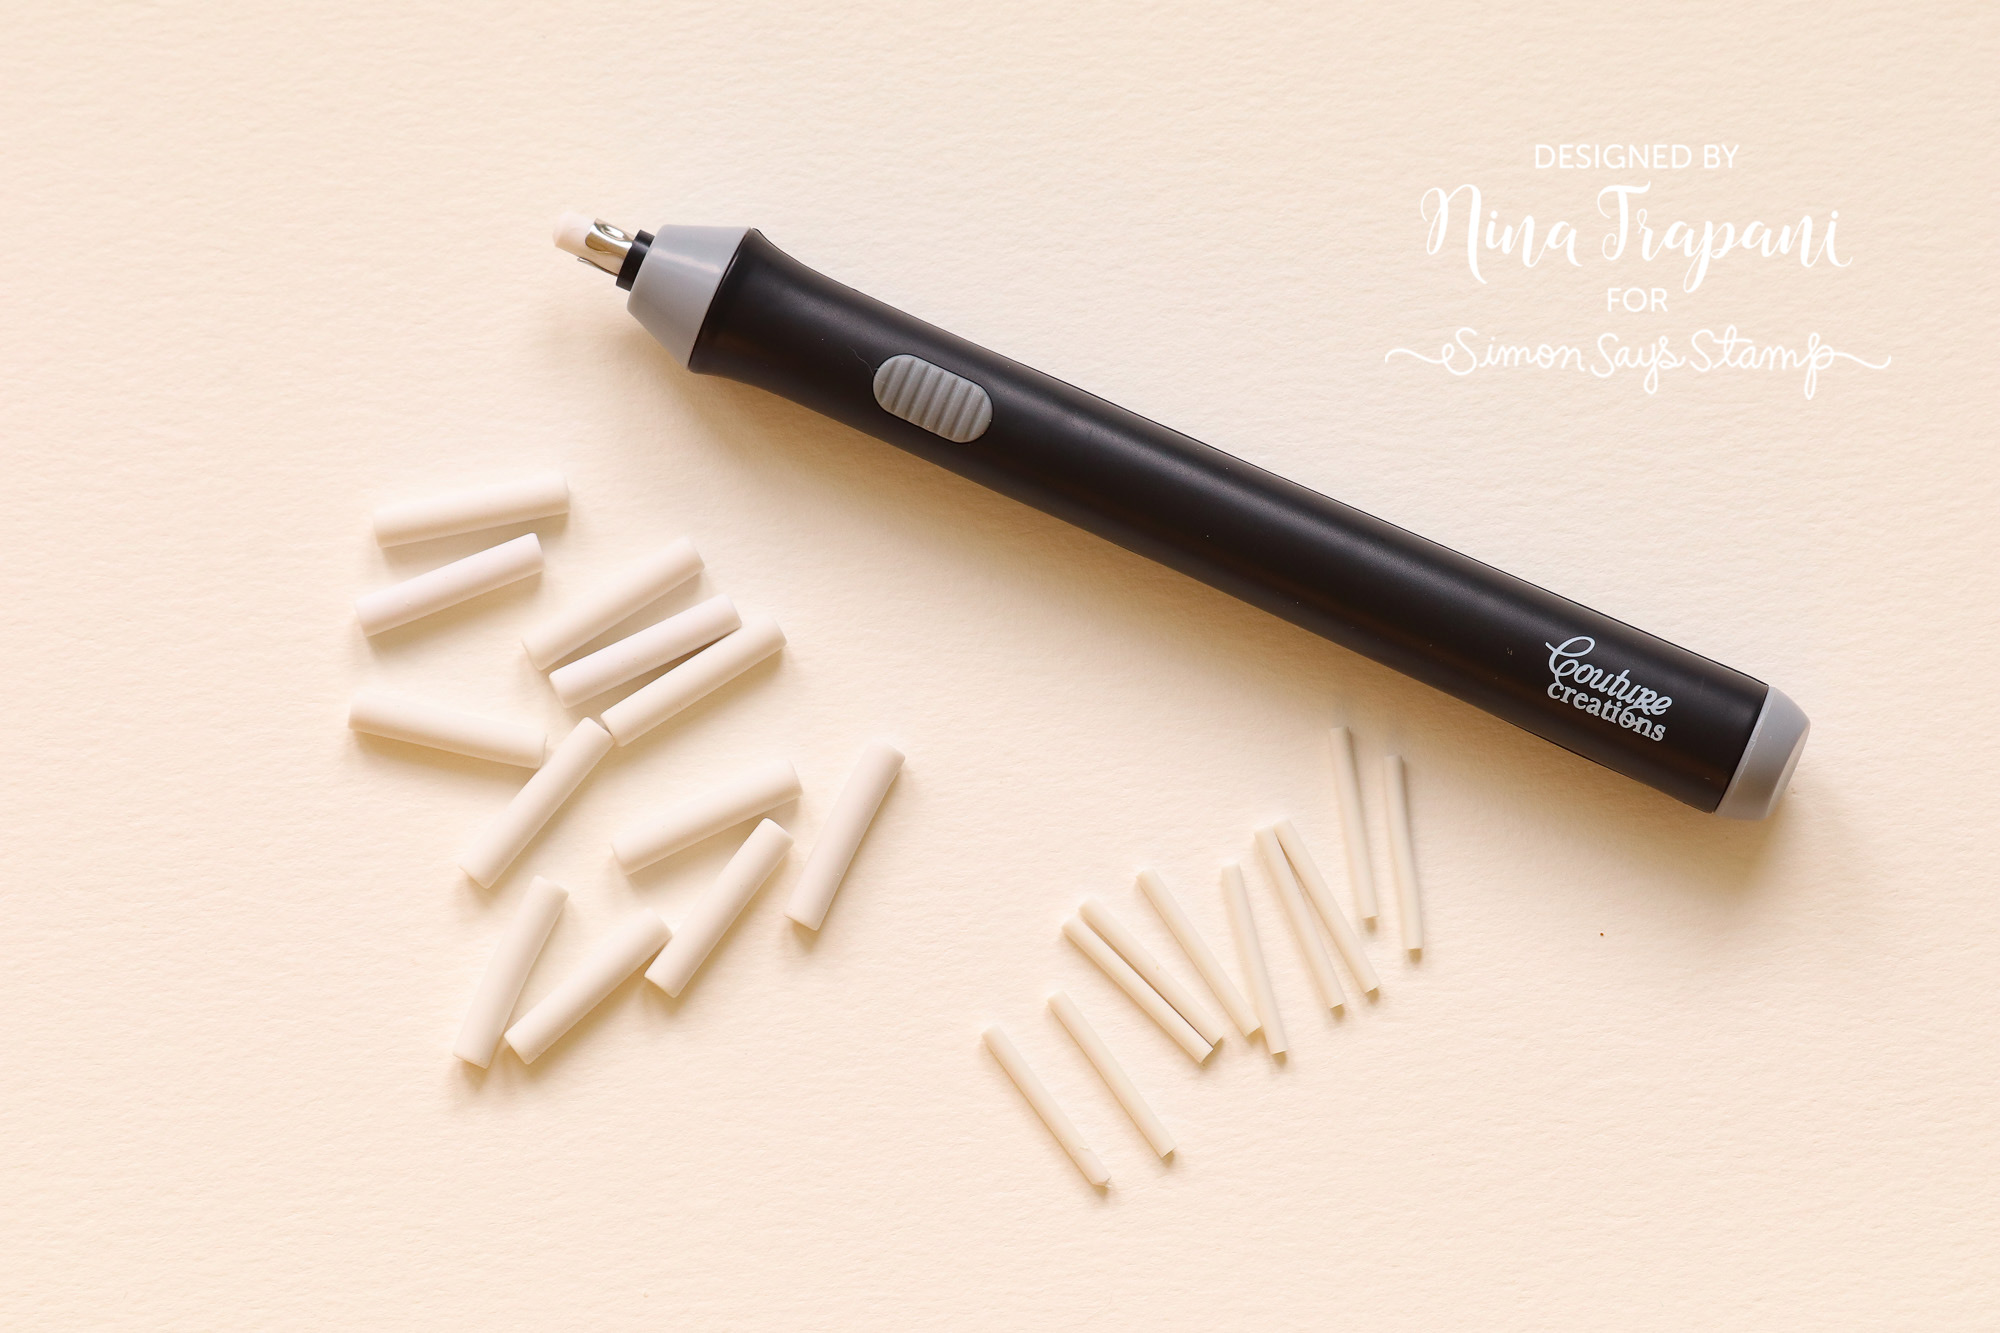
Made a small inky mistake? Have some unwanted foil left behind on your project? The battery-powered Creative Detailer Tool has become one of our go-to erasers for cleaning up small trouble areas. There are even interchangeable eraser nibs for even more precise erasing capabilities!
#2 Stencil Pal
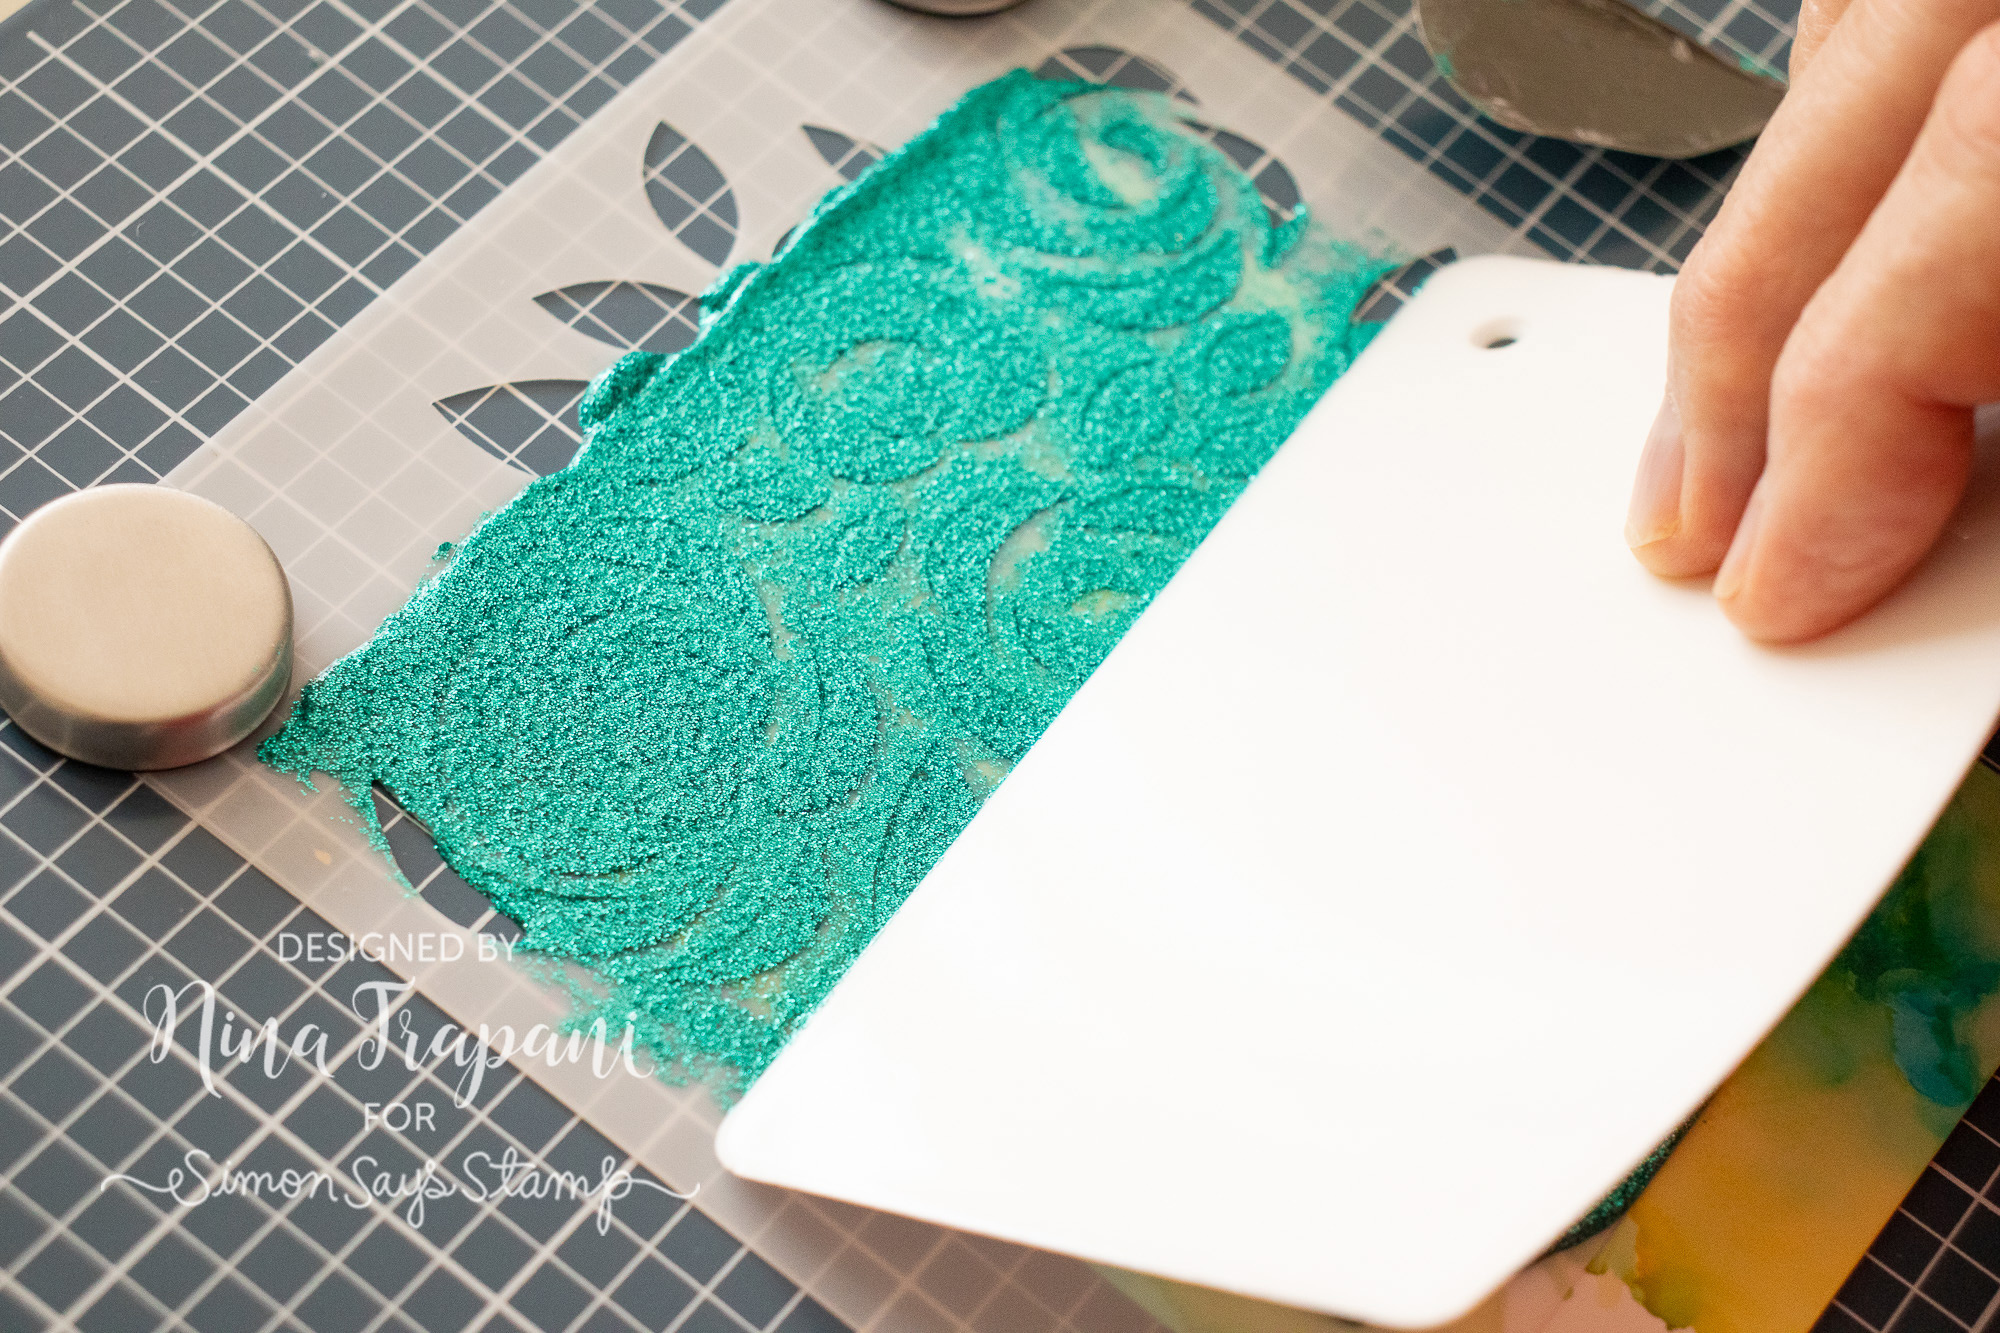
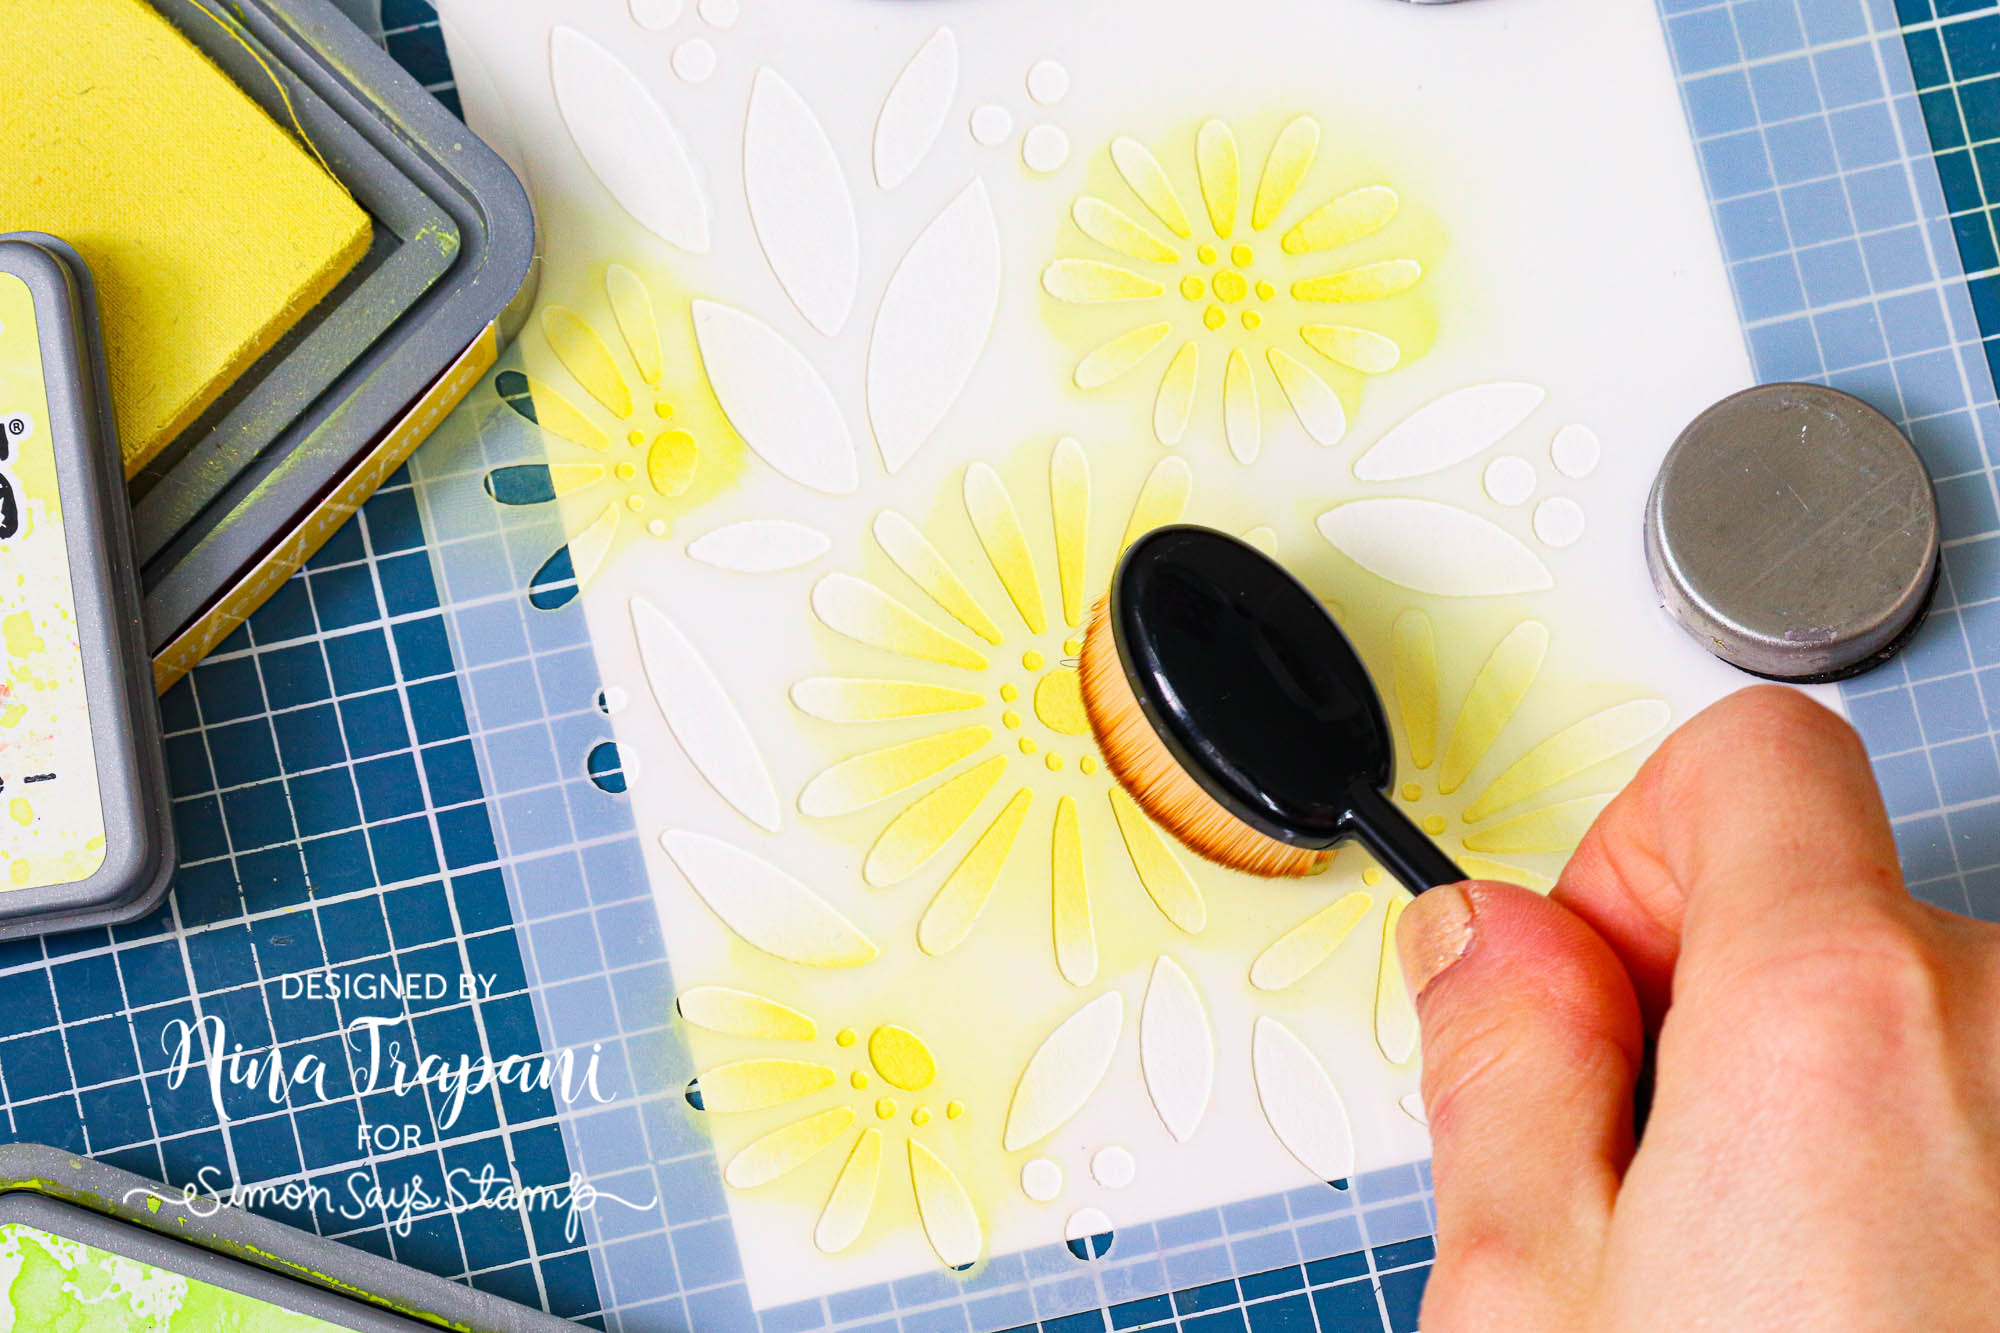
Whenever you apply pastes through a stencil, it can be tricky to get your paste completely smooth. Not any more! Whenever we use pastes and stencils, we always make sure to use our Therm O Web Stencil Pal to smooth everything out in just a few easy strokes!
#3 Purple Tape
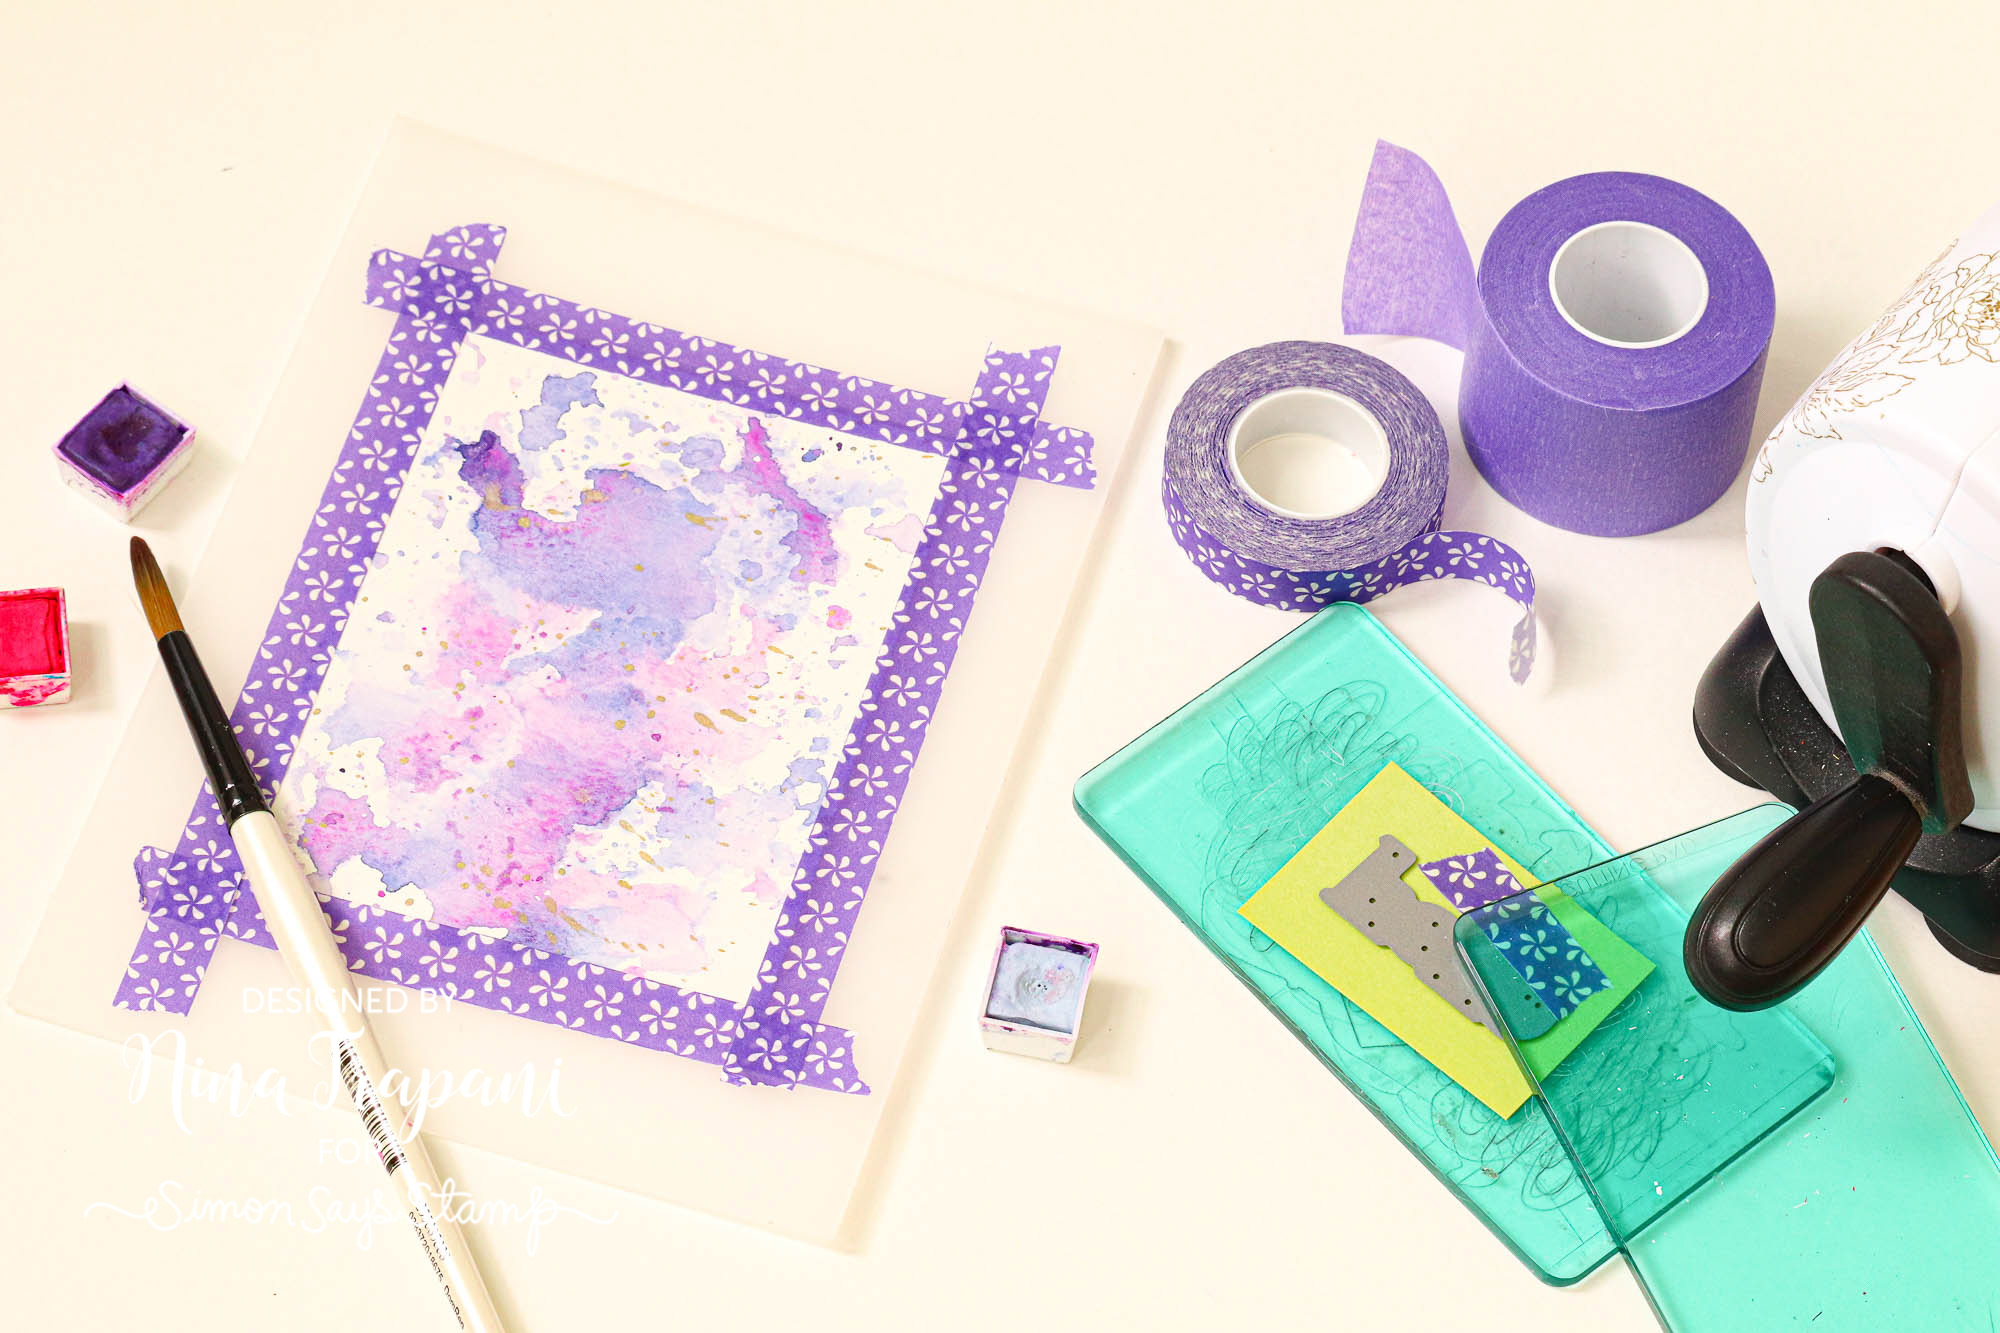
If you ever need a temporary tape that can do it all, look no further than the Therm O Web Purple Tape! Whether you are die cutting, taping your stencil in place, temporarily holding paper together, stretching watercolor paper – and so much more – this tape is what we always reach for! The easy release and light tack of the tape prevents tears when removing from your project (which also makes for a more relaxing crafting experience!).
#4 Dot Liner Tape Runner
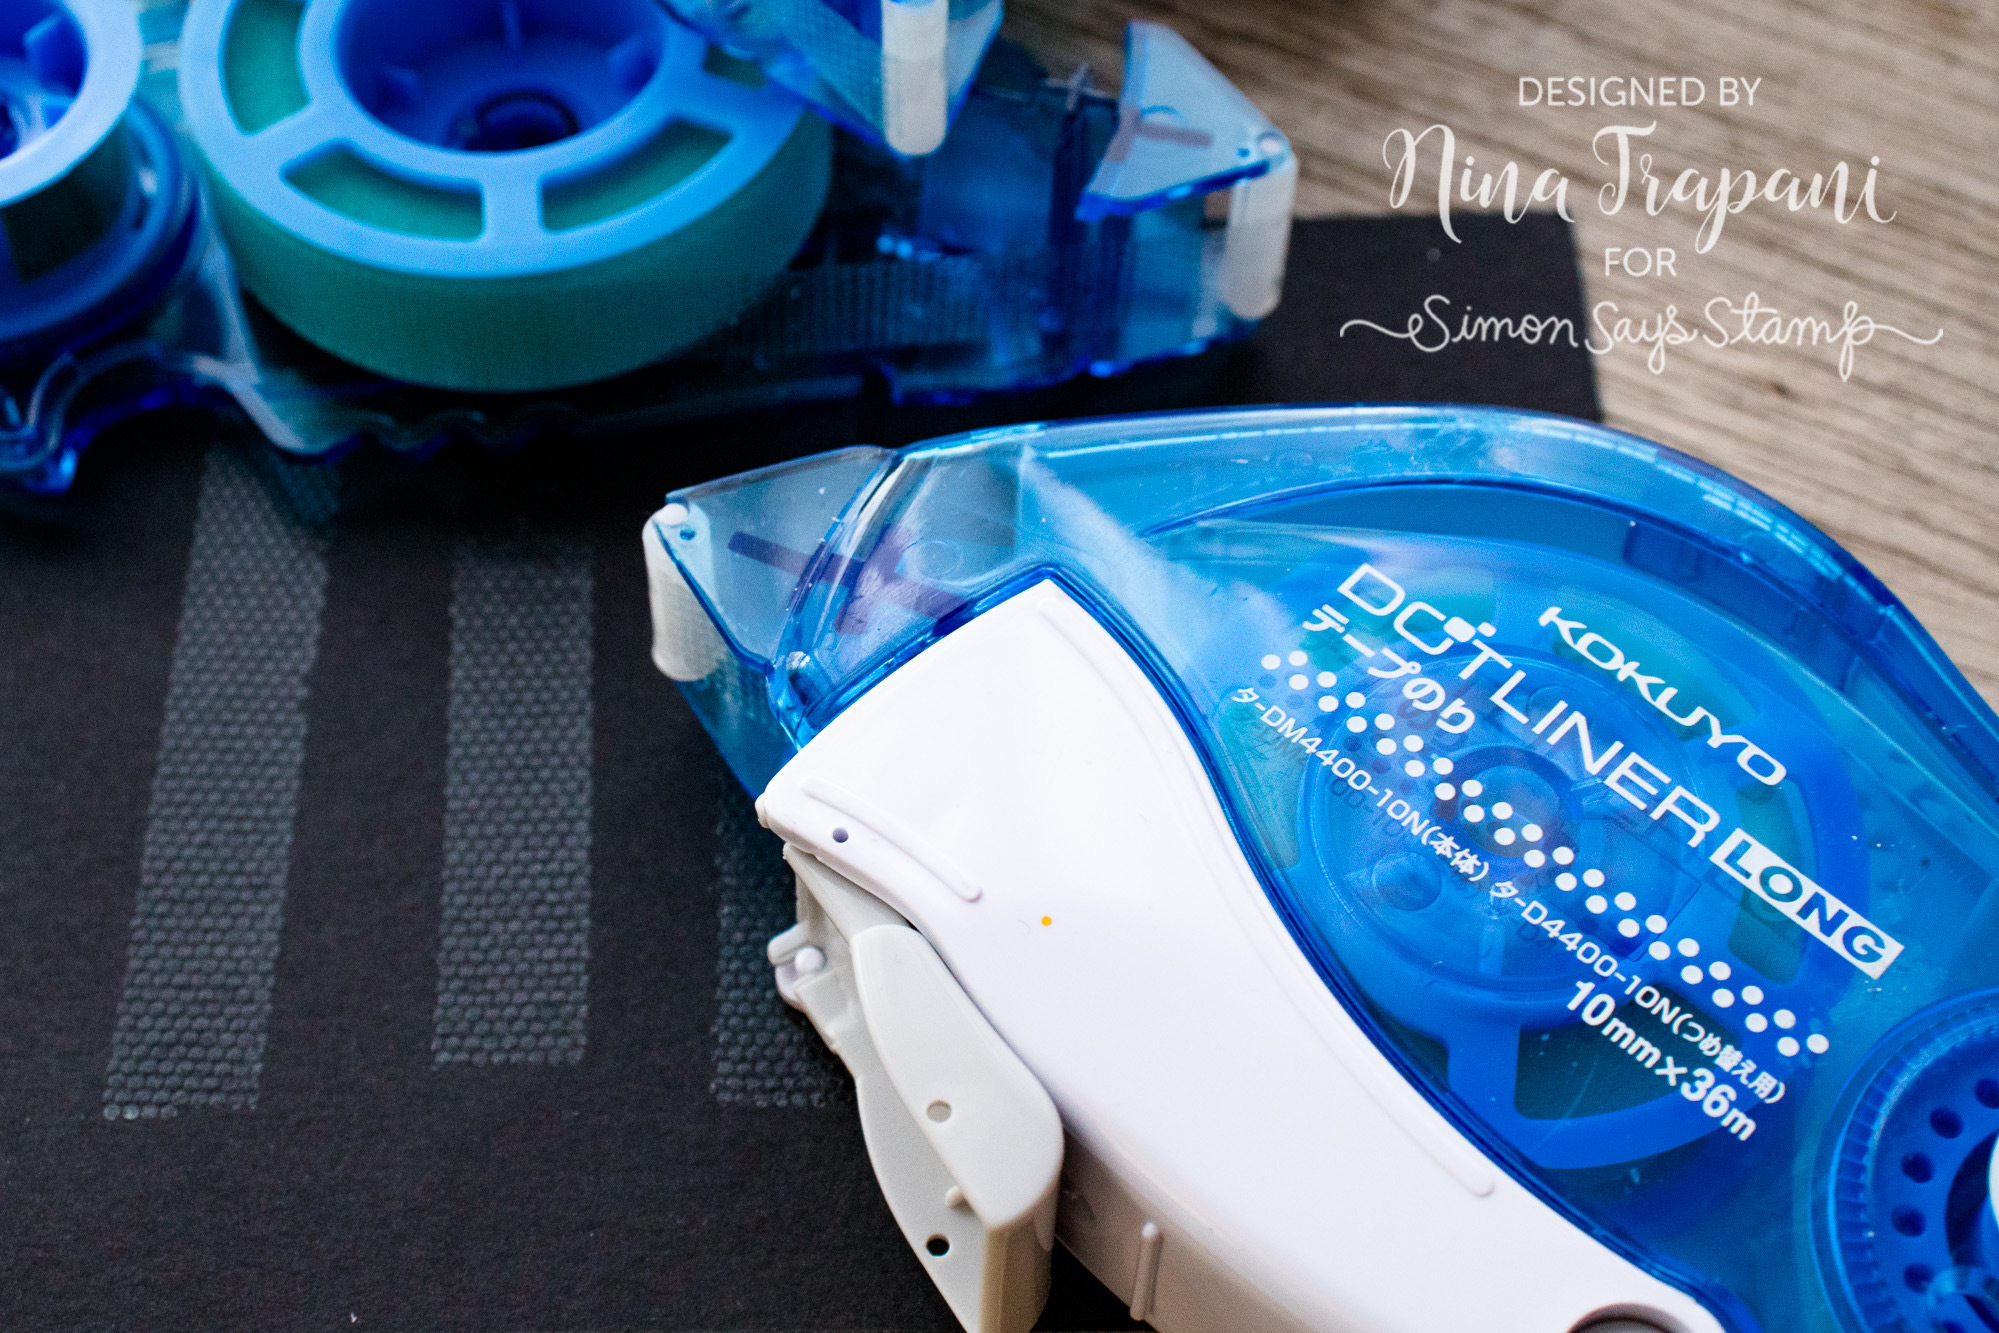
We love dot tape runners because the adhesive goes down only on your project and not everywhere else! Many tape runners are just continuous strips of adhesive, which can easily end up outside of where you are trying to put it down. The Kokuyo Dot Liner is instead made up of the tiny dots, which stop dispensing onto your paper the minute you lift it off your project.
#5 A2 White Card Bases
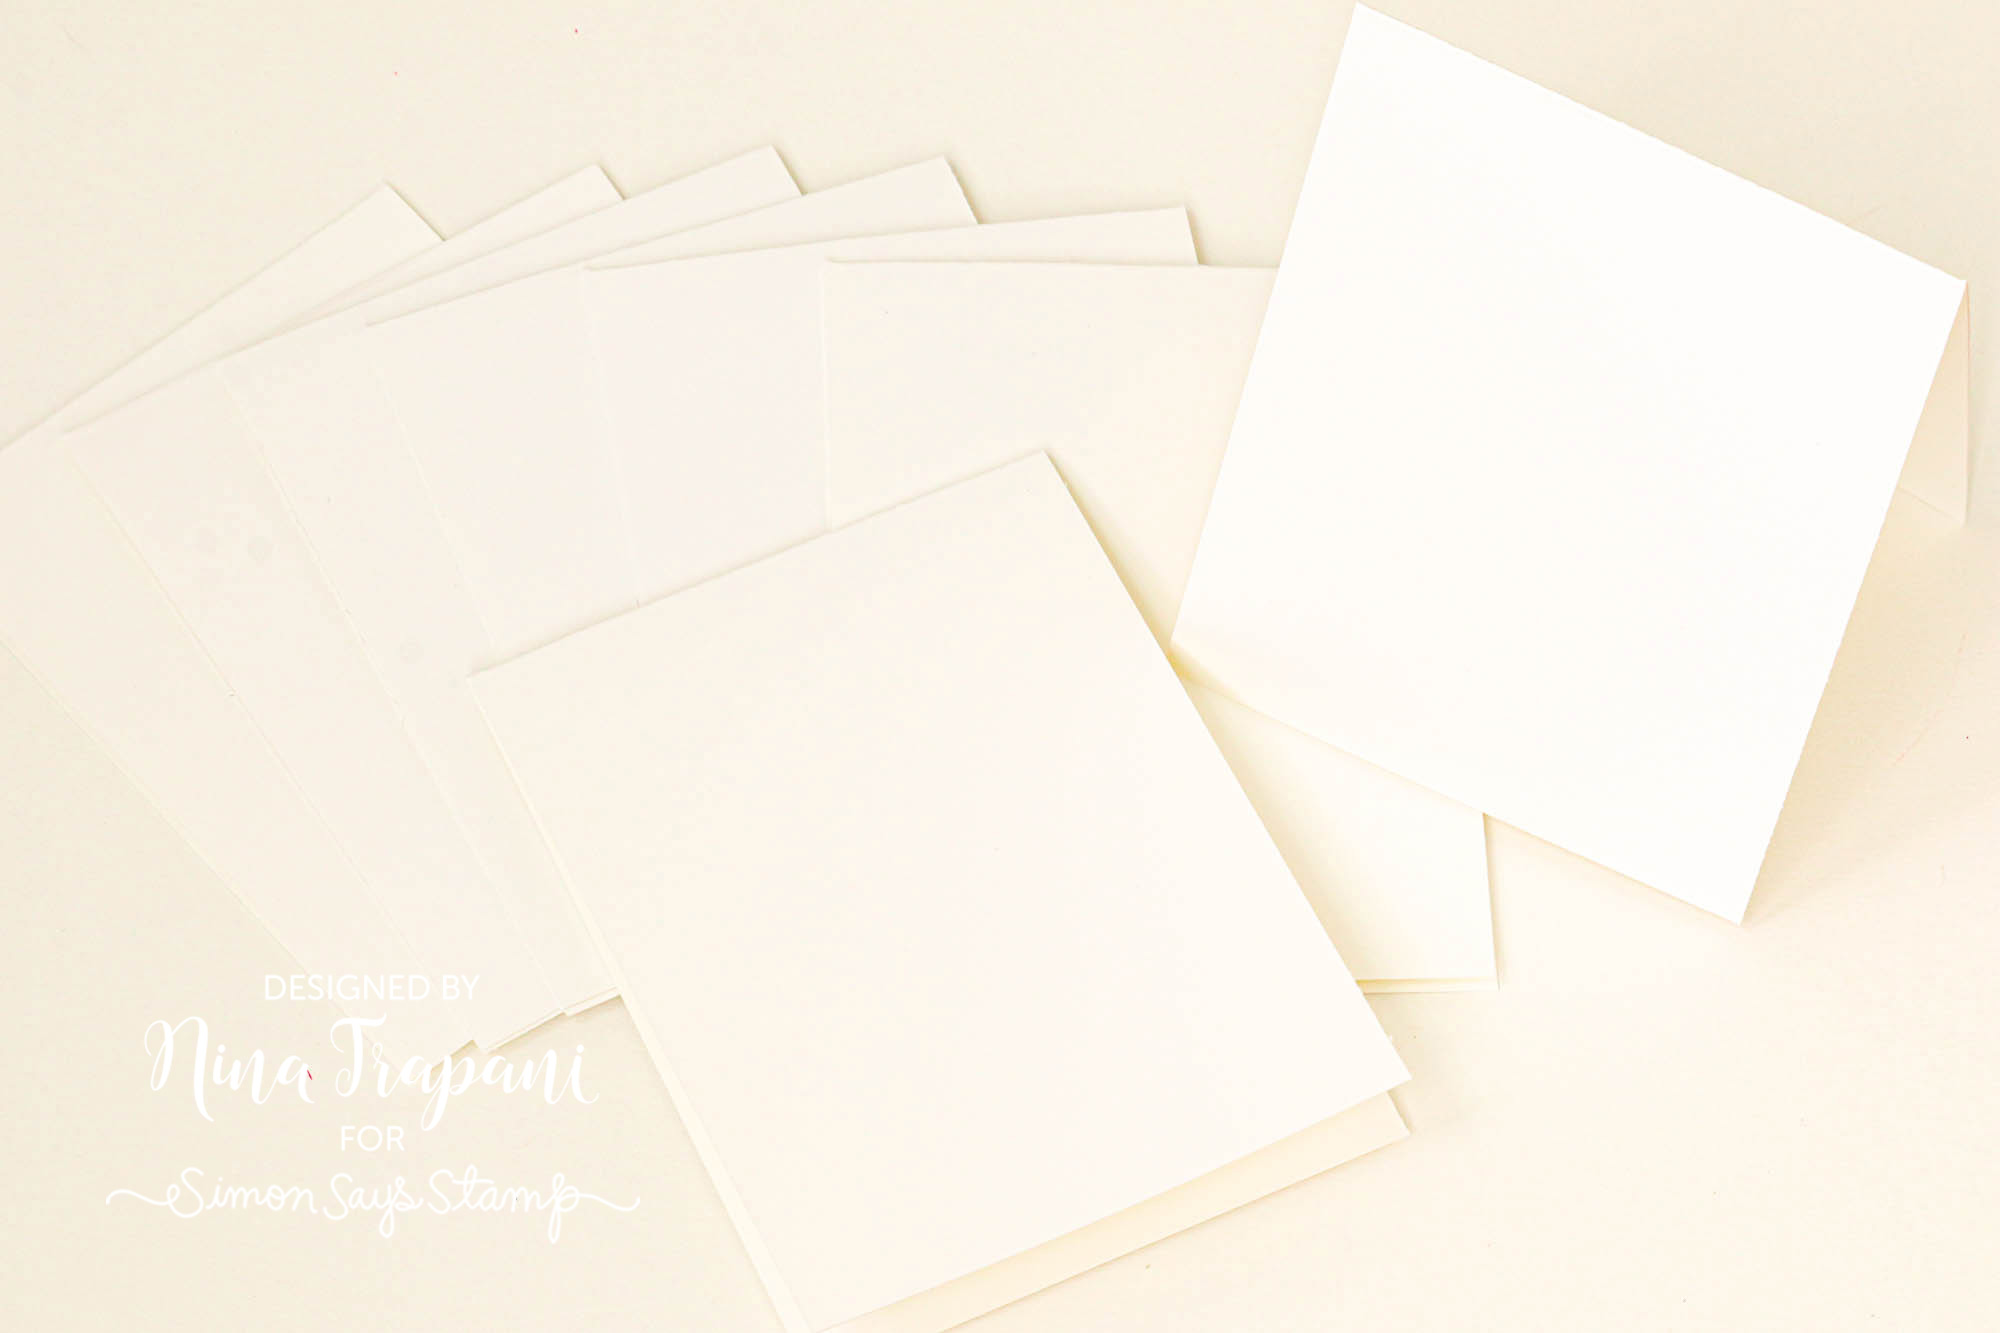
Save yourself a ton of time crafting by having a stash of pre-made card bases on hand! We love being able to simply reach for one of our A2 White Card Bases when we are ready to craft; no need to cut, score, and fold. All the hard work is done for you and now you can focus on just creating. You’re welcome! ?
#6 MINI MISTI STAMPING TOOL

Let’s face it, we all make mistakes when stamping … that is, until we met the Mini MISTI! Now we make fewer mistakes because we can simply re-stamp over top of our images if we didn’t get it right the first time! Align your paper in the corner of the MISTI, hold it down with a magnet and stamp! If it wasn’t right the first time, reink the stamp and do it again (just make sure you don’t move the paper)! Less wasting paper and ink, less frustration, and perfect stamping every time – who doesn’t love that???
#7 Teflon Bone Folder

This is not just any bone folder – this one is made from Teflon. Why does Teflon make this so special? Because the Teflon material keeps the bone folder strong and durable for years. In addition, the material will not add a sheen to your paper, which other bone folders will do. All these reasons make this Teflon Bone Folder a crafty-must have for our creative space!
#8 BLENDING BRUSHES
Whenever we want to ink blend, it seems we reach for our Blending Brushes most often these days! Why, you may ask? One of the reasons we love these brushes so much is that they are easier to hold in your hands – if you have arthritis, you’ll find these brushes much more comfortable to hold. Another reason why we reach for these most often is that you have so much more control over the blending intensity!
#9 Make Art Stay-tion
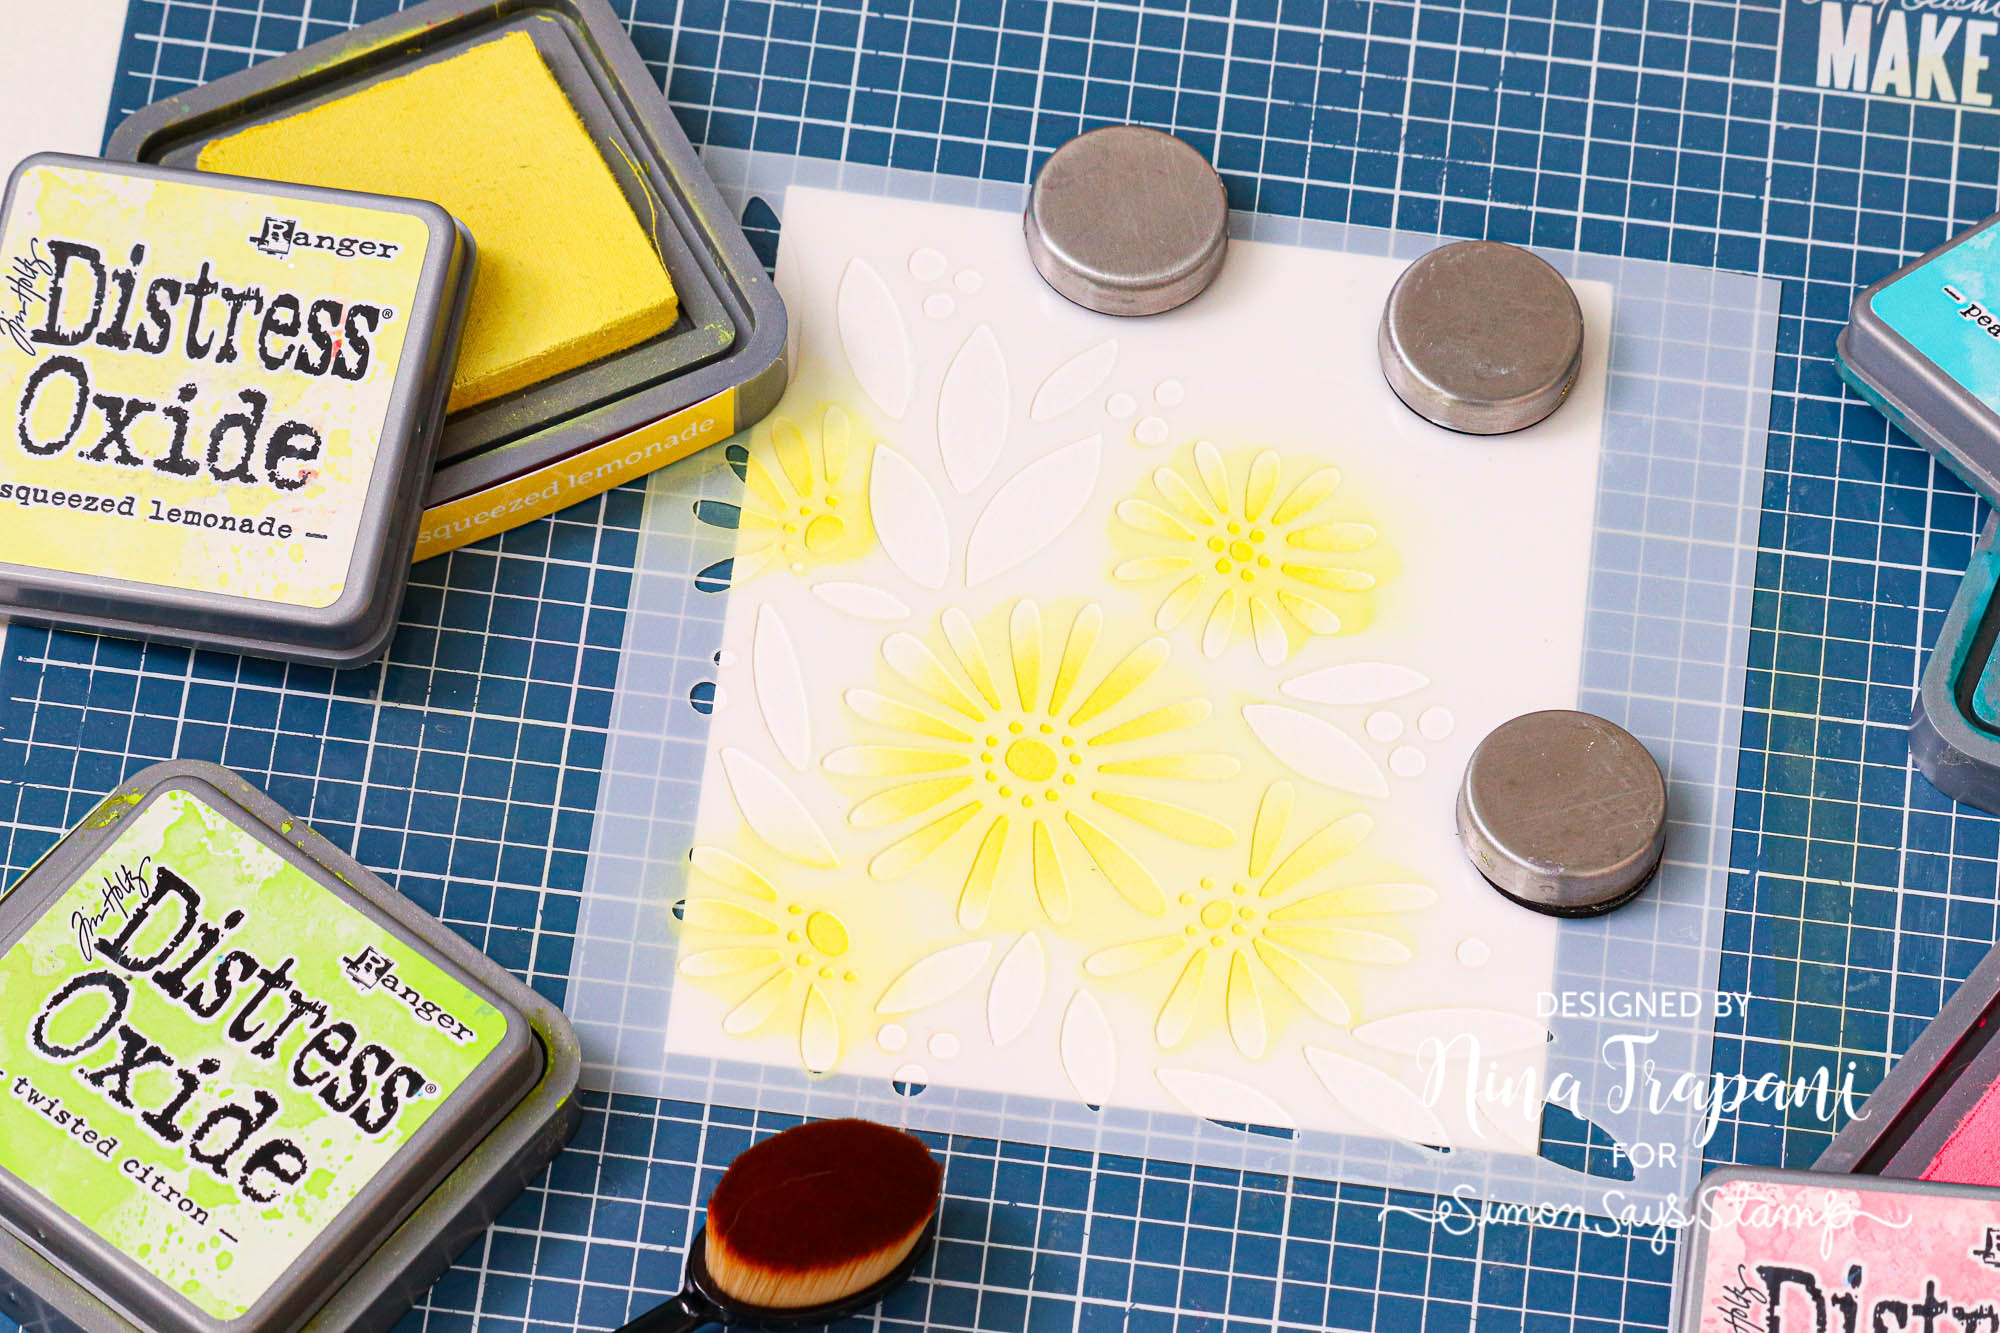
Working and cleaning up afterward is so much easier with the Make Art Stay-tion from Wendy Vecchi and Ranger! This magnetic surface wipes clean in no time, has strong magnets to hold your paper AND stencil in place when blending, adding paste, etc., and the best part? It is a low profile, which means it won’t take up a ton of space in your crafty area (it also travels well!). If you stencil a lot, we definitely feel that this is a must-have for you!
#10 Hand Crafted with Love stamp set
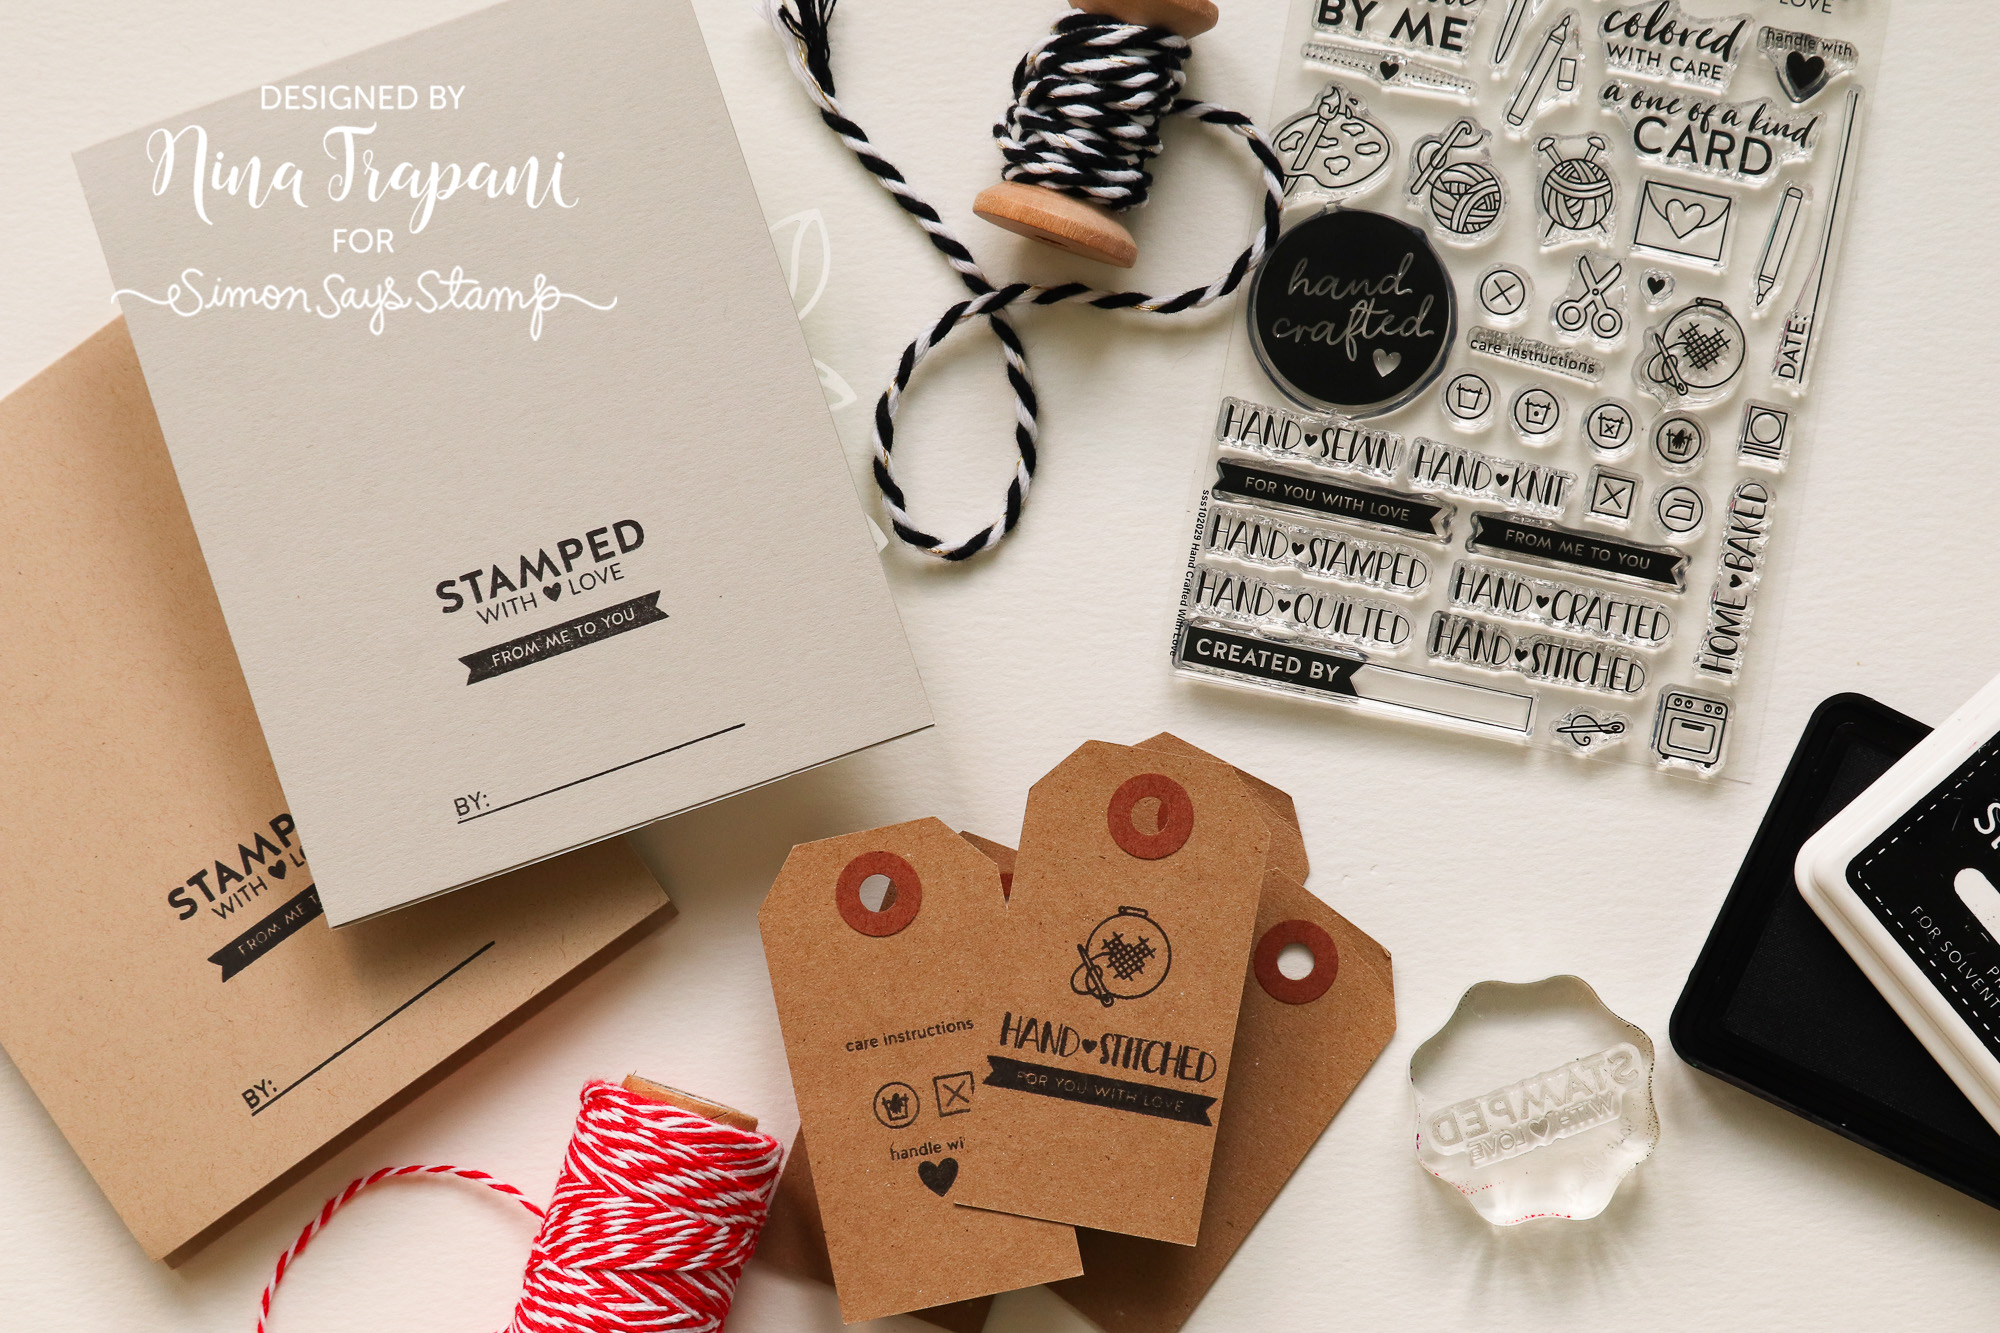
When you are done crafting and you have a finished project all ready to go off to its recipient, you mustn’t forget to stamp the backside! We love reaching for our Hand Crafted with Love stamp set for this very thing. The set includes stamps for cardmakers, stampers, crocheters, bakers, and more – you can even make care instruction tags for your handmade clothing articles! Whenever we complete a card, we always stamp the back for that final finishing touch!
We hope that you have discovered some new must-haves for you creative space. These tried and true items are loved by those of us here at Simon and we know that you will love them too!
SUPPLIES
|


