Lawn Fawn Holiday Card Inspiration by Elena
Hi friends! Happy Sunday! I’m always delighted to welcome back special guest Elena Roussakis! I just love her cute and crisp approach to card making! Her designs are sure to make you smile! Read on to learn more!
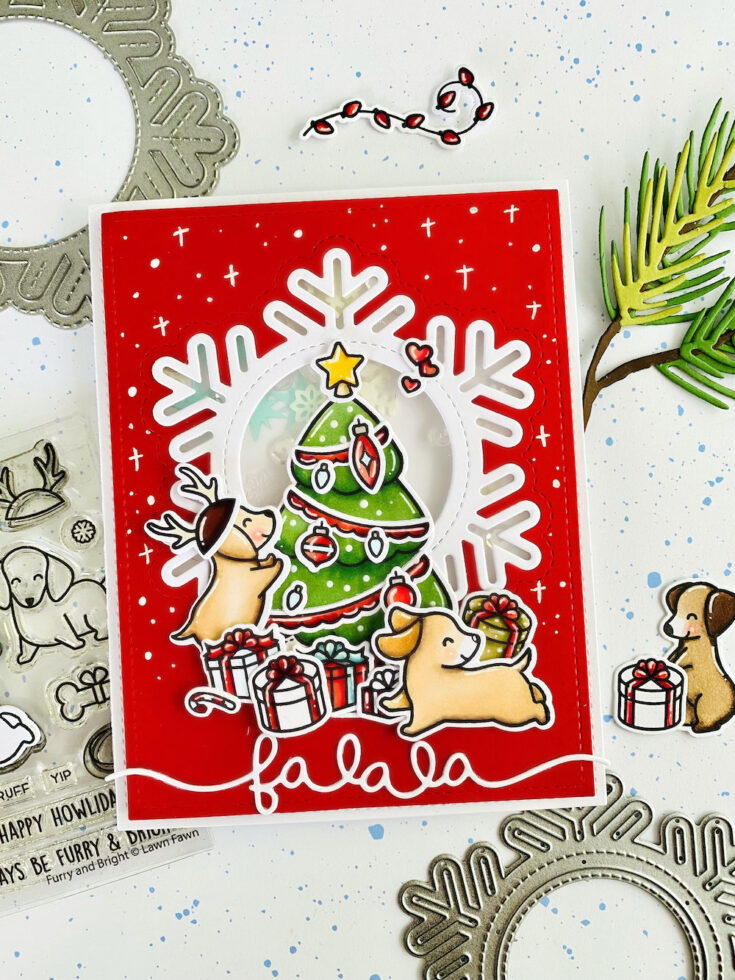
Hi there! I’m thrilled to be on the Simon Say Stamp blog today, with a fun Christmas card featuring goodies from the current Lawn Fawn release.
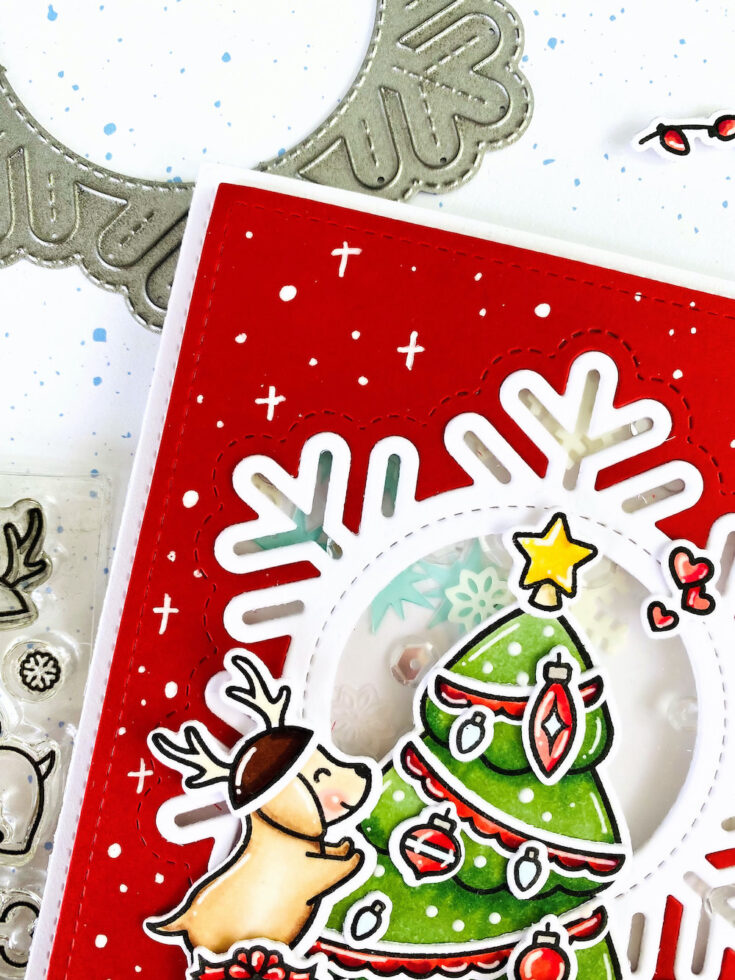
To create this card, I cut into a piece of red cardstock using the Outside In Stitched Snowflake die. I then fit the Stitched Snowflake Frame (cut out of white cardstock,) into the opening. I love that these products work together to create something special! I backed the snowflakes with a piece of acetate and created a shaker element.
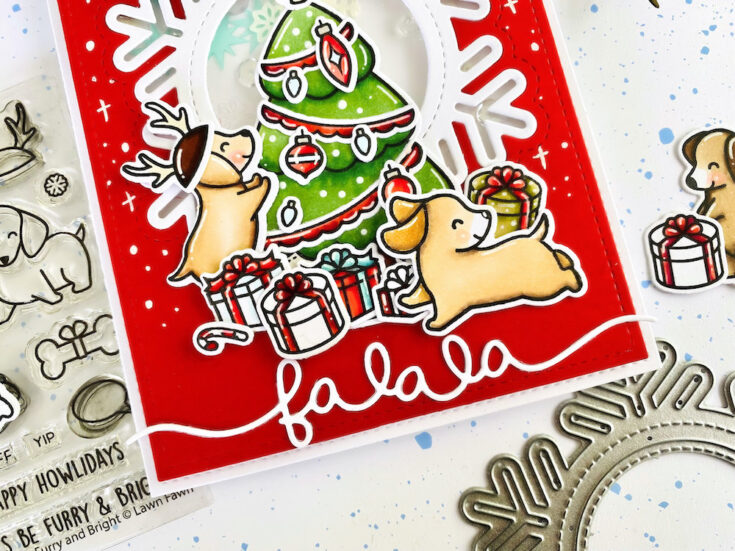
I then worked on creating a focal image that would sit in front of the snowflake shaker. The pups from Furry and Bright are the cutest! I just had to stamp a few of them, getting into all kinds of mischief around a decorated Christmas tree!
I then opted for a die-cut sentiment, but because of the card orientation I felt like the Fa La La border die was too long (as it is, it features a few extra la-las.) I cut out one side, then shifted the die over and cut the other side. This way it fits perfectly!
To finish off, I added background elements to give a shine and glow to the flat red cardstock. I used a white gel pen to add little snowy dots and stars.
I hope you like it! Thanks for stopping by!
SUPPLIES:
|


Thanks so much for stopping by, and thanks to Elena for being our guest!
The CUTEST craft trimmer in town!

This SWEET new Mini Craft Trimmer from Tim Holtz and Tonic Studios is the perfect combo size and a must-have for crafters!! Check it out!!
Crafty with Caly: Sprinkling You with Love
Hi friends! Happy Saturday! We’re delighted to bring you the latest edition of our bi-monthly series Crafty with Caly with Caly Person showcasing this sweet and dimensional love card! Be sure to watch the video for all the details, and enjoy!

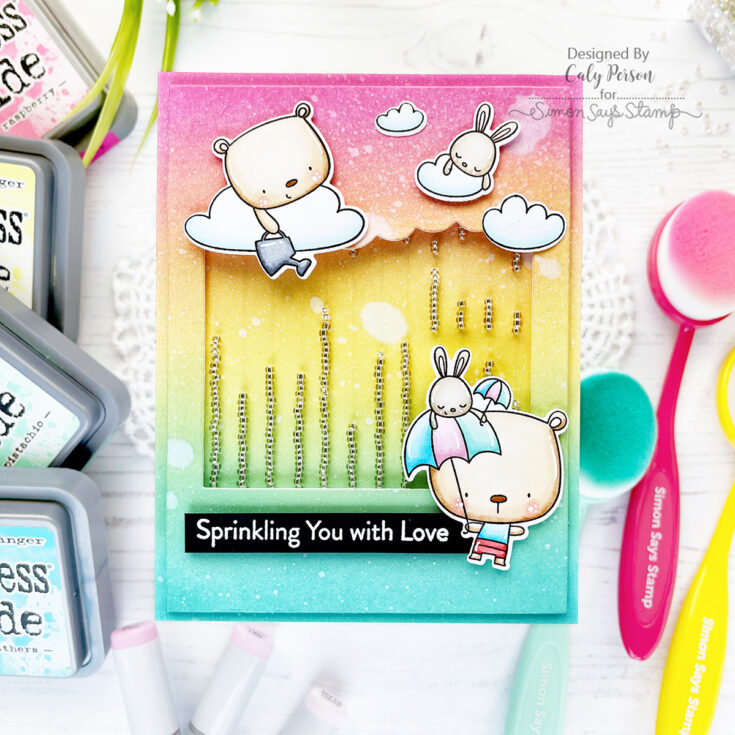
Hello, Friends! It’s Caly with you today and I’m so excited to share my fun rainfall card with you today using the Sprinkling You With Love set from My Favorite Things. rainfall cards are fun and easy to make and add such a fun interactive element for the recipient.
In my video today, I share how you can use dies to create your rainfall card, or you can use what you currently have. Be sure to check out the video to see how it’s done!
WATCH THE VIDEO:
I stamped and colored the images from the Sprinkling You With Love set using Copic markers and set them aside before working on my background. The background is layered with two similar ink-blended panels. You can certainly make it with just one ink-blended panel, but I didn’t want any white to show through when lifting the interactive top panel to adhere to a card panel or card base for dimension and to allow space for the beads to fall freely.
Copics:
- Reds: R22, R24
- Pinks: RV10, R81, R83
- Teals: BG10, BG11, BG13
- Blues: B0000, B000, B01, B04
- Grays: C2, C4, C6
- Bunnies: E40, E41, E42, E43
- Bears: E50, E30, E33, E39
- Blush: R20, R30
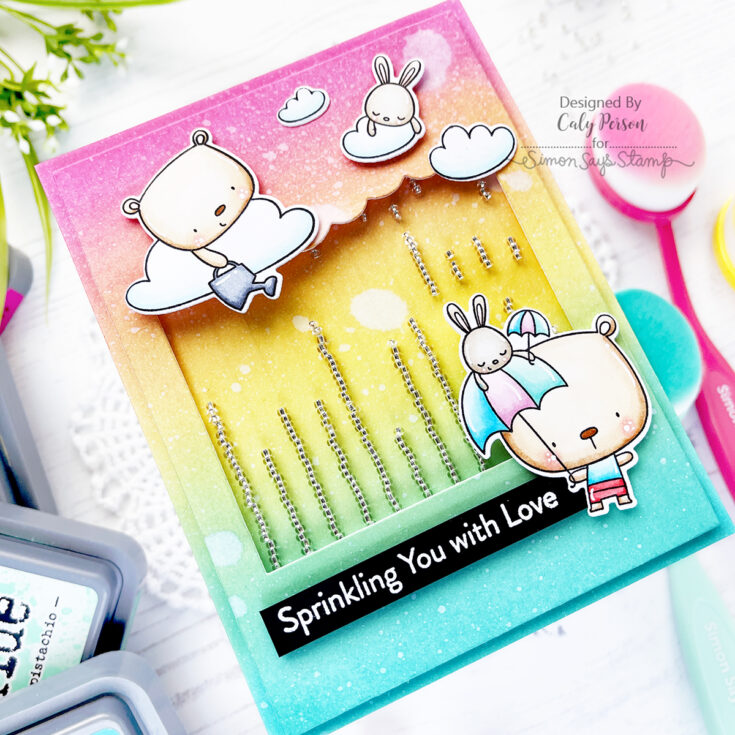
My ink-blended panels are ink-blended with Distress Oxide Inks in Picked Raspberry, Squeezed Lemonade, Cracked Pistachio, and Peacock Feathers. You can see some orange and green organically from the blending of the colors – I love it! I sprayed both panels with water to give it lots of texture. Using a frame, I used the MFT Falling From the Clouds die (you can also use the Reverse Confetti Head in the Clouds frame), I die cut an opening for the rainfall window.
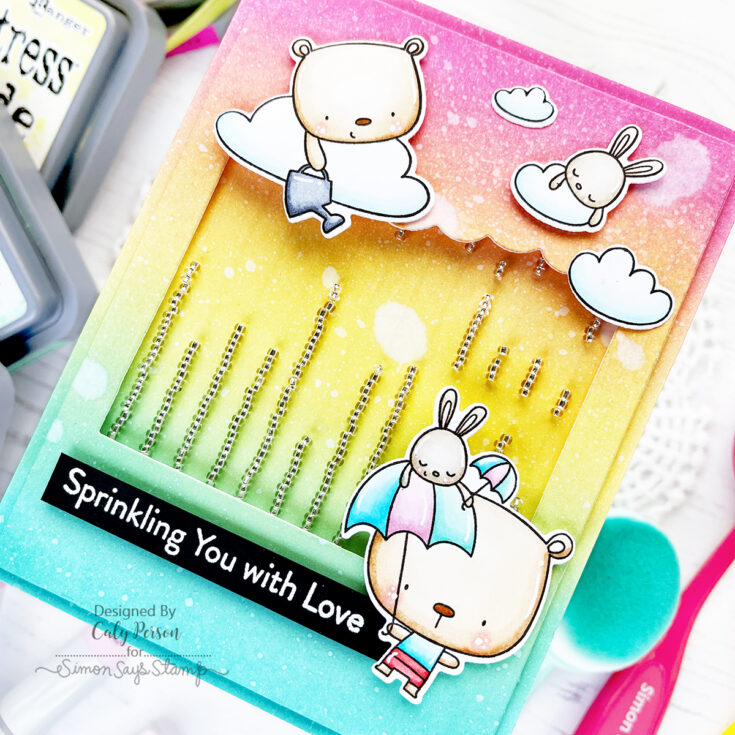
Next, I strung some Pretty Pink Posh Silver Shimmer Seed Beads on some clear thread to feed through cut slits at the top and bottom of the frame created from the step mentioned above. It’s difficult to explain, but seeing it in the video will help a lot – be sure to check that out. Once it’s strung and your window is filled beads, you can adhere this frame over the other ink-blended panel. I finished by adhering my colored images and embossed sentiment. I hope you like it! Thanks so much for stopping by today!~Caly
SUPPLIES:
|


Thanks so much for stopping by, and thanks to Caly for being our guest!


