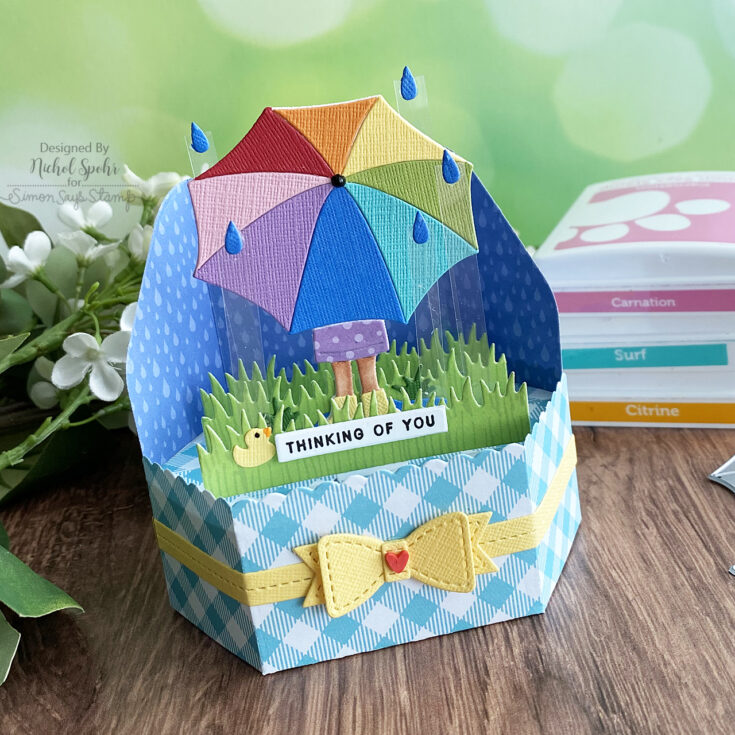
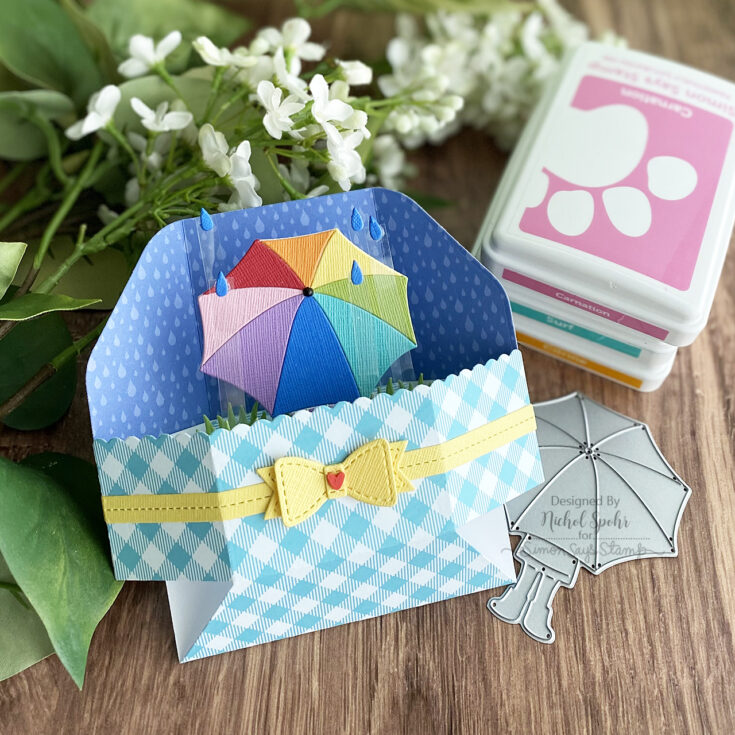
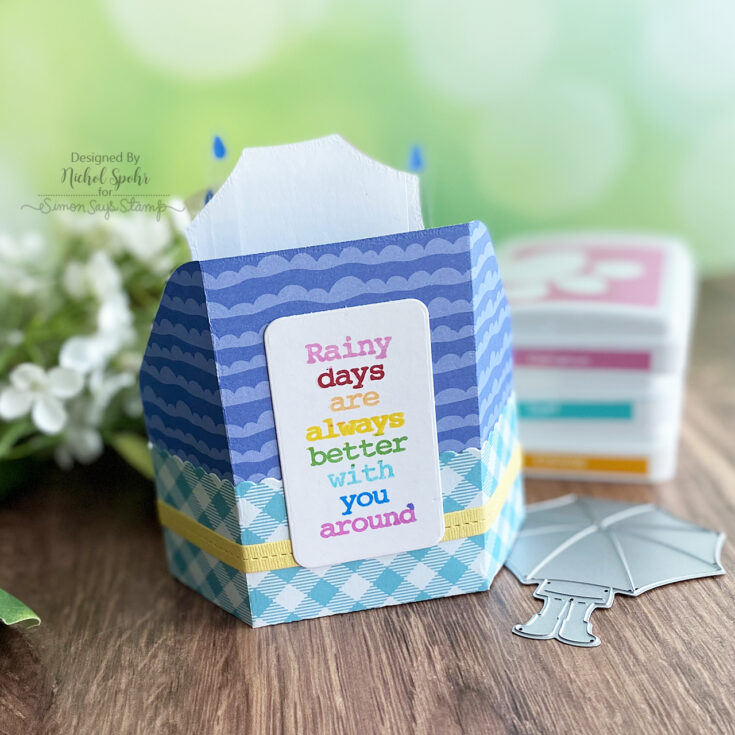
Making the Cut: Rainy Day Platform Pop-Up

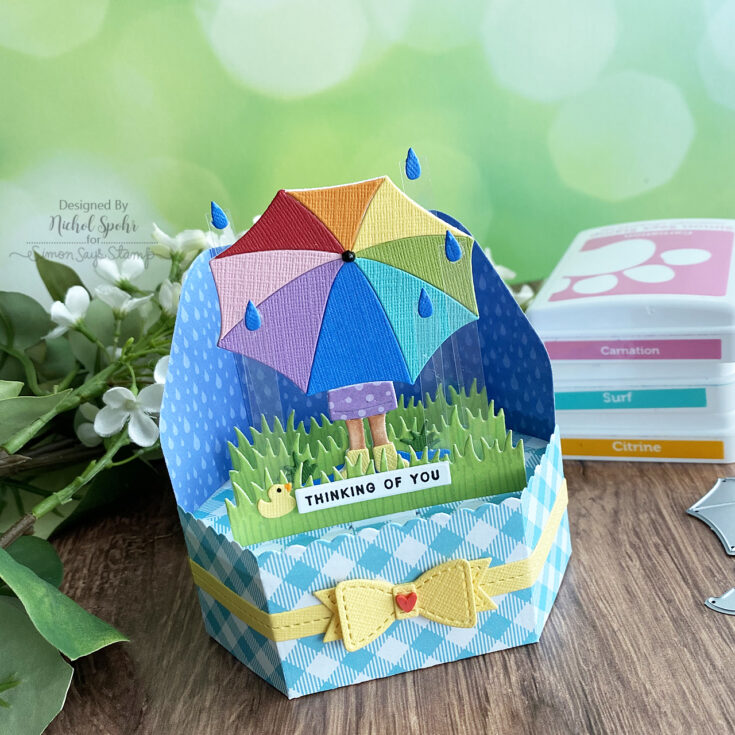
Hi friends! Happy Wednesday! We are so delighted to welcome back special guest Nichol Spohr to our blog for our monthly installment of Making the Cut, the celebration of all things die cutting! We are showcasing the new Lawn Fawn Platform Pop-Up die set as well as our Rainy Days die set in this adorable dimensional card! Also, how cute is the Friend Greetings sentiment that Nichol added to the back? Be sure to watch the video for all the details, and enjoy!
WATCH THE VIDEO:
SUPPLIES:
|


Thanks so much for stopping by, and thanks to Nichol for being our guest!
EZ with CZ: Stenciled Shape Backgrounds

Hi friends! Check out this bright and pretty card by Cathy Zielske in the latest edition of EZ with CZ showcasing our NEW Oblique Spheres stencil set, and the Spring in My Step stamp and die set along with some of our Pawsitively Saturated ink! Be sure to watch the video for more details, and enjoy!
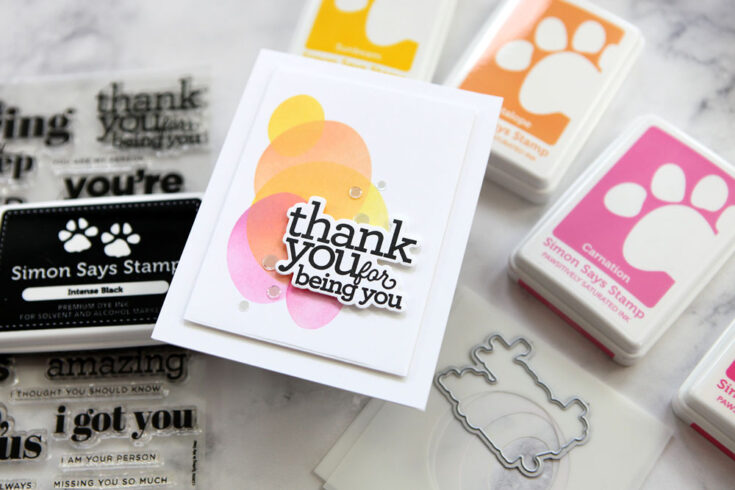
Hello crafty friends! It’ Cathy Z. here, back with another installment of EZ with CZ! Today I’m sharing a fun way to use a stencil set to create a random patterned background for a simple thank you card.
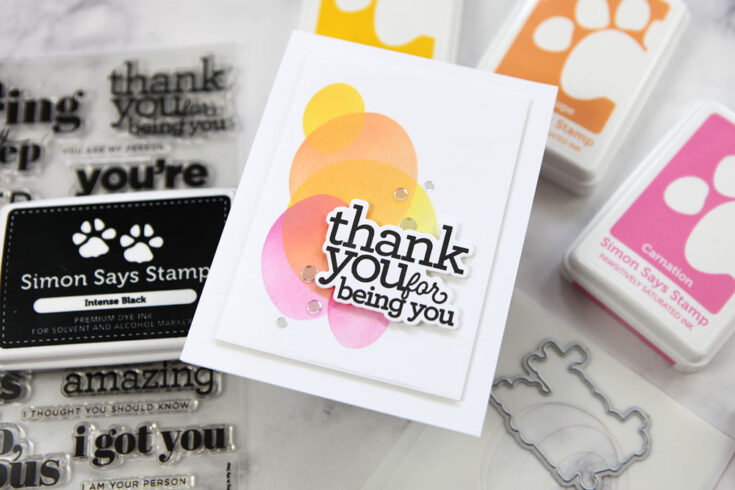
The Oblique Spheres Stencil Set can be used to layer in perfect order, or you can use them randomly like I did, for a fun, graphic pattern.
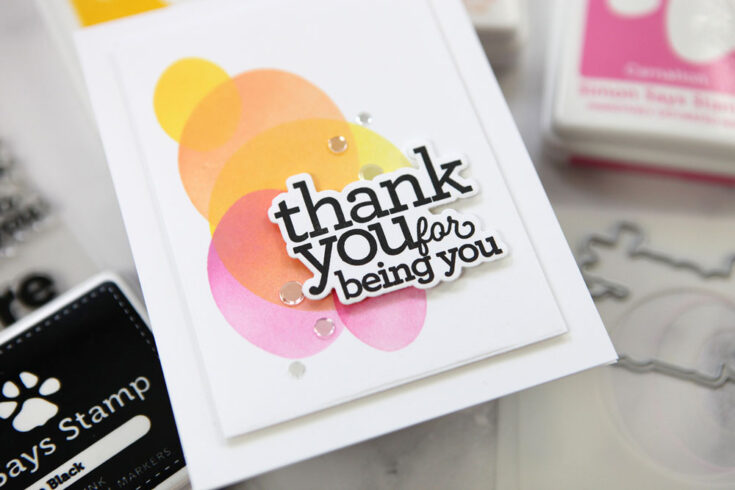
I added a very simply stamped greeting from my Spring in My Step stamp set, and used the coordinating die to cut it out. Sometimes, just stamping black ink on white, and popping the greeting over a colorful image is all you need for a lovely, clean and simple card.
Here is the video walking you through the project
WATCH THE VIDEO:
Thanks so much for stopping by and I’ll see you back here soon!
SUPPLIES:
|


Thanks so much for stopping by, and thanks to Cathy for being our guest!
Did You Know: April 2022 Edition
Hello crafters, it’s Shari Carroll here with you! Today I have a new edition of our popular Did You Know series! I’m focusing on items that you can make yourself, or adorn the way you would like.
If it’s your first time seeing this feature, each month we bring you fun facts, creative tips, and even crafty hacks about your favorite supplies and brands; you can then use these awesome tips that you learn in your next crafting projects! Are you ready to learn some fun tricks? Keep on reading!
Silicone Moulds with Hot Glue, and Soft Clay
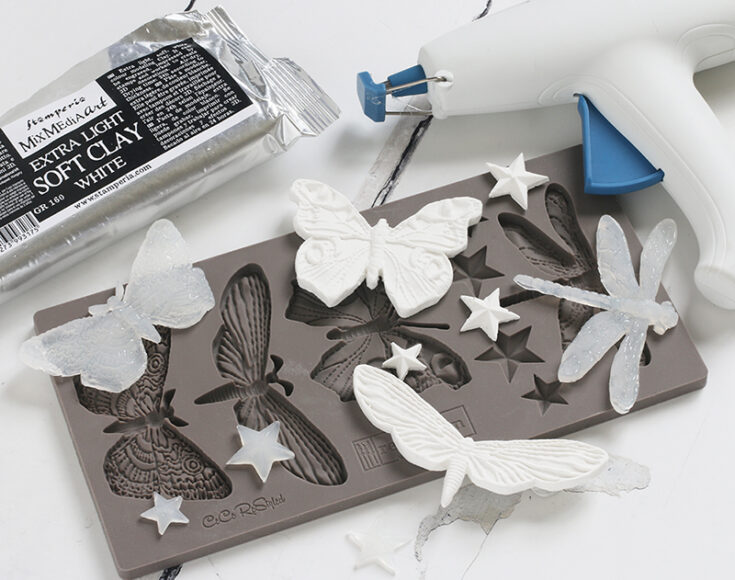
Have you ever tried using molds to create dimensional items for your projects? They are really easy to use with either soft clay or hot glue. I haven’t tried it yet, but the Prima molds are food safe, meaning you can make chocolate shapes! Yum!
I’ve worked with soft clay and hot glue for my samples. I’ll explain a little about the difference.
The soft clay is playable and you push it into the mold until it’s filled. You can use a brayer to apply pressure and to get a smooth backside of the object. You will remove the object before it dries. The mold is very flexible. When the clay has dried (about 24 hours) it is very lightweight and feels like plaster.
Hot glue can be used by filling the mold (small areas first) until the well of your item is filled. If you have rough areas on the back, heat it with your heat tool to smooth it out. Allow the hot glue to cool before removing it from the mold. Once it’s cooled, you can remove it. The hot glue is durable, strong, and waterproof if you’re making something for the outdoors.
Tim Holtz Media Grip Mat

This Media Grip Mat is a double-sided grip mat that has so many uses! I found it to be super handy when working with mixed media pieces. I get really messy when I’m painting items for my projects, the grip mat holds them in place so I can paint and even get around the edges without having to hold it.
Other uses include: holding papers in place for stenciling and ink blending. Using with your Misti or stamp platform to hold the paper in place especially if you need to stamp more than once.
To store the grip mat and to keep it from attracting dust and pet hair, we suggest using the Media Grip Mat Bundle which includes folders.
Tim Holtz Foundry Wax
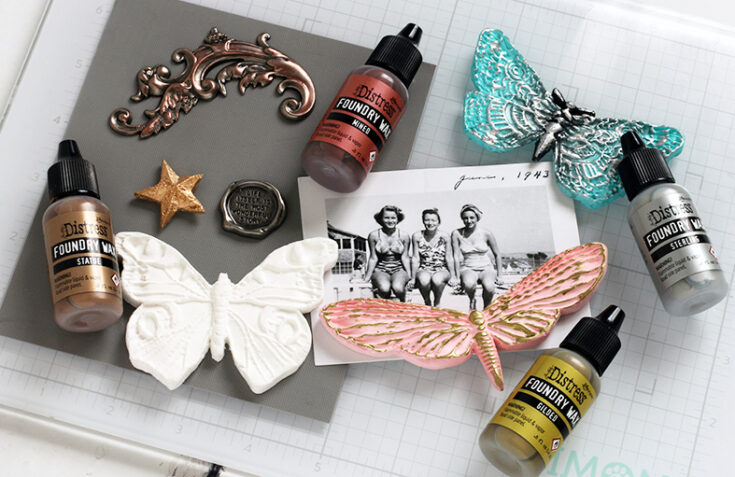
I love these foundry waxes!! If you want to add gilding to your projects or change the color of metal, these are amazing. The wax is a liquid to start with and can be applied using a brush to highlight areas of your items. They are permanent and supper shiny once heat set with a heat gun.
Some of the surfaces they work on include: Wood, plastic, metal, paper, clay, painted surfaces, and more.
Note: I did use it on a hot glue molded piece with just short bursts of heat at a time to set it. If you hold your heat gun too long on your piece, you’ll melt it. Be careful!
Simon Hurley Stamping Foam
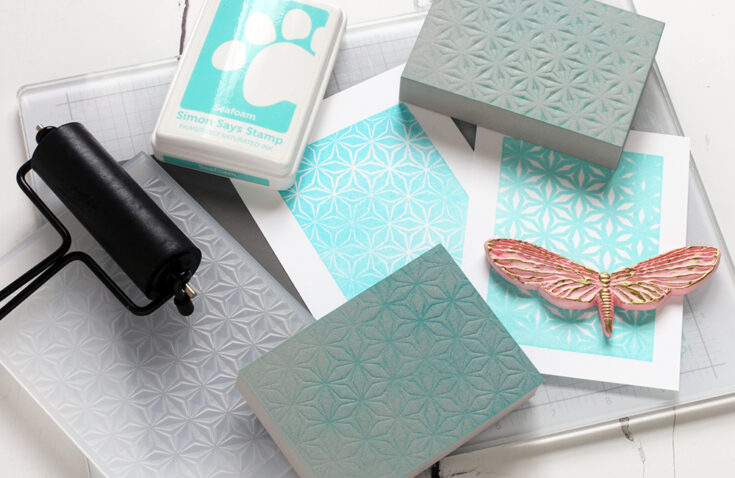
Ok, this is just plain fun! I tried the foam with the Simon Says Stamp Kaleidoscope embossing folder. Since the embossing folder has a positive and a negative design, I was able to get two different impressions. These would look great on an embossed background using the same folder.
Easy to use: with low heat, heat the foam for about 15 seconds, make sure you move your heat tool around the foam for even heating. Press the foam onto the open embossing folder with firm and even pressure. Hold it in place for about 5-10 seconds.
You can apply ink directly onto the foam or use a brayer. Press the inked foam onto the paper, again using even pressure. When you’re done, clean the foam and reheat it to remove the design. Voila!
I hope these tips have helped you learn a few tricks for your upcoming crafting projects… Thanks for tuning in today and spending some time with me!
SUPPLIES:
|


