Happy and Joyful Blog Hop 1!
Hi, friends! Welcome to day one of two special release blog hops celebrating our Happy and Joyful release! Come back tomorrow for more amazing inspiration!
Our Simon Says Stamp exclusive Happy and Joyful product lineup is full of lots of products that will give you endless creative mojo! Stunning florals, products to celebrate babies, pretty hot foil plates, and sentiments that you’ll use over and over again abound in our newest release! We’re also bringing you innovative storage solutions and go-to tools like the T-square ruler to make your happy place even happier! No matter your style, you’re sure to find an item or ten that need to be in your craft arsenal. We are so excited for you to play with all of these awesome new products!
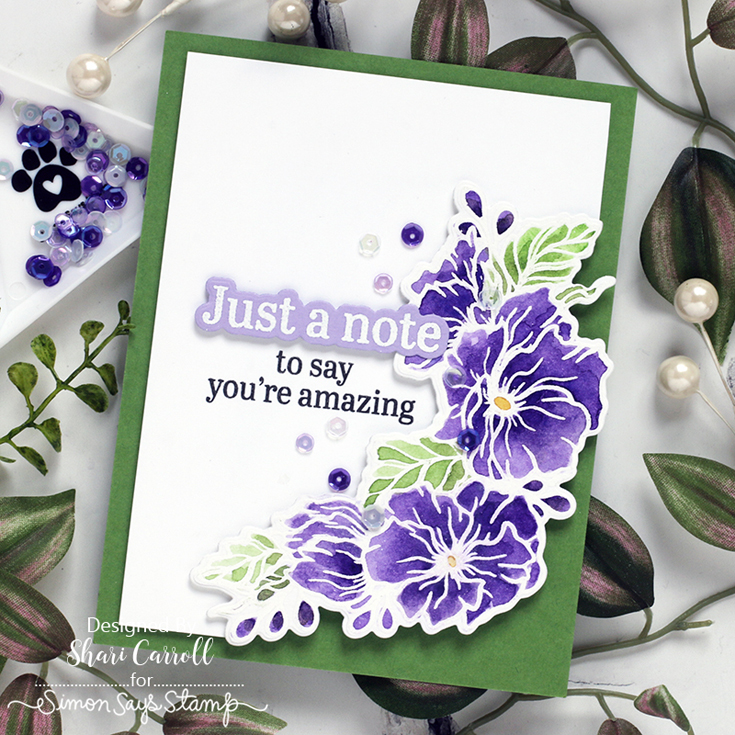
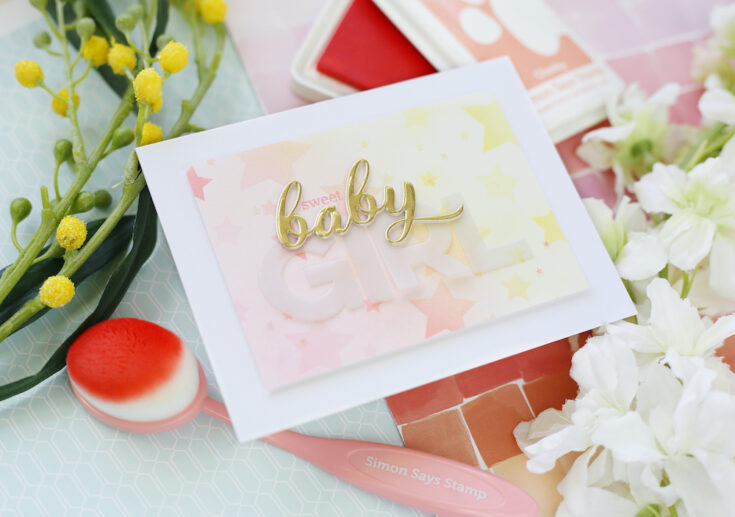
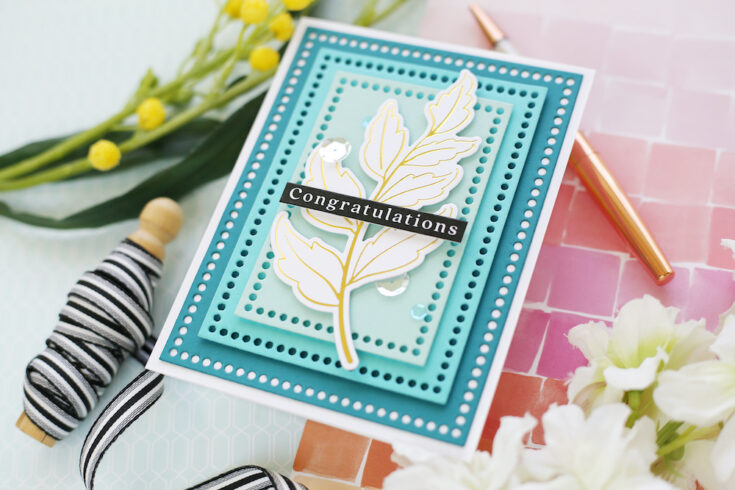
OK! Let’s get a sneak peek of what’s in store for our blog hop today with inspiration from Shari Carroll! Shari used products from our Happy and Joyful release to make these fantastic projects:

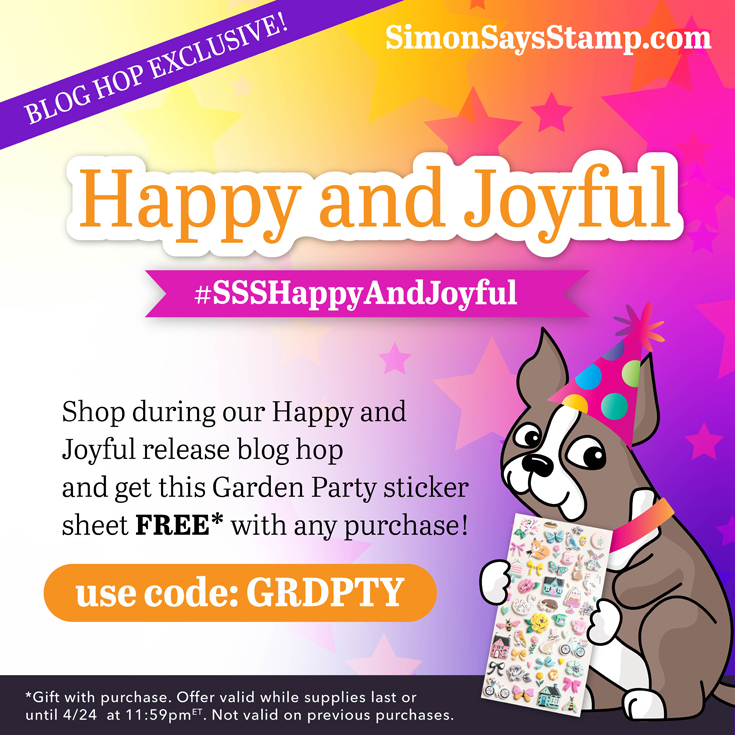
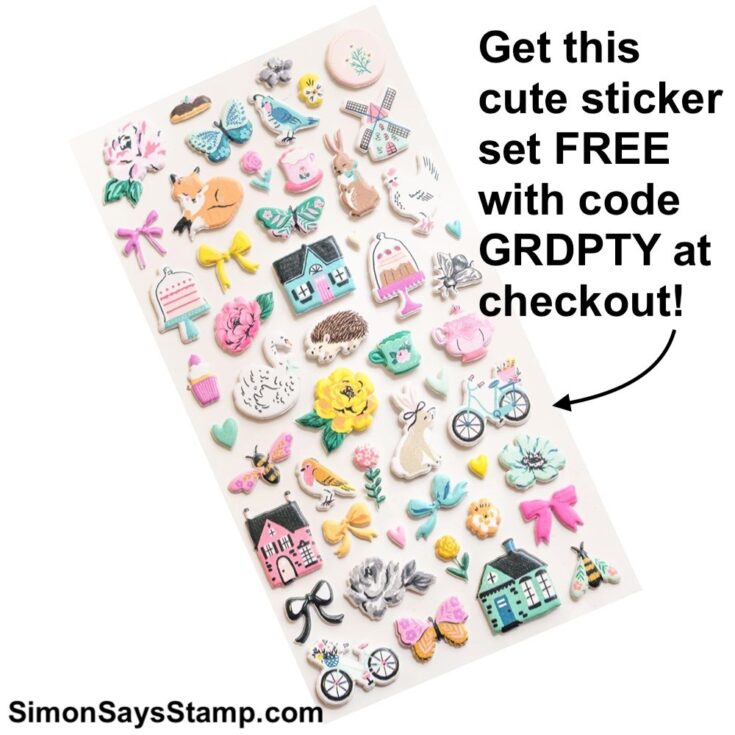
We love our customers! And we love your enthusiasm for our exclusive releases and blog hops. To celebrate, Simon has set aside a free gift just for you! The free gift with purchase for the this blog hop is the Garden Party sticker sheet! Check out the details on the banner at the top of this post for information about claiming your gift.
Ready for even more Happy and Joyful inspiration? Hop along with these talented designers! You’ll be inspired AND for every comment you leave on each blog, you’ll earn a chance to win a $25 Simon Says Stamp store shopping spree. YAY!
Please let these talented designers know how much you appreciate their designs. They work hard to inspire and excite us!
- Simon Says Stamp Blog <<YOU ARE HERE!
- Nina-Marie Trapani
- Caly Person
- Nichol Spohr
- Cathy Zielske
- Suzy Plantamura
- Sidnie Des Jardins
- Lisa Addesa
- Keisha Charles
- Heather Ruwe
- Mindy Eggen
- Barb Engler
- Cheiron Brandon
- Yoonsun Hur
Thanks again for joining us today!
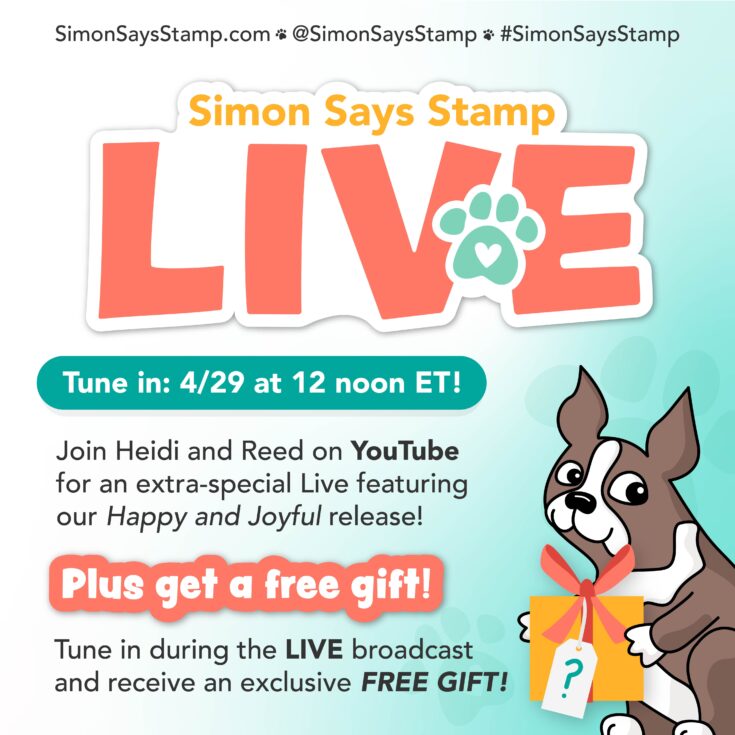
Want to see these products and more LIVE? Join us on YouTube Friday, April 29 at noon EDT for a super cool inside look at the release and a FREE GIFT!
We hope you will join us on Instagram on Friday, April 29 for an Instagram Hop featuring even more inspiration from our Happy and Joyful release! We are excited to share awesome ideas from several creative minds using these fantastic products.
You’ll love browsing our Happy and Joyful gallery on our blog for loads of additional inspiration, and you can add your projects to these galleries as well!
You can check out the entire Happy and Joyful collection here:


Happy and Joyful is HERE!
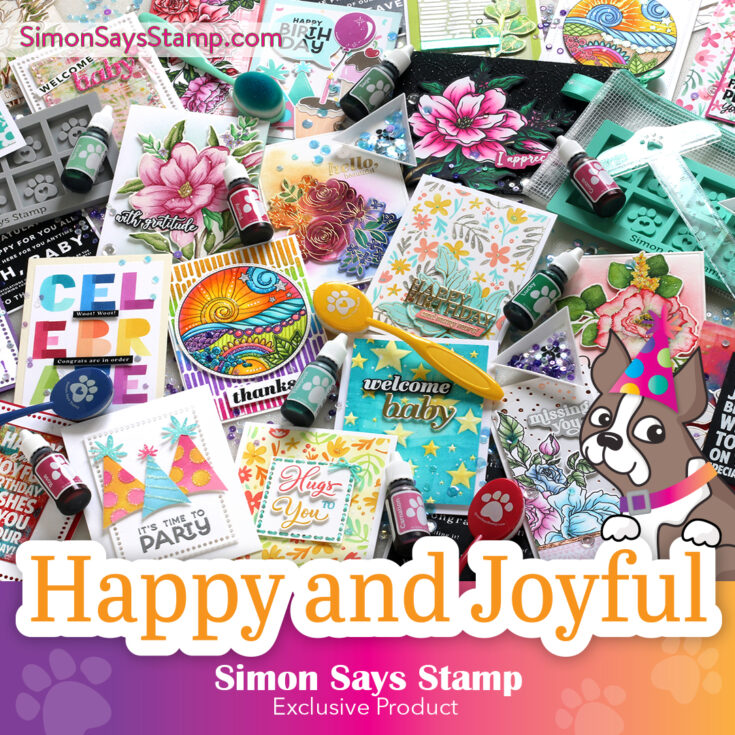
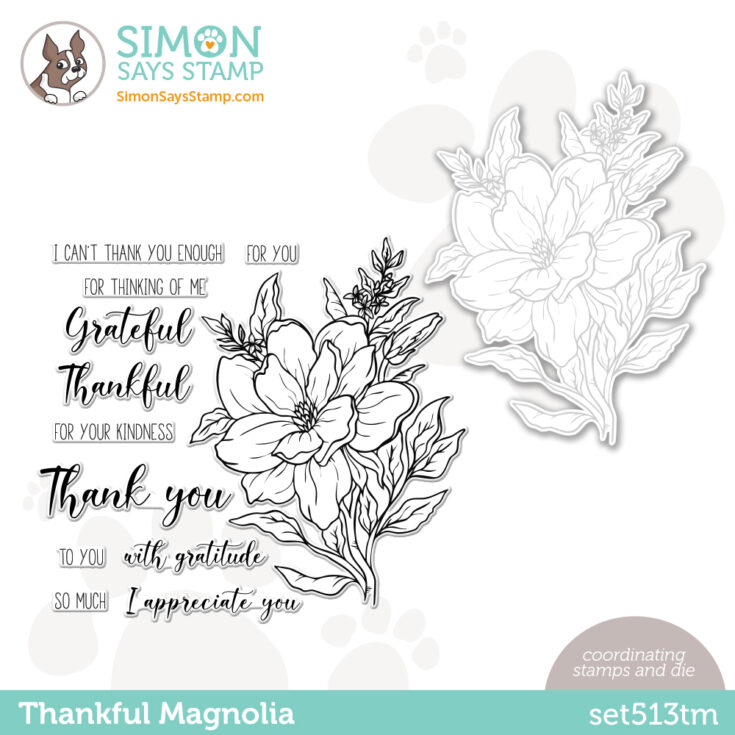
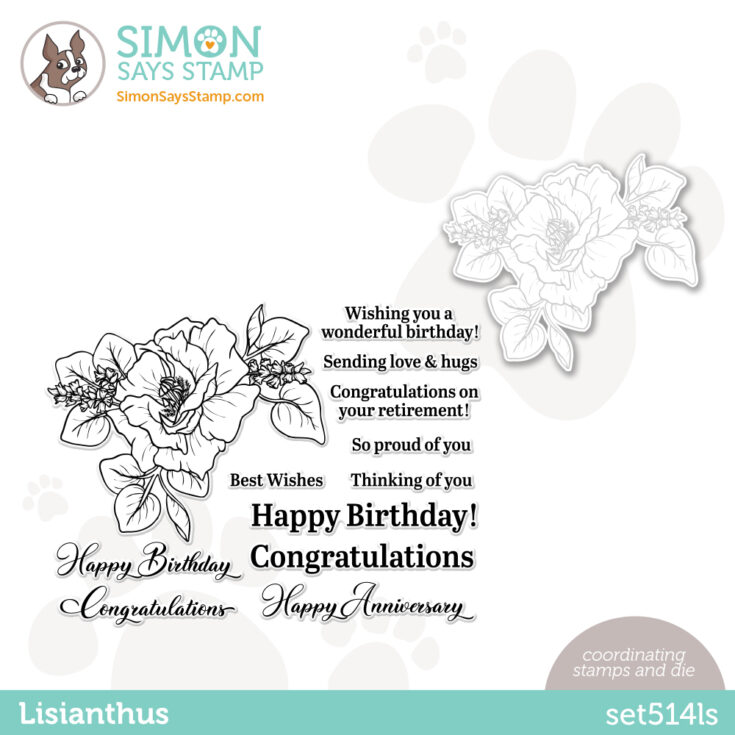
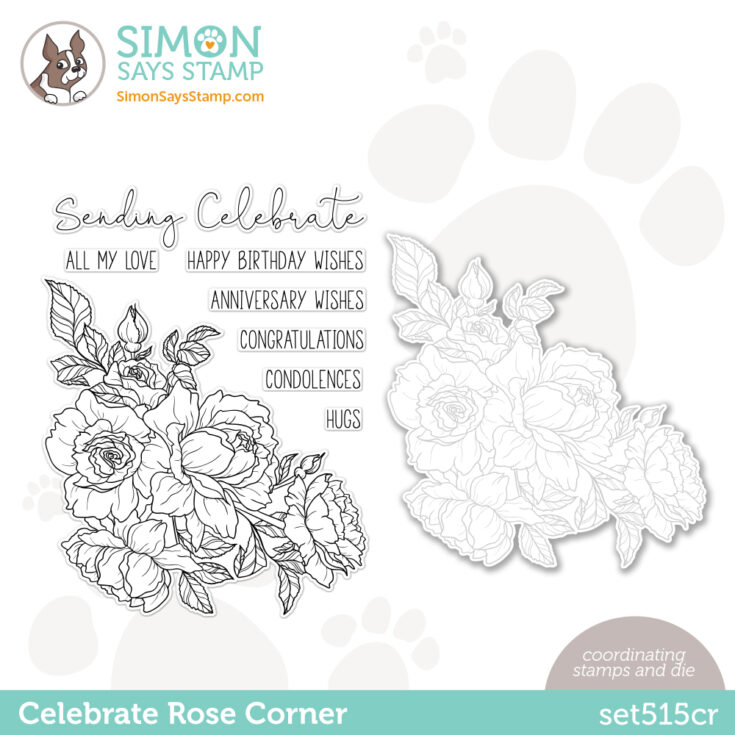
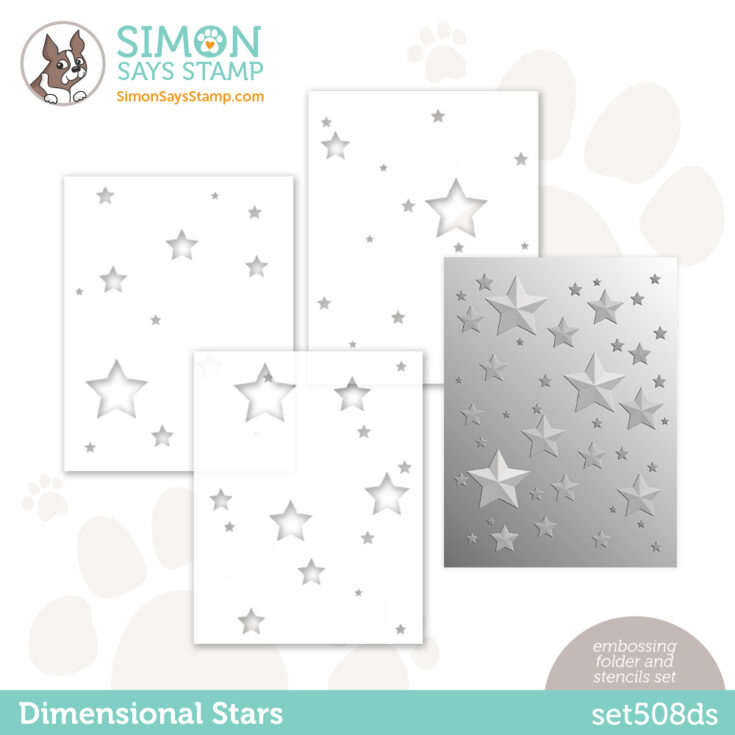
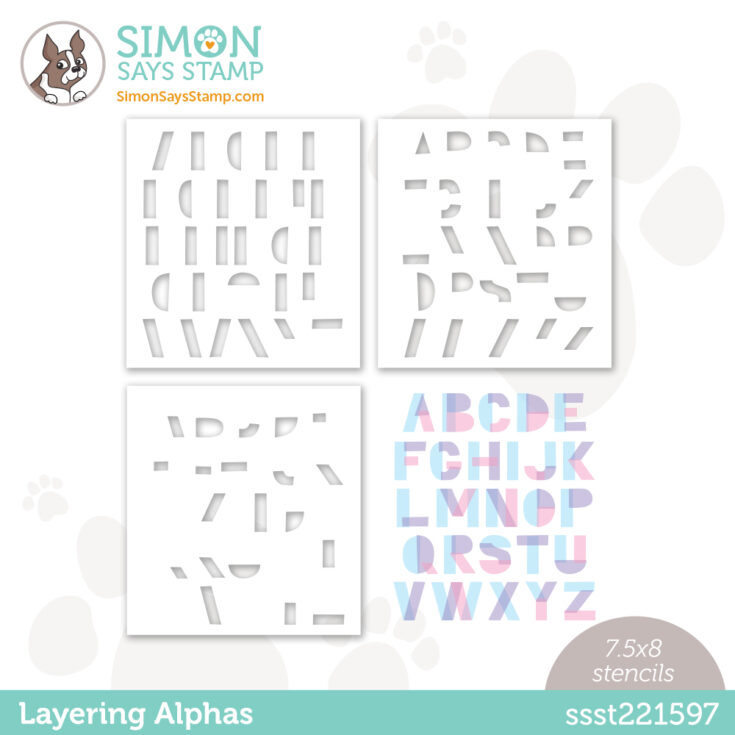
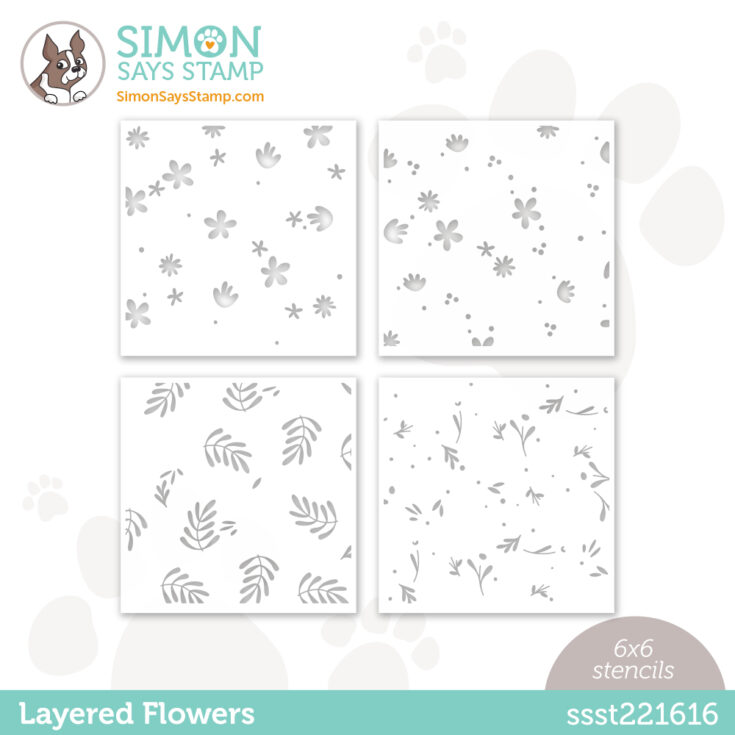
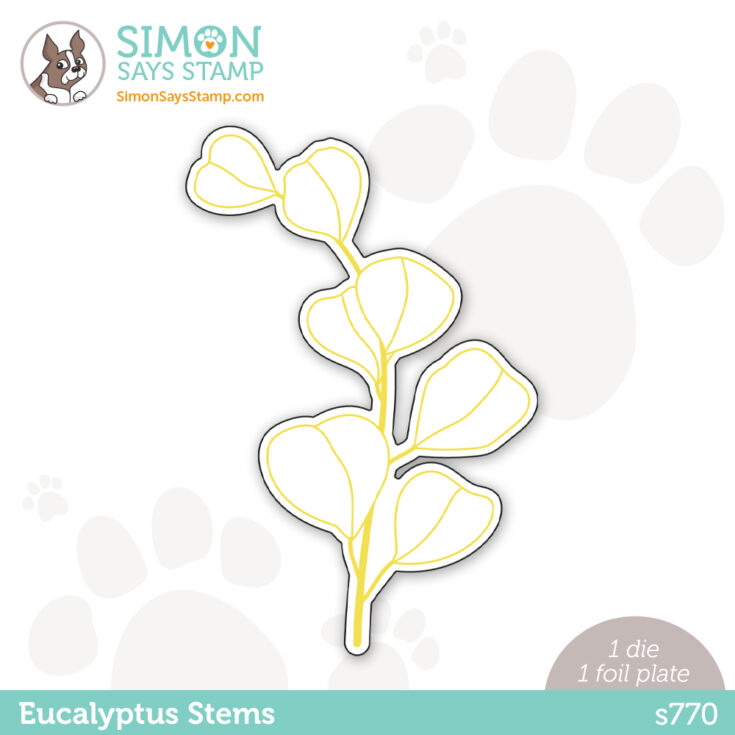
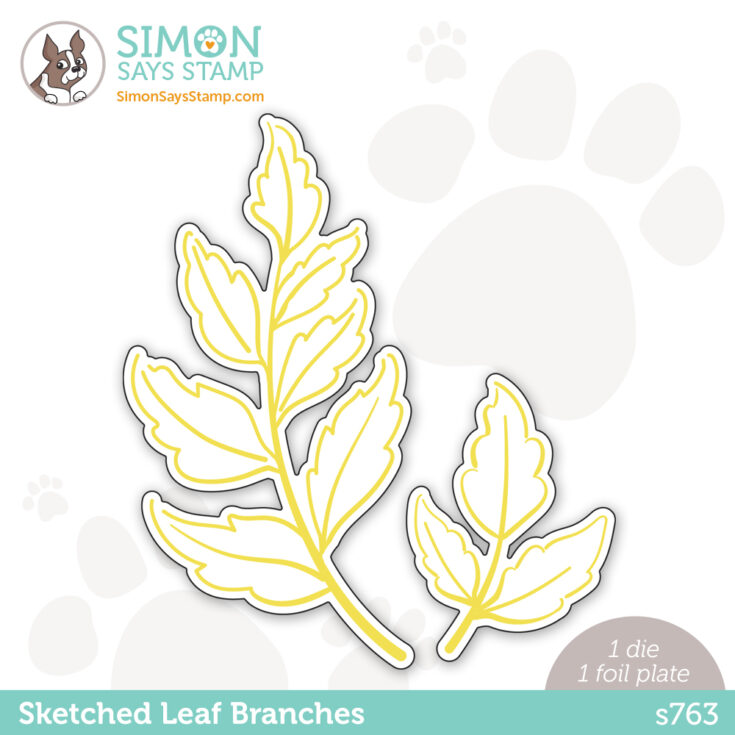
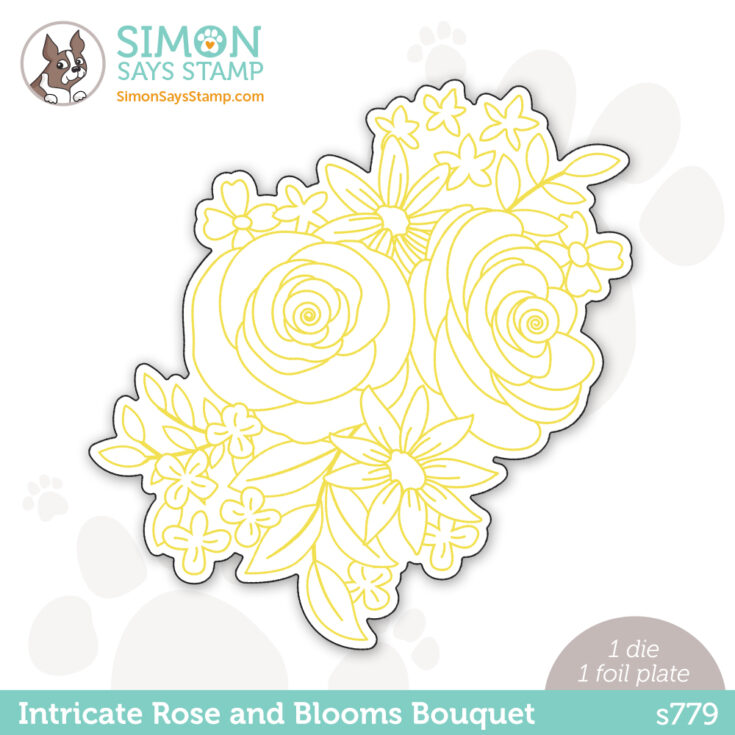
We think you’re going to find our new release, Happy and Joyful, to be worthy of its name! This collection is blossoming with delight in floral stamp and die sets like Thankful Magnolia, Celebrate Rose Corner, and Lisianthus; foil and cut sets like Eucalyptus Stems and Sketched Leaf Branches; and layered stencil sets like Layered Flowers, Layered Alphas, and Dimensional Stars.
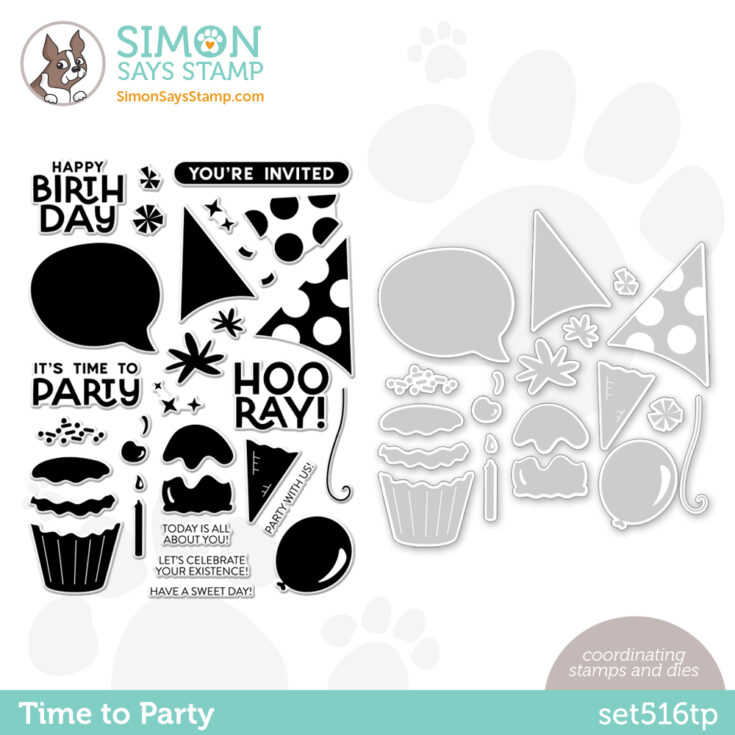
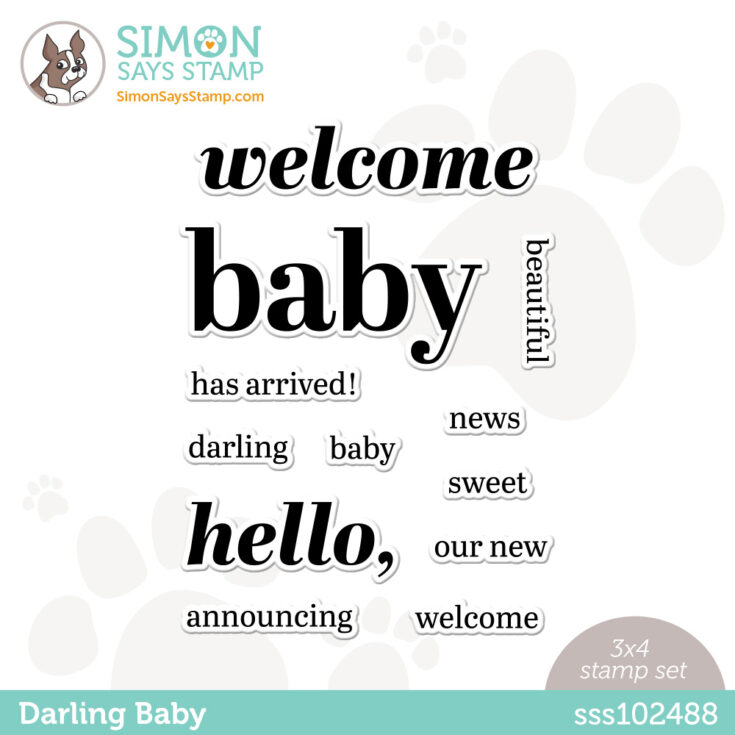
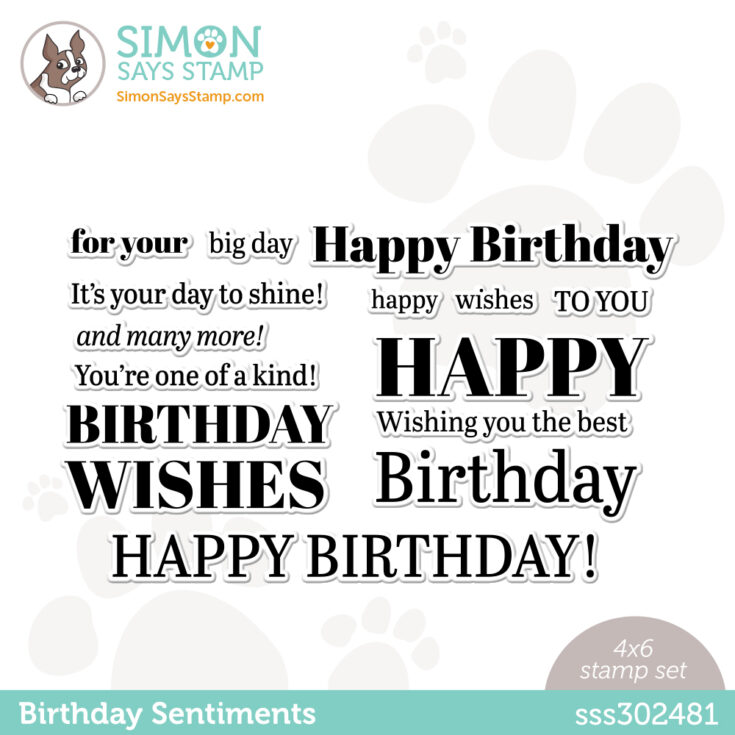
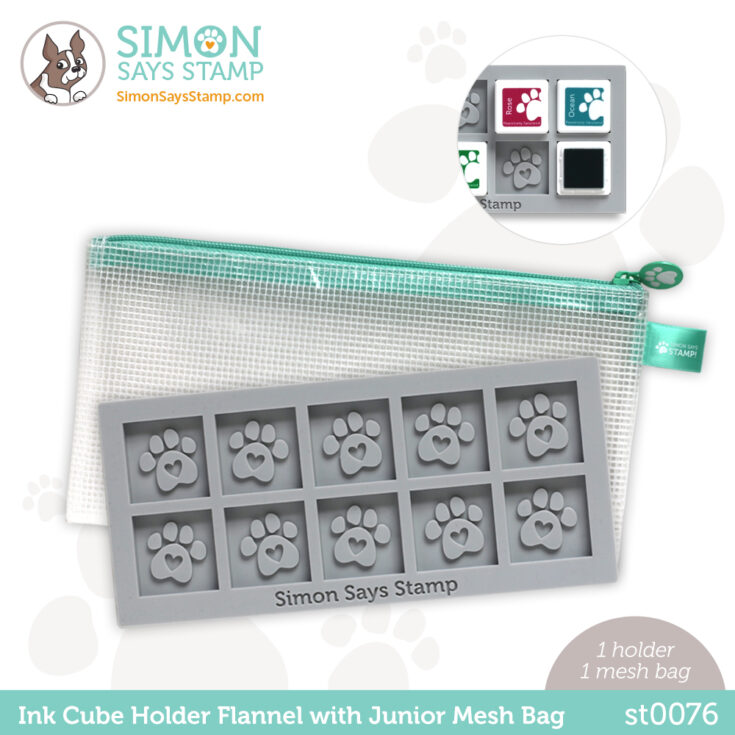
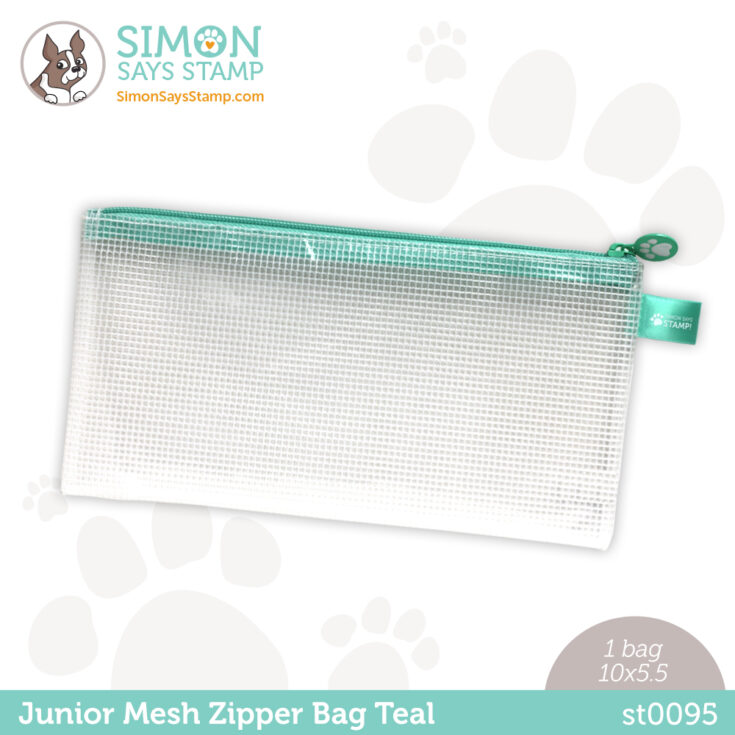
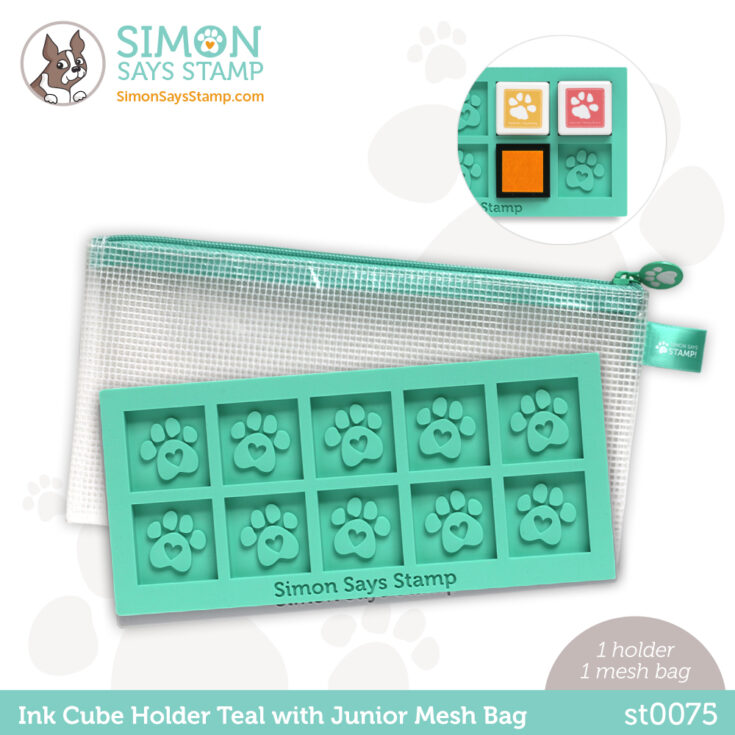
And there’s more! We’ve got new tools like our T-Square Ruler and Ink Cube Holder, as well as several new storage options for various sizes of stamps, stencils, and dies. Plus, don’t miss some adorable new baby and birthday products, too!
Click the link below to watch Laura Bassen introduce you to all the latest goodies!
Watch the video:
Shop the collection:
STAY TUNED! 2 days of INSPIRATION start HERE on our blog hop at 8 AM ET tomorrow!!
Get INSPIRED!
Want to see even MORE inspiration? Stop by our galleries!
Mark your calendar:
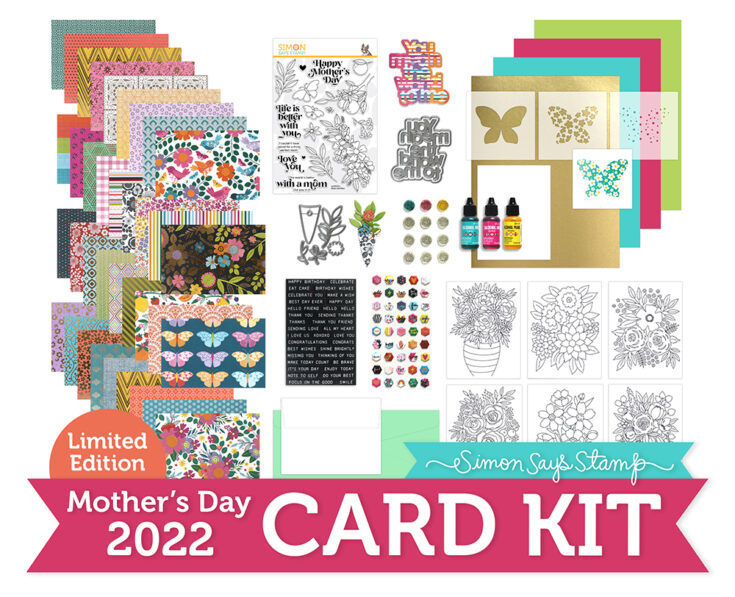
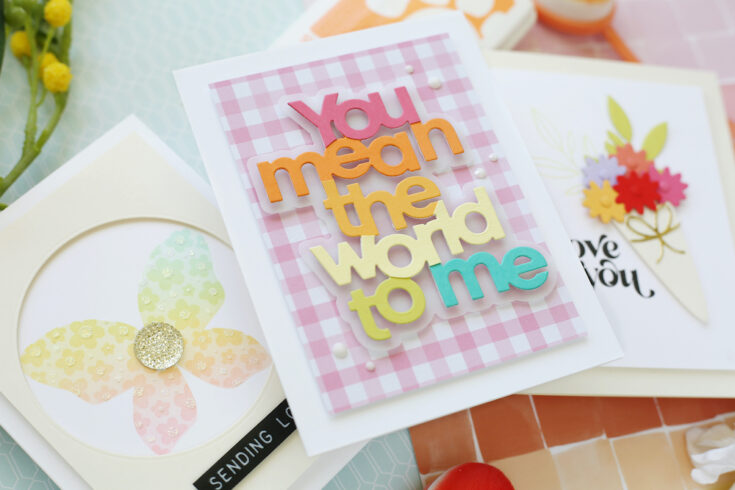
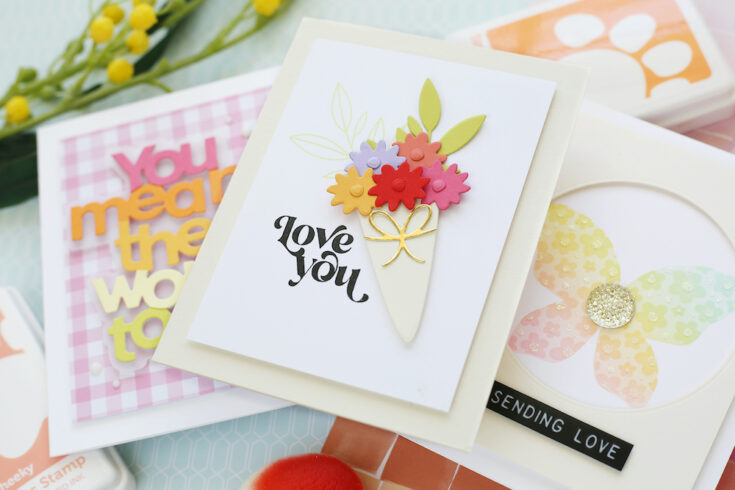
3 NEW Card Ideas showcasing our You Mean the World To Me Limited Edition Card Kit
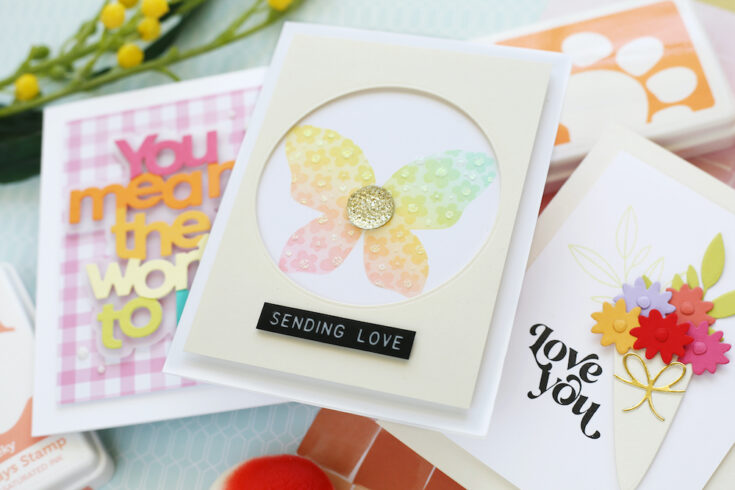
Hi friends! Happy Tuesday! We are delighted to welcome special guest Laura Bassen with 3 NEW card ideas showcasing our beautiful Limited Edition You Mean the World to Me card kit! We made extra because we love it so much, but the supply is dwindling, so be sure to grab one if you love it while supplies last! It is an AWESOME value and deal at $59.99 (with a retail value at just under $107!!) Be sure to watch the video, and enjoy!
WATCH THE VIDEO:
SUPPLIES:
|


Thanks so much for stopping by, and thanks to Laura for being our guest!


