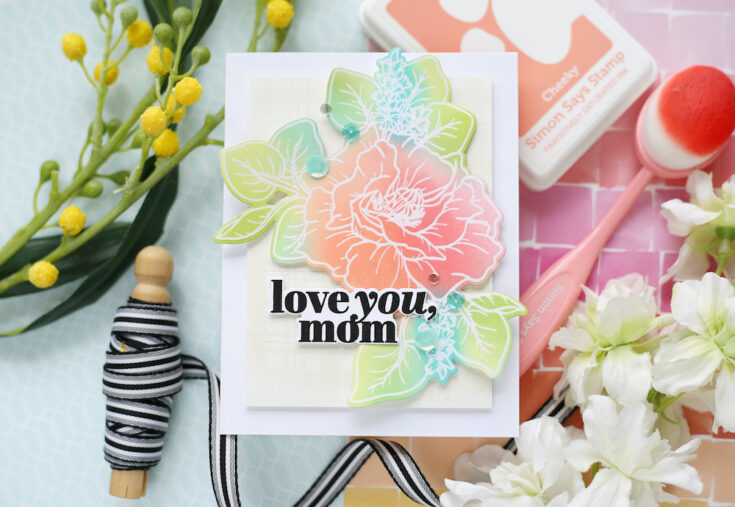
Amore Laurafadora: Lisianthus


Hi friends! Happy Wednesday! Please join me in welcoming back special guest Laura Bassen on the blog today for the latest edition of Amore Laurafadora! This time, we’re showcasing our NEW Lisanthius stamp and die set, with a sentiment from our All About Mom set, and the most pretty subtle texture using our new Subtle Plaid cling stamp on our Ivory cardstock! Be sure to check out the video for all the details, and enjoy!
WATCH THE VIDEO:
SUPPLIES:
|


Thanks so much for stopping by, and thanks to Laura for being our guest!
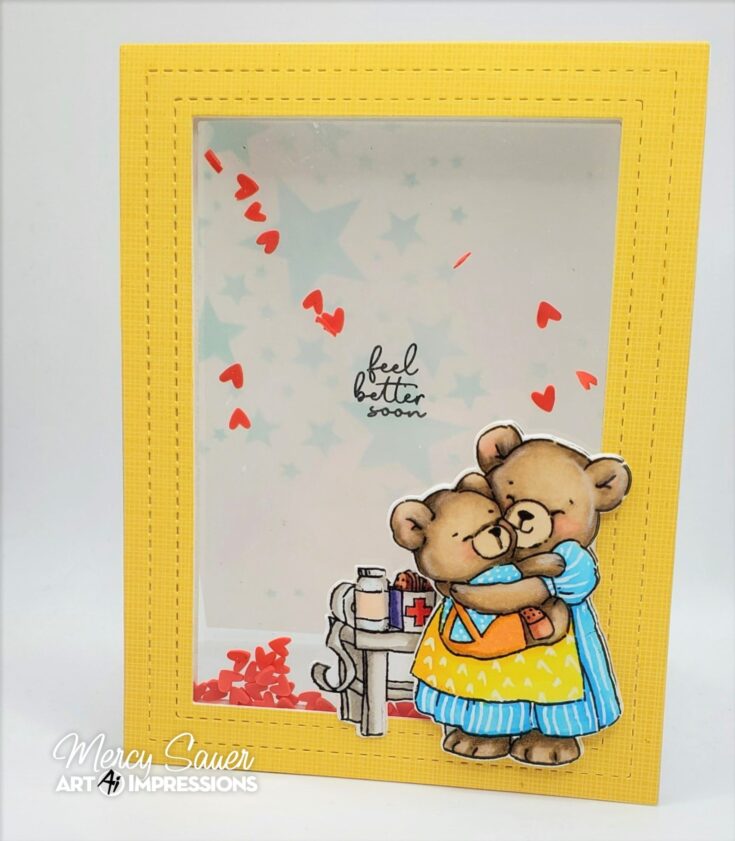
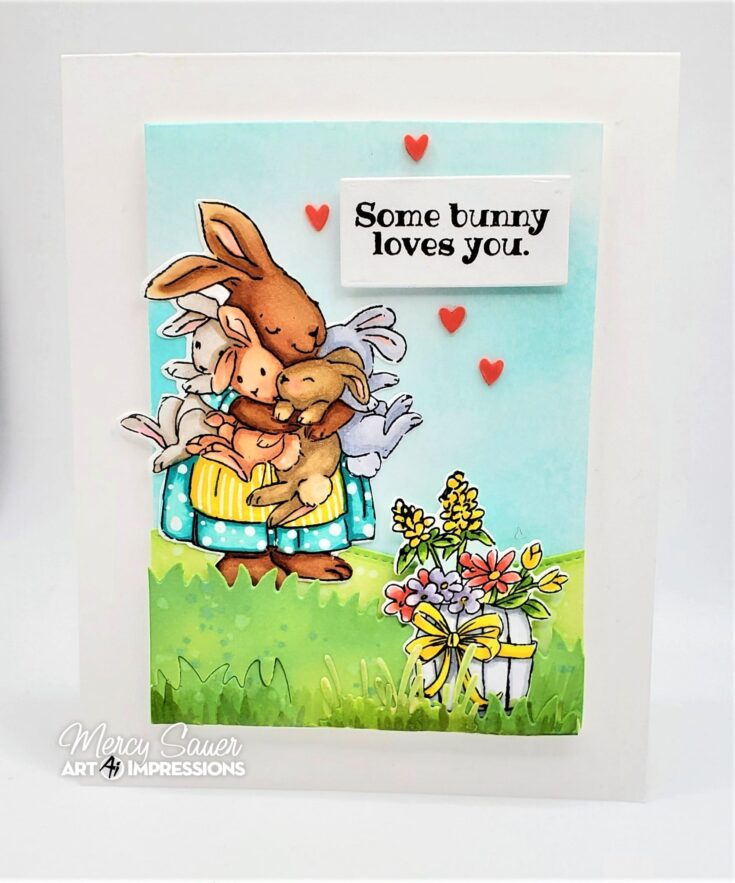
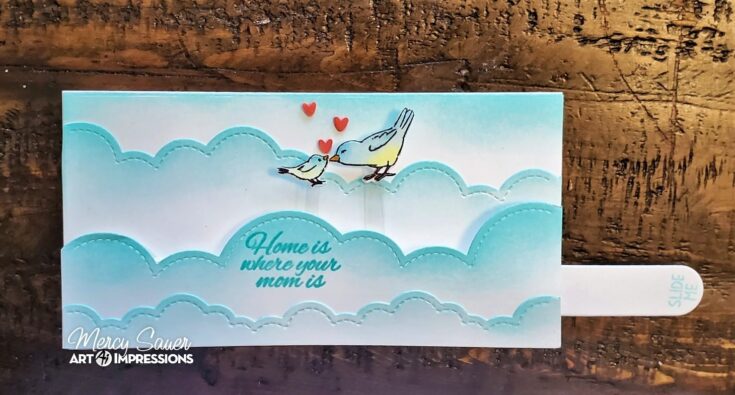
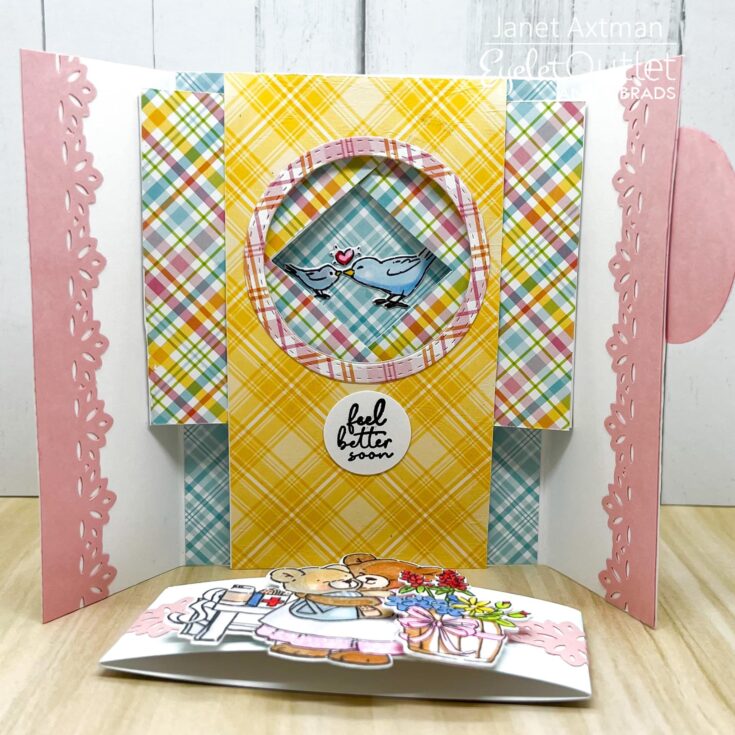
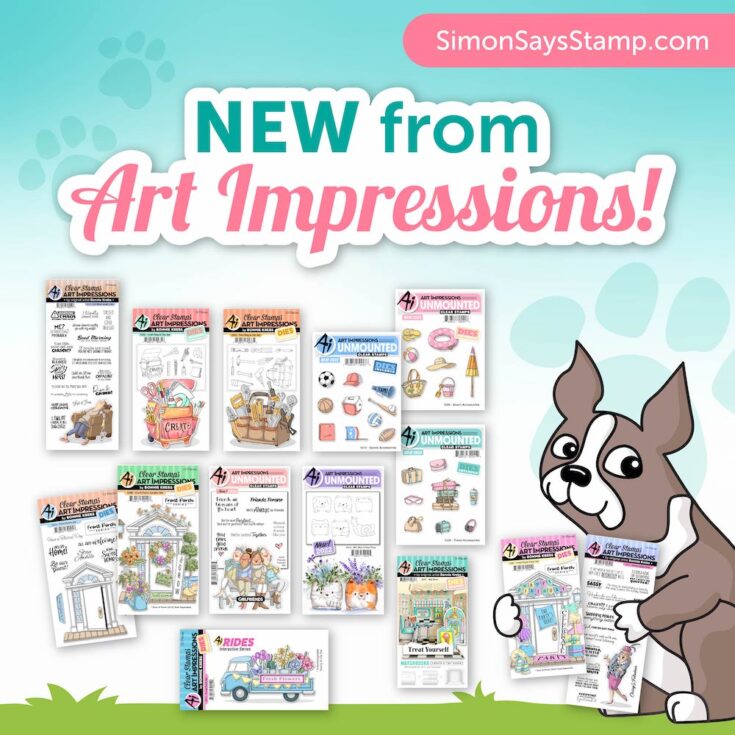
SURPRISE: An Art Impressions + Simon Says Stamp Spring Exclusive!
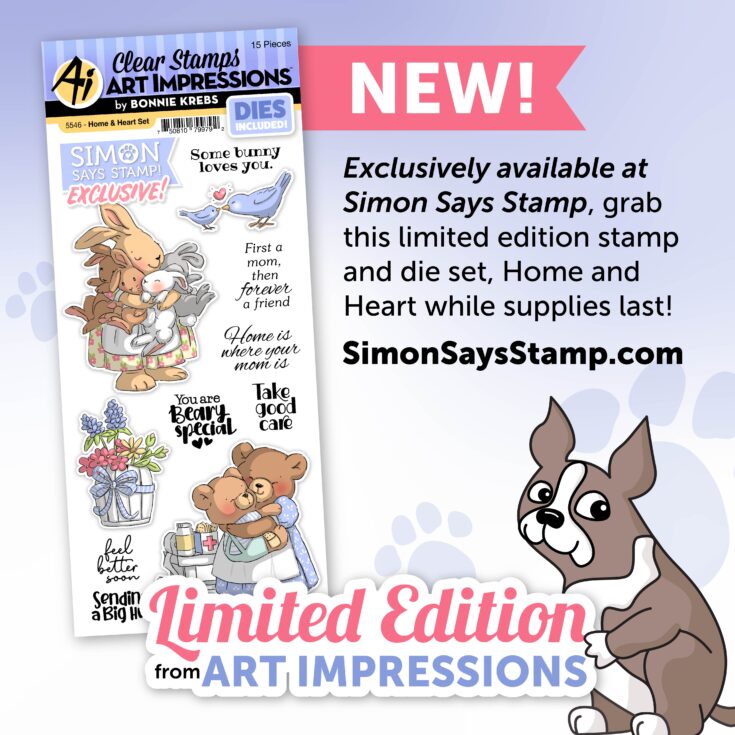
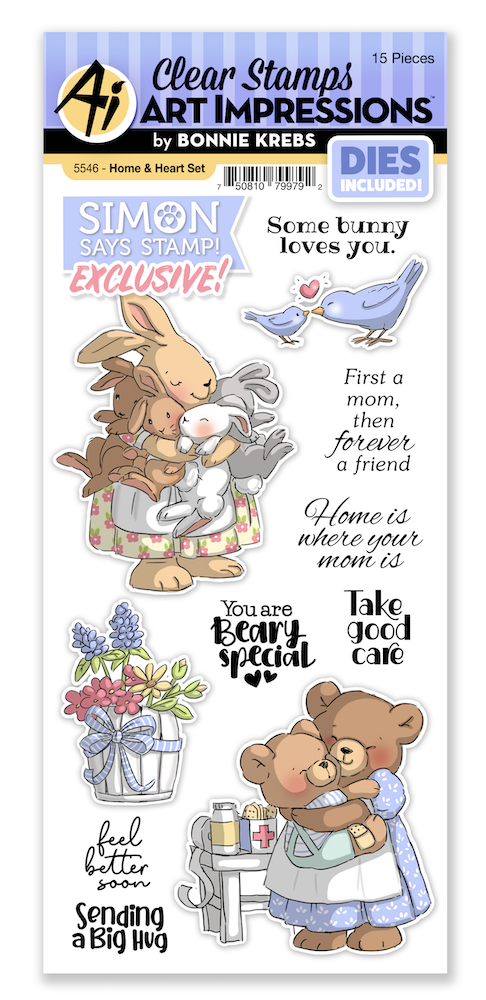
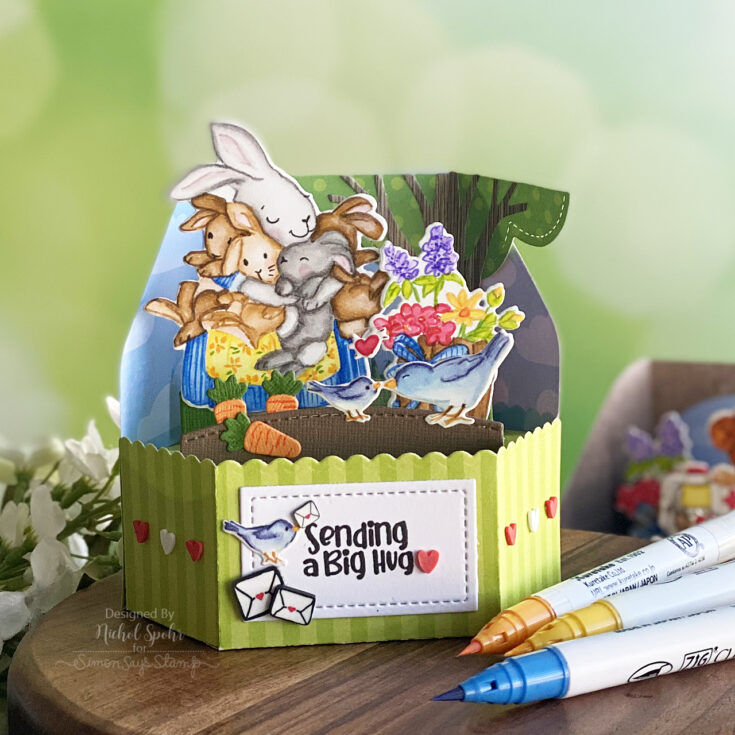
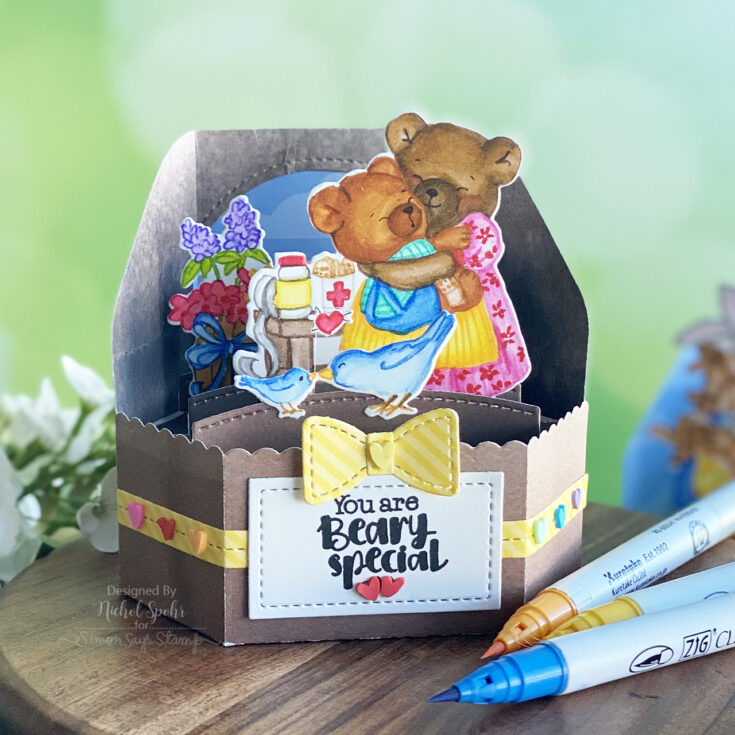
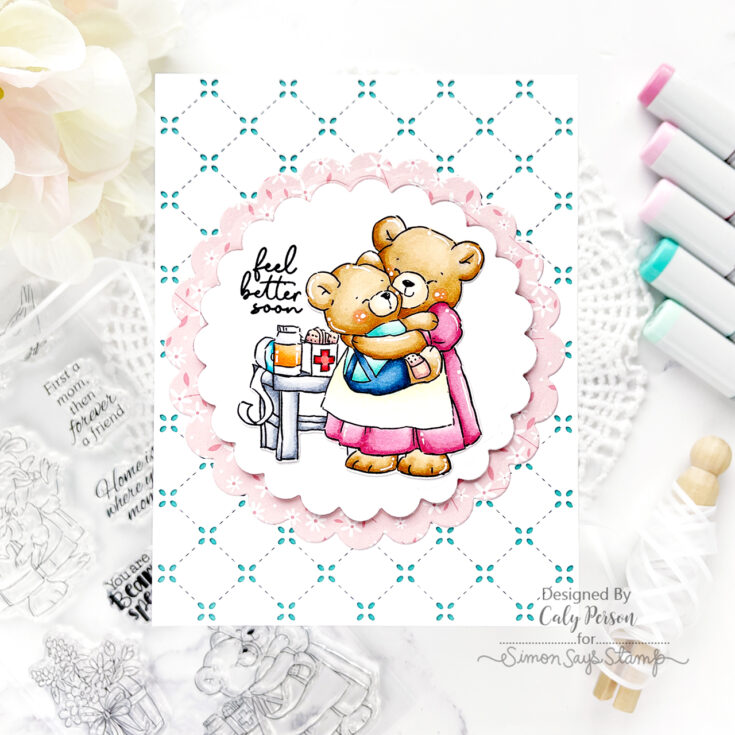
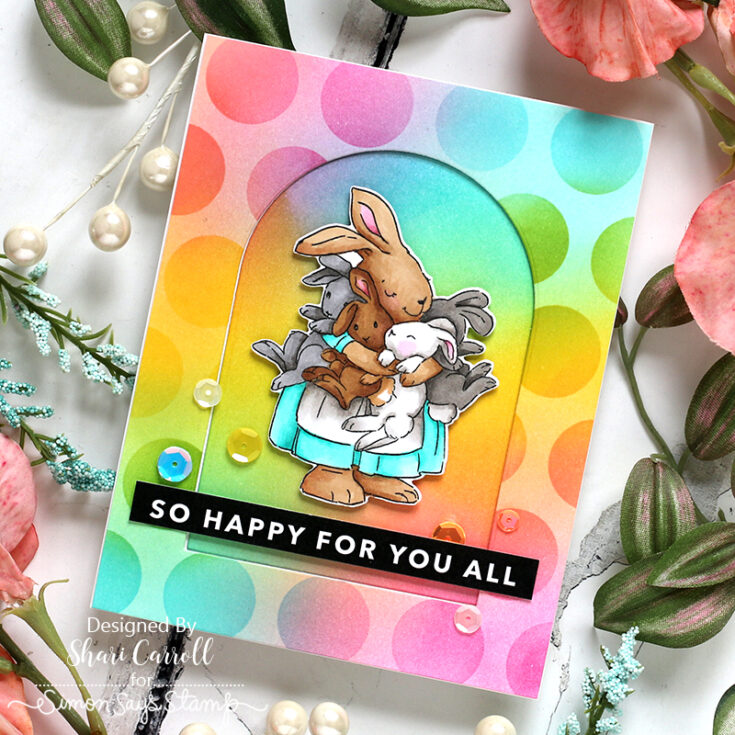
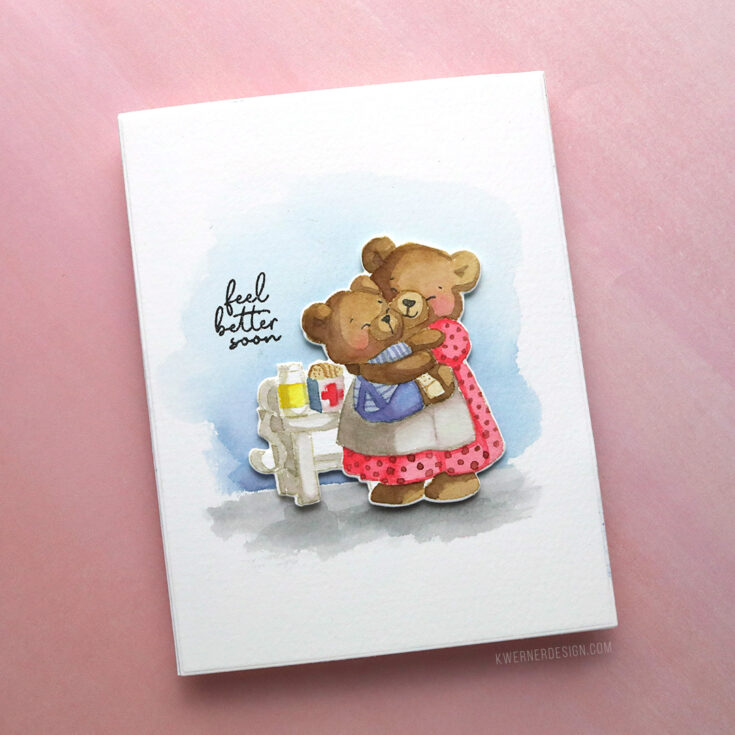
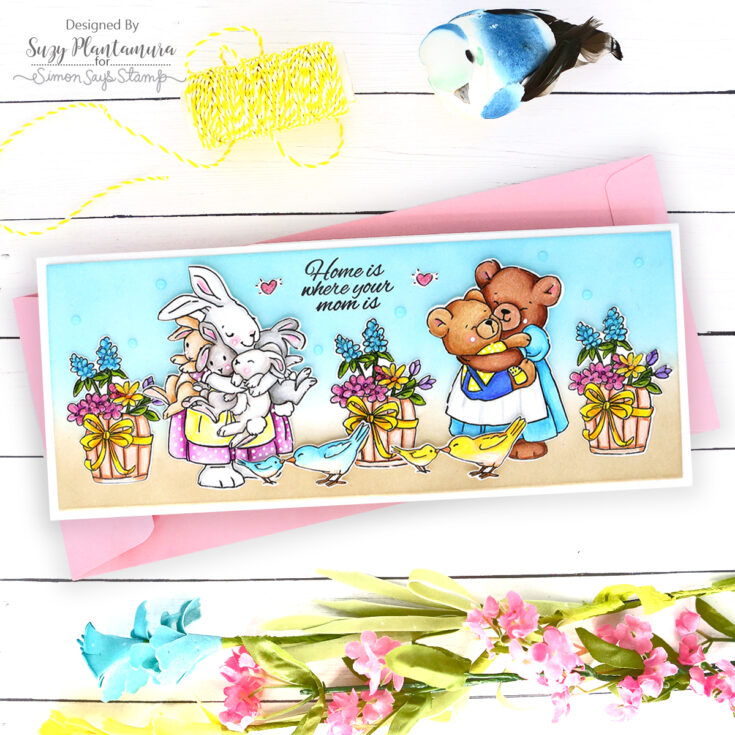
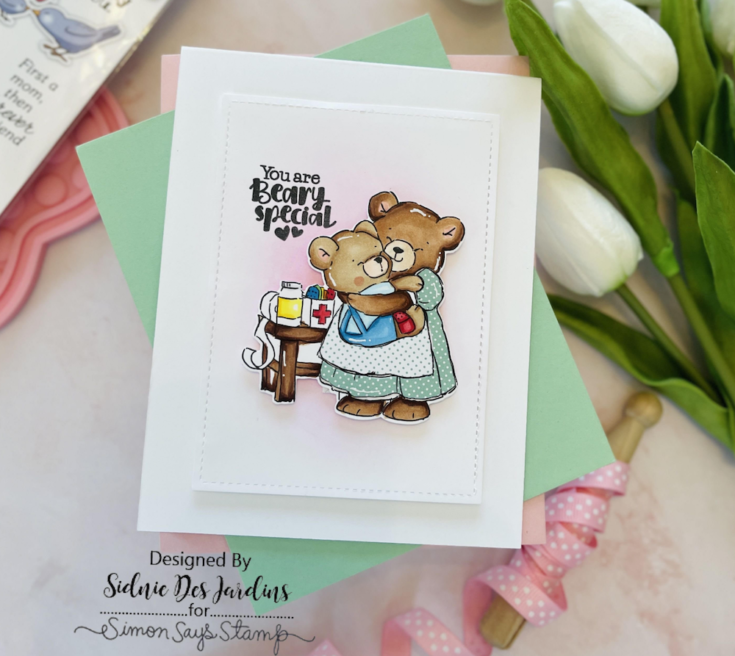
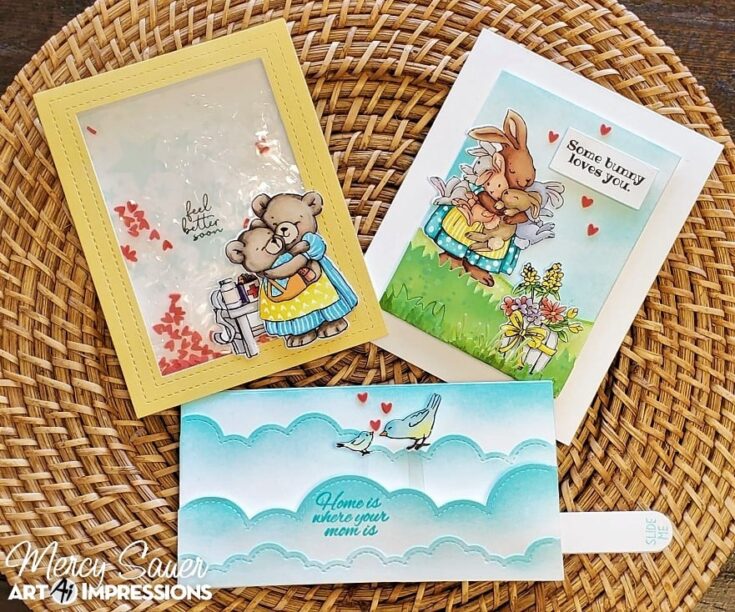
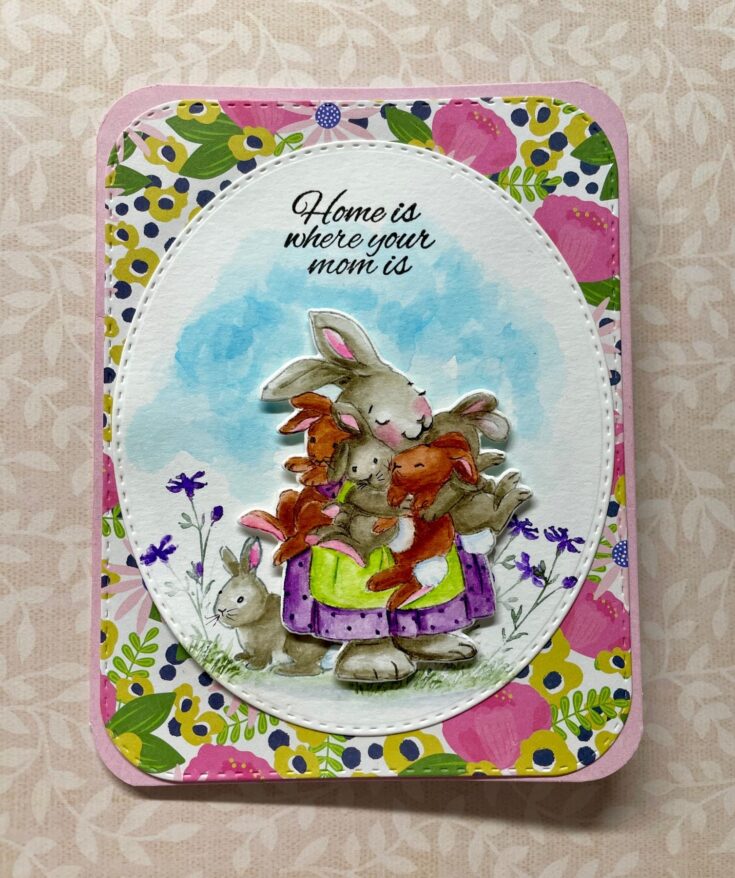
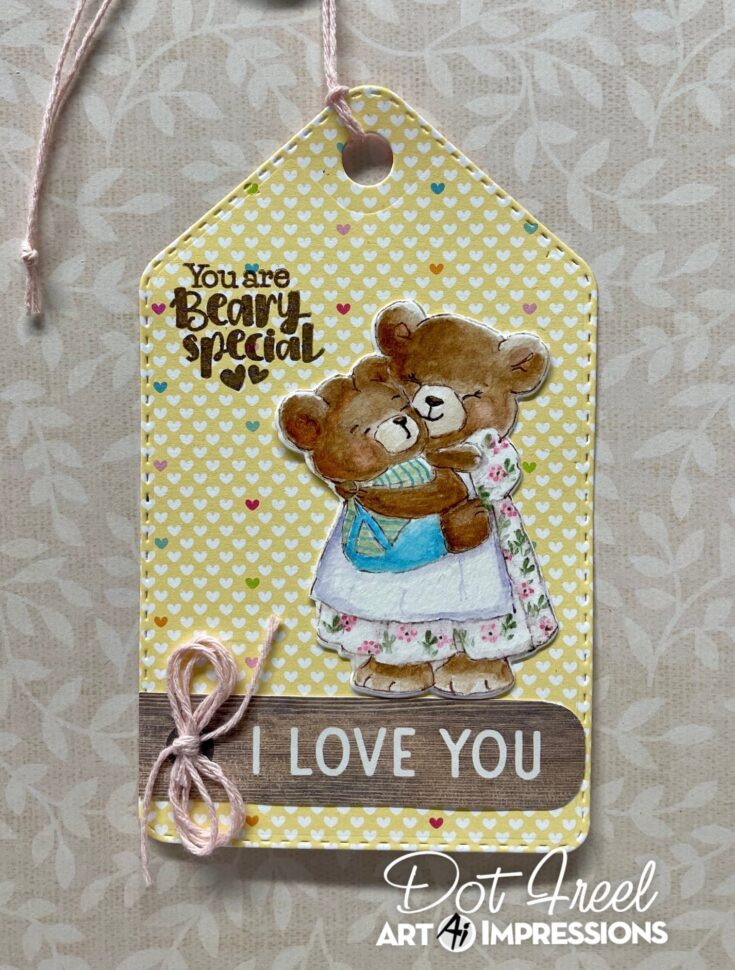
Hi friends! Oh my goodness…. we have been SO excited to reveal this absolutely adorable Limited Edition set by Art Impressions hand drawn by the amazing Bonnie Krebs! It is called, Home & Heart!
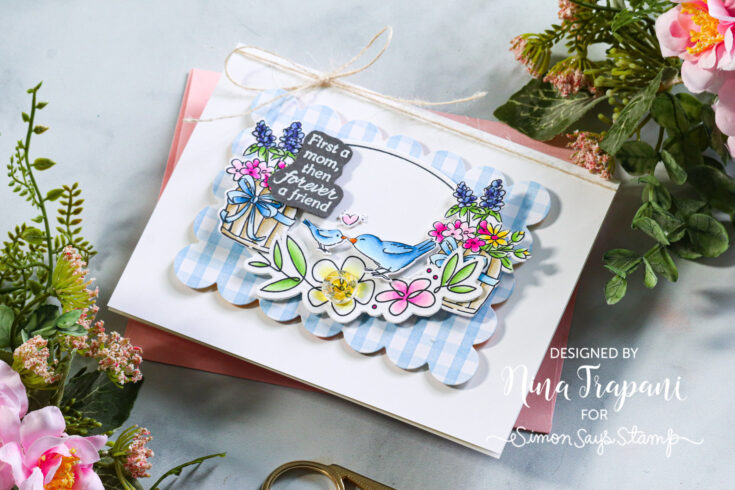
Our very own Nina-Marie Trapani is going to walk you through this ADORABLE new limited edition exclusive set in the video below, as well as take you through an awesome card design she made featuring this set!
Remember, if you love this set, act fast! Supplies are limited, and once it’s gone, it’s gone forever!
WATCH THE VIDEO:
GET INSPIRED:


Thanks so much for stopping by today!
Studio Monday with Nina-Marie: 3 Ways to Use Layering Stencils

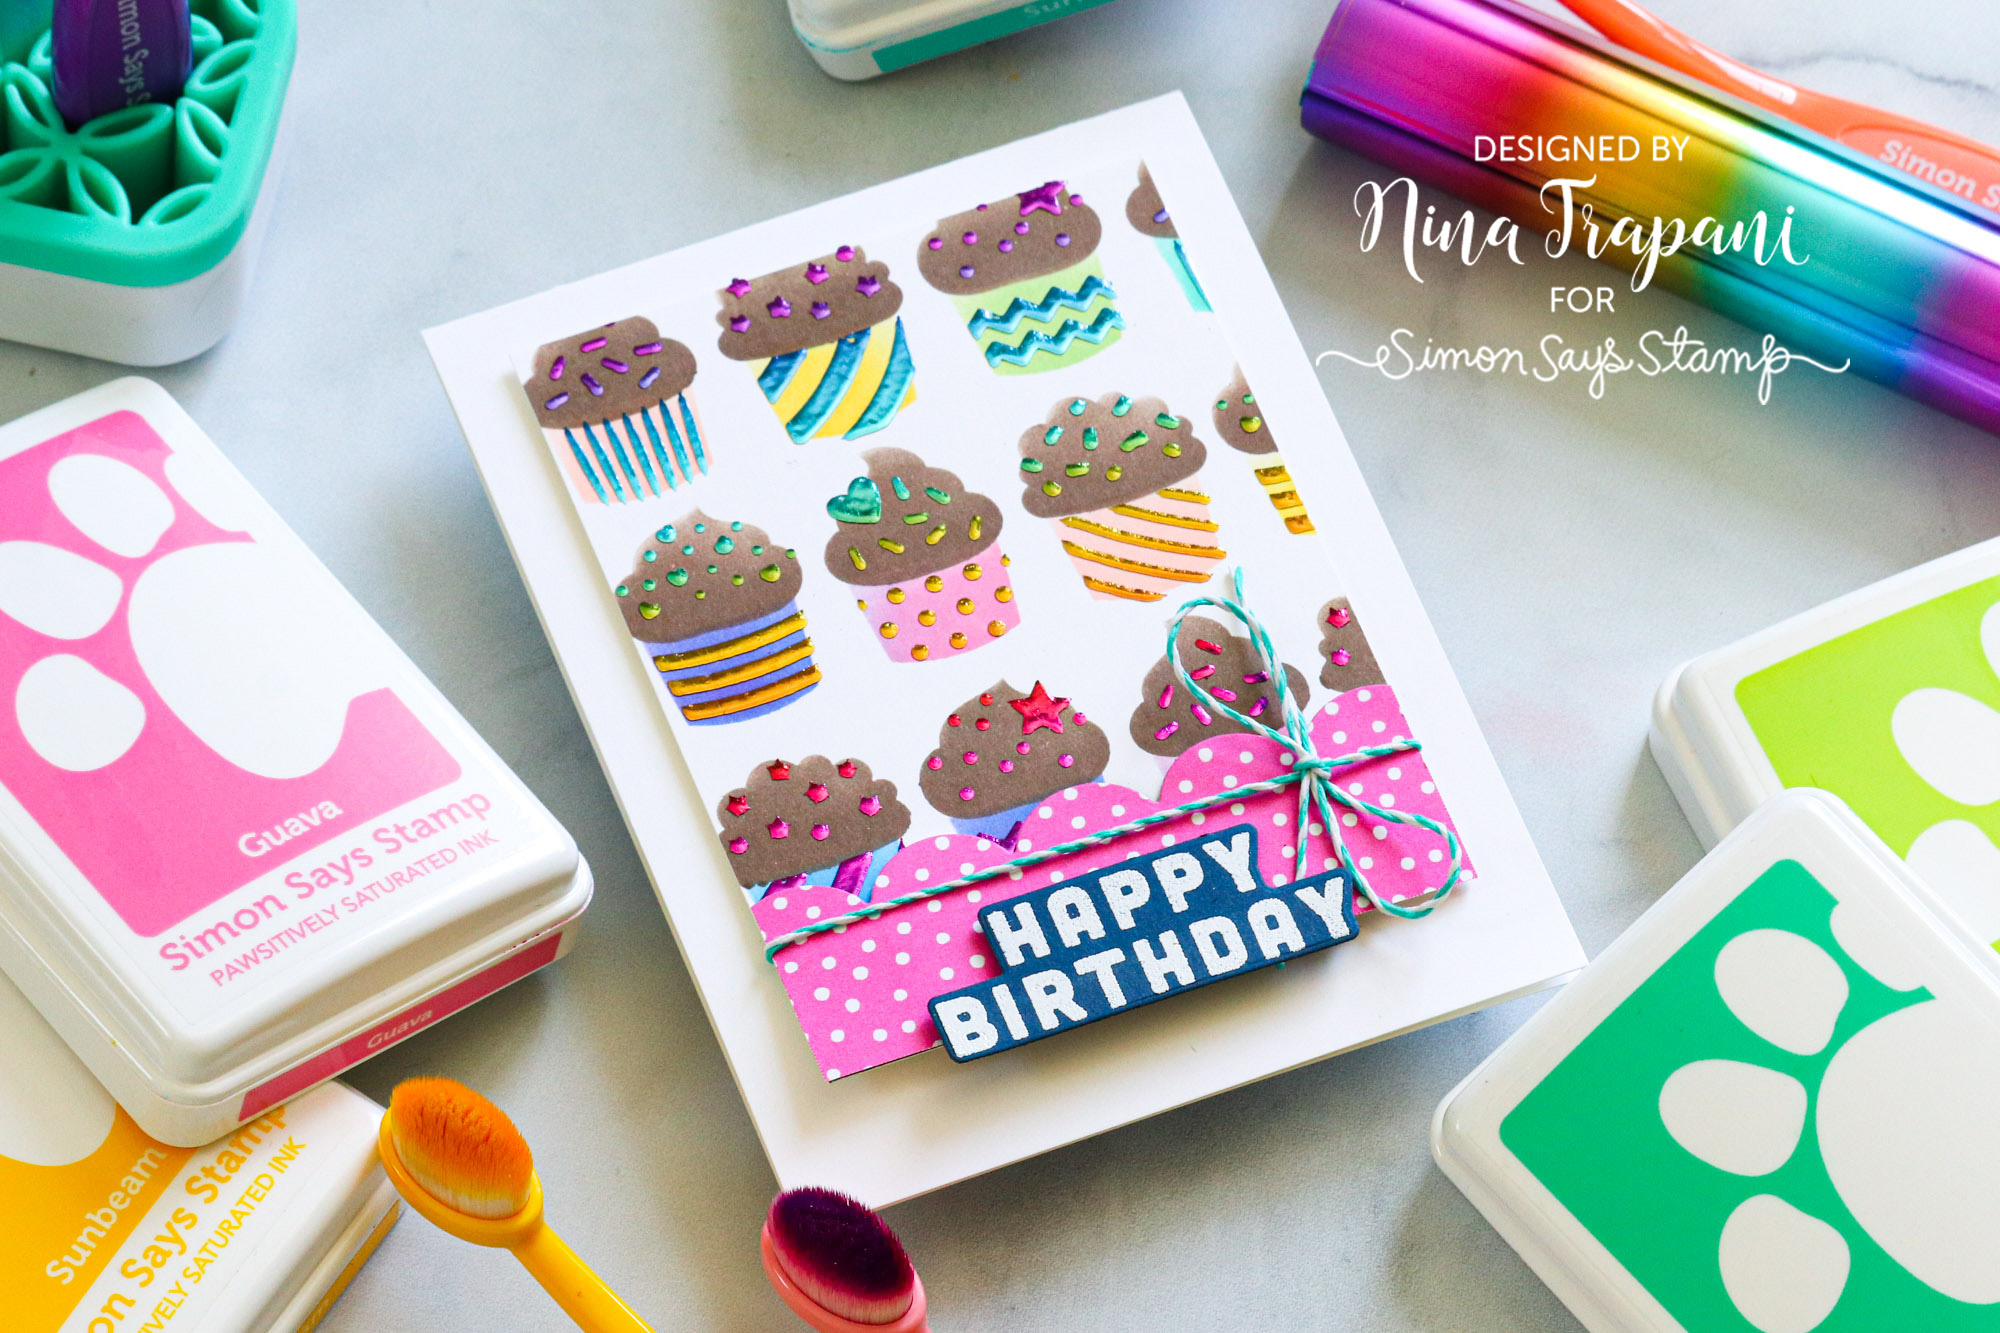
Hello friends, it’s Nina-Marie Trapani here with you, sharing a series of cards using layering stencils from Pretty Pink Posh! I used the Layering Candles, Layering Presents, and Layering Cupcakes sets.
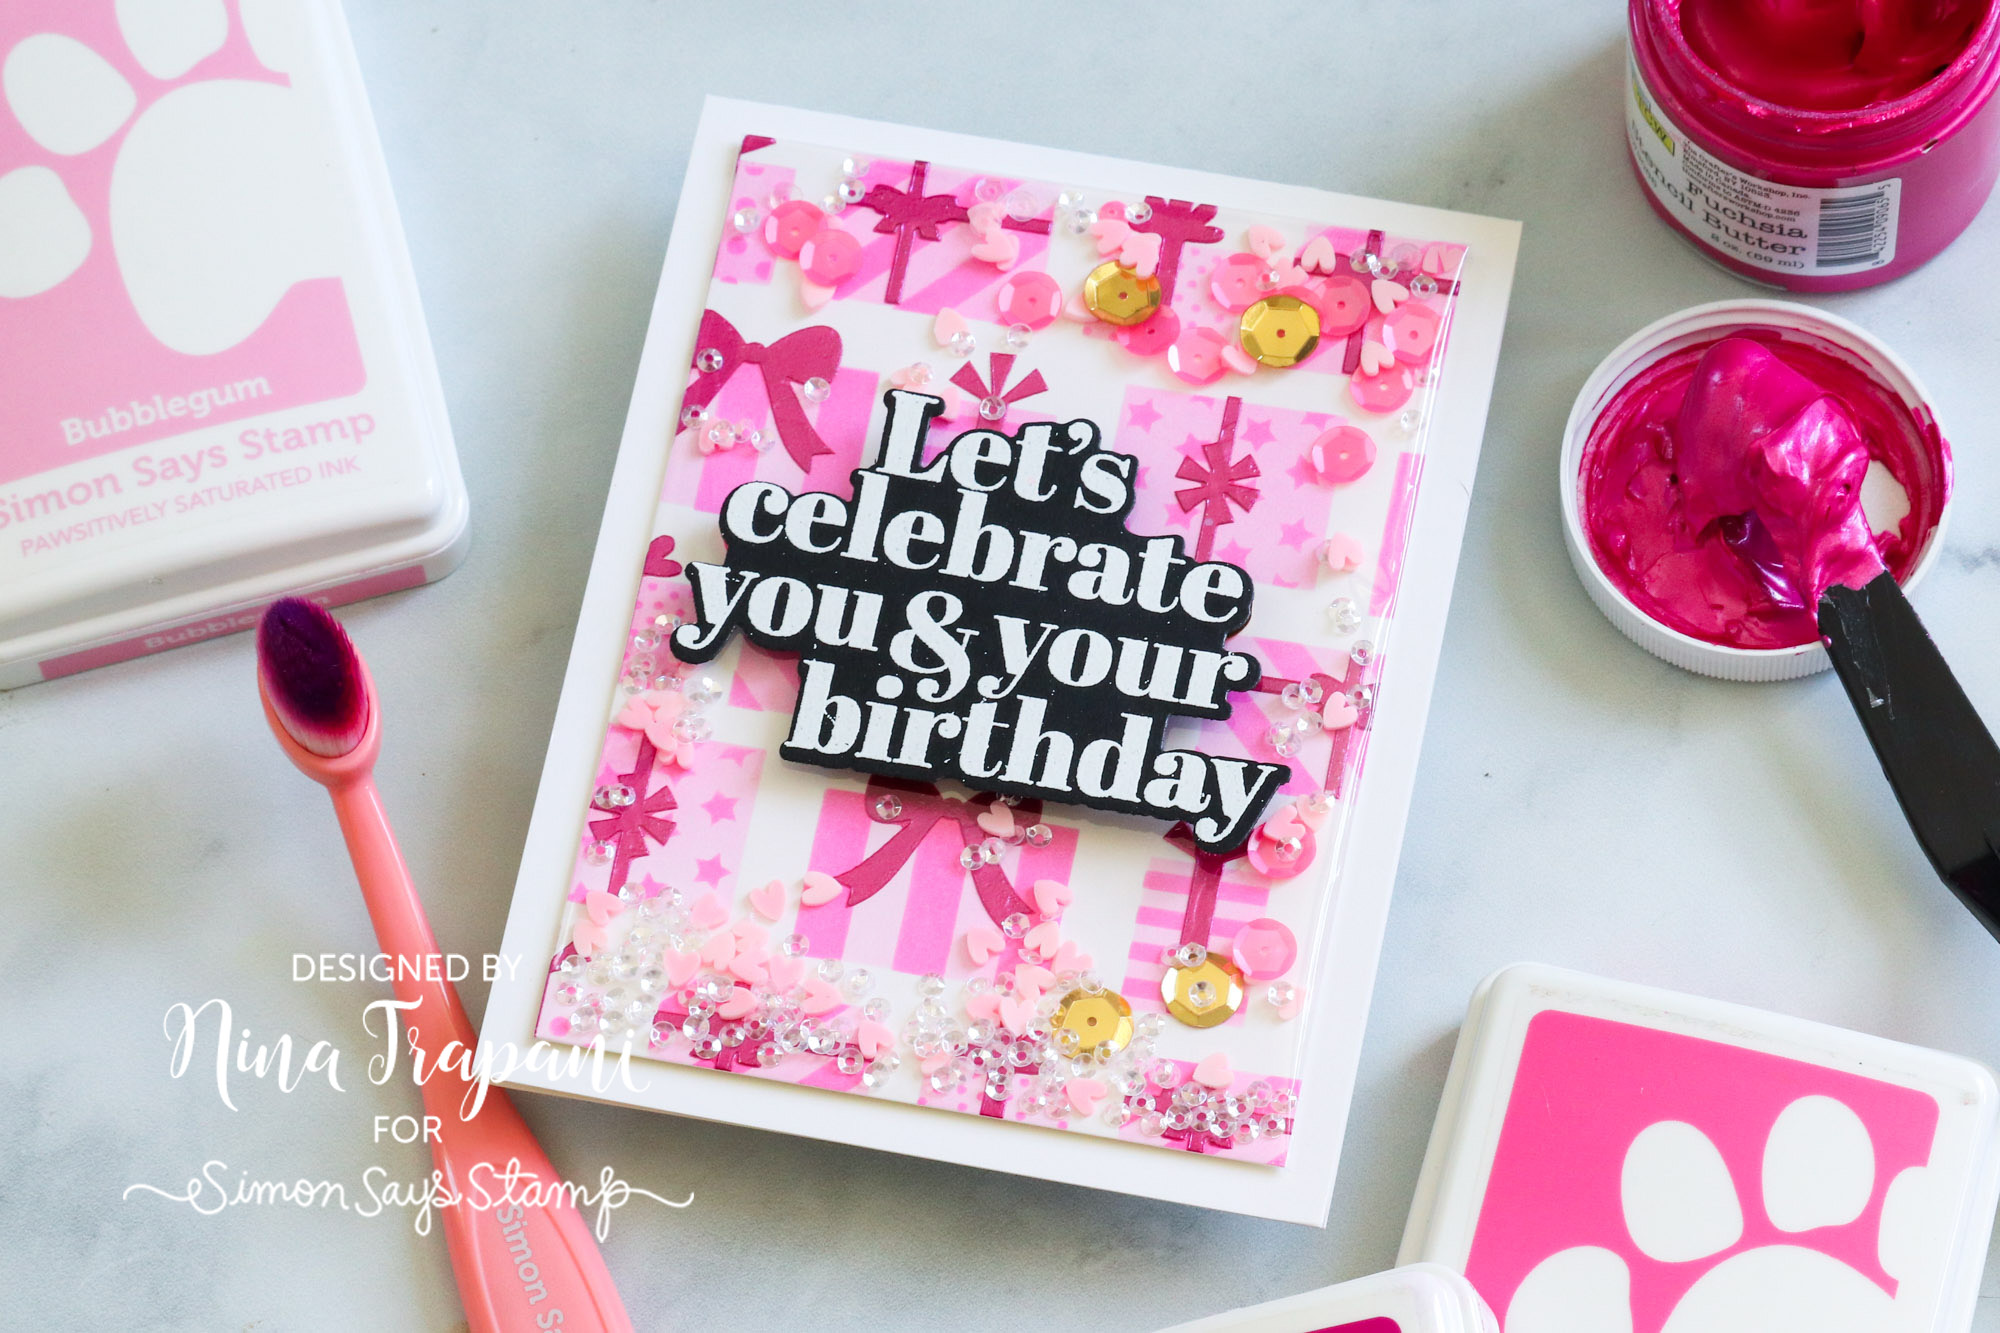
I’m going to be sharing different ways of adding beautiful finishes to your stenciling; from glitter to pastes, and even foils, you’ll love how pretty and easy these are! I used Simon Says Stamp Pawsitively Saturated Inks for all of the ink blending, plus the XL Birthday Greetings stamp set!
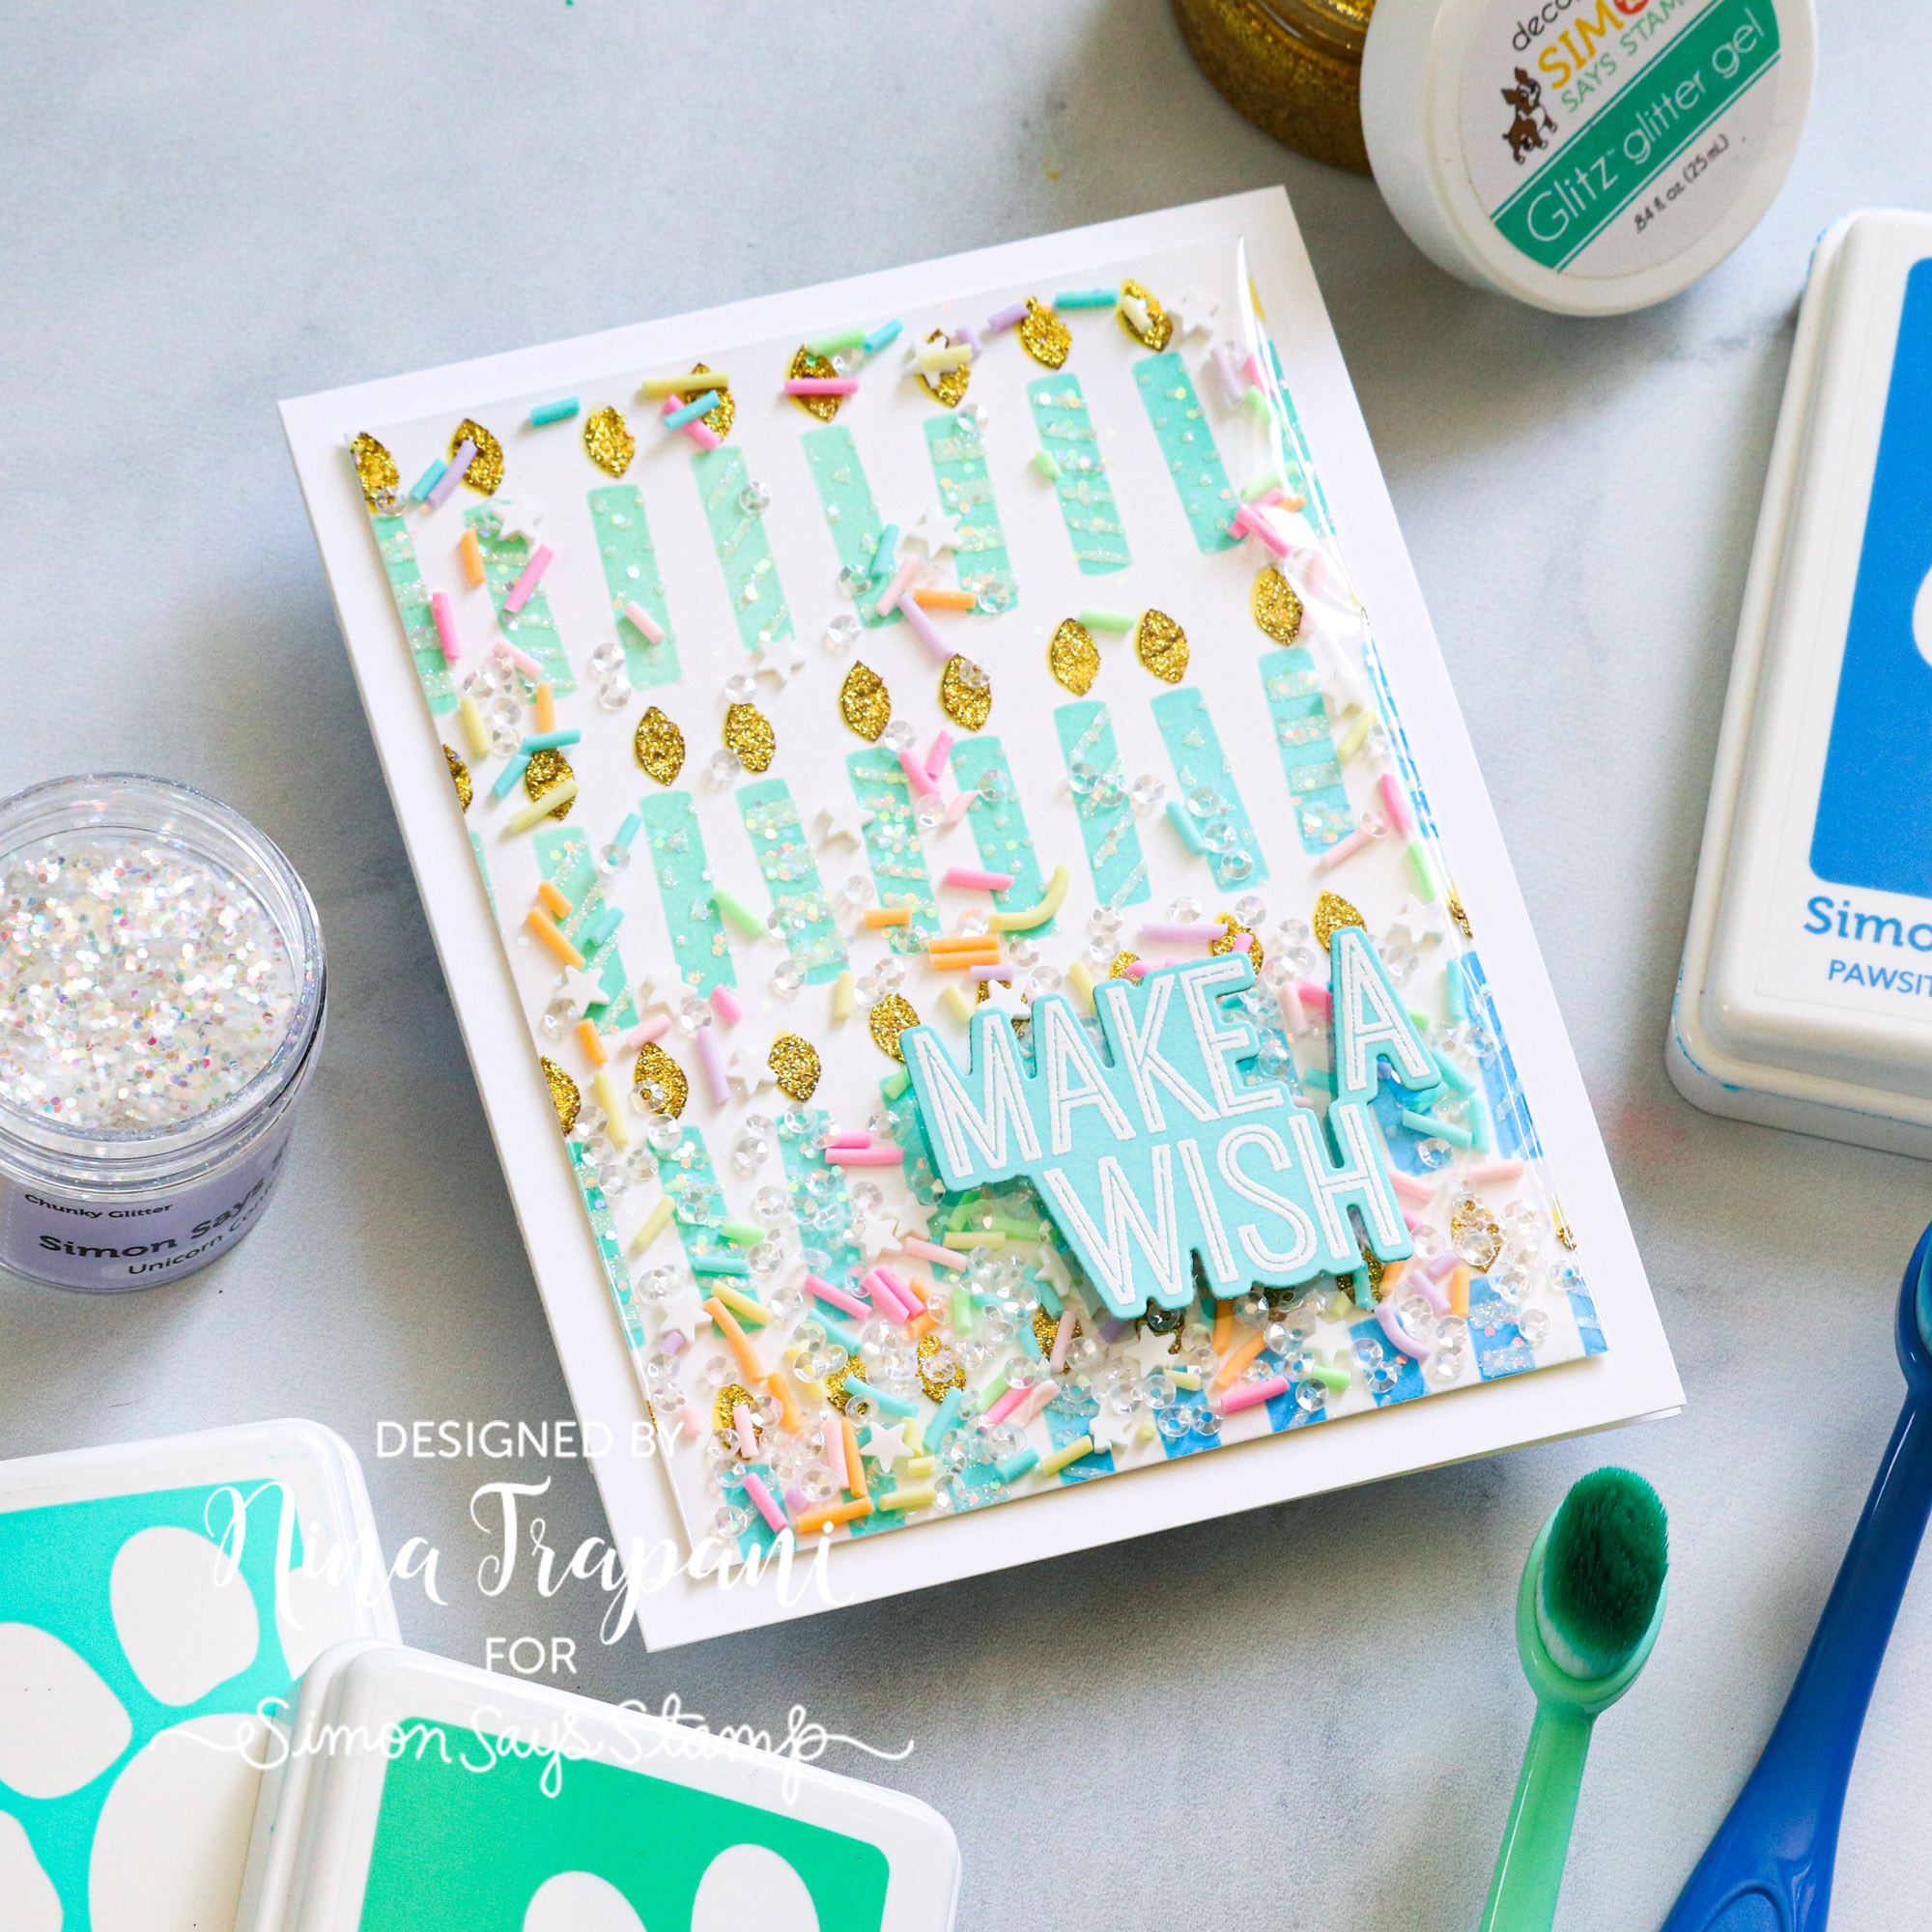
Be sure to watch the video below and see all the details!
WATCH THE VIDEO
SUPPLIES
|


