Mother’s Day Weekend SALE: Save $20!

Happy Mother’s Day weekend, friends! We want to send some love to ALL the Moms out there! This sale is for you! Please enjoy special savings all weekend long with $20 off your $100+ order with code LVUMOM at checkout! Shop early for the best selection and enjoy!

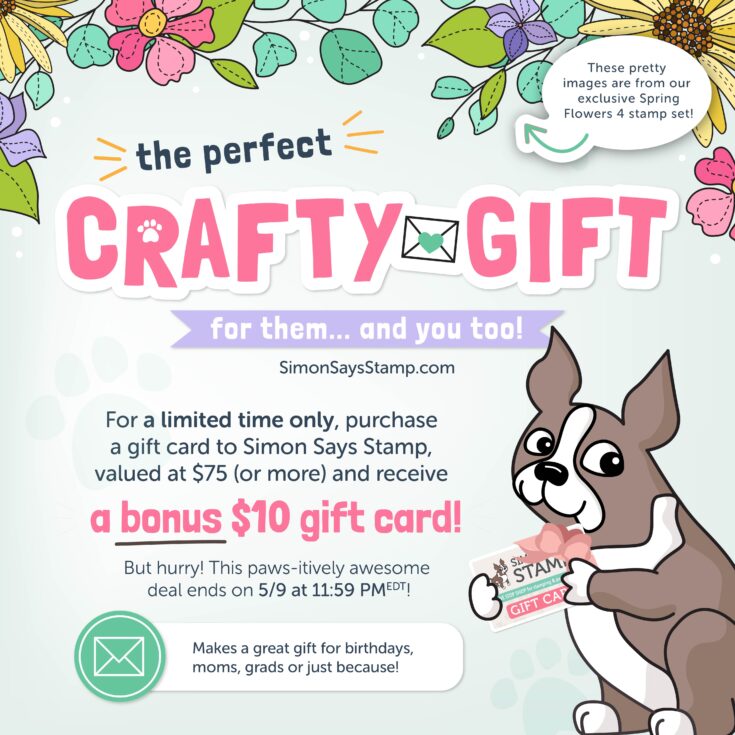
Give a gift, GET a gift! This weekend ONLY!
Hi friends! Now is the perfect time to purchase a gift card! If you purchase any gift card valued at $75 or more, you will get a bonus $10 gift card for FREE! (Please note that the bonus gift cards will expire on 8/20/22).
No-line Watercoloring with Distress Inks with Kristina Werner
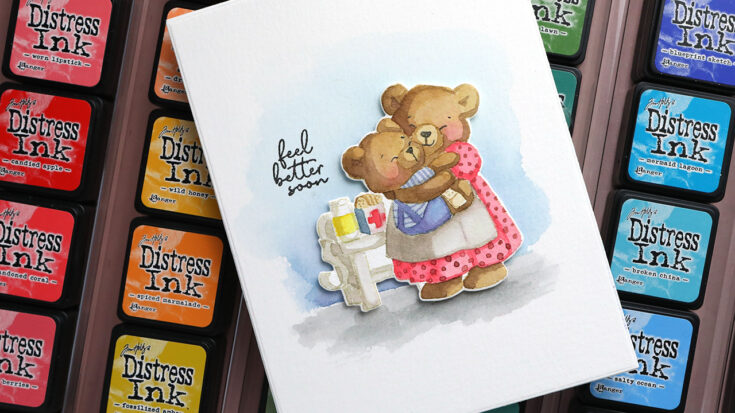
Hi all! Kristina here. Today I wanted to share with you a no-line watercoloring card that I created using the new Home and Heart stamp set from Art Impressions. This is an exclusive stamp set sold only at Simon Says Stamp!
Make sure to watch the video below for lots of tips and tricks for no-line watercoloring.
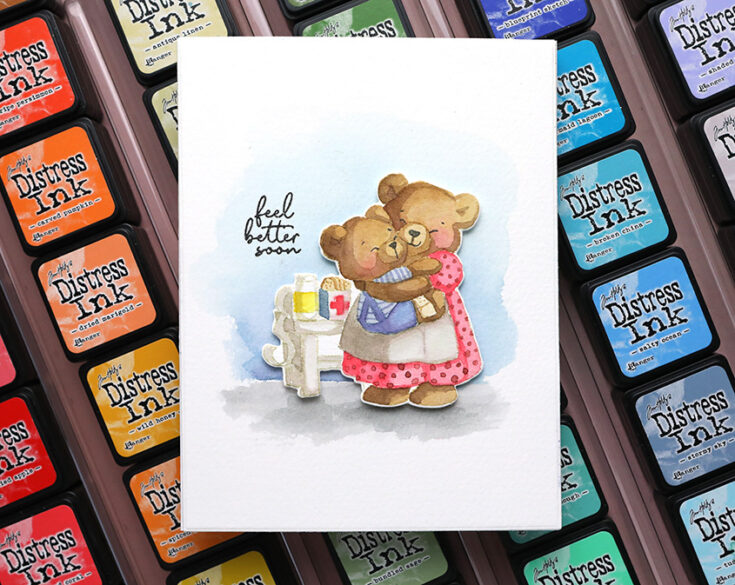
When I no-line watercolor, I like to use Antique Linen Distress Ink for stamping and then started painting with other Distress Inks that are smooshed onto a palette. This is a super easy way to watercolor with Distress Inks.
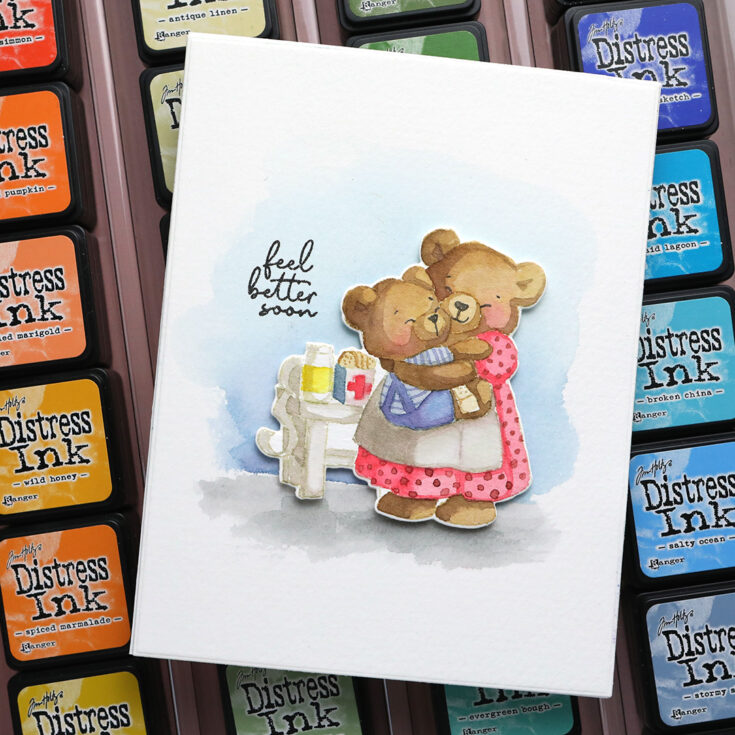
I finished off the card by stamping one of the greetings in black ink.
Thanks for stopping by! Enjoy the video. :)
|


