Did You Know? March 2022
Hi friends! Happy STAMPtember® eve! Today I have a new edition of our popular Did You Know series!
Hello crafters, it’s Nina-Marie Trapani here with you! Today I have a new edition of our popular Did You Know series!
If it’s your first time seeing this feature, each month we bring you fun facts, creative tips, and even crafty hacks about your favorite supplies and brands; you can then use these awesome tips that you learn in your next crafting projects! Are you ready to learn some fun tricks? Keep on reading!
Therm O Web Pixie Tape
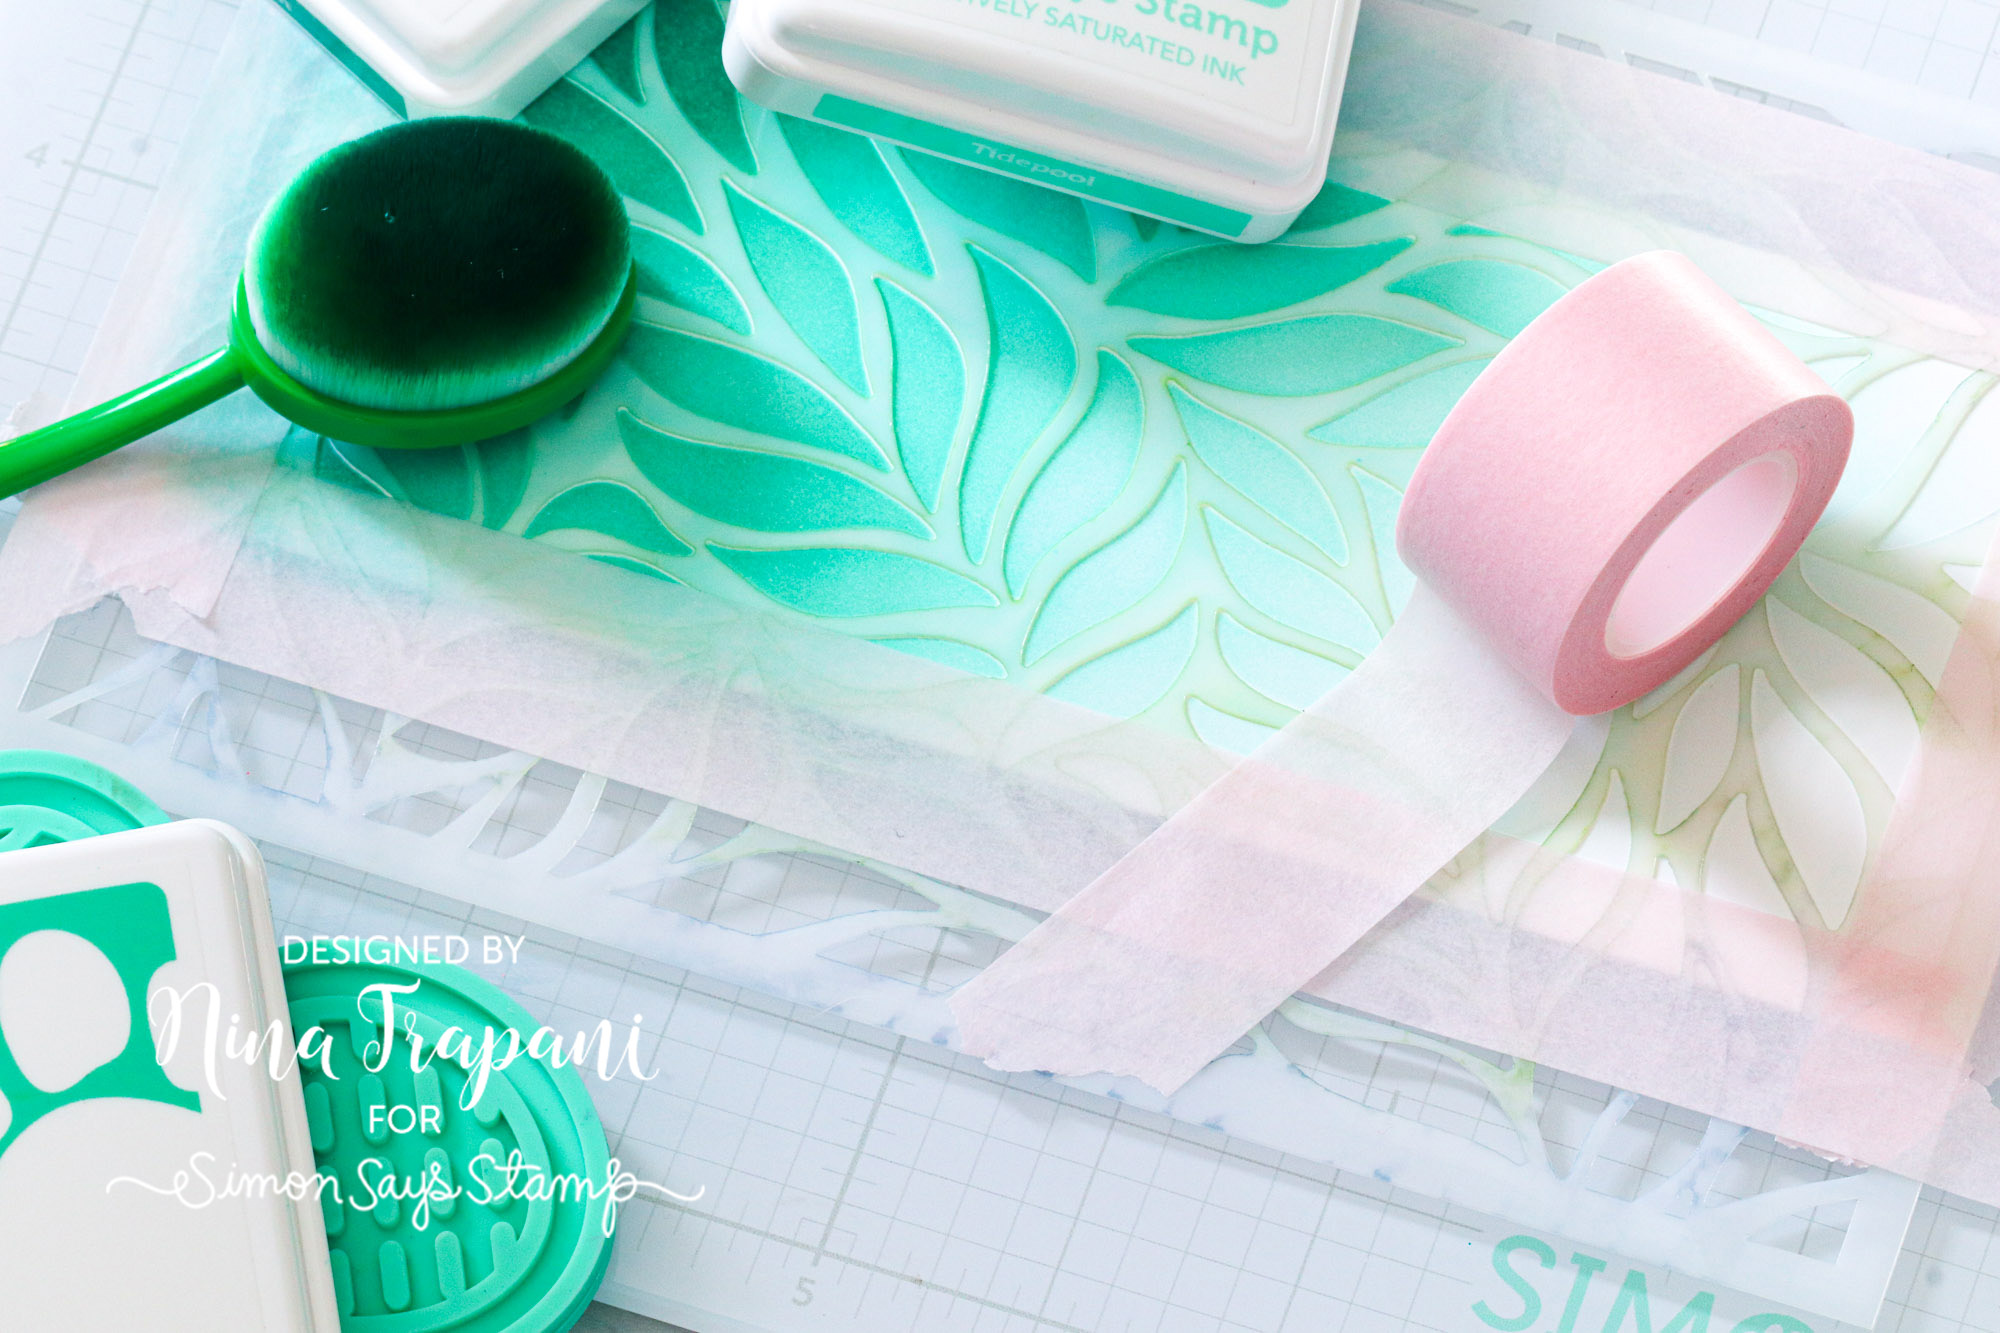
Having a low-tack tape on hand is an invaluable tool for die cutting, stenciling, ink blending, and more! Therm O Web’s Pixie Tape is a perfect tape for all of these techniques, as its gentle adhesive won’t tear your paper as you use it. It also has a slick surface that wipes clean of inks and pastes, which allows you to reuse it more than once!
Simon Says Stamp Magnetic Glass Mat
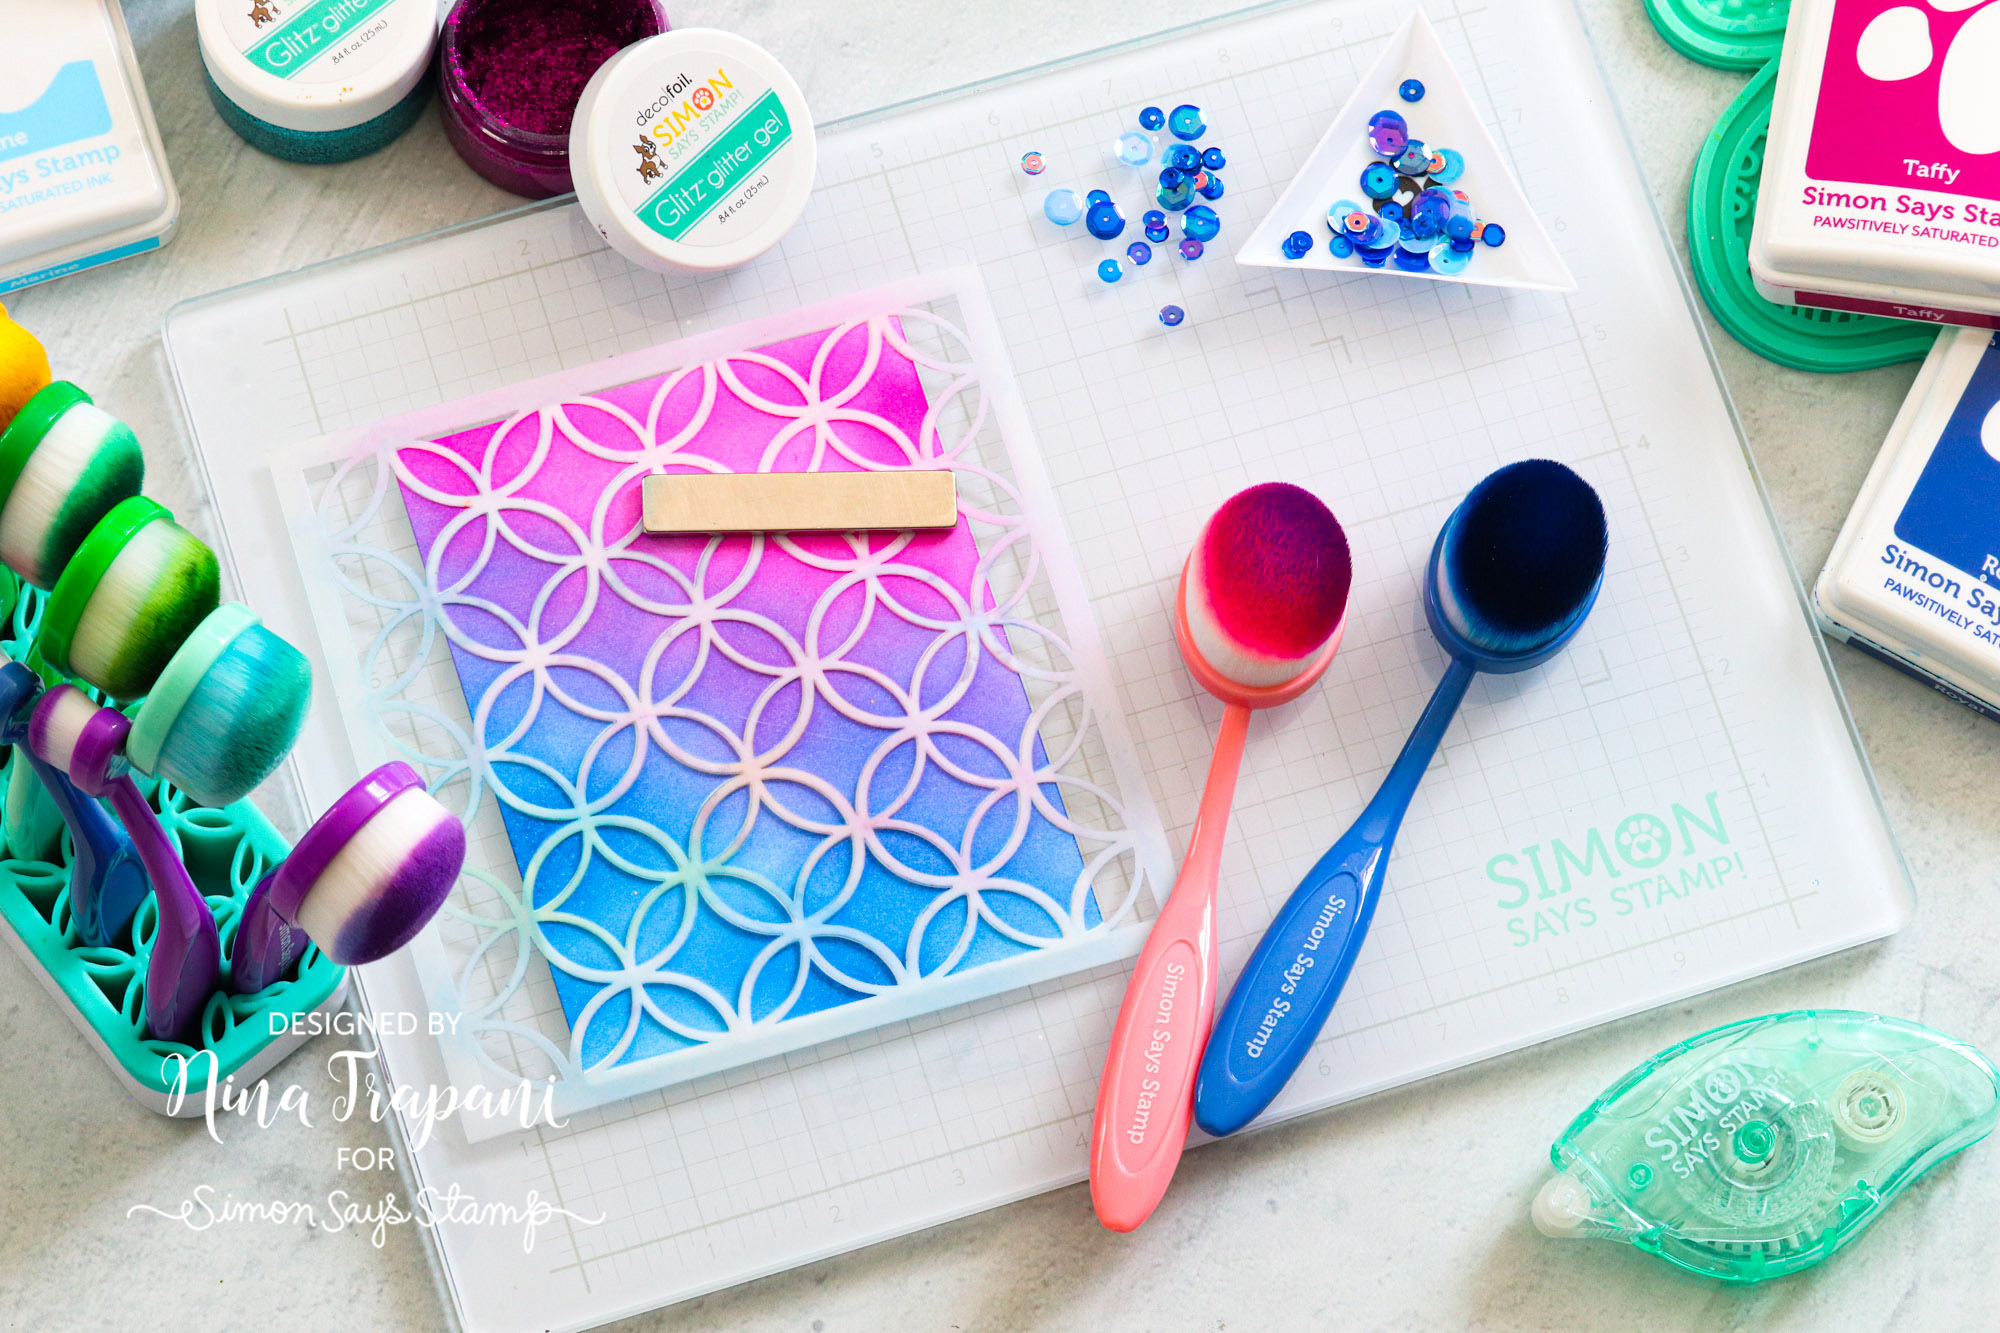
Our Simon Says Stamp Magnetic Glass Mat work surface is perfect for ALL the things! Its white color is perfect for seeing colors clearly and the magnetic feature allows you to use a bar magnet to hold your project in place. The grid makes it so easy to measure and line pieces up–and did you know we even included corner marks for many of the most popular card sizes?
Simon Says Stamp Triangle Trays
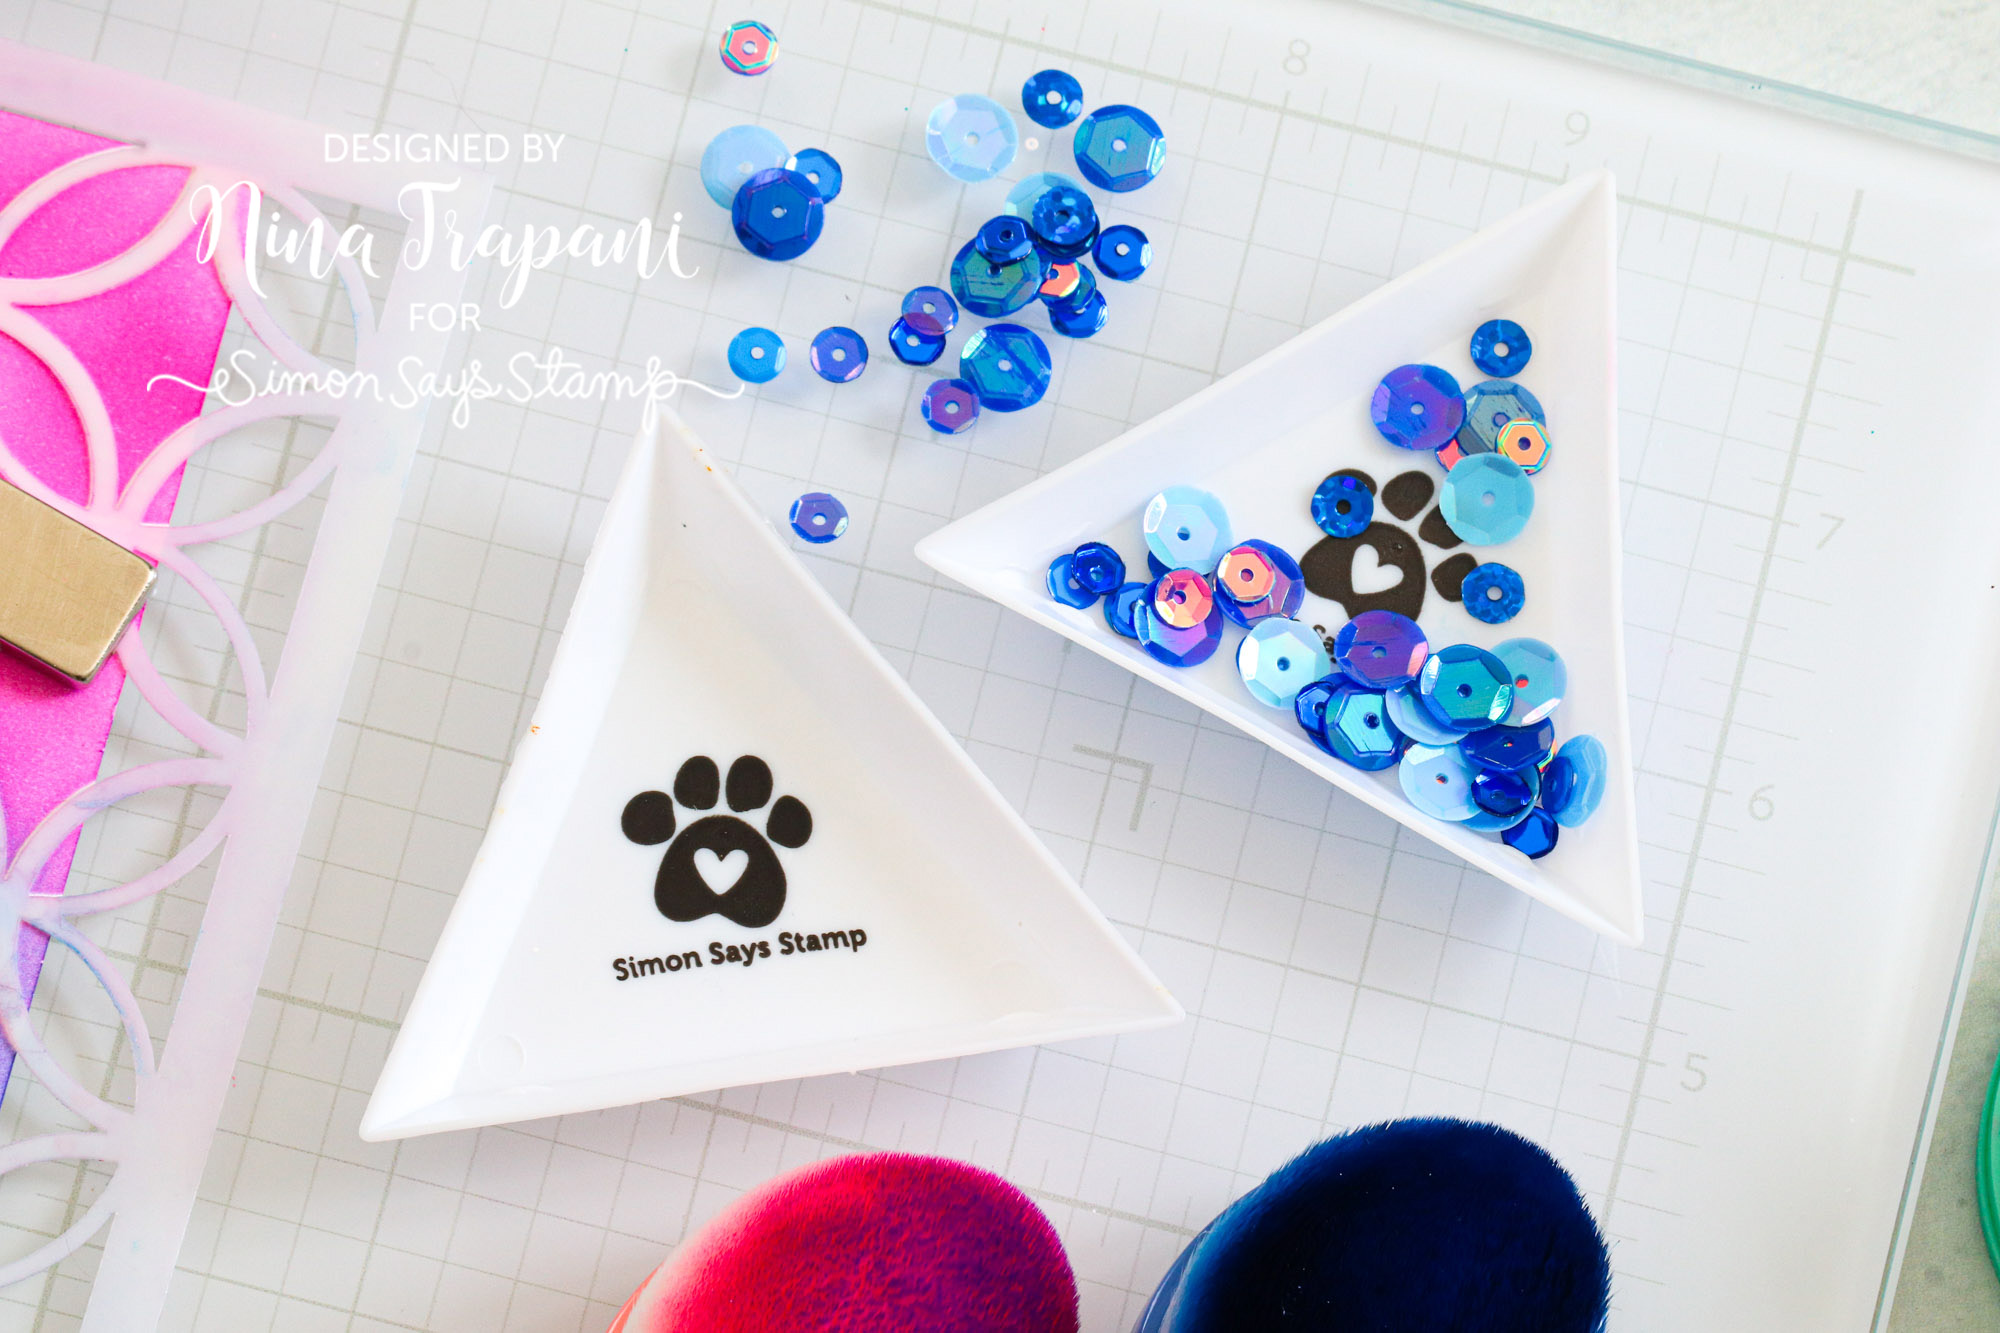
Our adorable Simon Says Stamp Triangle Trays are the best way to sort and select your embellishments! The convenient triangular shape of this tray makes putting the sequins back into their original container super easy; no more sequins all over your craft table (or worse, the floor!). Plus, each tray includes our adorable, signature paw print in the center!
Simon Says Stamp Black Glossy Cardstock
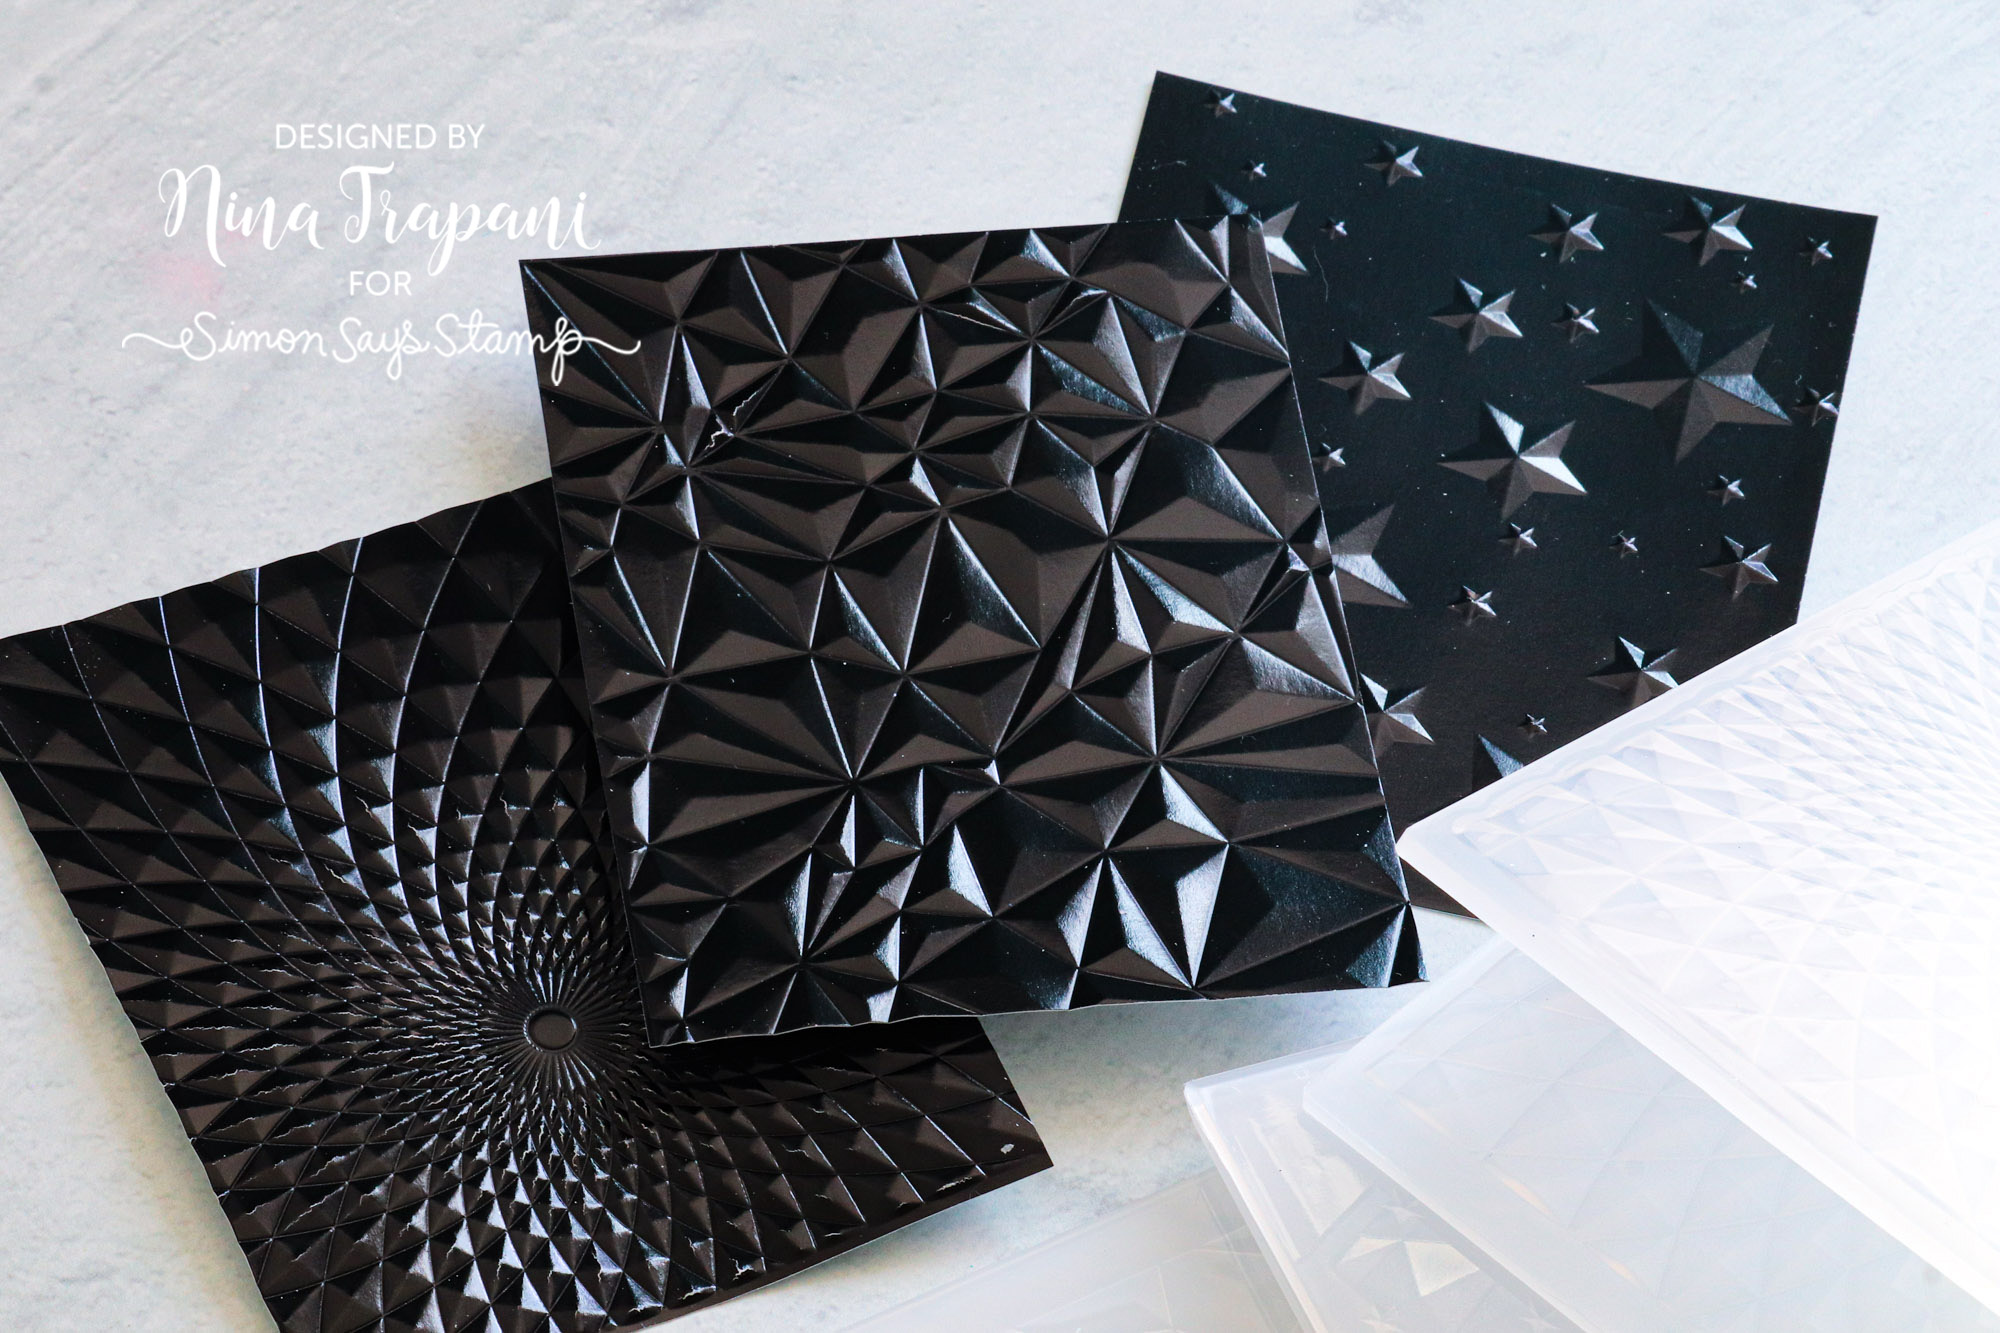
Gorgeous and classy, our Simon exclusive Black Glossy Cardstock is the ultimate paper for many different crafting projects! Did you know that it looks AMAZING when used with embossing folders? The depth and shine of the embossed details literally jump off the cardstock!
Simon Says Stamp White Glossy Cardstock
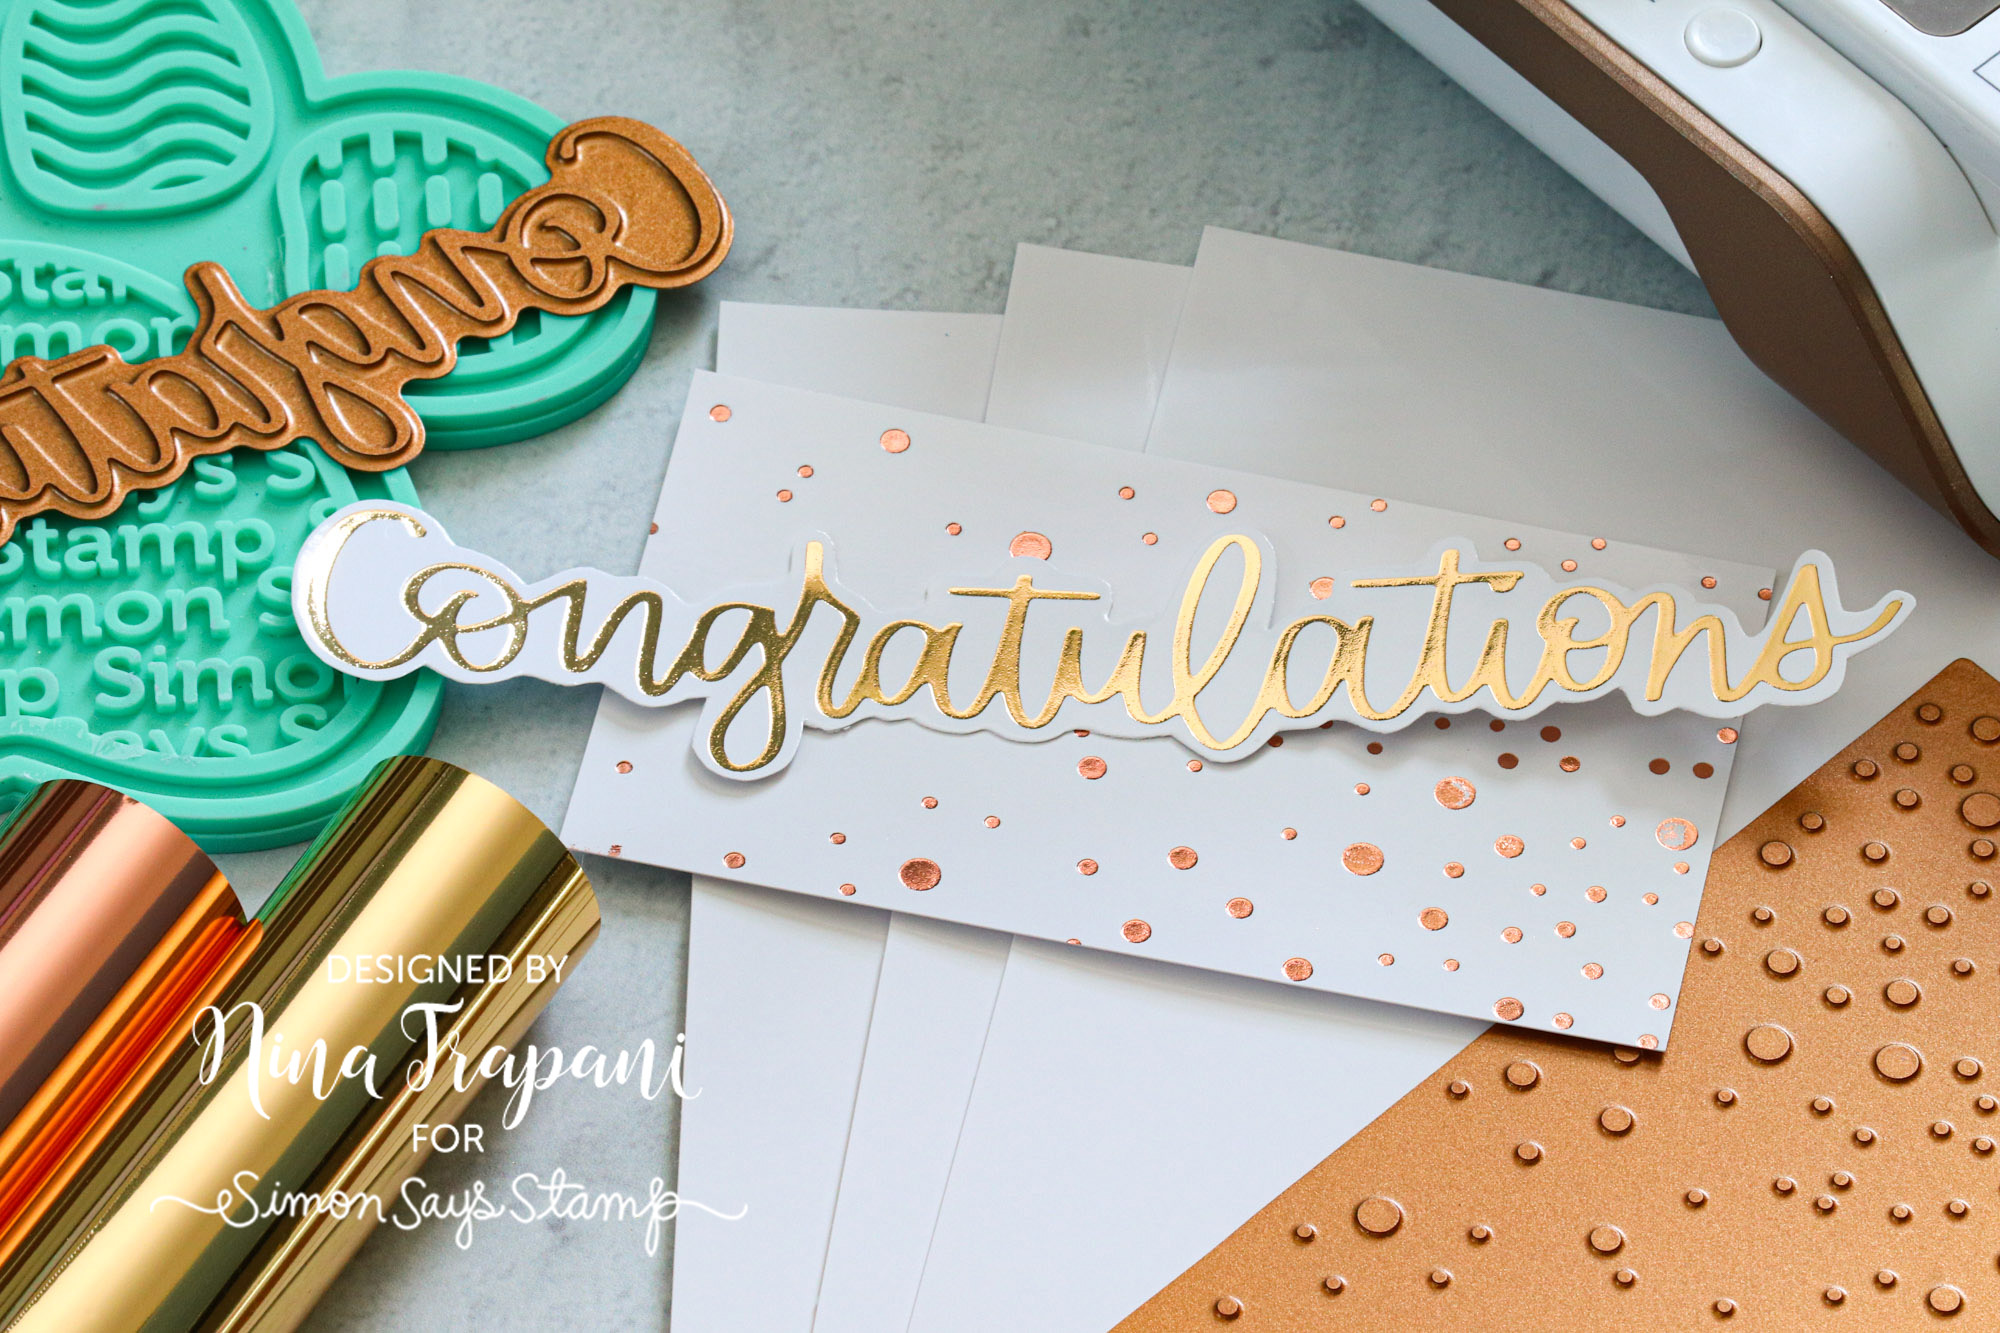
Hot foil is a very popular trend these days in the paper crafting world! We specifically designed our Simon Says Stamp White Glossy Cardstock to work as a superior surface for hot foil techniques. The paper has a beautiful glossy finish that enhances your hot foiling to perfection. The best part is that the paper can also be ink blended over, which allows you to add color to your foiled creations!
I hope these tips have helped you learn a few tricks for your upcoming crafting projects… Thanks for tuning in today and spending some time with me!
SUPPLIES
|


Bright Birthday Trio
Hi friends! Happy Sunday! Please join me in welcoming back special guest Cheiron Brandon who has a lovely bright and colorful project to share with us today! Read on and enjoy!
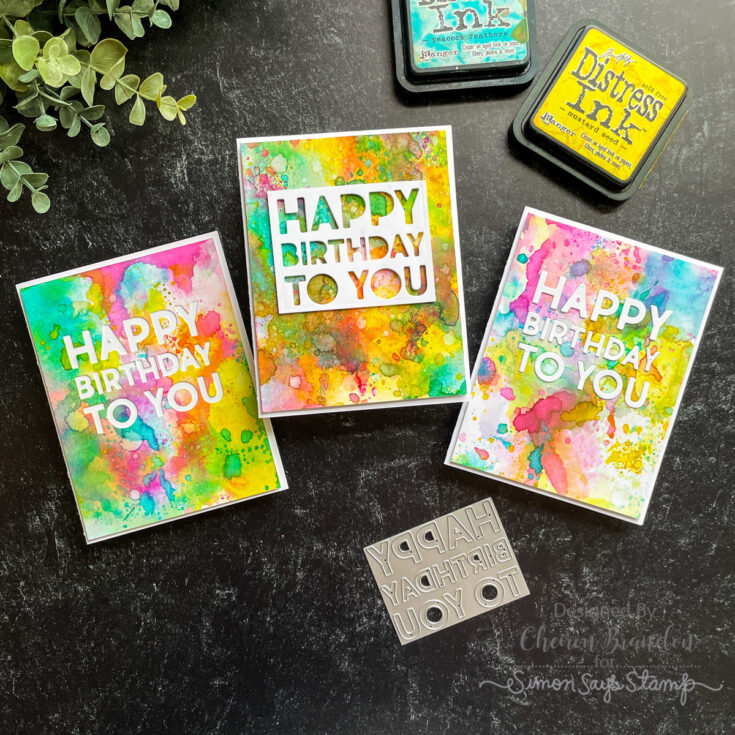
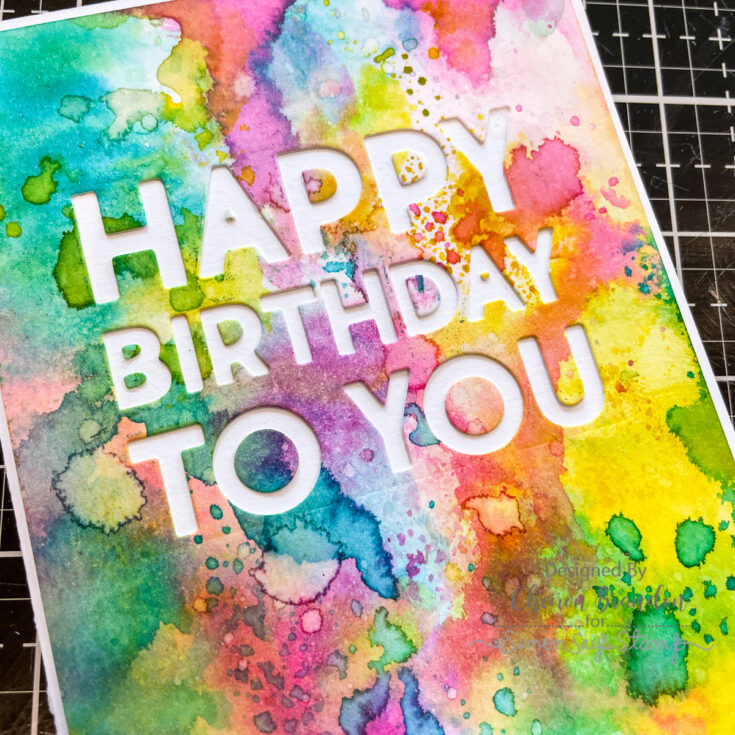
Hi there creative friends, it’s Cheiron Brandon here and I am back with another Tim Holtz Distress project. Today I have created a card project that anyone can make with just a few supplies using Distress Watercolor Cardstock, three colors of Distress Ink and the Sizzix Bold Text 1 Word Dies. I am also going to show you 3 variations for assembling these cards.
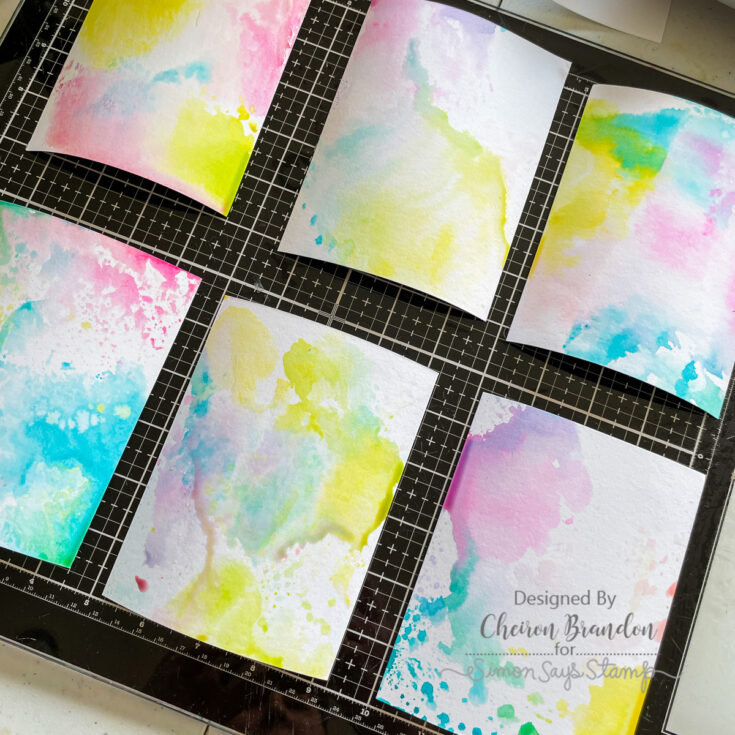
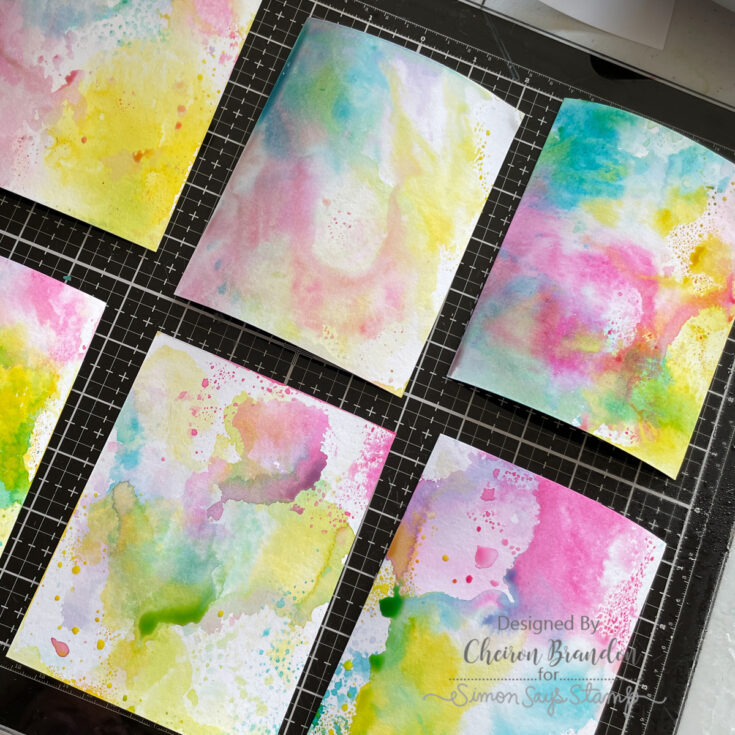
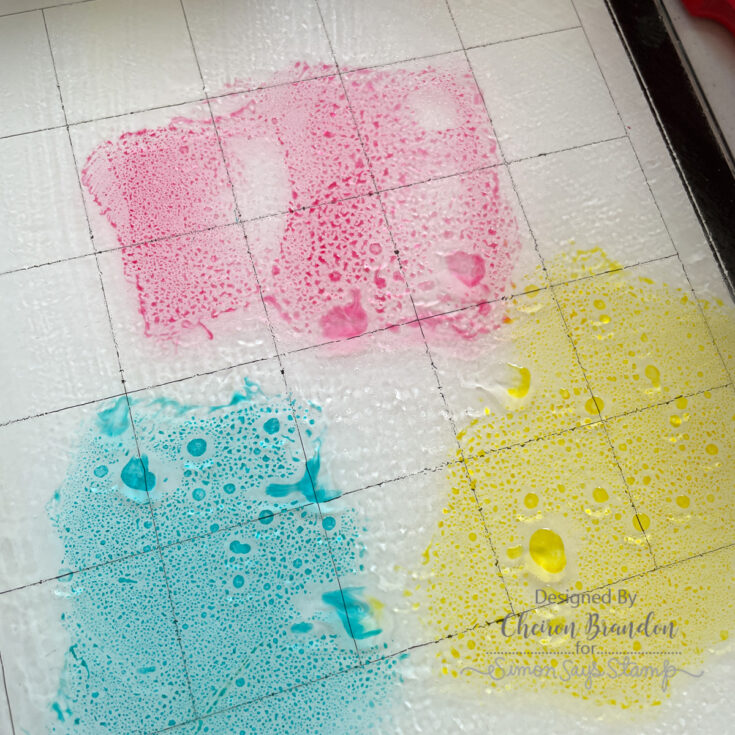
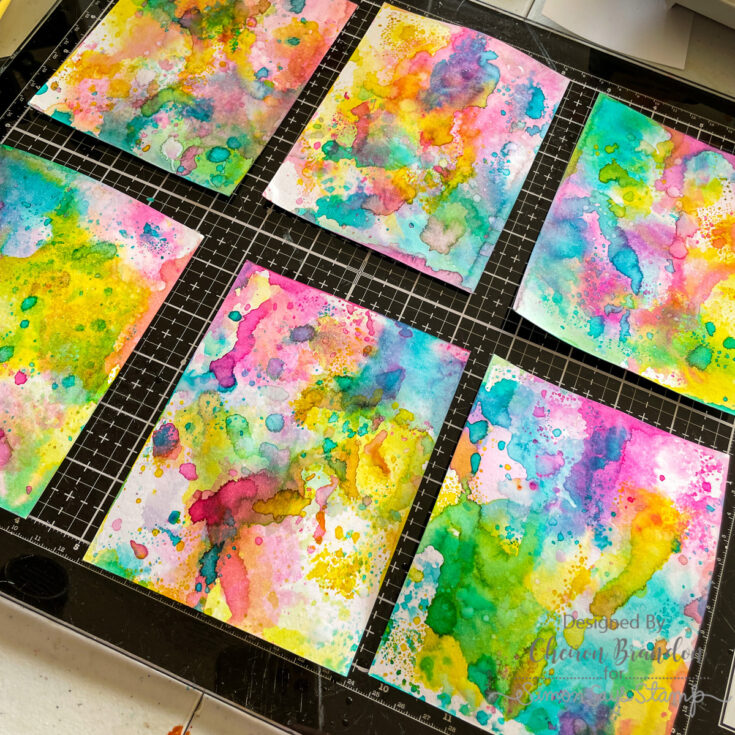
When I set out to make these, I create some fun vibrant backgrounds simply to build my birthday card stash. To keep it easy, I used 3 colors of Distress Inks: Picked Raspberry, Mustard Seed and Peacock Feathers. I used a Distress Watercolor Cardstock, and then pressed some of the inks onto my glass mat, sprayed them with water (till you see the ink bead up) and then pressed each piece into the color to create the first layer. Just press and lift up, do not smoosh around or you will just get one color! I dried them all with a heat tool, then continued to build the layers by adding more ink to each piece just in small areas at a time

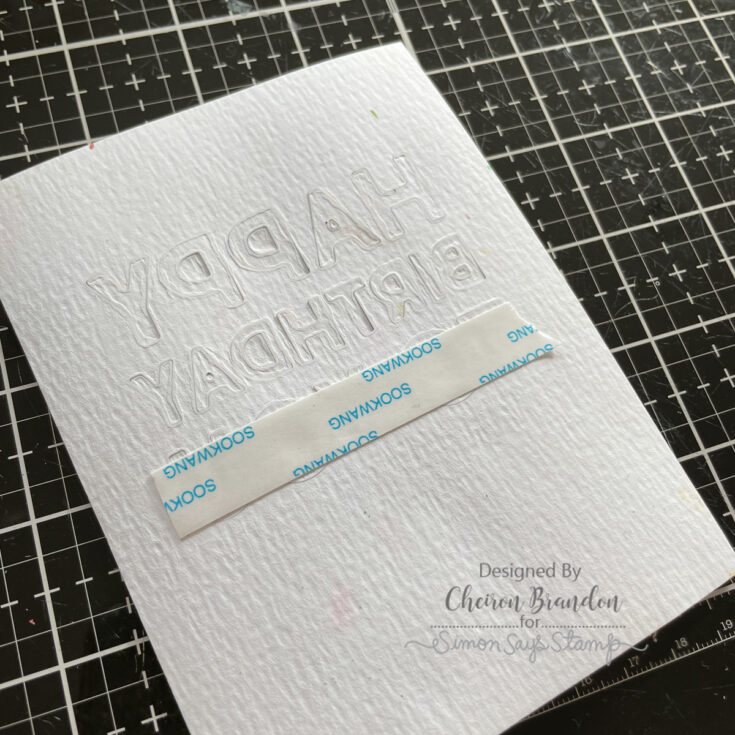
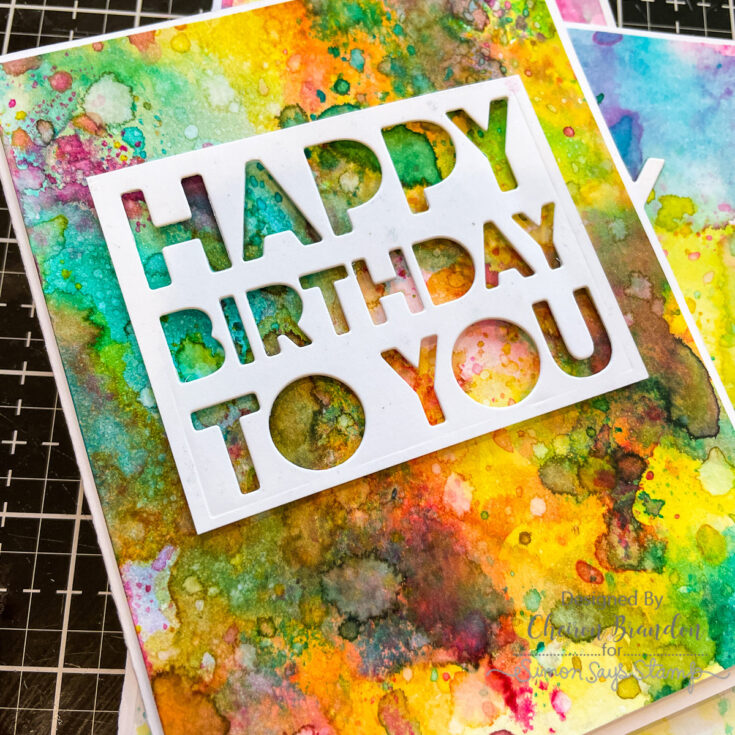
Once the panels were dry, I wanted to add a sentiment for a quick and easy birthday card. There are a few ways you can do this, and I wanted to share three ways that I have made cards using these Bold Text dies. The first is to add the words on top of the panel. The way I do this is to die cut the words out of my panel, but keep the letters in by adding Sookwang tape to the back. Then I cut the letters again out of white cardstock and layer them on top. The second, possibly easier way is to cut the letters out, back the panel with a piece of white cardstock and then add the ‘insides’ of the panel back in. And one more, even simpler way is to cut the words out of a rectangle of white cardstock and adhere it over the inked panel. I did use a bit of foam tape on mine.

These techniques are perfect for making batches of cards! You could make backgrounds one day then add sentiments the next. If you want to make the cards even fancier, you could add Distress Mica Spray or even embellishments (like tiny stars). I hope this post gave you some fun ideas for creating with the Bold Text dies! Let me know which one you find the easiest!
SUPPLIES:
|


Thanks so much for stopping by today, and thanks to Cheiron for being our guest!


PinkFresh Foiling Feature by Lea Lawson
Happy Saturday, friends! Please join me in welcoming special guest Lea Lawson representing PinkFresh Studio on our blog today! They have been coming out with some really FABULOUS foiling products lately, and Lea is sharing a few of them in this post! Read on and enjoy!
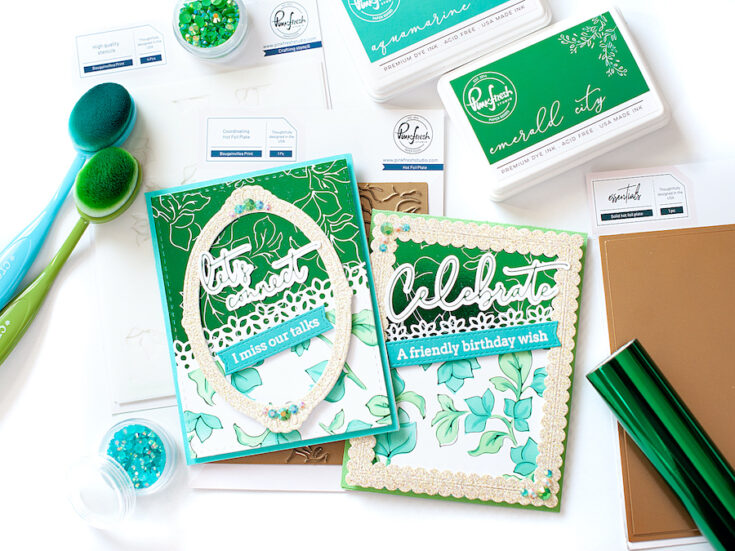
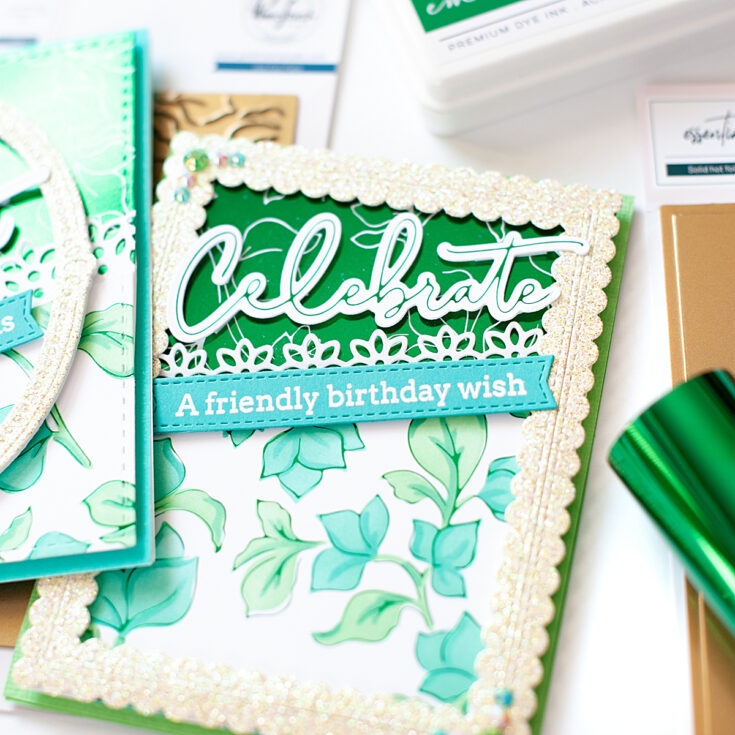
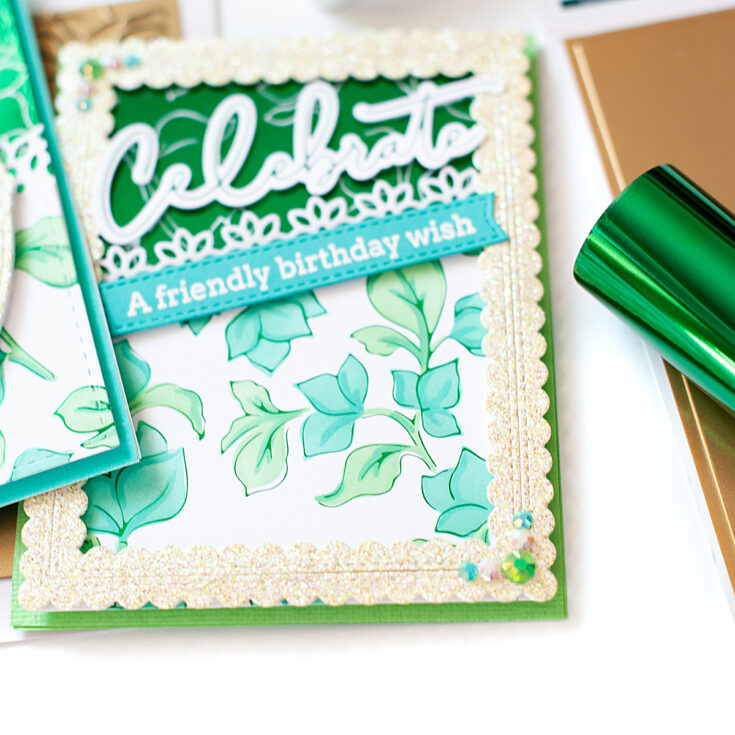
Hi friends! This is Lea Lawson with Pinkfresh Studio, and I’ve got a fun card set full of foiling to share with you today! I’m not one to make cards for St. Patrick’s Day, but I love all the green we see in March. That is what inspired these cards…plus the fact that I recently purchased the Viridian Green Glimmer foil roll, and I REALLY wanted to use it. Lol!
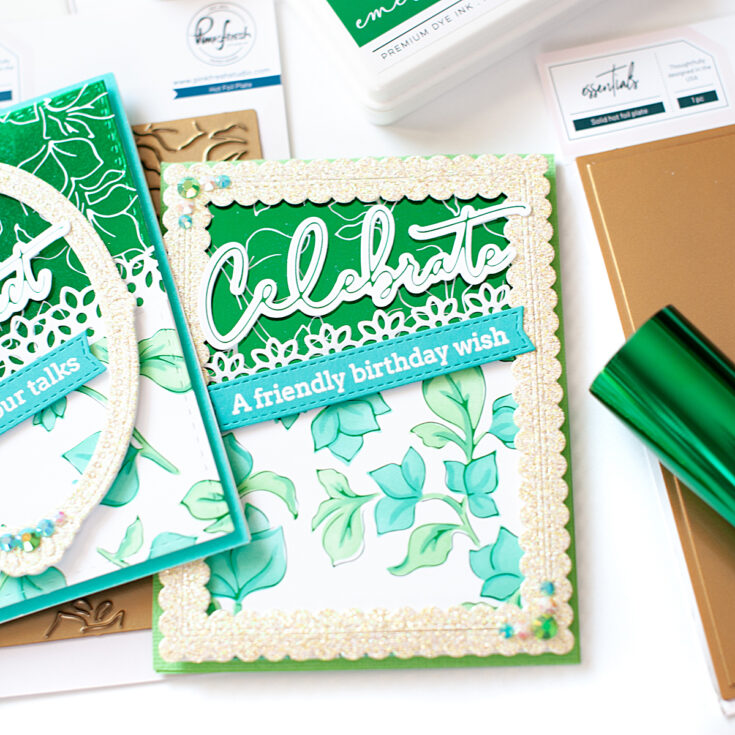
We LOVE foiling at Pinkfresh Studio, and I featured a lot of this technique on my cards today! I started these cards by foiling the Bougainvillea hot foil plate with my Spellbinders Glimmer hot foil system in that Viridian Green foil I mentioned above. Next I foiled my Celebrate sentiment and Let’s Connect sentiment (from our Fancy Script Words hot foil set) in the same color. Finally, I used our innovative Solid Hot Foil Plate to foil the leftover “negative” foil design that the Bougainvillea design produced. We absolutely love that this one product produces far less foiling waste, and give you 2 for 1 designs with pretty much anything you foil!
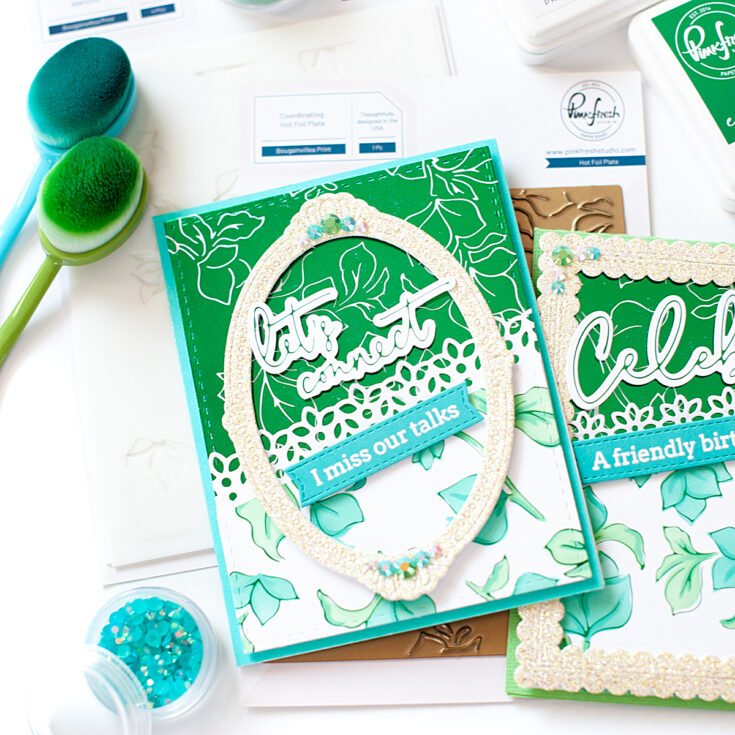
With the foiling complete, I proceeded to ink blend the standard Bougainvillea hot foiled panel with the coordinating layering stencils in the following Pinkfresh Studio premium dye ink colors: Aquamarine, Mermaid Cove, Meadow and Emerald City. I cut down both the standard and solid foiled panels with our largest Essentials: Stitched Rectangle, then cut each one in half at an angle.
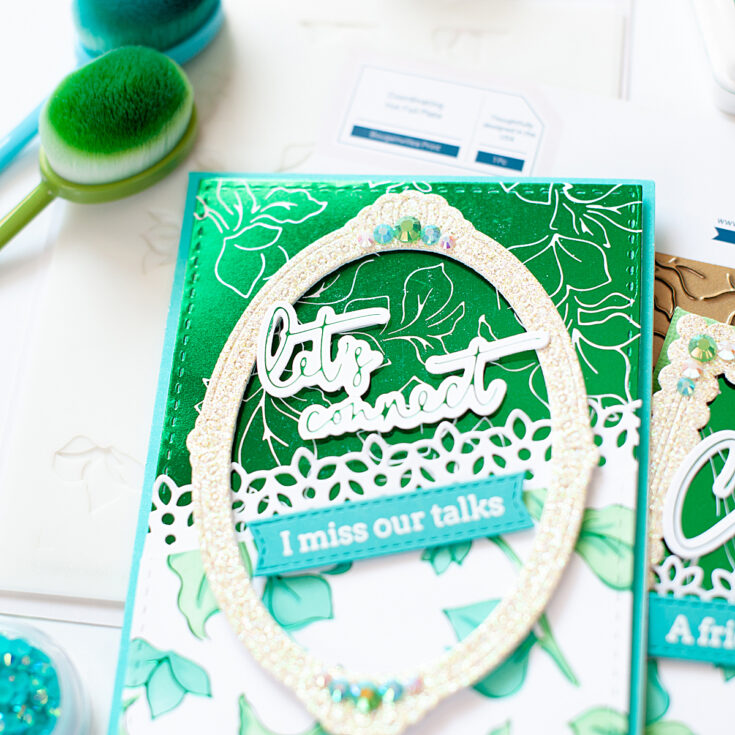
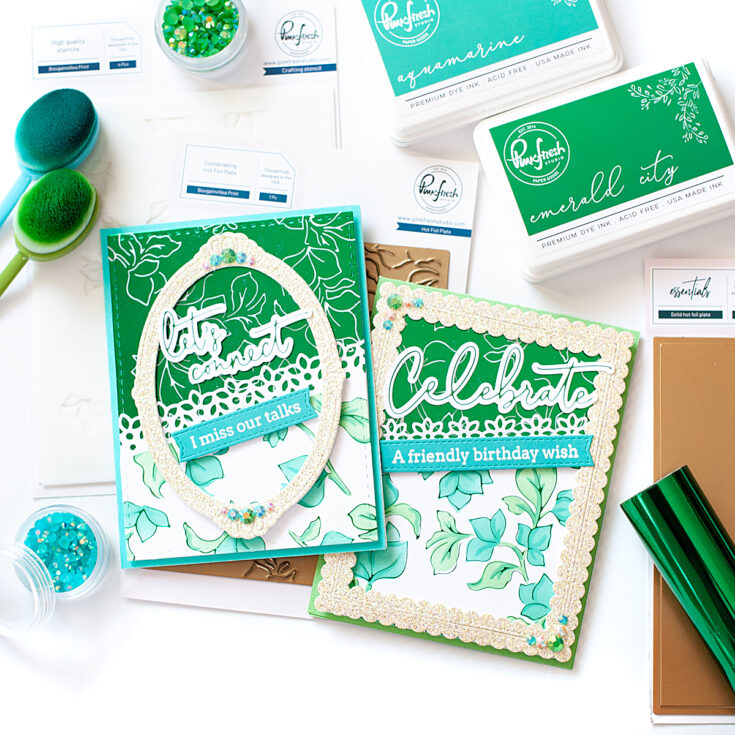
I cut two decorative edges from white cardstock using our Slim Lacy Edgers, and Lacy Edgers 1 die sets. I also cut out our Essentials: Fancy Oval Frame and Essentials: Stitched Scallop Rectangles from champagne colored glitter paper. Finally, I diecut the Celebrate sentiment and Let’s connect sentiment with their coordinating dies.
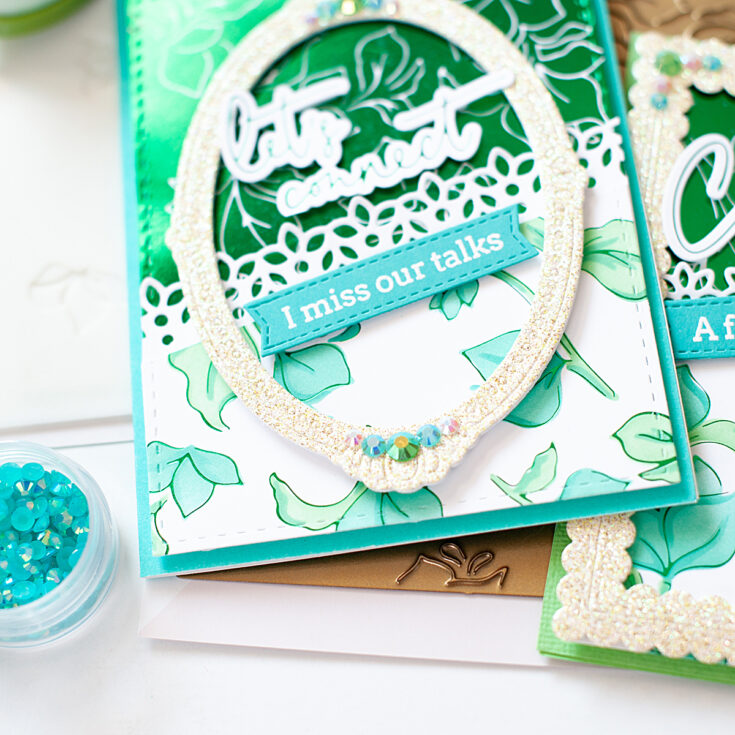
With all of the elements foiled and diecut I proceeded to put together my cards as shown, popping up many of them with foam adhesive for added dimension. I decided that each card needed a secondary sentiment, so I stamped and heat embossed them in white to aqua cardstock from our Simply Sentiments: Hello and Happy Birthday Sentiments stamp sets. I trimmed those down with a stitched banner die, and mounted them to each card front with some foam tape. To complete the cards, I accented them with our Jewels Mix in the following colors: Emerald City, Ocean Breeze and Glacier.
I hope you enjoyed my card set that features both standard and solid hot foiling! The solid hot foil pieces do feel a bit bold, very shiny and maybe a tad overwhelming to use at first. But by breaking them up like this in more of a color block design, it makes the solid design feel less scary. I hope you’ll try it out!
SUPPLIES:
|


Thanks so much for stopping by, and thanks to Lea for being our guest!


