Let’s Chill Blog Hop WINNERS!
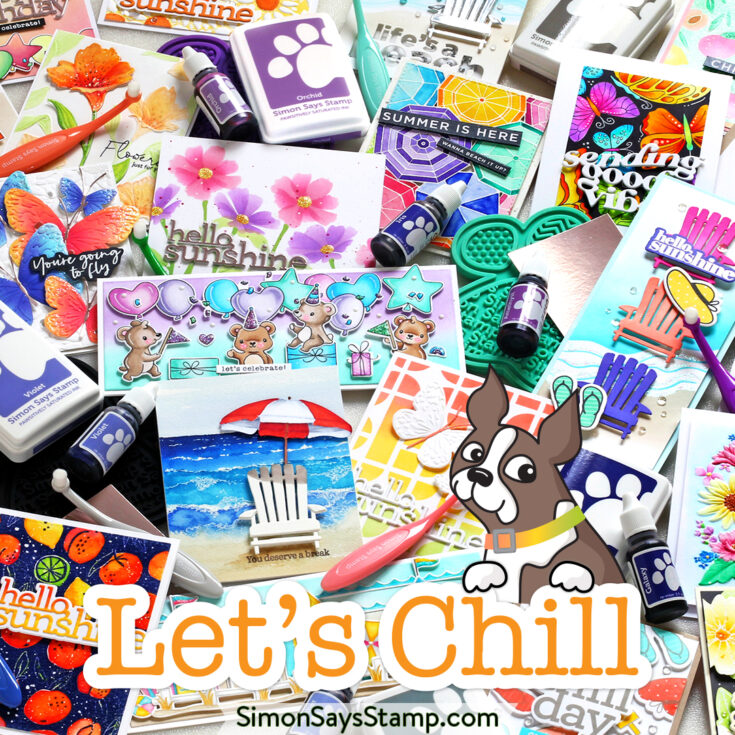
Hello, friends! You’re going to love the relaxing vibes of our latest release, Let’s Chill! You’ll head to the water with Beach Huts, Beachy Keen, Let’s Get Away, and Beach Party Umbrellas stamps; you’ll frolic in the garden with embossing folders, foil plates, and stencils like Graceful Butterfly, Floral Harmony, Delightful Dragonflies, and Layering Cosmos; and you’ll bask in the sun with dies like Hello, Sunshine and Adirondack Chair.
Hold onto your beach hats, because that’s not all! The final fifteen Pawsitively Saturated ink colors and Re-inkers are here! Plus, we’ve got new Detail Blending Brushes in both round and flat styles as well as black and brown Pawsitively Everything Tools.
To celebrate this phenomenal release, we hosted two amazing blog hops! The hops featured many talented designers and each one created wonderful projects to inspire you. If you missed either of the hops, you can find the direct links here: DAY ONE and DAY TWO.
A BIG thank you to all of YOU who joined us for the hops! We enjoy hearing from each of you, and your words of encouragement and appreciation to each of the designers mean so much to us here at Simon and to them. It’s our tradition to give away gift certificates to random commenters on each blog stop, and today we are revealing all of the winners! So without further ado, I present to you our winners!
DAY ONE HOP WINNERS:
from Simon Says Stamp’s blog: Angela Veneziale!
from Nina-Marie Trapani’s blog: Von Marie!
from Caly Person’s blog: Twana Griffin!
from Nichol Spohr’s blog: Tarenthea Baumgarner!
from Cathy Zielske’s blog: Leora Henkin!
from Jennifer McGuire’s blog: Virginia L Ellison!
from Suzy Plantamura’s blog: NWFlamingo!
from Sidnie Des Jardins’s blog: Patti Nienberg!
from Lisa Addesa’s blog: Knitty!
from Keisha Charles’s blog: Danielle Gibson!
from Amy Rysavy’s blog: Marilyn Fisher!
from Alberto Gava’s blog: Elizabeth Motyka!
from Heather Ruwe’s blog: Roblyn Henry!
from Bibi Cameron’s blog: Cristina!
from Cheiron Brandon’s blog: Caitlin I!
DAY TWO HOP WINNERS:
from Simon Says Stamp’s blog: Ann Marie S.!
from Laura Bassen’s blog: Tamala Priebe!
from Amanda Korotkova’s blog: Patricia E Wilson!
from Barbara Tarayao’s blog: MadeByMeghanK!
from Emily Midgett’s blog: ginger!
from Miriam Prantner’s blog: Sunshine HoneyBee!
from Mindy Eggen’s blog: Donna Phelan!
from Barb Engler’s blog: barbara lassiter!
from Heather Hoffman’s blog: Mary Holshouser!
from Lea Lawson’s blog: Pauline Godfrey!
from Tina Smith’s blog: ionabunny!
from Jennifer Kotas’s blog: Tami B!
from Anna-Karin Evaldsson’s blog: lagene!
from Sandi MacIver’s blog: Shar Zar!
If you see your name listed above, CONGRATULATIONS! Please email [email protected] and let him know that you are one of our Let’s Chill Blog Hop winners! You’ll receive a $25 Gift Card. ???
Thanks again for hopping along with us! We hope you enjoy our fantastic Let’s Chill release and that it gives you creative enjoyment for months to come!
Winning ROCKS, and so do you!
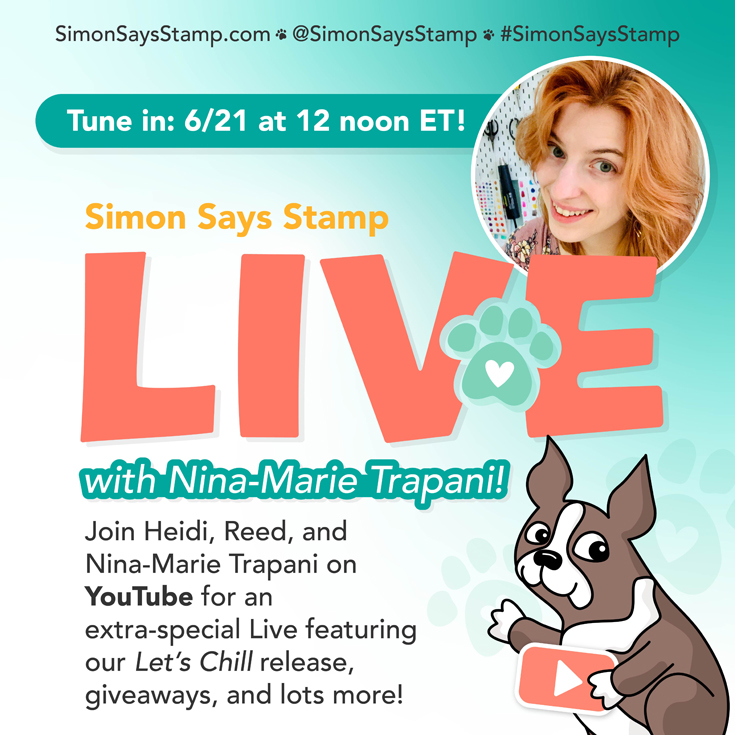
ICYMI (In Case You Missed It): Want to see these products and more? Check out the replay of yesterday’s YouTube Live Stream for a super cool inside look at the release and a visit with special guest, Nina-Marie Trapani!
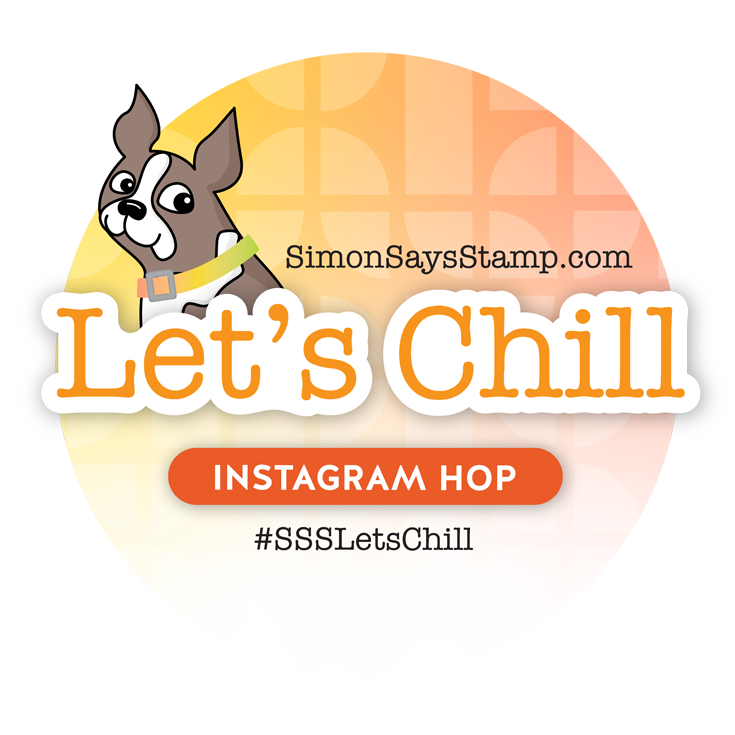
We hope you will join us on Instagram on Friday, June 24, for an Instagram Hop featuring even more inspiration from our Let’s Chill release! We are excited to share awesome ideas from several creative minds using these fantastic products.
You’ll love browsing our Let’s Chill gallery on our blog for loads of additional inspiration, and you can add your projects to these galleries as well!
Adding Color with Ink and Detail Brushes showcasing our July 2022 You Shine card kit!
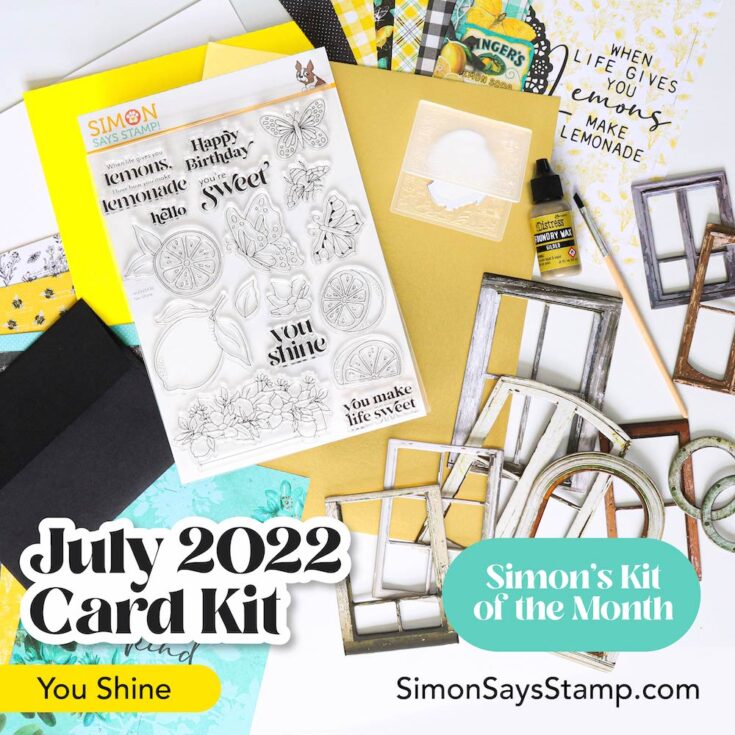

Hi friends! Happy Wednesday! Please join me in welcoming back special guest Nichol Spohr with some seriously gorgeous inspiration showcasing components of our July 2022 card kit You Shine, as well as the coordinating dies, and some pretty pearl accents using the Tonic Key Lime Nuvo Jewel Drops, and perfectly accented with our Reverse Chill Summer sentiment strips! Watch the video for all the details, and enjoy!

WATCH THE VIDEO:
SUPPLIES:
|


Thanks so much for stopping by, and thanks to Nichol for being our guest!
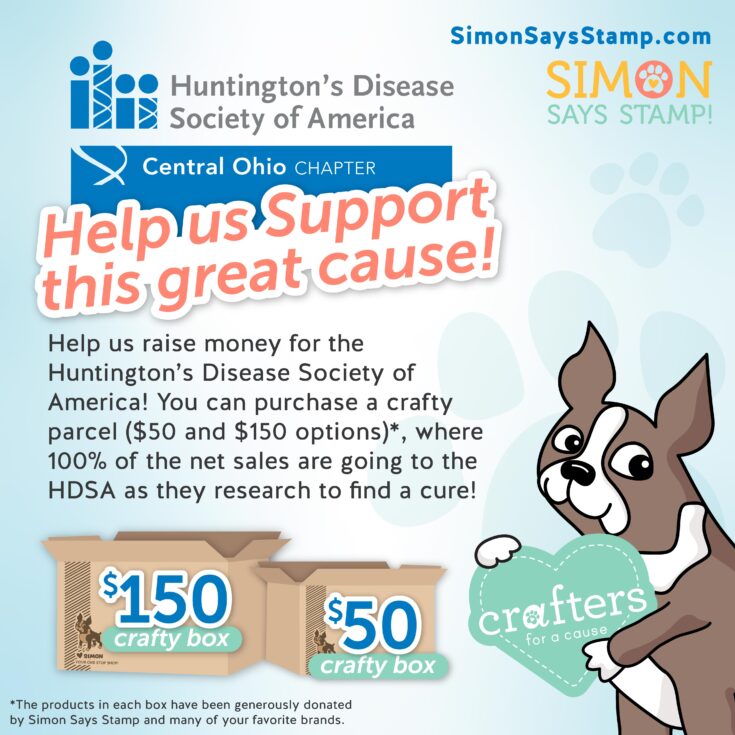
HDSA Fundraiser! Crafty Parcels for a Cause that is Close to Our Hearts!
Last year, we hosted a fundraiser for HDSA! (Huntington’s Disease Society of America) and you loved it so much that it had great success in raising almost $300,000 for HDSA. It is a charity that is very personal and close to my heart because it affects my family. Huntington’s Disease (HD) is a rare, genetic, neurodegenerative disease with a devastating impact on individuals and entire families. It is hereditary and it is terminal. Through the years we have met many wonderful people in the HD Community and when a cure is found it will bring enormous positive impact on families around the world.
So far, there is no cure for Huntington’s Disease. Today, there are approximately 41,000 symptomatic Americans and more than 200,000 at-risk of inheriting the disease.
HD is a rare, genetic, terminal disease that has no cure. It is like having Alzheimers, Parkinsons, and ALS simultaneously. Imagine losing your memory, muscle control, and ability to control your emotions all at once. It’s devastating for the individual and entire family. We need to find a cure. Children of an HD Parent each have a 50/50 chance of inheriting this disease.
Donations help support the families, doctors, scientists, researchers, everyone in the HD community who are working tirelessly for a cure.
It is with a sense of urgency that I am helping raise money for much needed research and development of a cure and to support other families of this deadly and horrific disease.
If you are interested in purchasing a box of goods, please know that 100% of the net sales of the box will be going to support the Central Ohio HDSA as we work to find a cure and support the HD Community.
- $50 donations receive a box of craft supplies valued at over $100
- $150 donations receive a box of craft supplies valued at over $300
If you are not interested in a crafty parcel, but would still like to make a direct donation without a special gift, that would be WONDERFUL, every penny helps. To do so, please click or tap HERE.
If you would like to learn more about HD, please click or tap HERE.
Some of the brands and people who have generously donated product for the donation boxes include but are not limited to:
- Simon Says Stamp
- Tim Holtz and Mario Rossi
- Gina K Designs
- Ranger Industries
- Waffle Flower Crafts
- Lawn Fawn
- Advantus
- Sizzix
- Hero Arts
- Art Impressions
- Kaisercraft
- My Favorite Things
- Therm O Web
- American Crafts
- Brutus Monroe
- Clearly Besotted
- Colorado Craft Company
- Crafter’s Companion
- The Crafter’s Workshop
- Heffy Doodle
- I-crafter
- La-La Land Crafts
- Memory Box
- Newton’s Nook
- PhotoPlay
- Picket Fence Studios
- Reverse Confetti
- Scrapbook Adhesives
- Simple Stories
- Studio Katia
- Sunny Studio Stamps
- Trinity Stamps
- Tombow
- Whimsy Stamps
- Wow
- Zig
With love and gratitude,
Heidi Crowl
Simon Says Stamp Founder
Did you miss our livestream?
Learn even MORE about our HDSA Crafty Parcels:


