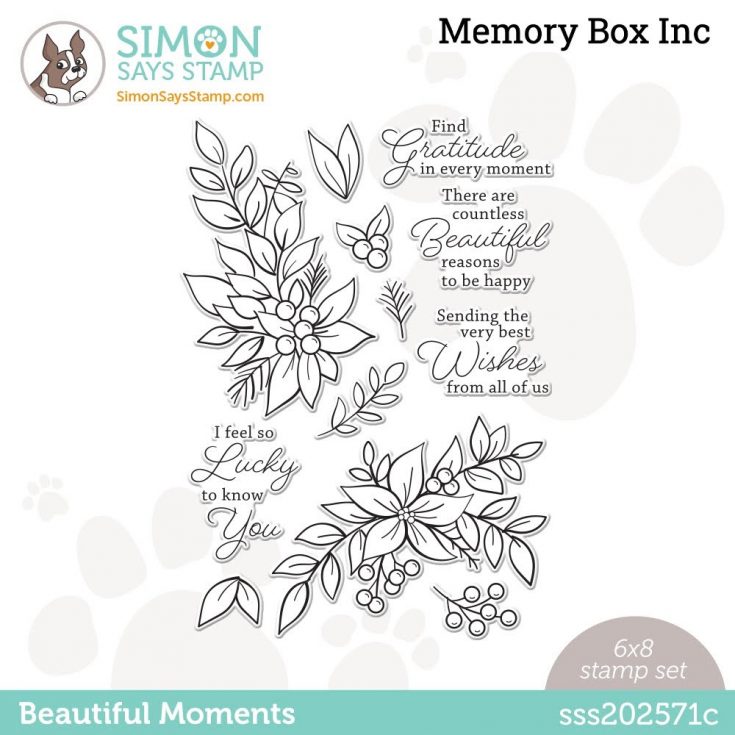
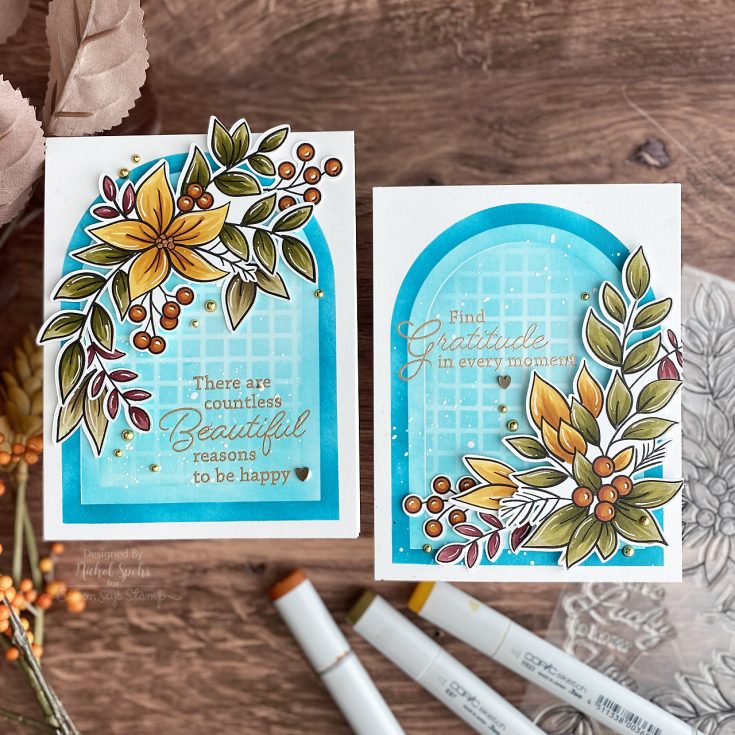
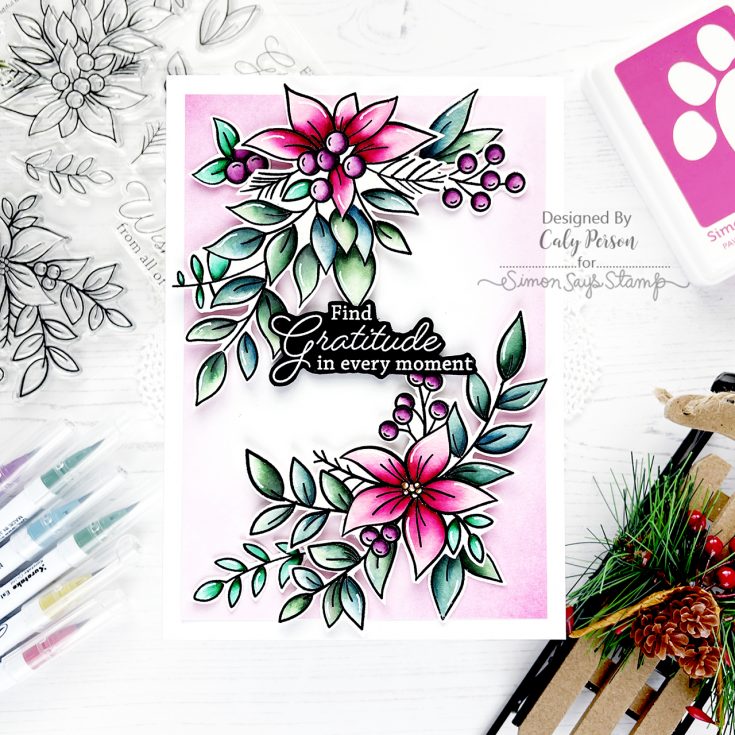
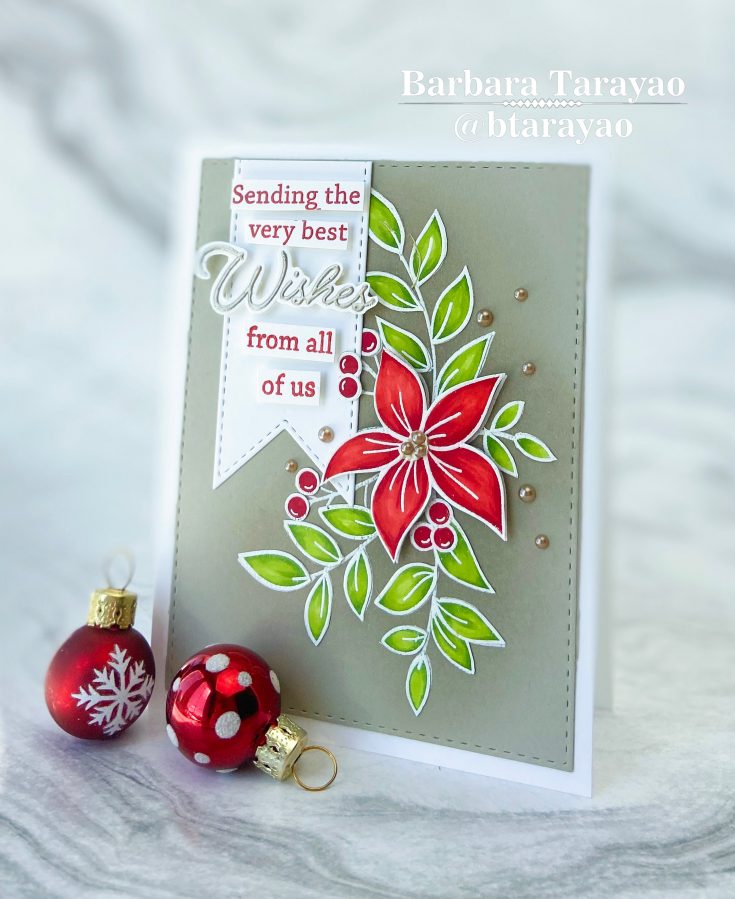
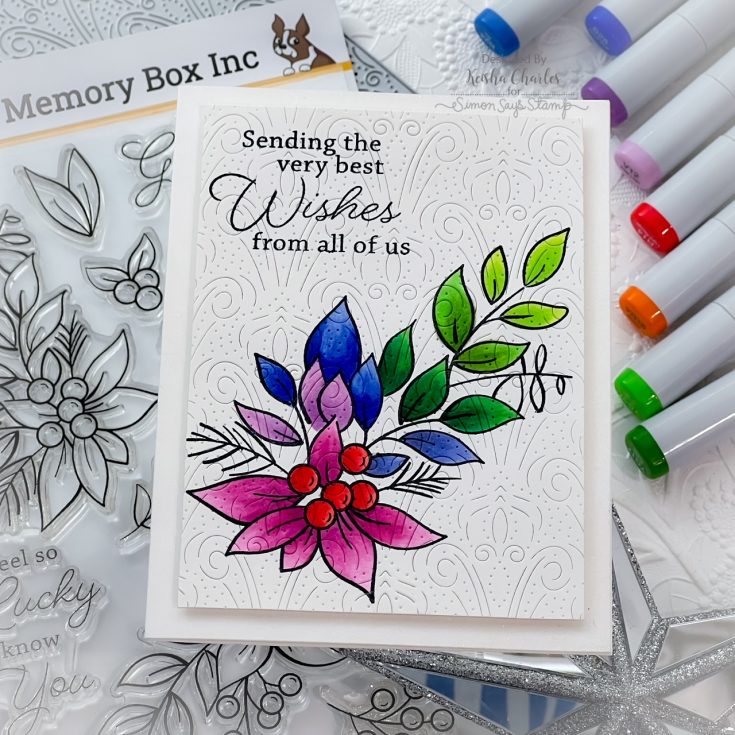
Memory Box STAMPtember® 2022 Exclusive Collaboration!

We want to be your ONE-STOP shop for all things, Memory Box! To see all of the great products that this brand has to offer click or tap HERE!
WATCH THE VIDEO:


But WAIT, there’s MORE!


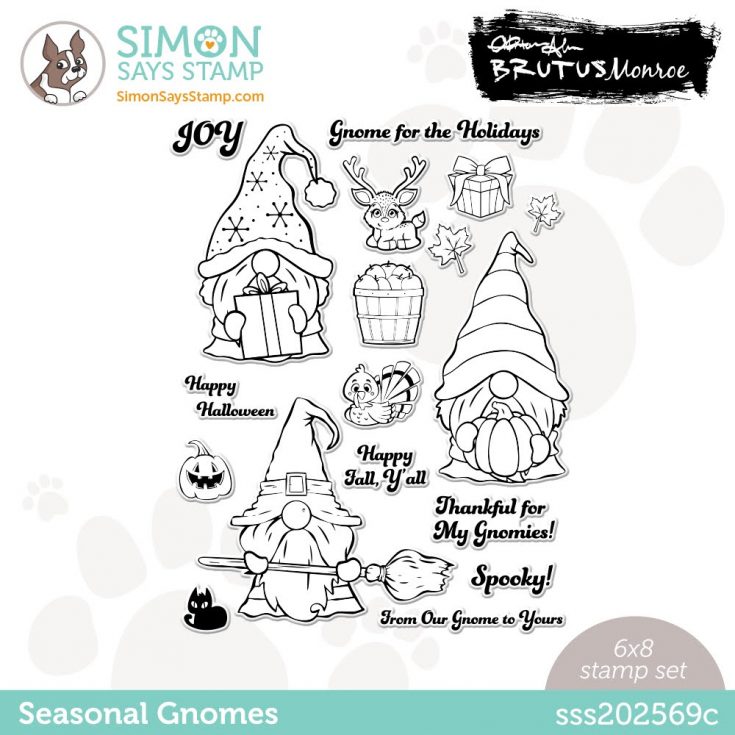
Brutus Monroe STAMPtember® 2022 Exclusive Collaboration!
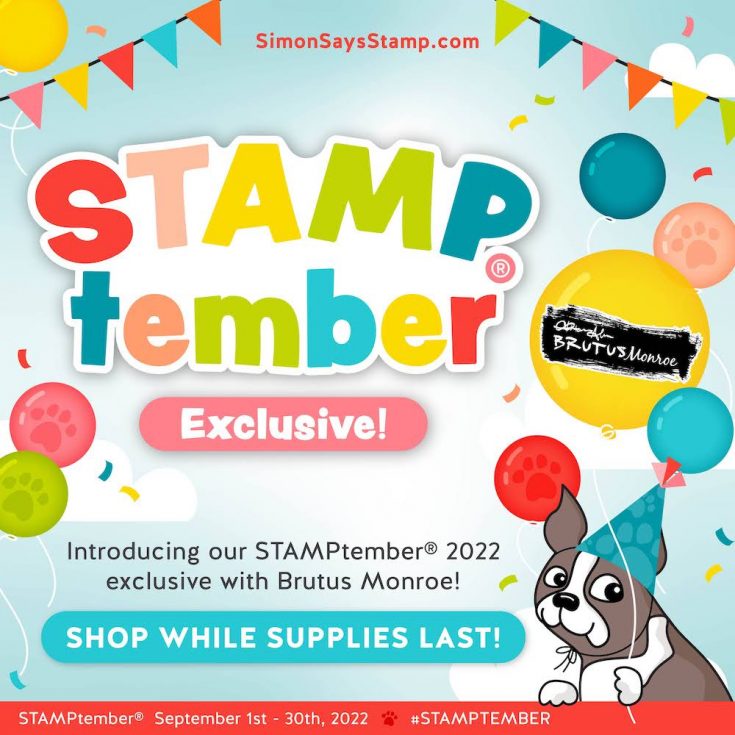
We want to be your ONE-STOP shop for all things, Brutus Monroe! To see all of the great products that this brand has to offer click or tap HERE!
WATCH THE VIDEO:

But WAIT, there’s MORE!
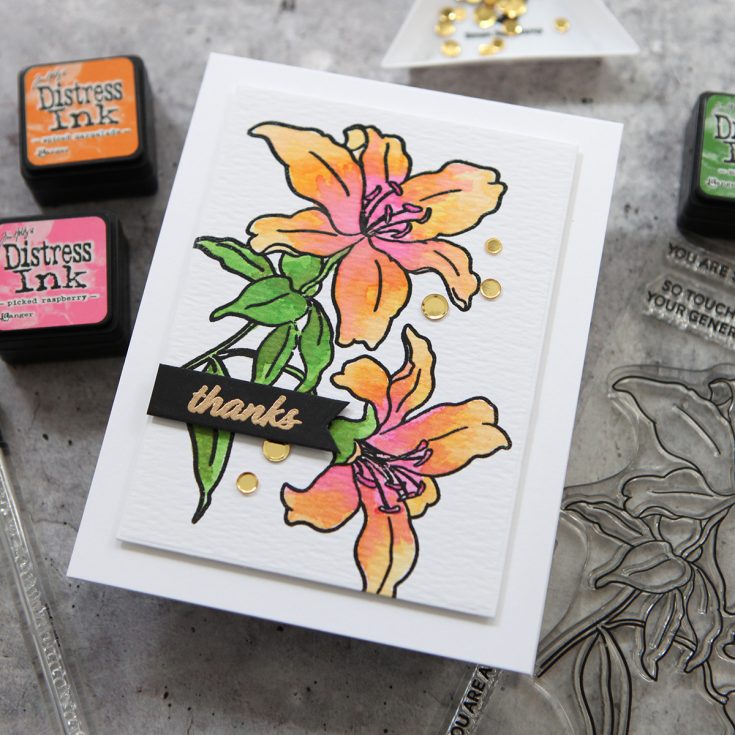
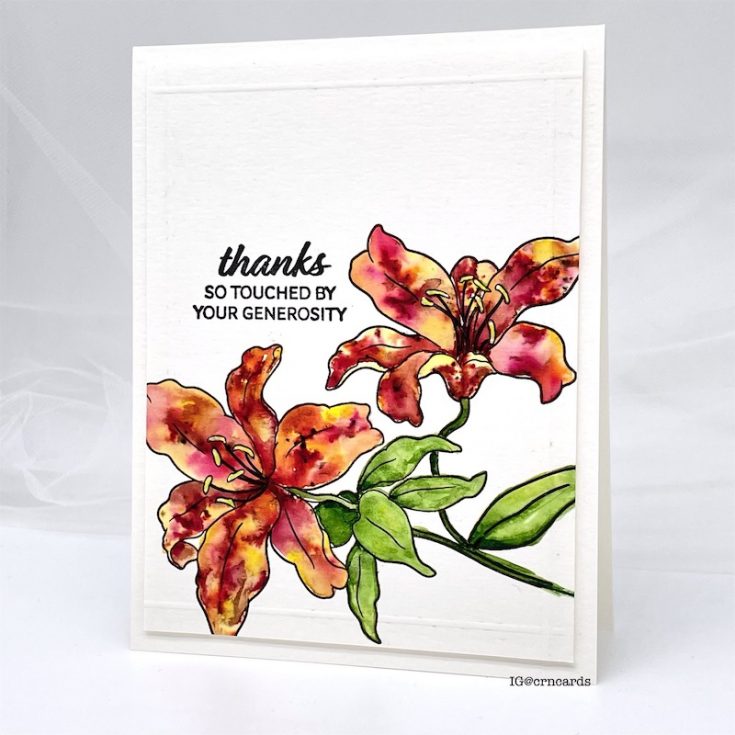
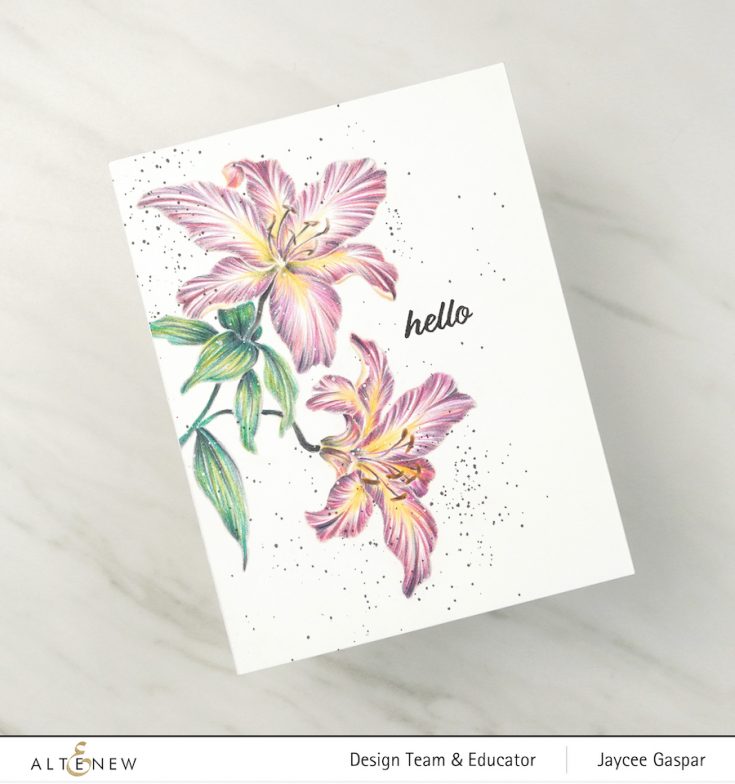
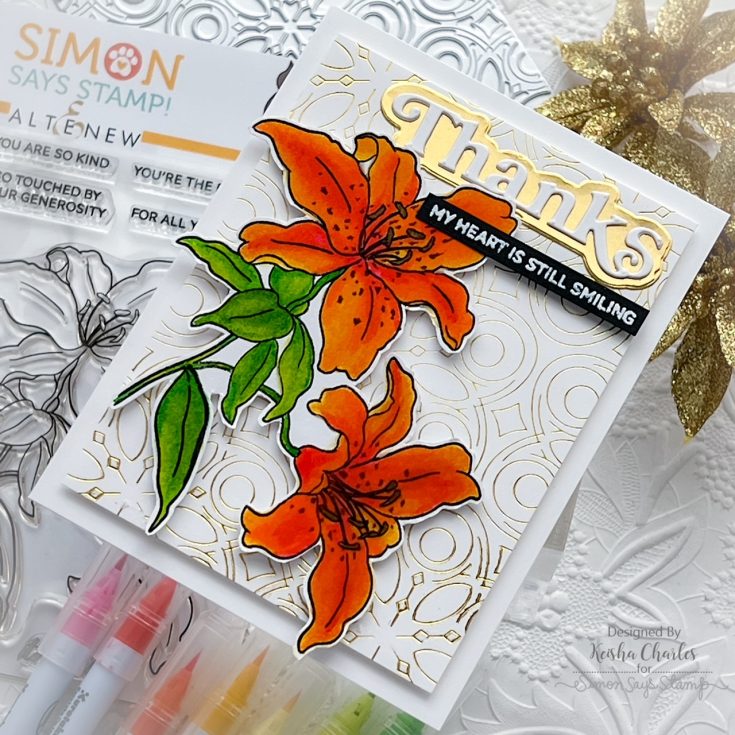
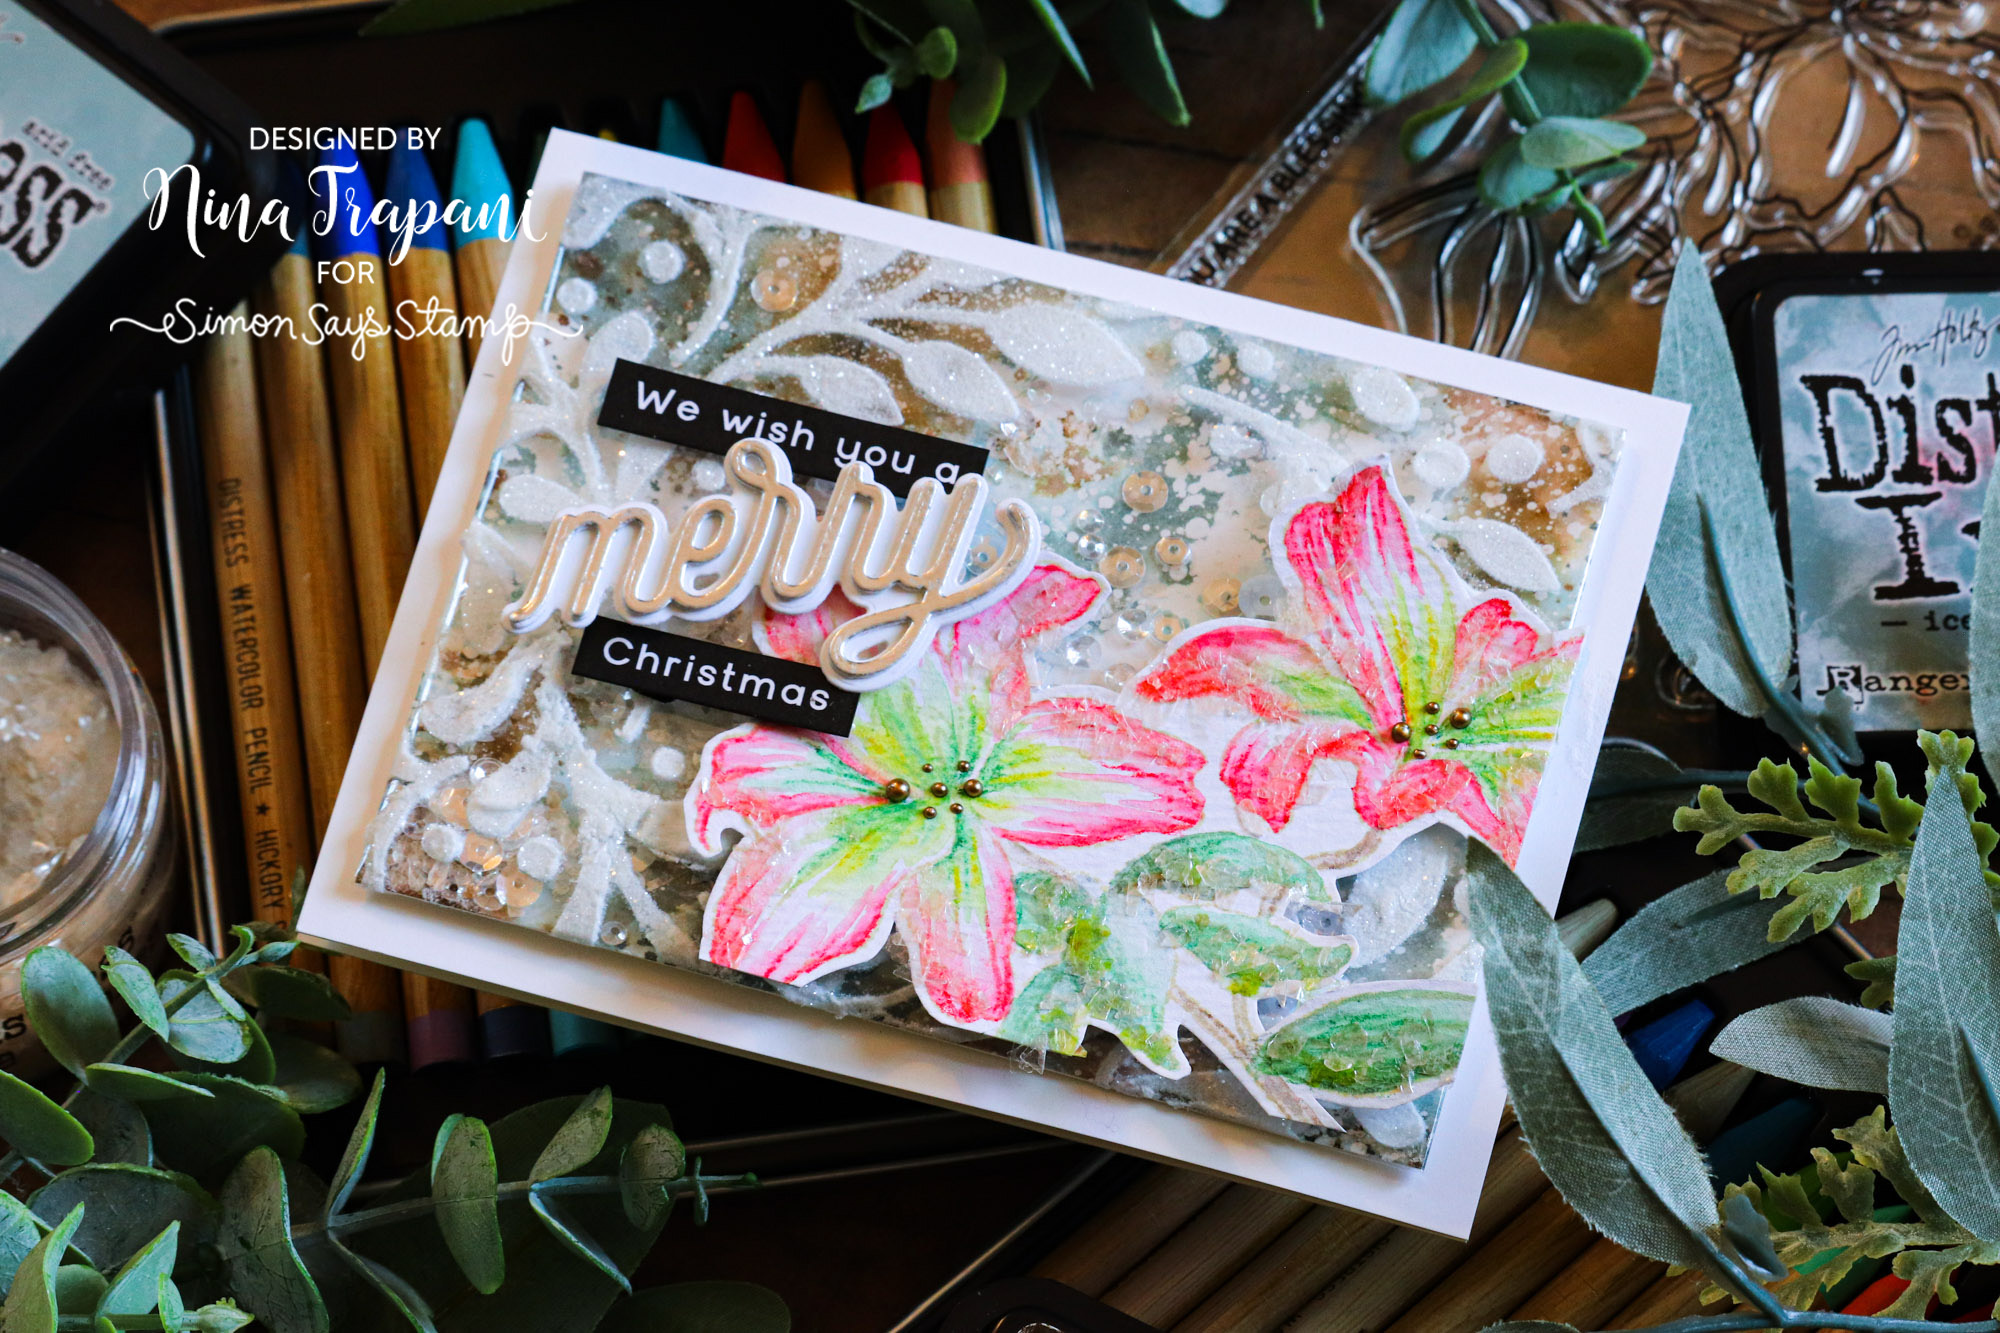
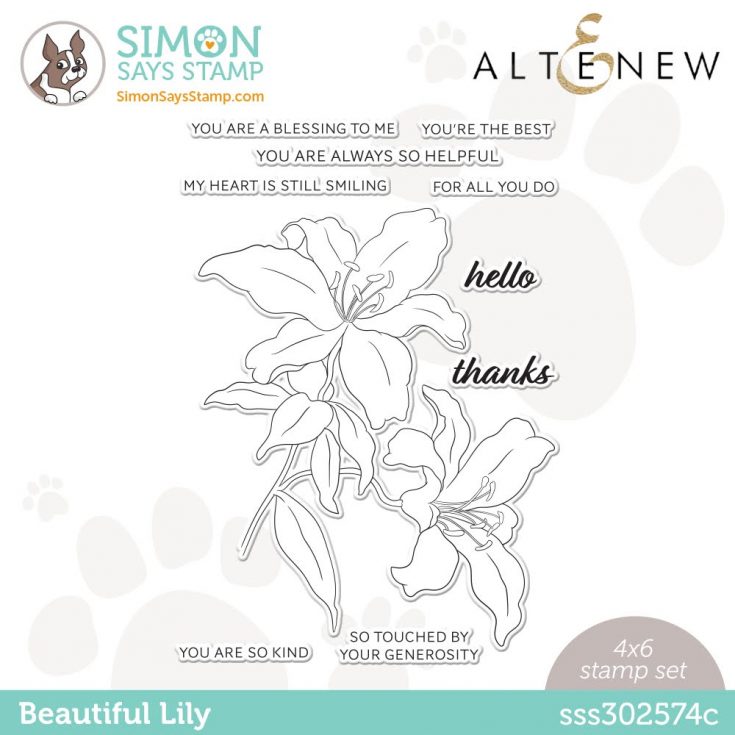
Altenew STAMPtember® 2022 Exclusive Collaboration!
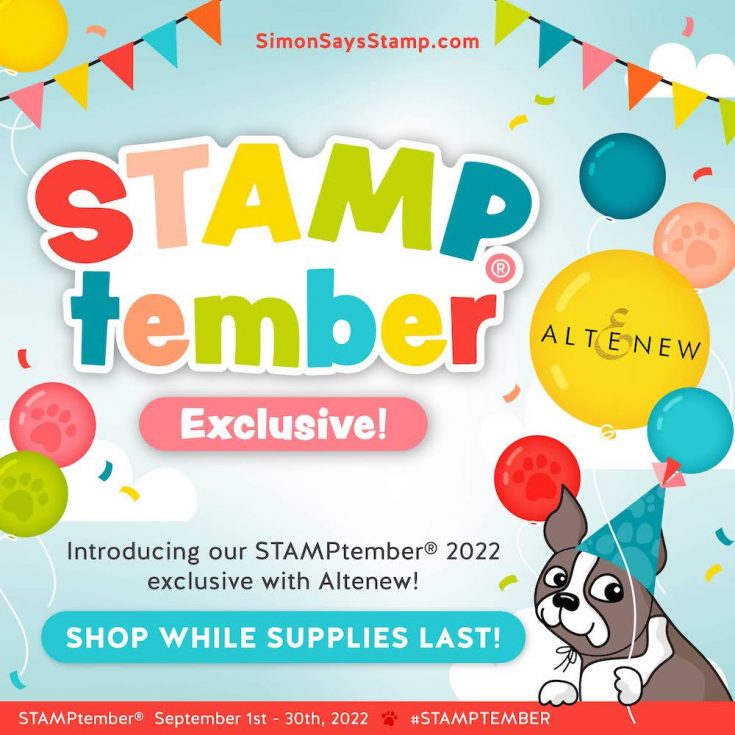
We want to be your ONE-STOP shop for all things, Altenew! To see all of the great products that this brand has to offer click or tap HERE!
WATCH THE VIDEO:
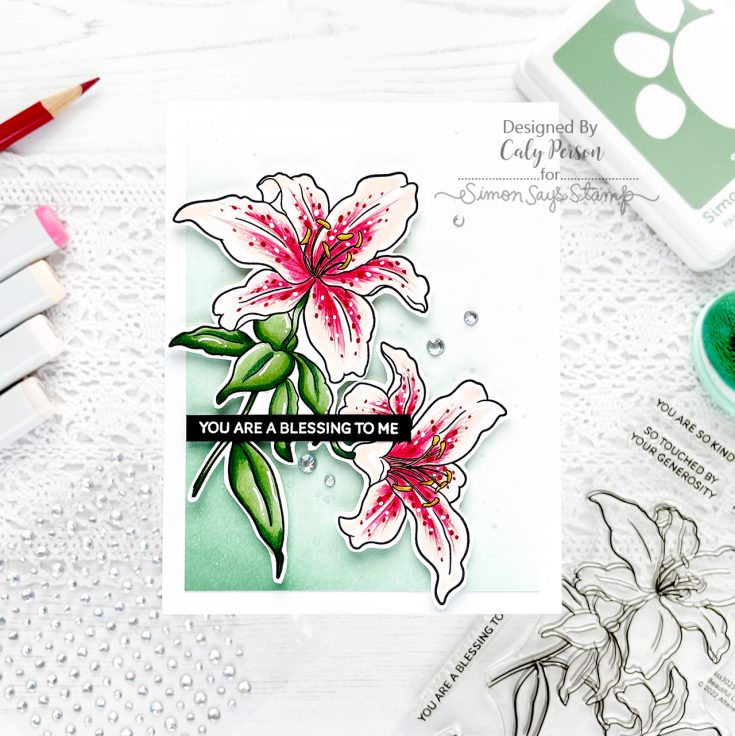
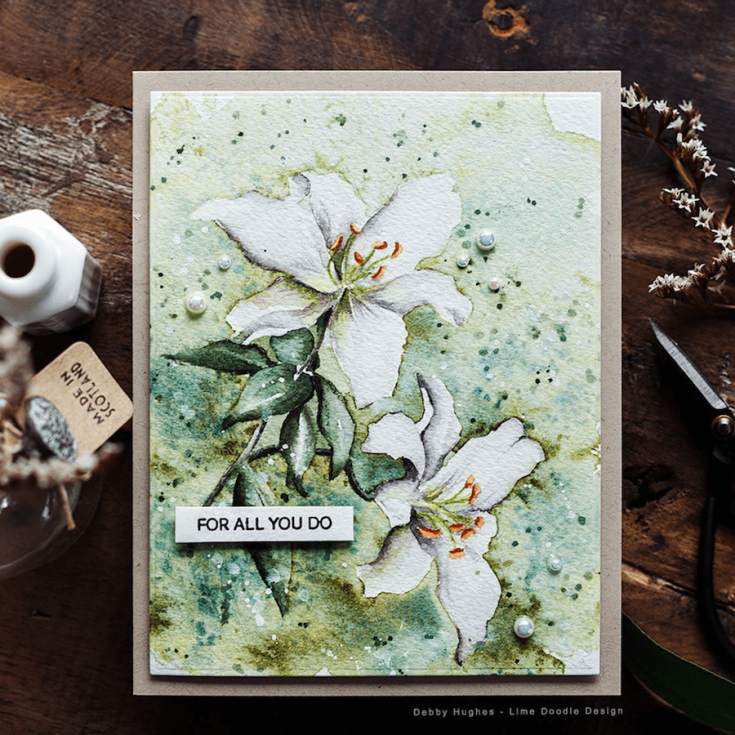
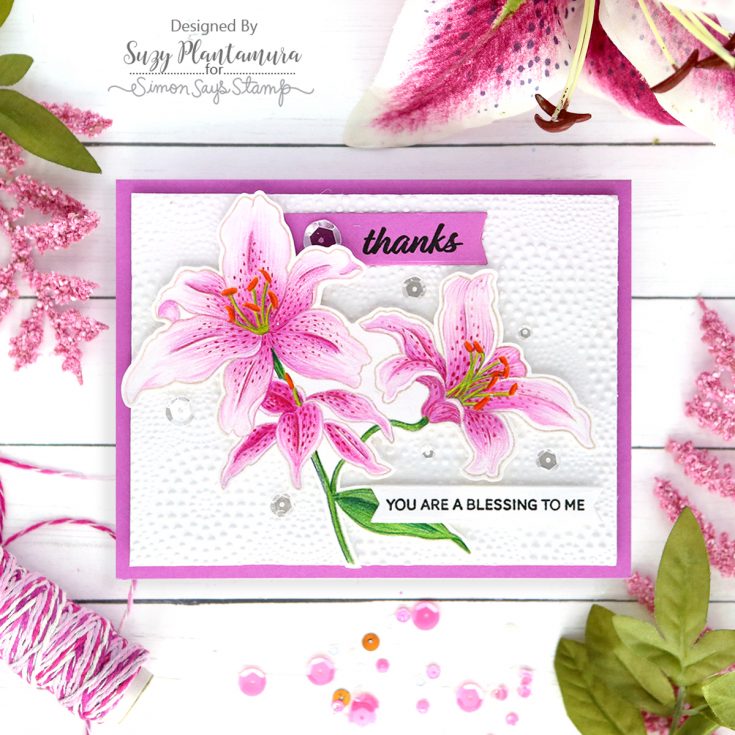

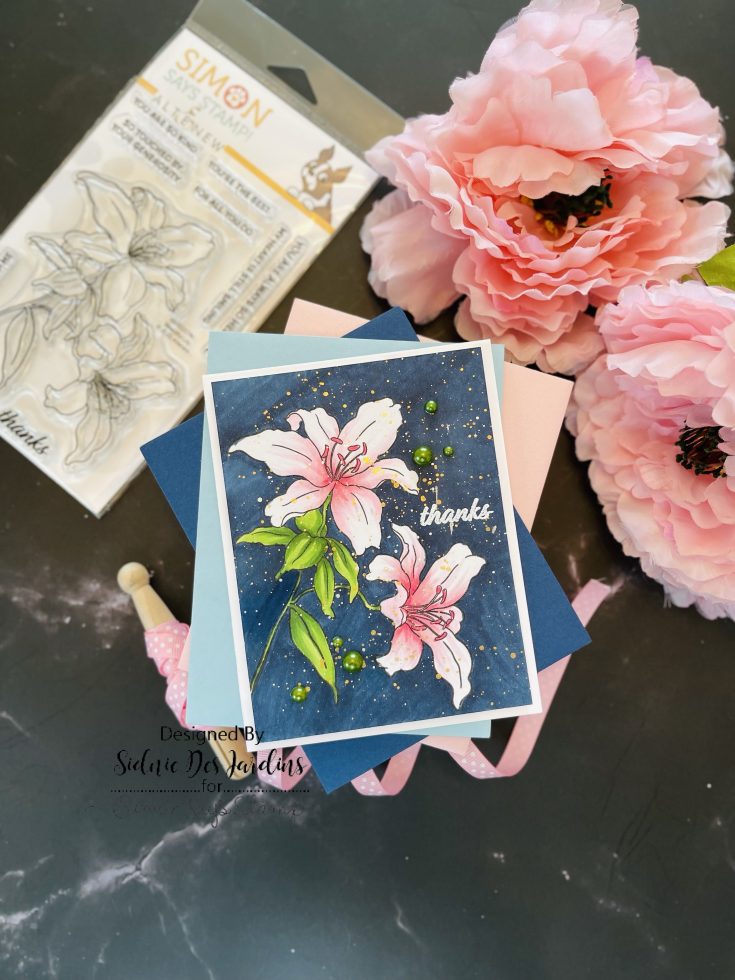

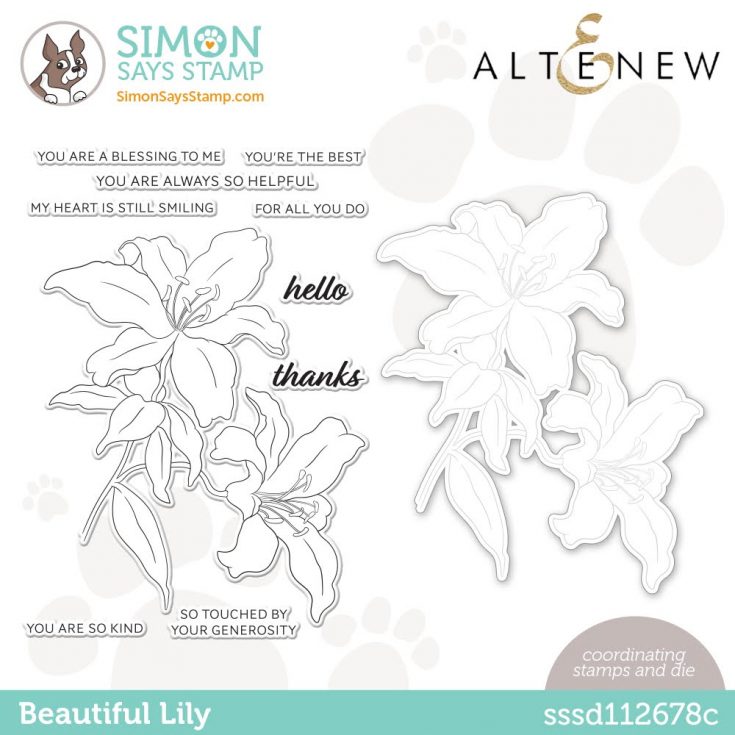
The stand alone stamp set is also available for purchase! While supplies last!
But WAIT, there’s MORE!


