Quick & Cute Handmade ‘Just because’ cards!

Hi friends! Happy Sunday! Please join me in welcoming special guest Cheiron Brandon to the blog today! I love her colorful pretty style and these pretty cards are of no exception! Read on to learn more and enjoy!
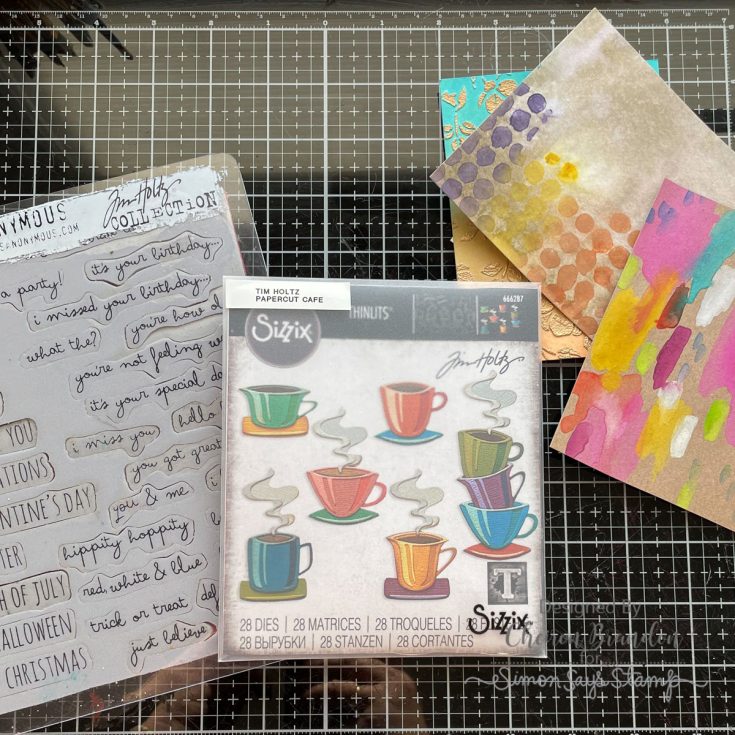
Hi there crafty friends! It’s Cheiron Brandon here with a fun little note card project that is perfect for paper scraps or any of your “experiment” papers with Distress Mediums. I have a bunch of paper scraps in my stash and always look for ways to use them up. For these notes, you will want a colorful pattern scrap, some small die cuts and a simple sentiment set.
I used the new Tim Holtz Sizzix Papercut Cafe Colorize dies (available to preorder now) and the Stampers Anonymous Crazy Talk stamps but almost any small die/simple stamp combo will work. I used a scrap of Distress Kraft Heavystock from my stash that I had colored Distress Watercolor Pencils on and cut it out with the Papercraft Cafe dies look like little painted mugs. The solid pieces for the background of the mugs and the saucers were cut from papers I had made earlier this year using DIstress Mica Stains.
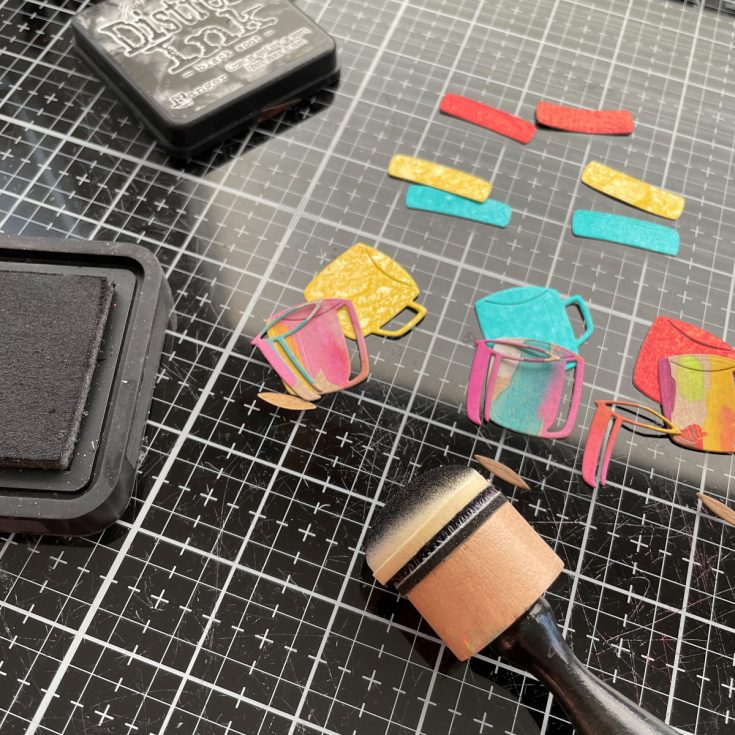
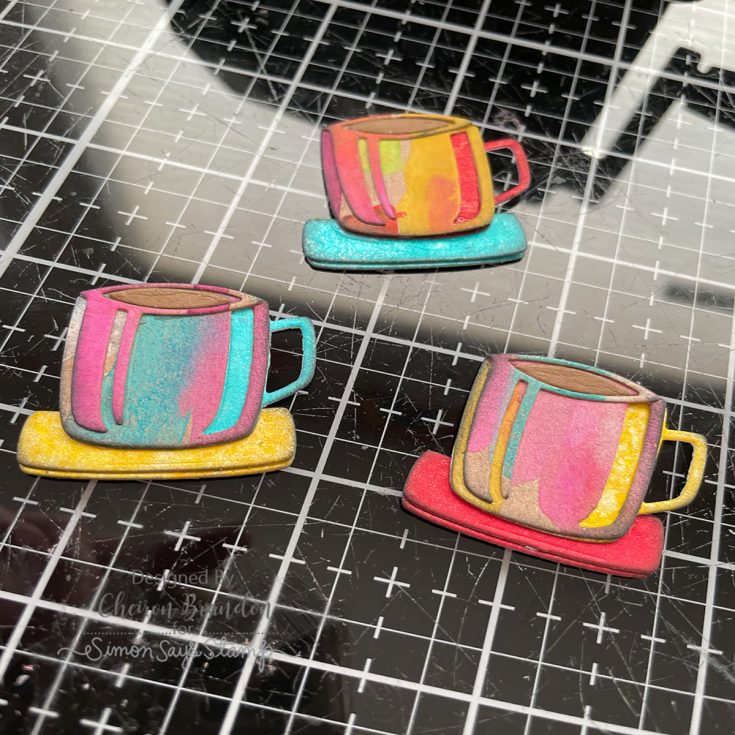
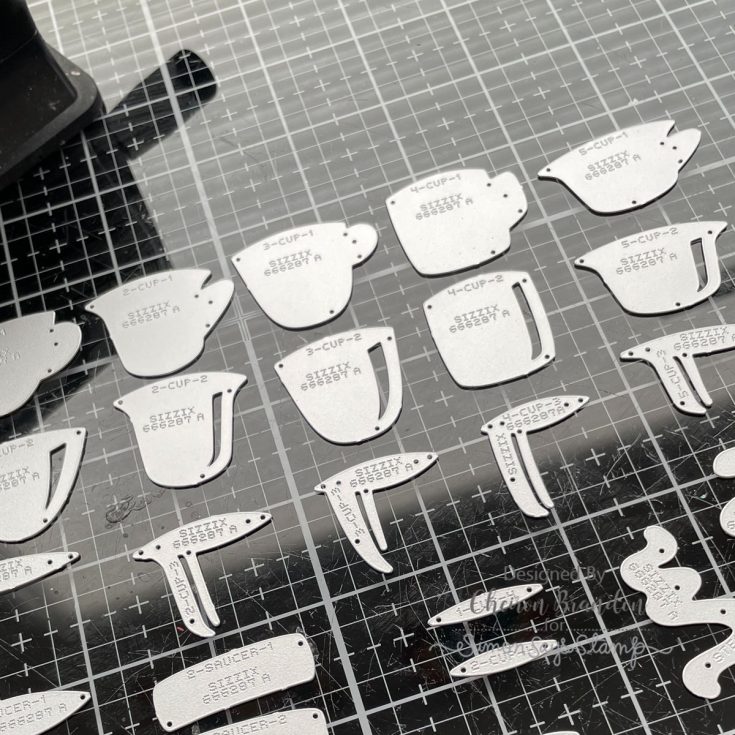
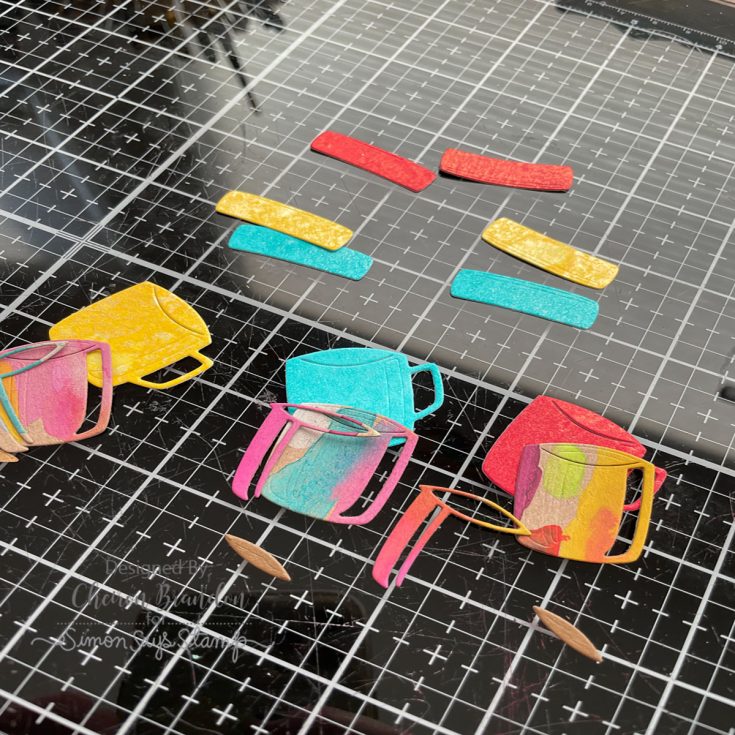
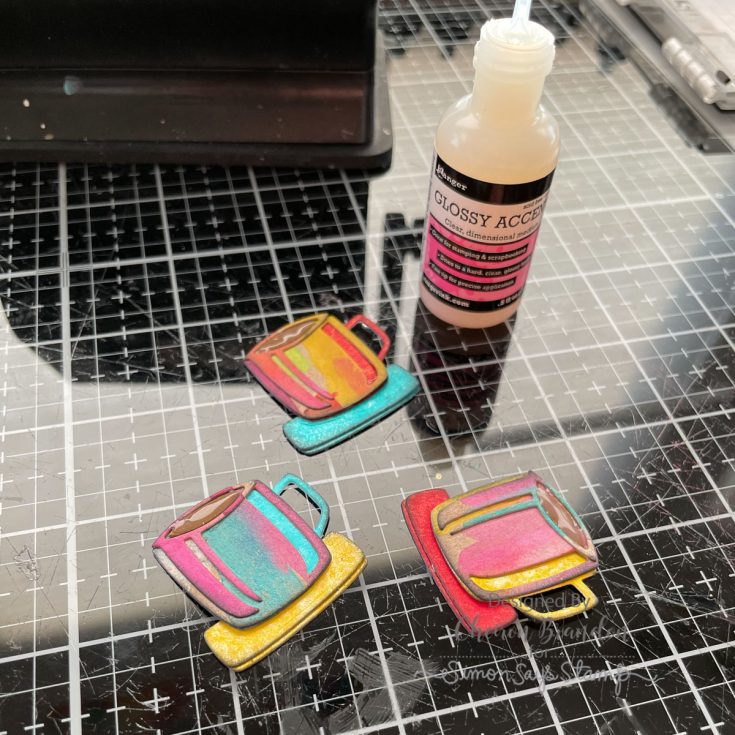
To make these cards is super simple, and a great way to use up your stash. First I took all my colorize dies out and arranged them in order, they are numbered on the back, so creating the layers is super easy. I used cup “4” so I pulled all the pieces that said cup 4 and cut them out. I also cut the pieces for the saucer and the steam. When all of my pieces were cut out, I inked the edges of each piece with Black Soot Distress Ink, then adhered them together and added foam dots to the back.
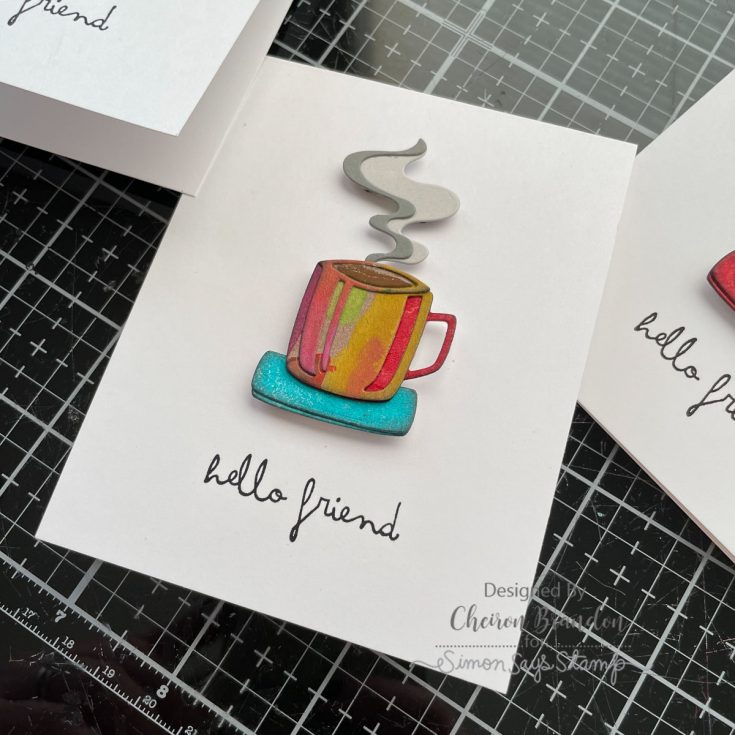
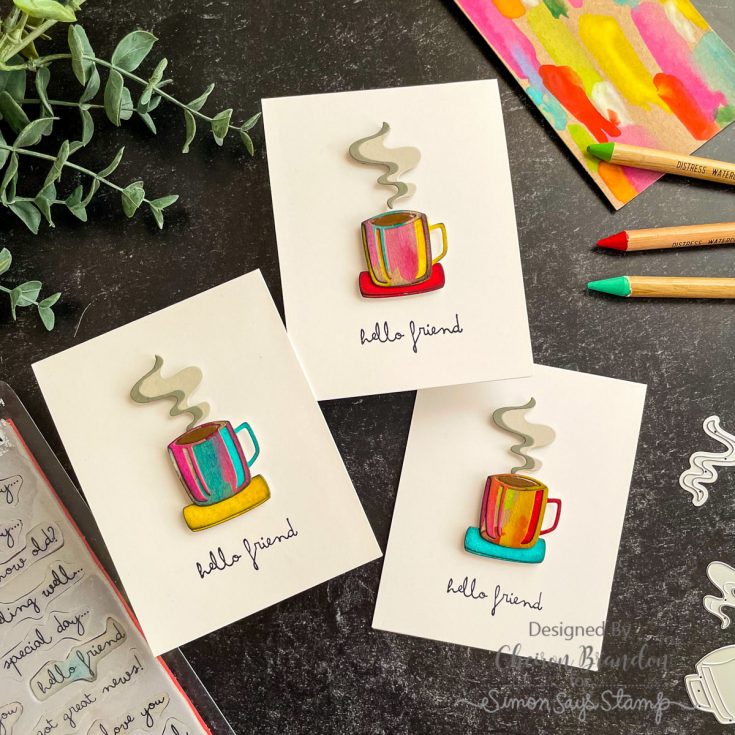
I stamped simple sentiments onto a 3 ½ x 4 x ½ notecard using Versafine Clair ink, then added the mugs that had foam tape on the backs right to the card. These would be great to have on hand in your stash or even more fun to create a few sets of them to give as gifts! I hope you enjoyed this tutorial and can’t wait to see what you turn your scraps into.
SUPPLIES:
|


Thanks so much for stopping by, and thanks to Cheiron for being our guest!!
Did You Know? December 2022 Edition
Hi friends! Happy STAMPtember® eve! Today I have a new edition of our popular Did You Know series!
REVERSE TWEEZERS
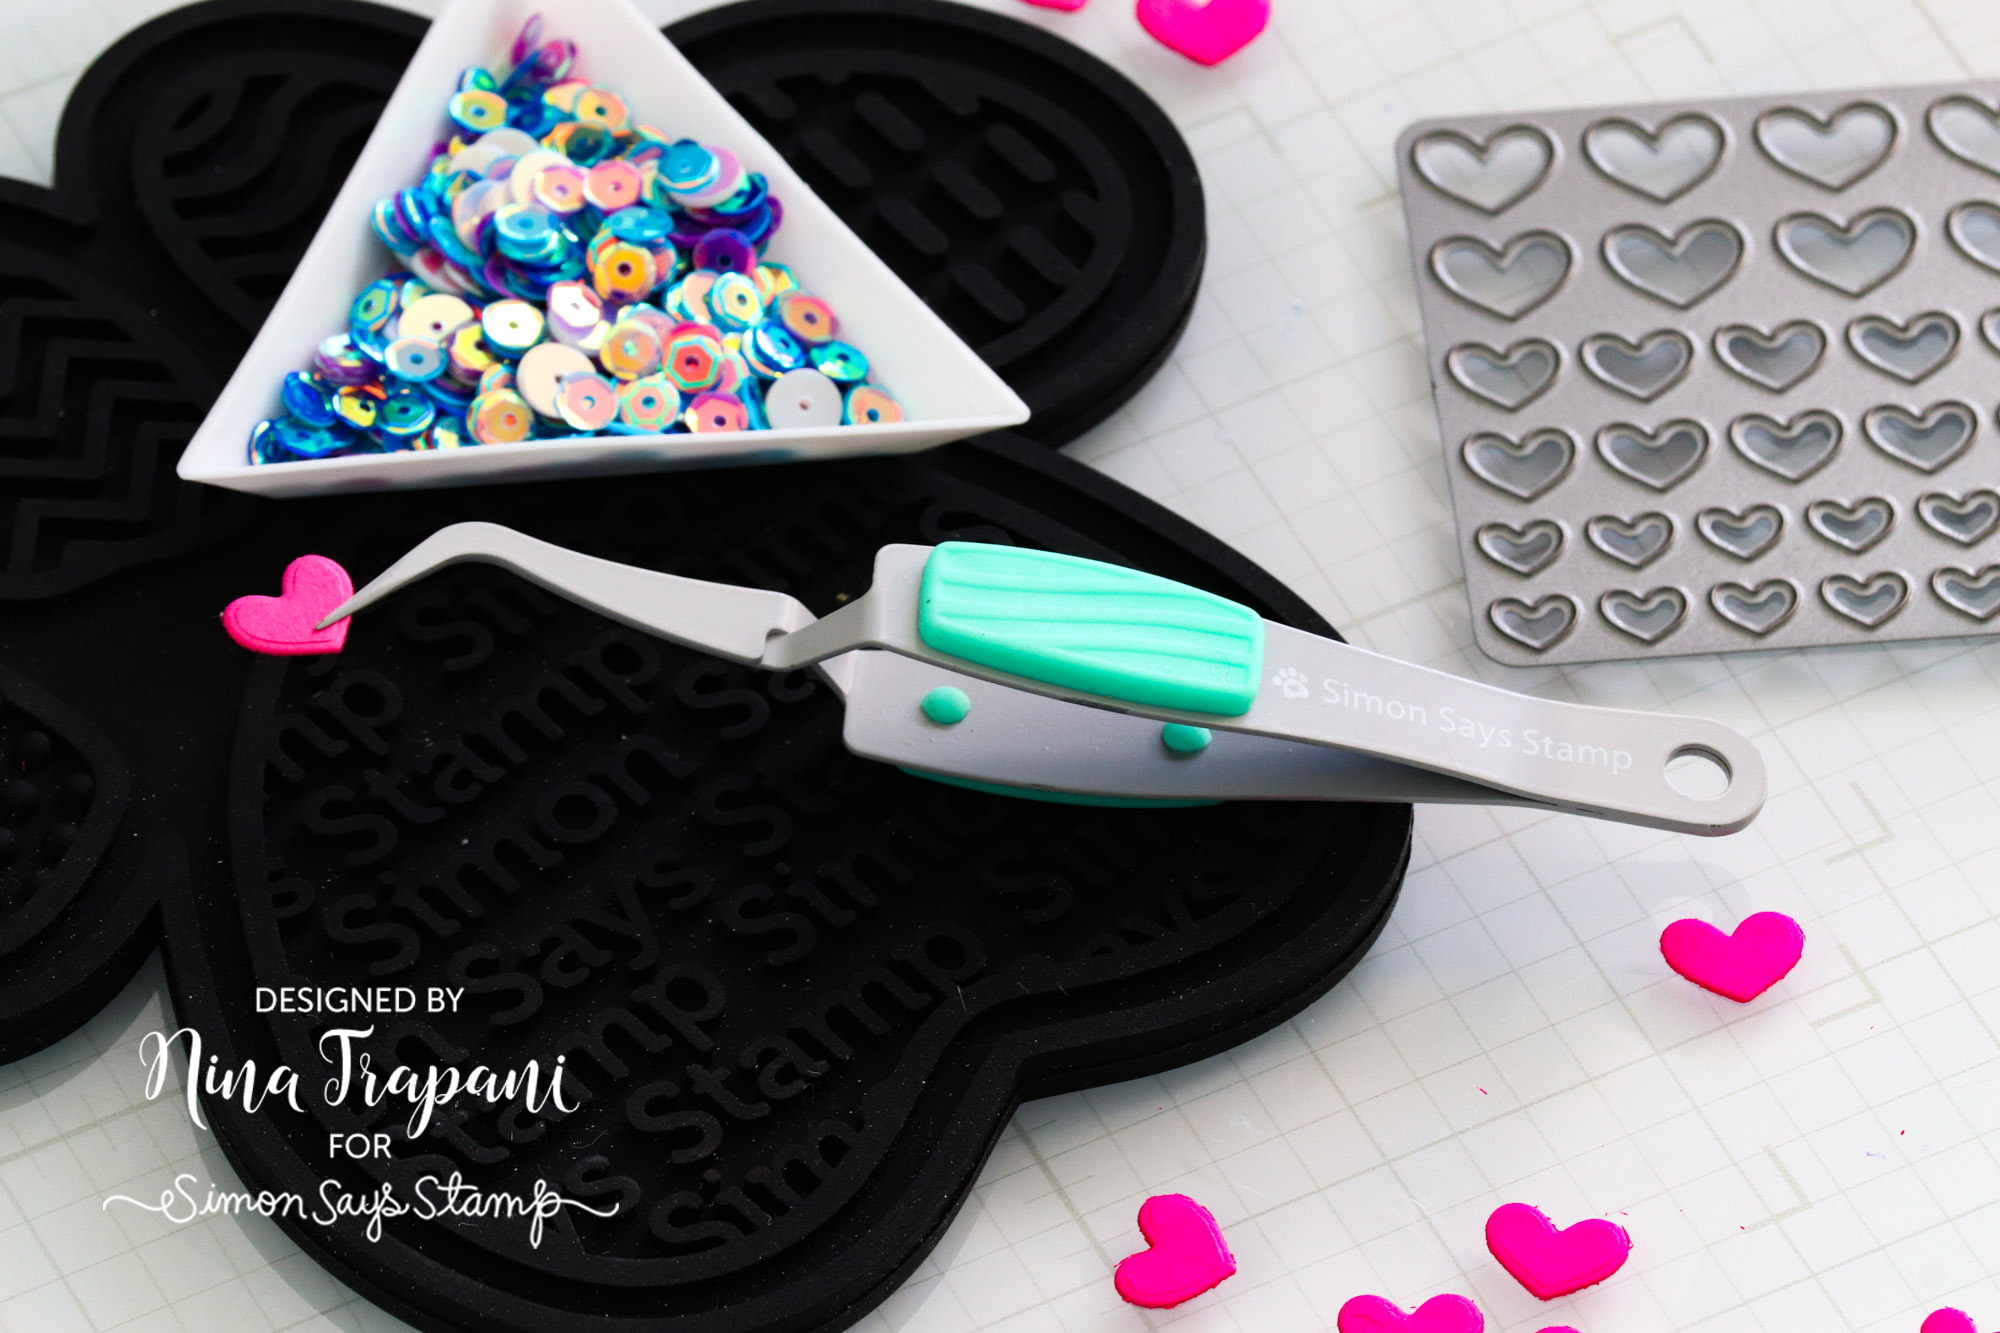
Designed for all your pawsitively precise projects, our Simon Says Stamp Reverse Tweezers feature an ultra fine tip that allows you to pick up even the smallest of embellishments and die cuts! They also have a soft silicone grip pad which makes them comfortable to grasp—plus the teal color matches perfectly with our collection of Simon branded tools!
COLOR BLEND CARDSTOCK
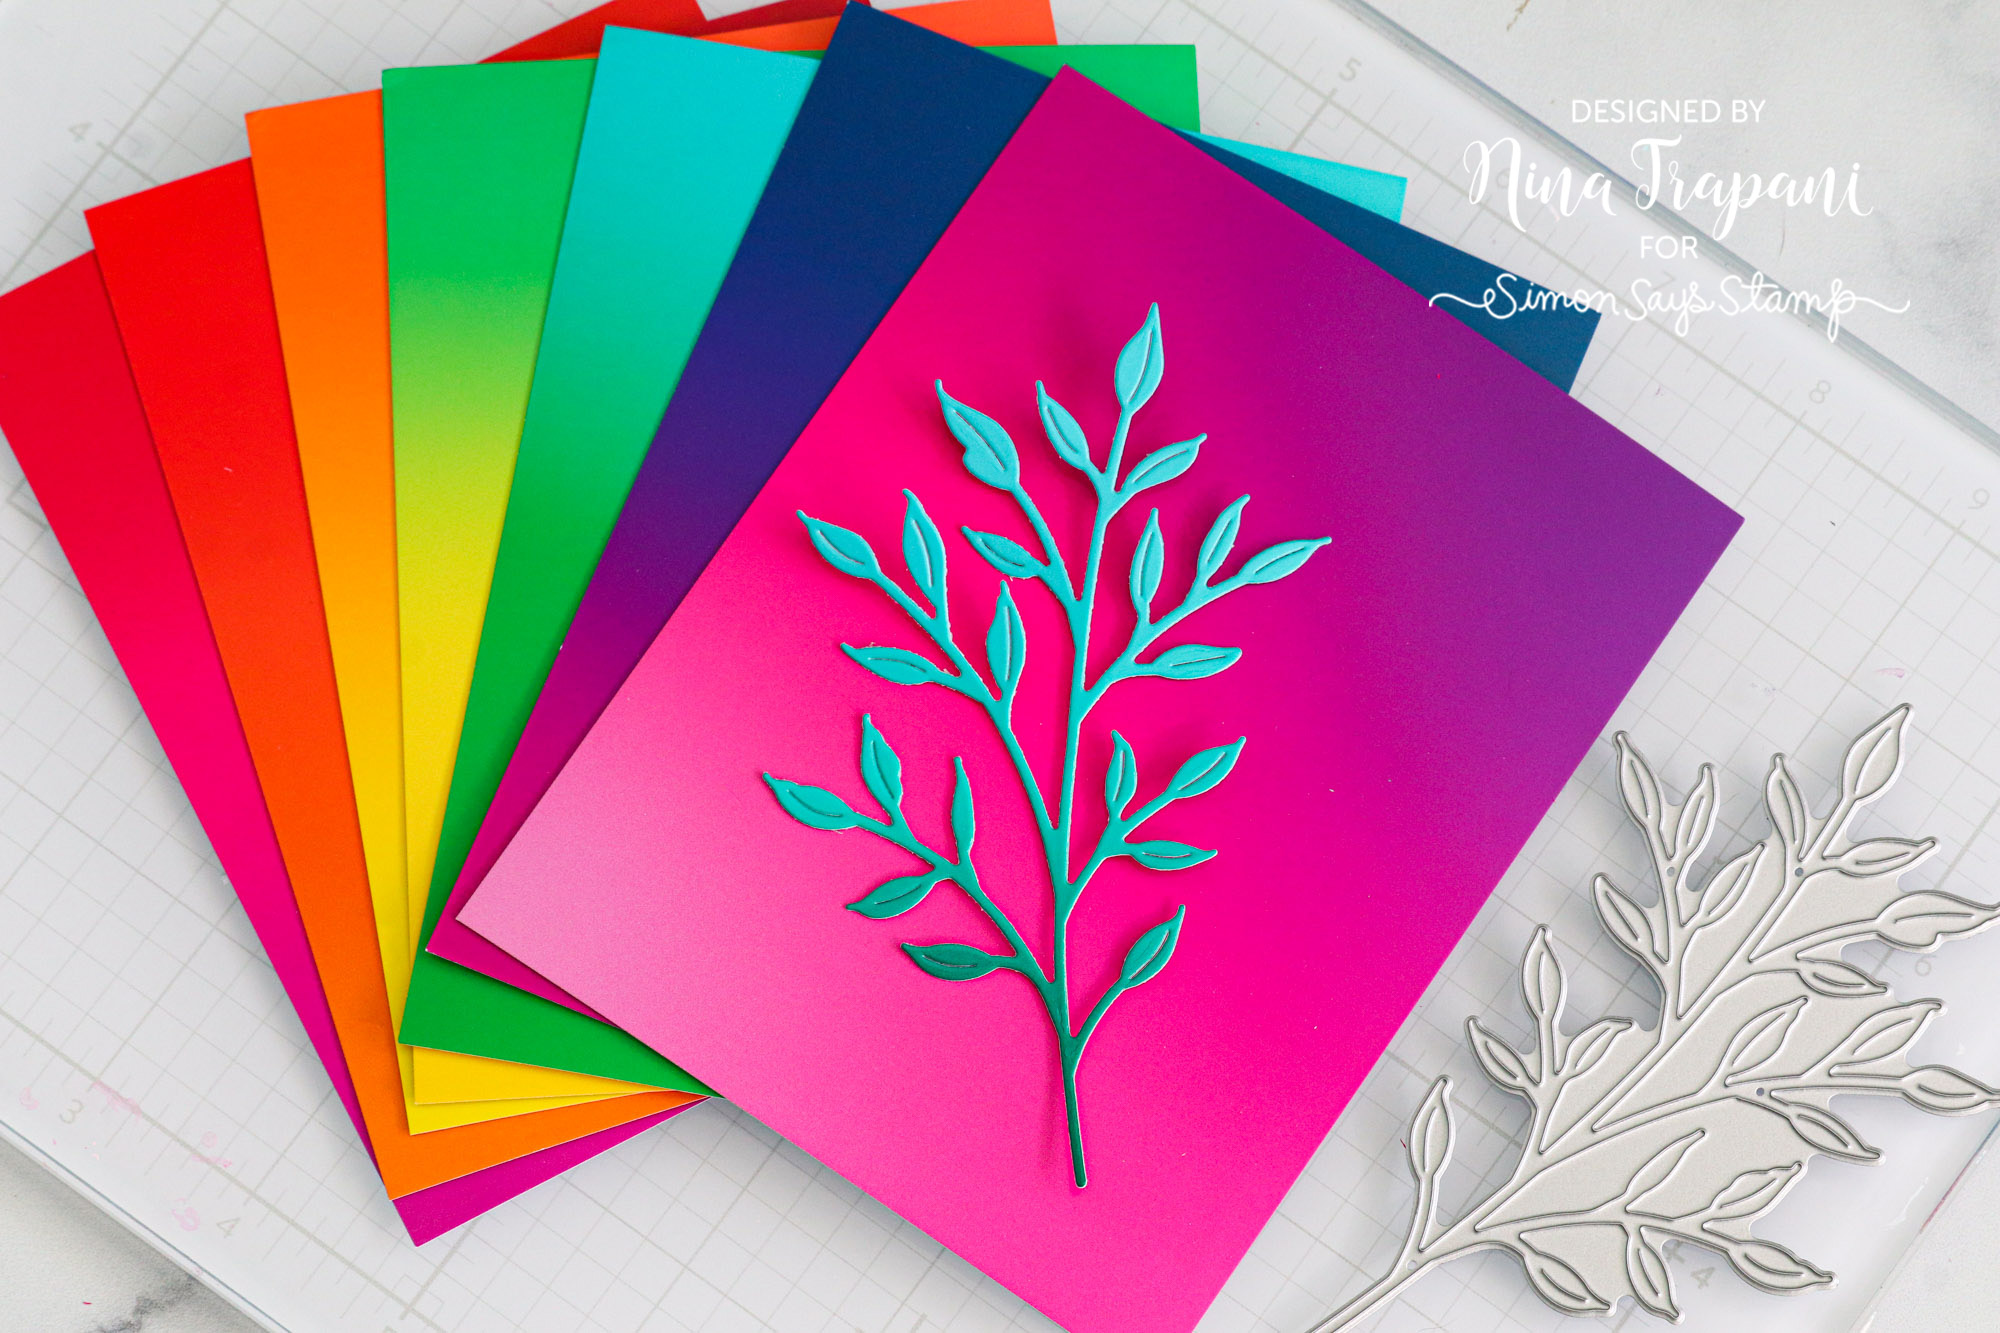
Our Color Blend Cardstock assortment pack is a dream for those of you that love to die cut and hot foil! We designed this exclusive paper to feature custom gradients that would beautifully “color” your die cut shapes (saving you some crafting time)! The glossy finish on this paper also takes hot foil beautifully, giving you crisp, stunning results every time! Available in an 8 pack of A2 sized sheets, you’ll want to add at least two or three to your cart because you will love the results!
BACKGROUND BLENDING BRUSH
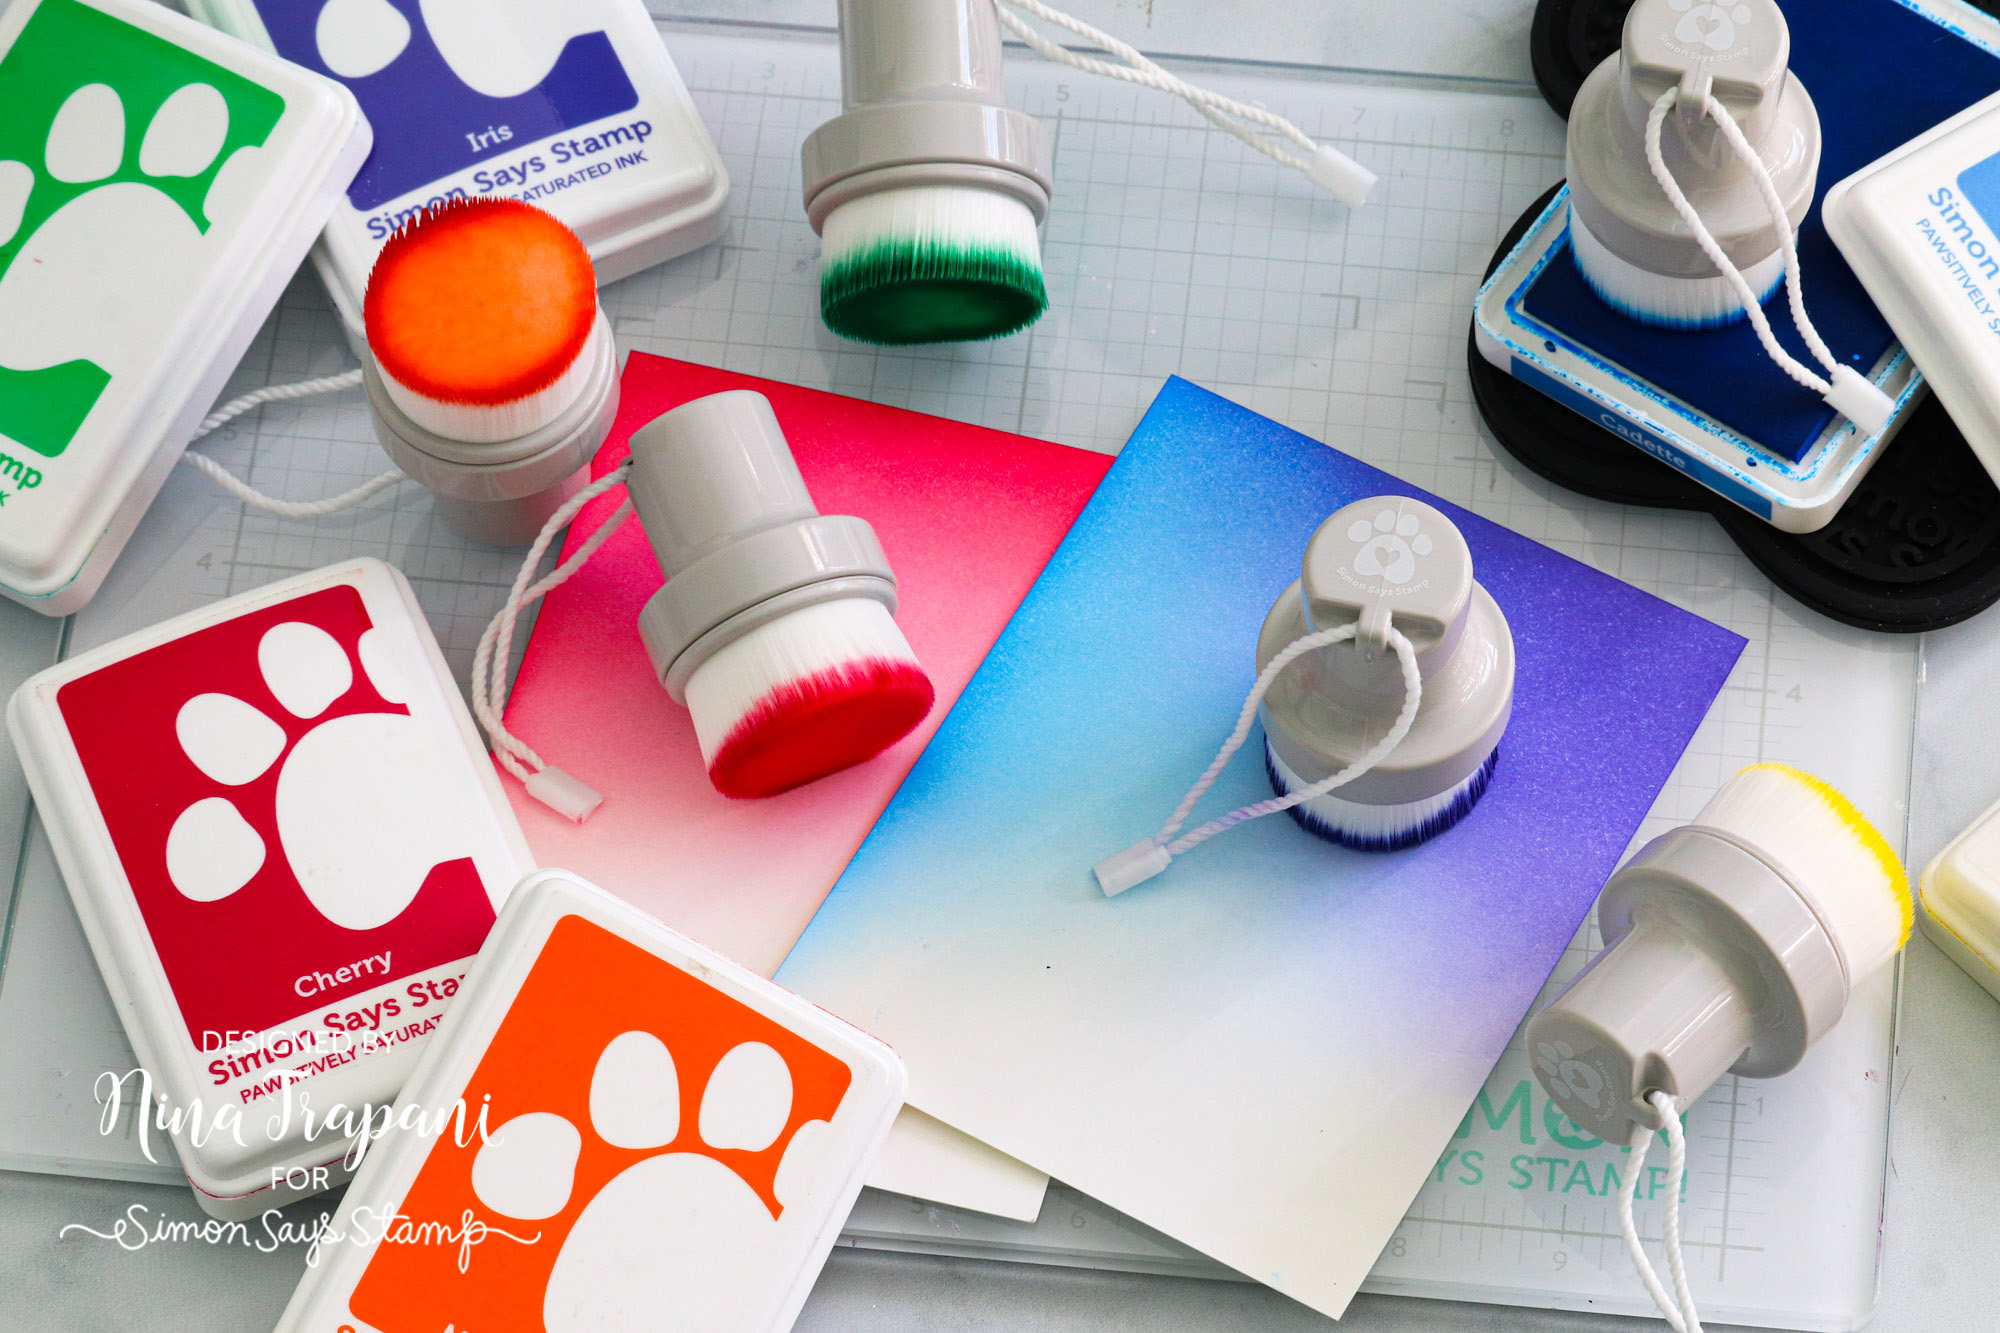
We know how much you all love to ink blend (especially with our Pawsitively Saturated Inks!), so we added a new member to our family of ink blending tools—the Background Blending Brush! This large brush is handy for covering large areas; you’ll be covering an entire background with ink in no time at all! It also fits comfortably in the palm of your hand, making it a great ergonomic tool option!
BLACK 3D FOAM SQUARES
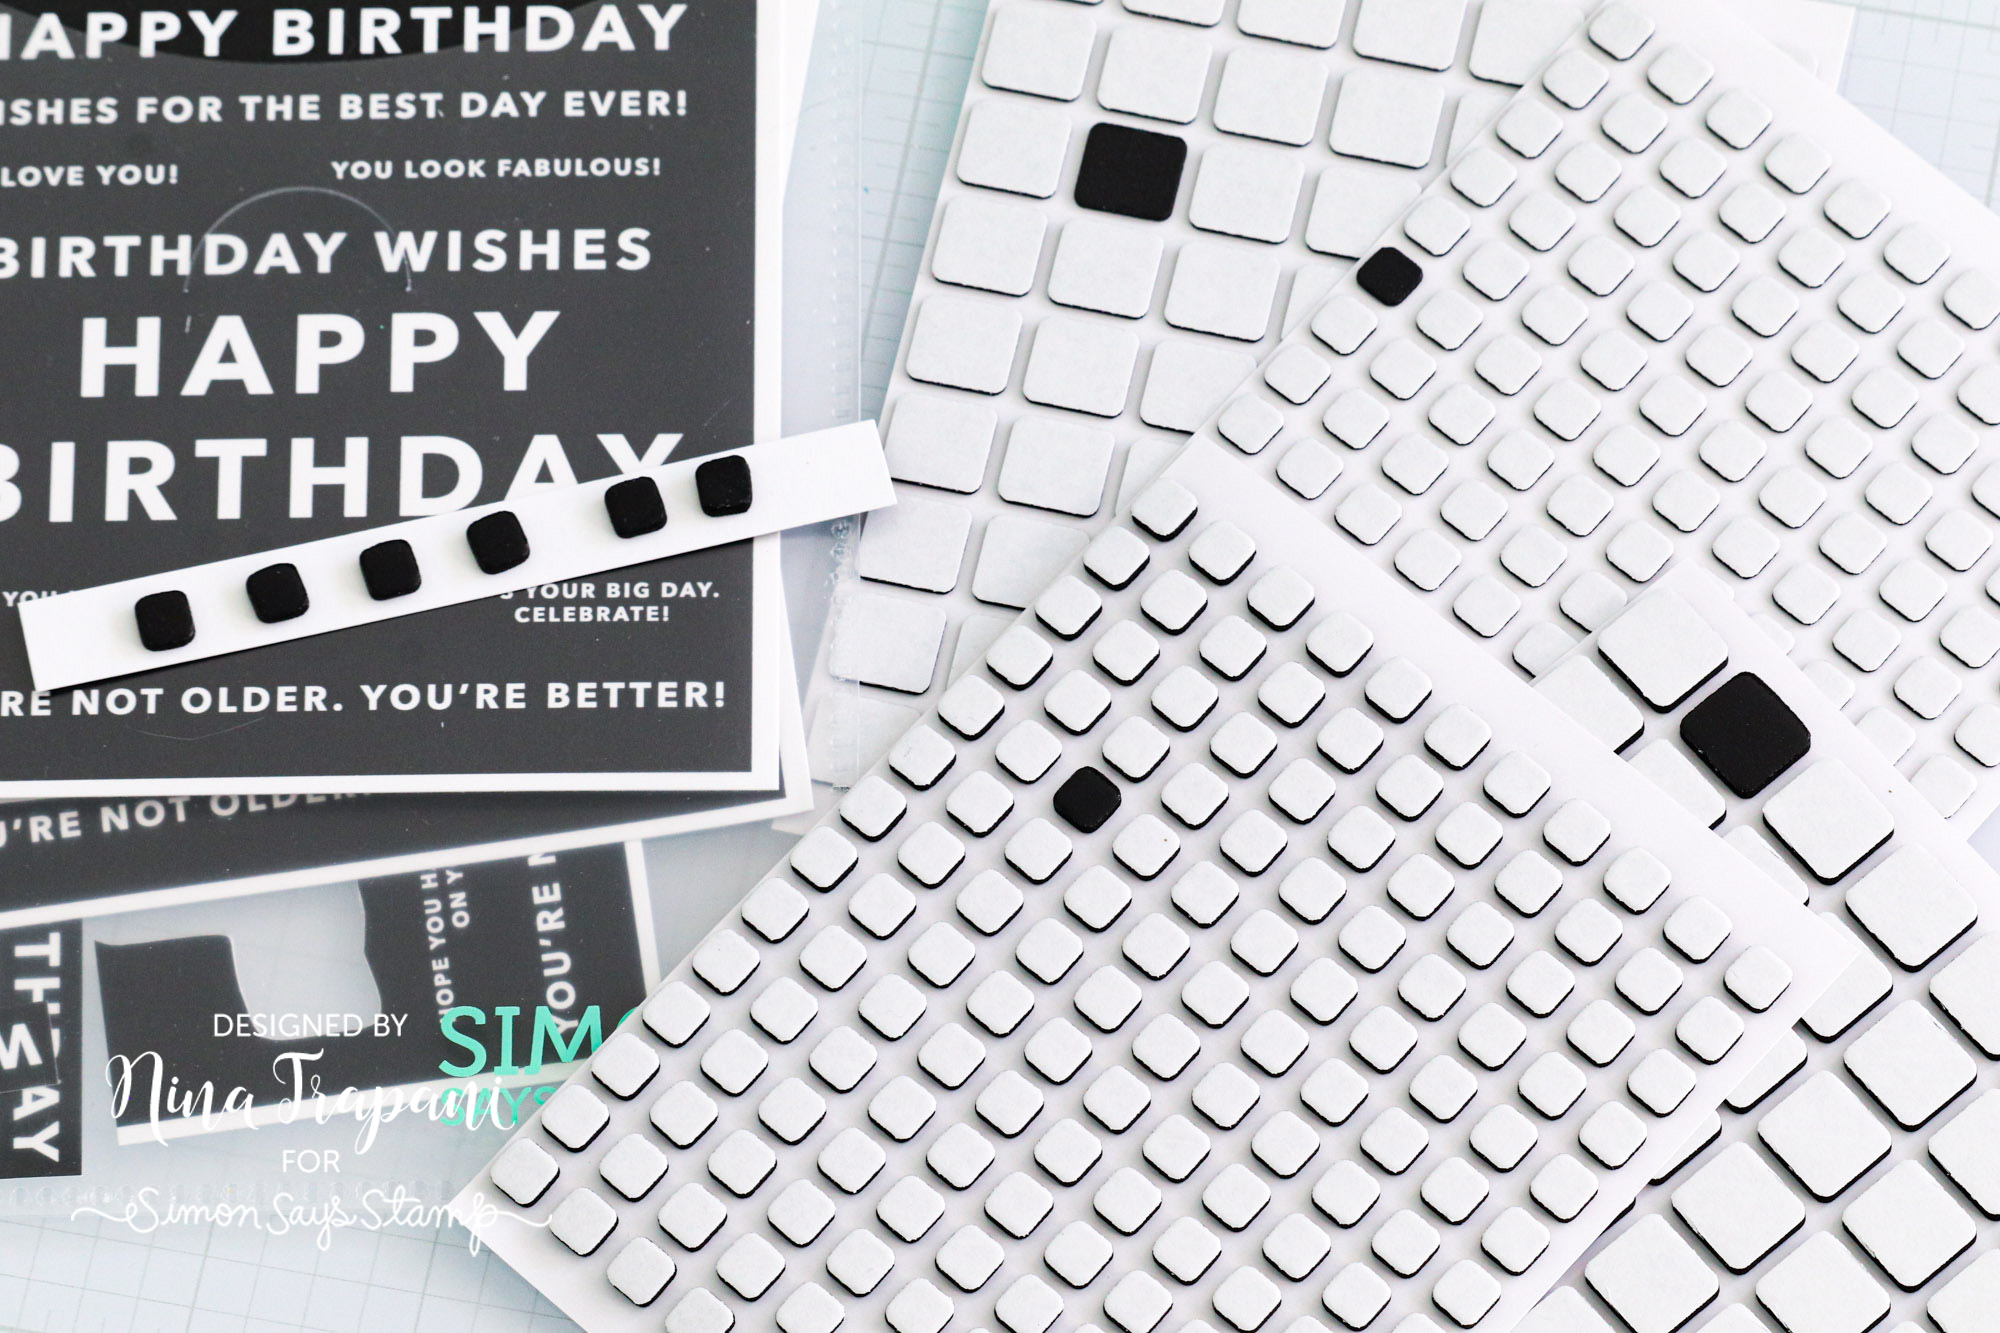
Did you know that we now offer 3D Foam Squares in all-black packs?! You all have been loving our assortment packs of 3D Foam Squares and by popular demand we have released two sets that are all black and offer both the standard and thin 3D Foam Squares! These are great for putting behind black die cuts or our Simon Says Stamp reverse sentiment strips!
I hope these tips have helped you learn a few tricks for your upcoming crafting projects… Thanks for tuning in today and spending some time with me!
SUPPLIES
|


Funny Friday with Art Impressions: Christmas Visitors
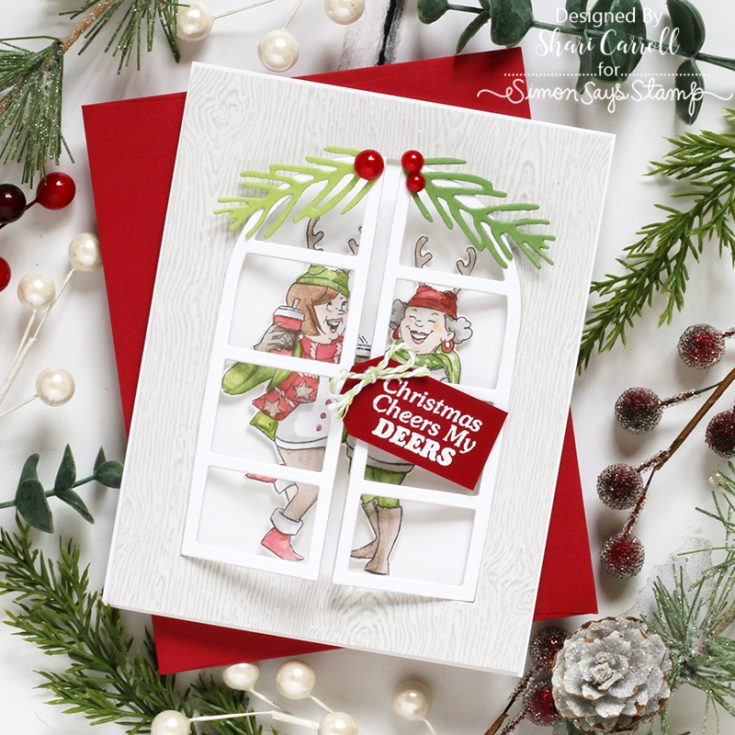
Hello there friends. It’s Shari Carroll here with you for a new installment of our Funny Friday with Art Impressions series! I made a clean and simple card featuring some antler-wearing, coffee-carrying festive friends from the Cheers My Deers stamps and die set.
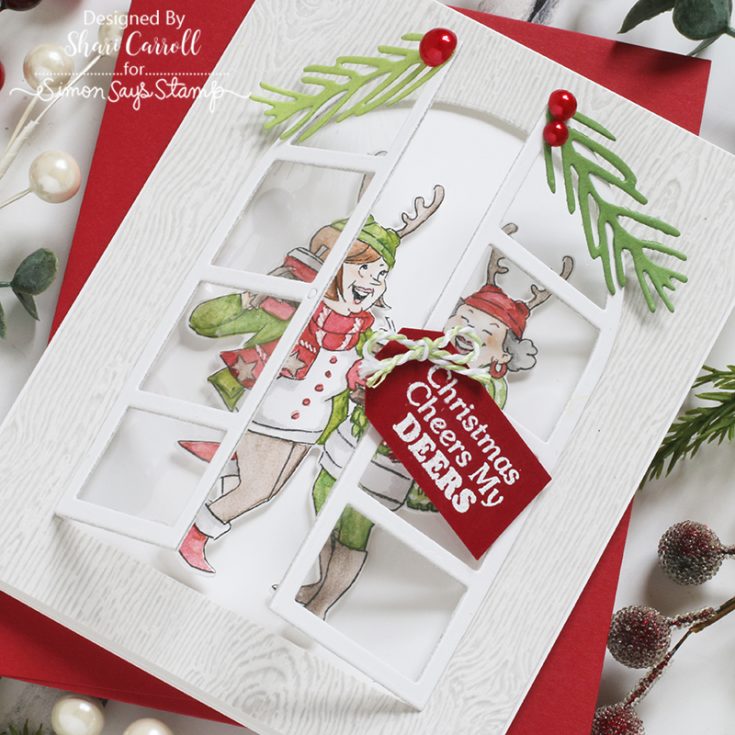
These hysterical ladies are all decked out for a Christmas visit. I’ve used the Simon Says Stamp Arched French Doors die to capture their grand entry! I hope you enjoy!
SUPPLIES:
|


