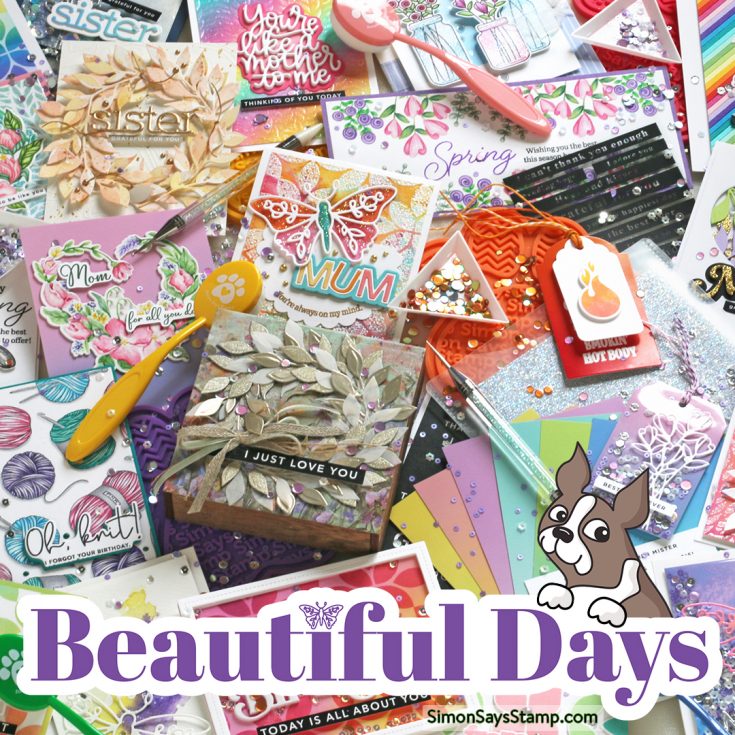
Beautiful Days Blog Hop 1!
Hi, friends! Welcome to day one of two special release blog hops celebrating our Beautiful Days release! Come back tomorrow for more amazing inspiration!
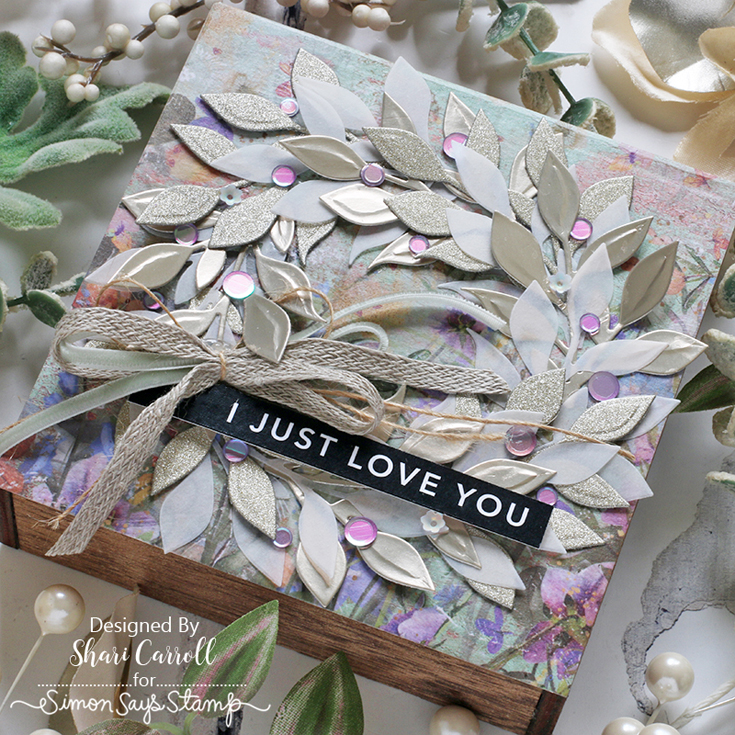
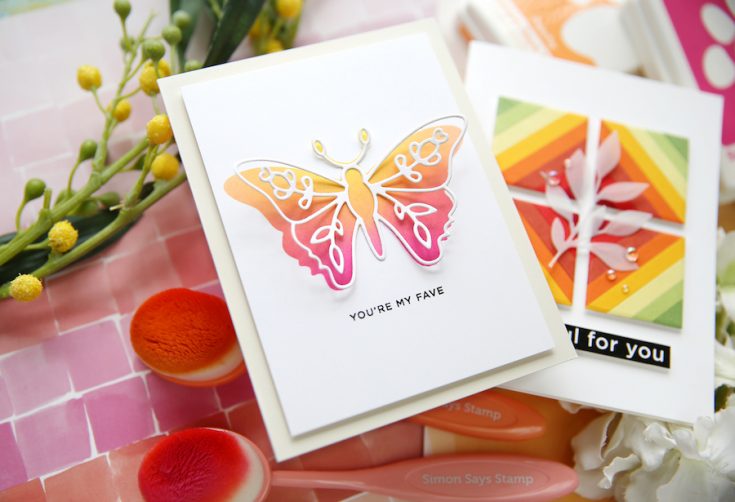
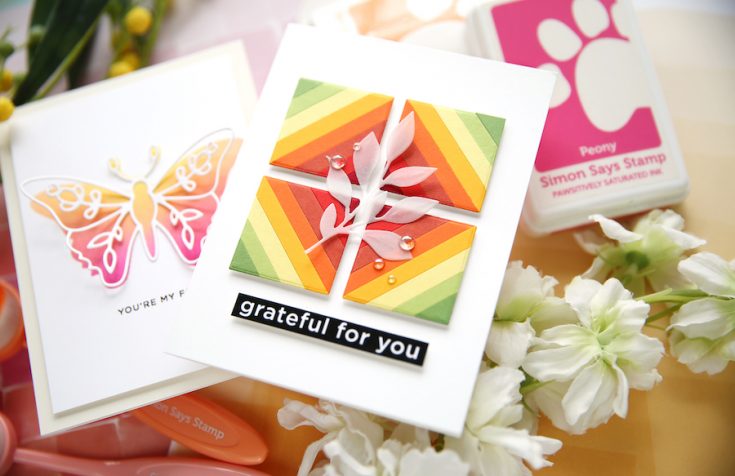
OK! Let’s get a sneak peek of what’s in store for our blog hop today with inspiration from Shari Carroll! She used products from our Beautiful Days release to make these fantastic projects:

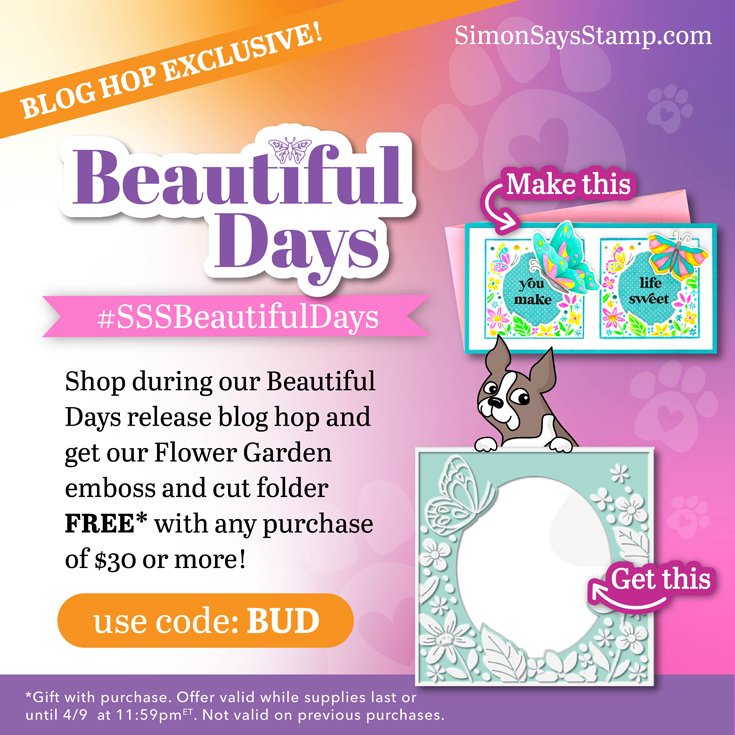
We love our customers! And we love your enthusiasm for our exclusive releases and blog hops. To celebrate, Simon has set aside a free gift just for you! Our exclusive gift for this blog hop is our Flower Garden emboss and cut folder FREE with a purchase of $30 or more! Check out the details on the banner at the top of this post for information about claiming your gift.
Ready for even more Beautiful Days inspiration? Hop along with these talented designers! You’ll be inspired AND for every comment you leave on each blog, you’ll earn a chance to win a $25 Simon Says Stamp store shopping spree. YAY!
Please let these talented designers know how much you appreciate their designs. They work hard to inspire and excite us!
- Simon Says Stamp Blog <<YOU ARE HERE!
- Laura Bassen
- Nichol Spohr
- Cathy Zielske
- Jennifer McGuire
- Mindy Eggen
- Barbara Tarayao
- Sidnie Des Jardins
- Keisha Charles
- Heather Ruwe
- Miriam Prantner
- Alberto Gava
- Kath Stewart
- Allison Frazier
- Adelle Emery
Thanks again for joining us today!
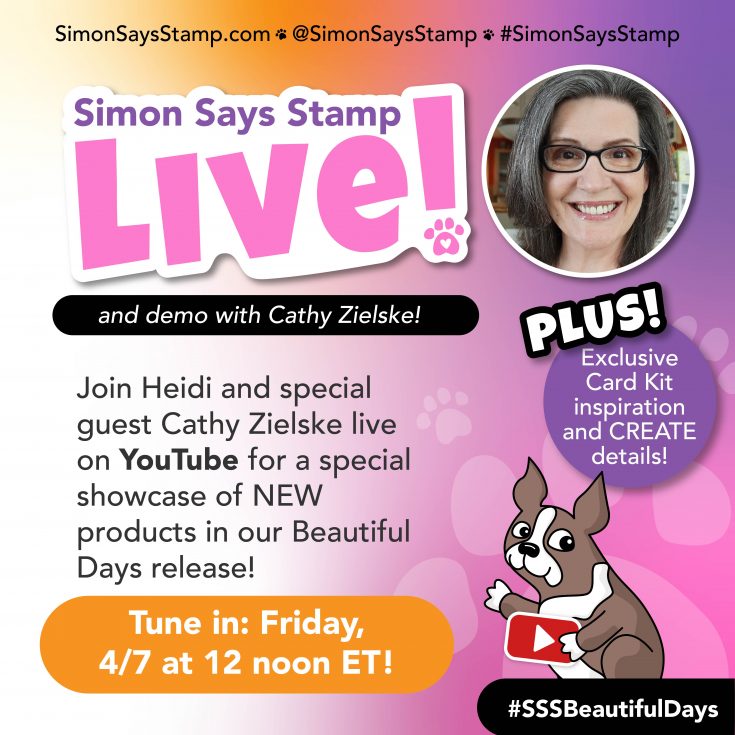
Join us on YouTube later today for our Beautiful Days Live with special guest Cathy Zielske!
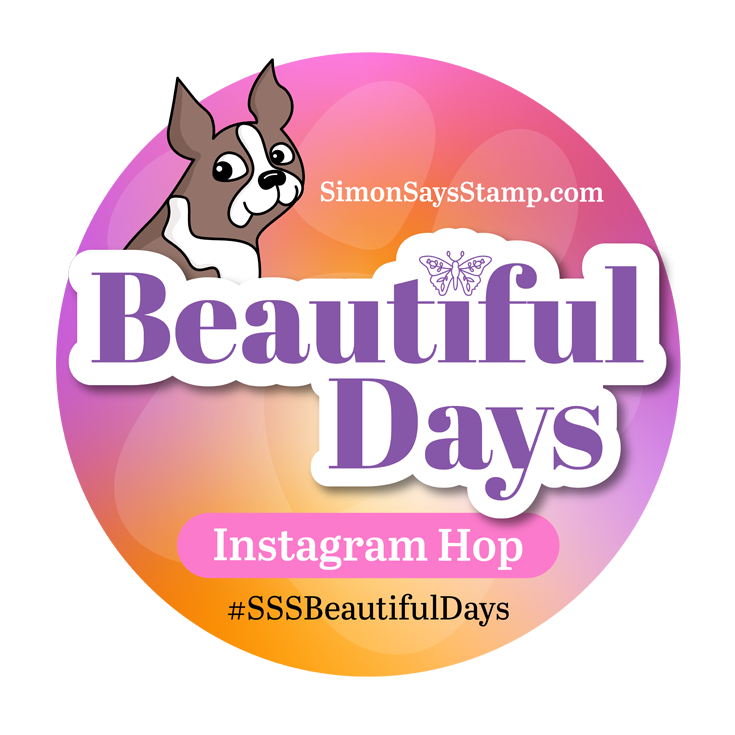
We hope you will join us on Instagram on Thursday, April 13 for an Instagram Hop featuring even more inspiration from our Beautiful Days release! We are excited to share awesome ideas from several creative minds using these fantastic products.
You’ll love browsing our Beautiful Days gallery on our blog for loads of additional inspiration, and you can add your projects to these galleries as well!
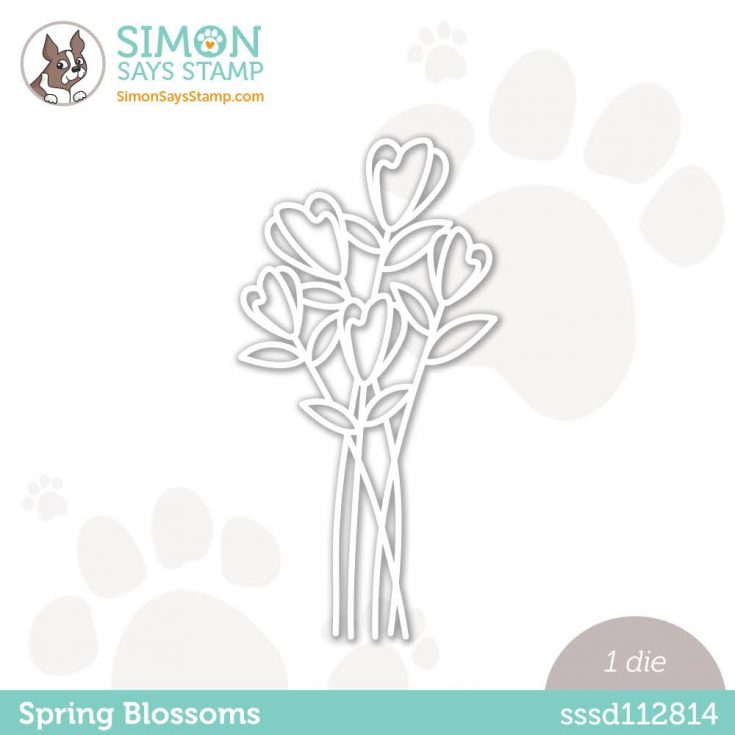
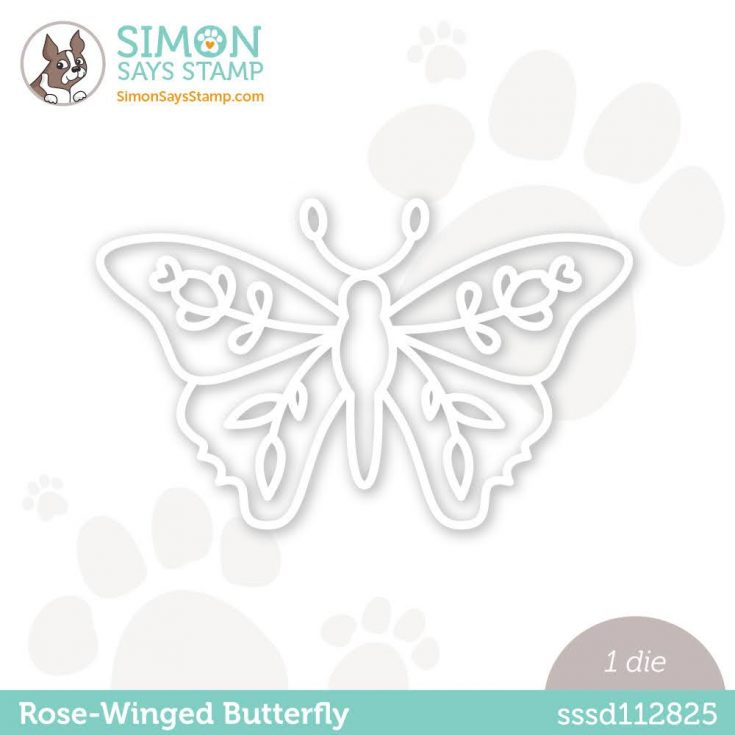
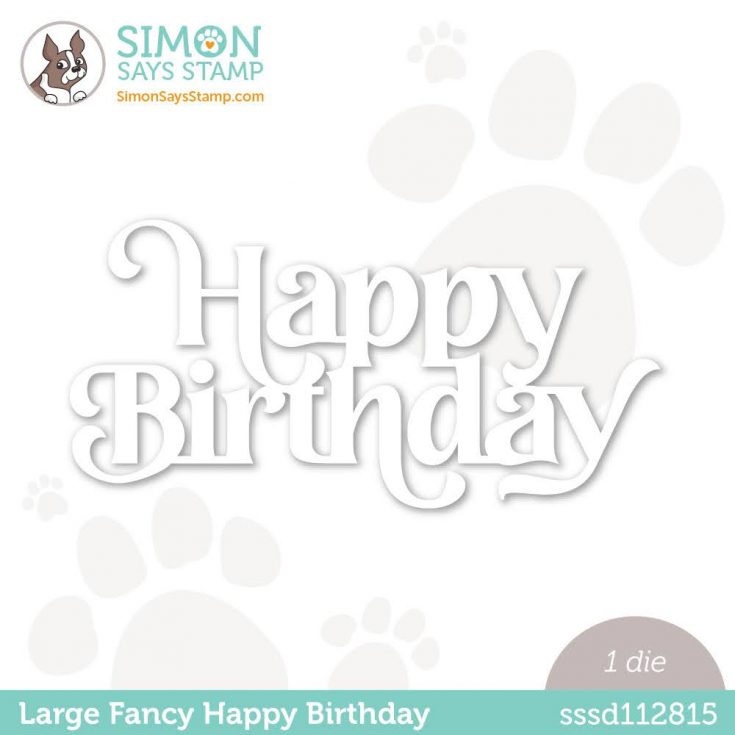
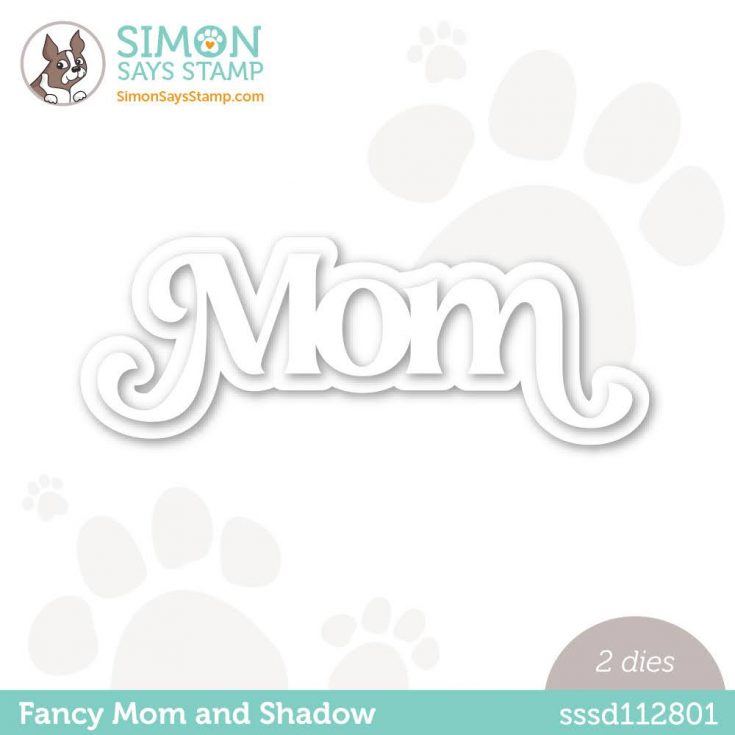
You can check out the entire Beautiful Days collection here:


Gimme FIVE!
Did someBUNNY say savings?! This Easter weekend, save $5 on any purchase of $5 or more with code EASTER at checkout! Enjoy!
Say HELLO to Beautiful Days!
WATCH THE VIDEO:
Shop the entire collection:
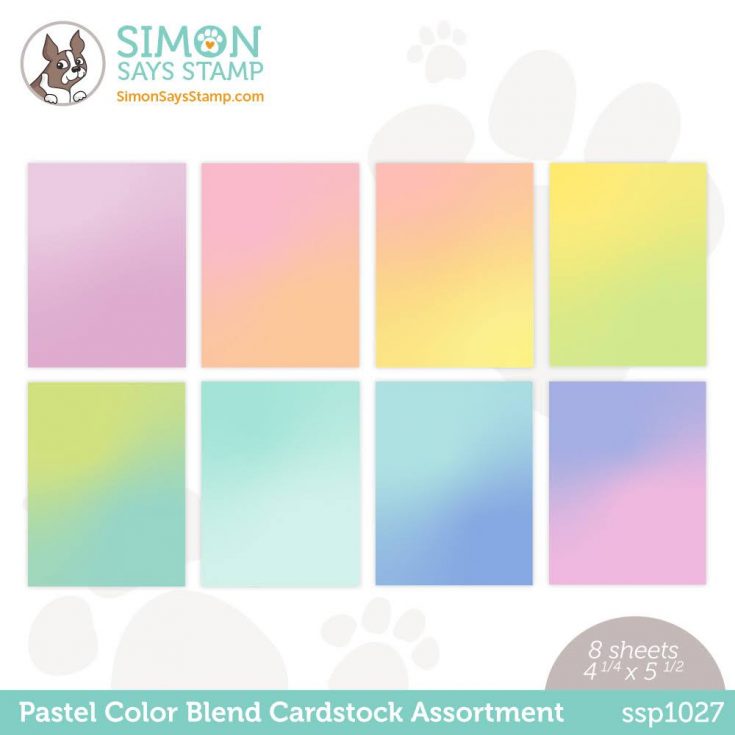
Learn MORE about our NEW Pastel Color Blend Cardstock:
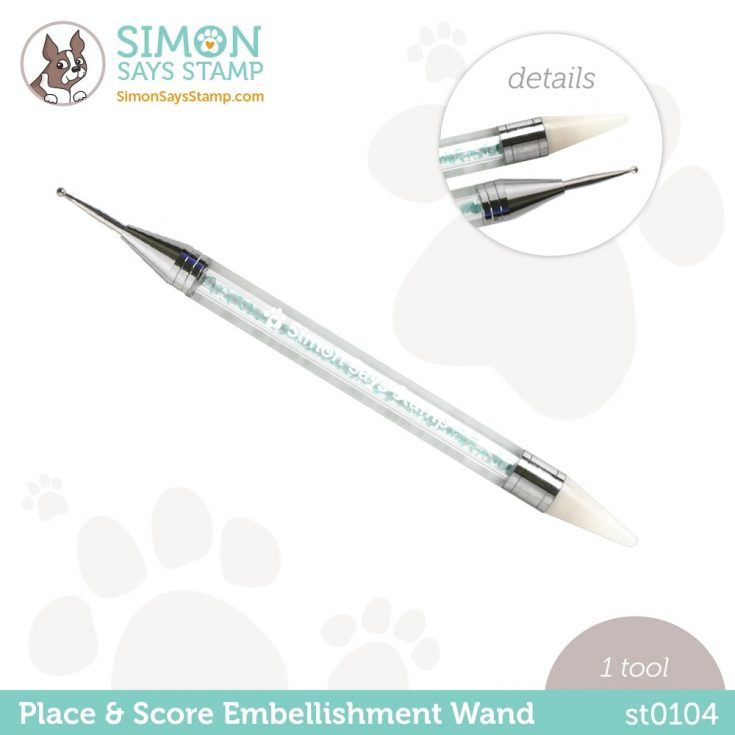
Learn MORE about our NEW Place and Score Embellishment Wand:
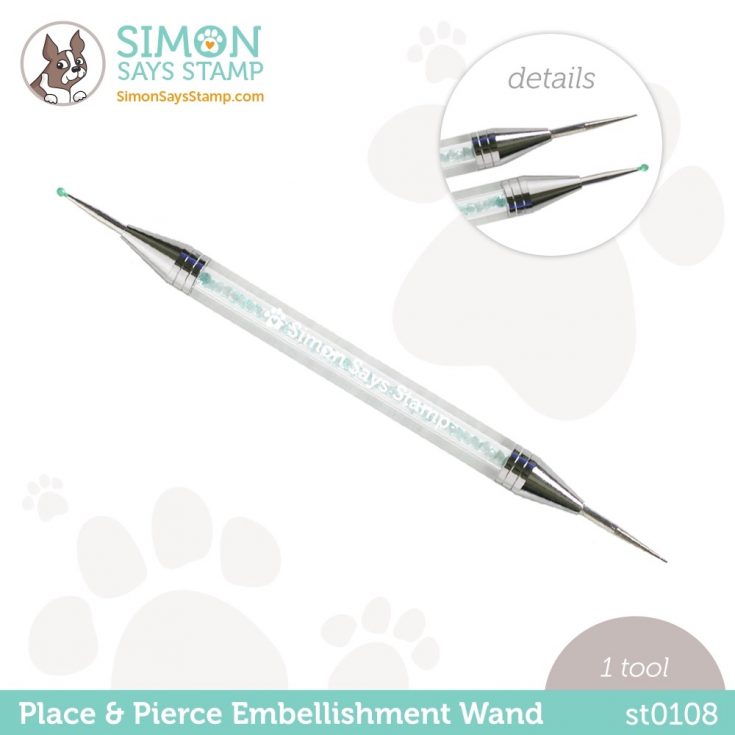
Learn MORE about our NEW Place and Pierce Embellishment Wand:
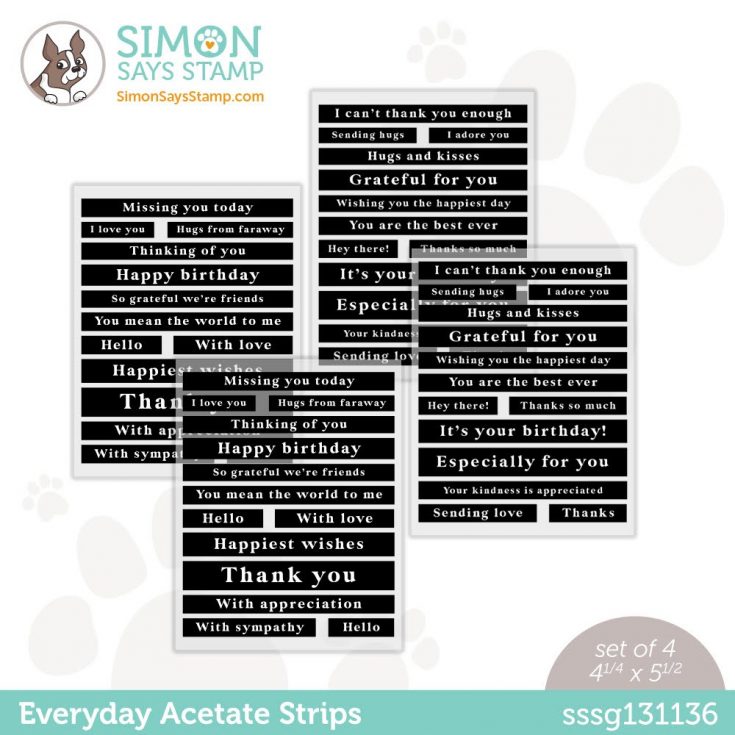
Learn MORE about our NEW Everyday Acetate Sentiment Strips:
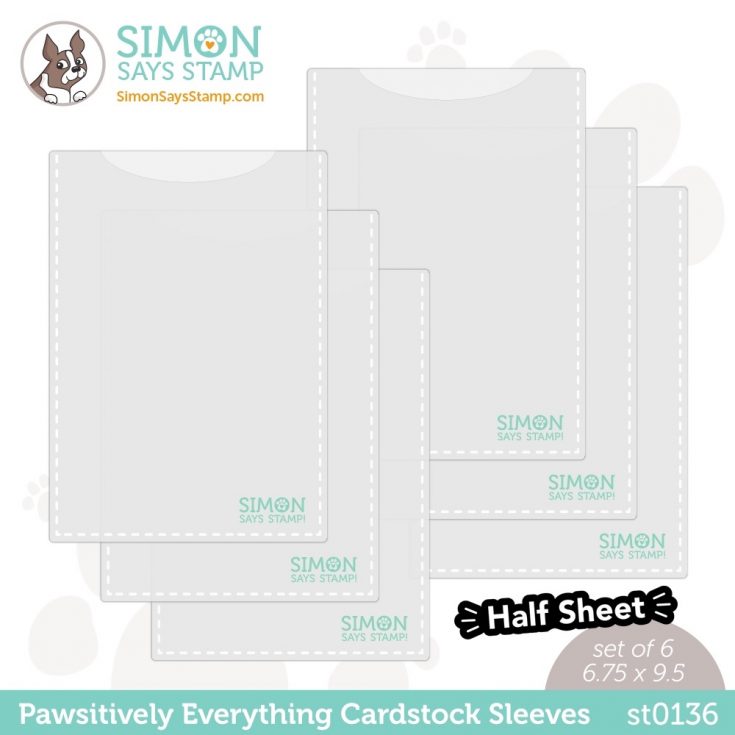
Learn MORE about our NEW Half Sheet Cardstock Sleeves:
Get INSPIRED!
Want even MORE inspiration? Visit our gallery!


