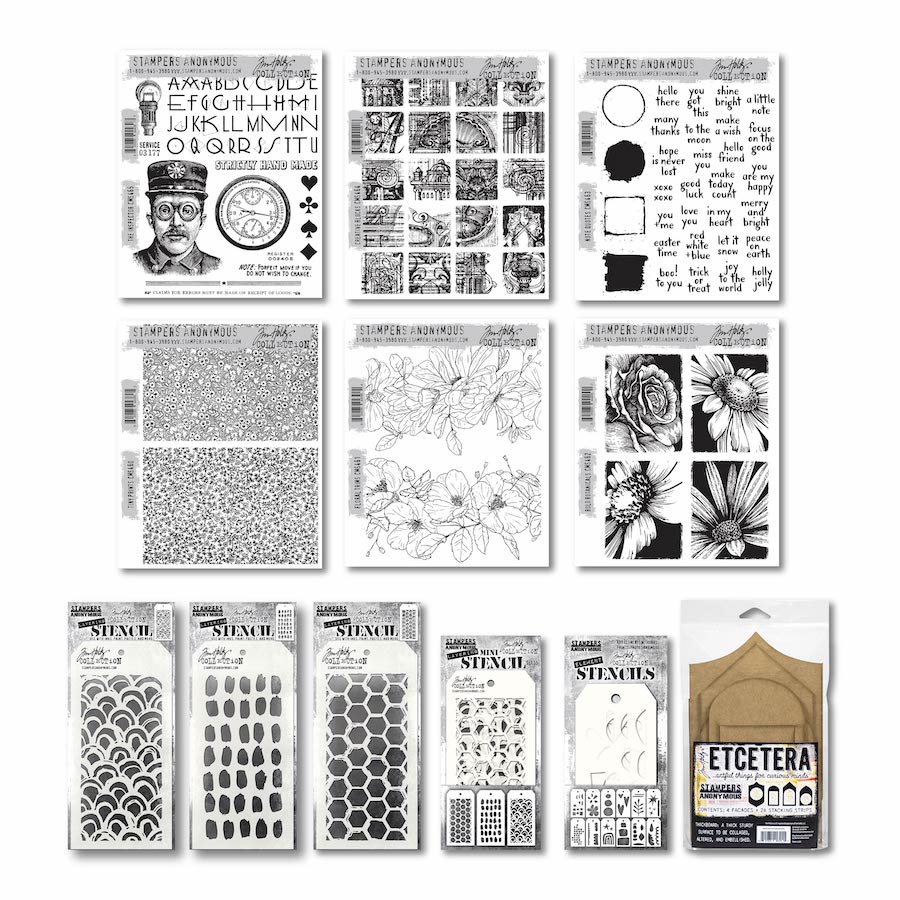
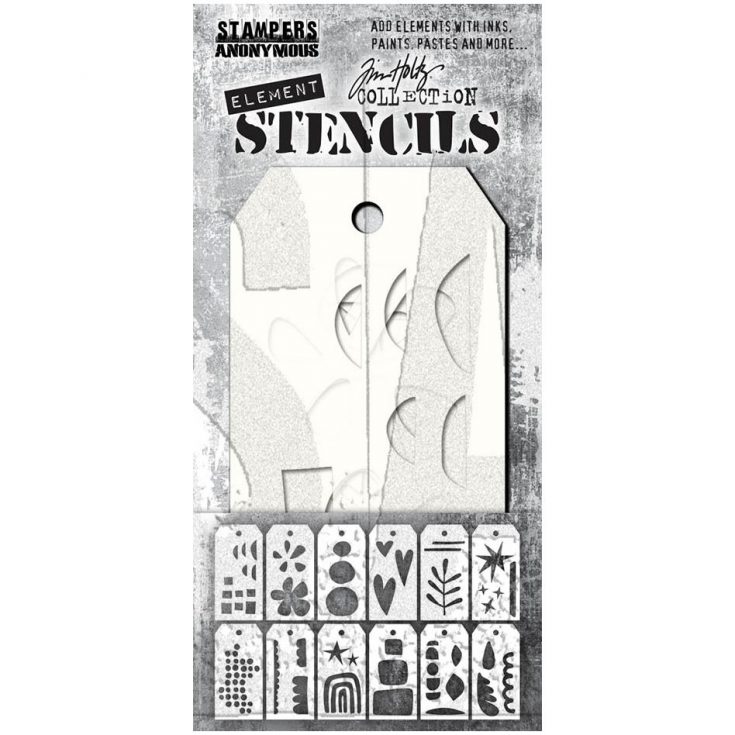
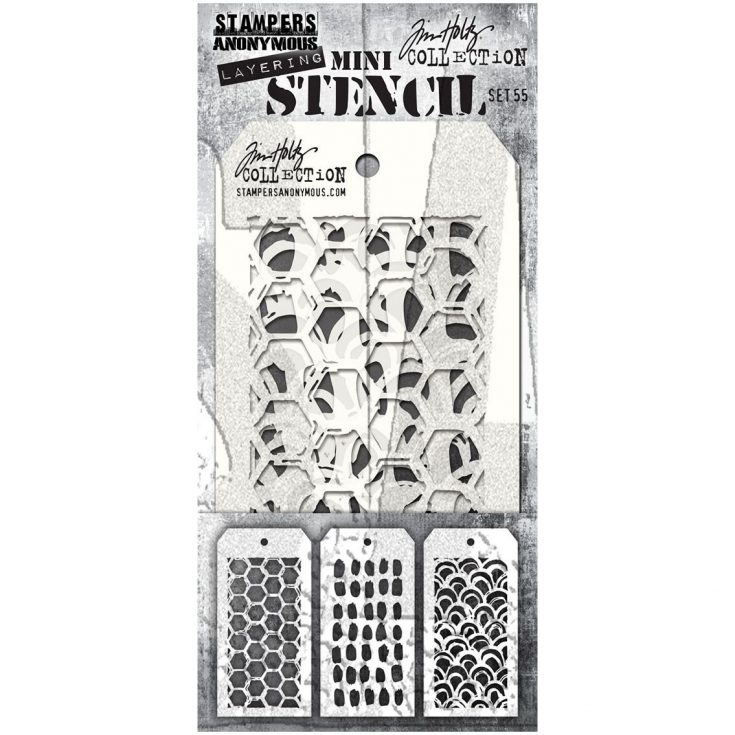
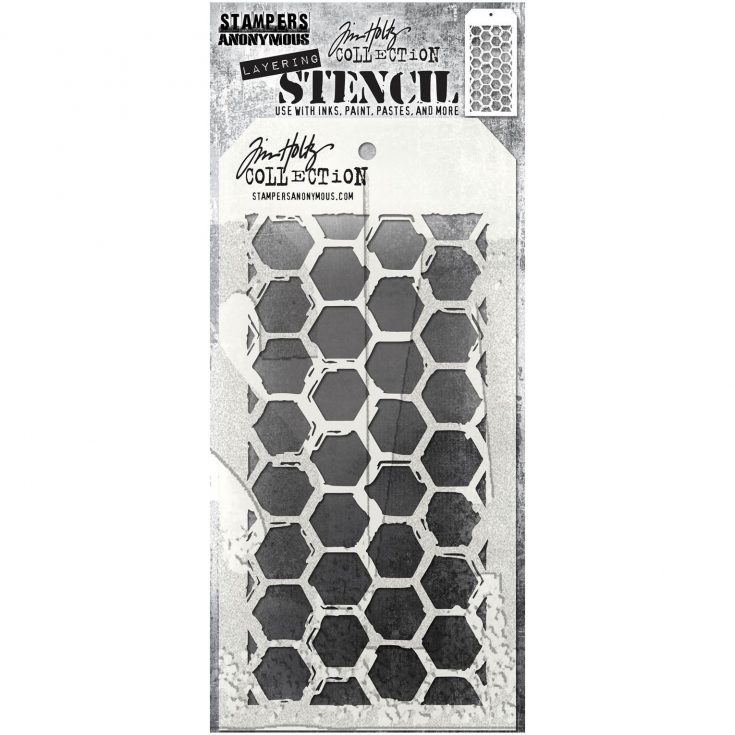
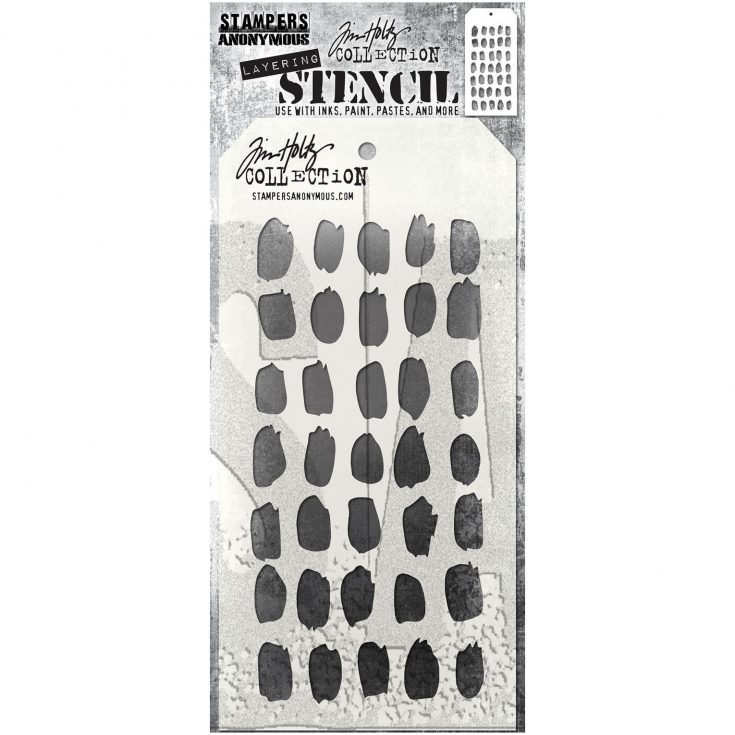
NEW Tim Holtz Stamps, Stencils, and Facades!
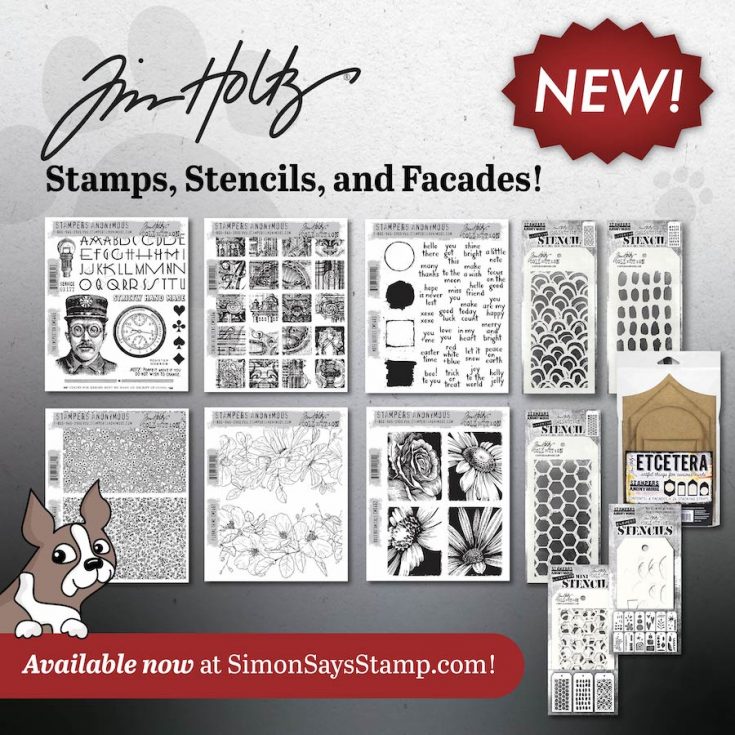
Hi friends! Happy Wednesday! We’re beyond delighted to share Tim Holtz’s brand NEW 2023 Everyday line of stamps, stencils, and facades! With a variety of timeless designs and textures, we’re sure you’ll find something new to love! Can’t decide and want it all? (We get it, us too! :)) There’s an option for you below too!!
Peruse and enjoy!


Punny Clean and Simple Friend Card: Yippee for Yana

Hi friends! Please join me in welcoming the oh-so-talented and amazing Yana Smakula! (Please note; our dear friend Yana is Ukrainian, to show support to our brothers and sisters in Ukraine, please see Yana’s post HERE.)
Hello, crafters, this is Yana Smakula for Simon Says Stamp! Welcome back for another Yippee For Yana video!
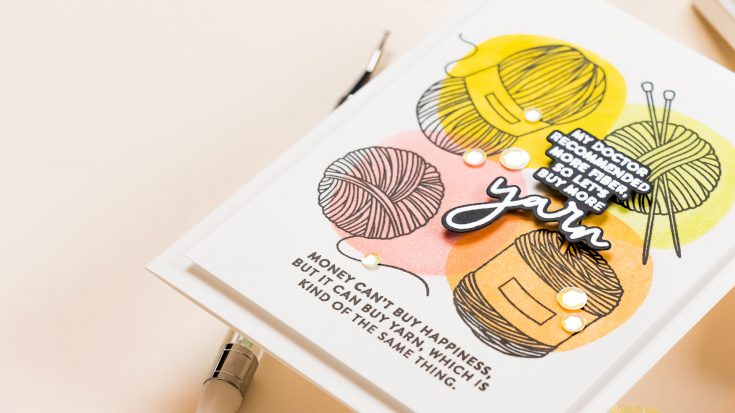
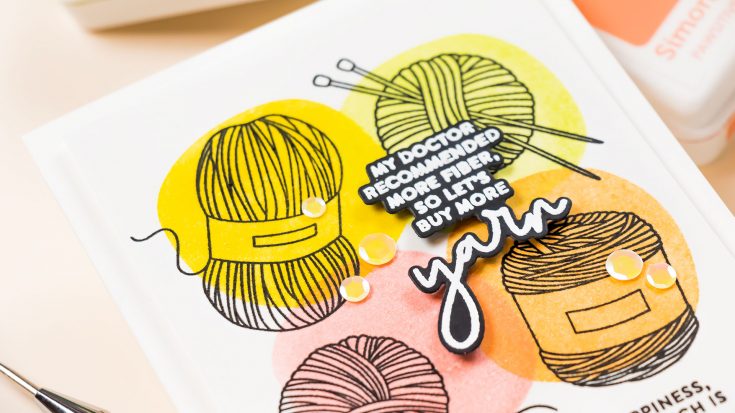
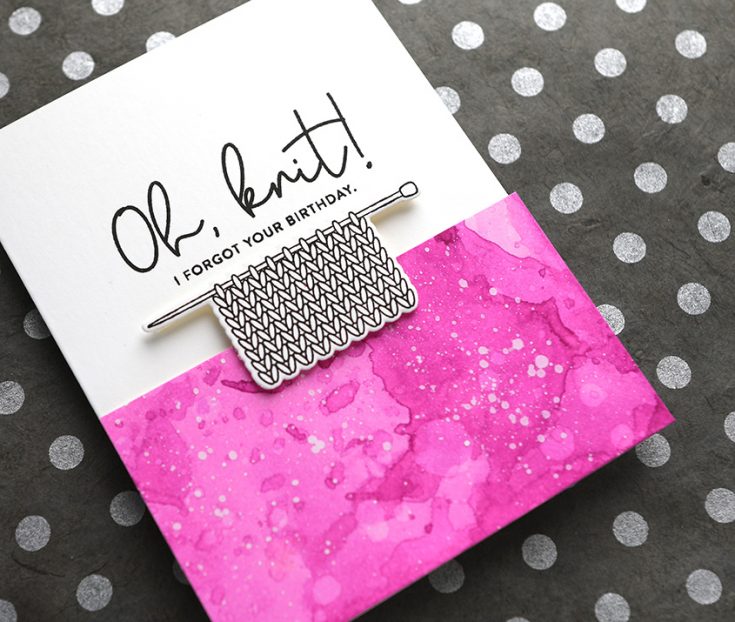
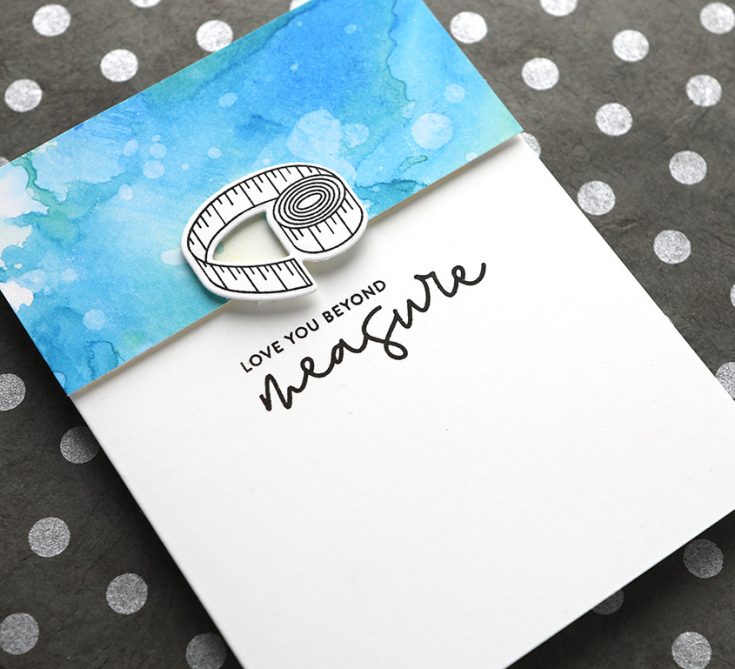
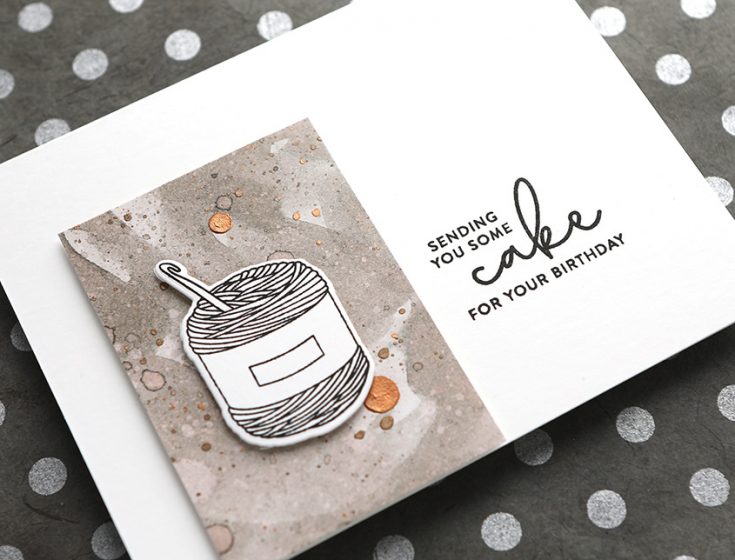
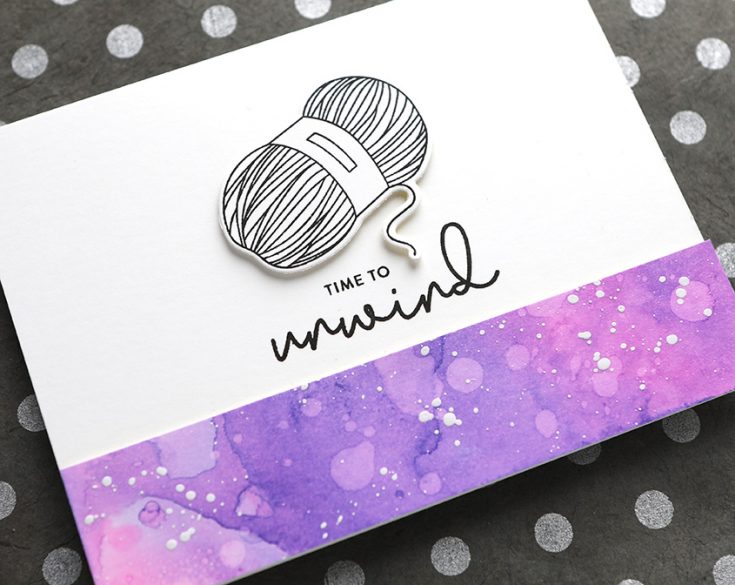
In this video, I’m stamping a punny CAS card featuring the Simon Says Stamp Yarn Love stamp set. If you don’t yet have this set – run and grab it! It is one of those punny sets to create quirky and funny cards for your crafty friends who aren’t necessarily into card making, but perhaps like to knit or crochet. I love the wordplay here.
This is a larger stamp set featuring several images of yarn, knitting needles, measuring tape, and a bunch of clever sentiments. Like “Oh, knit! I forgot your birthday”! There are also coordinating dies available, and the die set is huge as there is a die for not only images but also sentiments.
Even though these are outline images, I wanted to do a card without any coloring to show you an alternative way of using outline images, stamping them in black and still having pops of color on your card.
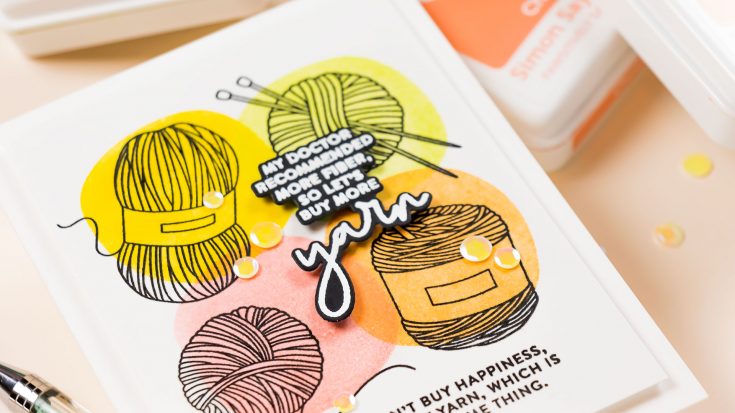
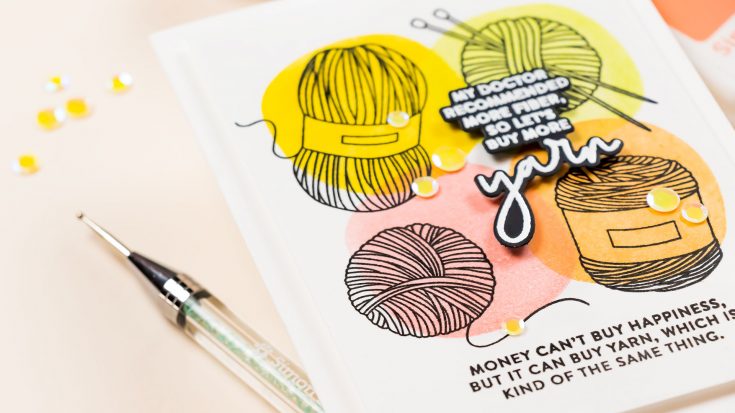
I had a simple 2×2 grid layout in my head and I wanted to stamp 4 images of yarn and highlight each using a different color of ink. So I picked Simon’s positively saturated inks in Cantaloupe, Cheeky, Celery, and Sunbeam. I needed a solid shape to do the highlighting, I just needed to add a blob of color under the stamped shape, so looked through my stash and I found an older stamp set, yet one of my favorites – the Organic Fruit from Simon. This set has several solid shape options and I picked one that looked most like a circle. If you don’t have this set, you can look through your stash to find something similar, you need an organic-looking shape to stamp blobs of color on the background.
I used a clear block to do my stamping, inked up the blob, and stamped it using the 4 different colors of ink onto a Simon’s 130lb cardstock panel. I love to use this paper for all of my stamping.
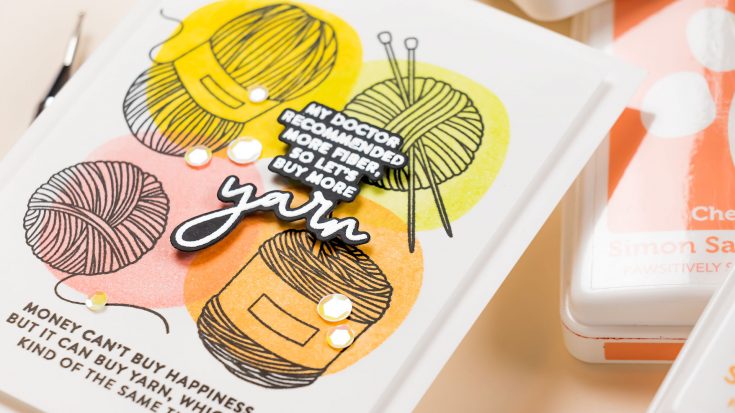
Next, I used my MISTI to stamp the yarn and sentiments and I placed the long sentiment under the colorful stamping – this sentiment reads “Money can’t buy happiness, but it can buy yarn, which is kind of the same thing”. I love it! I have a friend who likes to crochet, so this card is going to be perfect for her! I also positioned the 4 yarn images over the colorful blobs. I did make sure that each shape went outside the boundaries of the colorful blob and I also angeled the shapes, so each is facing a different direction. I used Versa Fine Onyx Black ink to stamp the images and sentiment. This ink is pigment and it does take a little longer to dry, especially on this paper, so be careful so that you don’t smudge it.
Stamping images over the colorful blobs added cool pops of color, without me having to actually color anything. It is a simple, but very effective way to add color to your cards!
I also heat embossed an additional sentiment, I used white detail embossing powder and embossed the sentiment on black cardstock and I cut it out using a coordinating die. I love the shape that this sentiment gives!
Next, I used a layer of white fun foam and foam mounted my stamped panel onto the A2 side folding card base. I forgot to mention that I trimmed the panel using a rectangle die, I needed to make it a bit smaller than my card base, and popping it up over the card base added visual interest and sort of helped frame my design.
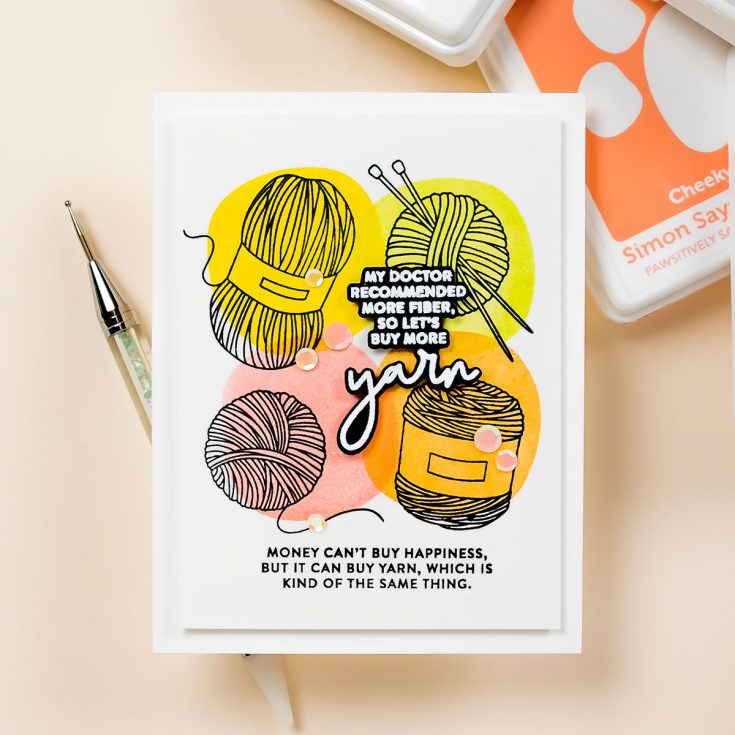
I also foam mounted the white heat embossed sentiment, I moved it slightly to the right-hand side and I used thin foam adhesive squares here, so isn’t popped up too high. Lastly, I added a couple of sequins to my card – these are the Aura Sequins from Spellbinders. Have fun stamping!
WATCH THE VIDEO:
SUPPLIES:
|


Thanks so much for stopping by, and thanks again to Yana for being our guest!
Ways to support Ukraine:
If you are looking for ways to support Ukraine, we encourage you to visit this page on Yana’s blog:


Water Techniques with Pawsitively Saturated Inks
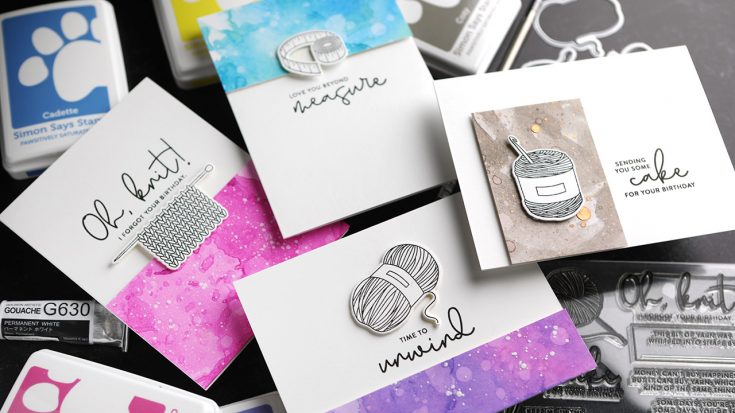
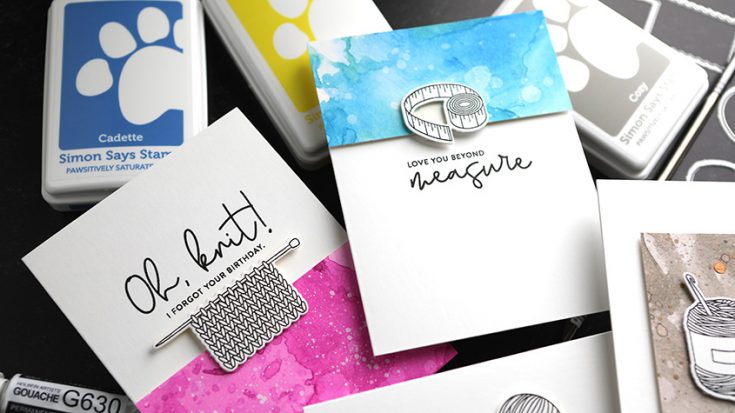
Hello, all! Kristina Werner here! Today I have four cards for you featuring backgrounds created with Pawsitively Saturated Inks and water. I also used the Yarn Love stamps and Yarn Love Images dies.

To create the colorful backgrounds, I used a number of inks: Cozy, Sweets, Lemonade, Cadette, and Violet. The Pawsitively Saturated Inks are water reactive so they work beautifully with water!
Supplies
|


