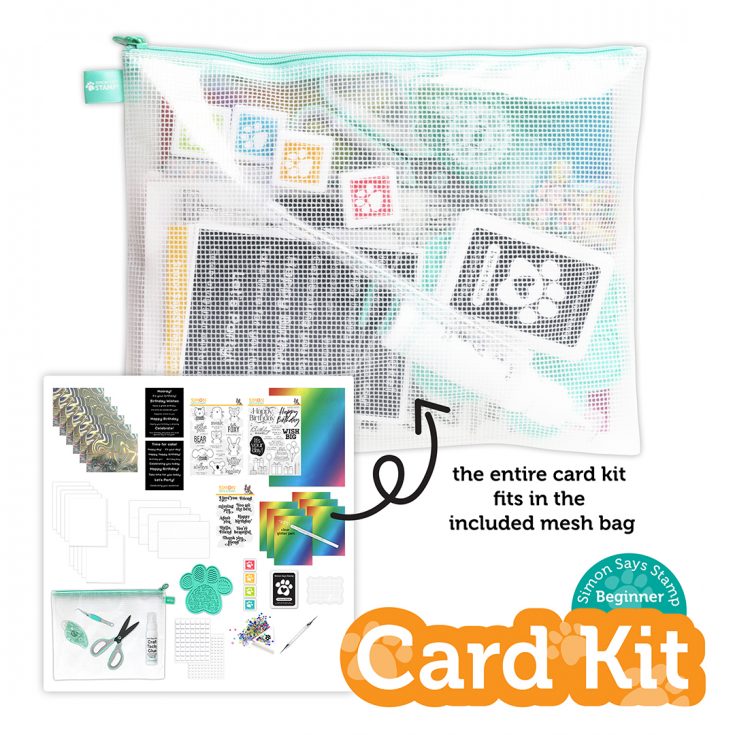
Introducing: our Beginner Stamping Kit!
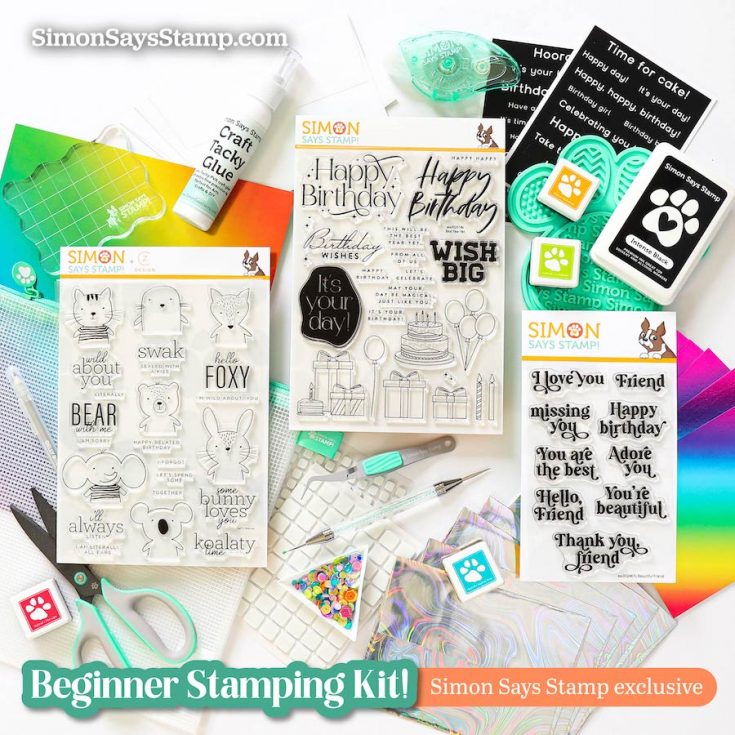
Are you new to stamping or do you know someone that has an interest, but doesn’t know where to start? Your search is OVER! This kit packed to the BRIM with EVERYTHING you need to get started (and MORE!!) Introducing our first ever exclusive Beginner Stamping Kit! If you purchased these items individually, the total would be just about $200, but when purchased as a kit, you can receive it all for $99.99! Talk about a DEAL!
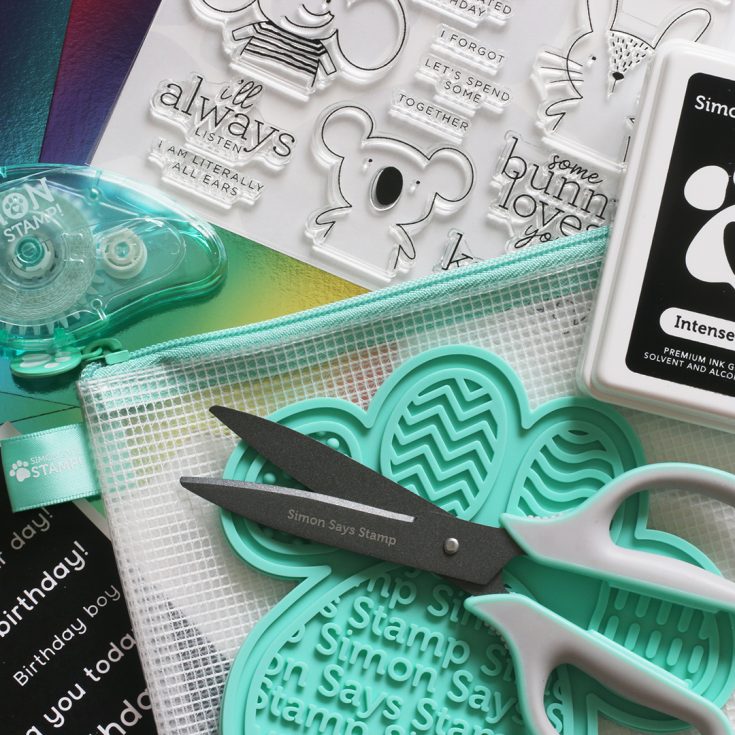
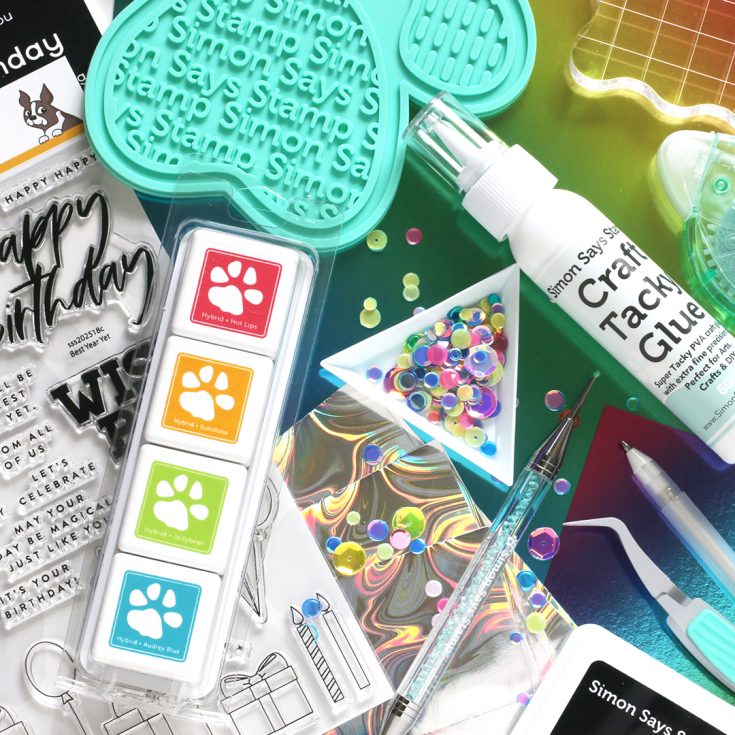
Kit contents include:
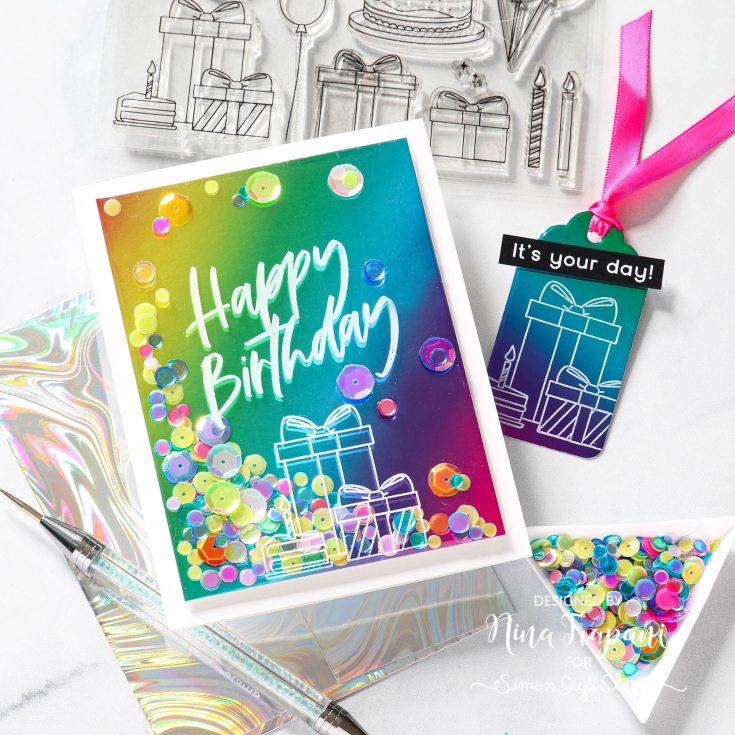
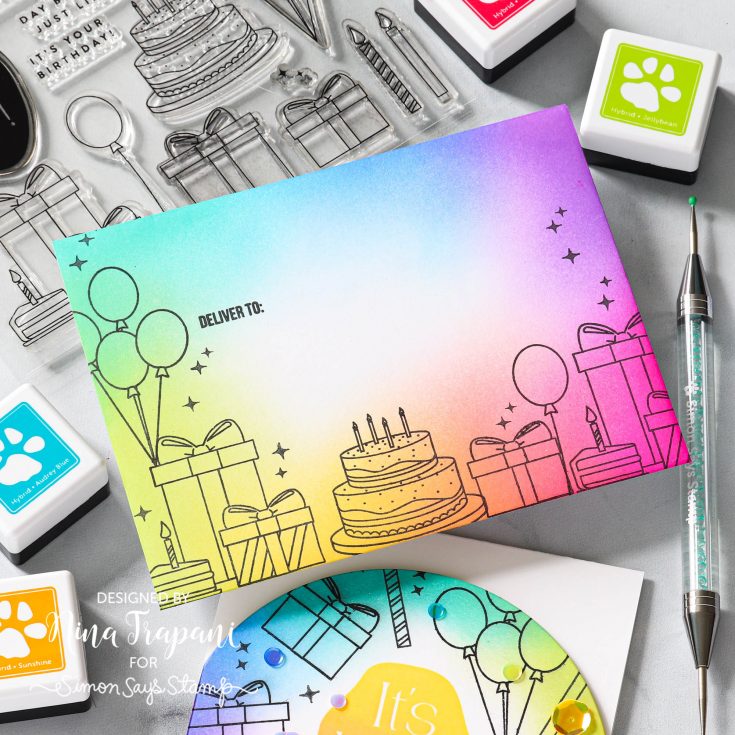
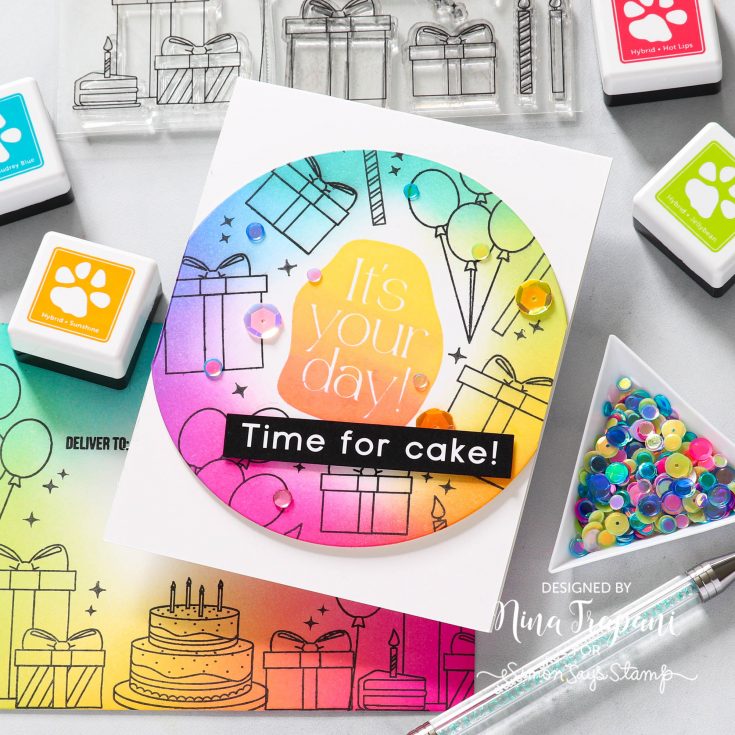
- Simon Says Stamp Best Year Yet 6×8 inch clear stamp set
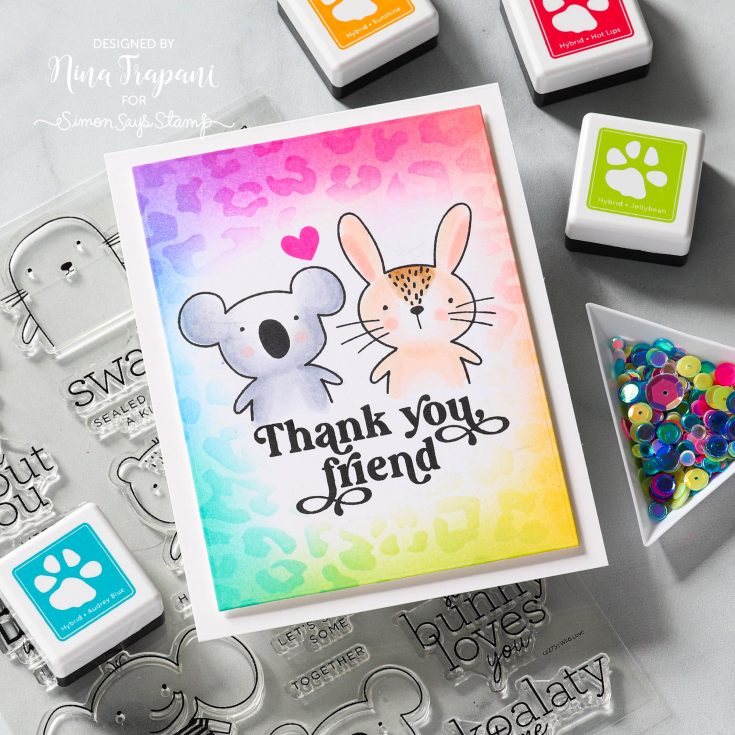
- Simon Says Stamp Wild Love 6×8 inch clear stamp set
- Simon Says Stamp Beautiful Friend 4×6 inch clear stamp set
- Simon Says Stamp 3×4 inch acrylic block
- Simon Says Stamp Intense Black ink pad
- Simon Says Stamp Rainbow Hybrid Ink Cube Set of 4
- Simon Says Stamp 10 pack of White A2 Side Fold Pre-scored Cards
- Simon Says Stamp Surprise Party Sequins
- Simon Says Stamp Pack of 6 Holographic Envelopes
- 1 sheet of each design of Simon Says Stamp Reverse Birthday Celebration Sentiment Strips
- Simon Says Stamp Dot Runner Adhesive
- Simon Says Stamp Pawsitively Everyday Scissors
- 1 tube of Simon Says Stamp XL Precision Craft Tacky Glue
- Simon Says Stamp Mesh Storage Bag in Teal
- Simon Says Stamp Reverse Tweezers
- Simon Says Stamp Place and Pierce Embellishment Wand
- Simon Says Stamp Triangle Tray
- Simon Says Stamp 3D Foam Squares in White
- 1 sheet of 8.5 x 11 inch Simon Says Stamp Diagonal Holographic Rainbow Cardstock
- Pawsitively Everything Tool in Teal
- Simon Says Stamp Pack of 6 A2 Holographic Rainbows Cardstock
- Sakura Stardust Clear Glitter Pen
WATCH THE VIDEO:
IDEAS TO INSPIRE:
Want to see or share inspiration with this kit? Visit our gallery!


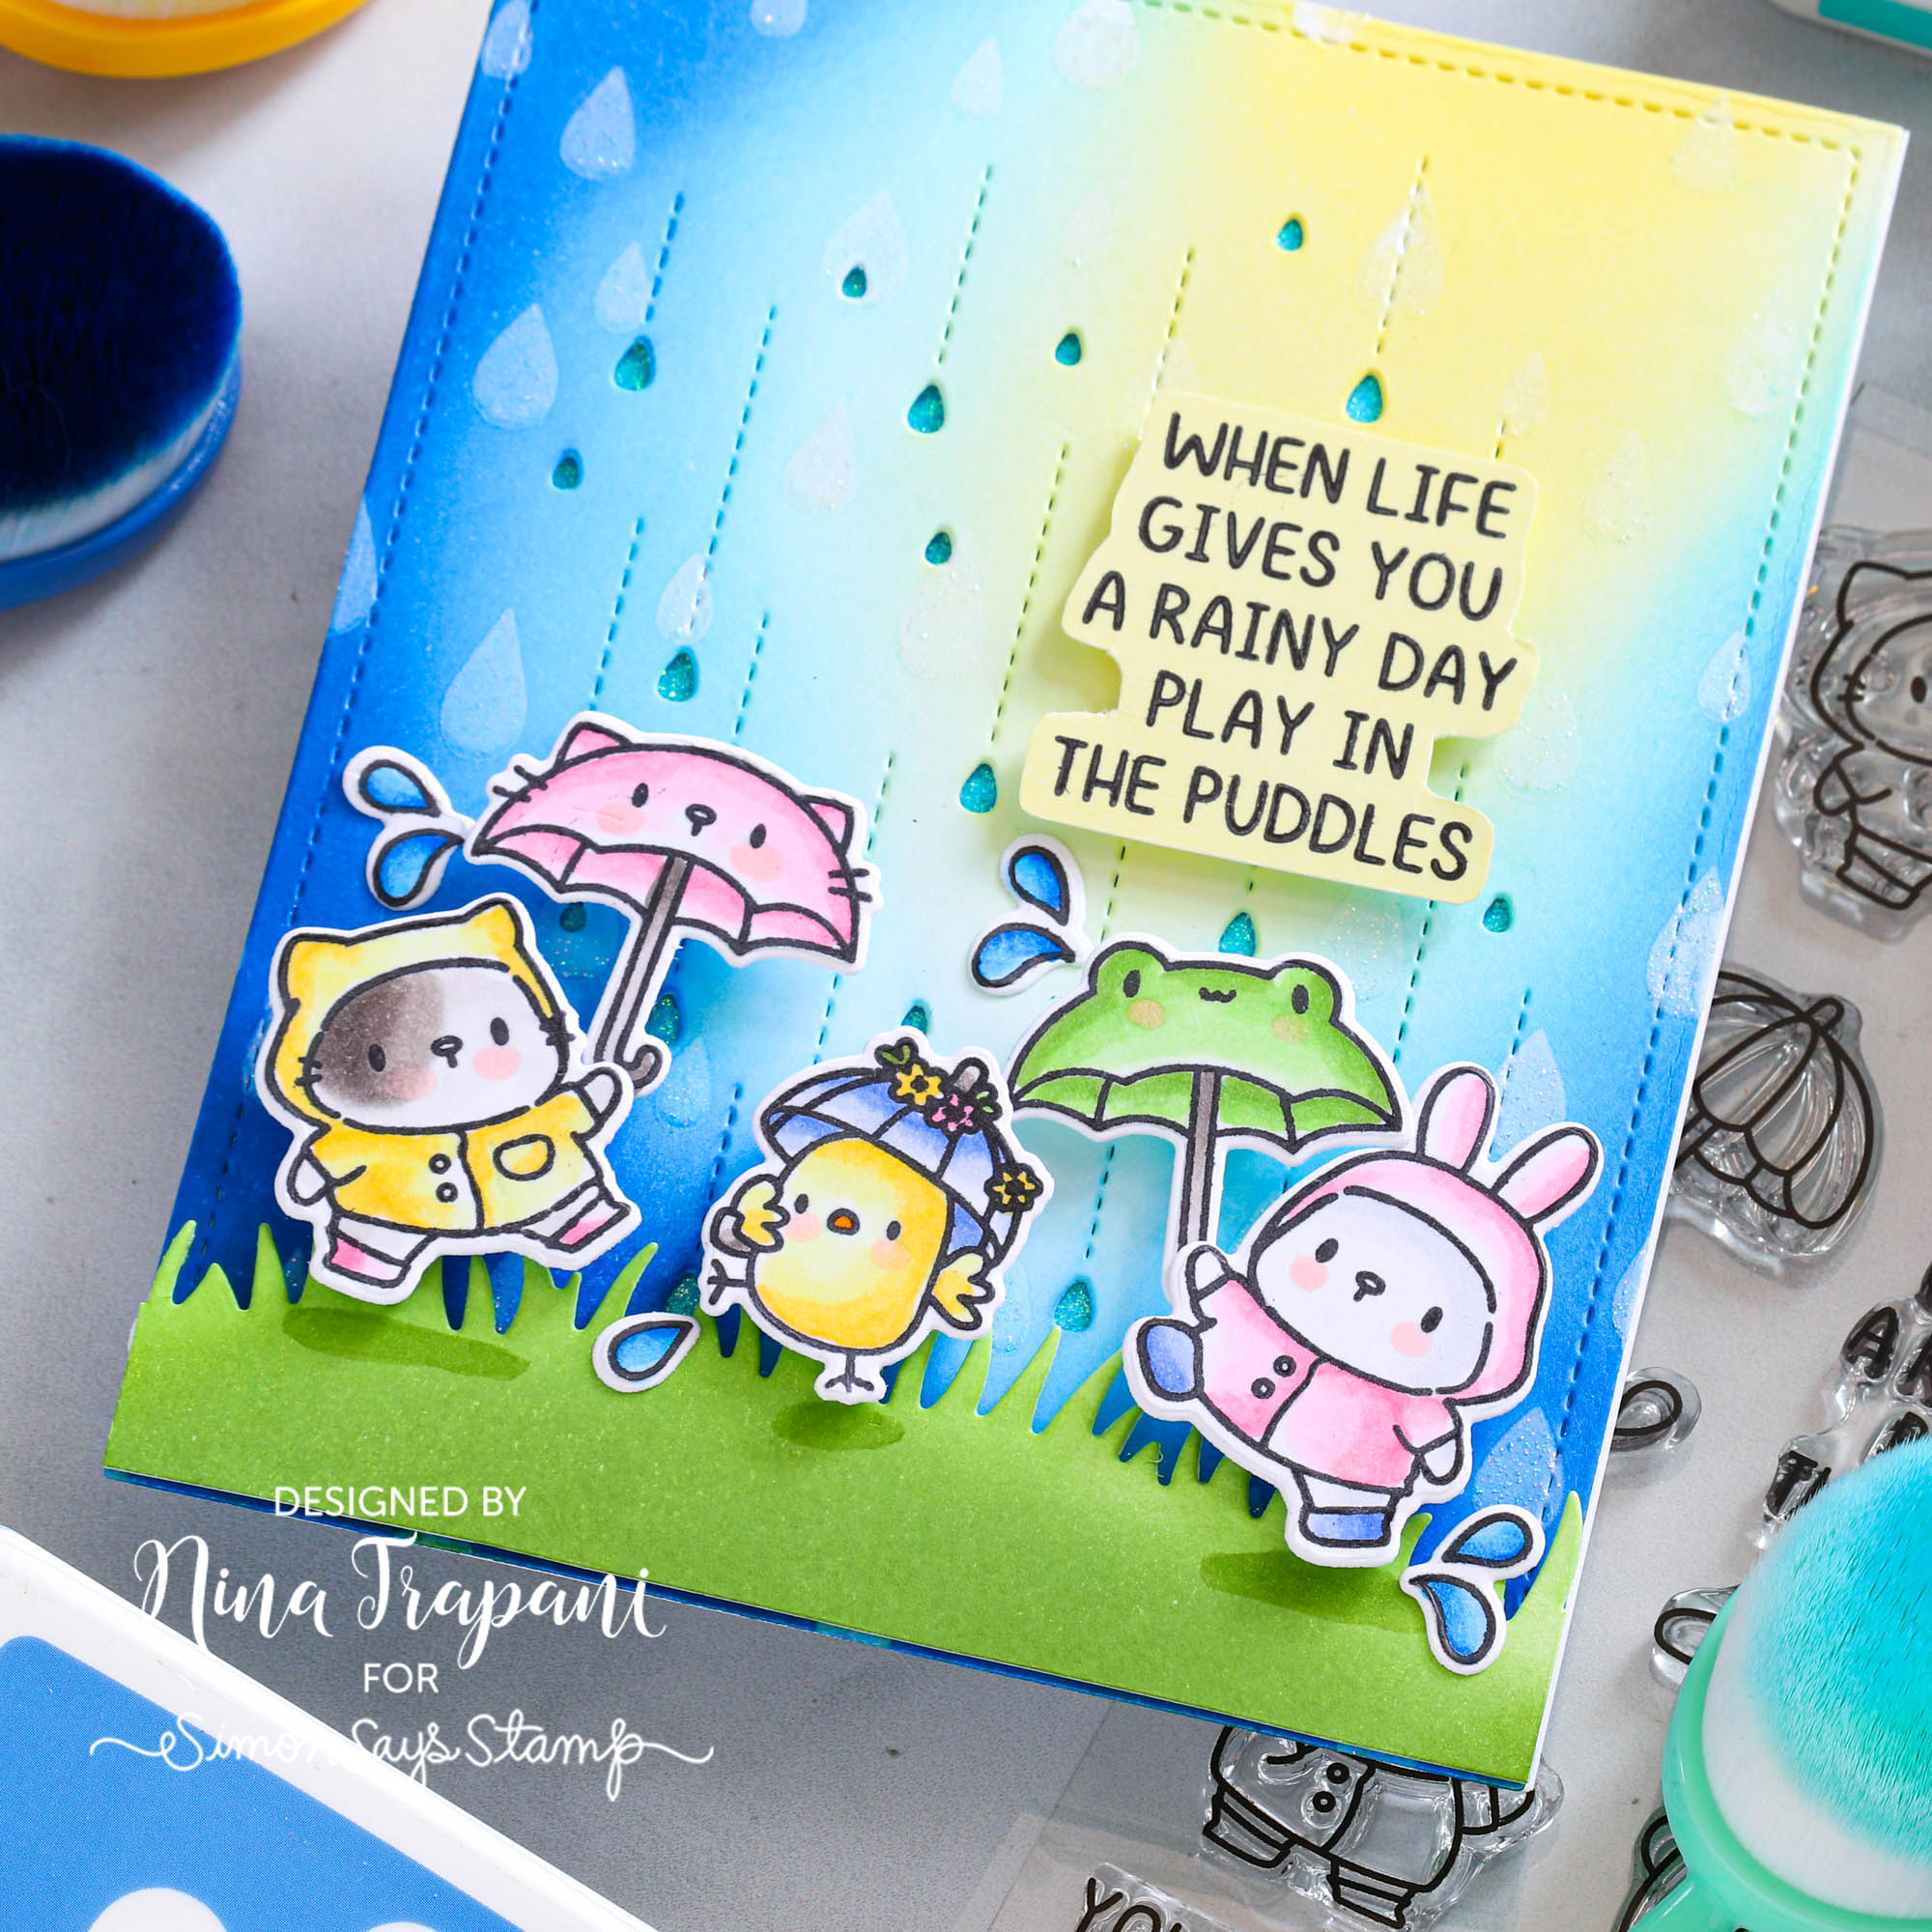
Using Stamps to Make a Scene! Studio Monday with Nina-Marie

Hello there friends, it’s Nina-Marie Trapani here with a scene card project to share using Mama Elephant products! I used the Rainy Days stamp and die set, along with the Raindrops background die.

Using our Simon Says Stamp Pawsitively Saturated Inks, I blended a background of colors to create a rainy sky; the yellow area gives the effect of sunlight streaming through the rain clouds. Behind the raindrop die cut background is a sheet of glitter cardstock, and I added glittery drops on top with paste and our Simon Says Stamp Large Raindrop stencil!
Want to see how I made this card? Watch the video below for all the details!
WATCH THE VIDEO:
SUPPLIES:
|


Make a Card Full of Texture and Color! Crafty with Caly

Hi friends! Happy Saturday! I hope your weekend is starting off wonderfully! Please join me in welcoming back special guest Caly Person to the blog today with a super gorgeous and textured Support card idea, but really, you could swap this card easily for a Thank you, Birthday, Wedding, or MORE! Read on and be sure to watch the video for all the details! Enjoy!
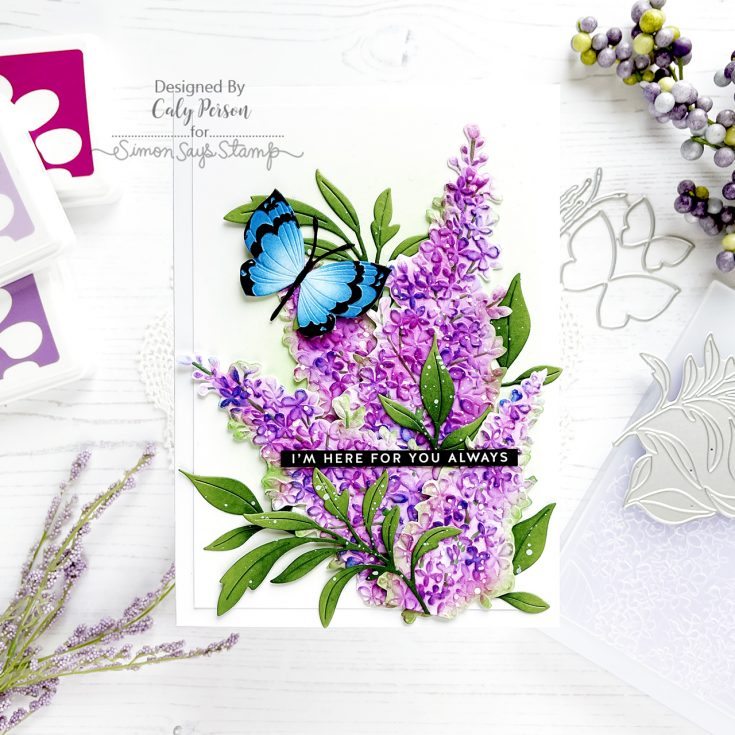
Hello! Thanks so much for joining me today! I’m using embossing folders today to create a card that’s full of texture and color. The latest Simon Says Stamp release brings new embossing folders that are beautiful and I wanted to combine the Lilac Clusters with the Fantasy Butterflies for today’s card.
Be sure to check out the video to see how I used these embossing folders to add color and bring these images to life!
WATCH THE VIDEO:
I began by embossing the Lilac Clusters on two panels and ink-blended them with purple ink. I wanted to add some depth too, so I added some pink and blue ink as well. I had ink-blended the foliage at the bottom of the panel with green ink, but decided to fussy-cut around all the lilac clusters to get individual clusters for my card.

My card is 5” x 7” to accommodate the 4 large lilac clusters. To add foliage, I die-cut some Windswept Leaves with green cardstock and ink-blended them with dark green ink to give them some shading. I also prepared a single butterfly from the Fantasy Butterflies embossing folder and coordinating die set.
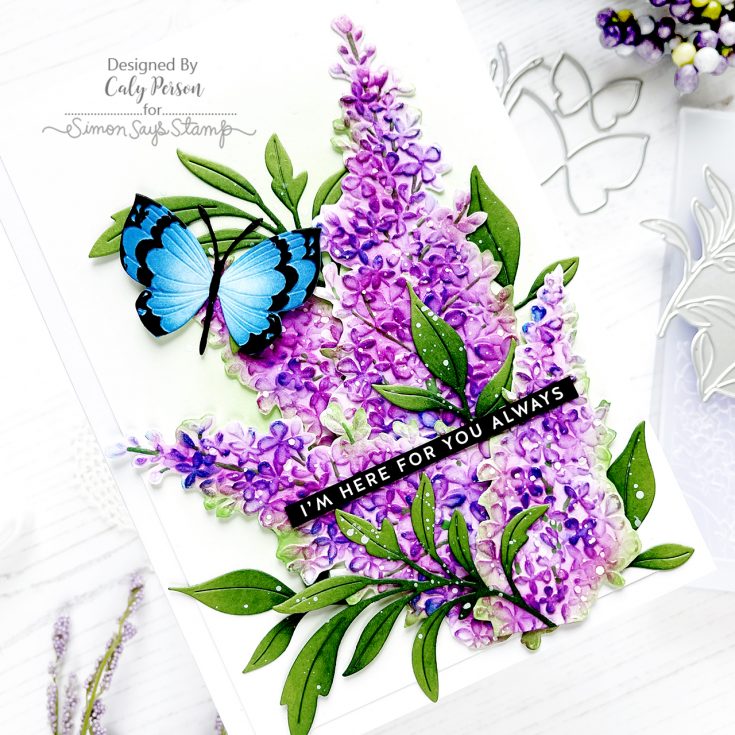
On the background, I ink-blended some green to add a soft glow. Once I arranged and adhered my lilac clusters and leaves, I splattered the panel with white paint to give it additional texture. I then finished with a simple sentiment strip from the Thinking of You Sentiment Strip set.
I hope you enjoyed this project! Thanks so much for being here today! ~Caly
SUPPLIES:
|


Thanks so much for stopping by, and thanks to Caly for being our guest!


