Creating with Complementary Colors: EZ with CZ

Hi friends! Happy Tuesday! Please join me in welcoming special monthly Guest *CZ herself*, Cathy Zielske in the latest of our EZ with CZ blog series! Be sure to watch the video to learn all the details on this pretty card and enjoy!!
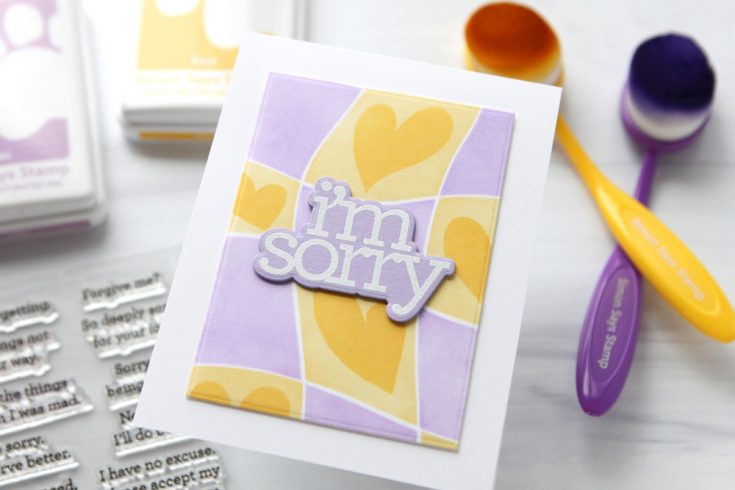
For today’s card project, I am using complementary colors to inform the design. Complementary colors are colors that sit exactly across from one another on the color wheel. They have extremely high contrast from one another and they always work as a pair. Today I’m using Lilac and Butter as the base colors for my design.
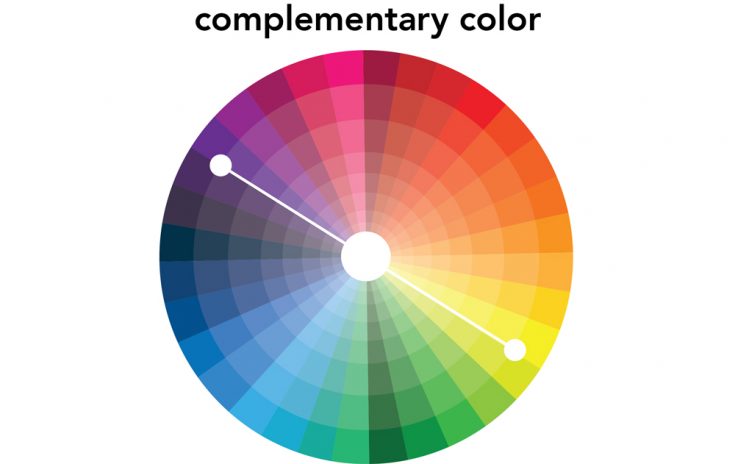
I chose to use light tones of both yellow and purple for my design, but the complementary relationship is there whether you use bold and bright versions of the colors, or soft and muted tones.
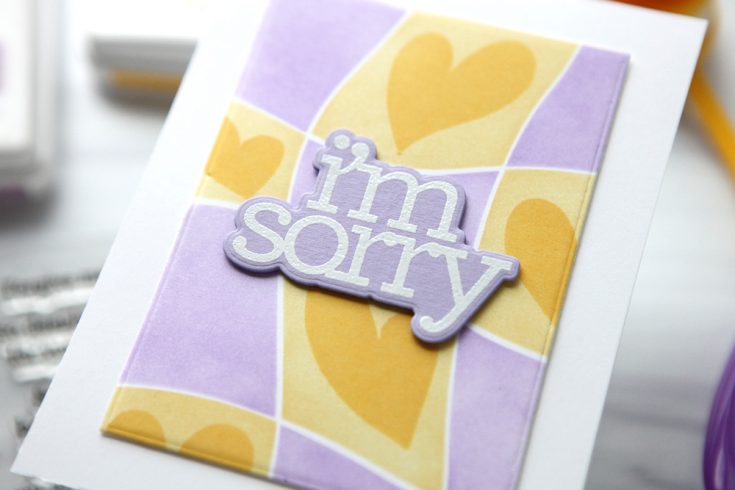
I used the Funky Hearts Stencils to featured these two colors on my card panel. Here is my video where I show it coming together.
WATCH THE VIDEO:

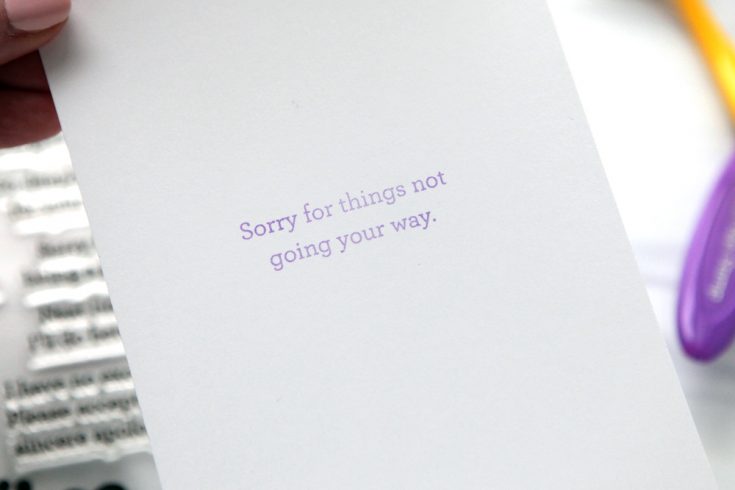
My CZ Design I’m Sorry stamps and die were a perfect set for this simple design. I also stamped a simple greeting on the inside, as well.
Pick a pair of complementary colors for your next card project and keep the color choices simple!
SUPPLIES:
|


Thanks so much for stopping by, and thanks to CZ for being our guest!

Must-Try Shadowbox Card! March 2025 Card Kit Magic!
Hi friends! Happy Monday! I’m delighted to welcome back special monthly guest Tina Smith and as always she did not disappoint with an absolutely delightful way to bring our brand new 2025 March card kit to life! Read on, and be sure to watch the video for all the details! Enjoy!
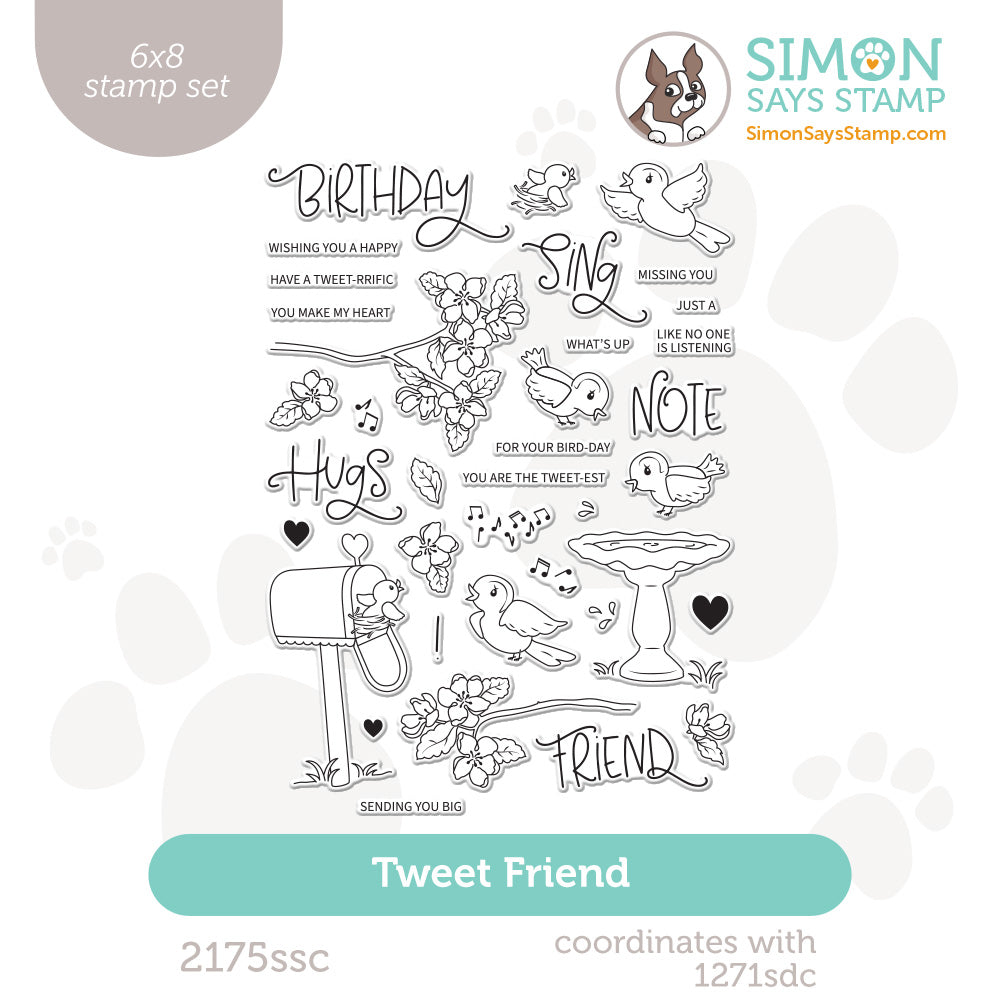
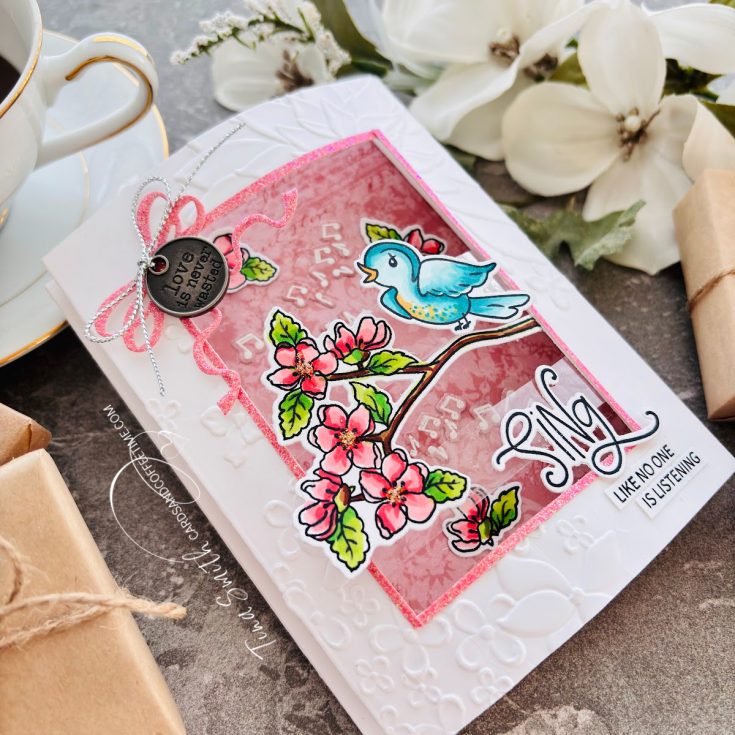
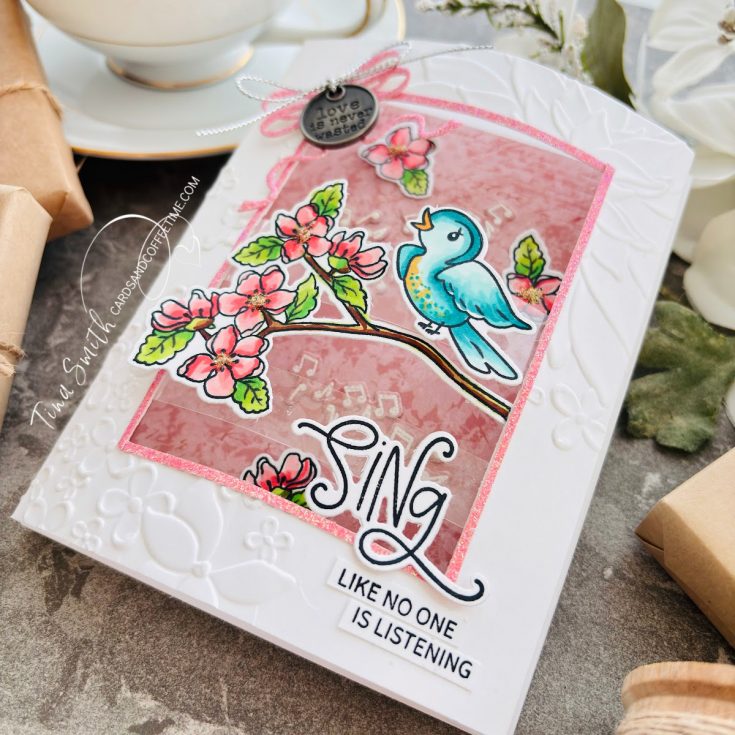
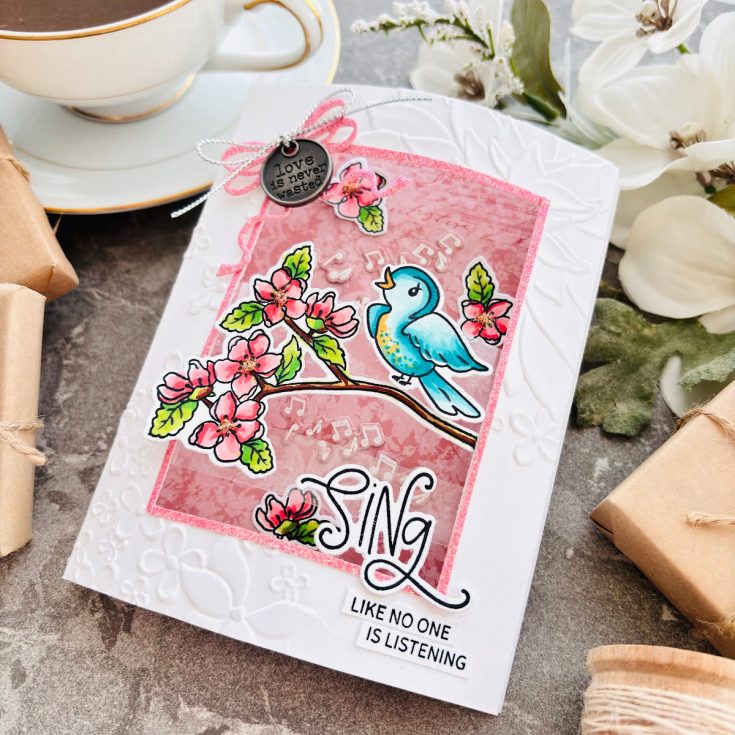
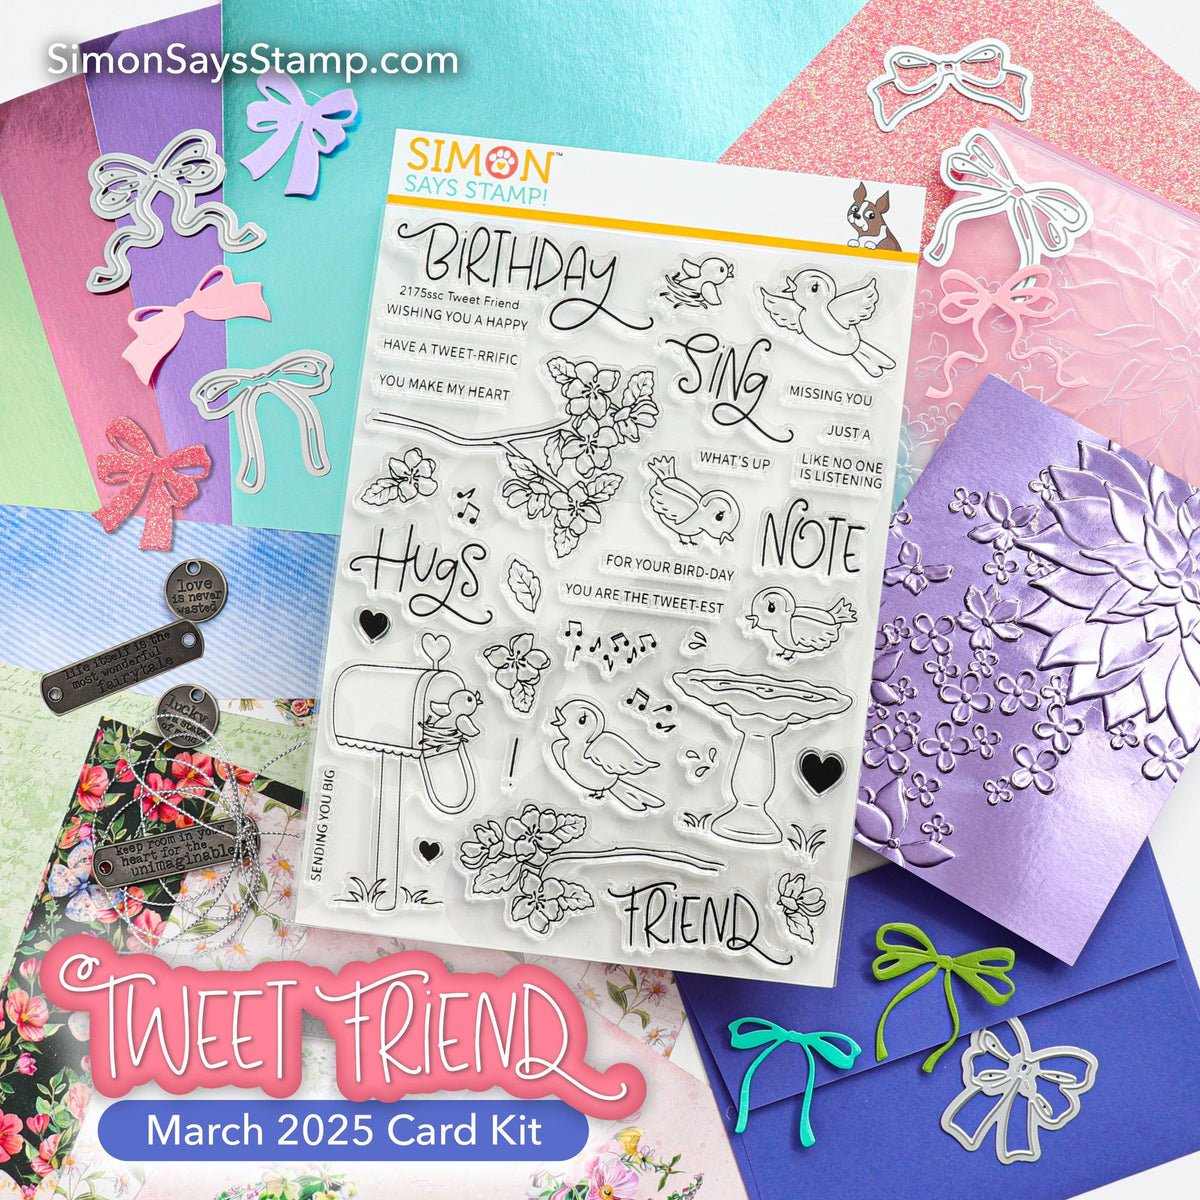
Hello, Tina here! I’m absolutely thrilled to share with you a delightful shadow box card. We are using the amazing contents of the March 2025 Tweet Friend card kit, plus a few trusty craft room supplies! Today, we’ll be incorporating a little bit of nearly everything in the kit! Creating the shadow box is a breeze; all you need is a score board and a basic shape die. I love how cheerful this turned out, and I hope it inspires you!
WATCH THE VIDEO:

SUPPLIES:
|


Thanks so much for stopping by, and thanks to Tina for being our guest!
Celebrate with a Tweet-rrific Birthday Card | Let’s Get Crafty with Caly!

Hi everyone! It’s Caly Person here today!
Today’s project uses products from the Simon Says Stamp March 2025 Card Kit – Tweet Friend!

I hope you’ll watch the video to see this card come together!
WATCH THE VIDEO:

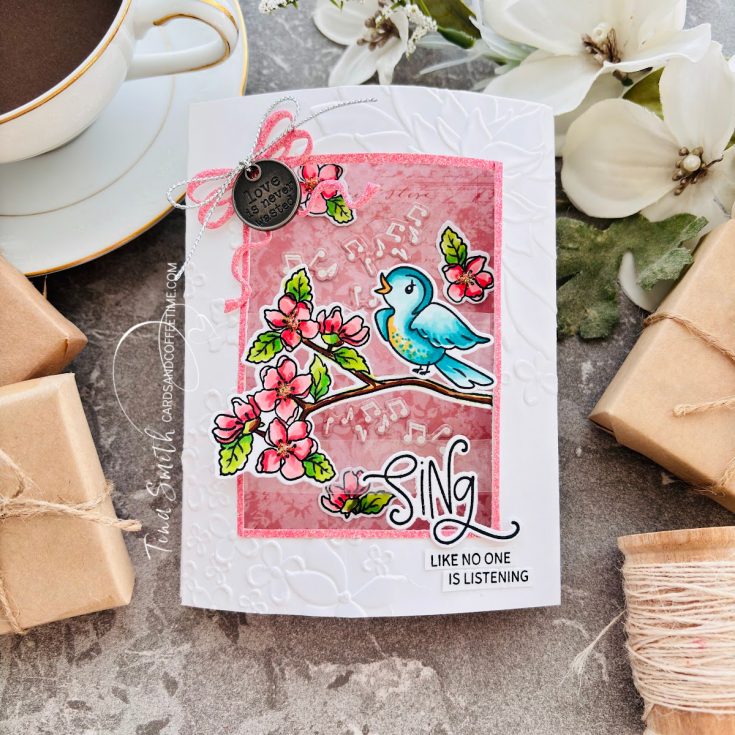
I stamped and colored the images from the Tweet Friends set with Copic markers.
Pinks: RV000, RV52, RV55
Greens: G20, G21, G24
Browns: E33, E35, E37
Oranges: YR000, YR01, YR02
Blues: BG000, BG02, BG07

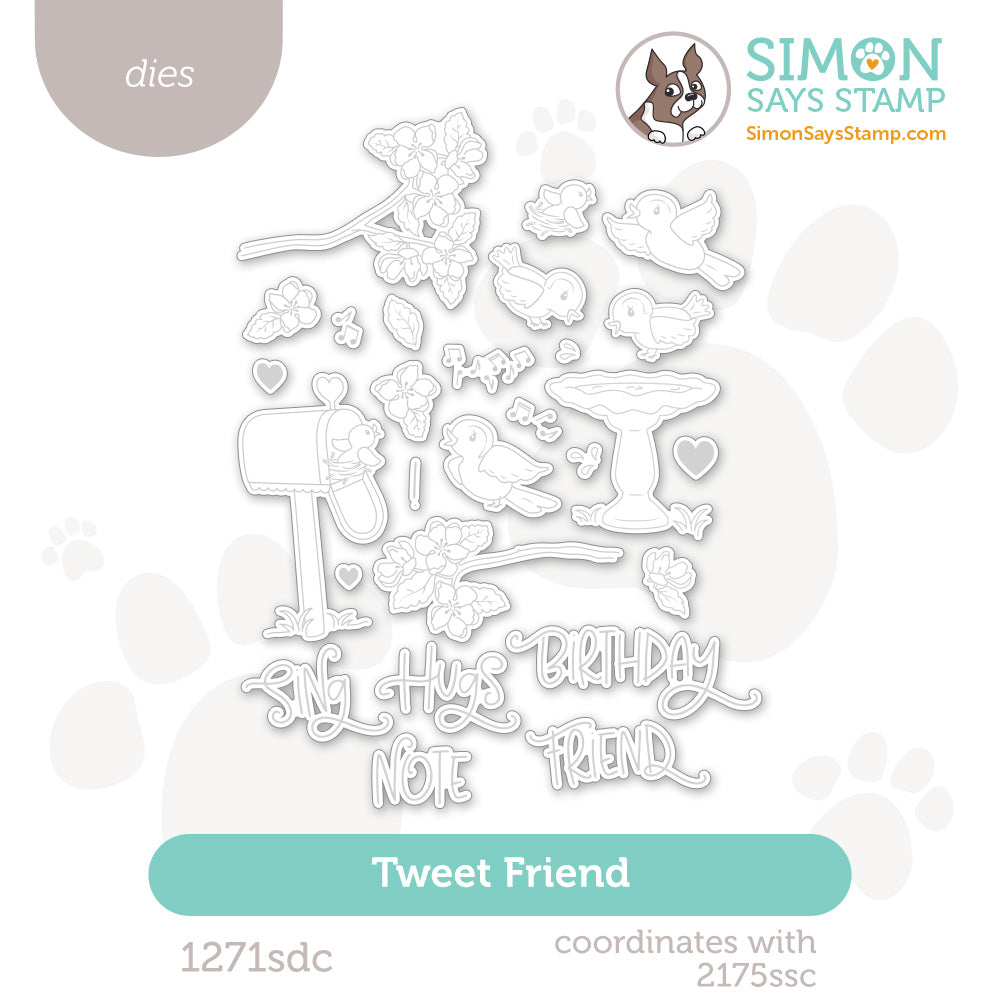
I paired these spring images with the Bitty Birdhouse die. It’s die-cut with the Tim Holtz Metallic Confections Kraft Stock from the card kit.

The background uses the Paper Rose Flower Shoppe paper from the card kit and is embossed with the Drifting Flowers Embossing Folder. I finished this card with an embossed sentiment from the Tweet Friend set.
I hope you enjoyed this project! Thanks so much for visiting today!
SUPPLIES:
|