Prima Bloom Girl
Creating is a funny thing – sometimes things end up working out in ways you never expected! May Flaum here, and today I’m excited to share with you a project that started as a colorful card that turned into a mess, that turned into a fabulous shadow box! Today I’m working with my favorite Prima Bloom Girl Stamp.
To begin, I stamped with embossing ink and heat set with black embossing powder.
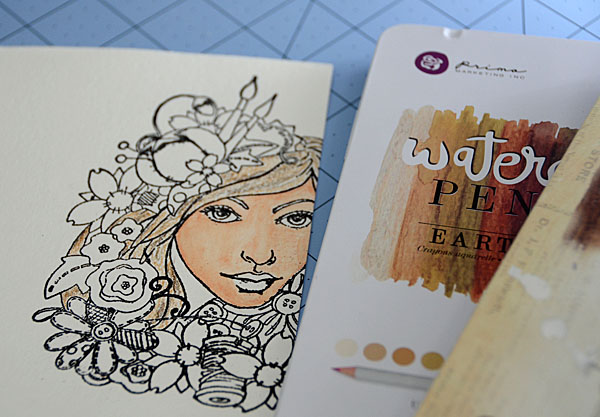
I did this to ensure the image would stand out, and I love the results. Speaking of love – I began coloring this crafty lady with my Prima watercolor pencils and water brush. Love those earth and skin tones!
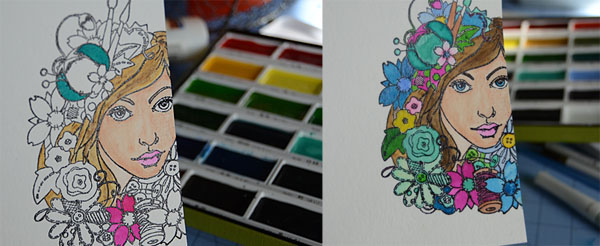
This part was the most time consuming – but fun! I colored each piece with either watercolor pencils or from my Kuretake watercolor set depending on the color I wanted. My big tip is to not work on items next to each other while wet – it will help you avoid colors bleeding together.
Once all those details were colored in I stamped the edge of the stamp onto a scrap of cardstock and created myself a mask to lay over my image. I didn’t have quite a big enough area to make it work so I cut out another little scrap (and taped it all together. Improvise with what you have, I always say!
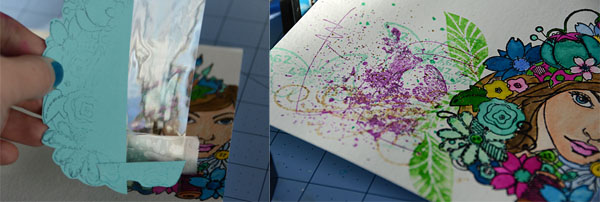
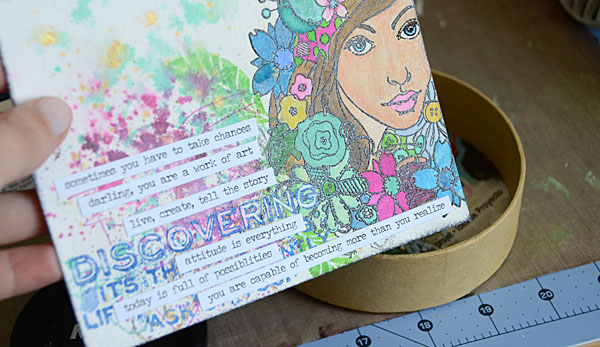
This is where things went sideways. You see, I was stamping and inking and misting my heart out, and things got too bright and too messy. In short I went too far! I tried adding word stamp + stickers to cover up the worst… that only made it worse! I tried misting with picket fence mist and that helped tone things down, but I still didn’t like this card. That’s when I went digging and found a small circular box.
Realizing it was a good size and that I could cut part of my image out and create a shadow box I found myself once again excited! I used the box to trace a line then held my image up to the window to make sure I liked where it was at.
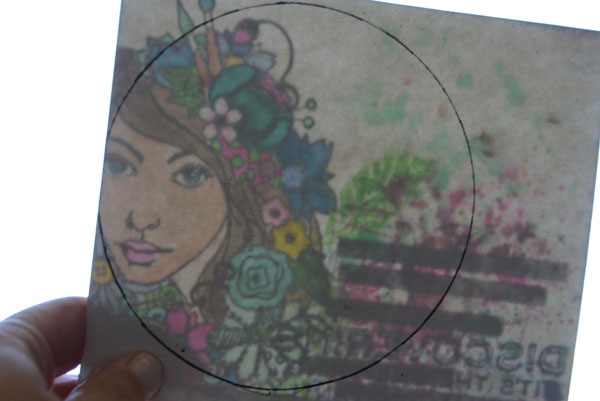
Oh yes, this will work fine! I cut just inside the line, then made adjustments until I could fit this into the base of my box.
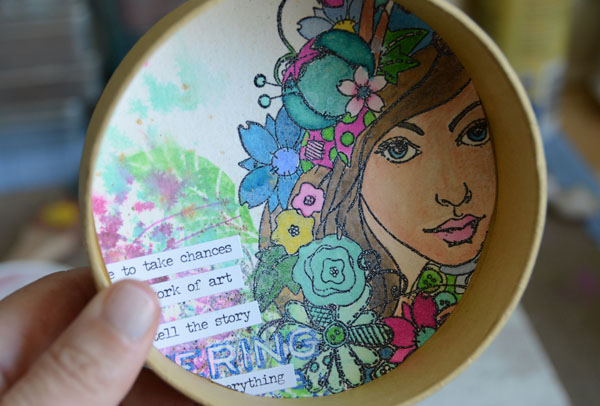
This in, I edged the outside with washi, then washed the inside and out down with a bit of gesso and a few streaks of gold paint for good measure.
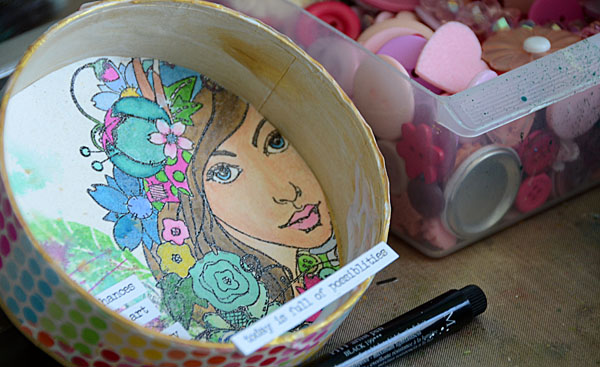
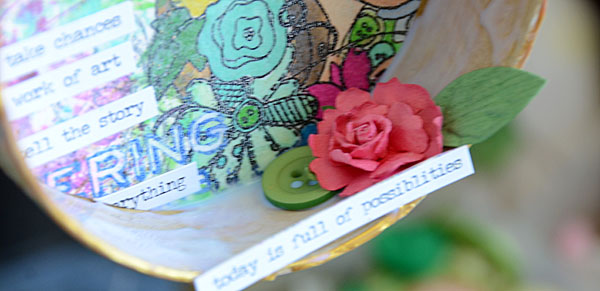
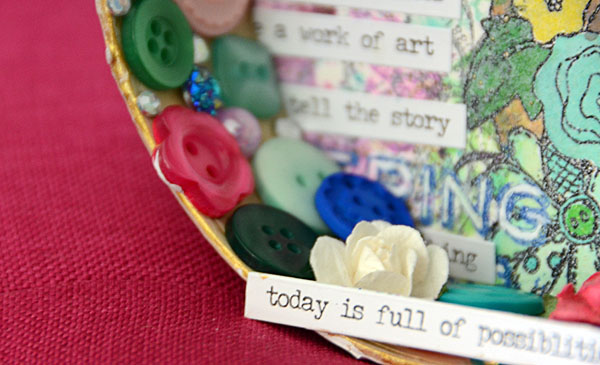
Next up: decorate! I used another phrase sticker and I glued a number of buttons, gems and things both to the inside and also at the top edge (where her hair ends) as well.
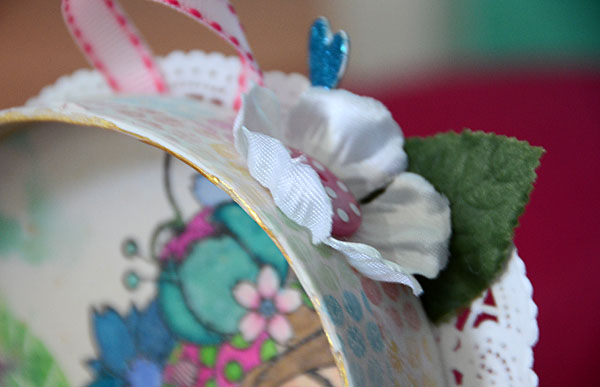
The great thing about a project like this is that you can just add whatever you might have! You’ll just want to play with an assortment of colors, sizes, and textures.
Once I felt satisfied I added a loop of ribbon (so it can hang) and a doily to cover that and secure it better onto the back.
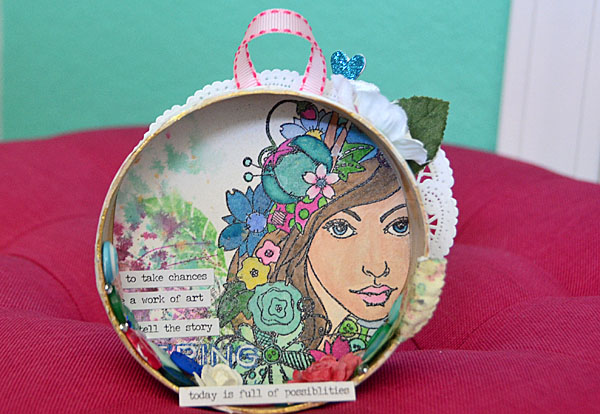
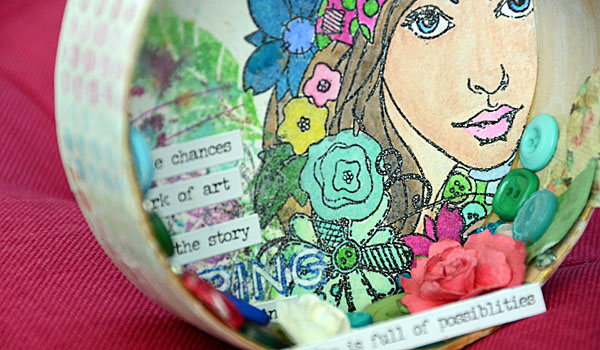
Here is the finished piece – and I absolutely love how it turned out! It just goes to show that sometimes you can over work a piece then re-work it into something even better than the original concept.
I hope that I’ve inspired you to play today – happy crafting!
Supplies Used:
 |
 |
 |
 |
 |
 |
 |
 |
 |
 |
 |
 |
 |
 |
 |
 |
 |
 |
 |
 |
 |
 |
 |
 |
 |
 |
 |
 |
 |
Happy Mother’s Day!
Happy Mother’s Day to each and every Mother out there! Please allow me a moment to *GUSH* about my Mom. :) This holiday has great meaning to me, not as a Mother quite yet, but I feel so incredibly blessed and grateful that I have the Mom I do. She is kind, understanding, loving beyond measure, and everything I could aspire to be in a Mother. I always make it a point to tell her how special she is to me often, not just on Mother’s Day, but I love that there is a day to pay tribute for the blessing that she really is to me.
The amazingly talented (and super Mum!) Debby Hughes is on our blog today sharing a couple special card ideas that your Mother would be so pleased to receive in our monthly creative uses post!
Be sure to give an extra big hug and kiss to the special women in your life! :)
Hello, Debby here with a look at stretching your supplies just that little bit further! Before I jump in though, in America it’s Mother’s Day so today’s cards both have a Mother’s Day/Mum theme. If you are a Mum I hope you get spoilt rotten and equally let’s all show some appreciation for the special women in our lives :D
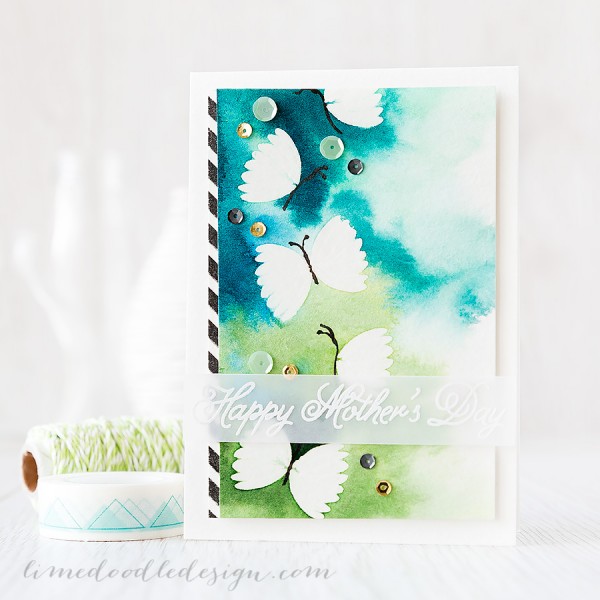
With each new release I scan over the goodies, just letting my eyes roam and seeing what springs into mind when I see the stamps and die shapes; trying not to think about what they are intended for but just if anything pops into my head. When I looked at the new Lovely Spring set one of the flower heads reminded me of a butterfly wing. This was such an easy one to work with; stamped singularly it was a butterfly viewed from the side and when doubled up it looked as if in full wings open view. I’m still on my watercolour kick so stamped the butterflies in Versamark on watercolour card and clear heat embossed. After applying a wash of water over the panel I delved into the rich colours of the Gansai Tambi paint palette, dotting the colour on and letting the water blend and create interesting patterns. I just made sure there was plenty of colour around the butterflies so they stood out from the background. Once the panel was dry, I went back in with a fine paint brush and deep brown paint and carefully drew in the butterfly bodies and antennae.
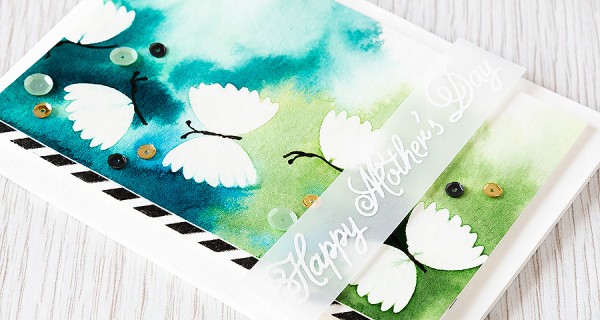
I love seeing a stripe of contrast down the side of a card and am delighted at the new Diagonal Stripe stamp with it’s 6×6 size this is going to be a firm favourite in my book. I used Versafine Onyx Black ink to stamp the stripes to try and help cover that lump bumpy watercolour card, then cut a strip and adhered it to the back of the watercolour piece. The sentiment from Mother’s Day is stamped in Versamark on Bazzill Vellum and White heat embossed.
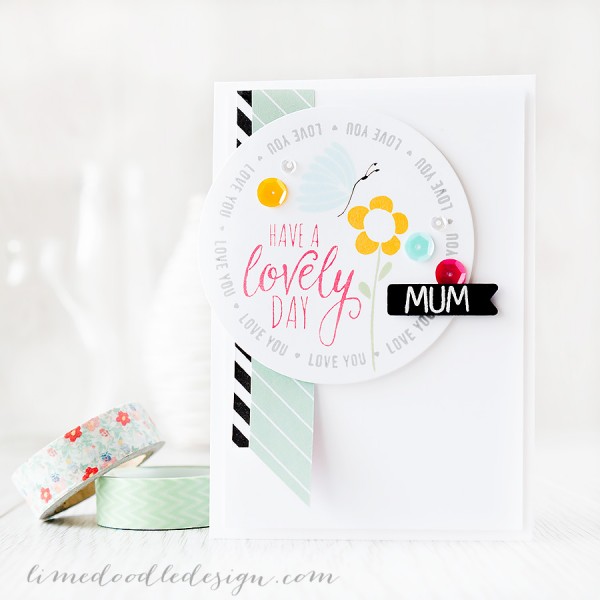
While the Lovely Spring set was on my table I couldn’t help pulling out a variety of the images to stamp a circle focal point for this second card. I used the ‘love you’ from the Circle Sayings set stamped in Smoke ink, then tucked in the Lovely Spring sentiment in Hot Lips, the flower stem in Beanstalk Green, the flower in Sunshine and finally the ‘butterfly’ in Sea Glass all stamped on a circle of White card cut with one of the Nested Circles dies. I drew the butterfly body with a fine Copic Multiliner and embellished with sequins. The Mum sentiment from We’re Expecting is stamped in Versamark and White heat embossed on a banner from Hearts For Lila cut from Black Card. The circle die cut is then foam mounted on a White panel with another Diagonal Stripe piece and a banner of patterned paper added.
Phew, still with me? Well I hope I’ve given you a nudge to get out your supplies and look for different ways to use them. Now I’m going to call my Mum and let her know I love her :D
Supplies
 |
 |
 |
 |
 |
 |
 |
 |
 |
 |
 |
 |
 |
 |
 |
 |
 |
 |
 |
 |
 |
 |
 |
 |
 |
 |
 |
 |
 |
 |
 |
 |
 |

Blog Candy Alert!! Follow our blog via email and comment on this post for a chance to win a special blog candy!
10 Ways to Resist Ink Techniques!
Happy Saturday everyone! It’s Shari here with 10 Ways to create a resist for your inking. What is resist you say? It’s creating a barrier between your paper and ink. A lot of the time the look is a white pattern with color around.
Back in the day… before we had so many great products, resist was done with VersaMark ink and glossy paper. It’s still a great technique, but there are many more ways to achieve the same or similar look.
I’ve shot a video show my 10 ways! I’ve included:
- VersaMark ink
- Clear Embossing
- Acrylic Paint
- Masking Fluid
- Glossy Accents
- Stickles or Glitter glue
- Glaze
- Gesso
- Gloss Gel Medium
- Texture Paste
You can view the video below or on our YouTube Channel.
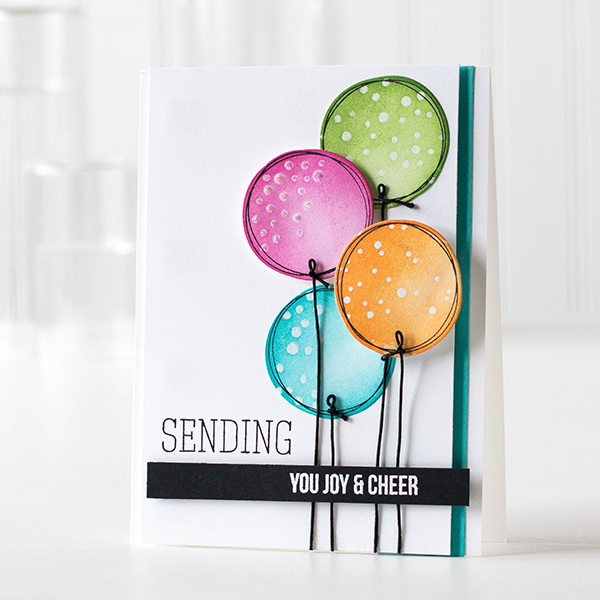
I created a card with a few of my resist circles. I thought they looked so happy and cheery and that they could be balloons!
Before you go… I have a Blog Candy Alert!! Follow our blog via email and comment on this post for a chance to win a special blog candy!
Thanks for hanging with me today, hope you have a great week-end!!
 |
 |
 |
 |
 |
 |
 |
 |
|
 |
 |
 |
 |
 |
 |
 |
 |
 |
 |
|
 |
 |
 |


