June Creative Uses
Hi readers! I don’t know about you, but our creative uses monthly feature with Debby Hughes is one that I greatly look forward to each month! The fact that it’s never on the same day each month just adds a bit of mystery! I hope you enjoy June’s creatives uses!
Hi it’s Debby here, popping in with my look at stretching those supplies and today smaller images are in the spotlight, in particular the sunglasses image from the fabulous Happy & Smile set from the June Card Kit. I love that the Card Kits always come with a great stamp set and June’s is such a fun happy one, but back to those sunglasses; fun as eyewear but equally great for lots of other purposes too.
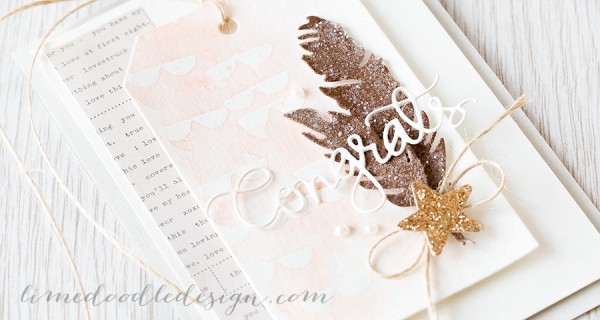
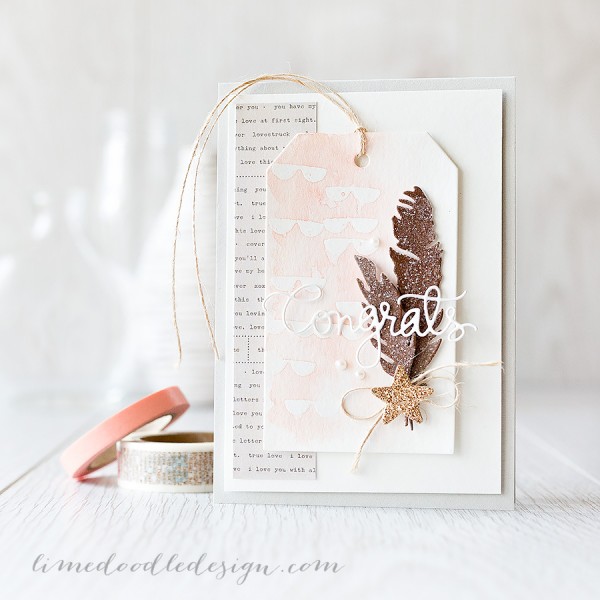
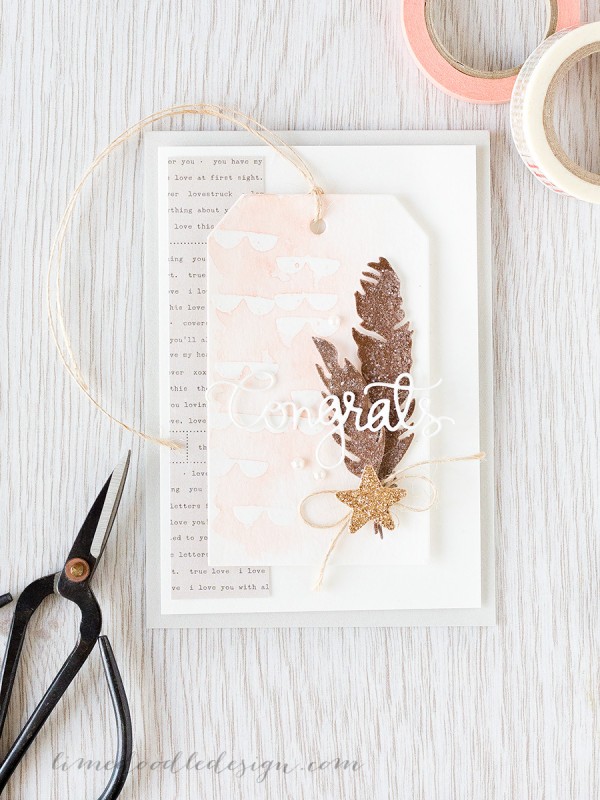
For this first card I stamped the glasses in White ink on Watercolor card cut with a Large Tag and Clear heat embossed to create a random scallop background over which I watercolored with a Zig Clean Color marker. To accent this tag I colored white card with Dark Chocolate and Sparrow inks, die cut with the Feathers dies, coated with Glossy Accents and covered with Clear Rock Candy Distress Glitter. The word die is from Cake & Congrats and again cut from Watercolor card, there’s a touch of Kiss Kiss paper from Crate Paper and then everything is mounted on a Fog card base.
Next we have this little tag – I’m still enjoying experimenting with the possibilities of the Zig Clean Color Markers. To some extent this post also stretches the uses for these markers. Both projects today use the markers and yet one is soft, pastel loose watercolor wash and the other is a bright more defined use of the markers but in a slightly messy watercolor style.
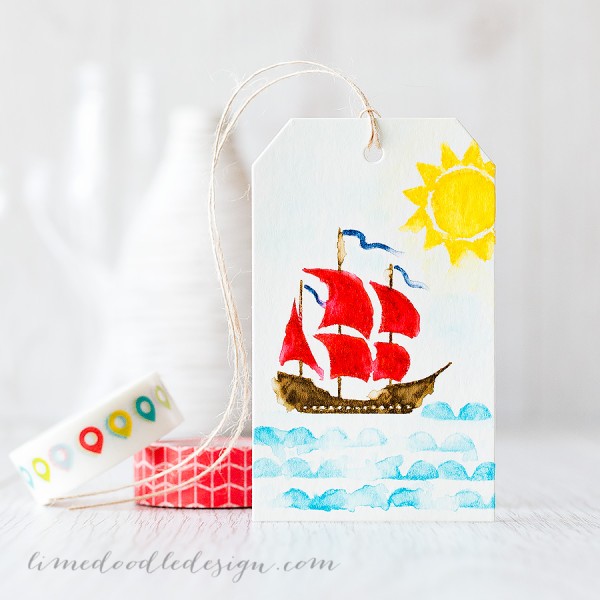
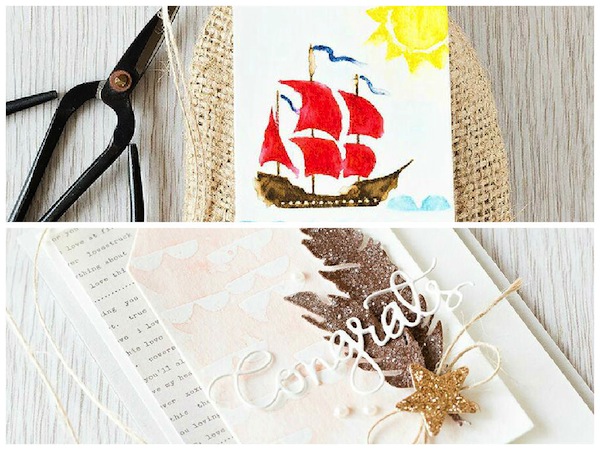
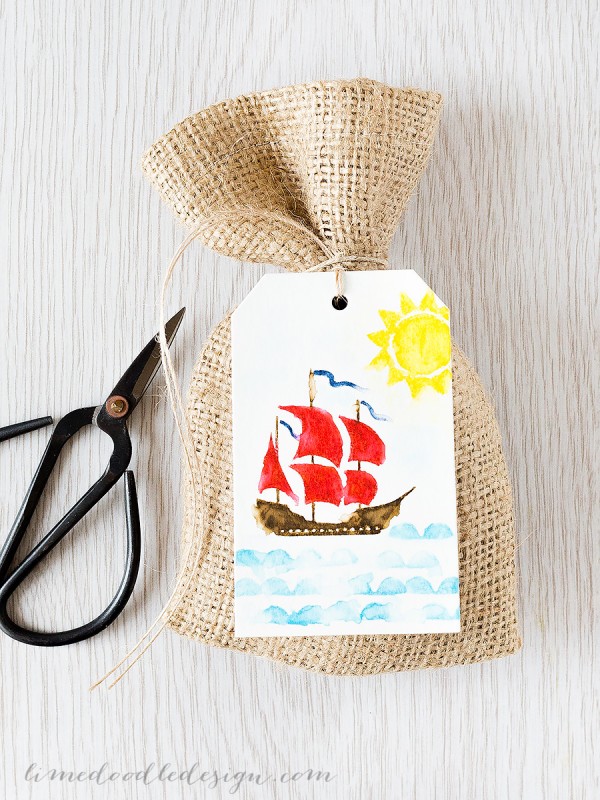
For this tag I colored directly on the image of the sunglasses before stamping on the watercolor card to give the impression of waves. The markers stamp with reasonable coverage to be honest but I wanted to play with that loose, messy style so took a damp brush and moved the color around slightly. I repeated the process with the sun from the same Happy & Smile set and also the ship from Naughty Nautical. The advantage of coloring direct to the stamp for the ship was that I could easily add different colors to the image. Again the image stamped reasonably well but the brush tip of the marker made it easy to fill in anywhere that needed a bit more color. You could leave it there, but again I went in with that damp brush and just messed it up a bit. In real life the effect of the yellow sun washing out slightly into the sky is lovely but that didn’t really capture on camera. Still this is a technique I’m enjoying experimenting with and you will no doubt see me try again.
You can purchase a June Card Kit to get the Happy & Smile stamp set included with a bunch of other bright and colorful supplies, or equally you can buy the stamp set separately. The Zig Clean Color Markers can be bought as sets and are available in the Simon store as individual markers too :D
Supplies:
 |
 |
 |
 |
 |
 |
 |
 |
 |
 |
 |
 |
 |
 |
 |
 |
 |
 |
 |
 |
 |
Thanks for reading, and thanks to Debby as always for being our fabulous guest!

Blog Candy Alert!! Follow our blog via email and comment on this post for a chance to win a special blog candy!
Texture Paste… Get the Look!
Hi readers! Happy Saturday! Please join me in welcoming back Justine Hovey as a guest on our blog! She has been testing out different ways to use texture paste for a variety of beautiful outcomes! Check it out!
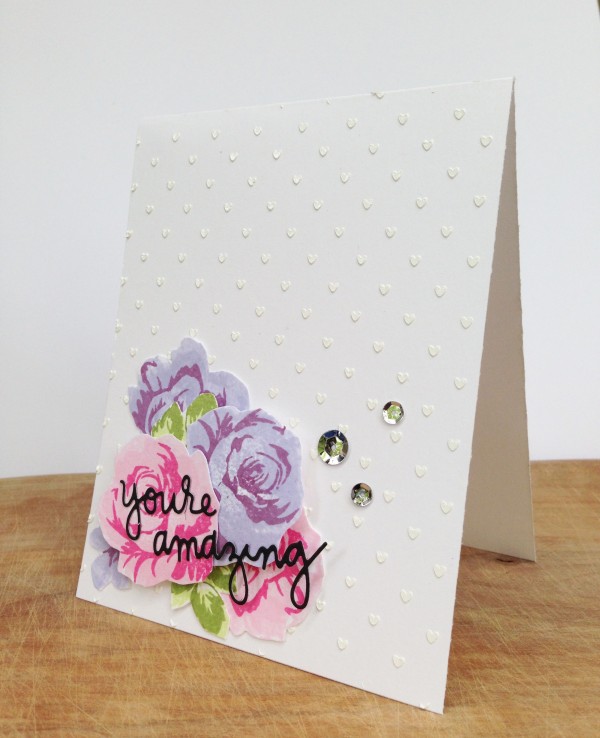
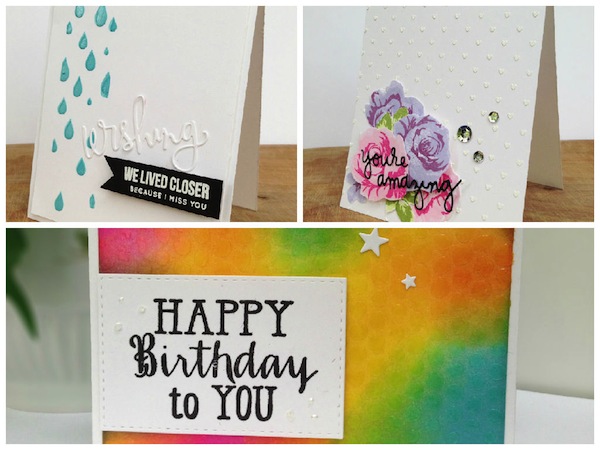
For this card, I used white texture paste from Dreamweaver over top of the Tiny Spaced Hearts stencil from Simon Says Stamp. This took about 20 minutes to dry completely. I then stamped a collage of stamps using the Altenew Vintage Flowers stamp set and attached them to my card. My sentiment was die cut from the Simon Says Stamp You’re Amazing Die in black cardstock. Lastly I added some sequins to embellish the card.
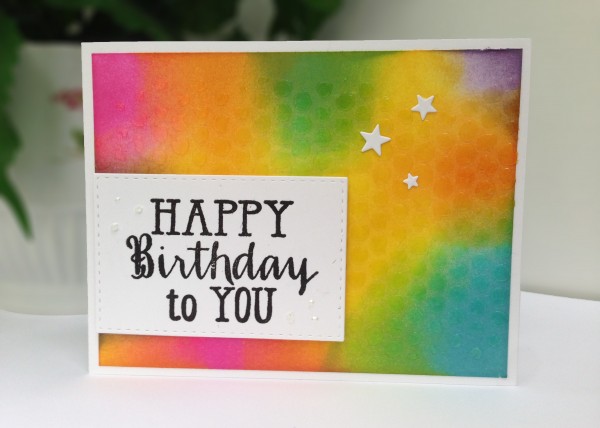
For this second bright and fun tie-dye card, I wanted to create a gender neutral birthday card. I used distress inks to create a colourful background and layered translucent texture paste on top using the Bubble Stencil from Tim Holtz. I set that off to dry. In the meantime, I used the Stitched Rectangles Die and cut out a piece of white Cardstock for my sentiment. I stamped the sentiment using Versafine Ink from the Numbered Balloons Stamp Set from Avery Elle. Lastly I added some stars form the Holiday Shapes Die from Simon Says Stamp to complete the card.

Lastly I created my own texture paste by mixing white texture paste with Broken China Distress Ink on my craft mat. I masked off an area using masking tape and spread my texture paste over the Raindrops Stencil from Simon Says Stamp. To add my sentiment I die cut the Wishing die from Simon Says Stamp and heat embossed the sentiment using white embossing powder on black cardstock from the Sending and Wishing Stamp set. I attached my card base to my card front using the Big Momma Foam Tape.
SUPPLIES:
 |
 |
 |
 |
 |
 |
 |
 |
 |
 |
 |
 |
 |
 |
 |
 |
 |
 |
 |
 |
 |
 |
 |
 |
 |
 |
 |
 |
 |
 |
 |
 |
 |
 |
 |
 |
I am so grateful for the opportunity to show you all how to make these cards and I hope you have some inspiration on how to use texture paste. See you again soon and happy crafting! Want to check out the video tutorial of these cards?
Thanks for reading today, and thanks to Justine for being our guest!
Blog Candy Alert!! Follow our blog via email and comment on this post for a chance to win a special blog candy!
June’s color of the Month Is…
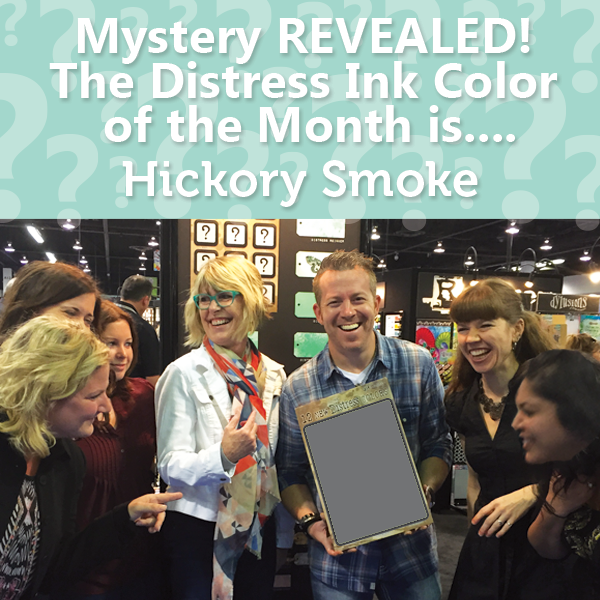
Hi readers! TGIF! We’re happy to kick your weekend off RIGHT with a fresh new color from Tim Holtz & Ranger!
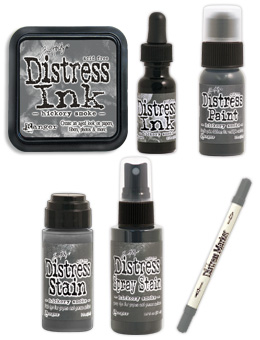
We hope you’re as excited as we are about this lovely color: HICKORY SMOKE! You can reserve this color now, and it will ship at the end of the month!!
Blog Candy Alert! Is this color a must have for you? Comment your thoughts on this post for a chance to WIN a reusable Tim Holtz Idea-olgy tote bag! Good luck!