Smiles and Sunshine Watercoloring
Hi readers! Happy Tuesday to you! We’re pleased to welcome Wednesday DT team member Jo Nevill to our store blog as a guest today! Have you tried watercoloring yet? It’s a hot trend, but I’ve noticed some are a bit timid to try it! If you are one of those people, read on! This would be a great card to try out watercoloring! And if you’d like MORE tips and tricks on watercoloring, be sure to check out our Youtube channel!
Enjoy!
Hi ! I’m Jo, a Designer with the Simon Says Stamp Wednesday Challenge Team! A few weeks ago I was delighted and thrilled to be accepted onto the Kuretake UK Design Team. I’m here to show you just a few of the many Zig Kuretake products which are available in the Simon Says Stamp Store!
My favorite way of coloring at the moment is by watercolor and I absolutely adore the Zig Kuretake Gansai Tambi 36 Watercolor set. This set has an array of colors, so bright and vibrant and are so easy to use. I am not an artist and coloring and shading does not come naturally to me but these watercolors do all the work for you.
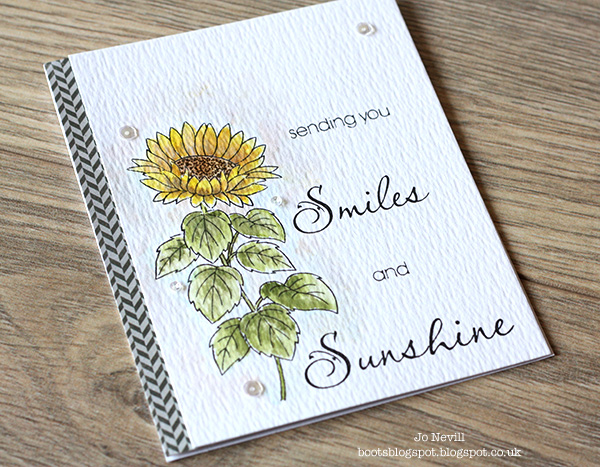
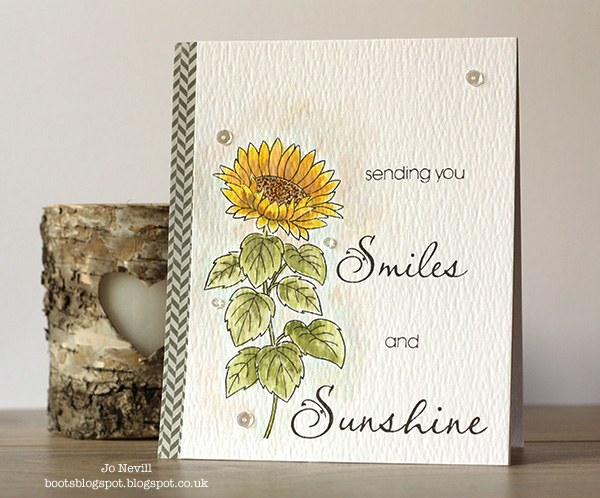
For this card I firstly stamped the Sunflower and sentiment from the Clearly Besotted Stamps Sunflower and Smiles Clear Stamp set using the Misti and Simon Says Stamp Black Ink onto Tim Holtz Distress Watercolor Cardstock. I love this watercolor card and find it so easy to work with. You can use either the textured side or the smooth side. I generally use the textured side. After stamping, I started to paint the leaves. After choosing the color I wanted to use, I mixed a small amount of paint with some water onto an acrylic block. I then painted a leaf with some water and then added a small amount of color into a corner of the leaf. I chose a corner that I wanted the color darkest. The color will then spread through the water. I followed this technique throughout the painting of the Sunflowers adding more color/water as desired.
After painting the Sunflower, I added a very pale blue hue around the Sunflowers. I also wanted to give add a warm hue too so tapped the Tim Holtz Vintage Photo Ink Pad onto an acrylic block and added lots of water. I painted around the sunflower and blotted with a paper towel until I had the depth of color I wanted.
The final touch to the Sunflower was to add a touch of sparkle with the Zig Wink of Stella Clear Brush Tip Marker. These markers are full of sparkle which give your images a great shimmery finishing touch.
The card would not be finished without a sprinkle of sequins ! My favorite sequins are the Simon Says Stamp Moonshine Assorted Sequins I used the Zig Fine Tip Glue pen to attach them. The glue comes out bright blue but once dried, clears to a matte clear finish and holds small items to your cards fast!
Thank you for joining me today and I hope to see you again soon :D
SUPPLIES:
 |
 |
 |
 |
 |
 |
 |
 |
 |
 |
 |
 |
 |

Blog Candy Alert!! Follow our blog via email and comment on this post for a chance to win a special blog candy!
Congrats! Blog Candy Winners!
From: Challenge: Stamp + Mist: Ruth Gauss!
From: Sending & Wishing: Creative Ways to Stretch Your Supplies!: Carolyn Carter!
From: Sizzlin’ Father’s Day Card!: Betsy Terry!
From: Congratulations New Baby: Barb Schmidt!
Please email Samantha ([email protected]) with your mailing address and the name of the blog you won from to claim your prize!
Challenge: Stamp + Mist
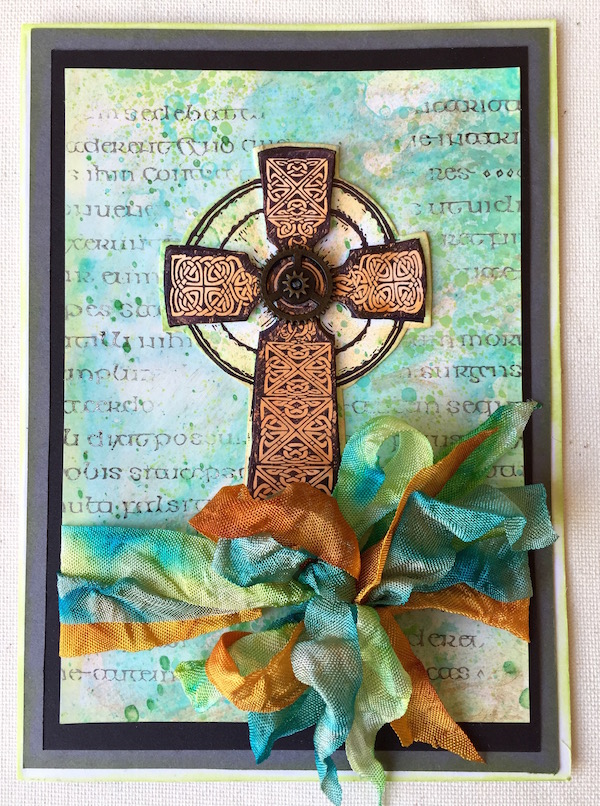
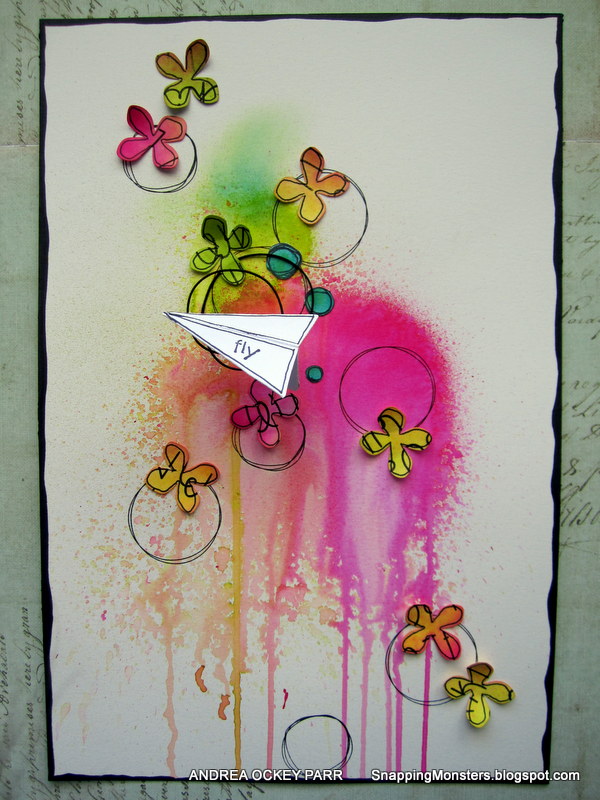
The Monday Challenge Team has a brand new team member, and we are challenging you to join in the fun this week! Stamping + mist or color washes is one of my favorite combinations – I can’t get enough! So this week we are combining the two with all kinds of fabulous results. Be sure to join the design team with your version of this challenge over on the Monday Challenge Blog.
Below are three projects created by team members this week – and you’ll want to check out the Monday Challenge blog to see the rest. Don’t forget that when you enter your projects into the challenge, you have a chance to win a $50 Gift Voucher to Simon Says Stamp!

Made by our newest member: Maura
 |
 |
 |
 |
 |
 |

|
|
 |
 |
Blog Candy Alert!! Follow our blog via email and comment on this post for a chance to win a special blog candy!
Sending & Wishing: Creative Ways to Stretch Your Supplies!

Hi readers! Happy Sunday to you! I hope you all are having very relaxing and fun weekends! I’m very excited to WELCOME first time Simon blog guest designer Kelly Latevola! She is as sweet as she is talented! And boy, does she have both qualities going on! Check out these floral beauties featuring some of our exclusive products! *Drool*
Read on and enjoy!
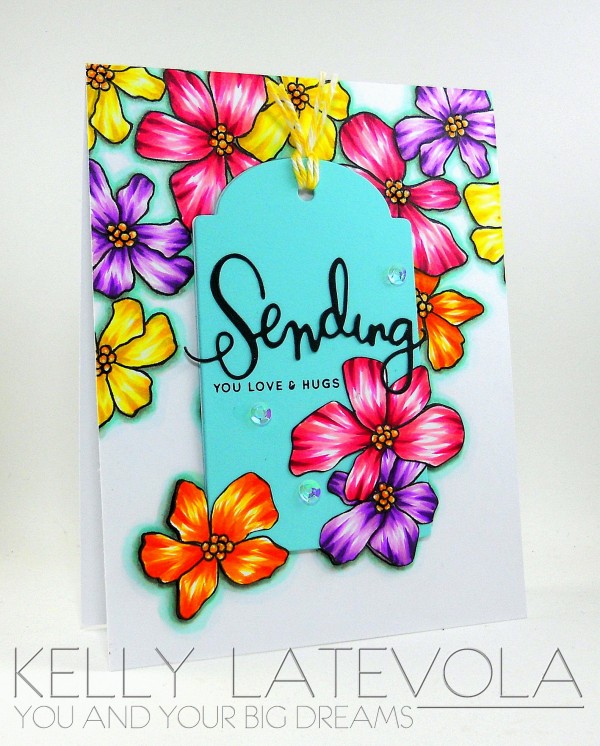
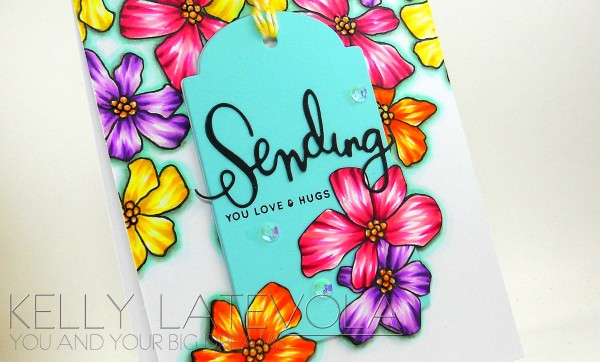
I started by stamping my Artful flowers on a white card panel. I created a few masks of the flowers so I could tuck a few behind the others. After they were all stamped I removed any masks and began coloring with my Copic markers. I usually start with my lightest to darkest for my base layer. To get some more blending I then go in reverse darkest to lightest. Basically I color the flower twice :) After all the flowers were colored I set to work on my background color. I used gray markers to add in a shadow behind the flowers. This really helps them appear 3D. After the shadows were done I outlined all the flowers in some blue greens. You can color right over the gray it’s okay, you won’t hurt it, I promise!
Once the coloring is done I outlined the flowers with a copic multiliner to really help them pop. I also added a few white dots with my gel pen to the centers.Now the scary part. I die cut a tag right out of the middle. Ahh. It is kind of scary after you spent all that time coloring but it’s usually worth it ;)
I die cut a second tag out of some Robin’s Egg Bazzill card stock. I also stamped and colored three flowers and fussy cut them out. Don’t forget to color your edges black for a finished look! I used my Black Soot Distress Marker for this. I arranged the flowers onto my tag by matching them up with the outline on my stamped panel. The sentiment is a combination of stamps and dies from Sending and Wishing. After stamping the sentiment I threaded some yellow bakers twine through my tag and added it to my card with foam tape. A few sequins and some glossy accents in the flower centers finished it off.
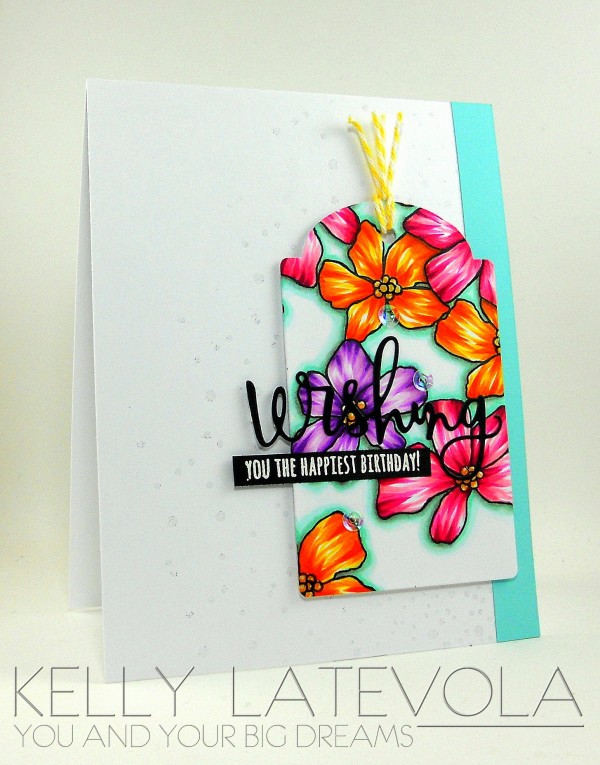
For the second card I didn’t have to do much since my focal point was already created. Yeah for less work! I added more yellow baker’s twine, glossy accents, and sequins. The sentiment is another combination of stamps and dies from Sending and Wishing set. Seriously, you can create so many different sayings with these. It’s wonderful! I decided I wanted this sentiment to really stand out against my busy background so I heat embossed it on black with white embossing powder.
For the background I took a white panel and trimmed it to 4 x 5.5. I stamped the circles from the Falling Backgrounds set horizontally and heat embossed them using Wow Neutral Ultra Shimmer. I love how this adds interest but doesn’t take anything away from the tag. I tried to vary the length of the circles reach by stamping more or less of it. This makes sure it reaches the edges behind my tag and trails off above and below it. I added this panel plus another piece of Robin’s Egg Bazzill card stock to my card base. The tag was added on top with foam adhesive and that completed the card.
SUPPLIES:
 |
 |
 |
 |
 |
 |
 |
 |
 |
 |
 |
 |
 |
 |
 |
 |
 |
 |
 |
 |
 |
|
|
 |
 |
 |
 |
 |
 |
 |
 |
 |
 |
|
 |
 |
 |
Blog Candy Alert!! Follow our blog via email and comment on this post for a chance to win a special blog candy!


