Weekender with Wanda – Lawn Fawn Spotlight!

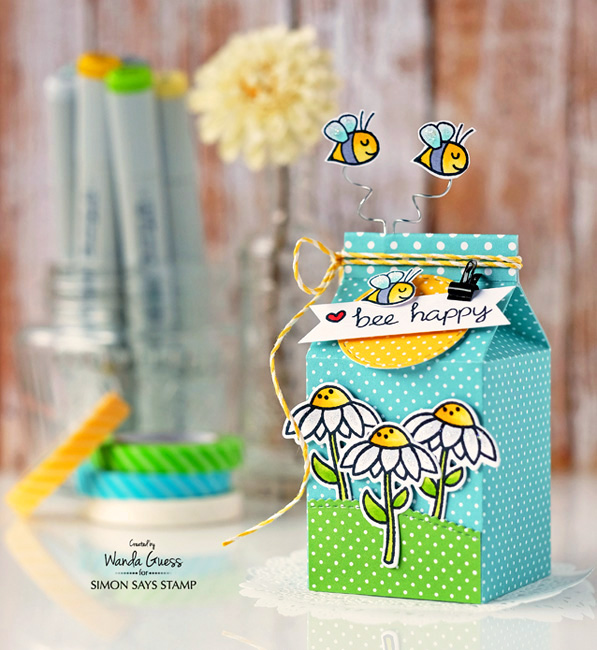
Hey friends! Happy Saturday! Welcome back to this edition of Weekender with Wanda on the Simon Says Stamp blog! SO happy to have you here with me for a bit of your weekend. I always love to see you! We’ve been having some fun here, haven’t we? Today’s project is all about cheery Spring colors! I’m featuring some of my favorite products from Lawn Fawn. Their stamps always make me smile and they are so much fun to create with. (Tip: You can now pre-order all the new Lawn Fawn items we saw at CHA!) The best thing about Lawn Fawn is that you can mix and match all the stamp sets together. They are all the same style and scale, and I like to pull sentiments and other elements from different sets to create my scenes. For this post I used the adorable Milk Carton Die and decorated it with flowers and bees.
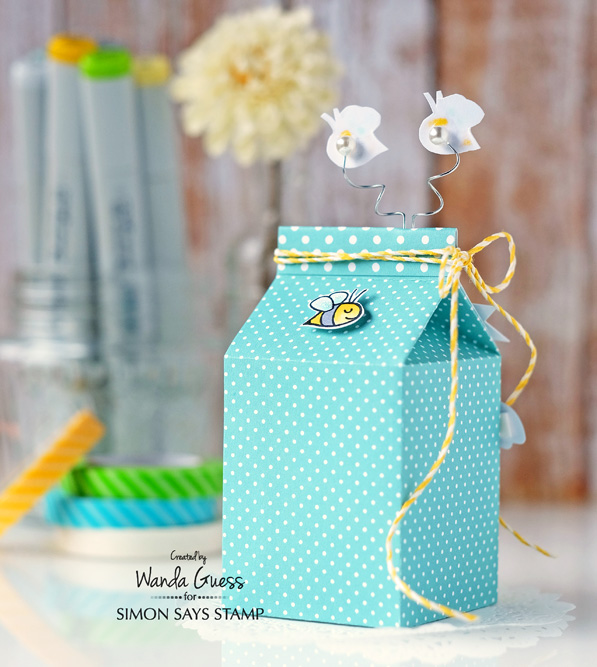
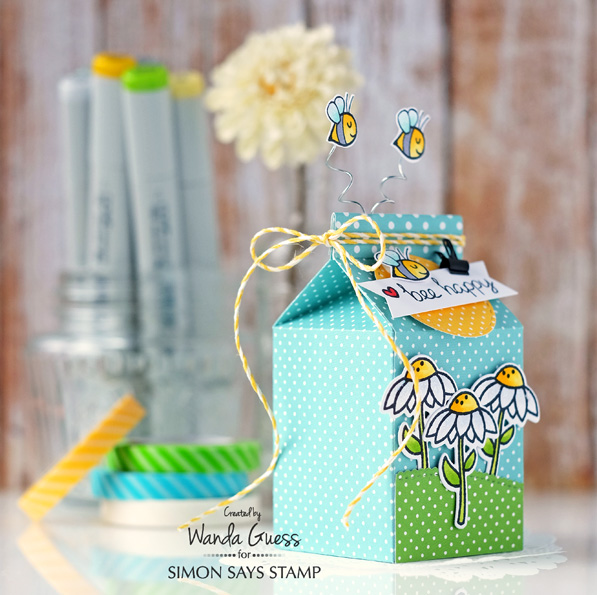
Here is my finished treat container! I filled it with candies….but you could easily fit a gift card inside, or a small present.
To make the Milk Carton, you need to cut out two of the die pieces and glue them together. It comes together very easily and quickly. I like that the die itself fits onto a 6×6 piece of paper. that makes it very easy to use with your die cutting machine, and most of us have lots of 6×6 paper! I used the Lawn Fawn Let’s Polka Papers for this project.
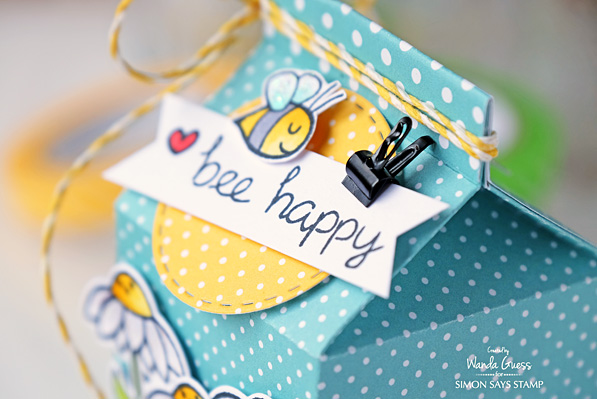
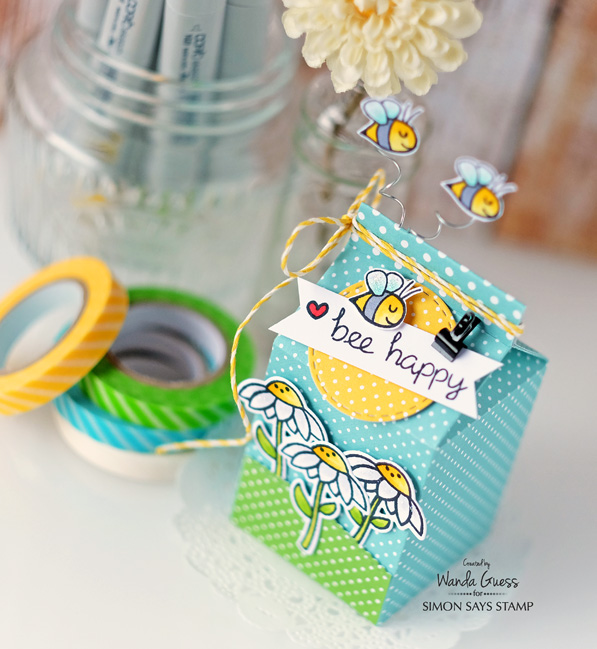
To add my sentiment, I hand cut out a strip of white cardstock and stamped the words from Gnome Sweet Gnome. The little bee is from that set also! The Stitched Circle die is an exclusive from Simon Says Stamp.
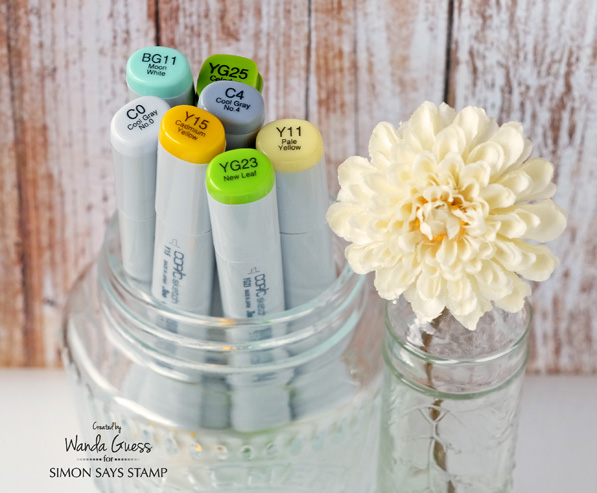
Here are my Copic Marker color choices for today!
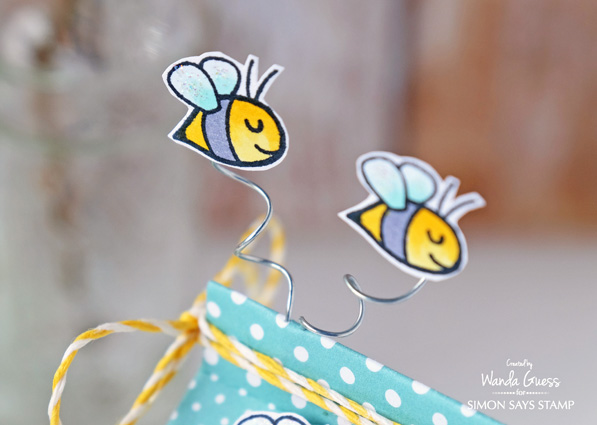
So I want to talk a little bit about how I made these buzzy bees on the top! I stamped and cut out the bees and added some Diamond Stickles to their wings. I knew I wanted them up above the box….so I brainstormed a bit. Then it came to me! I used pearl head stick pins to make little coils. I wrapped the pins around the top part of a small paintbrush with my fingers, and this is what happened! I used glossy accents to glue the bees to the pin heads. Since they are pins, the ends are sharp, which made it easy to poke them into the top fold of the milk carton. EEK! So fun!
Here is the back of the box, and you can see the pearl pins too! I added one little bee on the back and tied pretty yellow cord around the top.
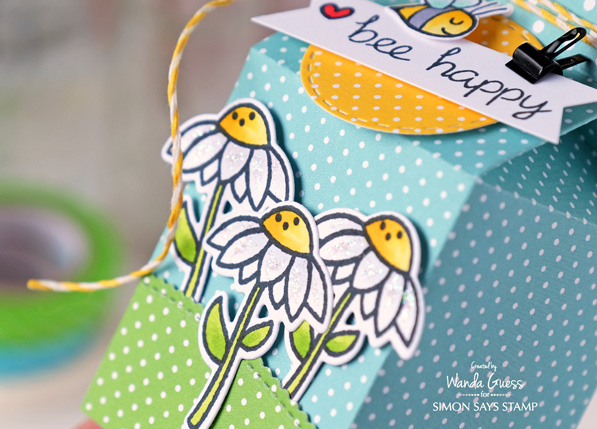
The little grassy hill was die cut from the smallest die in the Wavy Scallop Borders die set from Simon Says Stamp. I stamped and die cut out three daisies from the Gleeful Gardens stamp set and colored them with my Copic Markers. I also added Diamond Stickles to the flower petals. I adhered them to the box with foam squares. By now you know I own stock in foam squares! LOL.
That’s it for this weekend! Thank you for spending part of your Saturday with me here! Hope you have a wonderful day – nice to see you! BEEEEE Happy!
SUPPLIES:
 |
 |
 |
 |
 |
 |
 |
 |
 |
 |
 |
 |
 |
 |
 |
 |
 |
 |
 |
 |
 |
 |

Distress Ink Color Pop: Candied Apple!
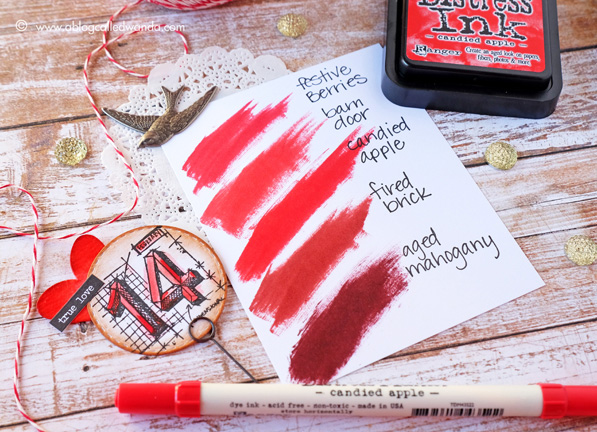
Hello creative friends! It’s Color Pop Day! This Color Pop is sort of bittersweet…because it’s the last one! Twelve beautiful new colors for 2015! Can you believe it? What a fun ride it has been. I have really truly enjoyed sharing with you and bringing you a project with each new color. I’m sad it’s over. The good news is that I think that maybe this is my favorite project of all of them – and I have been so anxious to show it to you! The final color in the Distress 2015 ink series is Candied Apple. It is a beautiful, bright, apple, fire engine RED! Man, this color is vivid and bright and I love it! The swatch above shows where it fits into the Distress Ink color family. It’s very close to Barn Door in my opinion – with a little more warmth to it. I think it’s the perfect color for Valentine’s Day. This color just had to be made into hearts! Since this color is so vivid, I paired it with neutrals for today’s project – Vintage Photo and Antique Linen.
Before we get too far into the photos – I want to tell you some other good news! Since we got lots of good feedback on the Color Pop Series, we have decided that I will keep doing a monthly Ranger Color Series. YAY! I’m still figuring out the best ideas for it. Maybe I will show color combinations….or maybe feature some of my favorite colors….or keep it seasonal? I would really love your input on this. Tell me what you want to see more of!
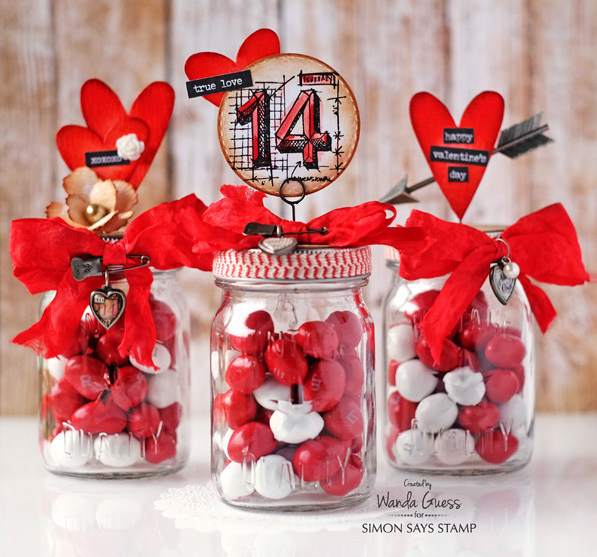
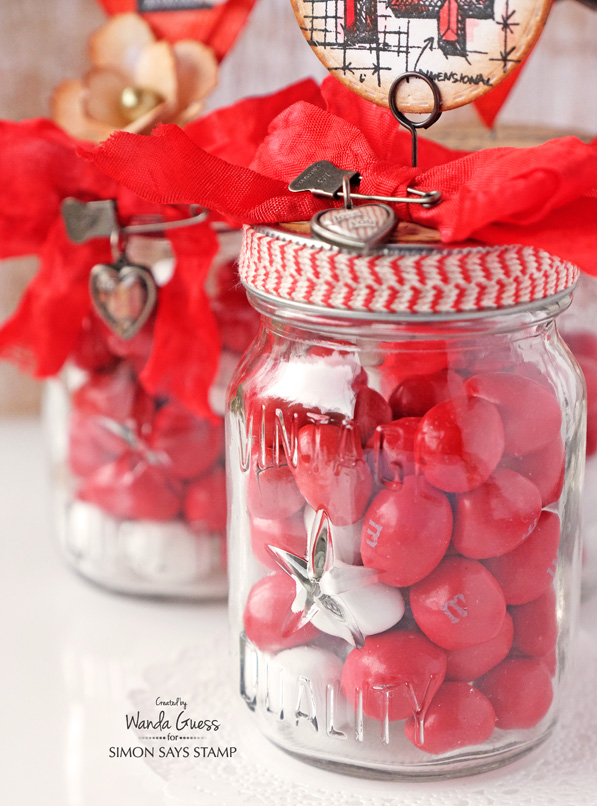
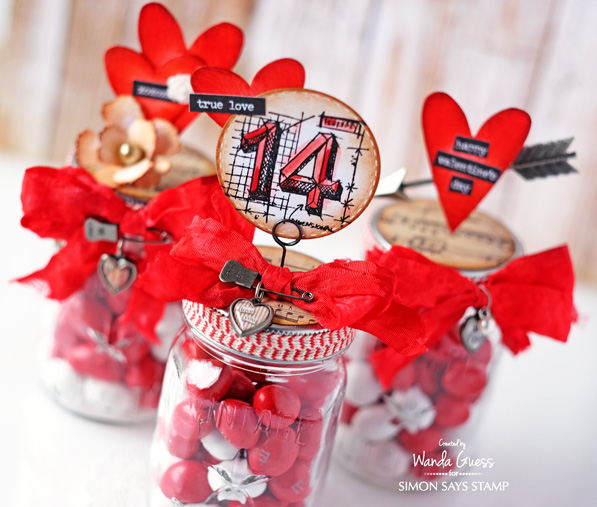
For my Candied Apple project, I used the Tim Holtz Mini Mason Jars and lots of cool Ideaology embellishments to make Valentine treat jars. I had the best time making these! One of the fun things about this project is that you can go as crazy or as simple as you want. (I went crazy!) My jars are filled with Peanut M&M’s.
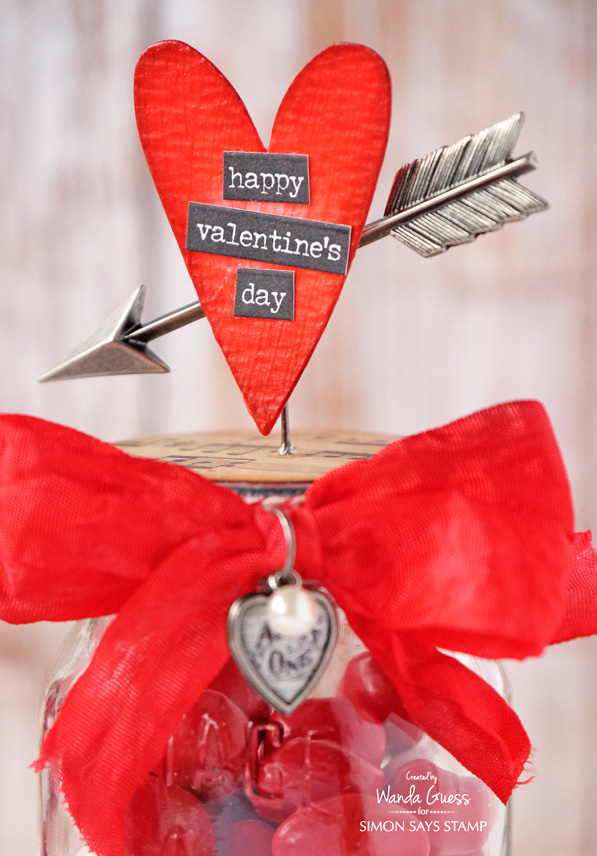
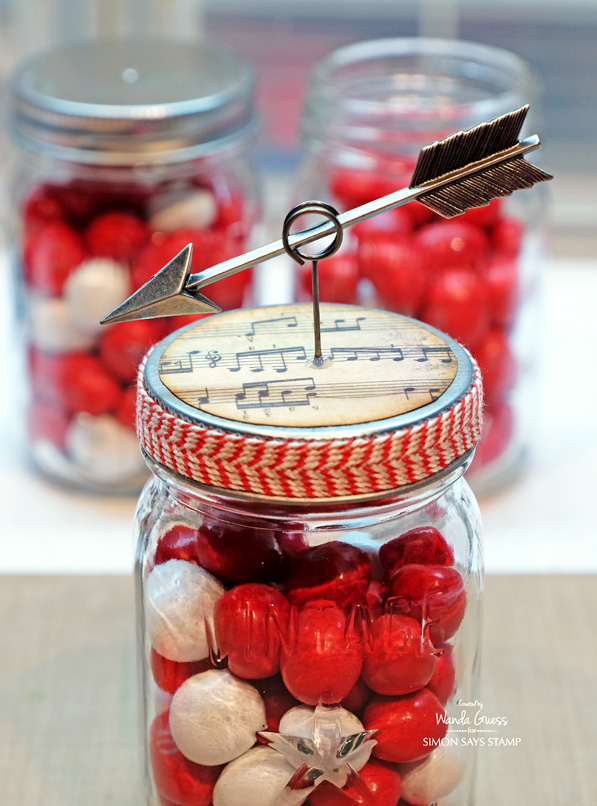
For this jar I used the Silver Arrows along with a Movers & Shapers Heart Die and the Occasions Stickers.
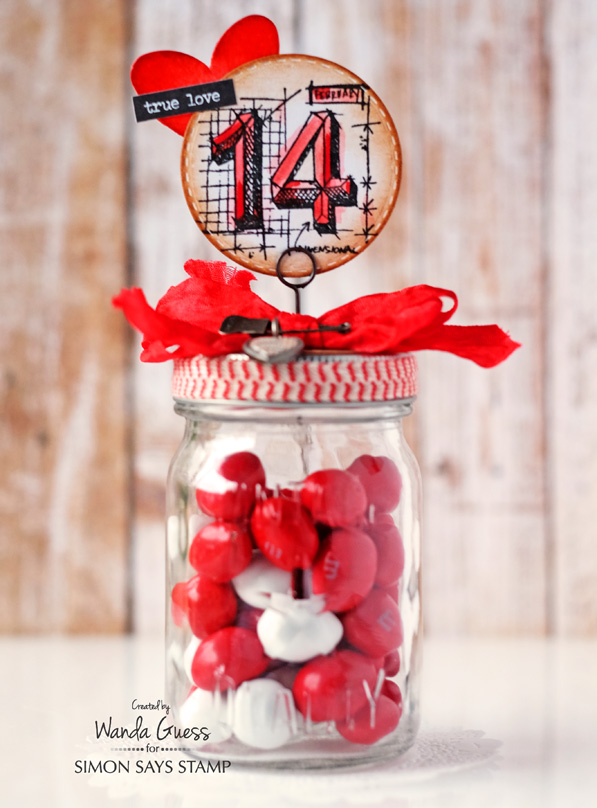
For this jar I used the Tim Holtz Mini Blueprints stamp set along with more hearts and stickers! My stamped image was colored using a Candied Apple Distress Marker and a Water Brush for a soft watercolor effect. The Stitched Circle was edged in Vintage Photo Ink.
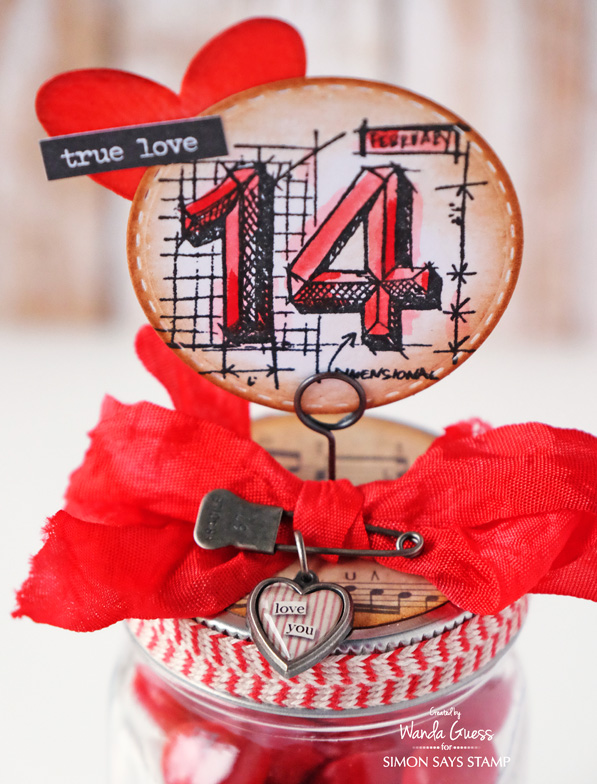
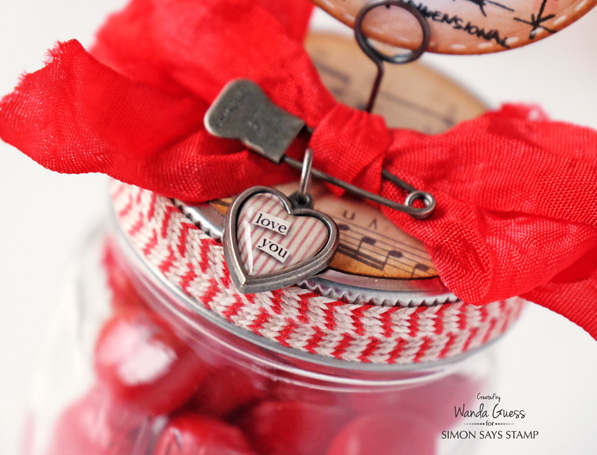
You know that I love to dye my own ribbon! I used the Tim Holtz Crinkle Ribbon and the Candied Apple Spray Stain for a rich, deep red. OOH LA LA. After the ribbon was dry, I sprayed it with Perfect Pearls, so it also has a little shimmer. I die cut my hearts out of watercolor paper and then inked them with Candied Apple Distress Ink. Then I added a few coats of the new Crazing Distress Medium. It makes a really cool finish on paper. For the tops of the jars I cut Tim Holtz music paper into two inch circles and edged them with ink. 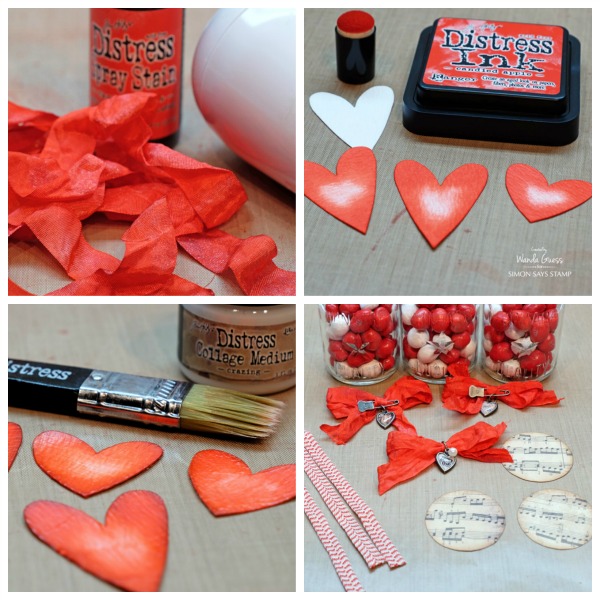
I wanted to show you how the arrow was mounted onto the jar. The lids are not super thick, so it was easy to poke a hole in the top using just the memo pin. Then I put the arrow into the ring at the top. The heart covers the middle. I added a drop of Glossy Accents to keep the pin from sliding down into the jar. Tip: I kept all the decorations affixed directly to the lid, so the recipient can open the jar and get the candy without too much trouble and without ruining the look.
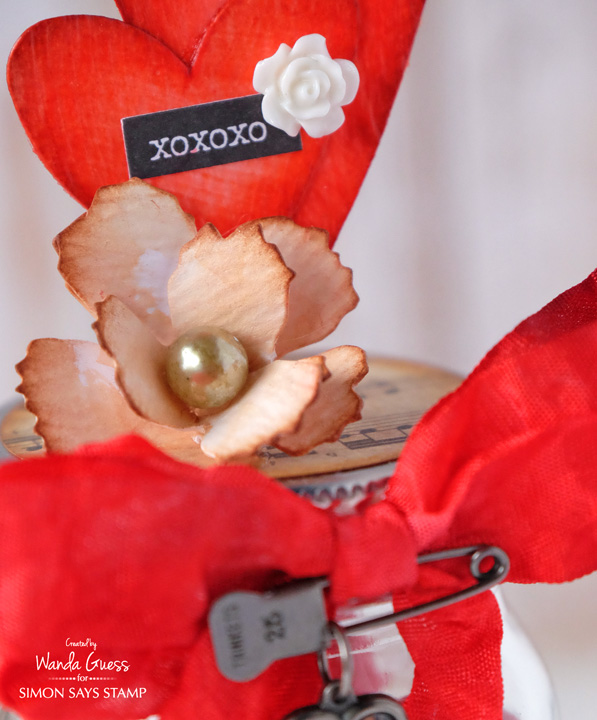
I made this rose using the Mini Tattered Floral Movers and Shapers Die. I cut two of them and formed them into a rose – then I added a pearl to the center. I used different word stickers on each jar. I love that there are now Occasions stickers for Valentine’s Day (and every other holiday too)!

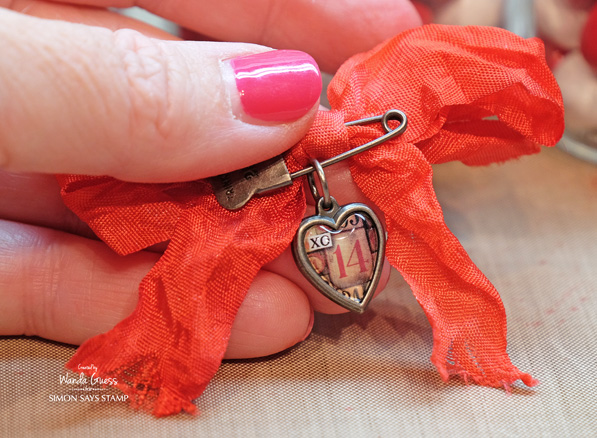
I have always been crazy about these heart charms! That reminds me – I need to buy some more!!
Thanks for joining in on the Color Pop adventures with me! It has been my pleasure to do this collection of projects. I wish there were MORE new colors for this year too! Don’t you? CLICK HERE to see all the Color Pop Blog Posts! Happy Crafting everyone!
SUPPLIES:
 |
 |
 |
 |
 |
 |
|
 |
 |
 |
 |
 |
 |
 |
 |
 |
 |
 |
 |
 |
 |
 |
 |
|
 |
 |
 |
 |
 |
 |
|
 |
Leave a comment on this blog post – for a chance to win a blog candy grab bag! Winner will be announced next week! Good luck! Have a great day!
Prima Wood Base Collage: Mixed Medium Home Decor
Happy Thursday everyone!! It’s Shari here with a Home Decor piece using some great Prima products. I started off with a Carte Blanch Home Decor wood base… what a nice sturdy surface to use for a project like this!!
I added some crackle paste and paint to get it started and added this large 2″ paint brush for my focal point and let it hang off the bottom of the base.
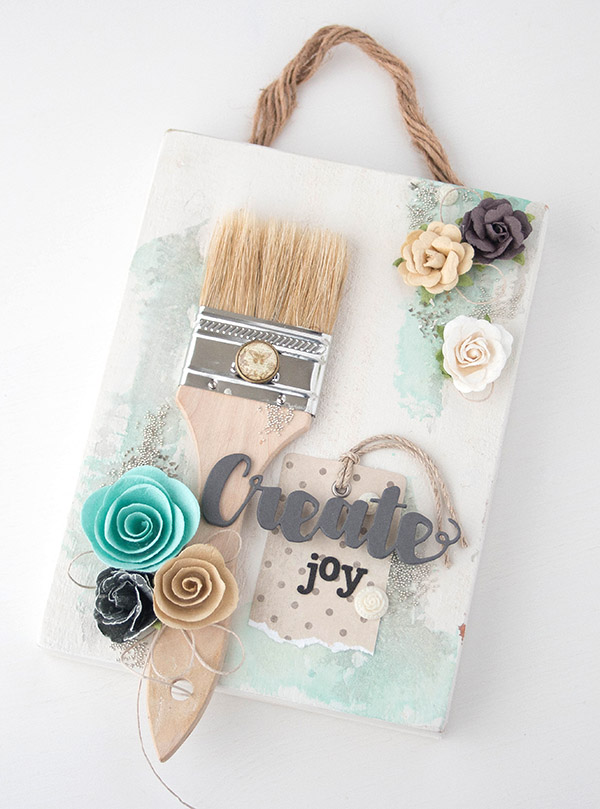
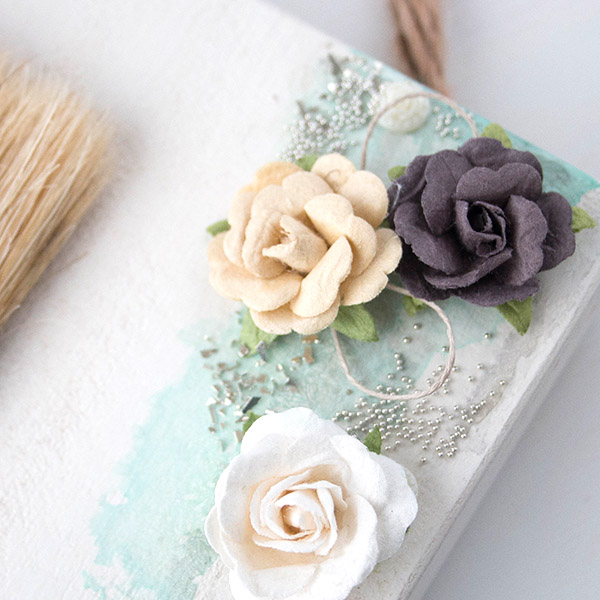
Once everything was dry, I went about adding my flowers and tag.
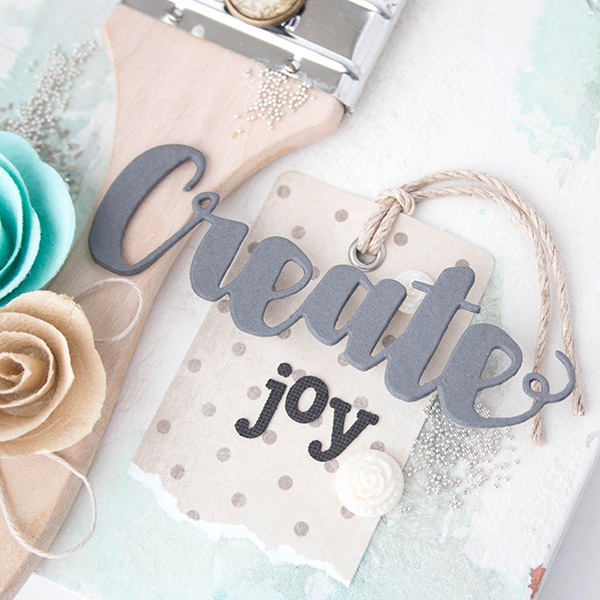
I die cut “Create” four times from Slate card stock and glued them together to make a thick almost chipboard like piece.
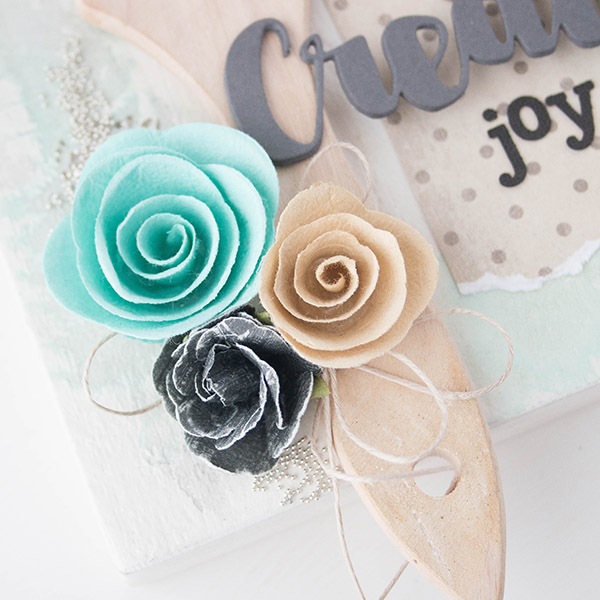
From there I added small embellishments along with my mix of flowers.
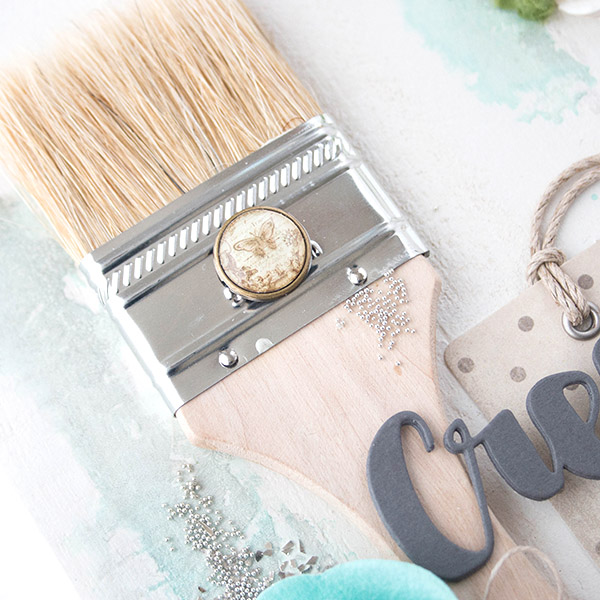
And finished my project off with some Glass Glitter and Silver Micro Beads.
I shot a video of the complete process, you can view it below or on our YouTube channel.
Blog Candy Alert!! Follow our blog via email and comment on this post for a chance to win a special blog candy!
Thanks for stopping by, I hope I’ve given you some inspiration for weekend project! Enjoy!
 |
 |
 |
 |
 |
 |
 |
 |
 |
 |
 |
 |
 |
 |
 |
 |
 |
 |
 |
 |
 |
 |
 |
 |


