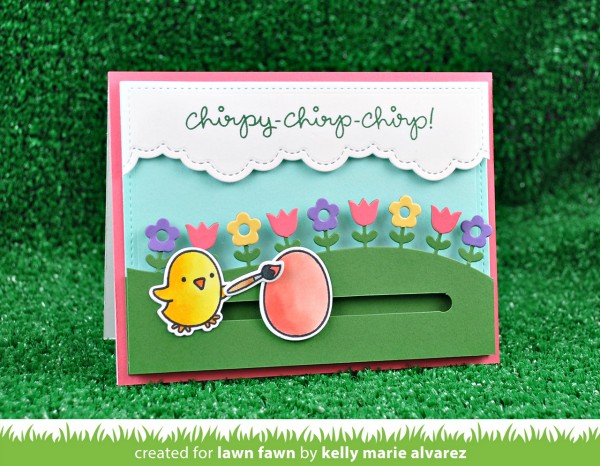
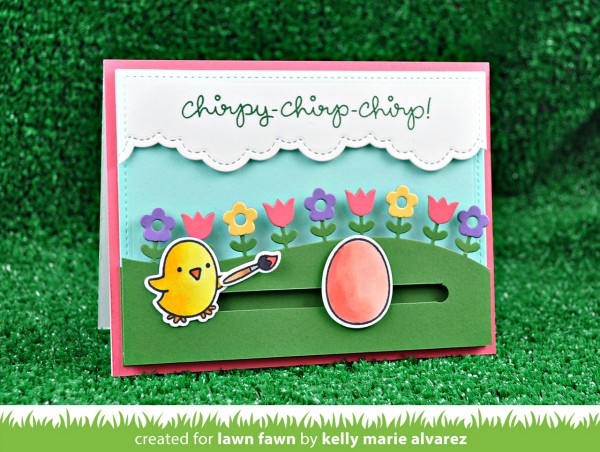
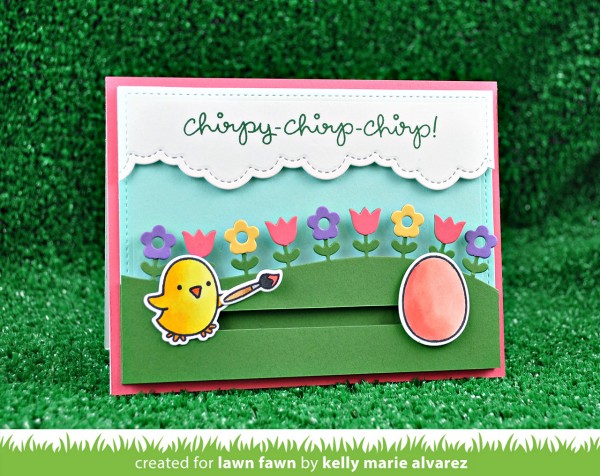
Penny Slider Lawn Fawn Spring Card!
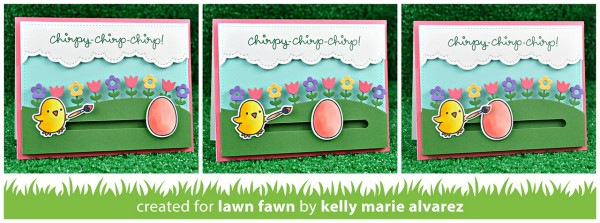
Hi readers! Happy Sunday! I hope you’re having a great weekend so far! I’m so excited to share this super fun card by the always fun and talented Kelly Marie Alvarez of Lawn Fawn! Have you ever made a penny slider card?! They’re so fun! This sweet card would not only be perfect for Easter, but anytime you wanted to send a Springy hello or Chirpy Chirp Chirp! ;) Don’t forget to watch the video, and enjoy!
Watch the video:
SUPPLIES:
 |
 |
 |
 |
 |
 |
 |
 |
 |
 |
 |
 |
 |
 |
 |
 |
 |
 |
 |
 |
 |
 |
 |
 |
 |
 |
 |
 |
 |
 |
 |
 |
 |
 |
 |

Blog Candy Alert!! Follow our blog via email and comment on this post for a chance to win a special blog candy!
Weekender with Wanda – More Spring Plush!
Happy Saturday! It’s time for the latest edition of “Weekender with Wanda” here on the Simon Says Stamp blog! I’m happy to see you today! What have you been crafting? Are you making Easter projects? Having fun with felt? Some other special occasion coming up? There are lots of Spring products coming out and everything is bright and happy – flowers, animals, plants and bunnies! I’m still making felties! I cannot stop! I love all the dies from the new collection and I thought I’d share some with you today here. To check out all the Spring Plush inspiration, be sure to click on the Gallery! And – don’t forget to add your own projects!
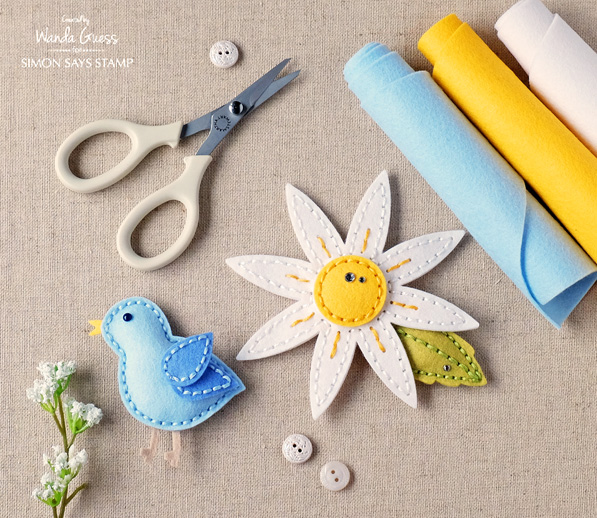
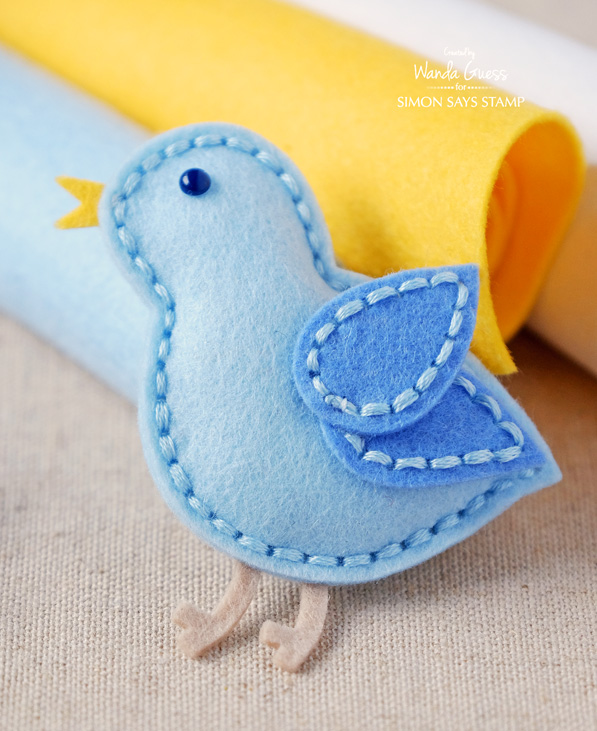
Today I’m sharing the Daisy, Cottage Leaves and Springtime Chick Plush dies. I turned the Springtime Chick into a little bluebird! I was trying to think of some way to use this die that was not just for Easter. He really could be any kind of little birdie! I made the Daisy and Leaf in traditional fresh colors. Then I added a few gems for a little sparkle. Simon Says Stamp sells a few different brands of felt. Heidi chose them by hand after trying out several companies. The result is wool felt that cuts like a dream in your Big Shot, Cuttlebug, or other die cutting machine. This is not our felt from yester-year!
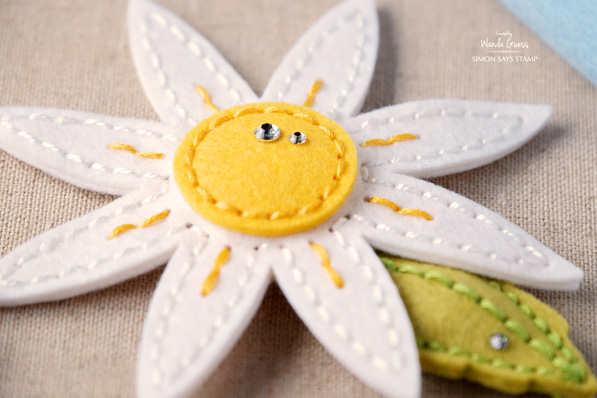
For the eyes on my plush animals I like to use the Doodlebug Enamel Dots. They give just a tiny bit of dimension and they are shiny – which I like too. I glue them on to the felt using our Felt Glue. Works like a charm. I love how the dies come with the stitching circles already cut out. Makes it really easy to get nice even stitches every time. I used a running stitch for mine. You could also use a blanket stitch or weave in and out, leaving a space in between the circles. Each way gives a completely different look. His little legs crack me up!
For the center of my daisy I cut out two pieces of yellow felt. This makes the center raised up a bit more than if there was just one layer. I stitched both yellow layers to the top white layer before stitching the two white layers together. The inside is stuffed with the tiniest bit of batting from the craft store.
Chirp Chirp!

Did you order some dies last week? These are so fun to make! Thanks so very much for spending part of your weekend here with me! I hope these Spring Plush Felties have made you smile, and inspired you to make something fun and cheery today! Have a great day and I’ll see you next weekend!
SUPPLIES:
 |
 |
 |
 |
 |
 |
 |
 |
 |
 |
 |
 |
 |
 |

BeYOUtiful Card Making Ideas with Concord & 9th
Hi readers! TGIF! We’re so happy to welcome back Angie Backman of Concord & 9th back to our blog as a guest designer! She has whipped up two lovely cards with their newest releases! Read on and enjoy!
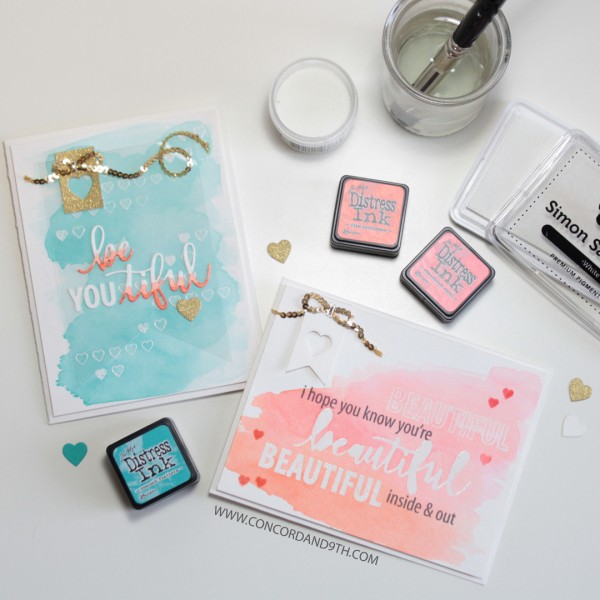
We are so excited to be back on the SSS blog today sharing some of our newer products! I just love the script word ‘beautiful’ from our Beautiful YOU die and the Beautiful Words stamp set has so many different words to build your own sentiments around the word beautiful – you get to customize it! Need a wedding card? Stamp “BEAUTIFUL couple”. Want to tell someone how brave they are? Stamp “bravery is BEAUTIFUL”. Just want to make someone smile? Stamp “smile, it looks BEAUTIFUL on you!”. You get the idea.
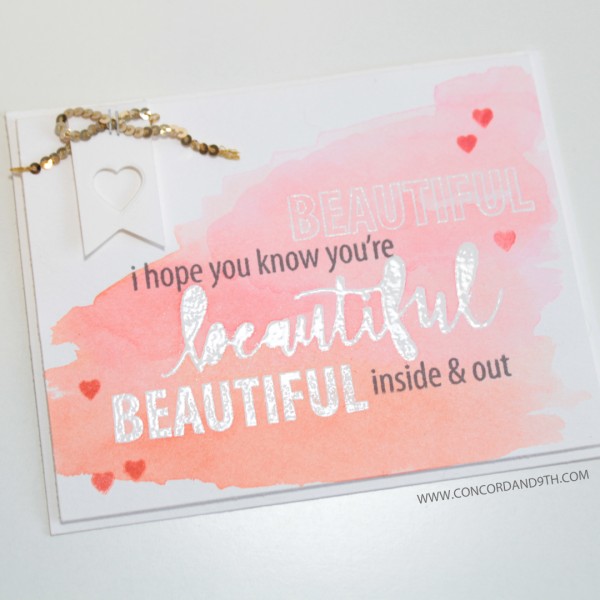
For this card I wanted to use the “beautiful” word die in a different way, so I decided to make it look stamped by embossing it.
1) Die cut “beautiful” from scrap card stock. Use the negative card stock piece that is left over as a mask. Use a temporary adhesive (Dotto) to hold the mask to the watercolor paper. I decided to leave the middles of the letters out (rather than adhering them along with the mask). The only piece I added back in was the piece between the T I F. It looks like an H you’d throw away. Add a little Dotto to the back of this piece and add it between the T I F on the mask.
2) Ink a sponge dauber with Versamark. Daub the ink over the masked pieces of the word.
3) Remove the masked pieces, pour clear embossing powder on top of the word, shake off and then heat with your heat tool.
4) Stamp the outline ‘beautiful’ and the block ‘beautiful’ with white pigment ink on the watercolor paper. Repeat the clear embossing technique.
5) I wanted those 3 words to really pop off the card so I watercolored the card front using Abandoned Coral and Ripe Persimmon Distress Inks, a watercolor brush and water. I love imperfect watercolor washes!
6) After the watercoloring is dry (use a heat tool to speed up the drying process if you want), I stamped “i hope you know you’re” and “inside & out” with a gray ink pad. Then stamped the tiny hearts from the Beautiful Words stamp set the same distress ink colors.
7) I could have called it good, but felt like it needed a little embellishing, so I die cut the heart from Beautiful You die from a strip of Canson watercolor paper. Trimmed the bottom of the paper strip into a banner shape with scissors. It still needed one last thing so I stapled a gold sequin strand to the banner. Gold helps finish everything, doesn’t it?
8) Adhere the card front to the full card using foam tape. This really helps to keep the card straight. It gets a little warped when watercoloring. The dimension of the foam tape looks nice too. Done!
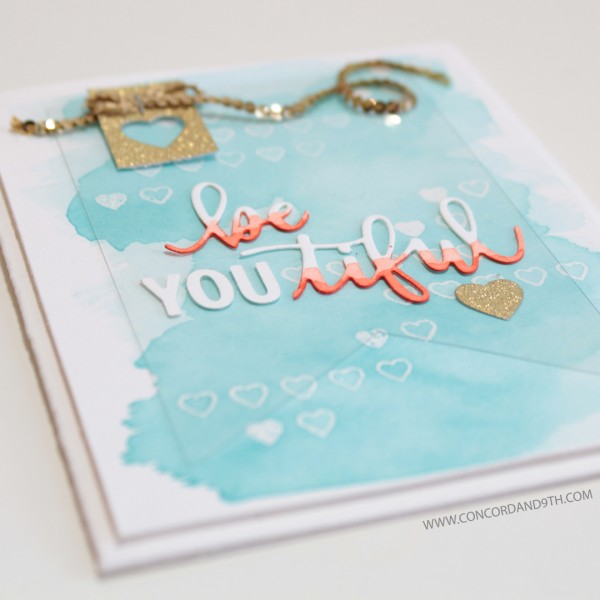
I really liked how the clear embossing turned out on the first card so I did it again, this time with the tiny hearts in the Beautiful Words stamp set. I also wanted to show how the words ‘beautiful’ and ‘YOU’ from our Beautiful You dies can work together in a unique way.
1) Ink the long heart border stamp with white pigment ink (I only inked 5 out of the row of hearts). Stamp on Canson watercolor paper. I wanted a few solid hearts too so I put the individual tiny solid and outlined heart on one block together to ink and stamp at the same time. Repeat these hearts as many times as you want to on the card front.
2) Do the same imperfect watercolor wash technique on the card front. I used Peacock Feathers (one of my fave’s!).
3) Die cut ‘beautiful’ and ‘YOU’ from Canson watercolor paper.
4) Use Ripe Persimmon distress ink to color the bottom portion of the word ‘beautiful’. Coloring only the bottom makes the word look dip-dyed.
5) Use scissors to clip the word ‘beautiful’ after “be” and before “tiful”. Throw away the extra letters. They are replaced with the die cut “YOU”. The sentiment now has a dual meaning!
6) I wanted the “beYOUtiful” to stand out over the embossed hearts. I first tried mounting the words to vellum, but it covered up the background. So, I used a clear acetate (window sheet) instead. Trim the bottom to a banner shape for interest.
7) Adhere the die cut “beYOUtiful” to the acetate sheet using Tombow liquid glue.
8) I added the same small banner in the top left of the card, but with gold glittler paper, 3mm gold sequins and the tiny attacher stapler. Use the gold heart that is die cut out for an extra embellishment. I say it’s a-okay to use the same elements on different cards if you love it!
9) Adhere the clear acetate sheet to the watercolored piece with mini glue dots. I used tiny glue dots and hid them behind the gold heart, and the gold banner piece.
10) Adhere the card front to the full card using foam tape again. It was really fun to use the clear embossing and watercolor techniques on these cards. If you are in a creative rut, go back to old techniques you haven’t tried in a while. It’s fun!
Supplies:
 |
 |
 |
 |
 |
 |
 |
 |
 |
 |
 |
 |
 |
 |
 |
 |
 |
 |
 |
 |
 |
 |
 |
Blog Candy Alert!! Follow our blog via email and comment on this post for a chance to win a special blog candy!


