Happy Birthday To The Wednesday Challenge!
This week on the Wednesday Challenge we are celebrating our 7th Birthday! They say that time flies when you’re having fun and it most definitely has, we are having a blast! In honour of this special occasion we are showcasing our very own Simon Says Stamp Products this week. You don’t have to use them to join in with the challenge, but if you have them we would love to see them used!
Of course a party is called for and to help us celebrate in style the lovely Heidi and Simon Says Stamp will be giving away not 1, not 2 but
7 $50 Gift Certificates to shop at the fabulous Simon Says Stamp Store! So you have 7 chances of winning!
Once you have made your ‘Happy Birthday’ creation just go ahead and upload it into the linky on the Simon Says Stamp Wednesday Challenge blog! We can’t wait to see what you make!
Below are three projects created by the design team, that showcase this weeks theme! You can visit the challenge blog to get all the details and see the amazing cards and projects that the design team has created this week. If you click on each designers name, you’ll be taken directly to their blog where you’ll get more details about their project! Be sure to give these talented ladies some comments!
Created by our Designer In The Spotlight Marcie Sharp:
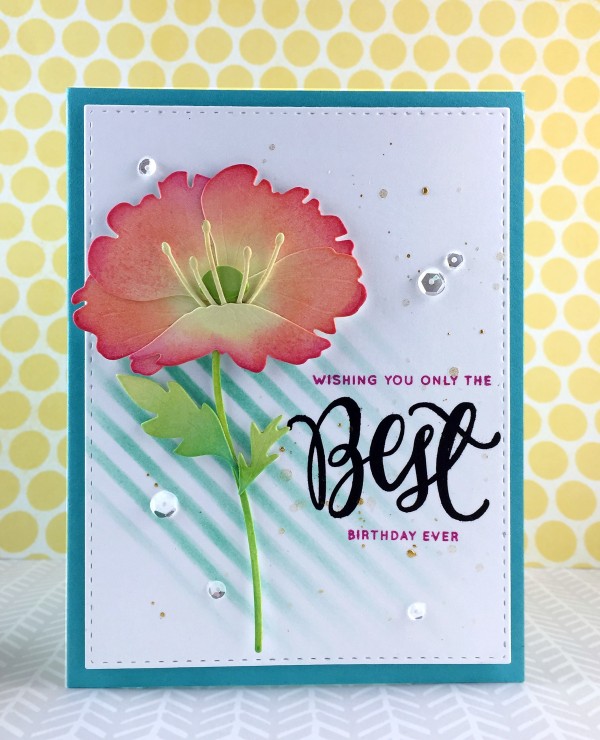
Marcie used:
 |
 |
 |
 |
|
 |
 |
 |
 |
 |
 |
 |
 |
 |
Created by Lorraine Aquilina aka Lols:
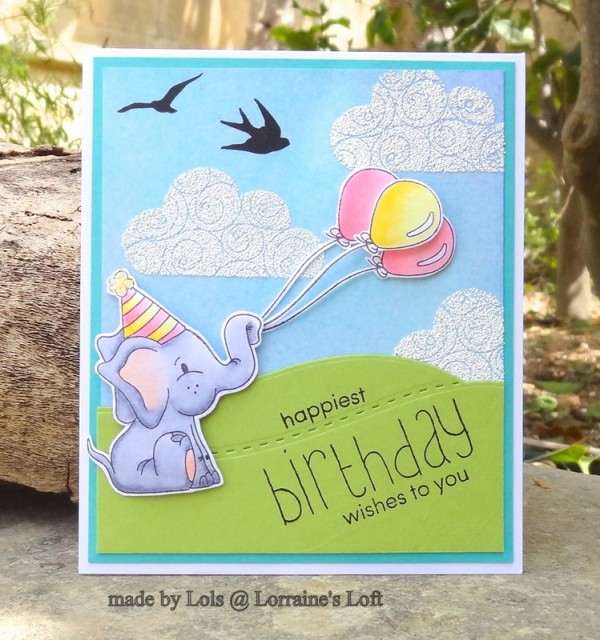
Lols used:
 |
 |
 |
 |
 |
 |
 |
 |
 |
 |
 |
 |
 |
 |
Created by Virginia Lu:
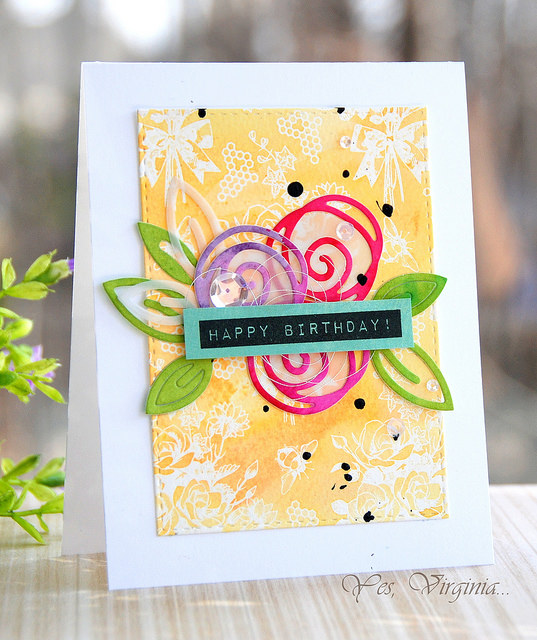
Virginia used:
 |
 |
 |
 |
 |
|
 |
 |
 |
 |
 |
 |
|
|
So now all YOU need to do is join in with the ‘Happy Birthday’ theme challenge!
Happy Crafting!
Follow Simon Says Stamp on Instagram

Do you use Instagram? If so please add #ssswchallenge to your challenge entry uploads so we can see them on there too!

Blog Candy Alert!! Follow our blog via email and comment on this post for a chance to win a special blog candy!
Stamping and Masking A Spring Scene
Hi readers! Happy Wednesday! Please join me in welcoming back the amazing Nina Marie Trapani to our blog as a guest! Today she’s showcasing some newer Newton’s Nook designs! Isn’t this design so cute! I love how it’s an Easter set, BUT she stretched it to make it a springy “just because” card. Brilliant! Read on and enjoy!
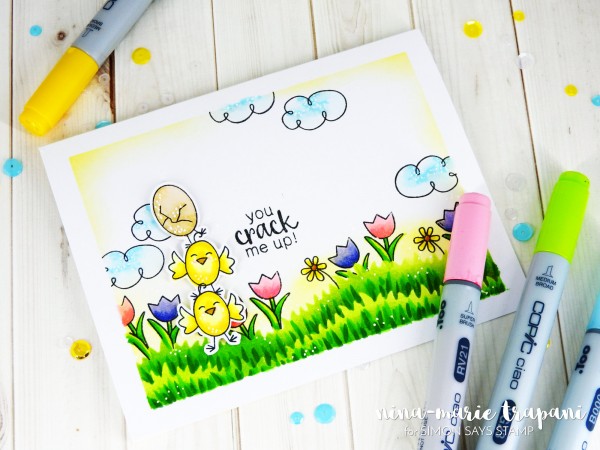
Well hello there, it’s Nina-Marie here with you today! I’m sharing a fun video tutorial with you featuring lots of coloring, masking and stamping techniques, along with new stamps from Newton’s Nook Designs!
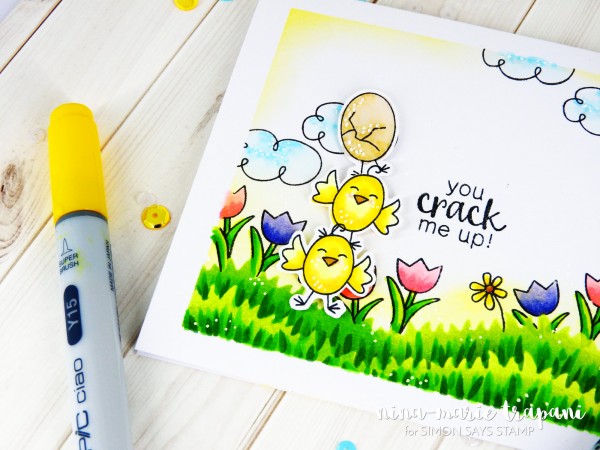
I love to create scenes with lots of dimension and layers. But sometimes its fun to minimize the layers and make a card that LOOKS dimensional but in fact uses little to no layers, and that’s what I did for today’s card.
I’ve used the new Hello Spring stamp set from Newton’s Nook Designs and what I love about this set is that you can use it year round; I’m always on the lookout for a stamp set that has the ability to be used for more than just one season.
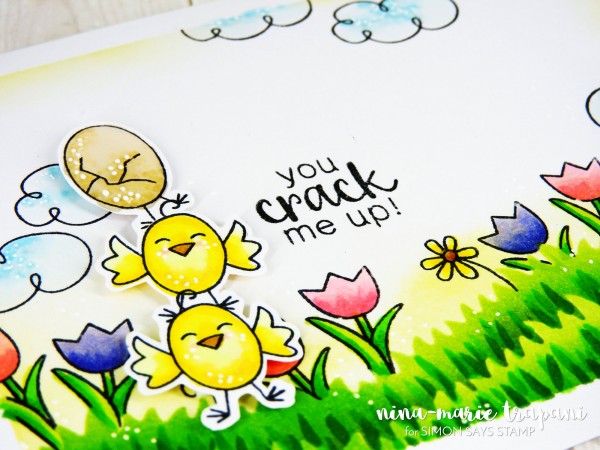
To create the adorable little chicks on this card, I did some masking to stack them up on top of each other… and that little chicky teetering at the top just makes me laugh! I colored them in with Copic markers and I’ve got the colors listed below for reference:chicks: Y000, Y02, Y08, RV00, R20, YR23 chick in egg: E0000, E50, E30, E31
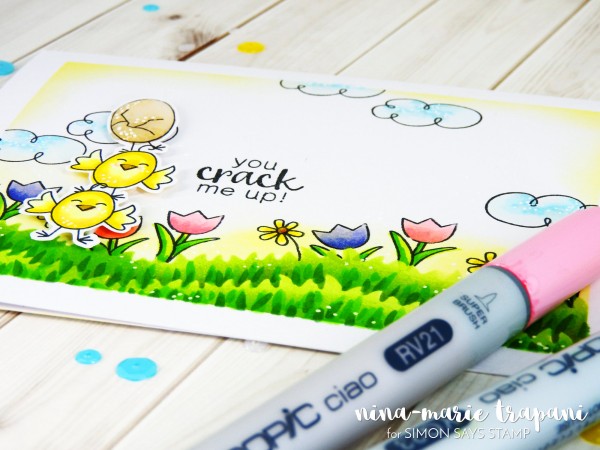
grass: YG23, G25, G14, G07
tulips: RV13, RV21, BV00, BV04, BV02 yellow flowers: Y02, Y15, E17
clouds: BG01, BG0000, B000

To see how I created the entire card from start to finish, be sure to check out the video below, or over on our Simon Says Stamp YouTube channel! If you enjoy, be sure to give the video a “thumbs up” and subscribe for more card making and paper crafting inspiration! Thanks so much for stopping by and spending some time with me… I’ll see you again soon! xoxo, Nina-Marie
Watch the video:
SUPPLIES:
 |
 |
 |
 |
|
 |
 |
 |
 |
 |
 |
 |
 |
 |
 |
 |
 |
 |
 |
 |
 |
 |
 |
 |
 |
 |
 |
 |
 |
 |
 |
 |
 |
 |
|
 |
 |
Blog Candy Alert!! Follow our blog via email and comment on this post for a chance to win a special blog candy!
Cardmaking with Sunny Studio Stamps!

Hi friends! Happy Tuesday! Please join me in a big Simon welcome to Mendi Yoshikawa of Sunny Studio Stamps as a first time guest on our store blog! We just love this fun brand, and our excited to be spotlighting it on the blog today with two fabulous card examples! Read on and enjoy!

Hi there! My name is Mendi Yoshikawa and I’m the owner of a new company called Sunny Studio. I’m so honored to be sharing a couple cards on the blog today featuring our newest release for summer!
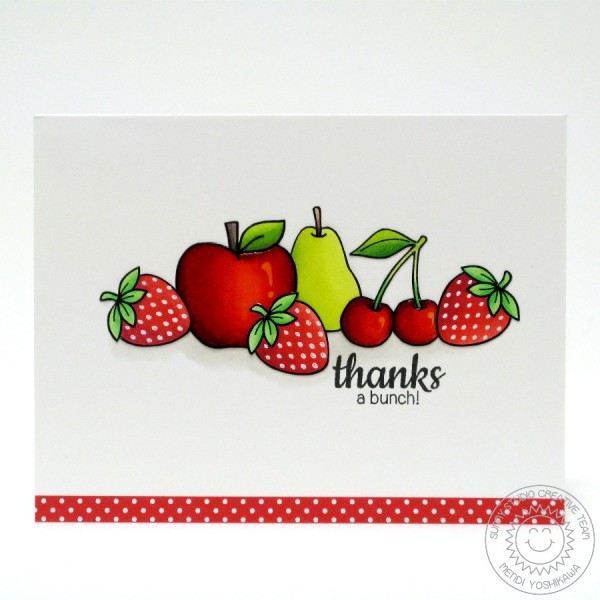
Up first I have a card using our new Fresh & Fruity Set. I’m a sucker for complimentary color schemes so when I started to arrange some of the fruit I had pre-colored with my Copic Markers I was delighted to discover how great these particular fruit looked when paired together in a grouping (along with the apple from our previously release School Time set). Before adhering the images to my card front, I lightly traced the bottoms of the fruit with a pencil and then colored in some light shadows using the W0 and W1 Copic Markers. To add extra detail to my images I stamped the companion seed stamp from the set on my strawberries and then heat embossed them using white embossing powder. I also added shiny reflection marks to my apple and cherries with a white gel pen before covering them with glossy accents. As a final finishing touch I added a thin strip of patterned paper from Doodlebug’s newest swiss dot papers to match the seeds on my strawberries–I love how it tied everything together and added a little weight to the bottom of my card!
Supplies:
 |
 |
 |
 |
 |
 |
 |
 |
 |
 |
|
|
 |
 |
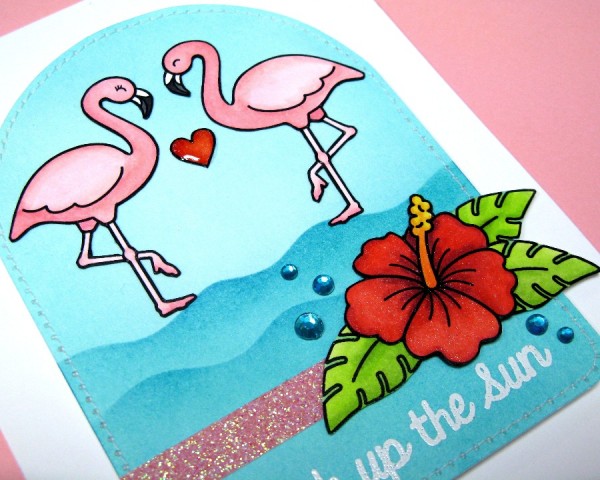
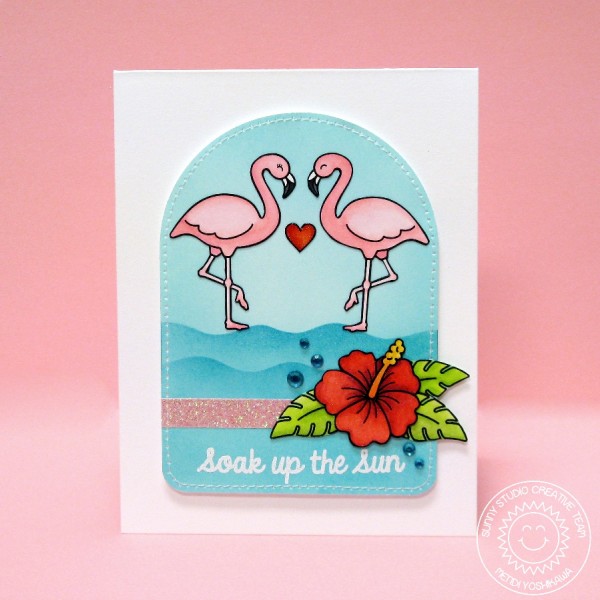
For my second project today I have a card using the flamingos and hibiscus flower from our new Tropical Paradise set. I wanted to create a special arched panel to house my little flamingo pair so I created a special cutting file on my Silhouette that I’m offering to you all today as a free download. Before cutting my panel though I started by inking up a white cardstock panel with Tumbled Glass and Peacock Feathers distress ink using my favorite Jumbo dauber to blend the colors from light to dark. By inking my panel first and then cutting, I was able to avoid harsh outlines around my piece. Next I cut some masking material using the wavy border dies. Using some more of the Peacock Feather distress ink I sponged on some ink using the die-cut mask to create my waves on the bottom half of my panel. I then heat embossed my sentiment at the bottom in white and adhered the entire piece to a piece of fun foam before adhering them to my card front. To add a little sparkle, I colored a piece of glitter tape with a coordinating copic marker before adding it to my piece and layering it with my hibiscus flower and leaves. To finish my card I added some clear Wink of Stella glitter to my flower and heart, some glossy accents to the heart and a few jewels scattered along the bottom.
I hope I’ve inspired you to take a closer look at these fun sets. I can’t wait to see what you create! Make sure to add the hashtag #sunnystudiostamps when sharing on social media so I can stop by and leave you some love. :)
Supplies:
 |
 |
 |
|
 |
|
 |
 |
 |
 |
|
 |
|
 |
|
|
|
|
|
 |
 |
 |
Thanks for reading today, and thanks to Mendi for being our guest!
Blog Candy Alert!! Follow our blog via email and comment on this post for a chance to win a special blog candy!
Congrats! Blog Candy Winners!
From: Mixed Media with Gelatos: Larissa Heskett!
From: Weekender with Wanda – Hero Arts Spotlight!: Becky Green!
From: Spring Plush Shaped Cards: Kristie Maynard!
From: DIY Party and Play Crowns!: Helen Gullet!
From: Scandinavian Print Flowers: Brenda Lubrant!
From: Anything Goes on the Wednesday Challenge: Beverly Jordan!
From: Combining Stamp Sets to STRETCH their use!: Stephanie Rodgers!
Please email [email protected] with your mailing address (if applicable), the name of the blog you won from, and the prize you won to claim your prize!


