Color Coordinates: Tropical Splash + New Product!

Aloha! Welcome back to the blog everyone! I couldn’t help but to put together a tropical Summer Color Coordinates for you! I snuck in a new ink color that will be available in our upcoming STAMPtember® release called Lemon Zing. It’s a true yellow that’s so very bright! You can find it now in our Masterpiece Box.
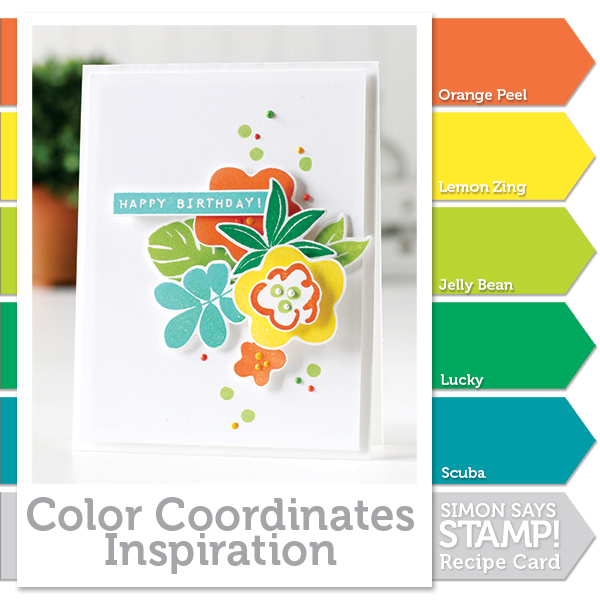
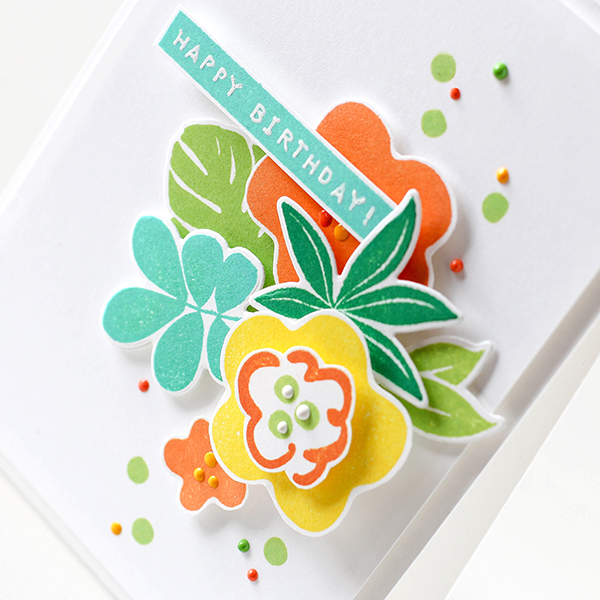
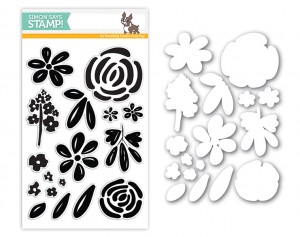
The card I’ve created used the Tropical Leaves stamp set and matching dies along with blossoms from the Birthday Flowers stamp set. I’ve stamped the leaves in Jellybean, Lucky and Scuba inks, then mixed in my flowers stamped in Orange Peel and Lemon Zing.
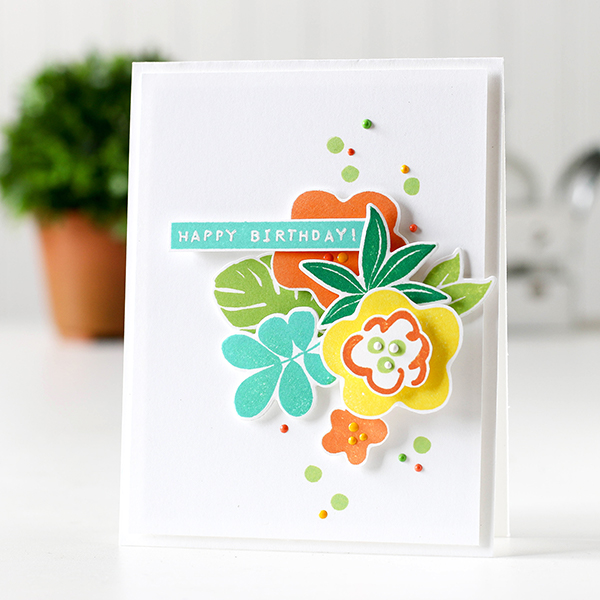
I stacked them up with foam dots an added them onto a panel on my card. I also stamped the greeting strip in Scuba ink, then used my White Signo pen to add dimension to the letters. To finish things up, I added small dots of Enamel Accents in Lemon Twist, Lime, Cheese Puff and Glacier White.
I have put together a video showing how to create this card. You can view it below or on our YouTube channel.
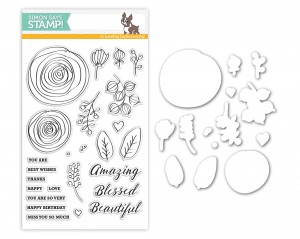
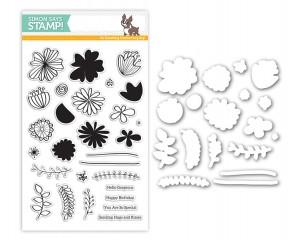
We have some new product to share!! The Blooming Day, Sketch Ranunculus and Wild Beauty stamp sets, now have matching dies! Any of these stamp and die sets would look fantastic with todays Color Coordinates!
Blooming Day stamps and Blooming Day Dies.
Sketch Ranunculus stamps and Sketch Ranunculus Dies.
Wild Beaty Stamps and Wild Beauty Dies.
Blog Candy Alert!! Follow our blog via email and comment on this post for a chance to win a special blog candy!

Thanks everyone! Have a fantastic weekend!
 |
 |
 |
 |
 |
 |
 |
 |
 |
 |
 |
 |
 |
 |
 |
 |
 |
 |
Layered Stenciling with Masking & Misting
Good morning, all! Kristina here. :)
Today I have a card video showing layered stenciling with masking and misting.
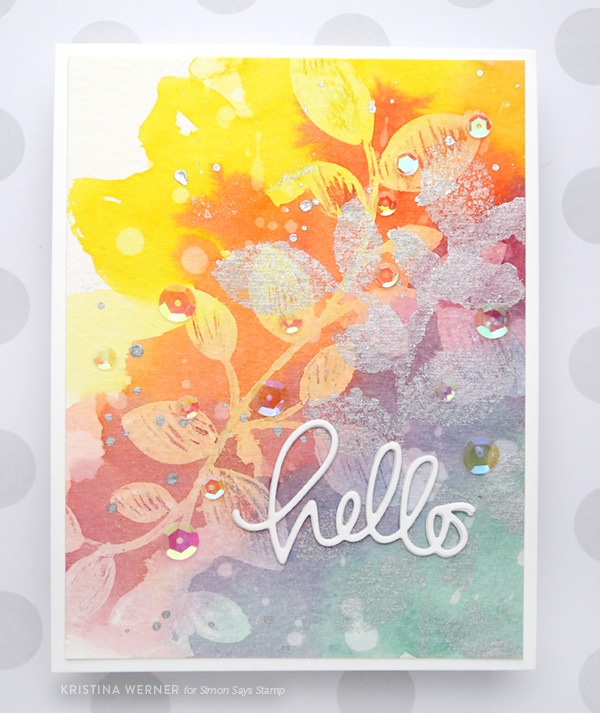
After painting a light layer of color, I used the Leaves stencil and a Molotow masking pen to mask off a stem with leaves shape. After allowing the masking fluid to dry completely, I painted another layer of color on top. After drying that as well, I removed the masking fluid by rubbing it was an adhesive eraser (you can also use your finger tips). I then put the stencil back onto the project and sprayed Brushed Pewter Distress Spray.
Layering different mediums using a stencil is a great way to create a fun and interesting background. :)
Supplies
 |
 |
 |
 |
 |
 |
 |
 |
 |
 |
 |
 |
 |
 |
 |
 |
 |
 |
 |
 |
 |
 |
|
 |
 |
 |
 |
 |
 |
 |
|
|
From Spring to Fall & Holiday Plushies
Hi friends! Welcome back Debby Hughes for this month’s Creative Uses post! Would you believe that Debby created all of these adorable critters with just one die base?! She did!! Read (& watch) on to find out more! Enjoy!
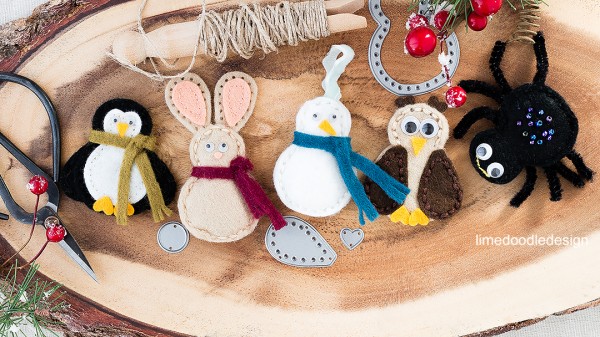
Hello, it’s Debby here today with a look at stretching your spring plush dies throughout the whole year. I used the Plush Big Ear Bunny die which has a wonderfully versatile body element to create an endless supply of critters simply by changing up felt colors and the use of the set dies.
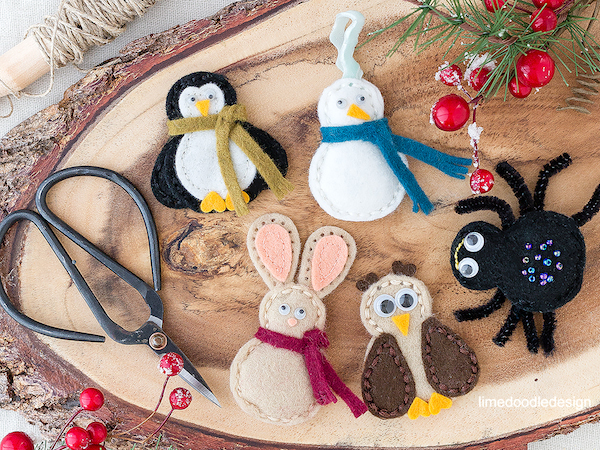
Initially I cut pieces as the die set is intended for – a big eared bunny, but by adding a scarf he’s all set for the winter. I made my bunny a sweet light brown but on hindsight a winter white bunny may have been more appropriate! Two white bodies do make the perfect start to a snowman however and all that was needed was a simple triangle carrot nose and a couple of wiggle eyes. A black body and pipe-cleaner legs and you have a simple spider for Halloween. I used some purple seed beads from the Shaker Shack selection to embellish the body of the spider.
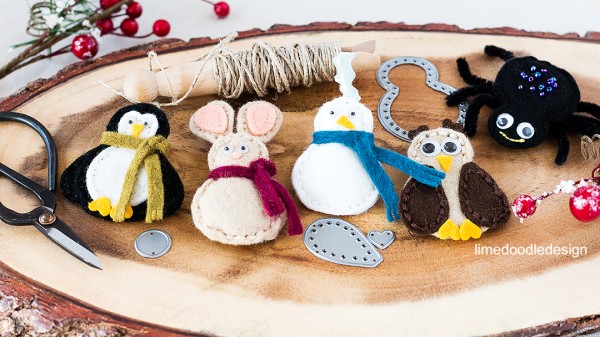
Slightly more complex but still easy to sew up are a penguin and owl. I used the ear die from the bunny set to cut wings. For the penguin I tucked black wings between the front and back of the body and for the owl I sewed brown ones in place on top of the front of the owl. Winter scarves abound and are easy to make from a long strip of felt tied around the neck and then two snips in to each end to give a fringe effect.
Watch the video:
The possibilities for this die set really are endless – a reindeer body with pipe-cleaner antlers perhaps or a reindeer face with red Rudolf nose, or how about a turkey with a fan of tail feathers cut using the ear die? I hope you take a second look at your dies and see how you can use them all year round :D
SUPPLIES:
 |
|
 |
 |
 |
 |
 |
 |
|

Blog Candy Alert!! Follow our blog via email and comment on this post for a chance to win a special blog candy!


