Tim Holtz Village Dies: The Mansion!
Welcome everyone! It’s Shari here with another installment using the Village series dies. I’m looking forward to building a collection that I can put on display for the holidays…like my mom always did with little porcelain houses, all lit up on a blanket of snow.
So….If you were a Victorian house… what kind would you be? I think I would be a colorful artsy one like the one I’ve created with brightly stained resit walls and silver accents. This… makes me Happy!

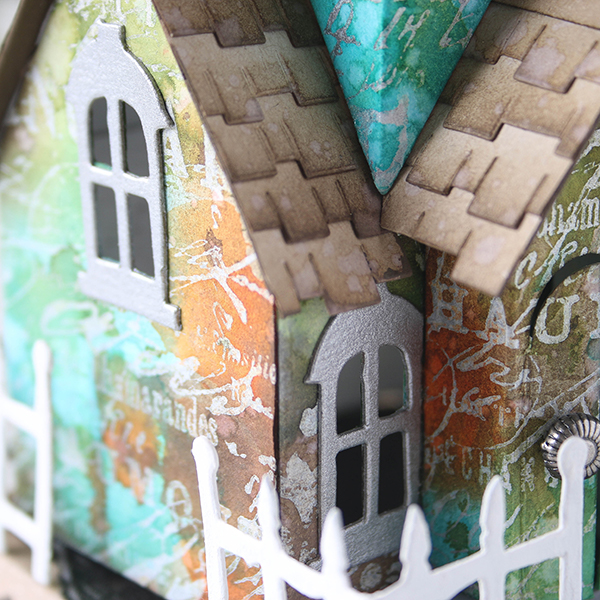
I’ve only made one alteration from the original “Mansion” design. The suggested roof top is to use the top portion of the fence, but I opted to use the Lace Thinly Die to create my own. I think it gives the house a little more of a dainty look.

So… the roof shingles, these are one of my favorite parts, they are realistic looking with a bit of walnut stain added to the edges. The Village Rooftop dies have three styles, and a roof vent piece too!
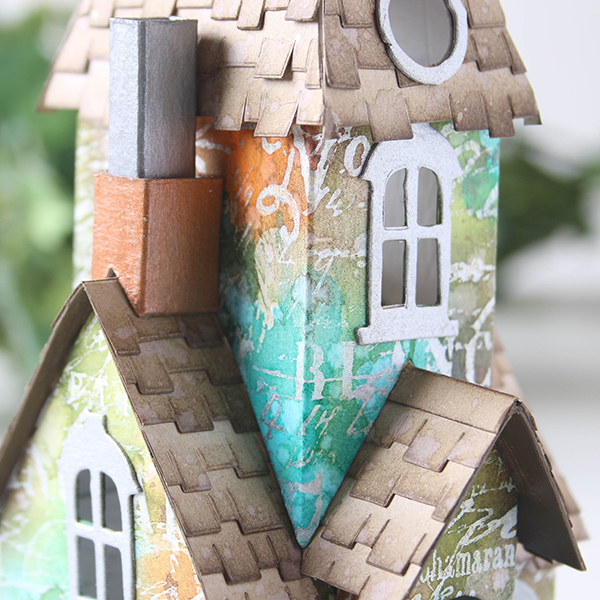
For the walls, I used Brushed Pewter Distress Paint to stamp the word images and then used Distress Stains for color creating a resist over the paint.
I’ve created a video which shows how this all comes together that you can watch below , or on our YouTube channel here.

Blog Candy Alert!! Follow our blog via email and comment on this post for a chance to win a special blog candy!
The victorian House in my second in a series that I’ll be doing through December. If you missed my first “Surf Shack”, you can view it HERE.
Thanks for stopping by today!
 |
 |
 |
 |
|
 |
 |
 |
 |
 |
 |
 |
 |
 |
 |
 |
 |
 |
 |
 |
 |
 |
 |
 |
 |
 |
 |
 |
 |
STAMPtember® Wrap Up + Dream Craftroom Giveaway WINNER!
Hi friends! I can hardly believe as I type that it is the LAST day of STAMPtember®! Time really does fly when you’re having fun! We hope you enjoyed all the fun surprises we had this year! We thought it might be fun to recap all of the exclusives we released this year! What were your favorites?

We were blown away at the response of our very first Halloween Kit, Ghostly Greetings released mid month! While it is completely sold out, please know many of the individual ingredients are still available, including the adorable Ghostly Greetings stamp set!
Stay tuned for the official announcement of a winner once legal matters have been taken care of and agreed to! We will be drawing the winner after the contest closes at 11:59pm tonight (correction from a previous post).
STAMPtember® may be over this year, but we have SO many fun surprises coming in the next couple months! Stay tuned!
Blog Candy Alert!! Follow our blog via email and comment on this post for a chance to win a special blog candy!
STAMPtember® Feature: Carabelle Studios!
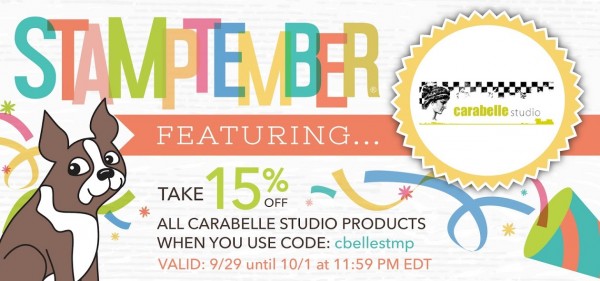
Hi friends! Thanks for stopping by to our last STAMPtember® feature of 2016! What a fun ride it has been! Please welcome back special guest designer Birgit Koopsen, who is representing the fabulous brand, Carabelle Studio! Her fun project is a great example that stamping can go beyond the page! Read on to be inspired!
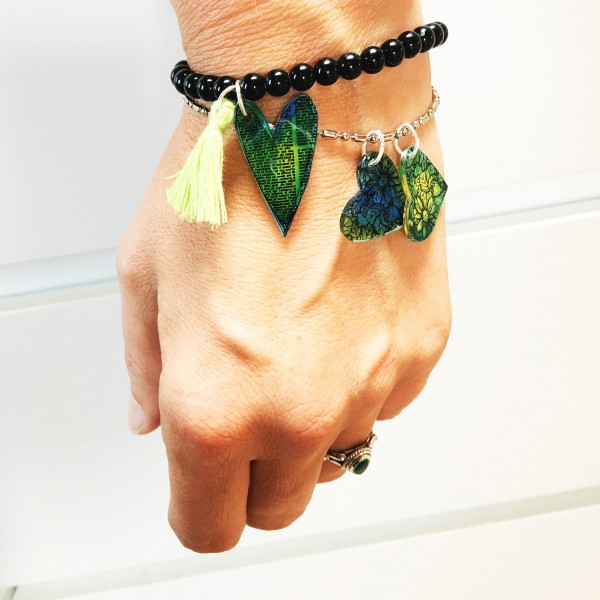
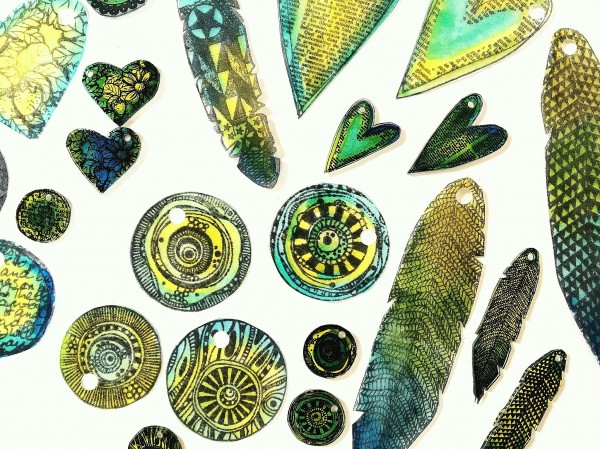
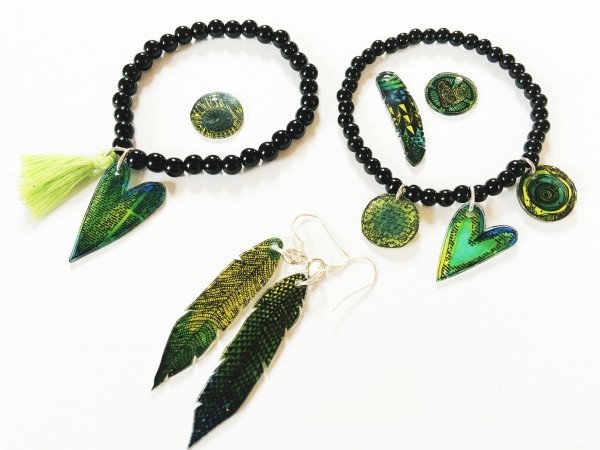
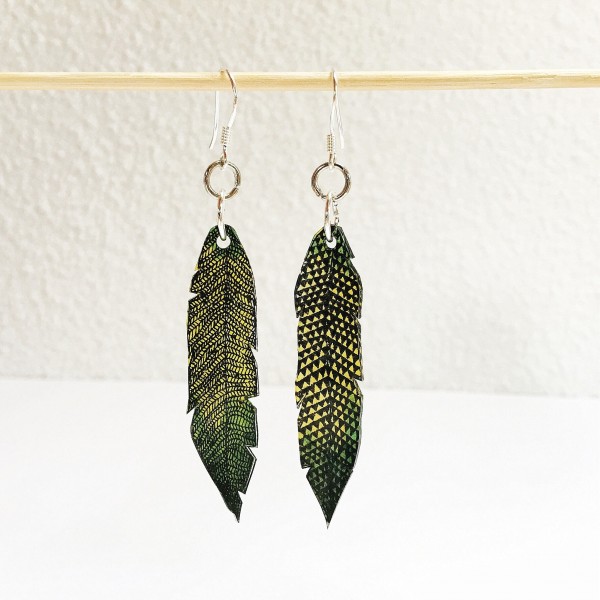
It’s end of September and officially fall started, but I’m not completely ready to give up on summer yet so I decided to create some Ibiza-style jewelry reminding me of sunshine, beach and freedom and add some of that lovely summer feel-good to my outfit!
Here’s how you too can create your own fun charms:
You need:
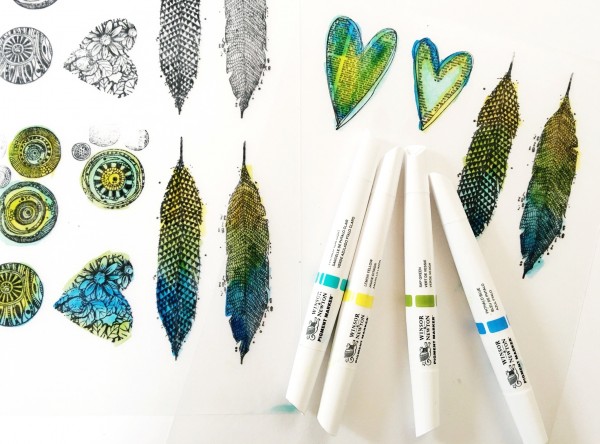
Shrink plastic (I used transparent because then the charms look good on both sides), your favorite stamps, acrylic block, Stazon, Winsor & Newton Pigment Markers, a Crop-a-Dile or eyelet tool, scissors, a paper piecer, flat pliers, a heatgun or an oven, a bracelet, necklace or earrings (ready bought or hand made) and some small jewelry rings.
Steps:
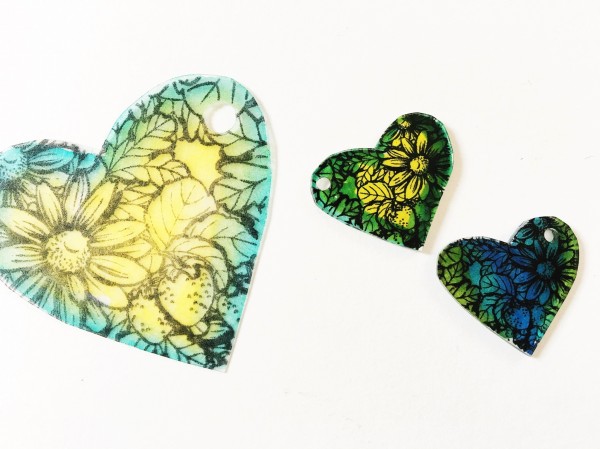
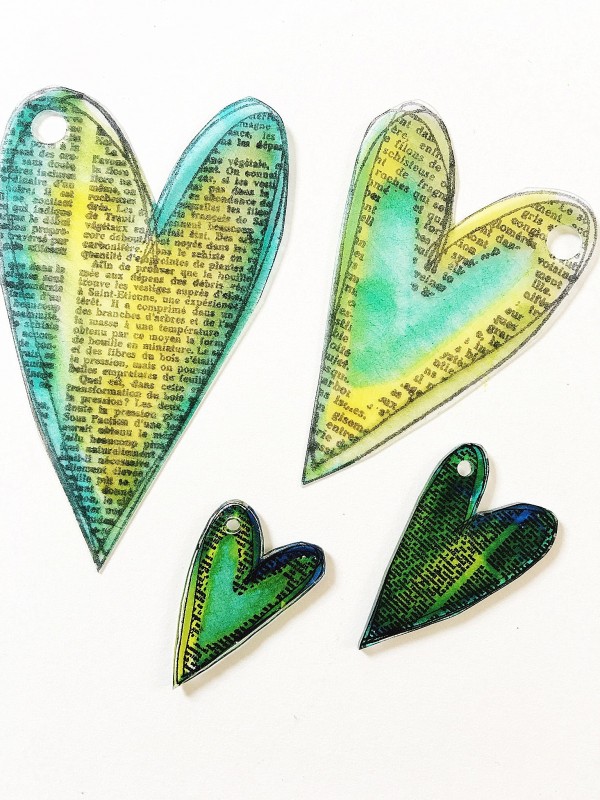
Stamp the desired images on the non-glossy side of the shrink plastic using a permanent ink. When choosing your images keep in mind that they will shrink to appr. 1/3 of the original size. Let the ink dry well. Coloring right after stamping may smudge the ink.
Color the images with Pigment markers and let dry well again. Then cut out the shapes, make a hole using a Crop-A-Dile or eyelet tool. Don’t make the hole to small as this will shrink too. Use a heatgun or place the shapes in the oven to shrink. Follow instructions on the packaging. The final shapes will be 3 times as thick as the originals.
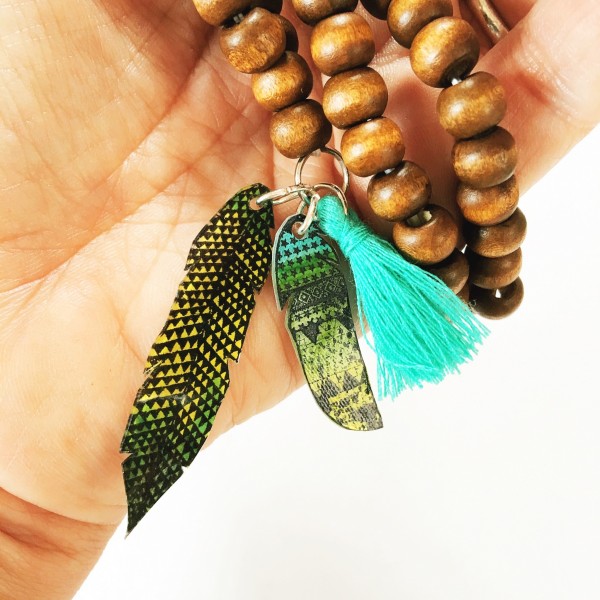
I used a heatgun to shrink the plastic. While it shrinks the plastic starts to curl and move. I used a paper piecer to gently keep the plastic in place. At the end, when the plastic had shrunk completely but was still hot, I placed an acrylic block on top and pushed it down so my charm turned out really flat.
Add small rings through the holes and apply the charms to bracelet, necklace or earrings.

SUPPLIES:
 |
 |
 |
 |
 |
 |
 |
 |
 |
 |
Time is running out!!!! The contest ends tomorrow at 11:59 PM EST
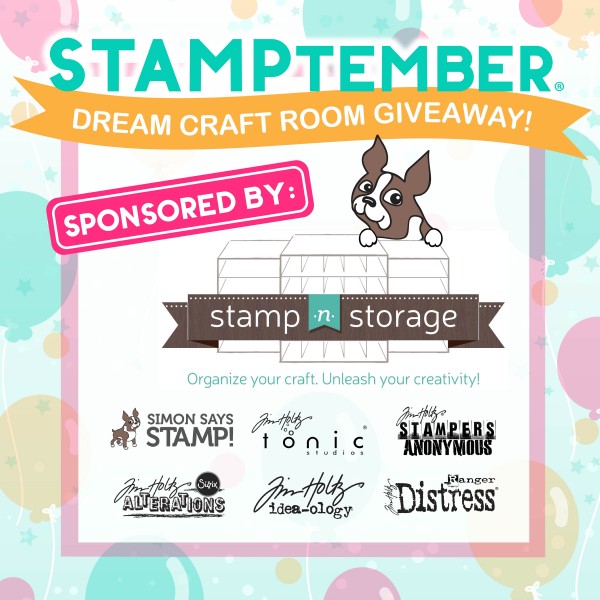
Have you entered our HUGE $5,000.00 Dream craft room giveway? All you need to do is click on the image below and fill in your name and email address through the link.  Don’t forget, Stamp n Storage is celebrating STAMPtember too! They are offering 10% off all of your orders at www.Stampnstorage.com.
Blog Candy Alert!! Follow our blog via email and comment on this post for a chance to win a special blog candy!


