Work it Wednesday February 2017

Hi readers! Happy Wednesday! Welcome to Work It Wednesday for February 2017!
In case you’re wondering what ‘Work It Wednesday’ is, let me explain: On the last Wednesday of every month (or towards the end of the month ;)), we want to see what you’re creating! The Simon Says Stamp community is so very talented, and we want to see more of your cards and projects every month.
We thought this would be a great way for all of you to ‘stretch your creative muscles’ and share what you’ve been working on. So we’ll give you a little challenge each month, and you’ll have until the following month to share what you’ve made. Please limit entries to 3 per month.
Each month we’ll pick a few random participants to win a Simon Says Stamp grab bag!
The projects and cards that were shared for January were so great! We loved what you made, and we look forward to seeing what you make for this challenge.
Do you want to see all of the cards and projects that were shared for January 2017 Work it Wednesday? Check them out!
The following three participants were randomly chosen to win a goody bag from Simon Says Stamp:
Mary-Anne V!
Cards by Maaike!
Amy Yang!
Please email [email protected] with your mailing address and she’ll get your prize sent out to you.
Now on to this month’s challenge! Your challenge is to make something with the word or color GREEN in it as next month contains the holiday St Patrick’s Day!
Once you’re done creating, share your project below!
What are you waiting for? WORK IT! ;)
Yippee for Yana: Quick Stamp Wreath Cards
Hi friends! Happy Tuesday! Thanks for stopping by today! We’re proud to be posting our latest installment of “Yippee for Yana“. This feature Yana Smakula is making some really pretty quick stamp wreath cards. Be sure to read on and watch the video for more information, and enjoy!
Hi everyone, this is Yana Smakula and thank you for joining me today!
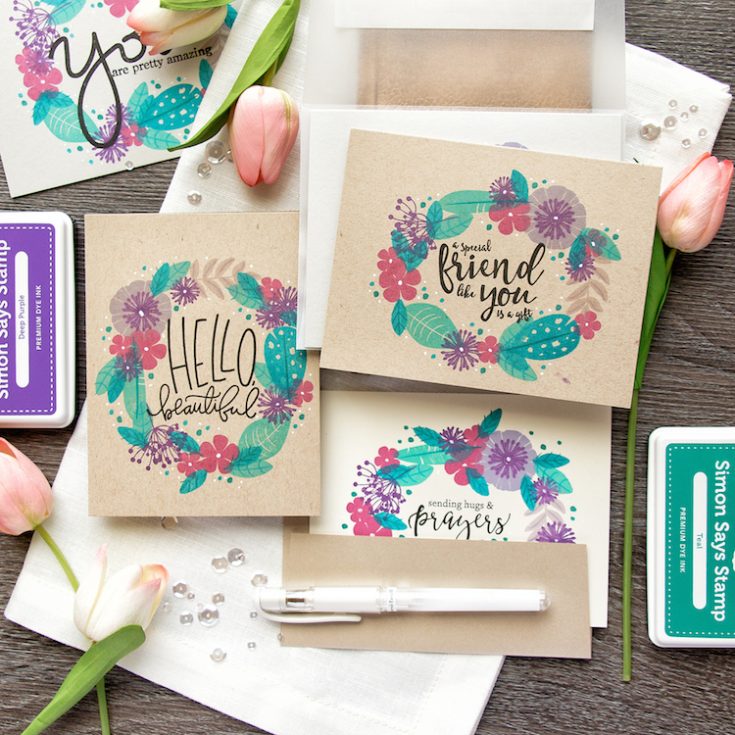
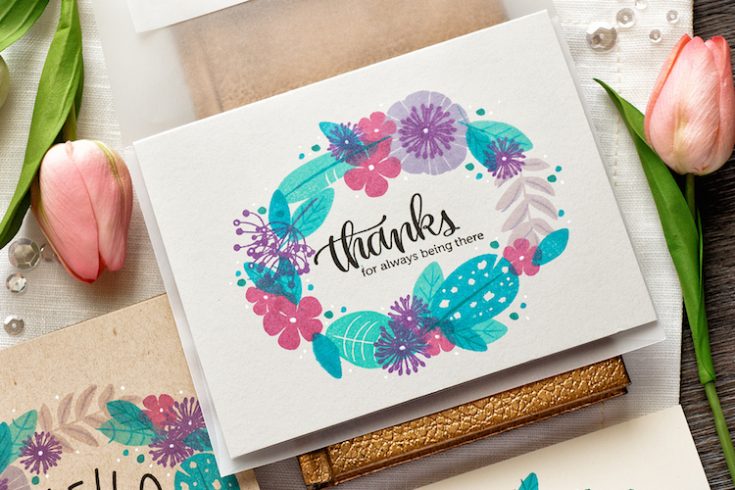
Today’s video is all about creating quick stamp floral wreath cards for any occasion! I’m combining beautiful floral stamps from WPlus9 with vibrant yummy ink colors from Simon along with some gorgeous sentiments from various Simon sentiment sets.
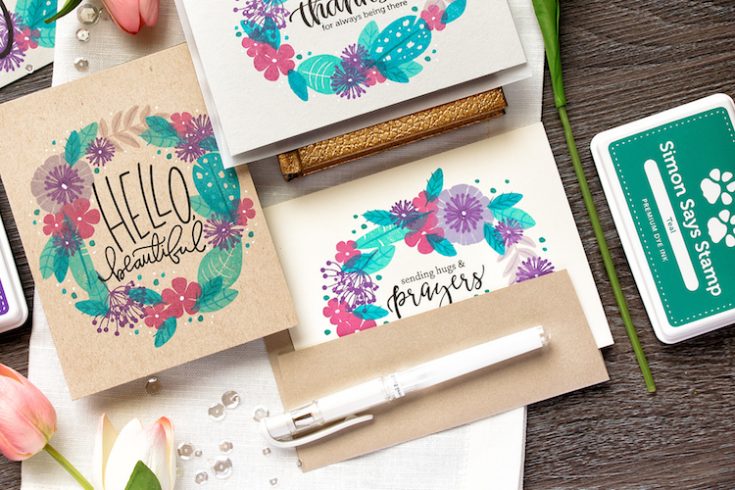
The cards we are be making today are one layer flat projects with no dimension at all. These are great to pop in the mail and send to a friend or anybody who could use some encouraging or kind words.
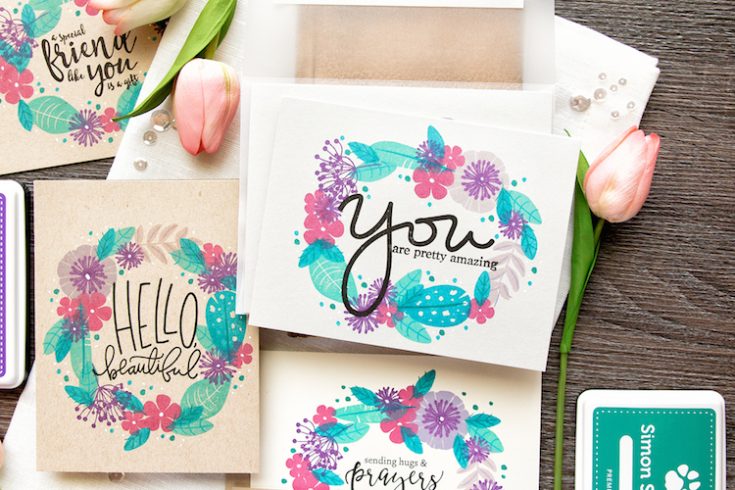
You want to start working on these cards by stamping a sentiment first and wreath around it later. This way you can slightly adjust the size of the wreath and the placement of the images to make sure they do not block any part of your sentiment. I first planned my wreath out by placing a few large images from the Feather & Florals stamp set from WPlus9 on a piece of paper to form an oval. These images formed a base for my wreath and once I stamped them onto my card bases I was able to come in and add additional imagery.
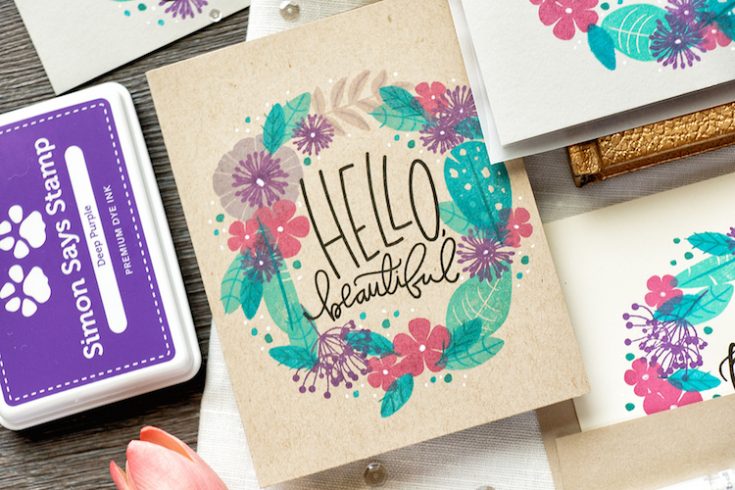
My color choice today is rather bold – I don’t think I’ve used this combination before, but I wanted to try something new. I went with purples and teals. I used Deep Purple, Wisteria, Magnolia, Thistle, Scuba, High Dive and Teal. All of these are truly gorgeous colors and they all work oh so well together.
I also stamped little dots using Teal and High Dive ink colors around my wreath. These dots were designed to be flower centers, but they surely can be used in other ways.
I stamped a few cards all using different messages and I also tried using different papers. Some of my cards were stamped on kraft, others on Fog and one was stamped on a cream card base. Have fun stamping!
Watch the video:
SUPPLIES:
 |
 |
 |
 |
 |
 |
 |
 |
 |
 |
 |
 |
 |
 |
 |
 |
 |
 |
 |
 |
Thanks for reading today, and thanks to Yana for being our special guest!

Blog Candy Alert!! Follow our blog via email and comment on this post for a chance to win a special blog candy!
Congrats! Blog Candy Winners!
From: Sunny Studio Stamps: New Spring Collection!: Lynne Jardine!
From: Watercolor Easter Cards – March 2017 Some Bunny Card Kit Inspiration: Maureen Chandler!
From: Prima Watercolor Confections + Rainbow Cards + Kindness Day!: Janine Mendez!
From: Mixed Medium with Shari Carroll: Love: Loly Borda!
From: Studio Monday with Nina-Marie: Love Your Pet Day!: Nicki McStay!
Please email [email protected] with your mailing address (if applicable), the name of the blog you won from, and the prize you won to claim your prize!
Studio Monday with Nina-Marie: Love Your Pet Day!
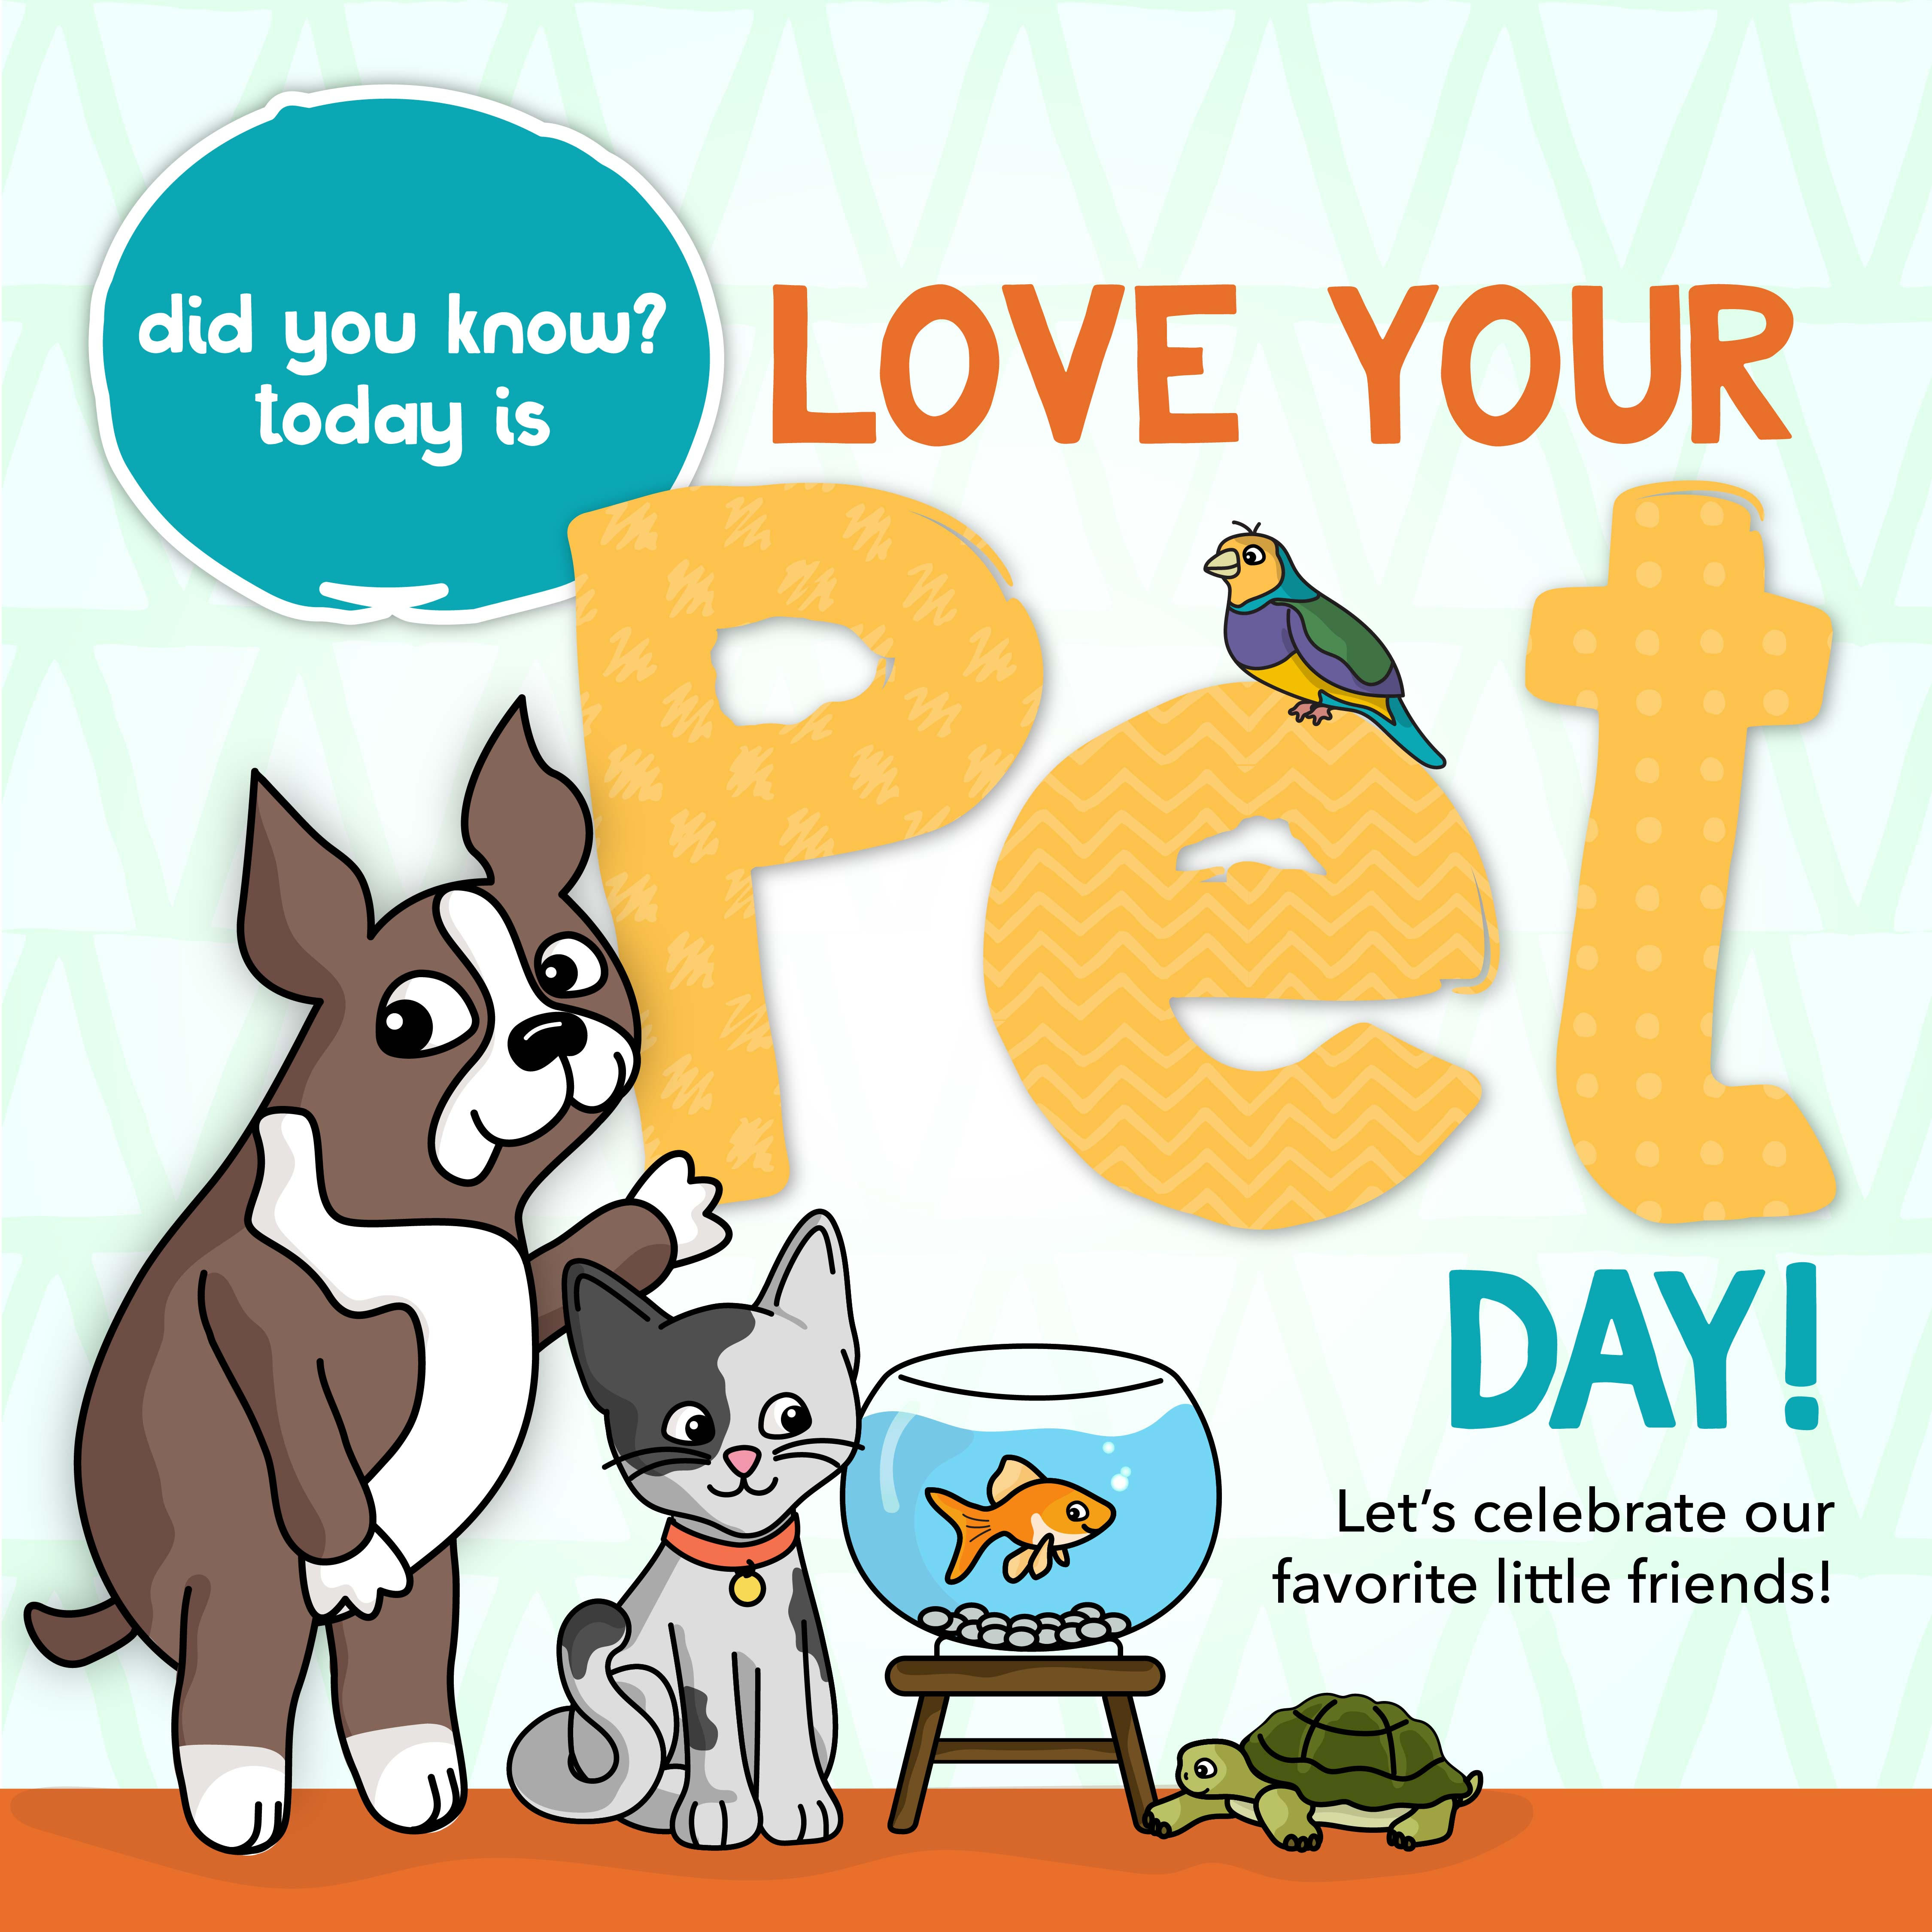
Hello everyone and Happy Monday! Its Nina-Marie here with you today. Have you heard that today is Love Your Pet Day? Its a special day to celebrate how much we love the pets we have in our lives!

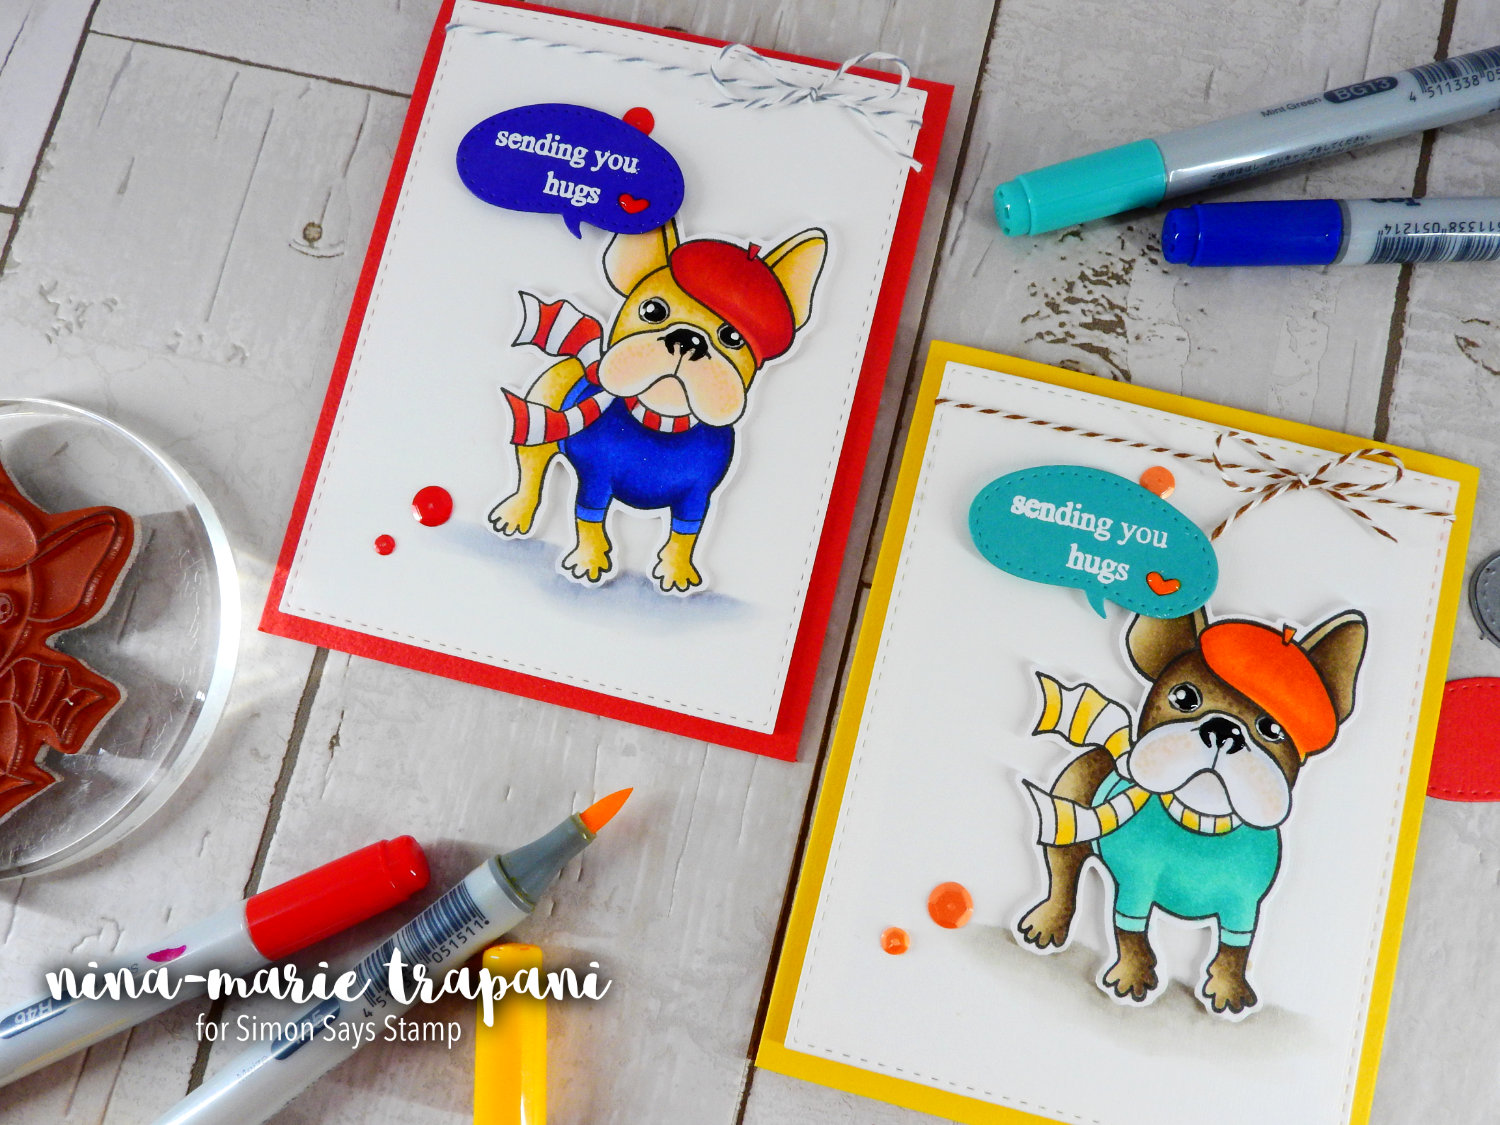
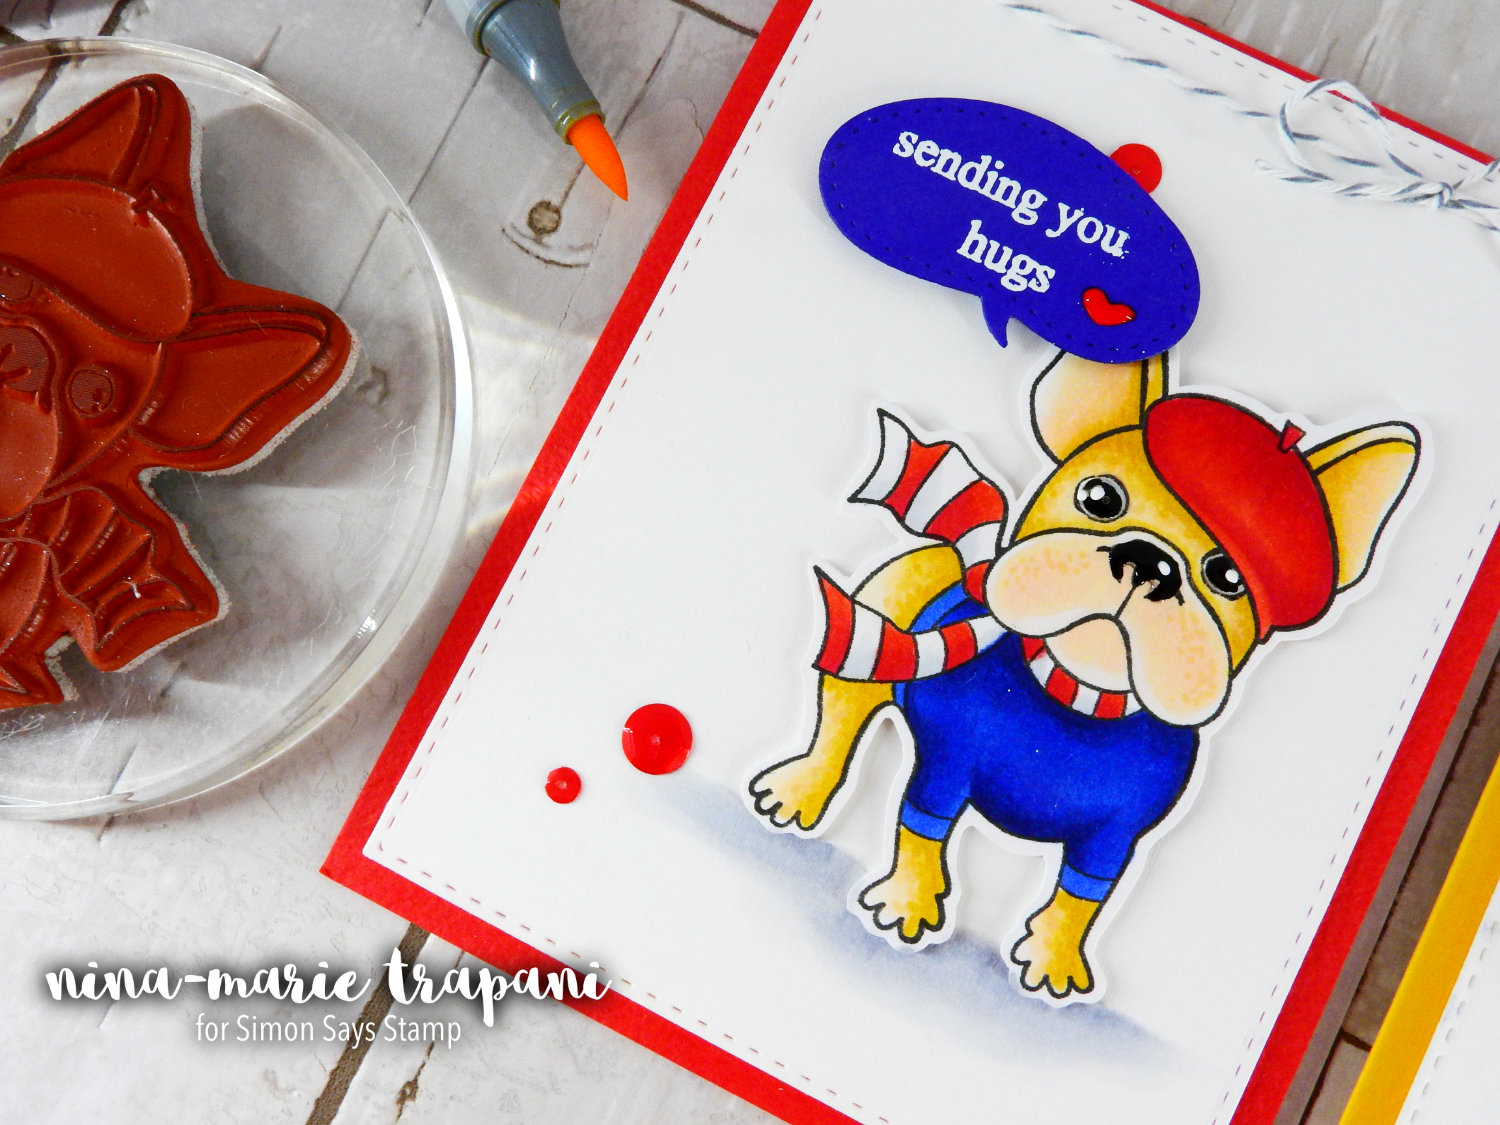
Since today is Love Your Pet day, I thought it would be a perfect time to use pet-themed products in this week’s Studio Monday post! I have chosen to work with the Frenchie Frenchie cling stamp from La La Land Crafts, along with their Heart Speech Bubble dies. La La Land products are new to me, but I’ve been very pleased with the quality of both their stamps and dies!
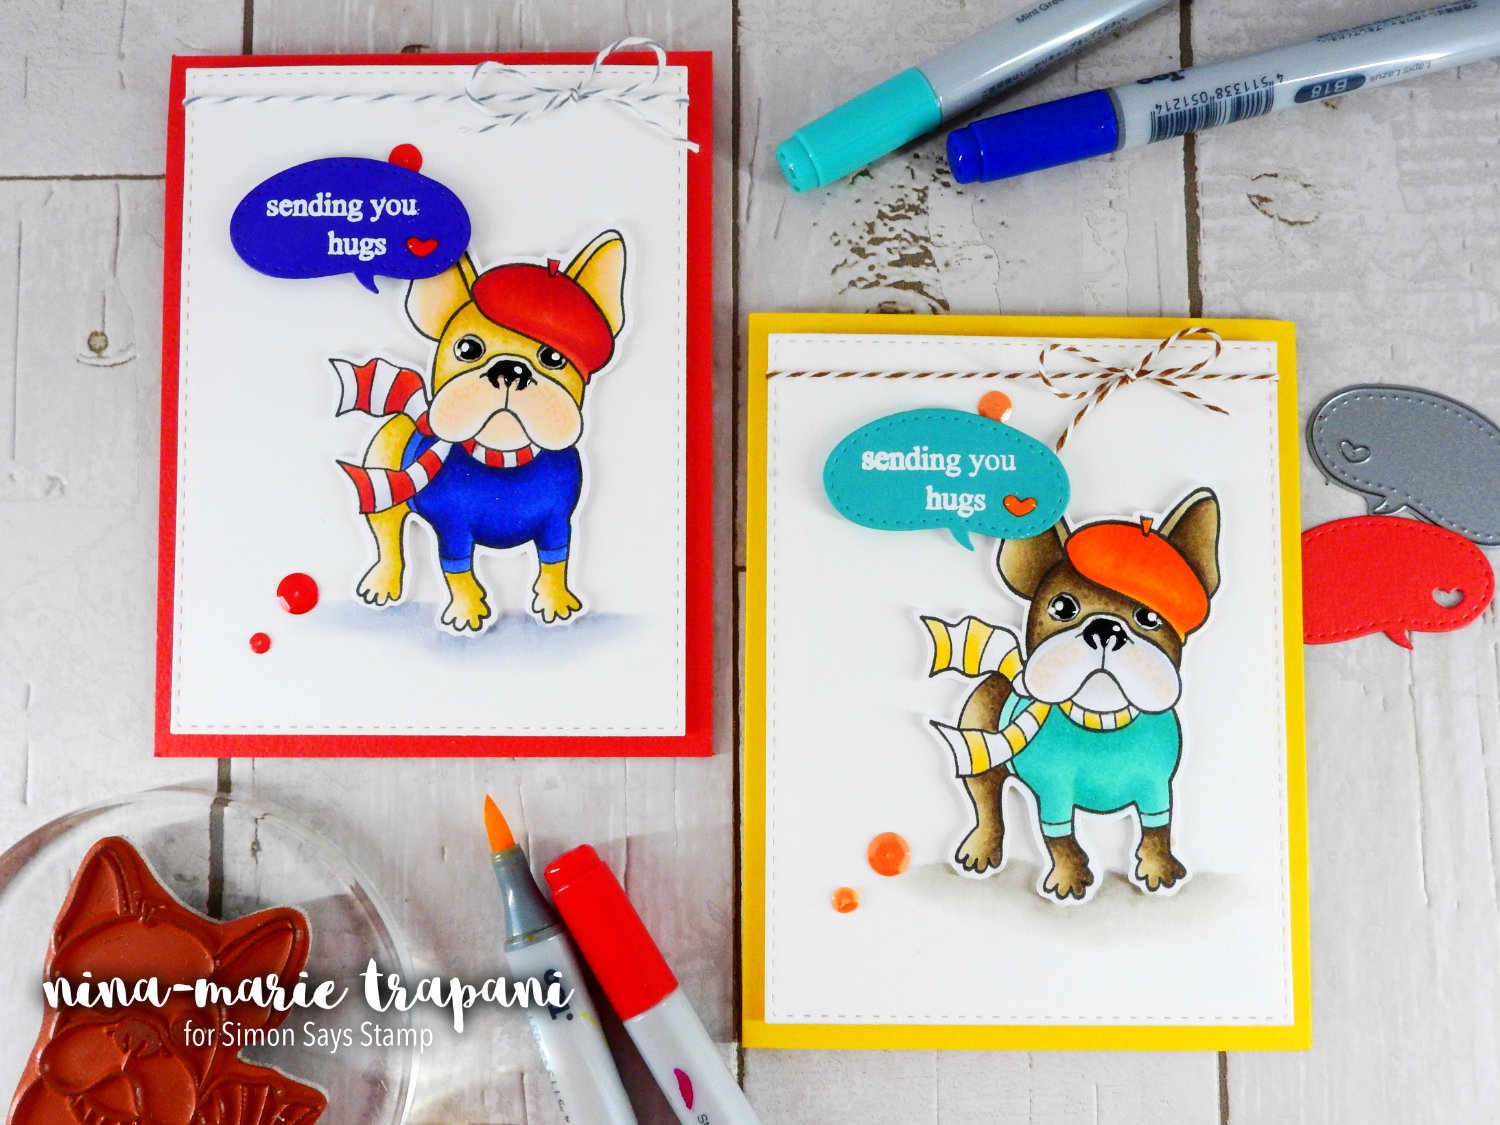
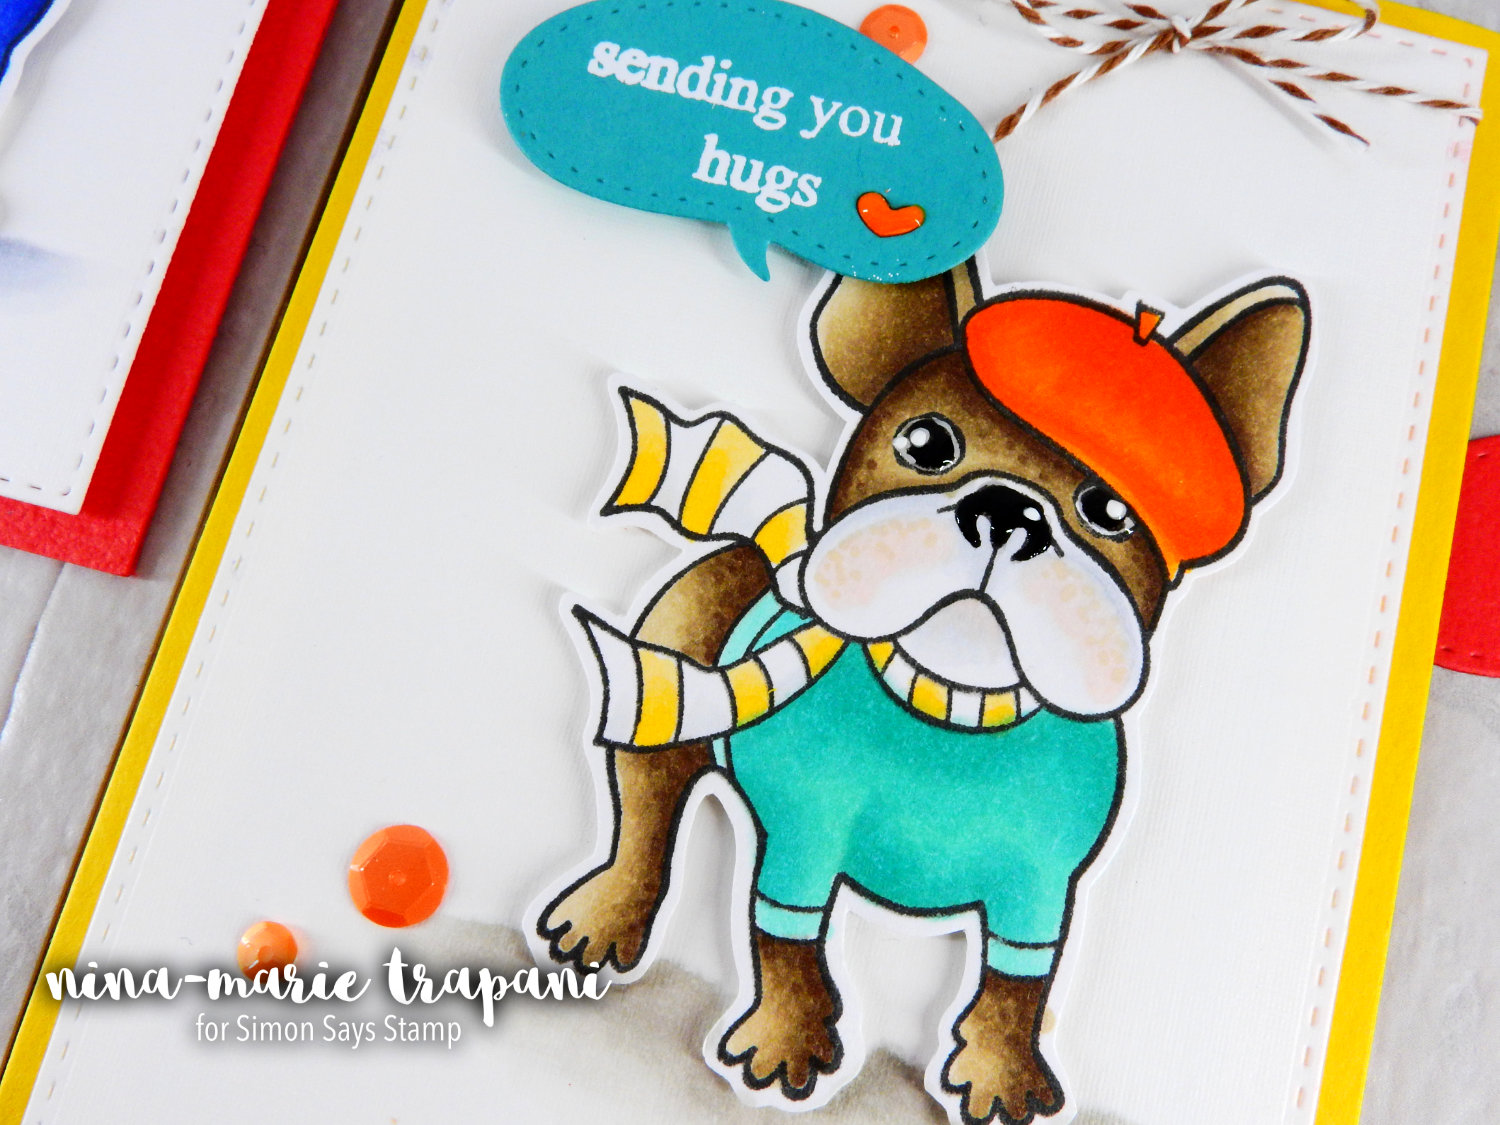
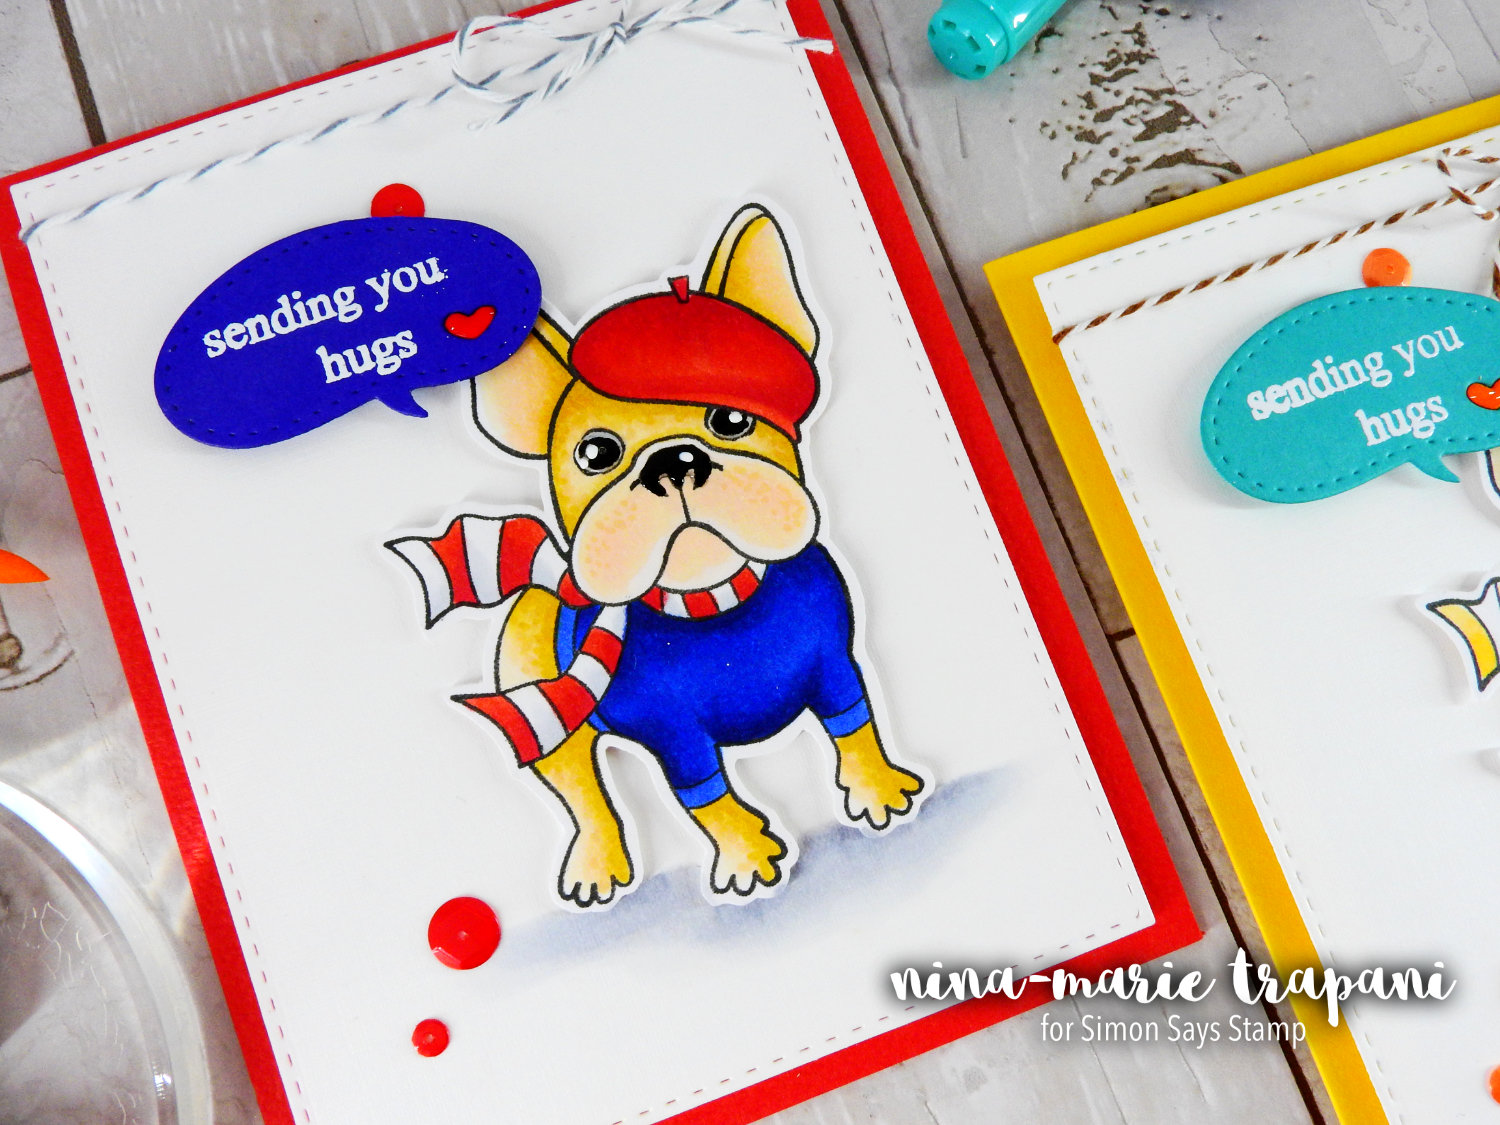
The cute pup in the Frenchie Frenchie stamp set TOTALLY reminded me of two of my friends’ pets. Because of that, I colored the dog to look like their pets! The golden brown dog reminds me of my friend Stephanie’s new pup named Lucas. The brown and white dog looks just like my friend Heidi’s dog named Simon (which happens to be who Simon Says Stamp is named after)! I think it is so much fun to color pet themed products to look like pets we (or our friends) have in our lives!
And while I am talking about the dogs that I colored in these cards: I have all the color combinations that I used today listed below. I colored the images with Copic markers.
Lucas (golden brown)
– dog: E50, E53, Y28, E00, R01
– beret: R24, R27, R46
– shirt: B26, B18, B39
– scarf: R24, R27, C0, C1
– ground: C00, C1, C2, C4
Simon (brown and white)
– dog: E42, E43, E44, E47
– beret: YR04, YR07, YR09
– shirt: BG32, BG13, BG15
– scarf: Y32, Y38, C00, C1
– ground: W0, W2, W4
One of the main things I wanted to focus on in today’s video is creating a minimalistic design. These could also be classified as clean and simple. This type of card design, while it may look simple to create, actually requires a bit of thought.
For a card to carry minimalism correctly, you have to make sure that there is one element that carries the weight of the design to draw the viewer’s attention. All the other elements you add should not distract from, but rather frame the centerpiece.
All art is a form of communication. With minimalism, this means communicating that message clearly with as few elements as possible without leaving the artwork feeling like it is lacking something.
There are a few principles of minimalism that I think will help you in creating a clean and simple card. These should help make sure your card carries the message you want to send:
White space: I used a lot of literal white space on my cards today. White space helps keep the viewer from being distracted from the important, main focus of the card. But remember that white space does not necessarily mean it has to be white; I incorporated colored card bases underneath my white background panels. But because the colored card bases are simple and have no distracting pieces, they blend with the white area and subconsciously support the colors used in the dogs. So don’t feel like you have to use only white for the open spaces in your design.
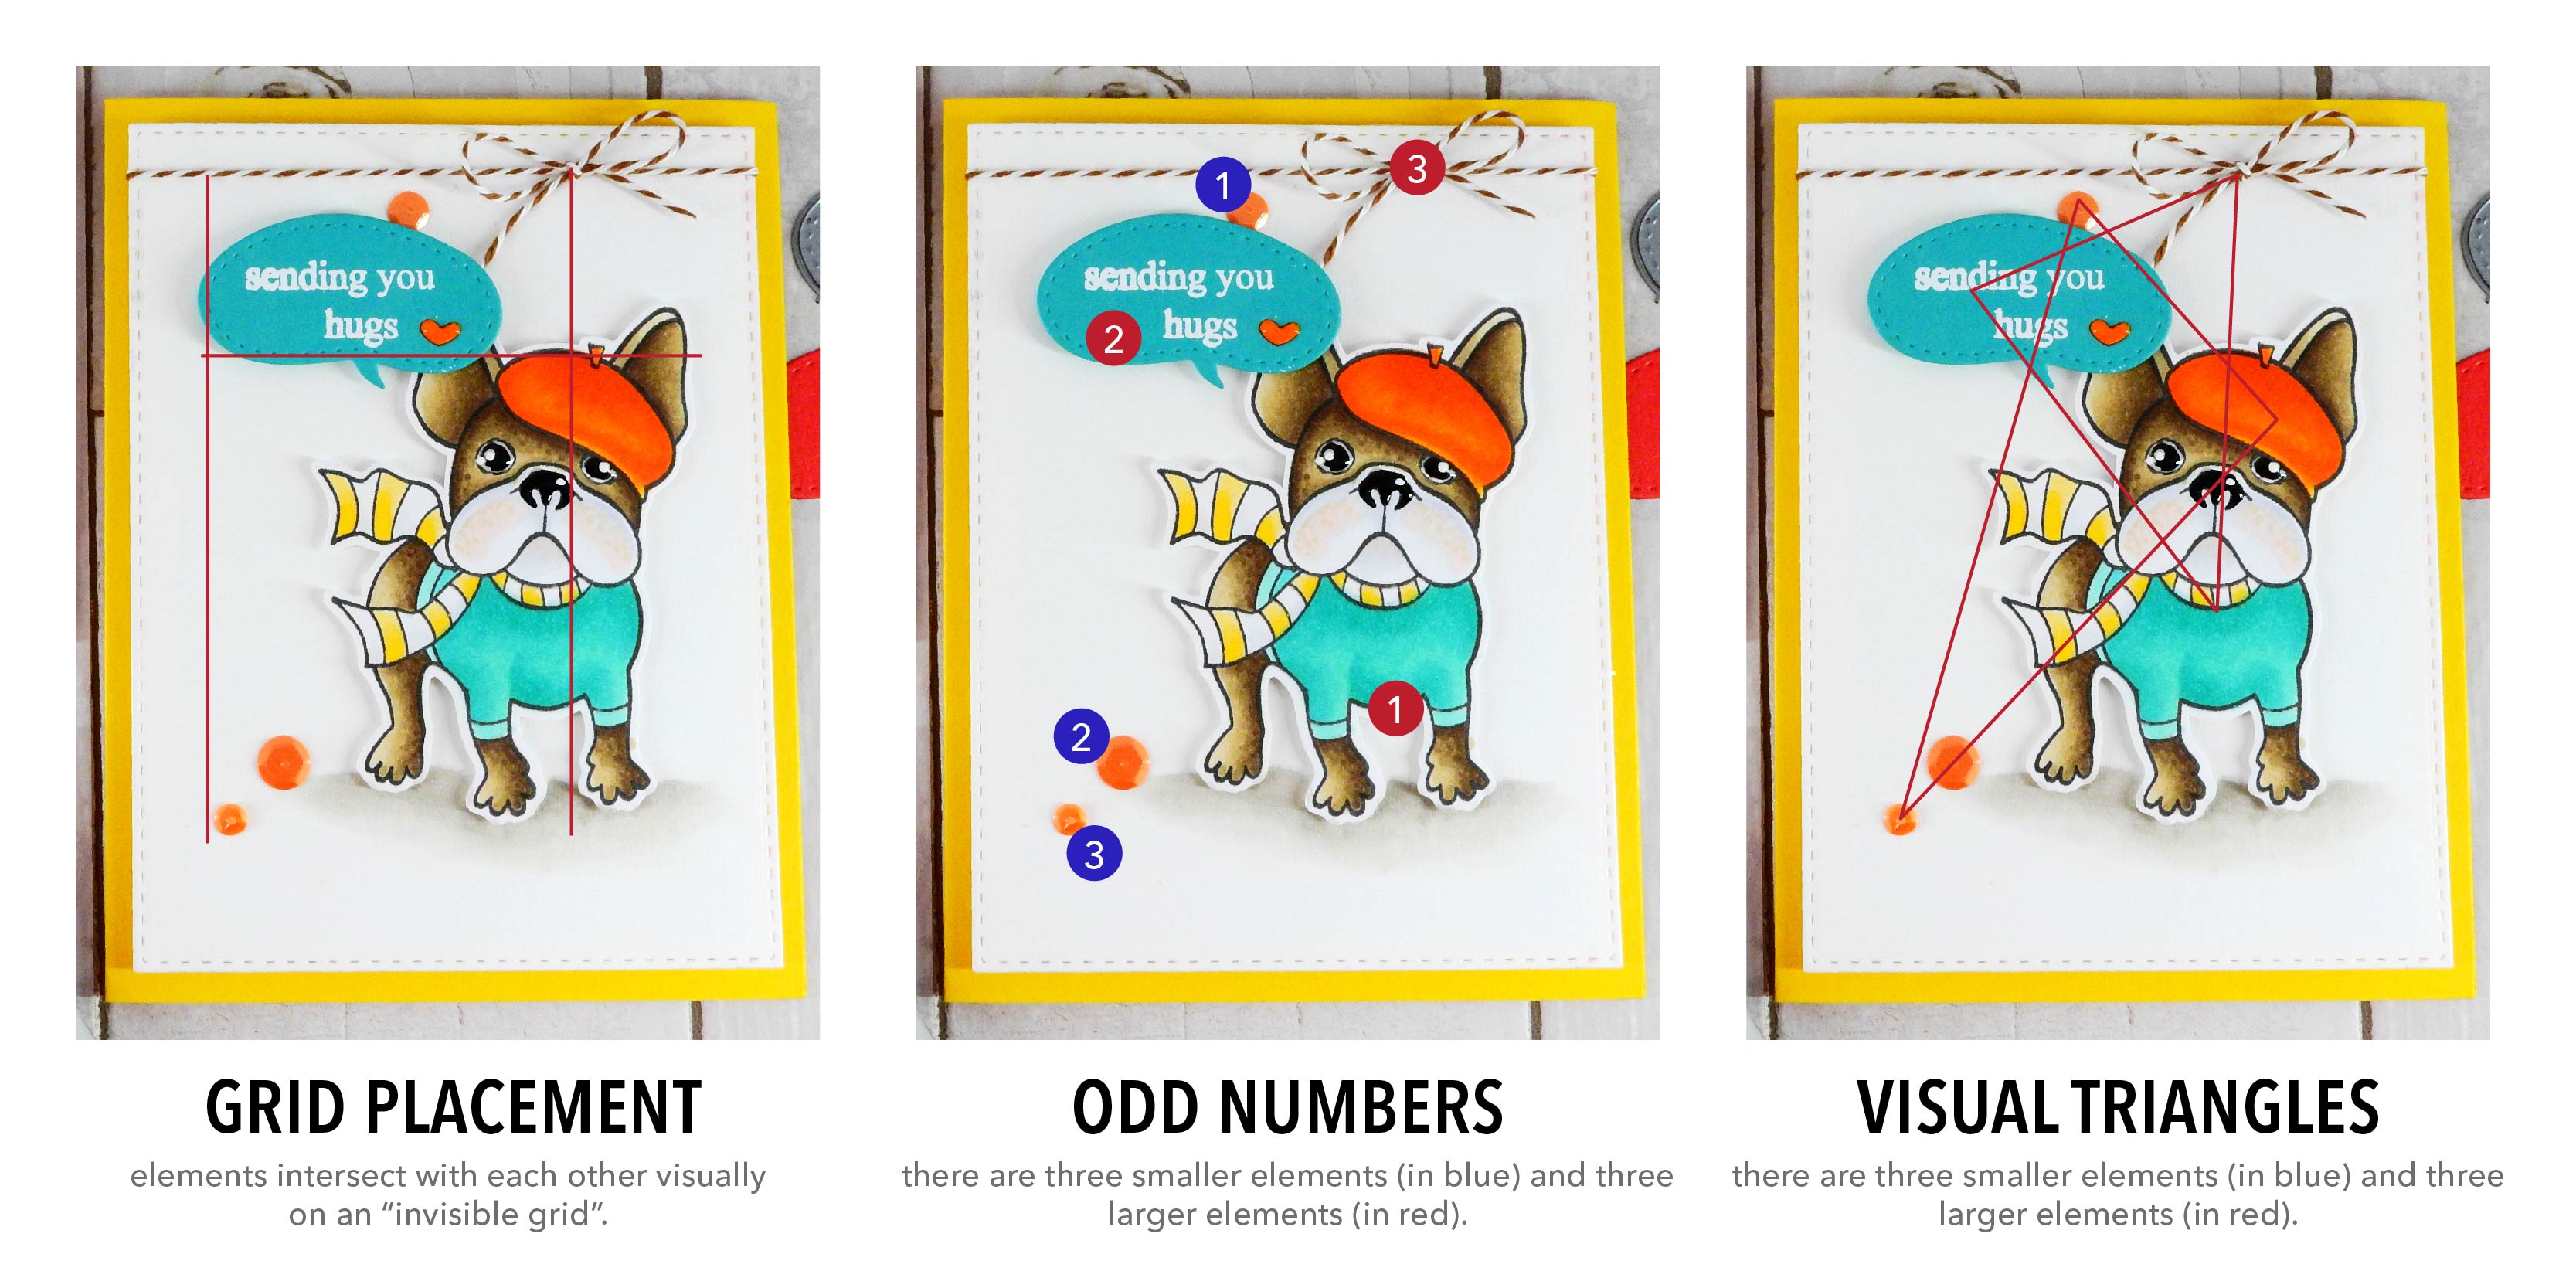
Layout: This is a critical part of minimalism because an incorrectly laid out design will not clearly relate the message you are trying to send to the recipient. Strategic placement will make your clean and simple design look finished. Try arranging things on an “invisible grid”, where elements can intersect with each other visually. For instance: the bows of the bakers twine intersect with the head of the dog, and the bottom of the speech bubble line up with the top of the beret of each dog. Also try using odd numbers for embellishments (the sequins) and make sure that you can see visual triangles in your design.
Color: Our next principle I want to share is color palettes; and more specifically, choosing the correct colors. Attention will be drawn to what kind of colors were used in a design. While this applies to any card, it is even more apparent in a minimalist design because there are less distractions. I like working with a limited color palette when creating a clean and simple card. If you look at both cards I created, I used no more than three saturated colors; the browns, grays and blacks are all neutral in appearance and most of the time be used without any consequence to the design. You’ll also notice that I used colors that all compliement each other. The limited, coordinating palette allows all the elements to coexist on the card together and create a more visually appealing design.
The details: The final principle I want to mention today is incorporating tiny details. I am often adding tiny details to any card I create, but it is especially important to me when I create a clean and simple design. Some examples from these cards: I embellished the eyes and nose of the dog; added texture to the fur and face; used some strategically placed sequins; and even added a coordinating colored heart in the speech bubbles. These take your design up a notch and make the entire card feel finished.
Okay! So that was quite a bit of information to take in, but I believe it is important for you as artists to learn these techniques to help take your designs to the next level. And don’t let yourself feel overwhelmed by the idea of putting the extra thought into a clean and simple card. Believe me, I have been designing for a long time and I know that after doing it so long, its like a second nature. You don’t really think about it anymore; its instead all part of the process.
So I hope you will check out the video to see how I made these cards and hear a bit more about creating minimalistic cards! It really is fun and I hope you enjoy the video as much as I enjoyed creating it! Thanks for visiting with me today… I will see you again next week!
WATCH THE VIDEO
SUPPLIES
 |
 |
 |
 |
 |
 |
 |
 |
 |
 |
 |
 |
 |
 |
 |
 |
 |
 |
 |
|
 |
 |
 |
 |
 |
|
 |
 |
 |
 |
 |
 |
 |
 |
 |
 |
 |
 |
 |
 |
 |
 |
 |
 |
 |
 |
 |
 |
 |
 |
 |
 |
 |
Blog Candy Alert!! Follow our blog via email and comment on this post for a chance to win grab bags and blog candy! Remember to tag your awesome projects with #simonsaysstamp on social media so we can see what you are creating!


