Studio Monday with Nina-Marie: Multi-Level Stamp Layering
Hello crafters, it’s Nina-Marie here with you! Welcome to my latest Studio Monday video! This week is all about stamp layering and I am featuring Hero Arts’ Water Lilies stamp layering collection.

Stamp layering involves stamping 2 or more images on top of each other to build up a detailed, dimensional-looking design. I love how easy stamp layering creates color, dimension and shading to an image; all without having to use any coloring mediums to achieve the look!
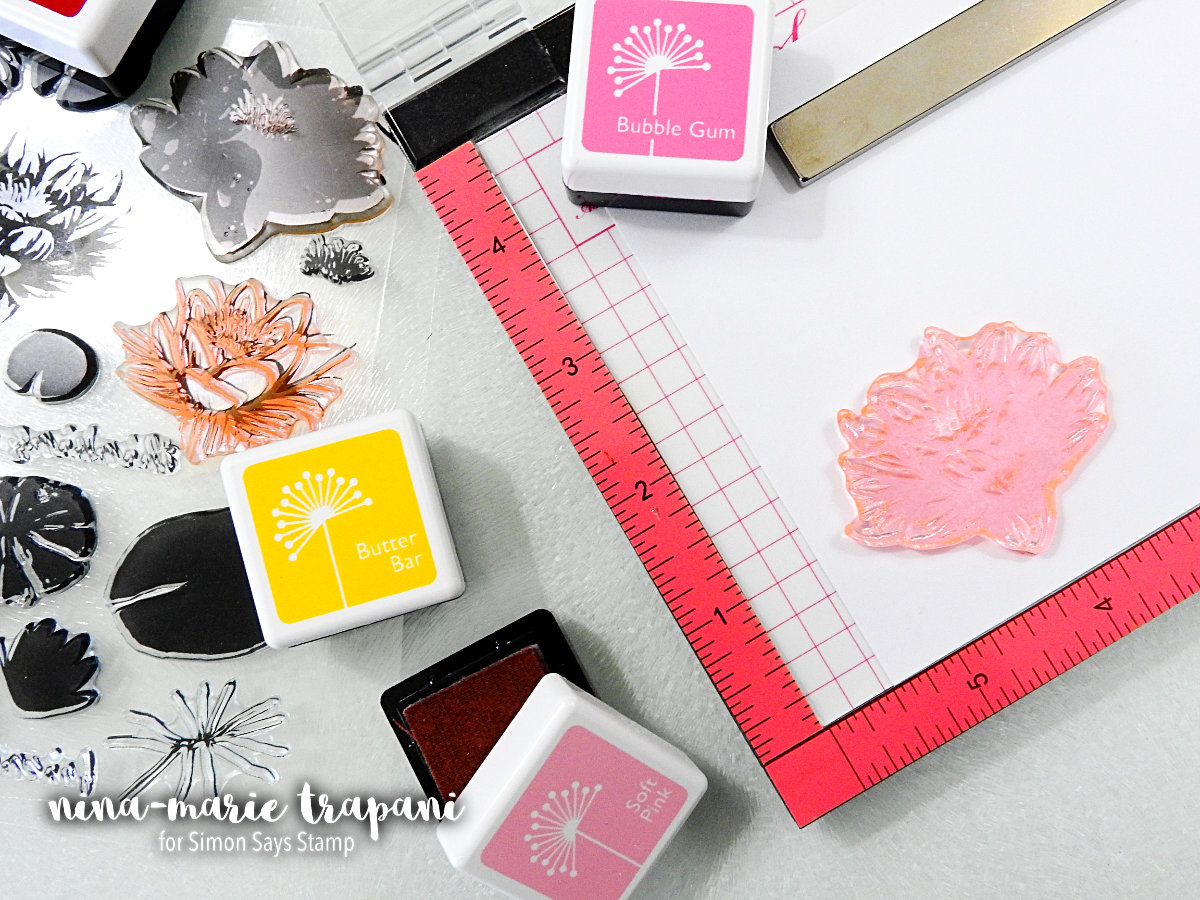
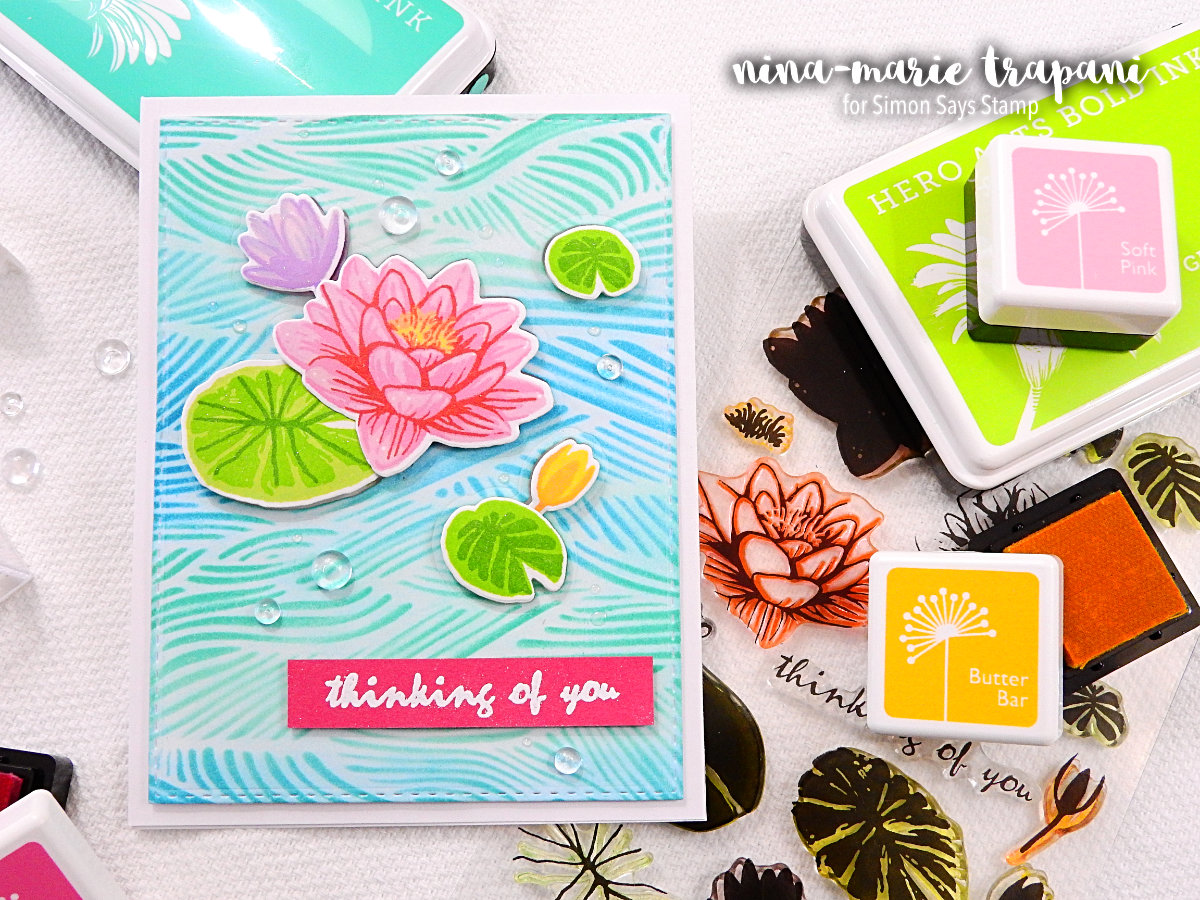
I made use of the MISTI stamping tool today to aid in the stamp layering, but you can definitely achieve the same results without the MISTI. For the ink colors I used Butter Bar, Soft Pink, Bubble Gum and Red Royal for the open water lilies. The closed water lilies are stamped in Butter Bar, Soft Apricot, Thistle, Passion Flower and Orchid. The lily pads are stamped in Lime Green, Green Apple and Pine.
Stamp layering is really awesome, but I wanted to step it up a notch and add even more dimension to these images! When doing all of my stamping, I created four of every image. This is because I wanted to create a more interesting effect by die cutting into the background panel.
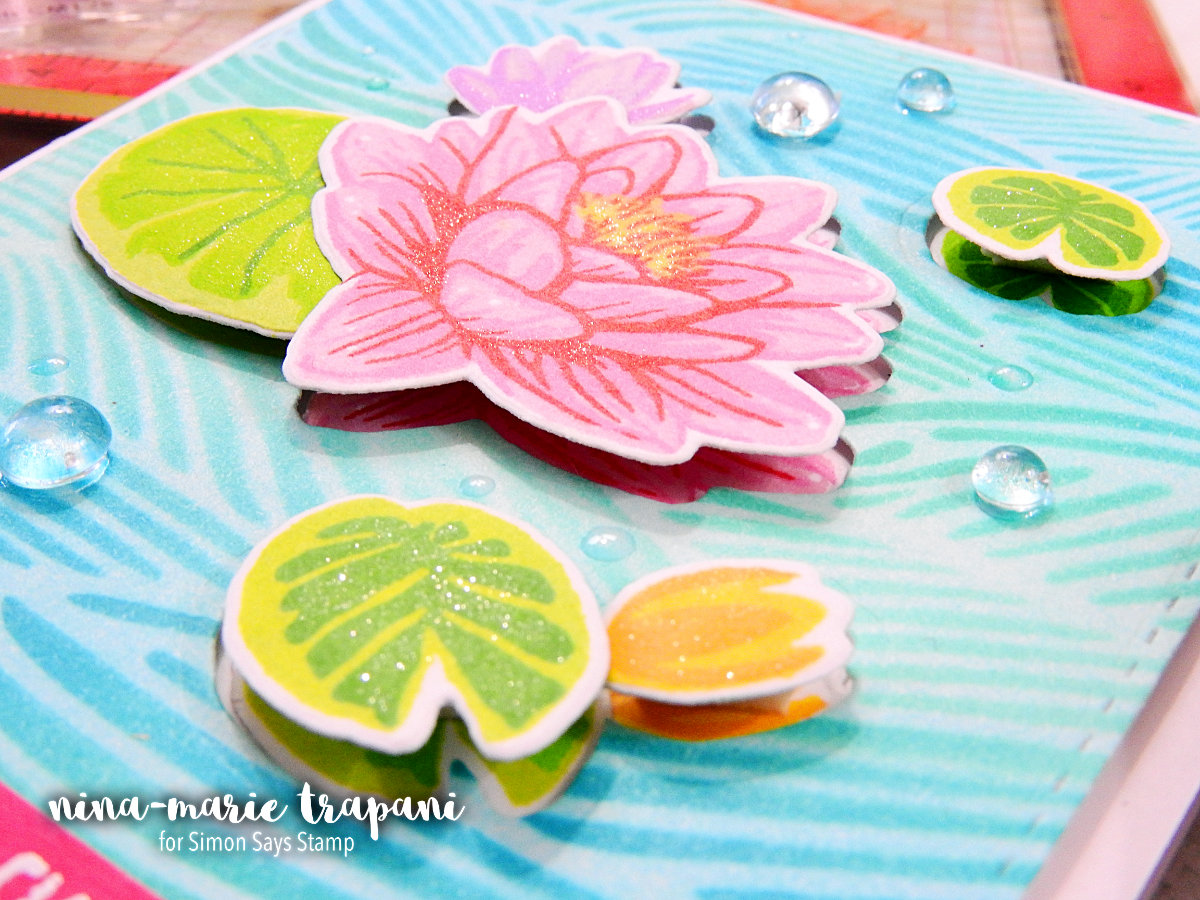
I started by die cutting the final layout of my images into my background panel. I then inlaid one set of die cut images into the die cut areas and then popped up the second set on top of those inlaid pieces. The result adds a lot more dimension to the overall look of the card, instead of the images simply being popped up off of the background.
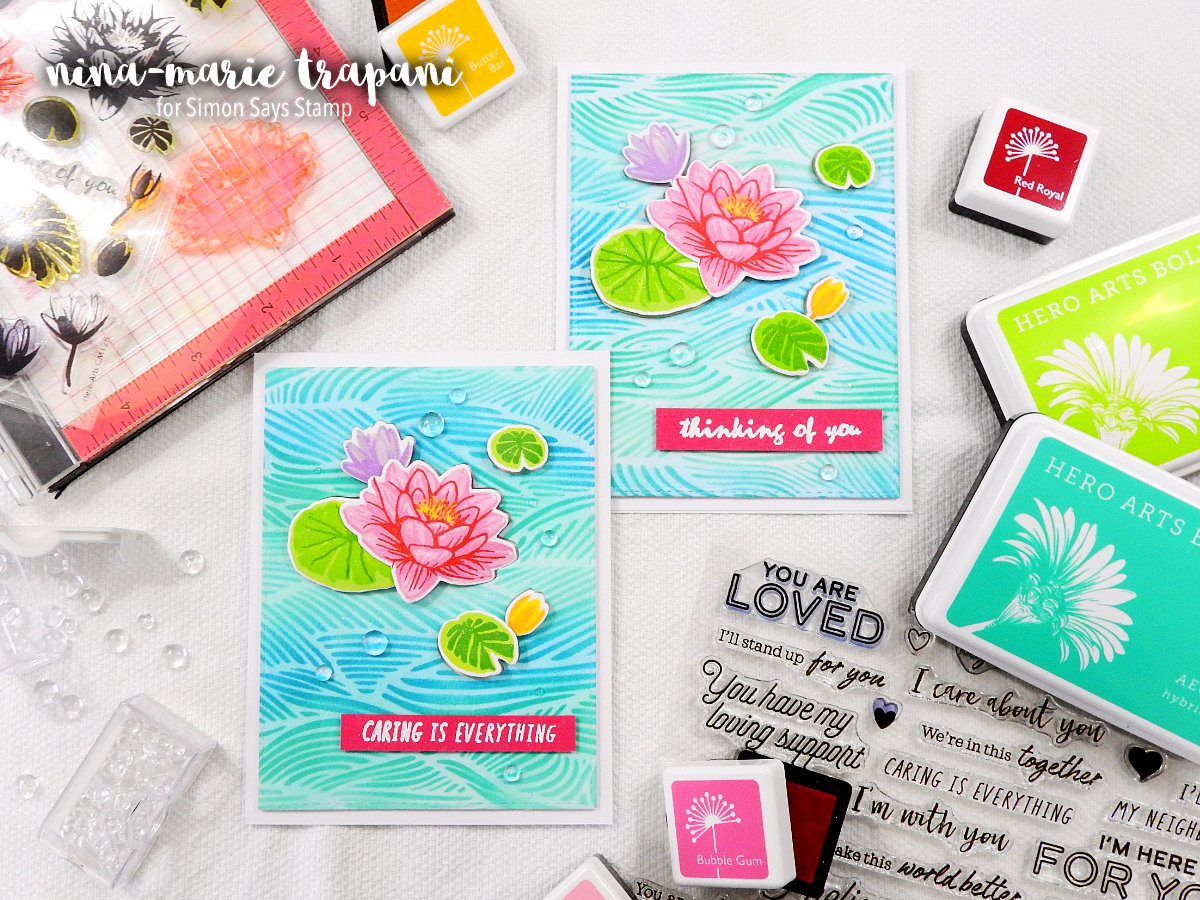
Speaking of the background; I used a Hero Arts wave stencil with some of their inks (Mint Julep, Aegean and Aquatic) and sponged the background to create the effect of water behind the lilies. I love how the blue green tones match so well with the water lilies!
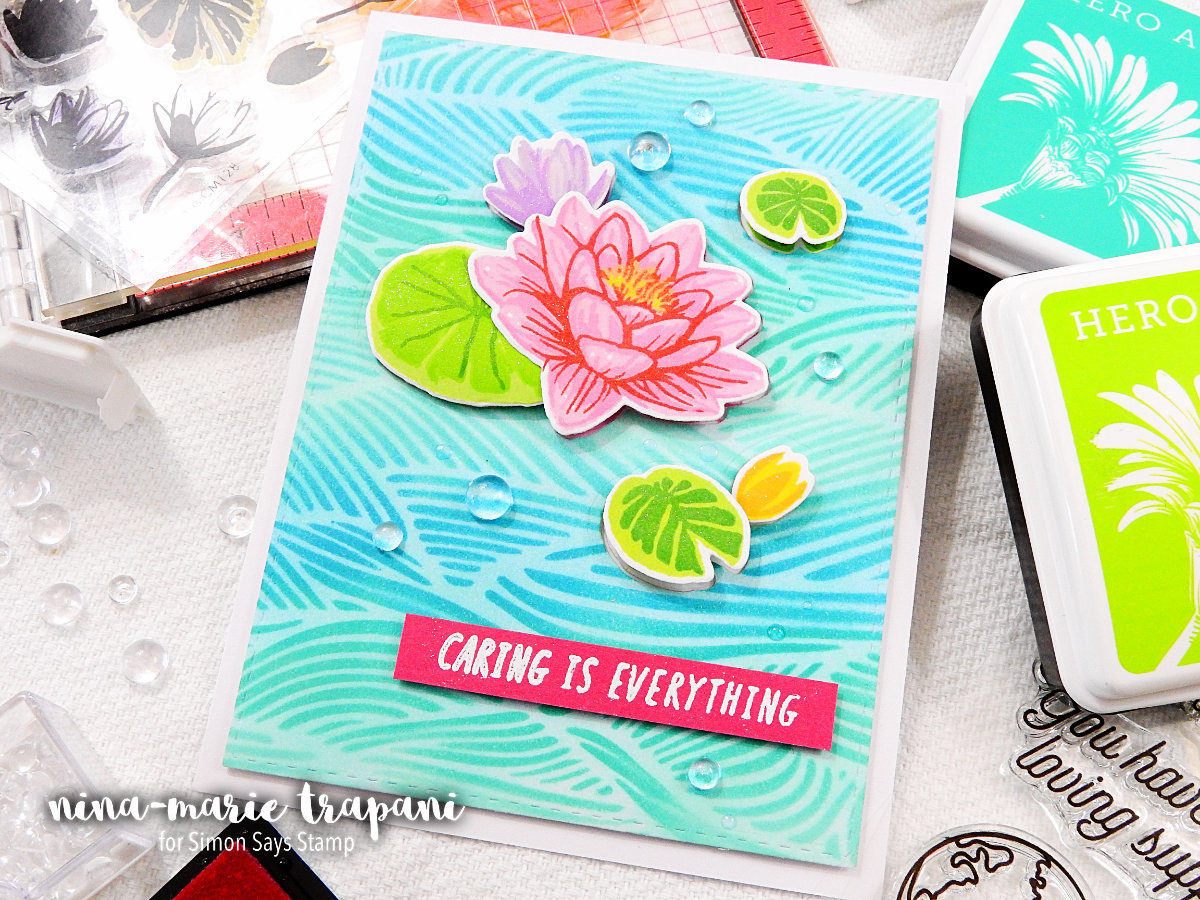
For finishing touches, the sentiments are stamped with both the Water Lilies stamp set as well as the new Hero Arts You Are Loved sentiment set. I really love the encouraging theme of the You Are Loved set; there are so many sentiments in multiple font styles, which pretty much guarantees you’ll find something that works well with whatever kind of card you are making!
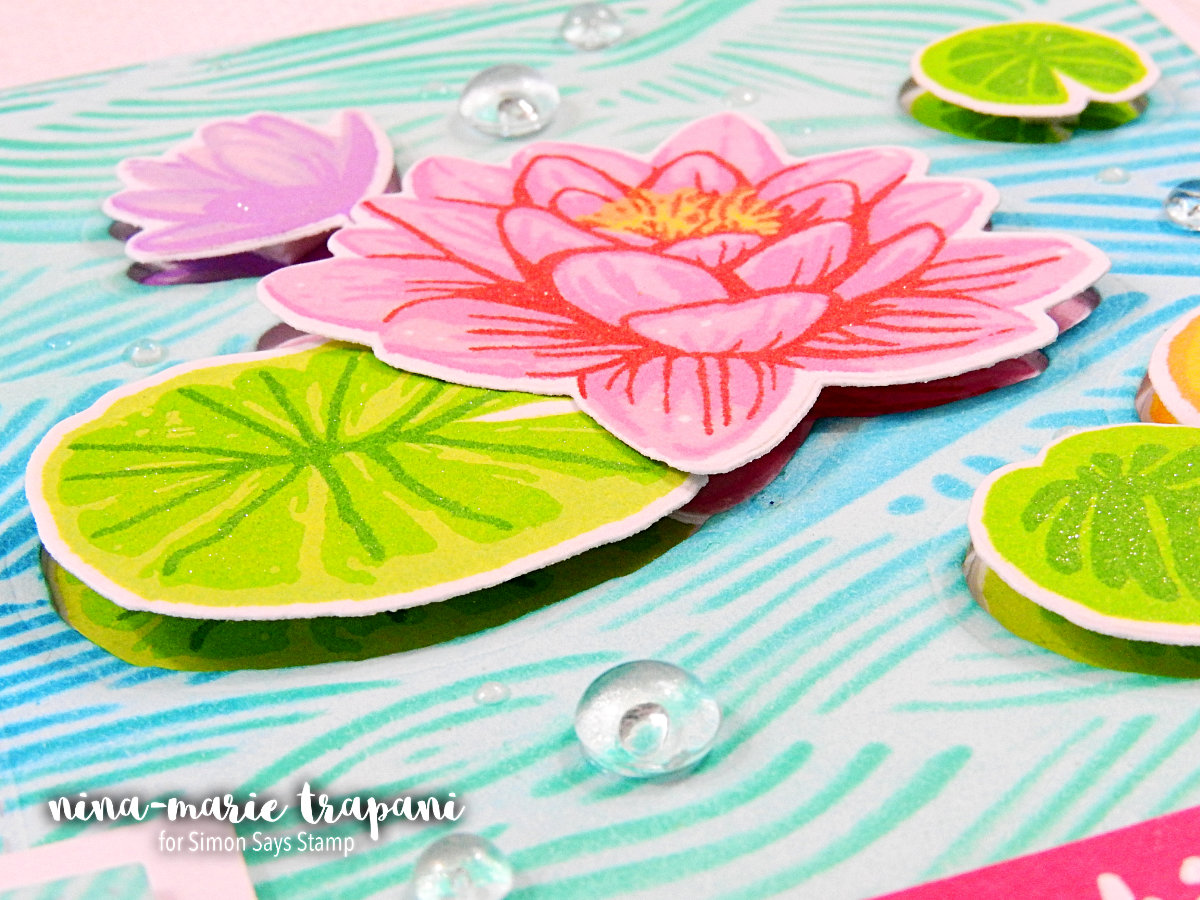
To help carry on the theme, I place some Pretty Pink Posh Clear Droplets along with dots of Glossy Accents in the “water” of my card. And finally added some sparkle on the flowers and lily pads with a Wink of Stella glitter pen.
I hope you will be checking out the video to see the multi-level stamp layering technique in action! Thanks so much for visiting me today… I’ll be back again next week with a new video to share with you!
WATCH THE VIDEO
SUPPLIES


Blog Candy Alert!! Follow our blog via email and comment on this post for a chance to win grab bags and blog candy! Remember to tag your awesome projects with #simonsaysstamp on social media so we can see what you are creating!

BLOG CANDY WINNERS!
Congrats everyone! Please email [email protected] with your mailing address (if applicable), the name of the blog you won from, and the prize you won to claim your prize!
From: Yippee for Yana: Ombre Ink Brayered Backgrounds: Donna Rinckel!
From: Golfing with Winston: Patt H.!
From: Color Coordinates: Celebrate: Stef White!
From: NEW Summer Release from Lawn Fawn: Sandra!
From: Ooh La La Funny Food: Migdalia Rodriguez!
From: Blissful June 2017 Card Kit Inspiration: renuka singhal!
From: Studio Monday with Nina-Marie: 5 Ways to Foil with Thermoweb: Donna Dacy!
Yippee for Yana: Ombre Ink Brayered Backgrounds
Hello crafters! It’s time for another installment of our Yippee for Yana series! In this video, Yana is showing how much fun it can be to use a brayer with dye inks to create backgrounds. Be sure to watch her video and then give the technique a try yourself!
Hi everyone, this is Yana Smakula and I’m excited to bring you another episode from my bi-monthly “Yippee For Yana” video series! In today’s video I’m showing you how to create quick ombre backgrounds using ink pads and a brayer!
Brayers have been around for years and there are many wonderful techniques out there that involve the use of a brayer. I decided to go back to basics and share a very simple and approachable technique of brayered backgrounds for simple cards.
I pre cut several panels of white paper, I used 110 lb Neenah Solar White and cut them to 4×5¼“.
I decided to use 4 colors for every panel, you can also go with 5 if you don’t want to have any white spaces on the sides or if you want to overlap your ink stripes a bit more; or you can go with 3 colors if you are making a smaller card, a 4 Bar card for example.
I am looking forward to trying this technique on other kinds of cardstock, maybe on textured watercolor paper and on woodgrain cardstock. I’m curious to see how that would look.
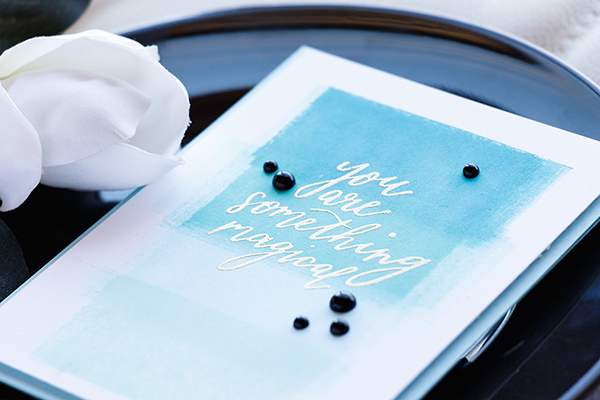
For my first color combo I used High Dive, Scuba, Maliblue and Mint. What’s really awesome about this technique and what makes it very quick is the fact that you don’t have to clean the brayer when you change ink colors; just roll the brayer on a piece of white paper and it’s ready to go for the next color.
Stamp used: Hero Arts Something Magical Woodblock stamp
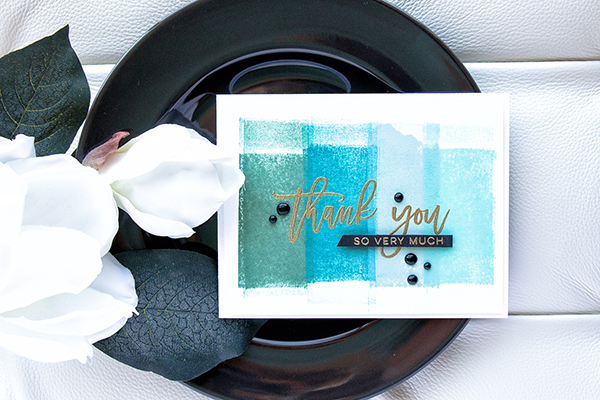
For my second color combination I used Evergreen, Teal, Dusty Sage and Mint Candy.
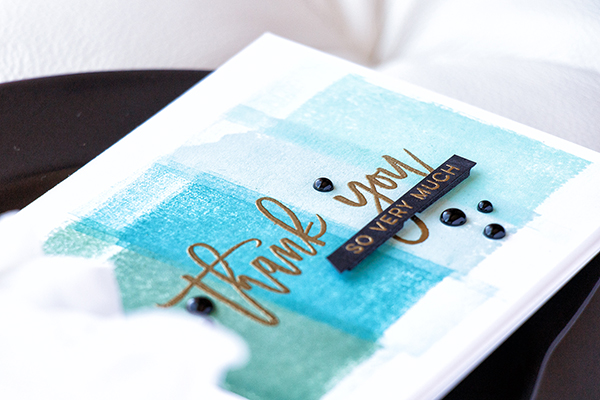
Depending on the type of paper you are using and the look you are going for you might need to add more or less ink. I inked my brayer several times to get better coverage – and I also always started my inking in the same spot – I started from the bottom and rolled the brayer up.
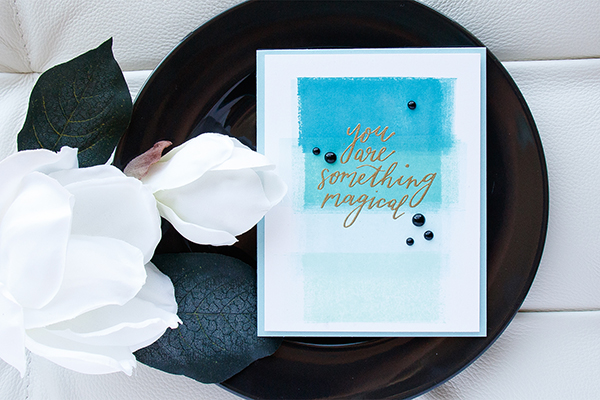
Stamp set used: Right At Home Script Greetings.
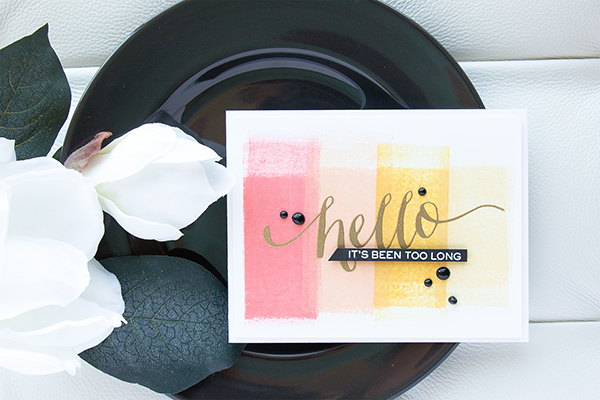
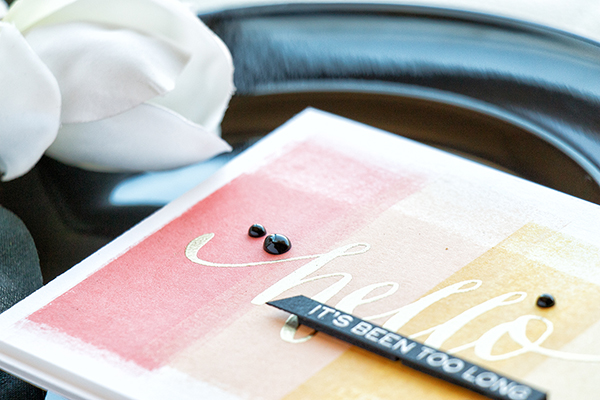
I also made a background using Coral Reef, Melon, Sunshine and Duckling. I wanted to point out that the ink color will lighten up a bit once the ink is dry on the paper. So while it might not look nice when you first apply the color I would suggest you wait for the ink to settle and dry – you will have a lighter color and a better transition between colors.
Stamp set used: WPlus9 Hand Lettered Hello.
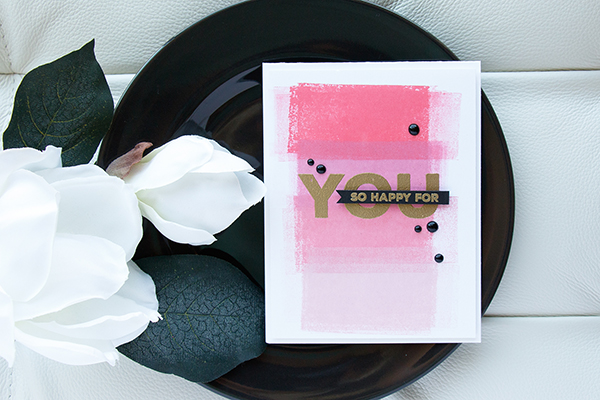
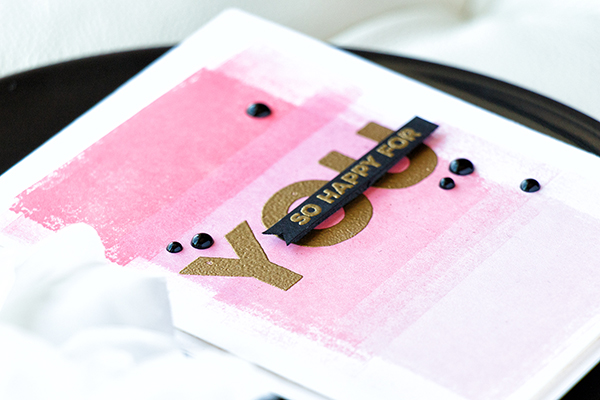
For my pink color combo I used Hot Lips, Hollyhock, Teeny Bikini and Twirling Tutu. Stamp set used: Simon Says Stamp Big U Words.
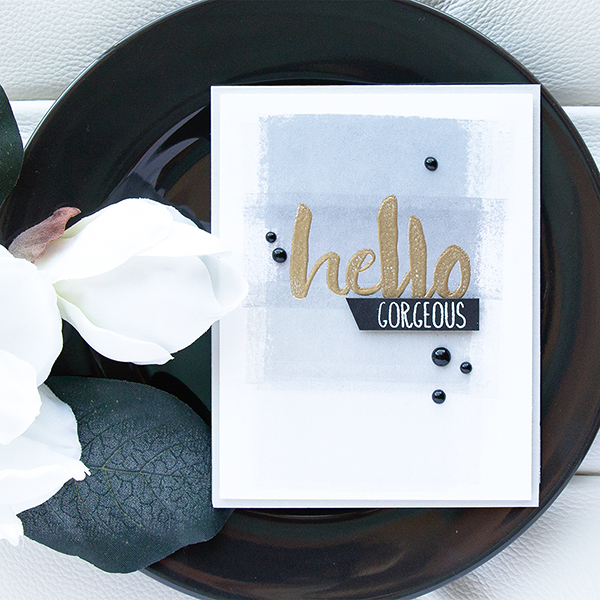
I also decided to do one more combo using gray colors. I went with Smoke, Cobblestone, Stone and Fog. Stamp set used: Honey Bee Hello Gorgeous
I also made one more panel using purples. I used Deep Purple, Hot Mama, Magnolia and Thistle and I used Hero Arts Celebration Words stencil with texture paste and gold embossing powder, but I didn’t turn that background into a card.
I heat embossed the main part of the sentiment on all of my panels directly onto the background in Hero Arts Gold embossing powder and also heat embossed sub sentiments in either white or gold onto black cardstock, cut into strips and foam mounted over the main heat embossing.
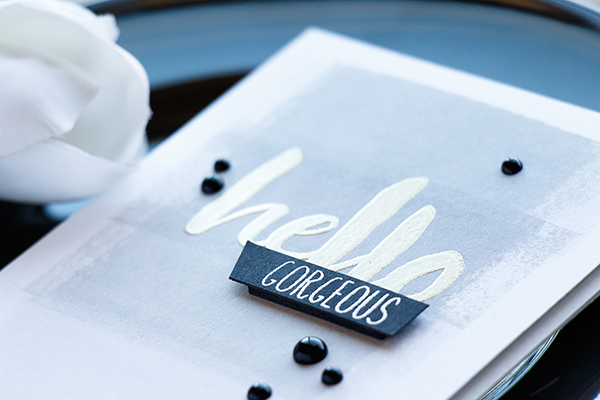
My backgrounds were foam mounted onto A2 top folding card bases (I went with white and Fog colors) and lastly I used Nuvo Drops in Black to add finishing touches to these projects.
Have fun stamping!
WATCH THE VIDEO
SUPPLIES


Blog Candy Alert!! Follow our blog via email and comment on this post for a chance to win grab bags and blog candy! Remember to tag your awesome projects with #simonsaysstamp on social media so we can see what you are creating!
Golfing with Winston!
Hi friends! Thanks for stopping by today! Please give a big warm welcome back to special guest Jennifer Jackson of Newton’s Nook Designs to our blog today! We’re celebrating their latest release!
Hello! This is Jen from Newton‘s Nook Designs and I’m super excited to share some cute golf cards with you today using our new Winston’s Tee Time stamp set! With Father’s Day just around the corner I know there are so many Dads out there who would love these cards!
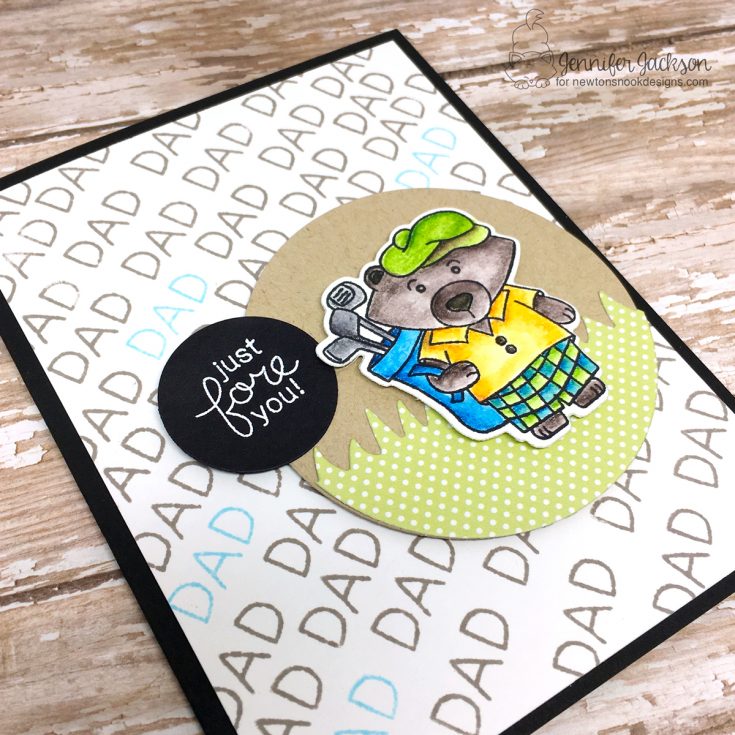
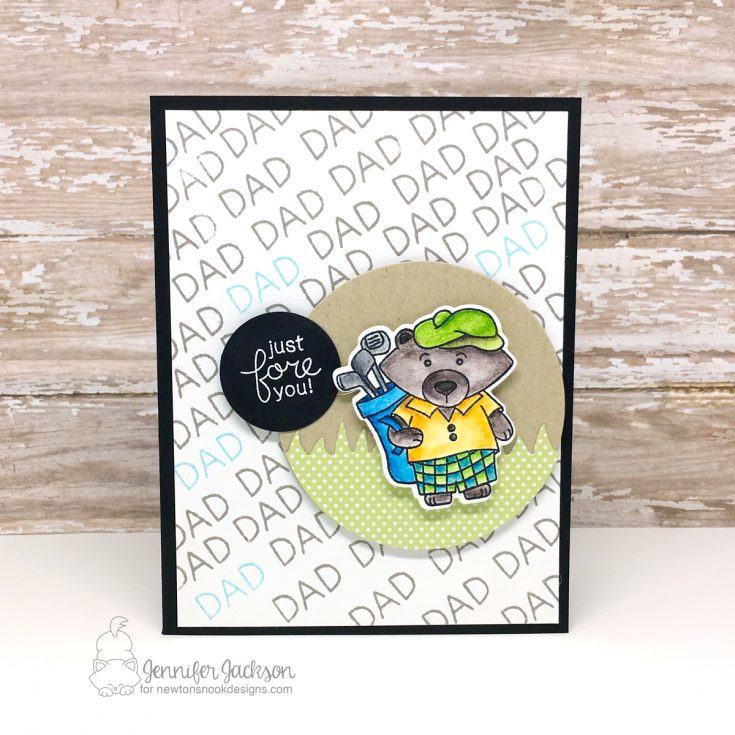
First up I have this “Tee-riffic” card featuring our bear, Winston! I started out by stamping “DAD” from the Winston’s Tee Time stamp set repeatedly on an angle on a piece of white cardstock. I used a small ruler to help line up the words and stamped most of them with Pumice Stone Distress Ink and a few with Tumbled Glass Distress Ink to add a pop of color.
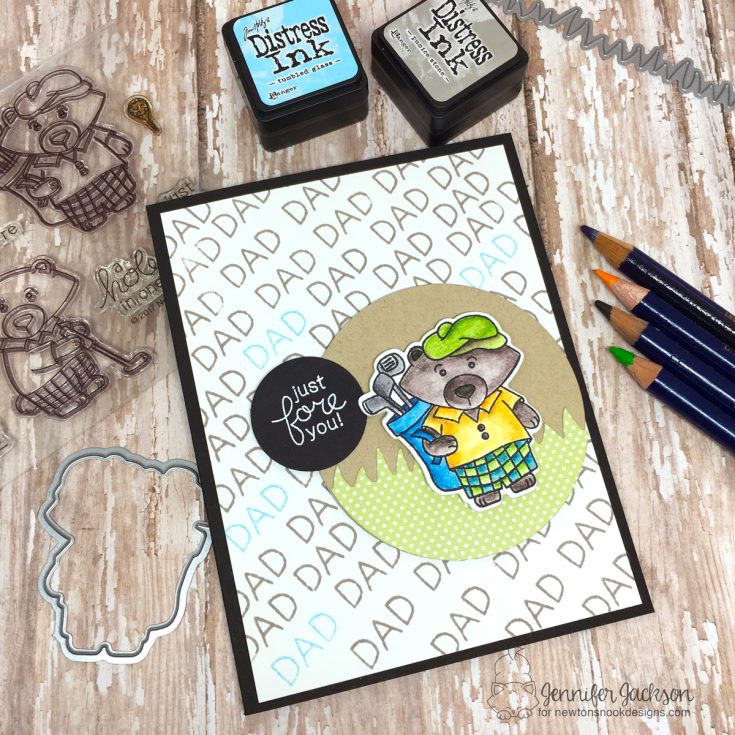
I stamped the image of Winston with his golf bag on a piece of Canson watercolor paper with Archival Jet Black ink. I colored him using Derwent Inktense Pencils and the Tim Holtz Detailer Water Brush. Doesn’t he look so dapper in his golf clothes? I trimmed out the image of Winston with the coordinating Winston’s Tee Time Die set.
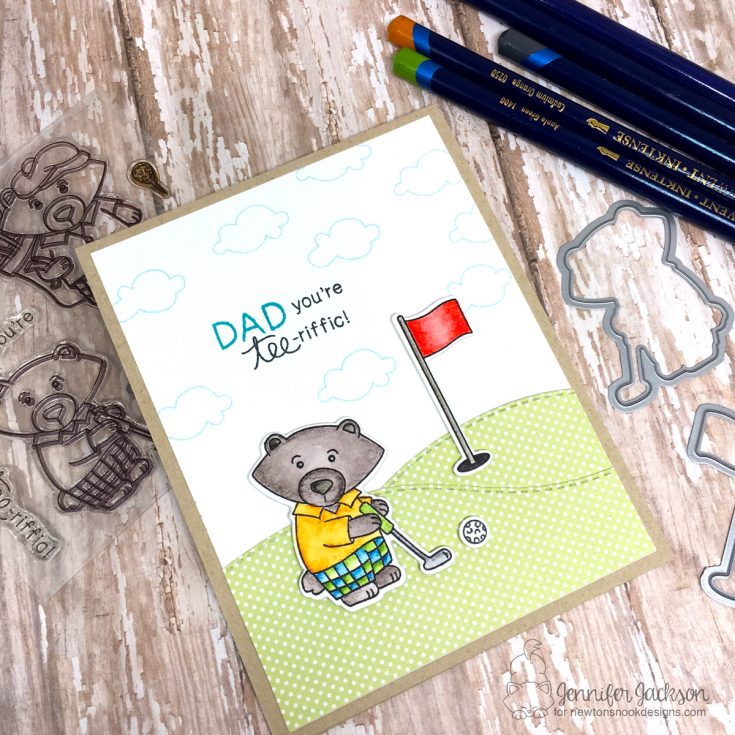
Before I added Winston to the card base, I created a mini scene for him in a circle of kraft cardstock. I added a layer of grass that I cut out using our Land Borders Die Set to add a fun detail. Then I added this to the card along with the “Just fore you!”from the Winston’s Tee Time stamp set, embossed with white embossing powder.
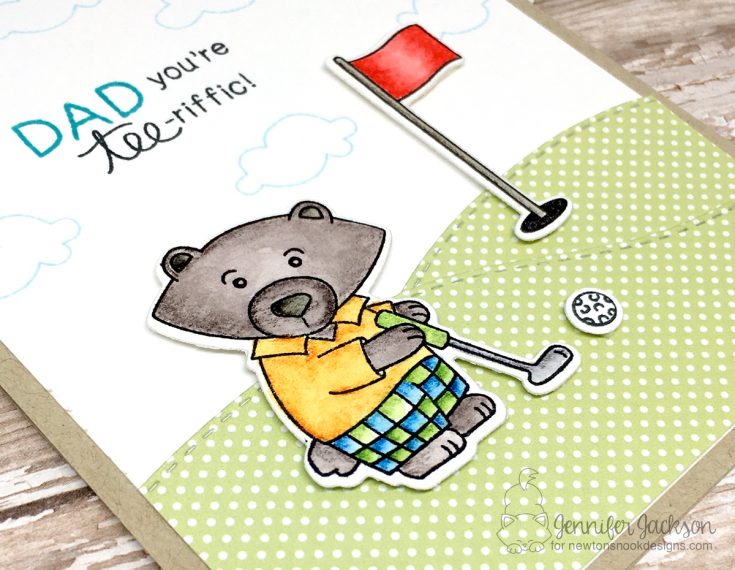
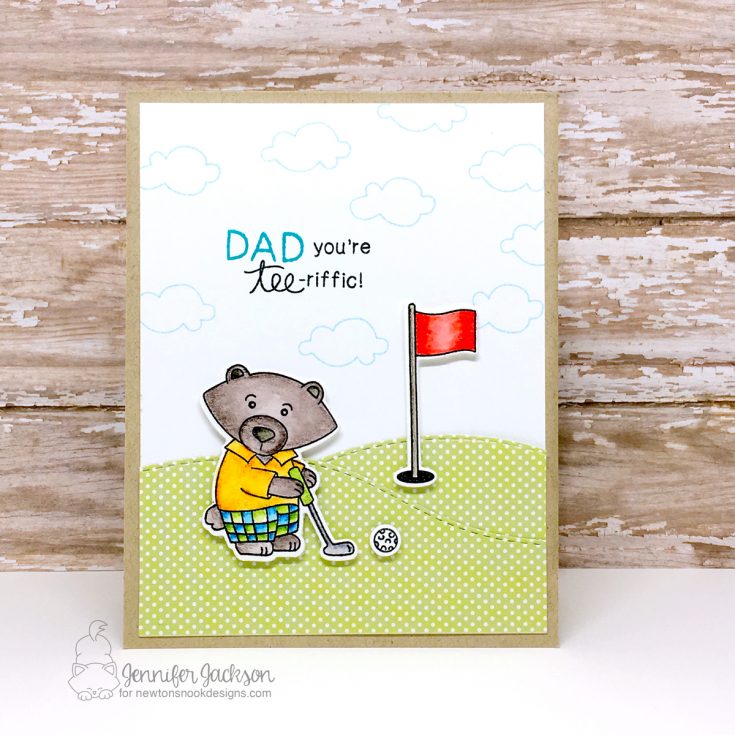
For the second card, I also used our Winston’s Tee Time stamp set. I stamped Winston with his golf putter on a piece of Canson watercolor paper with Archival Jet Black ink. I colored him using Derwent Inktense Pencils and the Tim Holtz Detailer Water Brush. I love the look these pencils give with their vibrant colors! I also stamped and colored the flag pole and golf ball. I trimmed out the images with the coordinating Winston’s Tee Time Die set.
I thought Winston should have a hilly course to play on so I grabbed our Land Borders Die Set to cut out a couple of hills. This die set is so awesome for creating scenes for our critter stamps! To customize this card for Dad, I created the sentiment “Dad You’re Tee-riffic” using words from the Winston’s Tee Time stamp set. I stamped DAD in blue to make it stand out using Peacock Feathers Distress Ink. Then I thought it needed a few clouds in the sky so I added in some clouds stamped with Tumbled Glass Distress Ink using a cloud from our Winston Takes Flight stamp set!
I hope you enjoyed golfing with Winston today!
SUPPLIES:
 |
 |
 |
 |
 |
 |
 |
 |
 |
 |
 |
 |
 |
 |
 |
 |
 |
 |
Thanks so much for stopping by today and thanks to Jennifer for being our guest!
Blog Candy Alert!! Follow our blog via email and comment on this post for a chance to win a special blog candy!


