Studio Monday with Nina-Marie: 5 Ways to Foil with Thermoweb
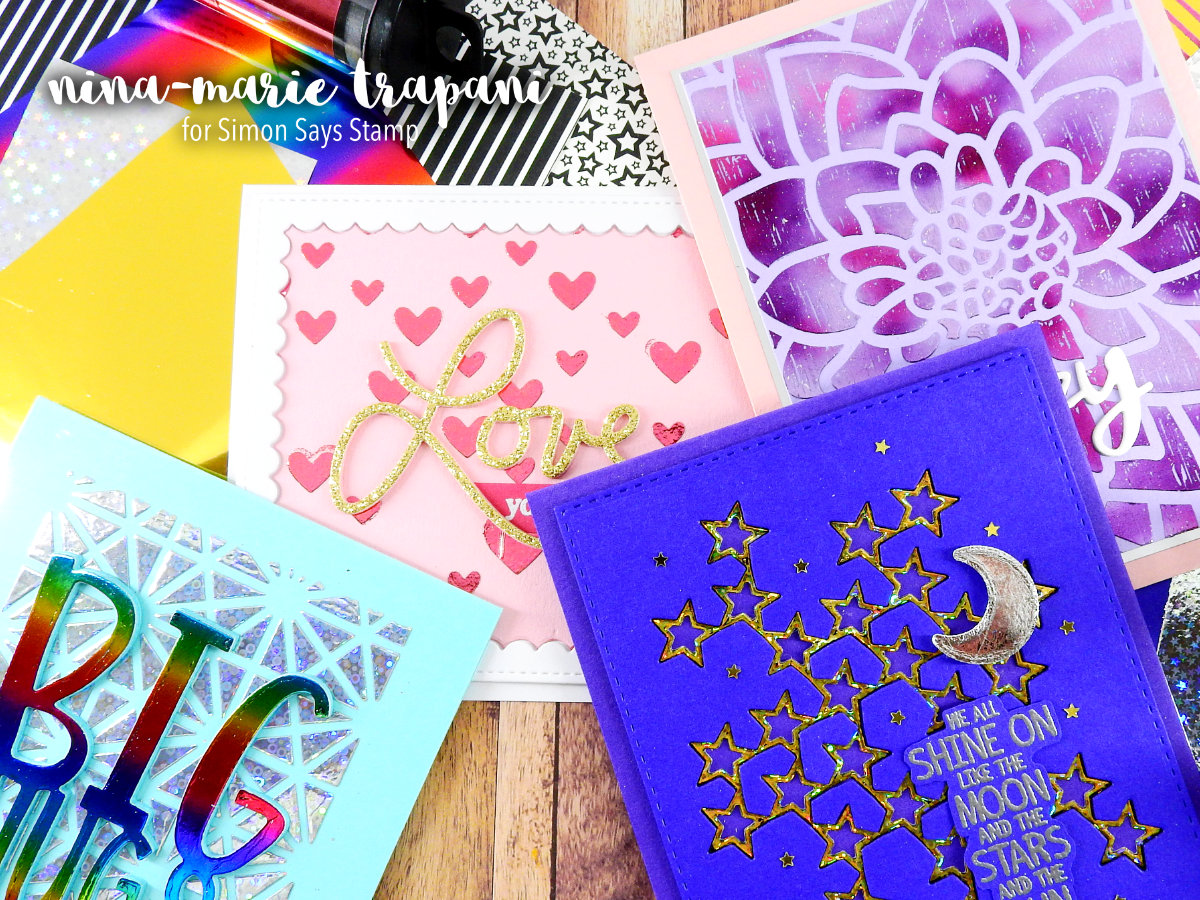
Hello crafters and welcome back to a brand new Studio Monday video! Do you like to foil? I have always been fascinated with foil. Ever since foiling techniques became popular a couple years ago, I’ve enjoyed incorporating foil into my cards.
First – for all of our new crafters – let me quickly explain what foiling is: It is a technique where foil material is transferred onto a toner-printed image. Toner is a type of printing ink; most often found in larger sized printers and copies. Foil material is transferred onto toner ink by way of heat. Laminators and specialty foiling machines are used to heat-press the foil into the ink. Foiling can alternatively be done with strong adhesives and gels.
ThermoWeb is one of the companies that is leading the way with innovative and fun foiling products. Today I will be showcasing many of their products, including their gorgeous foils, Transfer Gel medium, Foil Mates sheets and Peel ‘n Stick Toner sheets. These products can be used in a variety of ways to foil. For example:
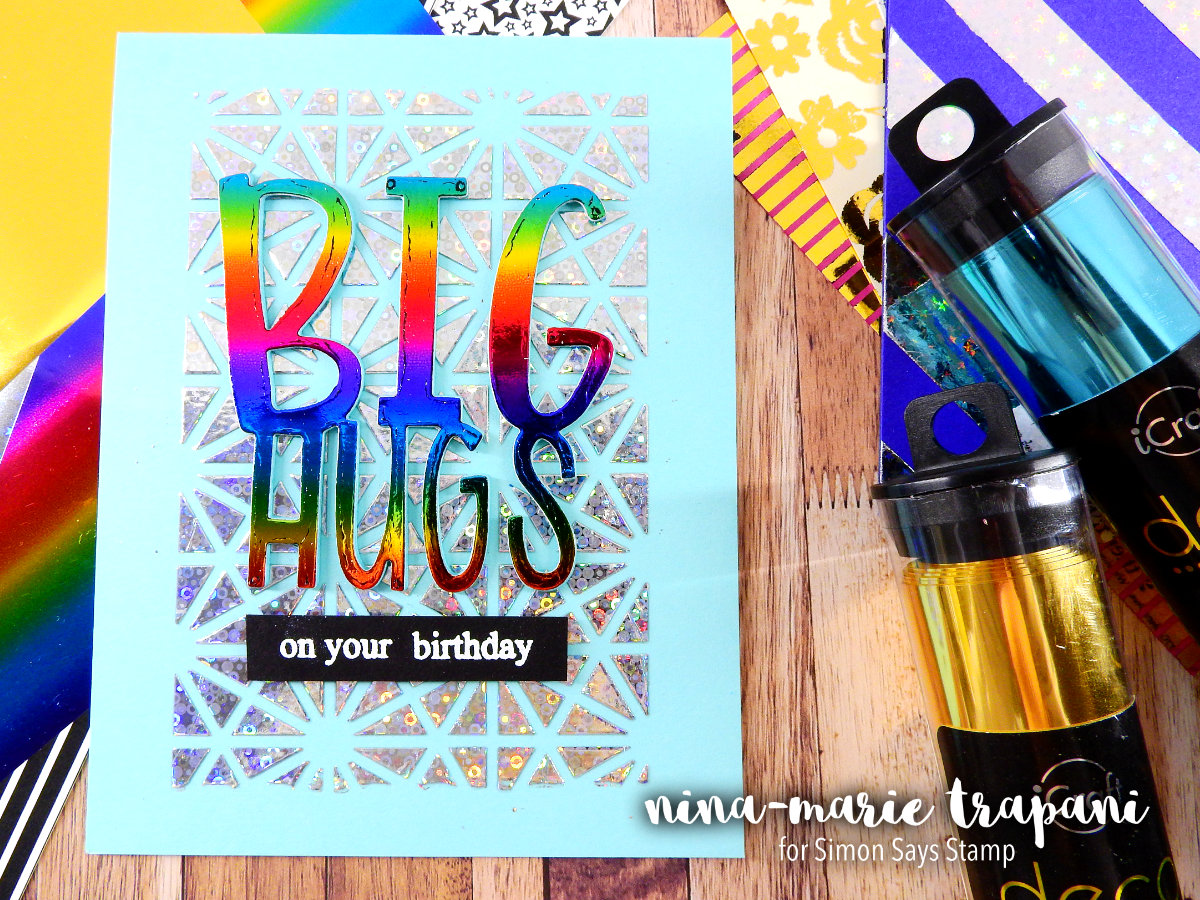
You can use Toner Sheets to create foil covered die cuts… Look at the GORGEOUS rainbow of color on the “big hugs” sentiment! The rainbow foil is SO pretty, especially paired against the iridescent foiled background!
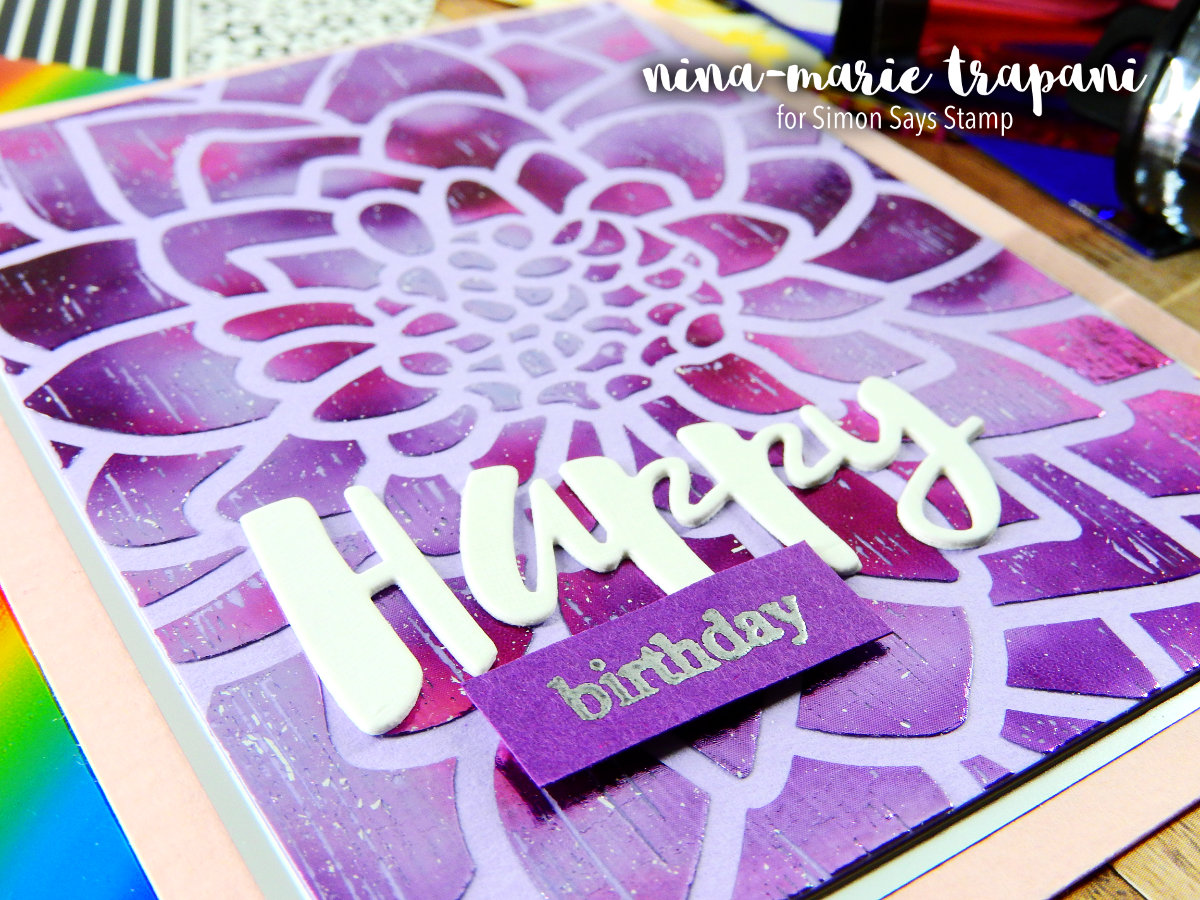
You can also use Transfer Gel to make stunning stenciled designs…
Who loves stencils? I sure do! Which was why I was really excited when ThermoWeb released their Transfer Gel medium and I couldn’t wait to start using it for foiling techniques on my cards. The Transfer Gel is one of my two most-favorite ways to add foil! Keep on reading and I’ll share the other favorite in a moment! :)
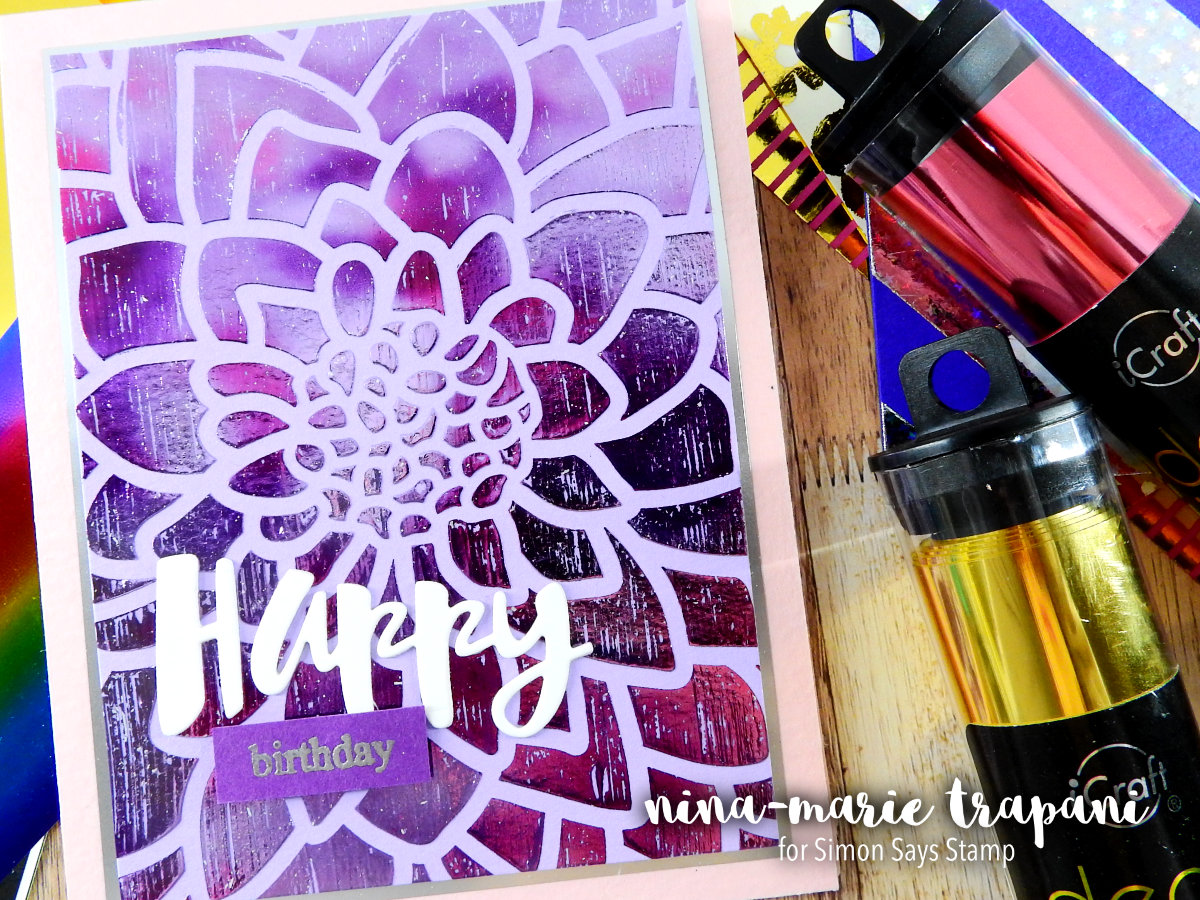
You can also add texture to Transfer Gel which leaves an amazing distressed effect on foil! Check out how I used a sponge brush to create an almost “painted” effect to this stenciled flower!
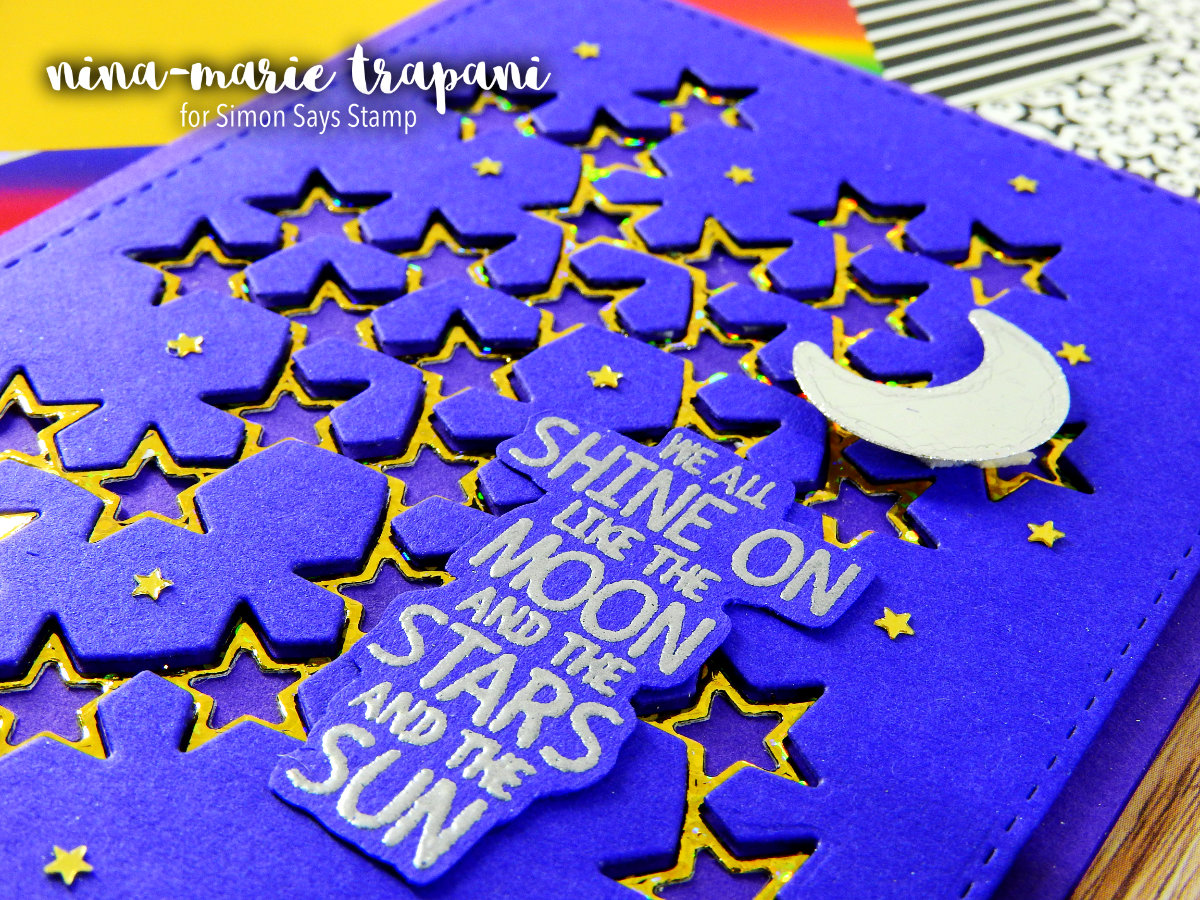
My other favorite way to foil is to use double sided adhesive sheets or strips (my preferred brand of these adhesives are Scor-Tape). This is perfect for fast foiling AND for those of you that want to try foiling but don’t have a laminator or foiling machine (YES you can foil without one!).
Check out the moon on this card… this is SO awesome and you get amazing foiled die cuts easy-peasy! I hope you’ll watch the video to see this technique in action because I KNOW you are going to love it!
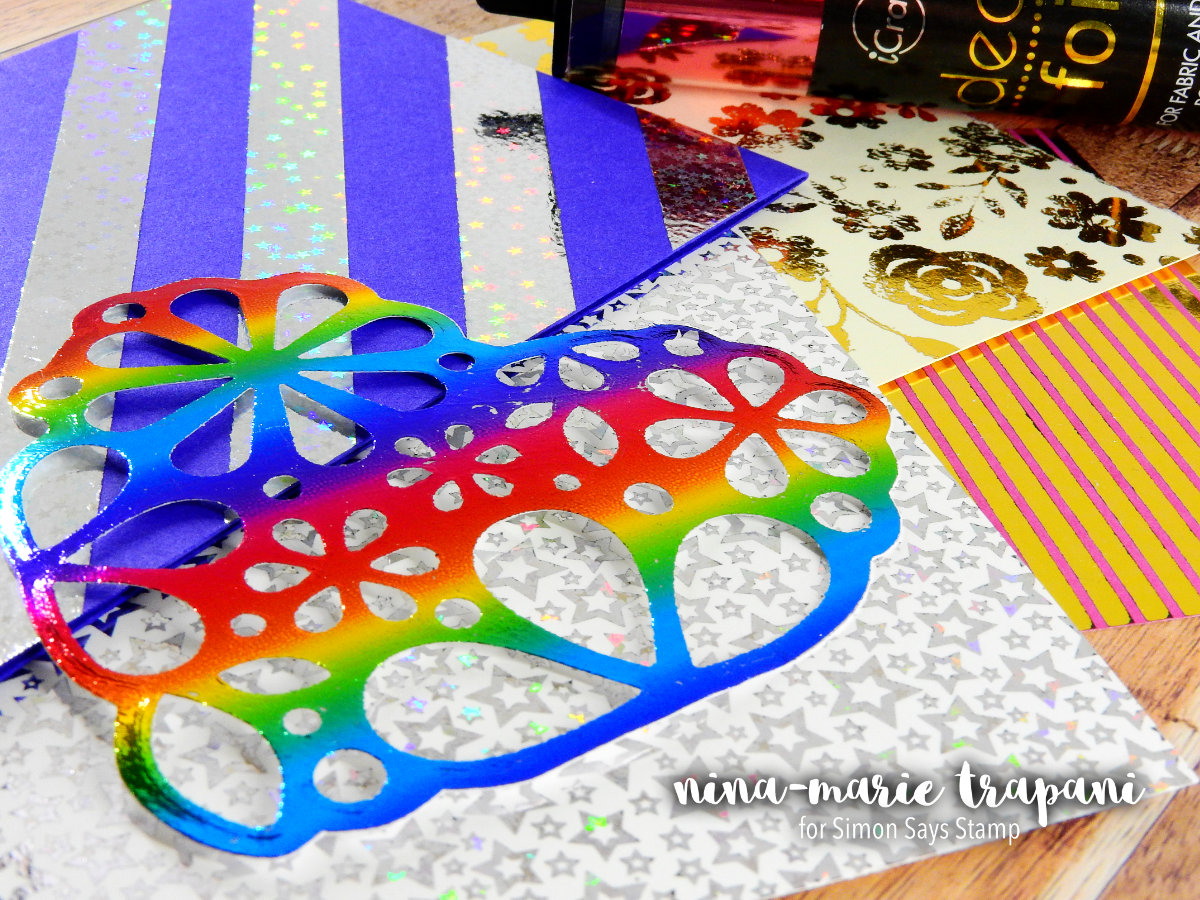
Here are some other examples of foiling I will be sharing in today’s video…
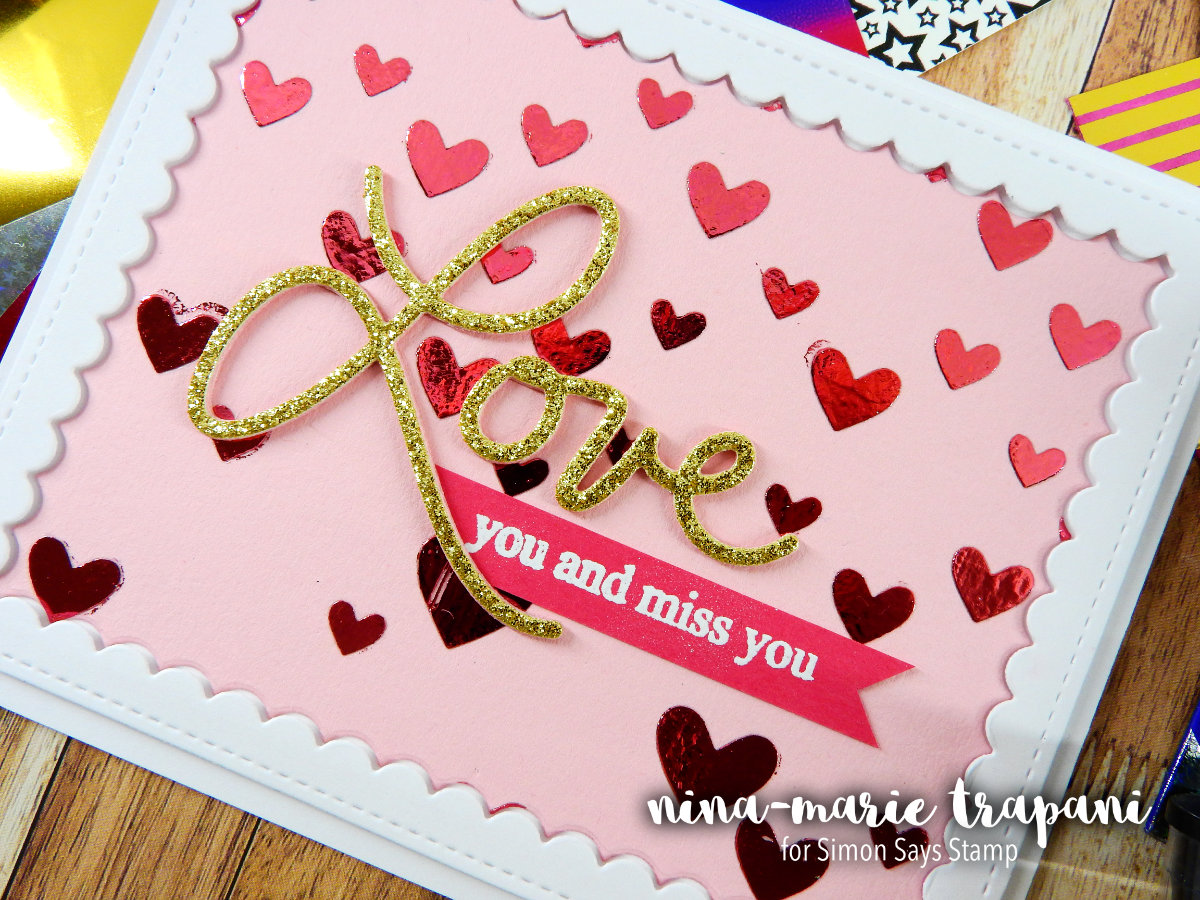
The rainbow heart also features the double-sided adhesive foiling technique. I have to say it again… I just LOVE that rainbow foil!
The pretty silver stars with the iridescent hints of color makes use of the fun Foil Mates toner sheets from ThermoWeb. The pink and gold paper is also made with the Foil Mates sheets. Normally this paper is white and black; white being the area of the paper that will not get foiled and the black being the toner print that WILL be foiled. As you can see with the silver star paper, the stars have foil because they were originally the black toner and the white of the paper is still showing. I could have done the same thing with the stripes and would have been left with a foiled and white stripe paper. But I took it one step further and before foiling, I added pink ink to the paper. The white became pink and when I ran the paper through the laminator with the foil, I then had a pink paper with gold foiled stripes. Pretty cool, huh??
The blue and iridescent star stripe paper again features double-sided adhesive foiling but this time with adhesive strip tape instead of adhesive sheets. Imagine all the designs you could create with tape like this!
Finally, the gold flowers is an example of how you can use Transfer Gel to get a textured STAMPED impression with a rubber cling stamp. I’ll explain this process in detail in the video, as well as tips for stamp care after using Transfer Gel.
I hope you enjoy watching the foiling techniques and seeing everything in action as much as I enjoyed creating these examples! It is so much fun to foil and I hope that you will give it a try if you haven’t already. Seeing a foiled design on a card is mesmerizing… I could tip a foiled card back and forth to watch it shine all day long! And for those of you that have tried foiling, I hope that these ideas are helpful to you and spark your imagination to try some experimenting with foil too!
Thanks for stopping by and visiting me today… I’ll see you again next week!
WATCH THE VIDEO
SUPPLIES
Blog Candy Alert!! Follow our blog via email and comment on this post for a chance to win grab bags and blog candy! Remember to tag your awesome projects with #simonsaysstamp on social media so we can see what you are creating!

BLOG CANDY WINNERS!
Congrats everyone! Please email [email protected] with your mailing address (if applicable), the name of the blog you won from, and the prize you won to claim your prize!
From: Waffle Flower Crafts BBQ Star: Roxana!
From: Yippee for Yana: Watercolor Galaxy: Melissa SunshineHoneyBee!
From: Avery Elle Summer Release: Tara Prince!
From: Doodling with Debby: Stamped & Die Cut Wreath: merryf!
From: Striped Floral Bouquet with Copic Coloring: Linda K!




Your cards are awesome! I will have to give this a try one day – thank you for the video!
AS ALWAYS NICE VIDOE WITH SIMPLIFIED TECNIQES.
Love the rainbow foil card! A technique I seem to forget to do…thanks for reminding!
Wow – so many different techniques with such lovely results! Thanks for all the explanations!
BEAUTIFUL!! THANKS for sharing!! =)
I love the look of this technique! WOw!
I always read carefully any directions on using foil as I want to use it but don’t have a heating machine. Thank you.
Cool foiling techniques and thanks for sharing!
Gorgeous bling. Thanks for the tips. Hugz
Great cards and tutorial. Thanks for sharing.
Linda D.
Thank you! I am so excited to try some of these techniques. Easy and FUN:)
Wow! Amazing cards! Love all of the foil. Just not quite brave enough to try it myself yet! TFS
Great video. Thanks for the tips on using double-sided adhesive paper for those of us who don’t have the fancy supplies.
I love your video. It was so easy to follow and gave me some new ideas for foiling!
Wow, thanks for the video and all the information! Love your cards!!