Love Your Guts by Cathy Zielske!
Hi friends! TGIF! Thanks for stopping by today! Please welcome very special guest, Cathy Zielske to our blog! Have you checked out her new exclusive line with us?! It’s super fun! Please read on for more information on this colorful card and enjoy!
 Hello everyone! It’s Cathy Zielske here, a long-time scrapbooker who just discovered the magic of card making a few months ago and today I’m sharing a card using a sentiment from one of my stamp sets from Simon Says Stamp. You should know that I am pretty much geeking out over every new technique and and working on learning about All The Things that go into having fun with card making. I had so much fun making this card and I’m excited to share it with you.
This card was completely inspired by the amazing Laura Bassen, and specifically this card and tutorial. Once I got my hands on the Polygon Cover Plate from Neat & Tangled, I knew I had to give it a shot!
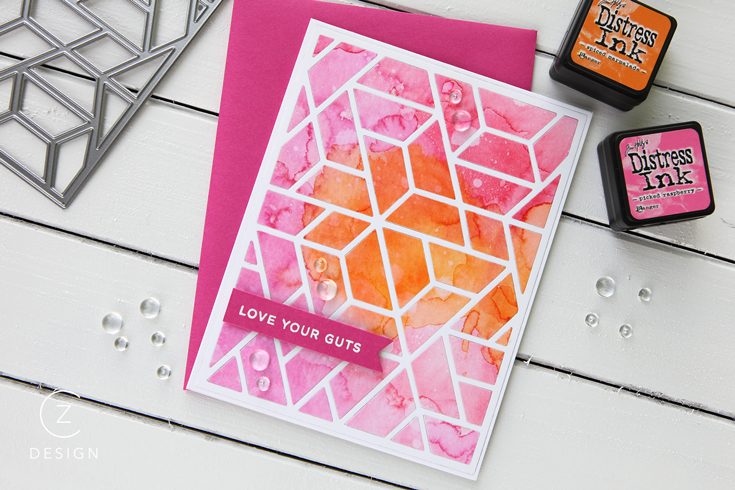
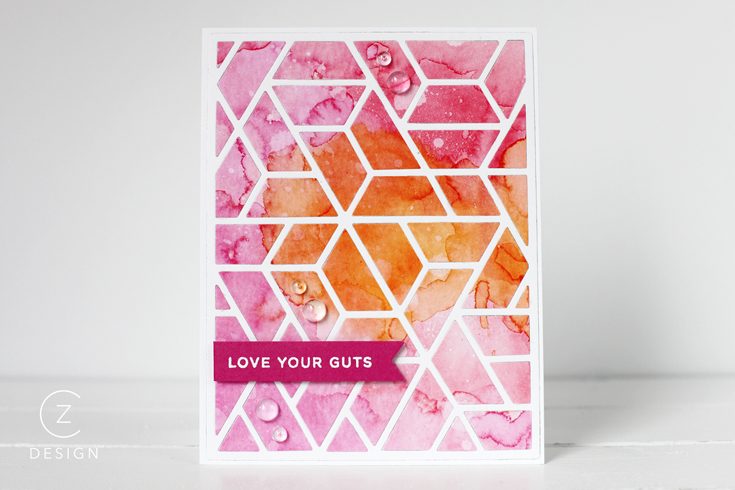
I started by smooshing some Distress Inks (Picked Raspberry, Worn Lipstick, Spun Sugar and Spiced Marmalade) onto my craft mat, generously spritzing them with water using my Distress Sprayer, and then pressing the smooth side of my Tim Holtz Watercolor Cardstock directly onto the moistened inks. I repeated this process, using my heat tool to dry the paper between rounds, alternating between smooshing and spritzing the ink, and using a big paint brush to dab on color. Once I had it to my liking, I spritzed on a bit more water using my Distress Sprayer, blotted it off with a paper towel and set it aside to dry.
Next I used the Polygon Cover Plate die to cut out the frame from some Neenah 80#Solar White Cardstock using my Big Shot. I used a metal shim to ensure a crisp cut the first time. I discarded the guts and just kept the white frame.
Once the watercolored paper was dry, I ran it through my Big Shot, again using the metal shim for a crisp, clean cut.
To make the card, I created a 4.25 x 5.5 top folding card base from the Neenah Solar White cardstock, adhered the white frame using Elmer’s Spray Adhesive and then filled it in with all of the popped out watercolored pieces using my Zig 2-Way Glue Pen. Using the Silhouette Pick Up Tool made placement of the pieces quick and easy.
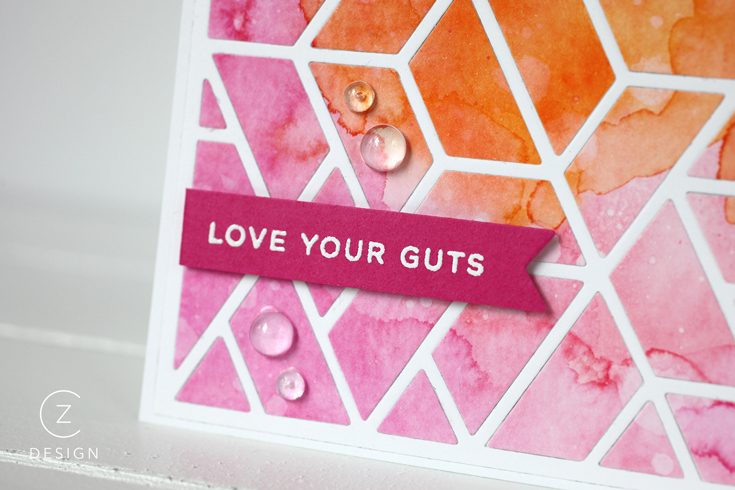
Next I stamped “LOVE YOUR GUTS” onto some Gina K Designs Passionate Pink cardstock (using my Mini Misti tool for perfect stamping—it’s seriously such a help to this new stamper!), and heat embossed the sentiment using some white Hero Arts Embossing Powder. The last step was to die cut the sentiment using the Lawn Fawn Everyday Sentiment Banner set, add a bit of foam tape for dimension and adhered to the card. I finished it off by adding some Clear Droplets from Pretty Pink Posh in both 4mm and 6mm sizes.
I feel like there are so many options for this type of card! I plan to make several in different ink combinations featuring different sentiments. Colorful, shape-filled and fun! If you’d like to see a clip of me making a similar card, check out my blog for a short tutorial.
SUPPLIES:
 |
 |
 |
 |
 |
 |
 |
 |
 |
 |
 |
 |
 |
 |
 |
 |
 |
 |
 |
 |
 |
 |
 |
 |
 |
Thanks for reading today, and thanks to Cathy for being our guest!

Blog Candy Alert!! Follow our blog via email and comment on this post for a chance to win a special blog candy
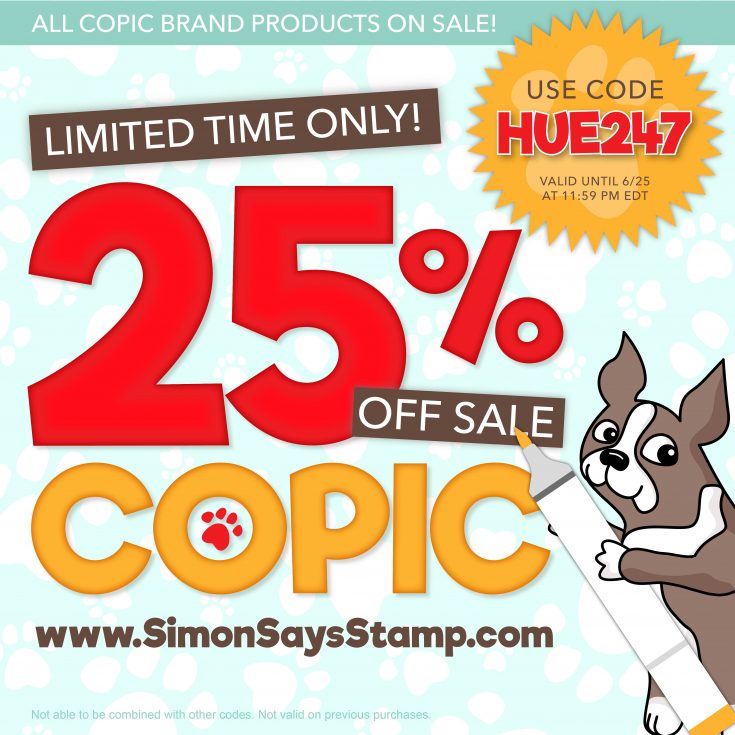
Copic Sale!
Hi friends! TGIF! Let’s start the weekend off with a fun special! 25% all Copic branded items! Use code HUE247 at checkout to apply the discount! It’s the perfect time to stock up on refills, try some new colors, or even try a starter kit for the first time! Shop early for the best selection! Enjoy!
Doodling with Debby Stencil + Embossing Paste Wedding Card
Hi friends! Thanks for stopping by today, and welcome to the latest edition of Doodling with Debby! Today Debby is making an absolutely gorgeous embossing paste stenciled card! Be sure to watch the video and enjoy!
 Hi it’s Debby here today and I’m delighted to be joining you with this month’s Doodling With Debby feature. I have a video below creating a quick and easy wedding card using the gorgeous Circular Lace stencil and my favourite embossing paste.
A card I created way back in 2013 inspired this card. I’d seen embossing paste used in mixed media and wanted to try it for card making. At the time there weren’t many stencils and I created a DIY stencil by die cutting card. Now 4 years later we have a wonderful array of stencils available and I’m still very much in love with swiping embossing paste through a stencil as I was then. My favourite embossing paste is the one by Wendy Vecchi. I started using it four years ago and really haven’t felt the need to search for alternatives, as I love this one so much.
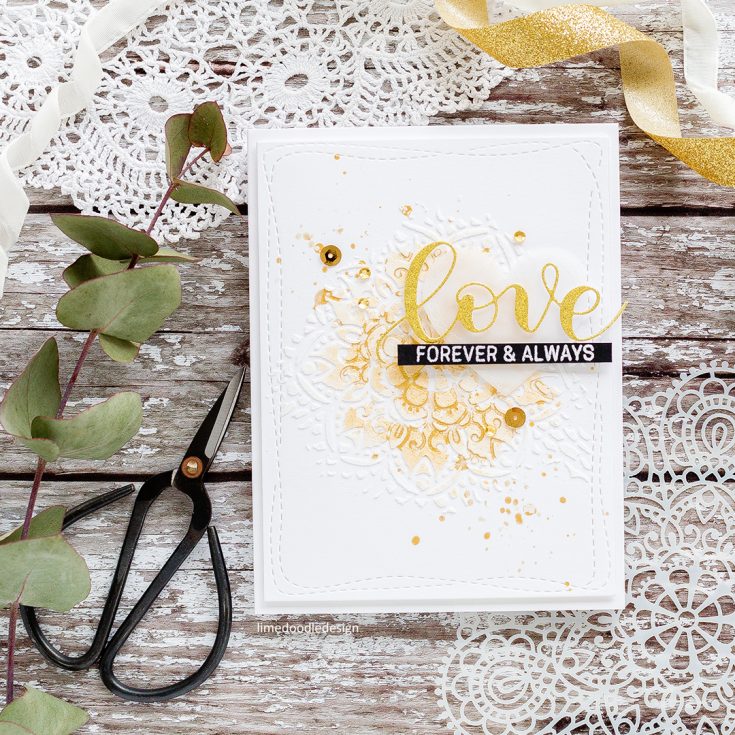 To start my card I cut a piece of Bazzill Marshmallow card (I like this one as the white of the card is very similar to the white of the embossing paste) and laid the Circular Lace stencil on top. I used a palette knife to sweep embossing paste over the centre of the stencil, lifted the stencil and then dried the paste lightly with a heat tool. With the embossing paste now touch-dry I dabbed on Heidi Swapp Color Shine in gold.
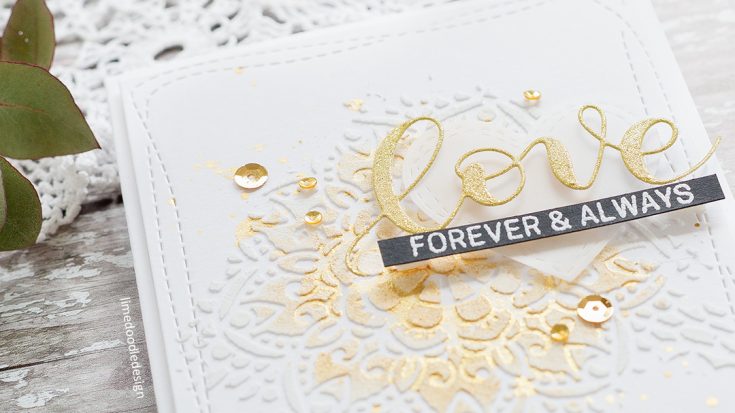 While the panel dried I cut a Wonky Heart from Vellum and a Love die from DCWV gold glitter card. I also cut the embossing paste panel with a Wonky Rectangle. Note – learn from my mistakes and ensure the spray is dry before doing so!
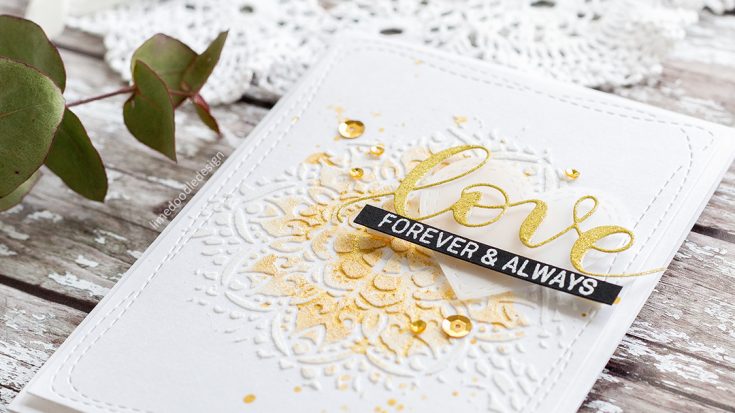 To complete the sentiment I stamped the ‘Forever & Always’ from the Floral Bliss set in clear embossing ink on Black card and white heat embossed. I trimmed the sentiment to a skinny strip (see the video for how I like to do this) and then added all the elements with foam adhesive. I mounted the panel to a Marshmallow card base and then accented with gold sequins.
Thanks for joining me today and I’ll see you for next month Doodling With Debby feature.
VIDEO:
Watch below or in HD at YouTube
SUPPLIES:
 |
 |
 |
 |
 |
 |
 |
 |
 |
|
 |
 |
|
|
 |
 |
 |
 |
 |
 |
 |
 |
 |
|
Thanks for reading today, and thanks to Debby for being our guest!!
Blog Candy Alert!! Follow our blog via email and comment on this post for a chance to win a special blog candy!
Congrats Blog Candy Winners!
From: Belated Birthday Cards: 3 Ways: Susan Pezza!
From: Art Journal: Be Original with Shari Carroll: Terri Burson!
From: Studio Monday with Nina-Marie: 10 Crafty Must-Haves!: Colleen Howell!
From: Learning to Fly Home Decor Panel: Diane Brubaker!
From: No-Line Watercoloring with Gelatos: Loly Borda!
From: Amore Laura Fadora: Sending You Love: Holly Klingensmith!
From: What Would Kelly Make: 8th in the series!: Renee VanEpps!
From: Tim Holtz Spring Vignette House: Kirsty Vittetoe!
From: Studio Monday with Nina-Marie: Sequins 3 Ways: Karen Gerek!
Please email [email protected] with your mailing address (if applicable), the name of the blog you won from, and the prize you won to claim prize!


