Brand NEW Sunny Studio Inspiration!
Hi friends! Happy Wednesday! Please join me in welcoming back the super sweet Mendi Yoshikawa as a guest on our blog today to showcase the brand new Sunny Studio stamps and dies! Be sure to read on and enjoy!
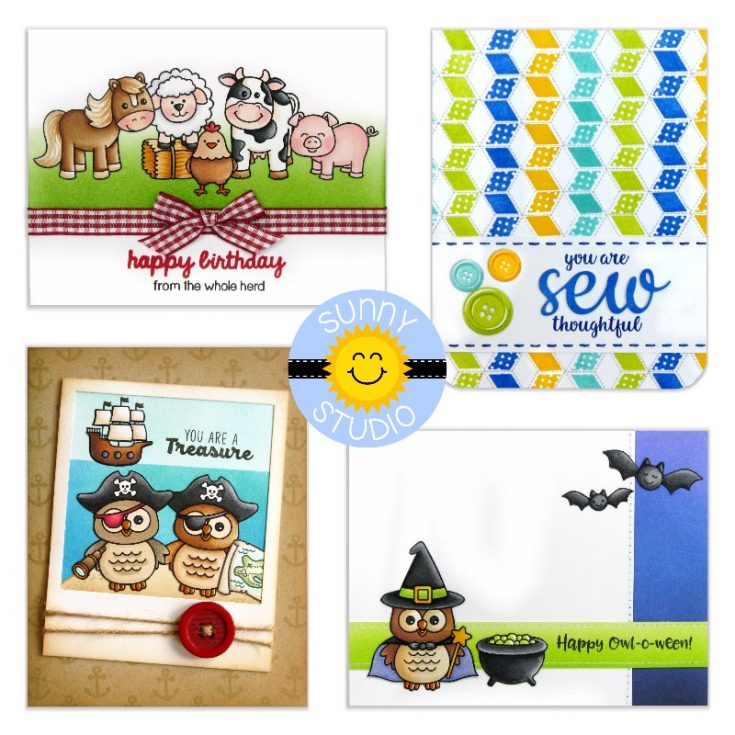
Hello there! It’s Mendi here today sharing four playful cards featuring some of Sunny Studio’s newest release for Fall, which includes 8 new stamp sets and coordinating dies.
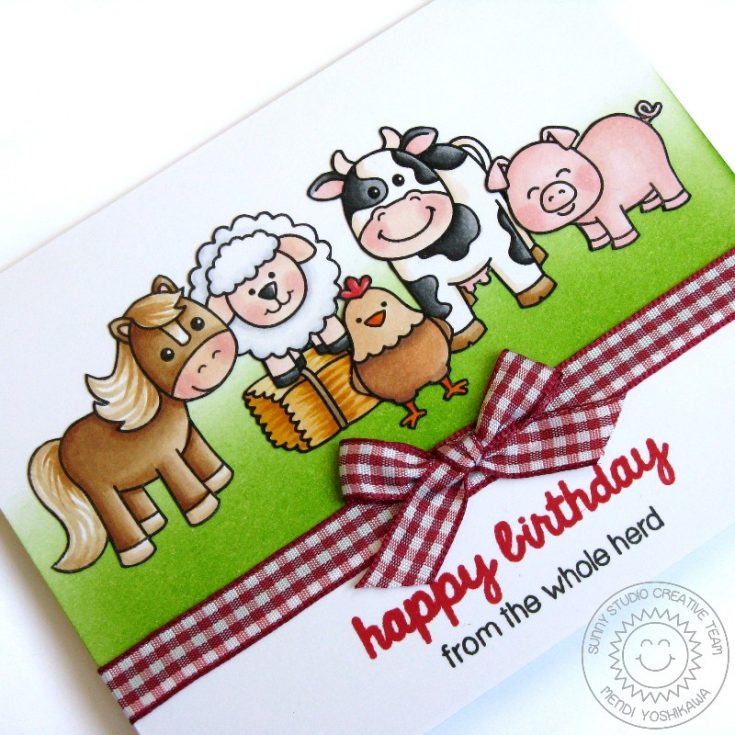
Up first I can a card using our new Barnyard Buddies and Missing Ewe stamps with a clean and simple design.
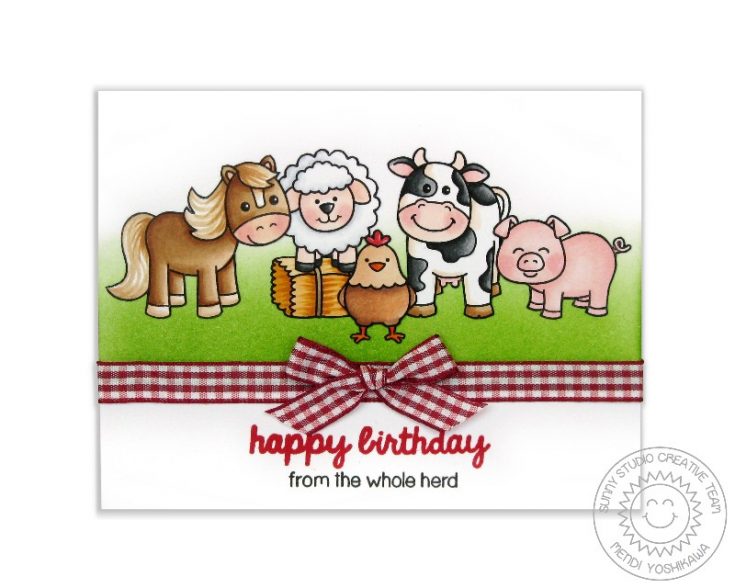
I colored all my images with Copic Markers and then arranged them on a background which was inked using Mowed Lawn distress ink and my favorite jumbo dauber which I lightly faded into the white background. I then “tied” a simple red gingham bow to reinforce the farm theme and to hide the transition between the white and green backgrounds.
 SUPPLIES:
 |
 |
 |
 |
 |
 |
 |
 |
 |
For my next card I used our new Happy Owl-o-ween stamps which are fun for Halloween and beyond. The set comes with six playful costumes to dress up the owl and several punny sentiments that would work for all year ’round. I used them here to create an everyday card, mixing them the accessories from our Pirate Pals set and the little Island from Island Getaway.
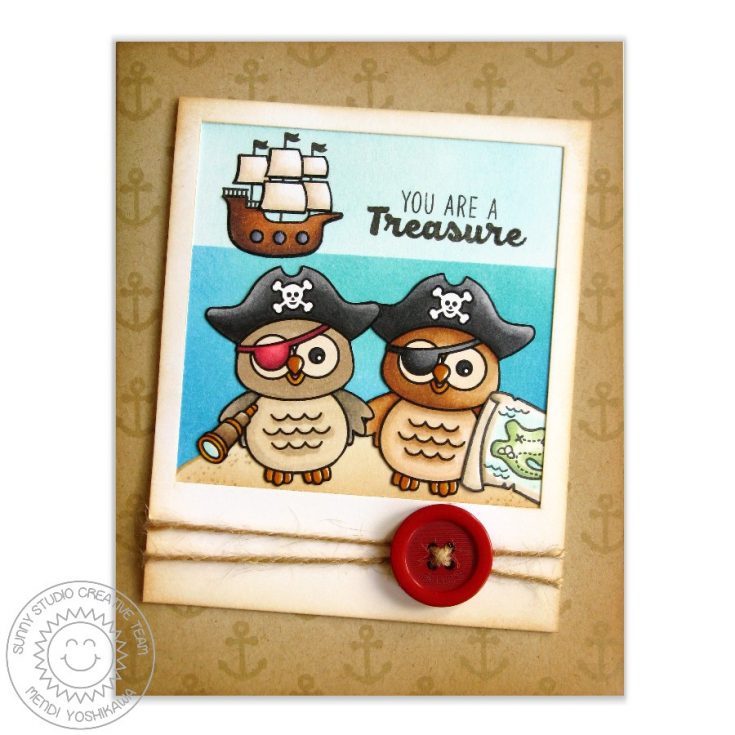
I cut a simple polaroid frame using my Fiskars trimmer with a 3″ x 3″ opening and an overall outside edge trimmed to 3.5″ x 4.25″. I then lightly distressed it with some tea dye distress ink and wrapped it with some jute cording threaded through a button from my craft supply, hiding the ends on the back side.
For my card base I inked up the edges with some more tea dye distress ink and stamped it with a repeating pattern using the small anchor image from Pirate Pals.

SUPPLIES:
 |
 |
 |
 |
 |
 |
 |
|
|
|
 |
 |
 |
 |
 |
|
|
 |
 |
 |
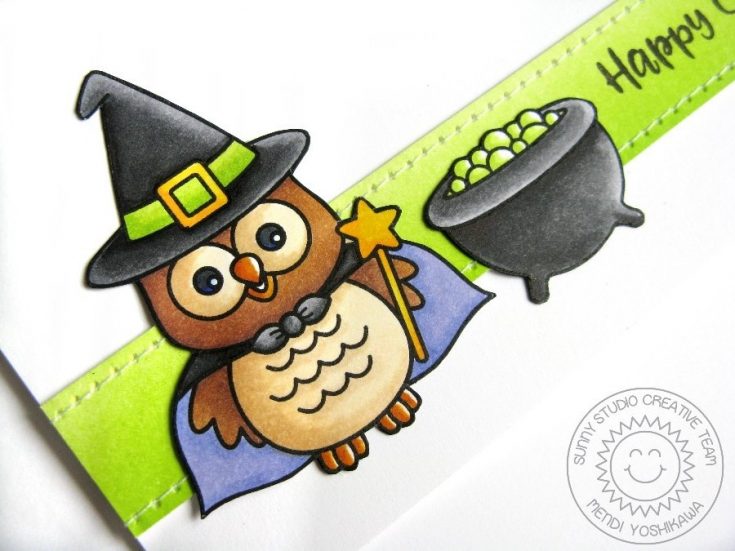
For my third card, I created another clean and simple card using the same Happy Owl-o-ween set. This time I embraced the Halloween theme using the two-piece cape, witch’s hat & wand together with the cauldron and bats from our Halloween Cuties stamps.
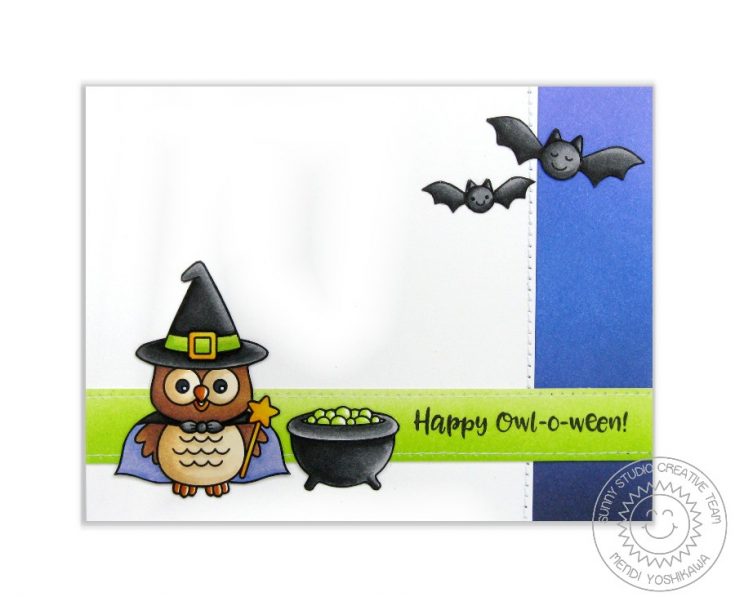
For my green and blue panels, I inked up my white cardstock in an ombre pattern using the jumbo dauber together with distress inks. These daubers make smoothly blending inks together without harsh lines a breeze (and believe me when I say I need all the help I can get in this department). I finished off my sentiment strip with simple stitching in my sewing machine to add a little extra visual interest to this simple card.
SUPPLIES:
|
|
|
 |
 |
|
|
|
|
|
 |
|
 |
 |
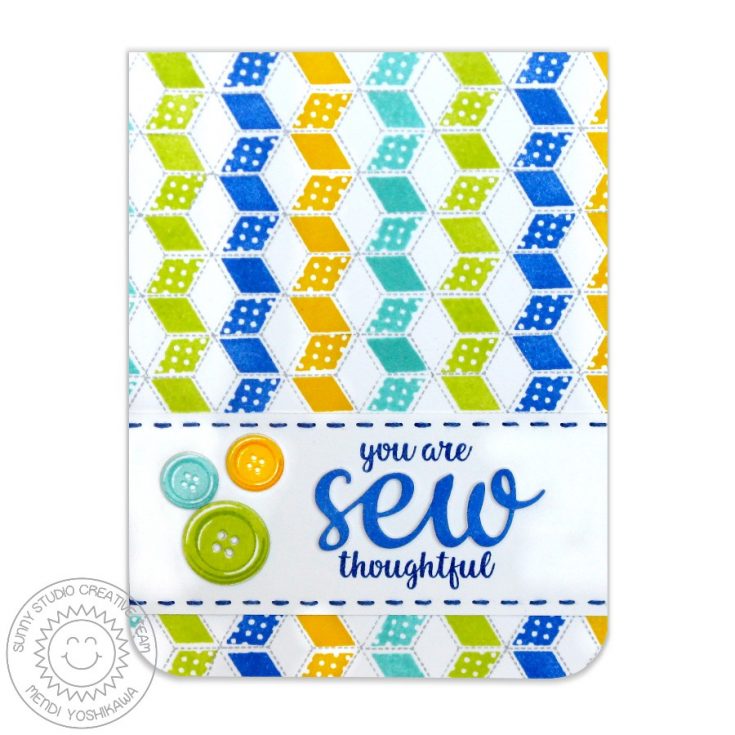
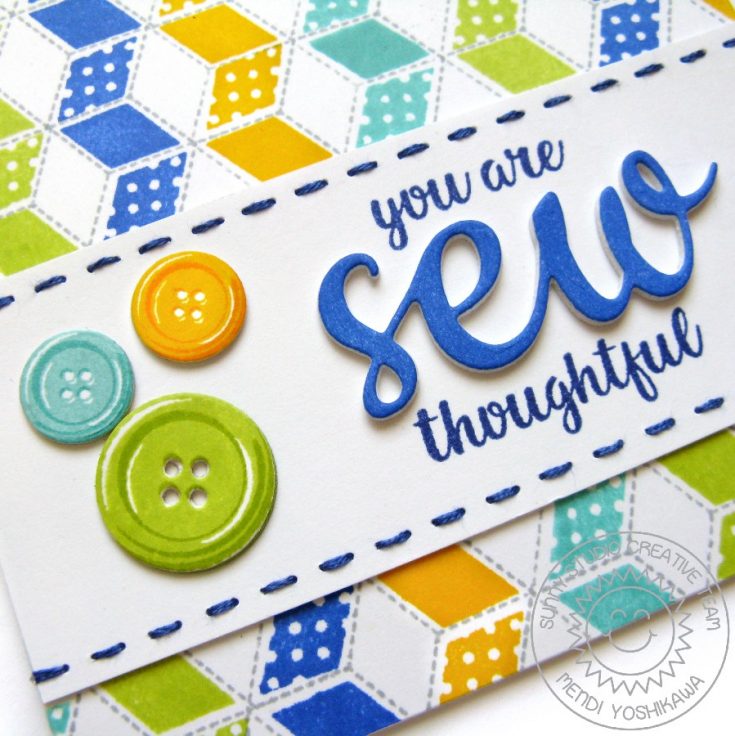
I finished my card with a simple hand-stitched border using a paper piercer with some embroidery floss. For my sentiment I turned to our new Cute As A Button Stamps. This versatile little set packs a big punch with 7 punny sentiments playing on the word “sew”, 2 layered buttons, a layered needle and a stitched heart, all packed in a 3×4 set.
I hope you will check out our other new sets that I didn’t have time to feature here today. We have a sweet new Pet Sympathy set, as well as a cool layering pumpkin set and a beautiful coordinating sentiment set for Fall that are wonderful additions to our line up. Thanks so much for hanging with me today. Hope you enjoy the rest of your summer! :)
SUPPLIES:
 |
 |
 |
 |
 |
|
 |
 |
 |
 |
 |
 |
 |
 |
Thanks for reading today, and thanks to Mendi for being our guest!!

Blog Candy Alert!! Follow our blog via email and comment on this post for a chance to win a special blog candy!
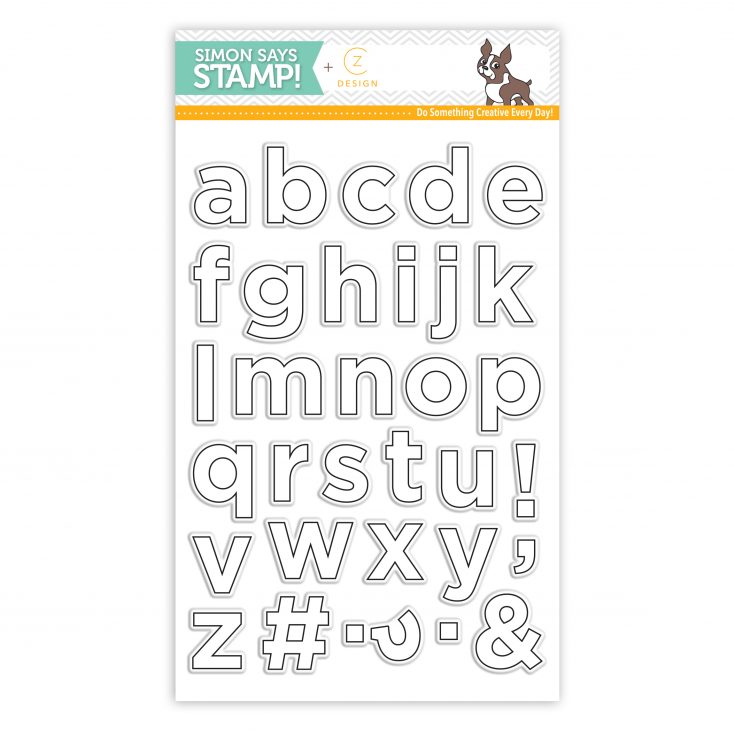
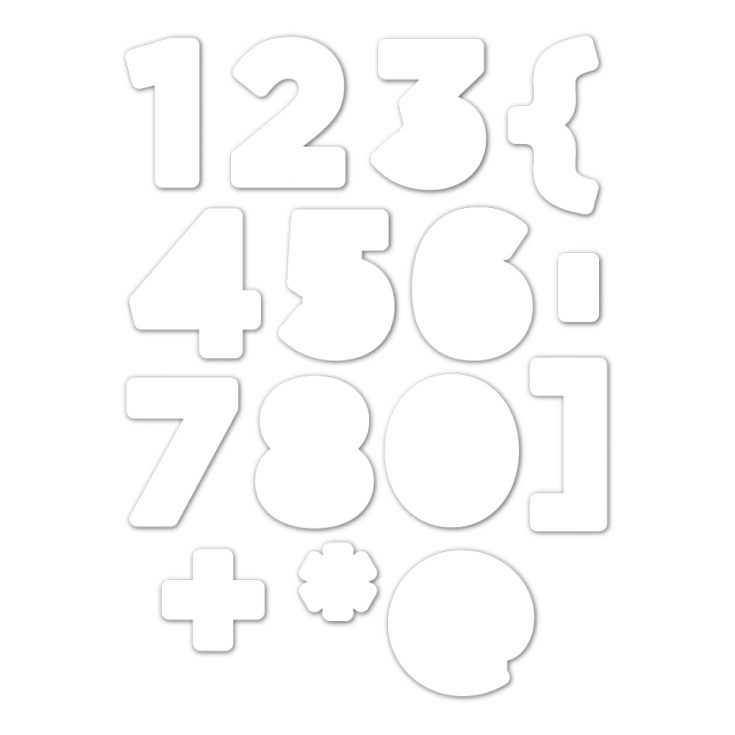
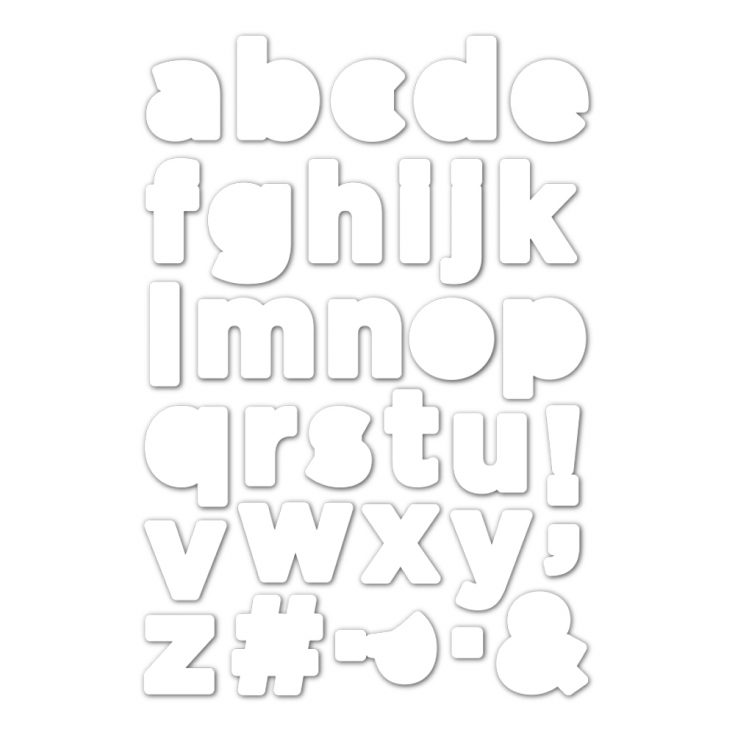
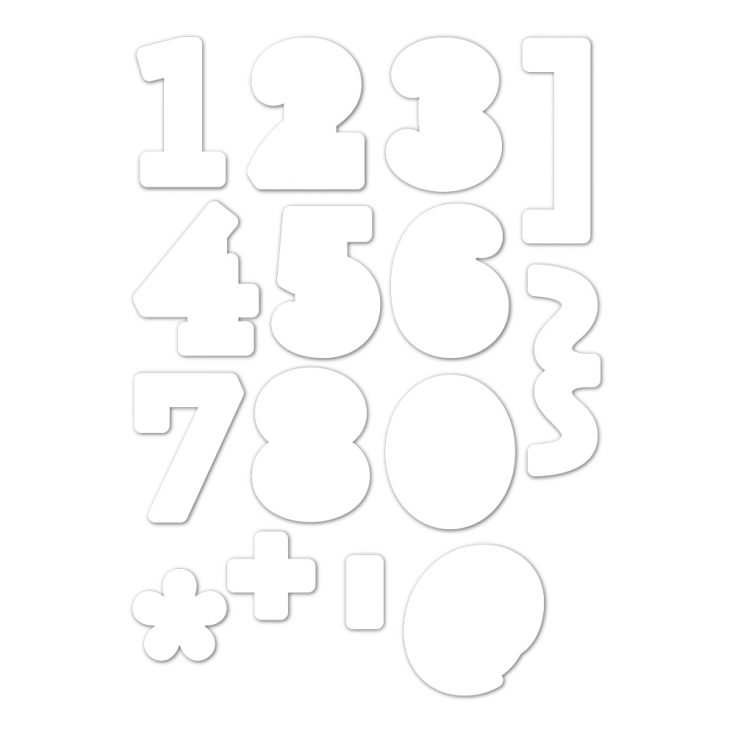
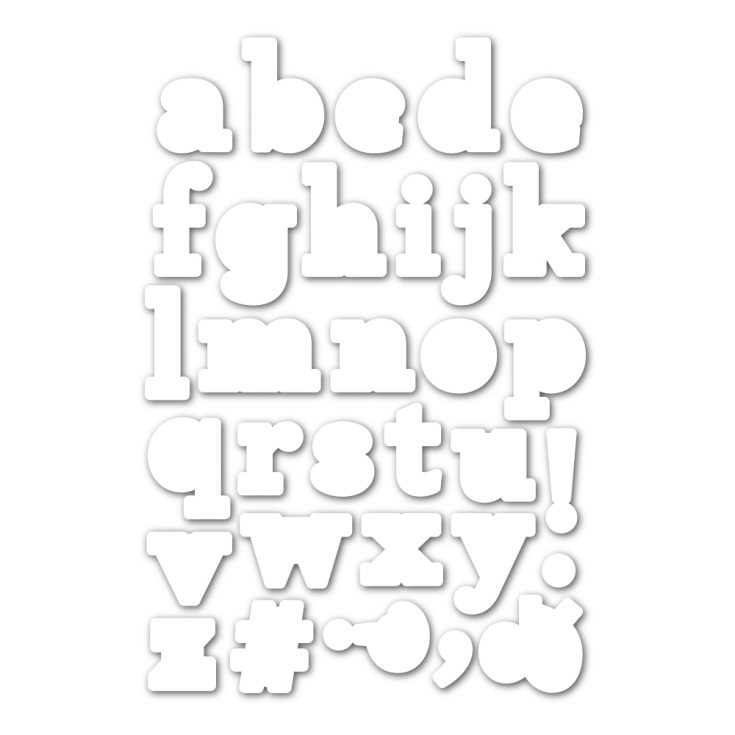
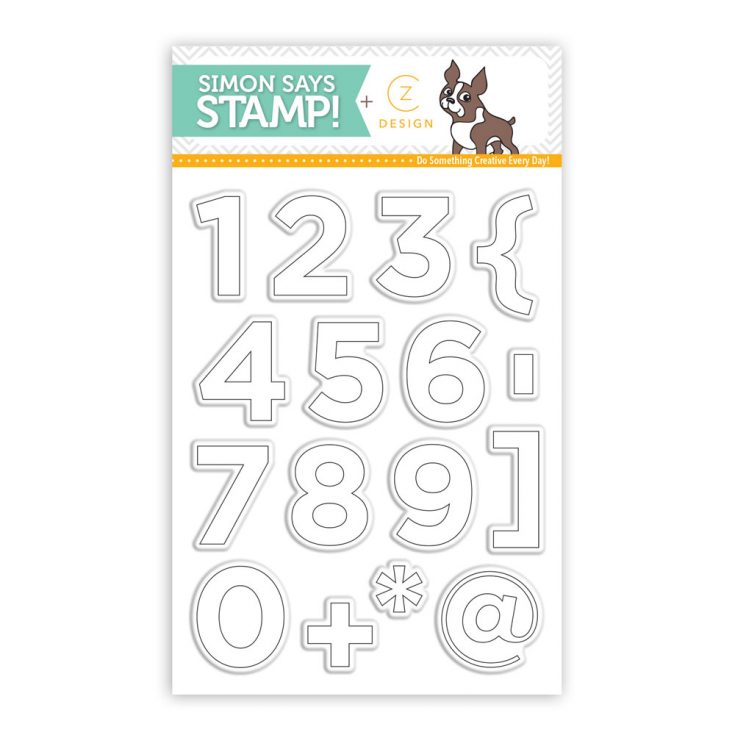
Exclusive NEW Stamps & Dies from Cathy Zielske: Available NOW!
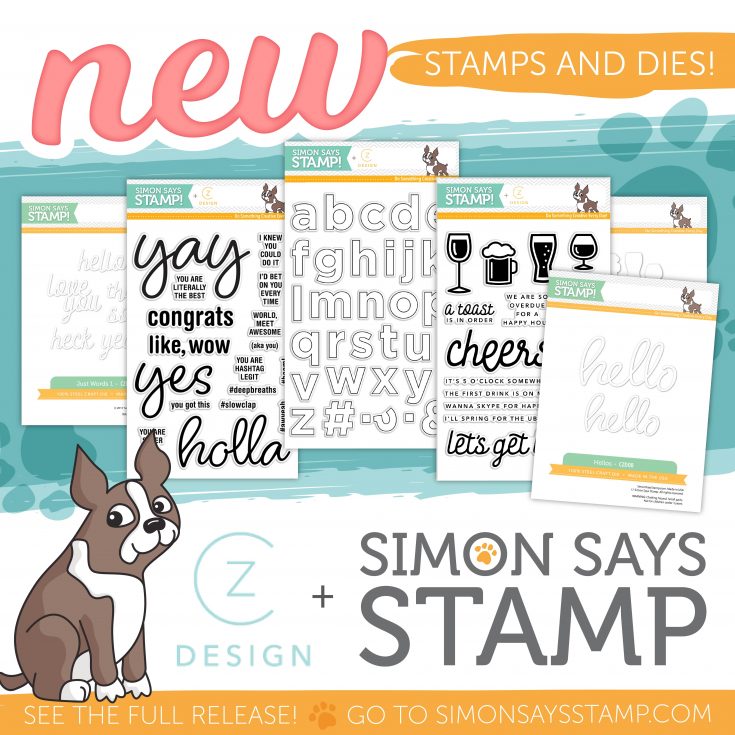
Hi friends! Happy Tuesday and happy CZ Design release day! We’re honored to be your one stop shop and make these exclusive cool collaboration of stamps and dies with Cathy Zielske available for you!
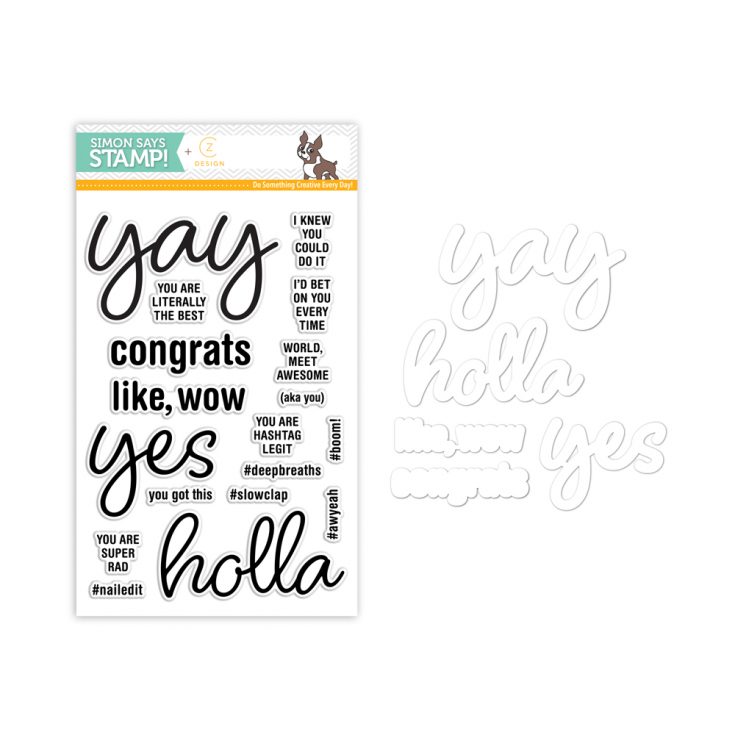
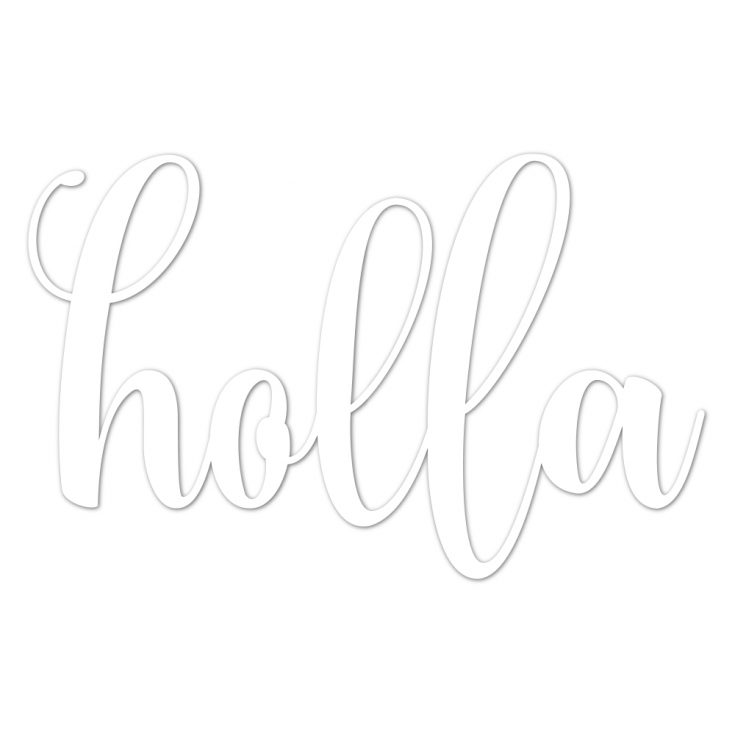
HOLLA! YAH! HELLO! I can totally hear Cathy saying these things (Do you watch her instagram?! SO FUNNY!) What do you think of these new designs?


In celebration of the new release, Cathy created this gorgeous card below. We hope it inspires you! Guess who inspired her to make this card!? It’s one of our OG Simon designers!
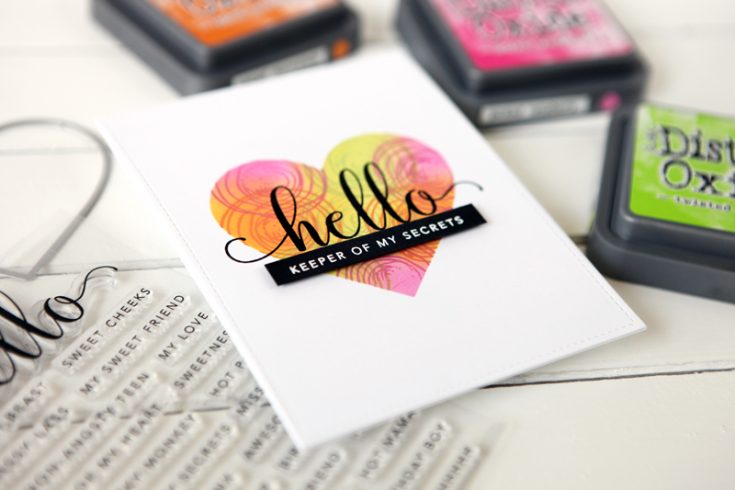
Hi everyone! It’s Cathy Z. here and I’m super excited to be sharing a card with you today because today I’ve got a whole slew of new releases in the store!
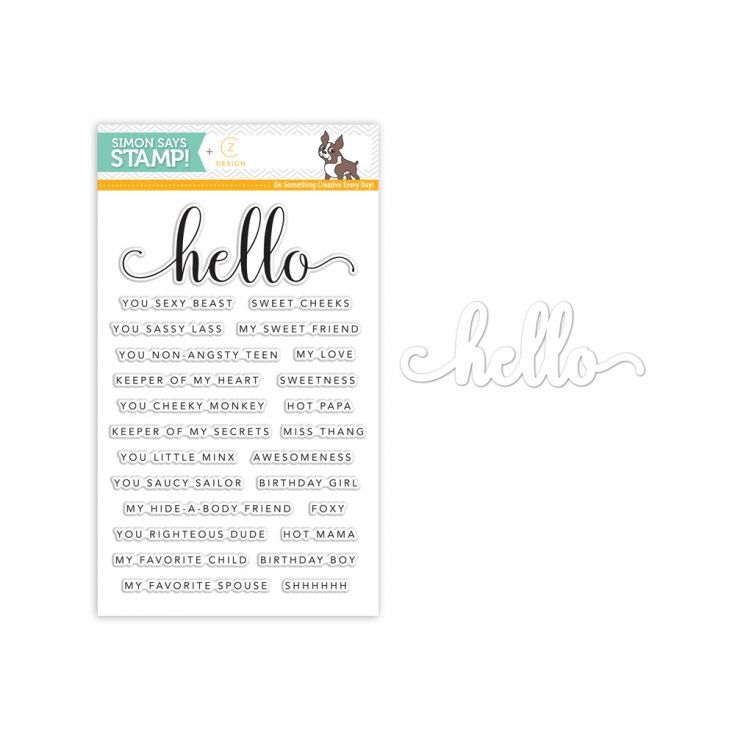
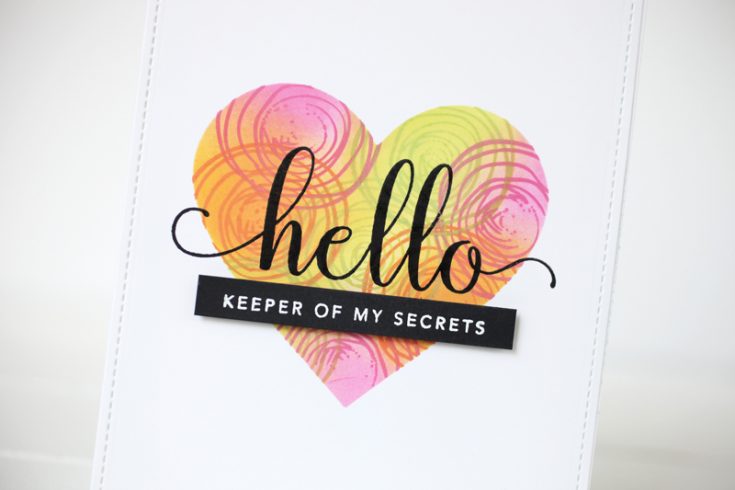
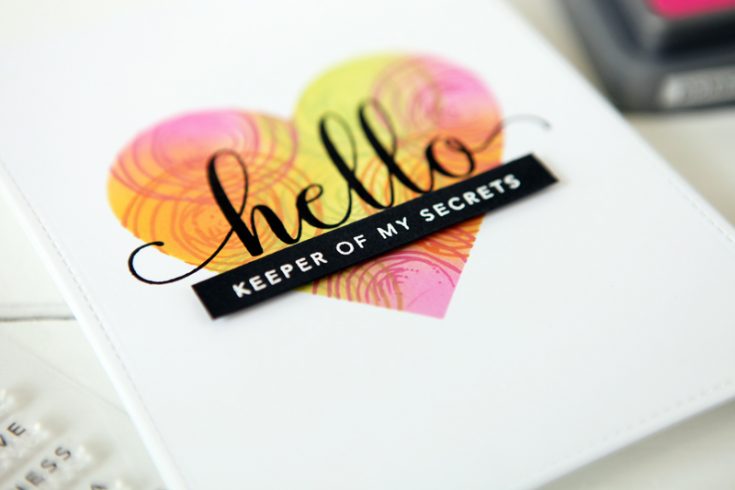
My card today features my new “Hello You” sentiment stamp set and I made a simple one-layer card completely inspired by the one and only Kristina Werner and a card she recently made that I adore.
I didn’t have the exact supplies that Kristina used, so I decided to improvise and just use what I had on hand. As a new card maker, my stash of supplies is still growing and I have some really good basics (like a set of nested heart dies) that helped me to get started on making my own version of her charming card.
Here’s a short video that shows you how!
WATCH THE VIDEO:
This is the first time I’ve ever used masking paper and I have to say I might just be hooked! It really is magical to do your stamping and pull off the paper to see the crisp, clean shape you’ve created courtesy of your die.
Doing the card also reminded me that even if your stamping isn’t perfect, the end result can still be beautiful! So embrace those little mistakes and make the most of them!
Thanks for reading (and watching!) today and thanks to Kristina, as always, for her amazing ideas!
SUPPLIES:
 |
 |
 |
|
 |
 |
 |
 |
 |
 |
 |
 |
 |
 |
 |
 |
 |
 |
 |
 |
 |
 |
 |
 |
 |
|
 |
 |
|
|
 |
 |
 |
 |
 |
 |
Thanks for reading today, and thanks to Cathy for being our guest!
Blog Candy Alert!! Follow our blog via email and comment on this post for a chance to win a special blog candy!
Congrats! Blog Candy Winners!
From: Summer Succulents Lawn Fawn Card: Janice Carl!
From: What Would Kelly Make: 10th in the series!: Linda Duensing!
From: Amore Laura Fadora: Circle of Thanks: Daria Zender!
From: Color Coordinates: Offset Stamping: Migdalia Rodriguez!
From: Happy International Friendship Day + Dimensional Background with Distress Ink Refills + Embossing Paste: Berina Febin!
From: Studio Monday with Nina-Marie: Embellishment Mousse 3 Ways: Ashlee McCaslin!
Please email [email protected] with your mailing address (if applicable), the name of the blog you won from, and the prize you won to claim your prize!
Studio Monday with Nina-Marie: Embellishment Mousse 3 Ways
Hello everyone! I’m back again with a new Studio Monday video for you, and this week I wanted to feature Nuvo embellishment mousse again! There are SO many ways this product can be used, and I have 3 new ideas to share!  If you missed any of my previous Nuvo embellishment mousse videos, you can find them here:
My first idea in this week’s video is creating a tone-on-tone effect by blending mousse onto cardstock and then blending a stenciled layer of the same mousses over top of the previous blending. We do this with inks all the time, and I think it looks even more amazing when done with mousse! 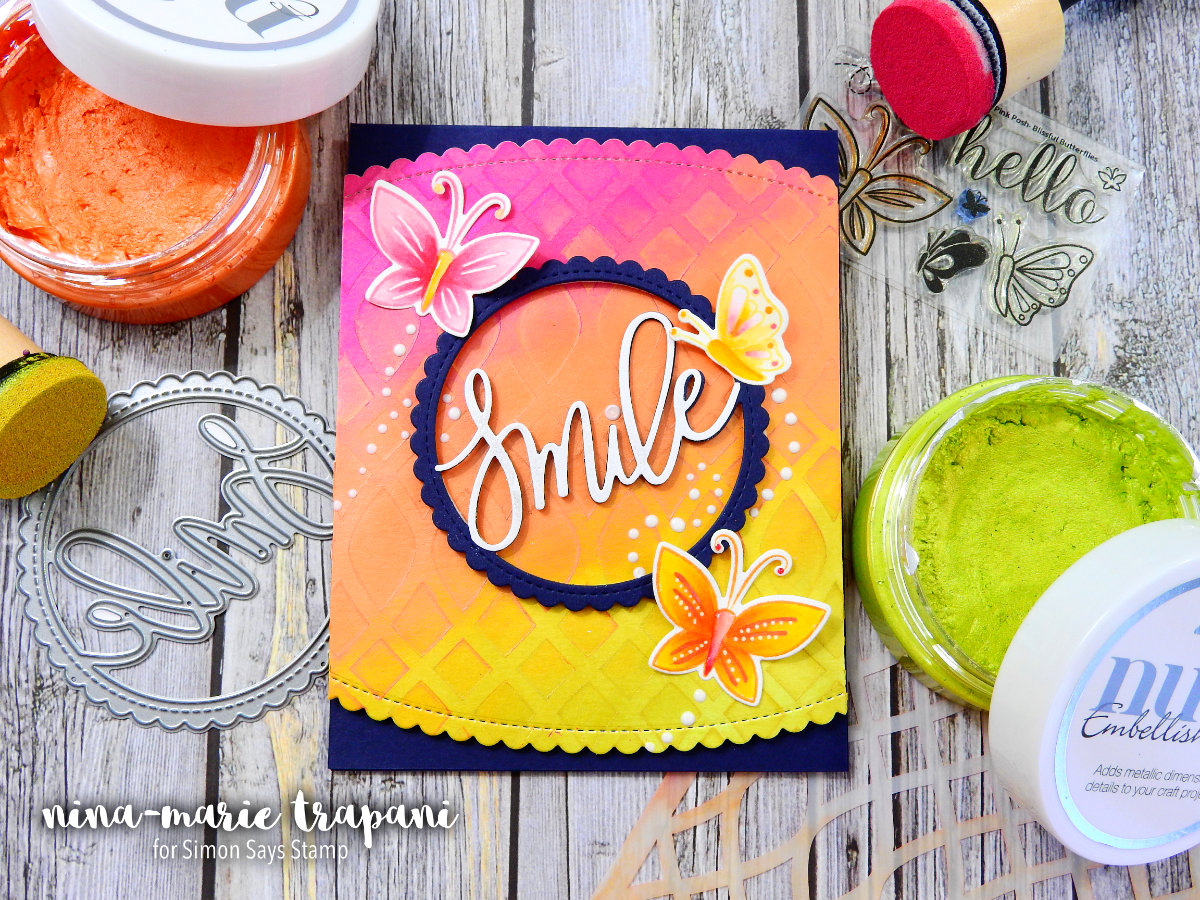 After blending all the mousses onto my Bristol cardstock, I cut the panel down with a scalloped border die from Pretty Pink Posh (the entire card was embellished with mostly Pretty Pink Posh products). I die cut the “smile” sentiment die from both navy and white cardstocks; with the white piece, I trimmed it so that the word “smile” was taken out of the white frame. I then adhered the “smile” word to the blue frame.
 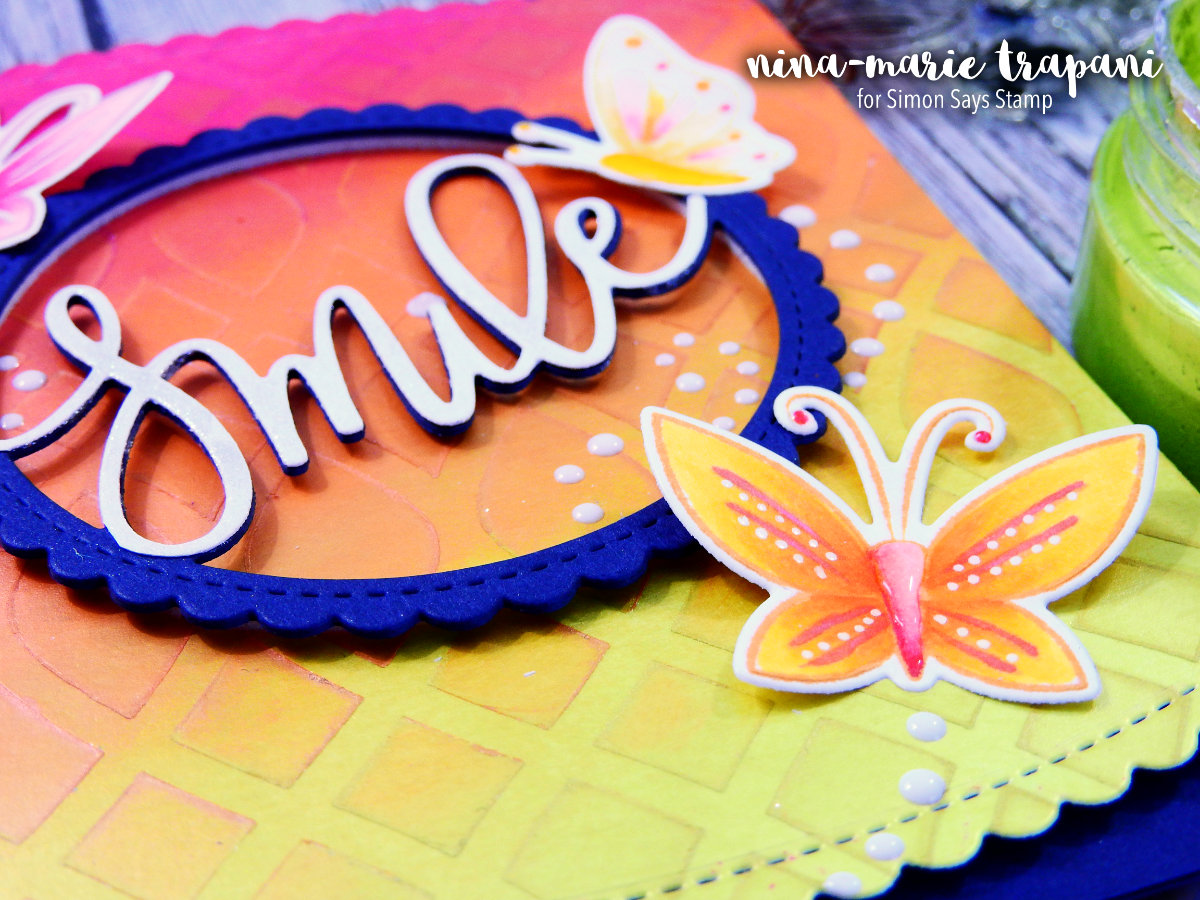 The butterflies are stamped in colored inks that coordinated with the embellishment mousses on the background. I then colored them each with Copic markers and added white details on their wings. I also added some Nuvo white gloss drops around the butterflies to look like trails following them.
 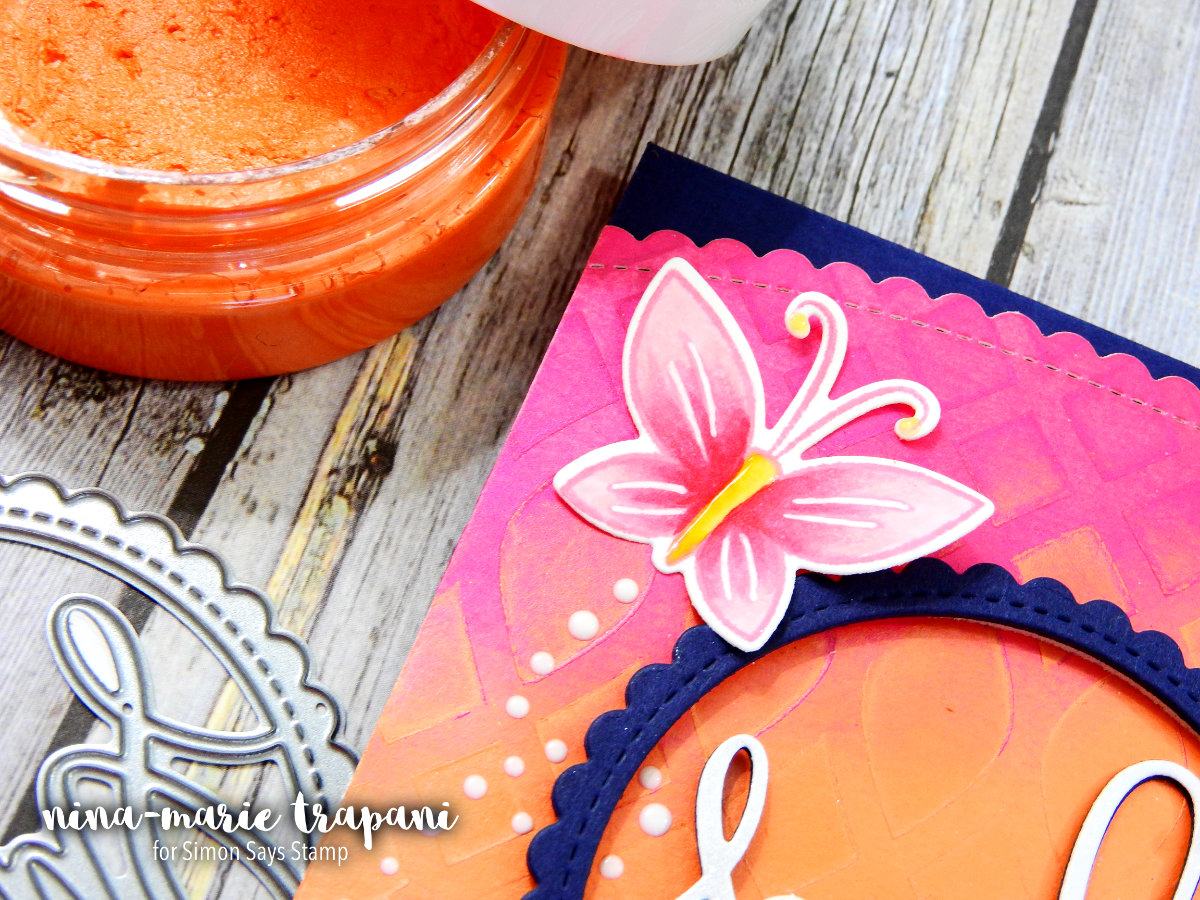 Did you know that embellishment mousse is able to be broken down with water and turned into a coloring medium? The second technique I feature in today’s video is watercoloring with embellishment mousse. This is really fun, because you get a beautiful shimmery effect once it dries!
 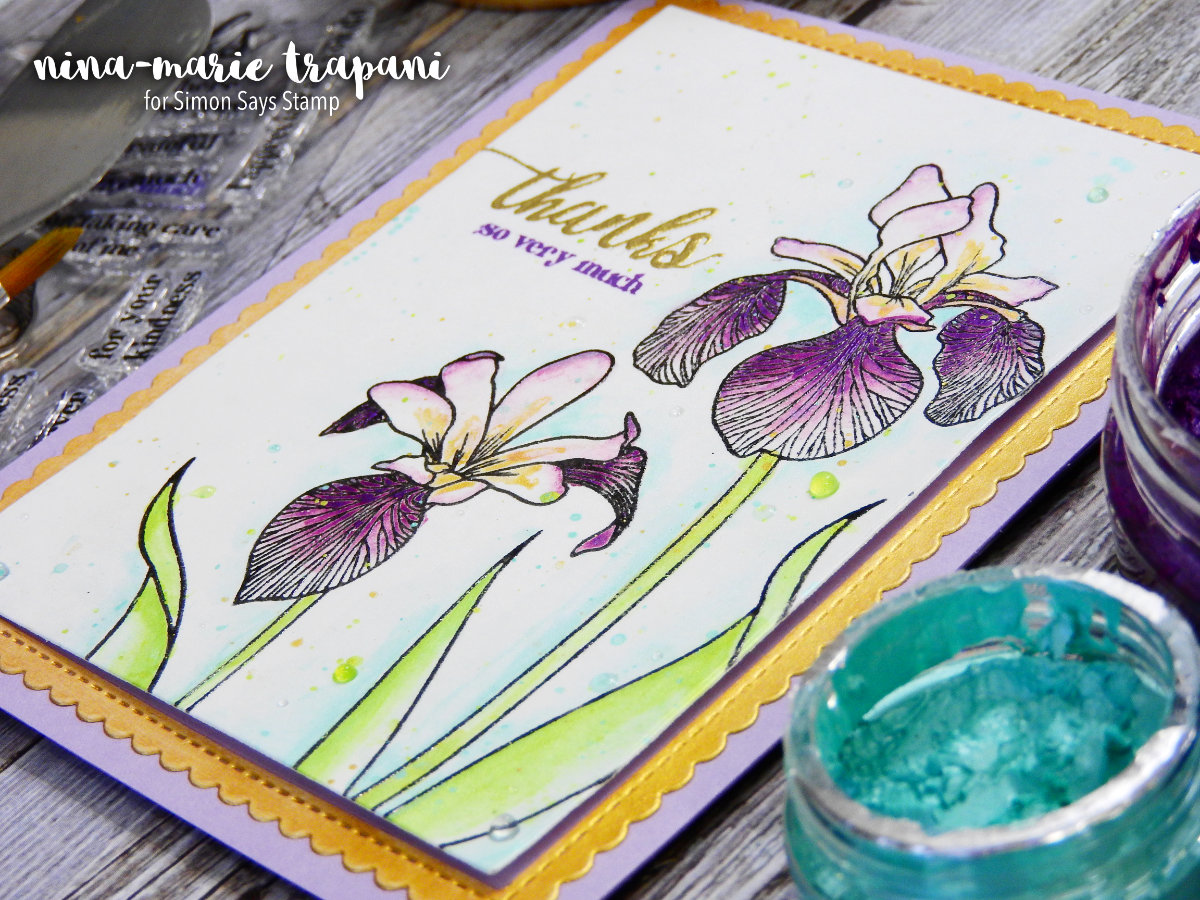 I created my watercolor by simply applying some mousse onto a plastic palette (any slick surface will work), I working a little water into the mousse to break it down into a liquid form. I used just a few colors of mousse (a purple, green, teal and gold). This is a great demonstration that you don’t need lots of colors to create great variation of color and sharing, as you see in the irises on my card.
 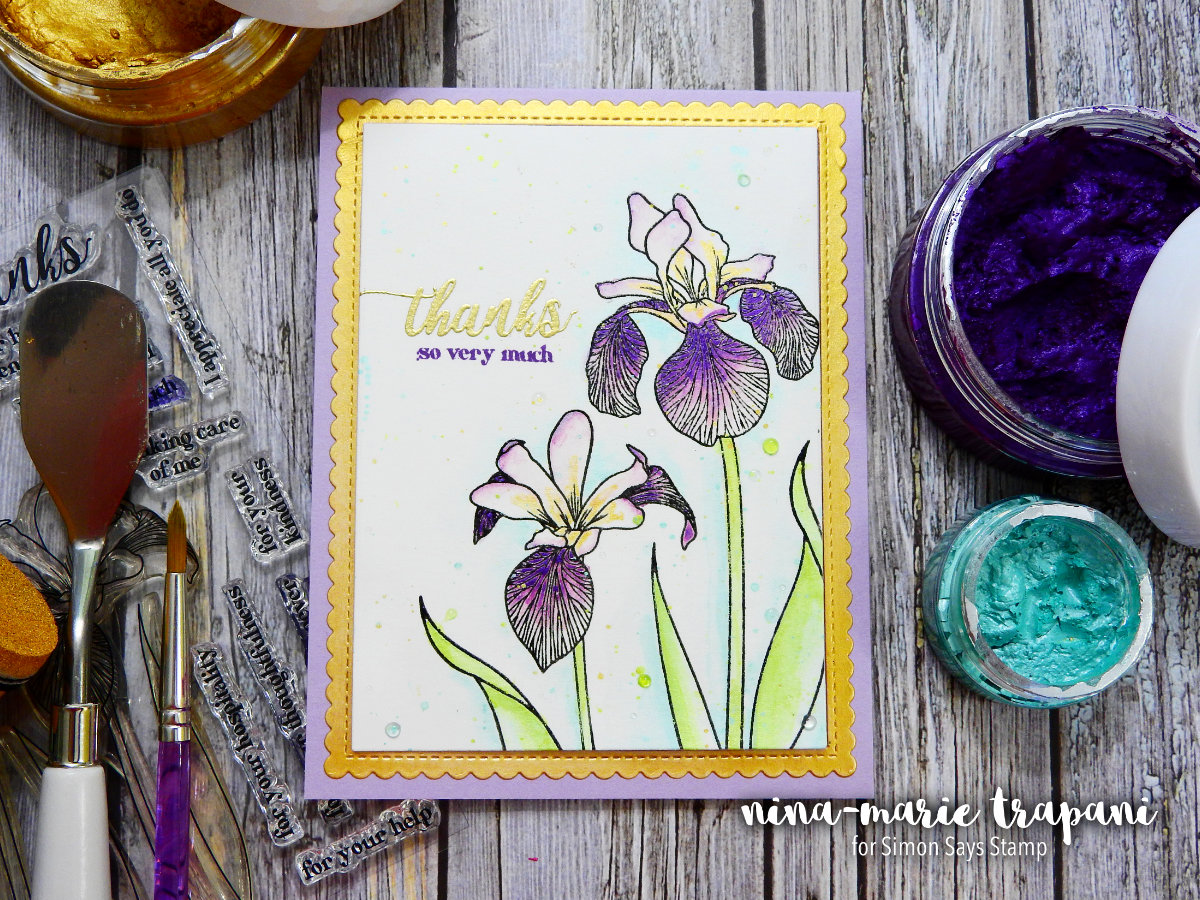 The outlines of the irises are heat embossed with black pigment ink and clear embossing powder, as I didn’t want the mousse to mute the outlines (the irises are from the Altenew Enchanted Iris stamp set).
 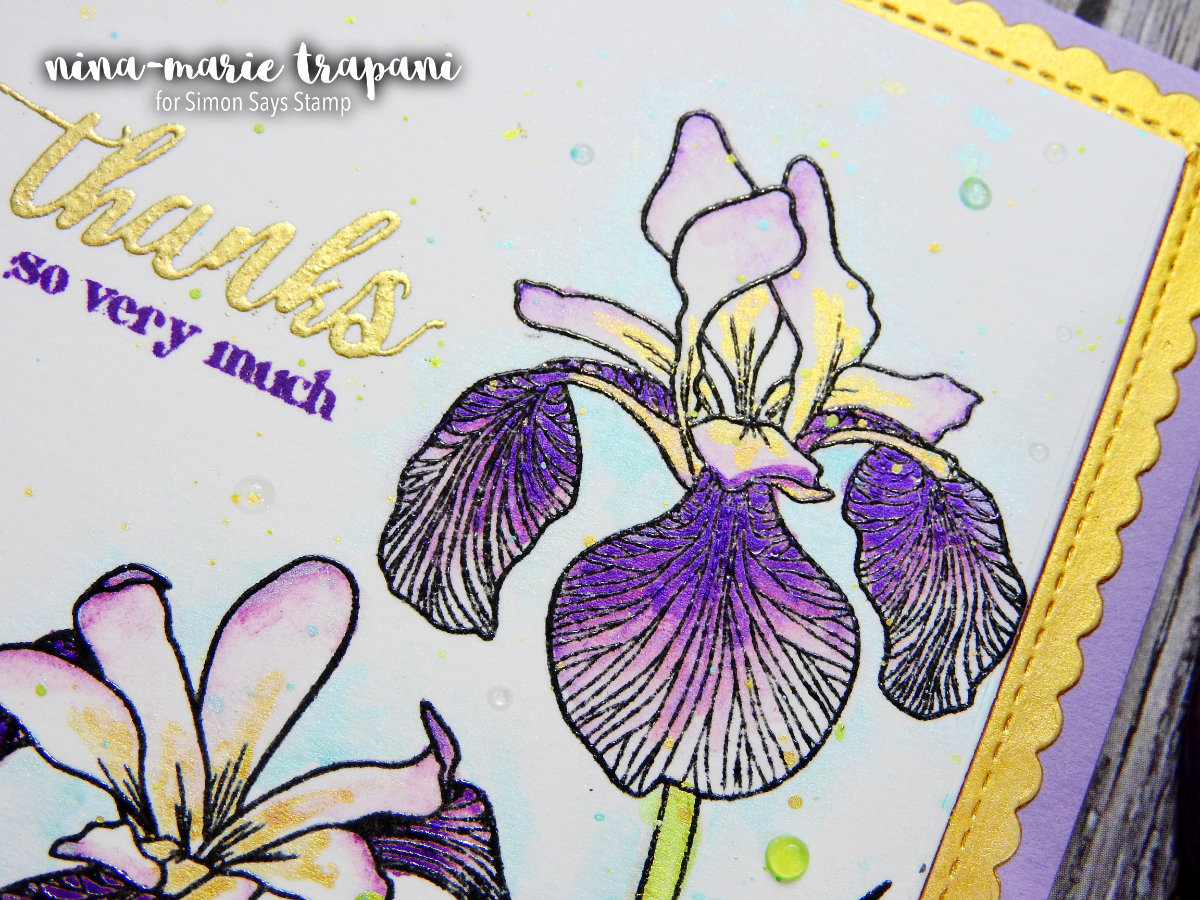 I heat embossed in gold a sentiment from that same Enchanted Iris stamp set and I also stamped a supporting sentiment underneath in purple ink. The gold frame is die cut with a My Favorite Things scalloped frame die and then I blended some of the gold mousse onto it; this way it coordinates perfectly with the gold in the flowers! To embellish the card I used a few Nuvo jewel drops onto the background.
 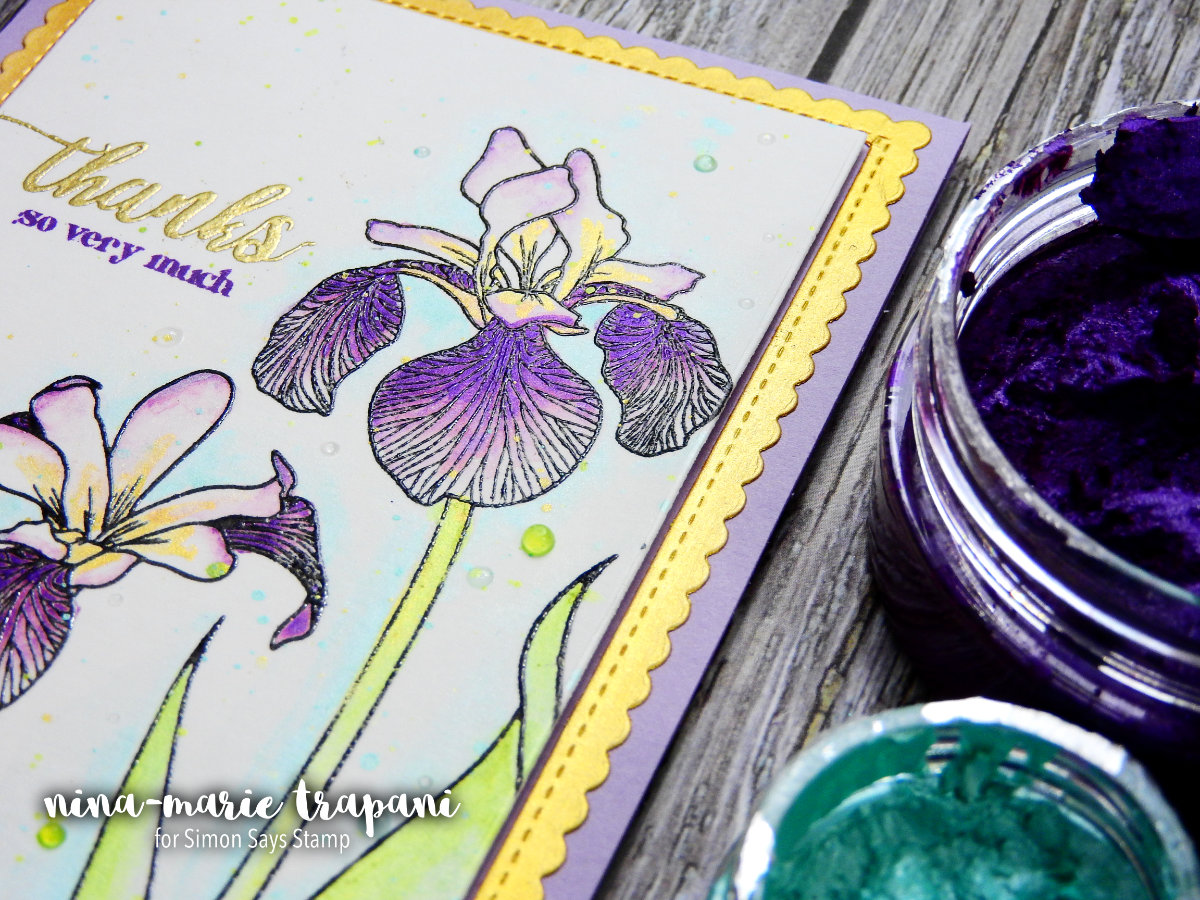 The final technique in this video is adding embossing powder onto the mousse. When you stencil a design onto paper with the mousse, if you apply it thick enough you end up with the edges of the stenciled design being a little bit more dimensional then the centers of the stenciled design. Those thicker areas stay wetter a little bit longer than the rest of the mousse and gives you a chance to add embossing powder on top!
 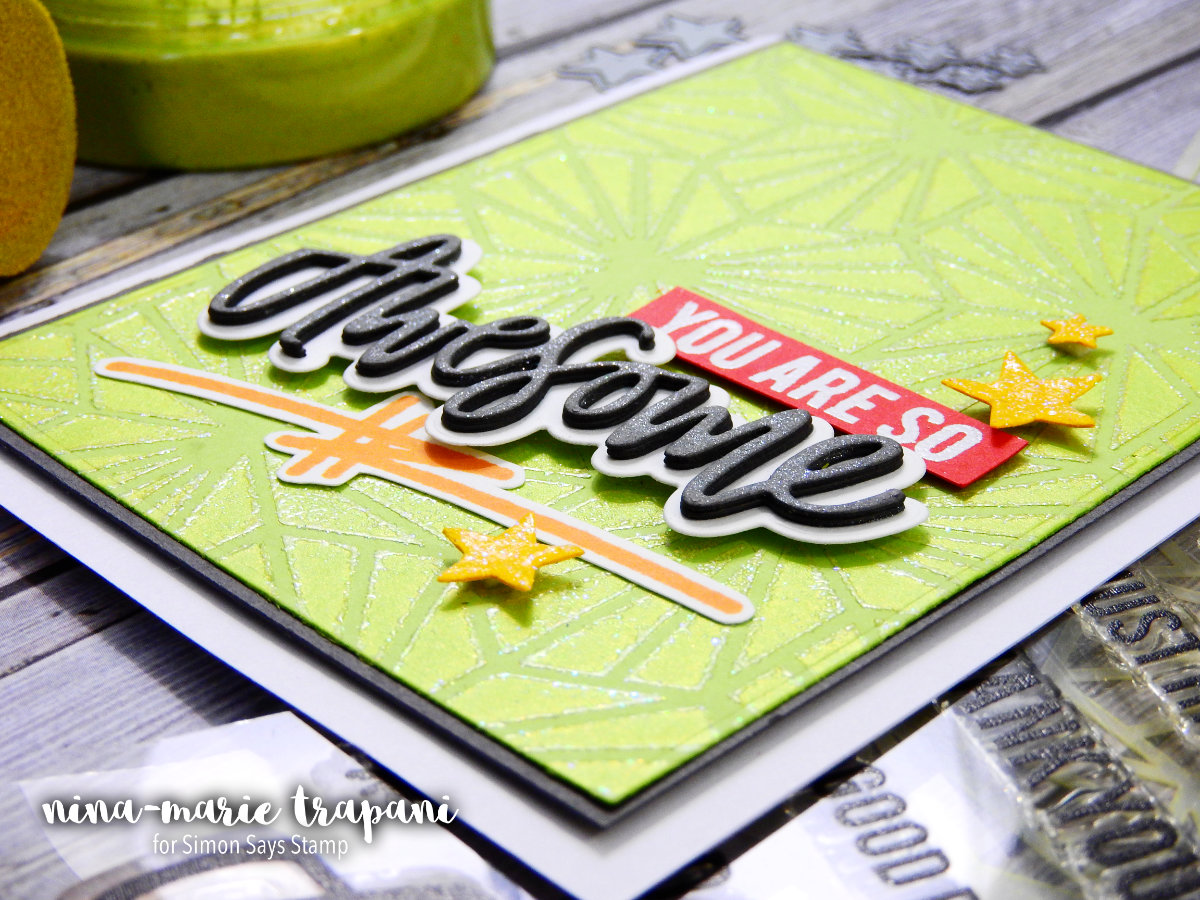 You do need to work pretty quick with this, because mousse doesn’t take long to dry (just a few minutes); so keep that in mind as you are working. I finished off the card by die cutting an “awesome” sentiment from slate cardstock and a Neat & Tangled die set. The supporting sentiment is from the Awesome stamp set that coordinates with the die I used and that is white heat embossed on red cardstock.
 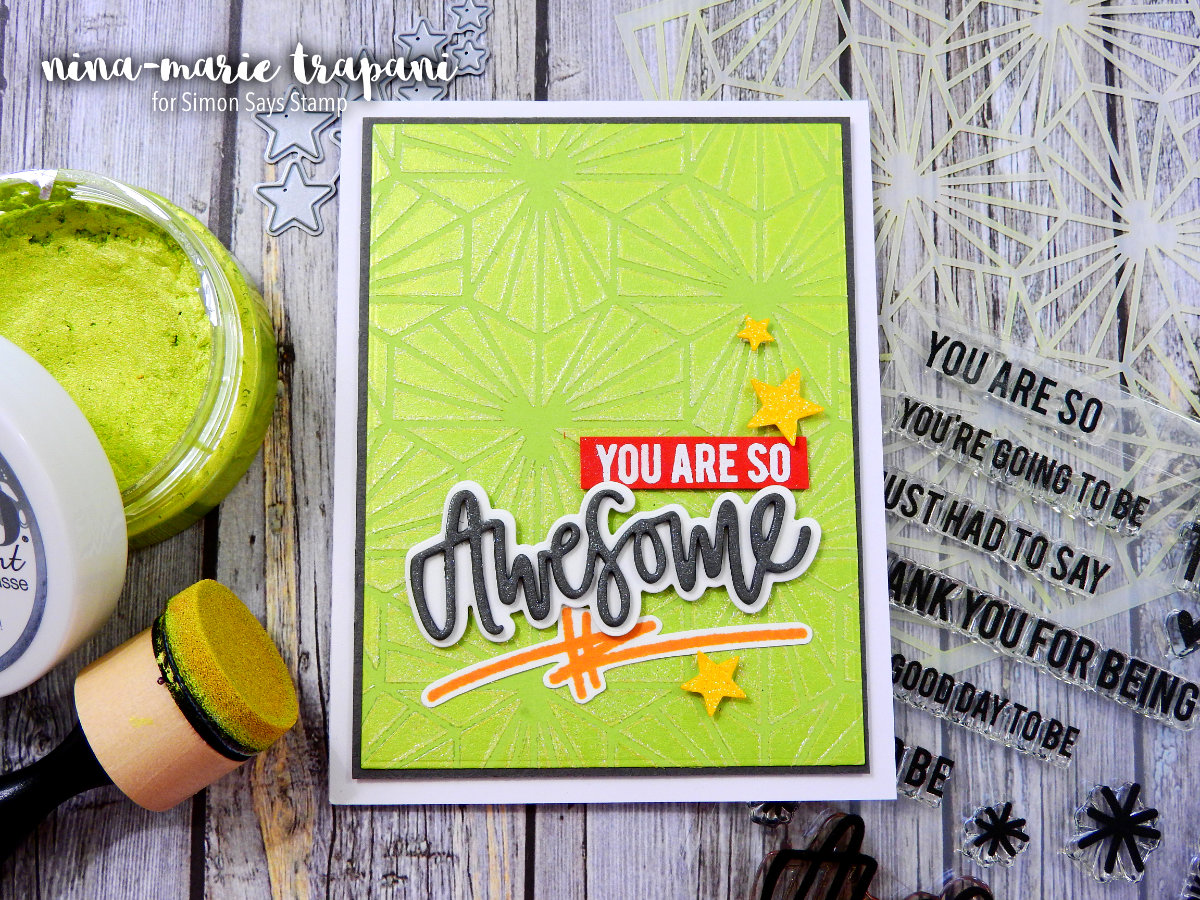 I embellished the card with stars die cut from a Simon Says Stamp die set and added Nuvo glitter drops onto each one for a dimensional glitter effect! And speaking of glitter, the gorgeous stenciled design with the glitter-crusted edges looks really awesome… check it out in this close up:
 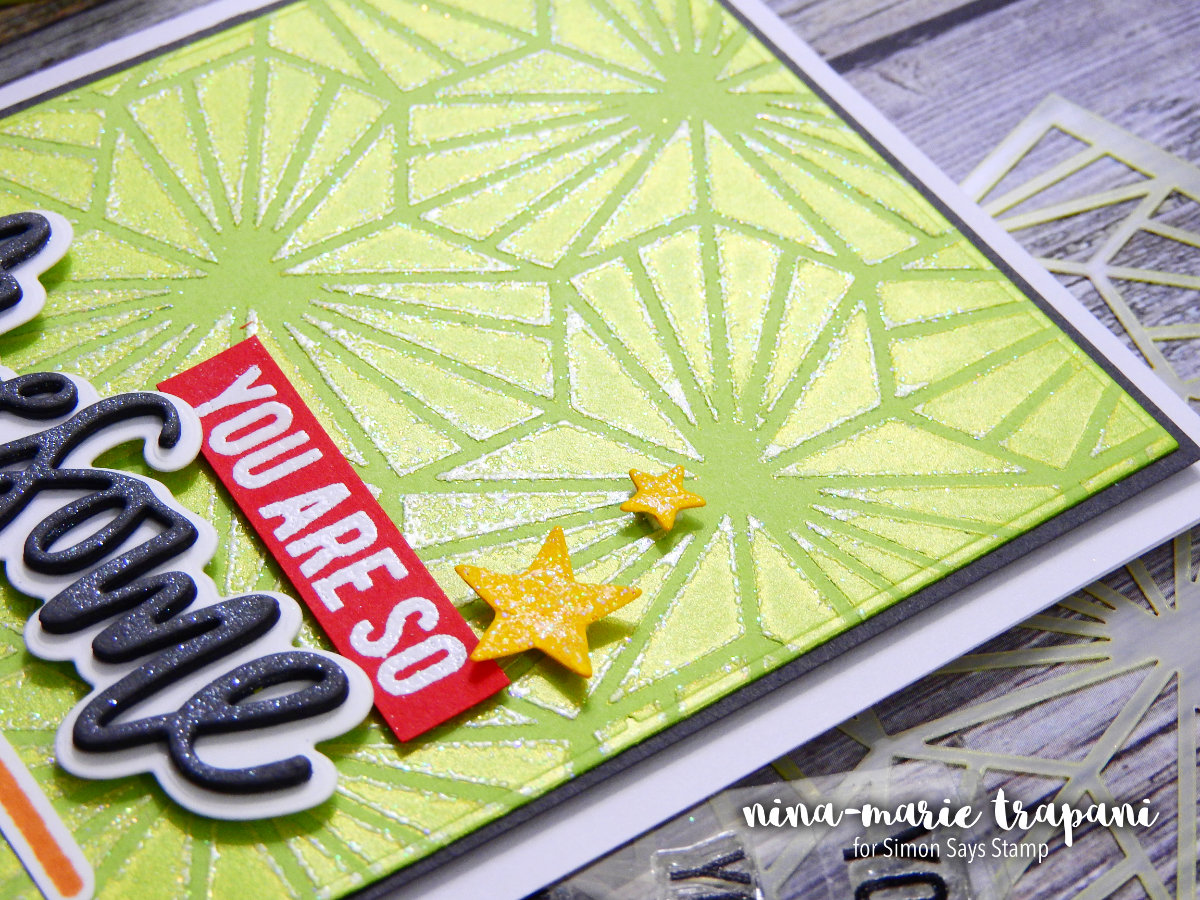 I hope you will be checking out the video below to see these techniques in action! Thanks for stopping by and visiting with me today… I’ll be back again next week with a new tutorial!
WATCH THE VIDEO
SUPPLIES


Blog Candy Alert!! Follow our blog via email and comment on this post for a chance to win grab bags and blog candy! Remember to tag your awesome projects with #simonsaysstamp on social media so we can see what you are creating!


