Studio Monday with Nina-Marie: Embellishment Mousse 3 Ways
Hello everyone! I’m back again with a new Studio Monday video for you, and this week I wanted to feature Nuvo embellishment mousse again! There are SO many ways this product can be used, and I have 3 new ideas to share!  If you missed any of my previous Nuvo embellishment mousse videos, you can find them here:
My first idea in this week’s video is creating a tone-on-tone effect by blending mousse onto cardstock and then blending a stenciled layer of the same mousses over top of the previous blending. We do this with inks all the time, and I think it looks even more amazing when done with mousse! 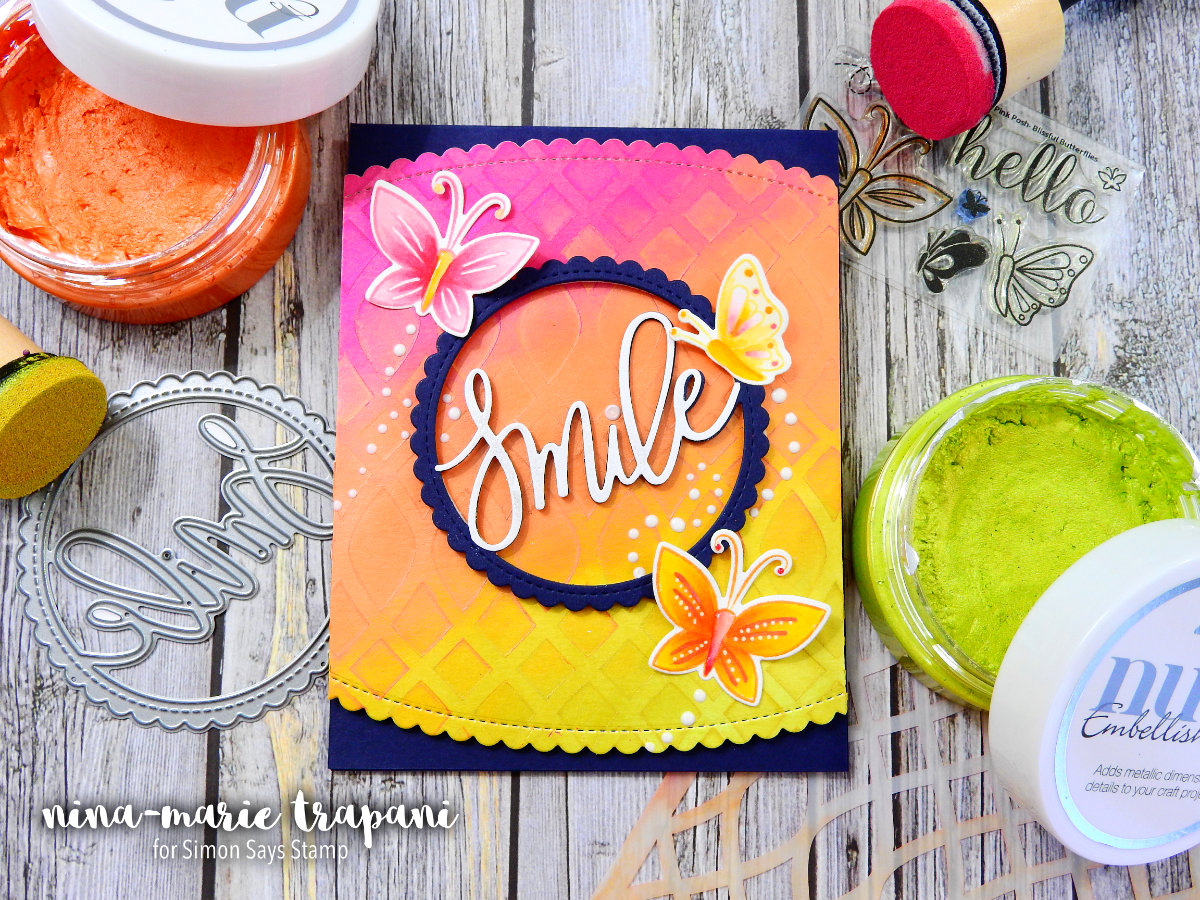 After blending all the mousses onto my Bristol cardstock, I cut the panel down with a scalloped border die from Pretty Pink Posh (the entire card was embellished with mostly Pretty Pink Posh products). I die cut the “smile” sentiment die from both navy and white cardstocks; with the white piece, I trimmed it so that the word “smile” was taken out of the white frame. I then adhered the “smile” word to the blue frame.
 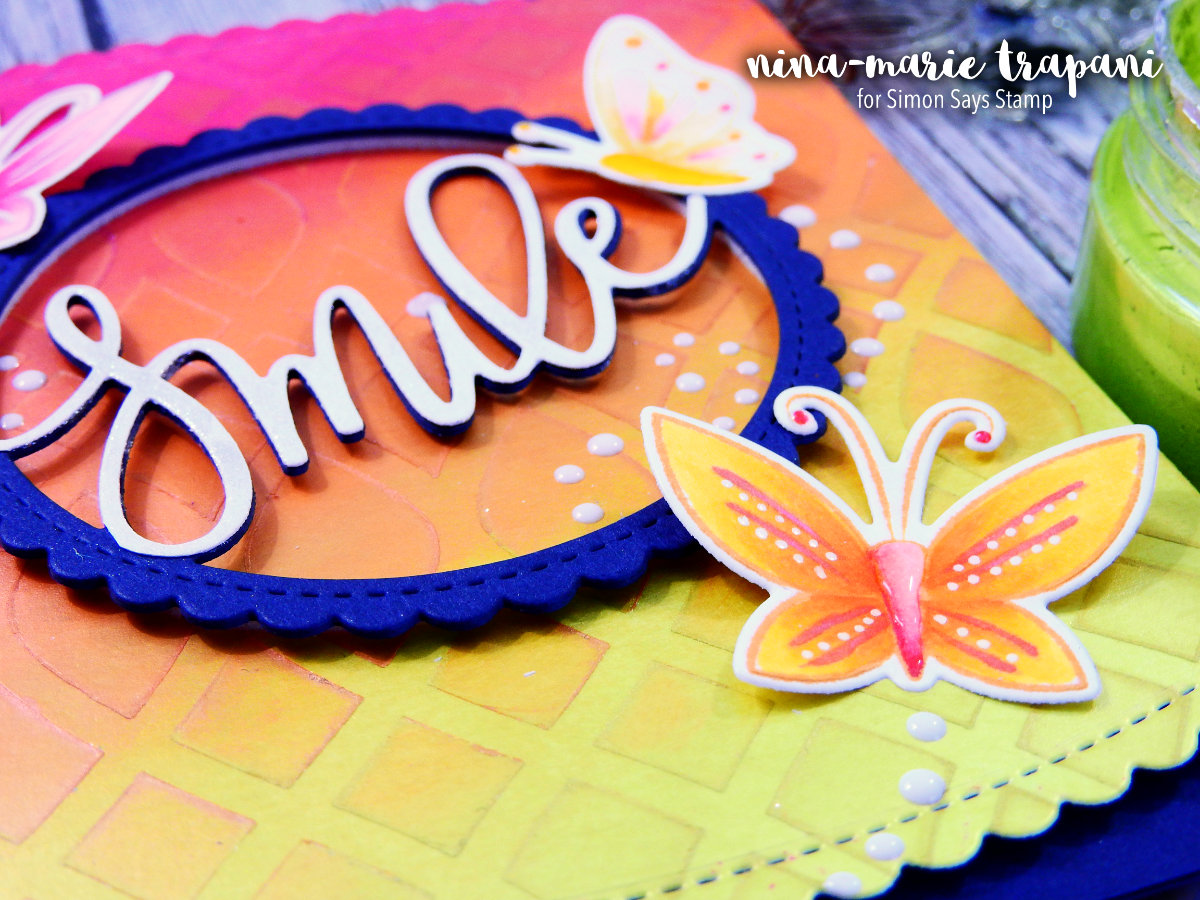 The butterflies are stamped in colored inks that coordinated with the embellishment mousses on the background. I then colored them each with Copic markers and added white details on their wings. I also added some Nuvo white gloss drops around the butterflies to look like trails following them.
 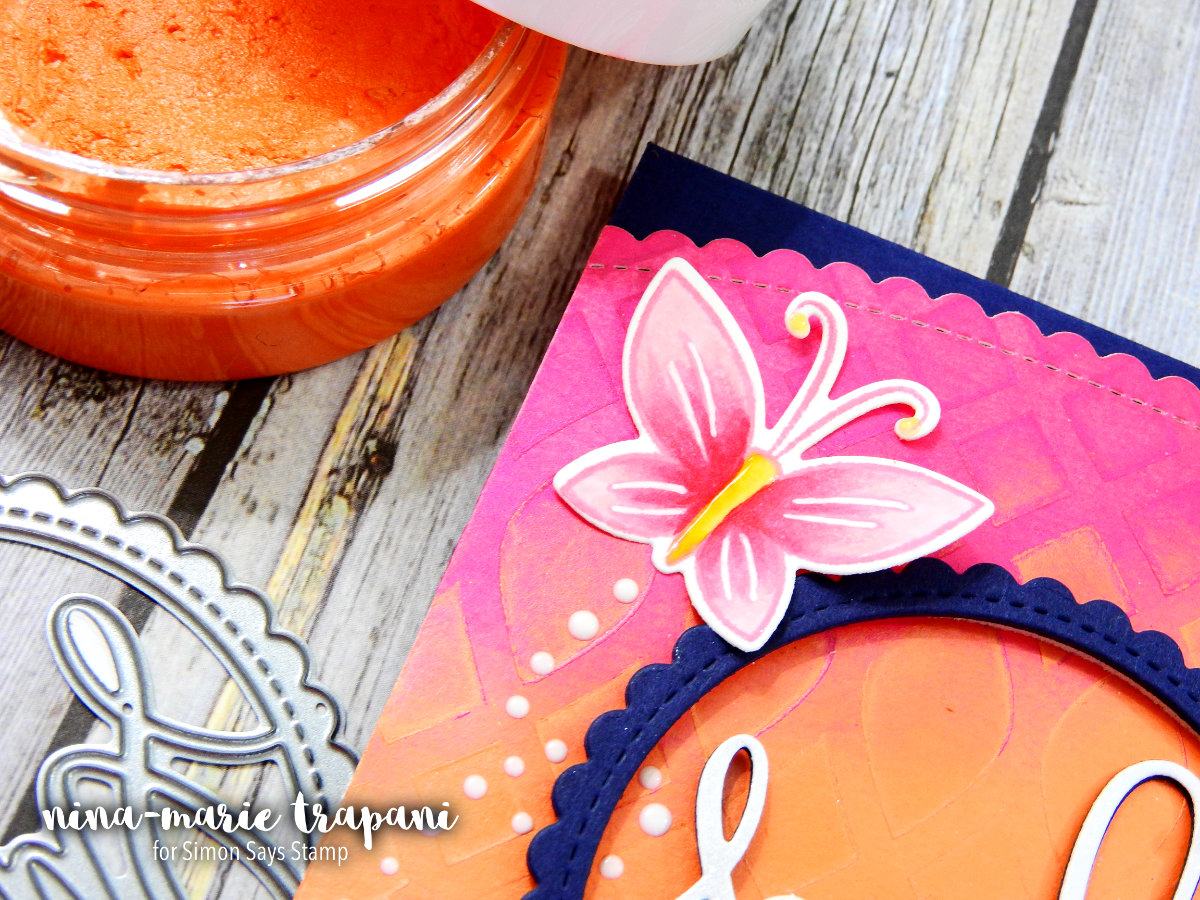 Did you know that embellishment mousse is able to be broken down with water and turned into a coloring medium? The second technique I feature in today’s video is watercoloring with embellishment mousse. This is really fun, because you get a beautiful shimmery effect once it dries!
 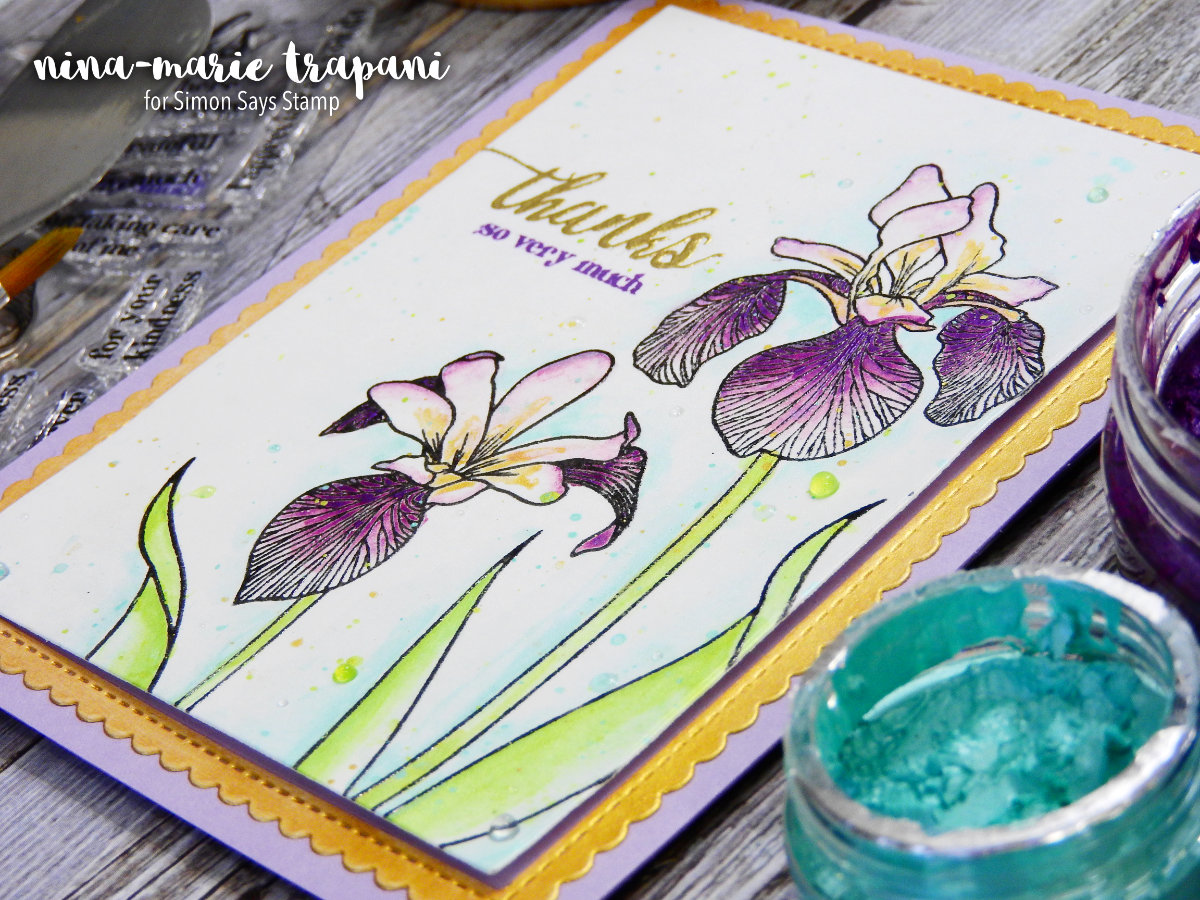 I created my watercolor by simply applying some mousse onto a plastic palette (any slick surface will work), I working a little water into the mousse to break it down into a liquid form. I used just a few colors of mousse (a purple, green, teal and gold). This is a great demonstration that you don’t need lots of colors to create great variation of color and sharing, as you see in the irises on my card.
 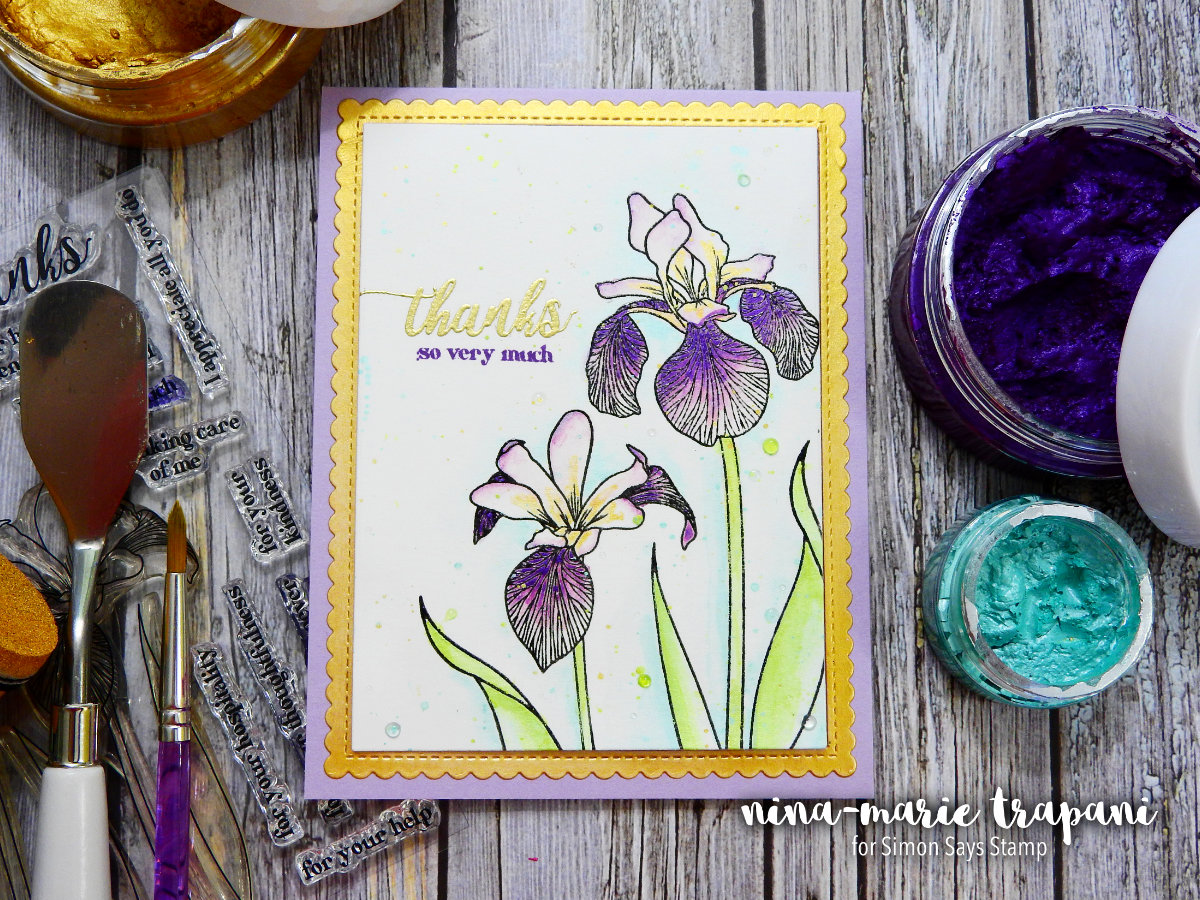 The outlines of the irises are heat embossed with black pigment ink and clear embossing powder, as I didn’t want the mousse to mute the outlines (the irises are from the Altenew Enchanted Iris stamp set).
 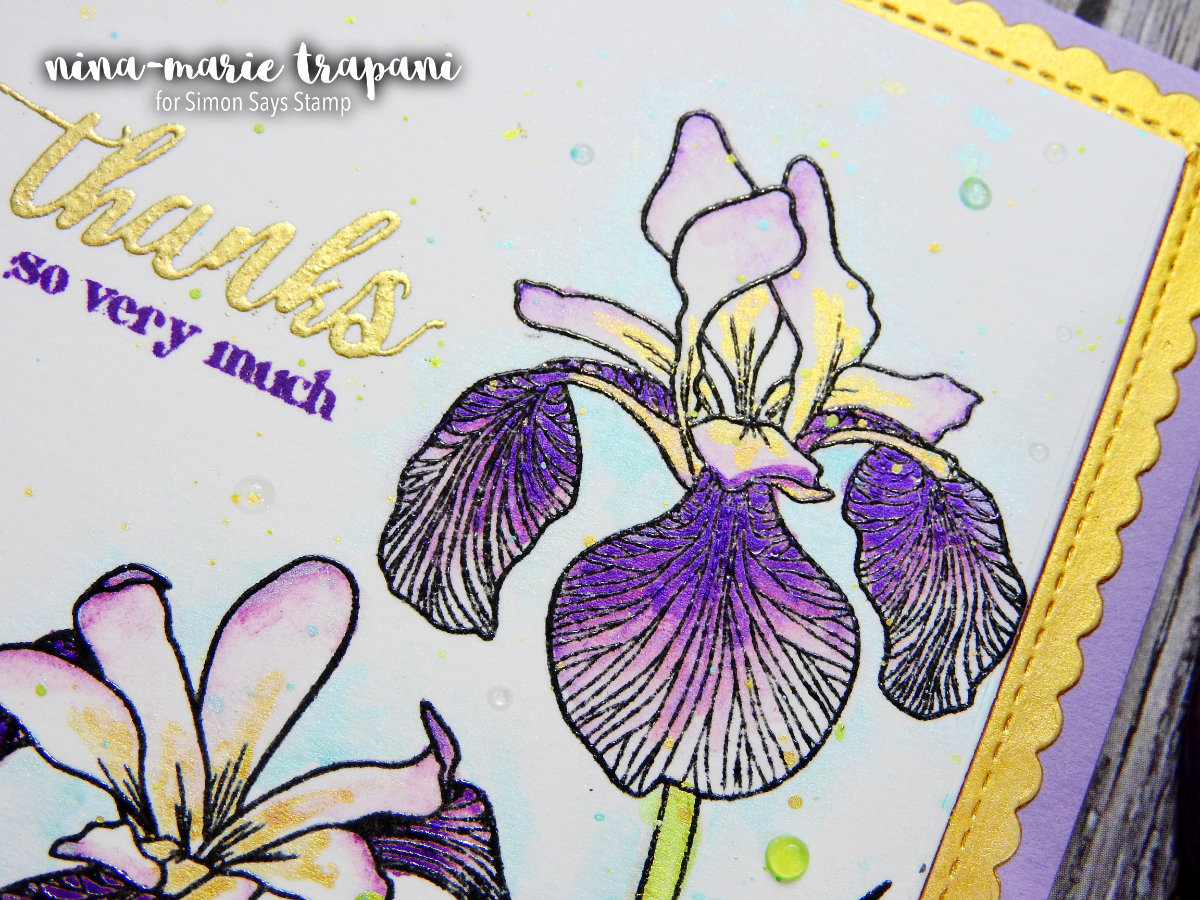 I heat embossed in gold a sentiment from that same Enchanted Iris stamp set and I also stamped a supporting sentiment underneath in purple ink. The gold frame is die cut with a My Favorite Things scalloped frame die and then I blended some of the gold mousse onto it; this way it coordinates perfectly with the gold in the flowers! To embellish the card I used a few Nuvo jewel drops onto the background.
 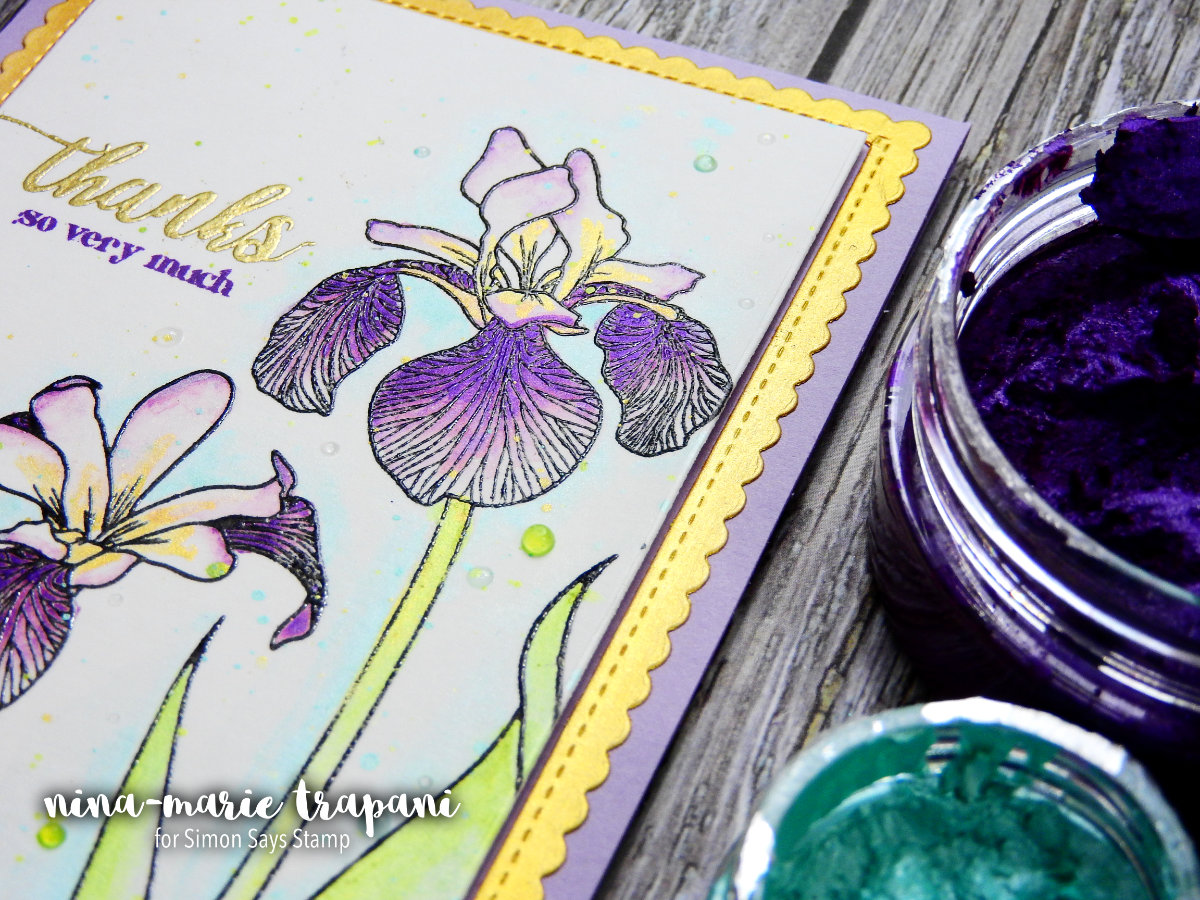 The final technique in this video is adding embossing powder onto the mousse. When you stencil a design onto paper with the mousse, if you apply it thick enough you end up with the edges of the stenciled design being a little bit more dimensional then the centers of the stenciled design. Those thicker areas stay wetter a little bit longer than the rest of the mousse and gives you a chance to add embossing powder on top!
 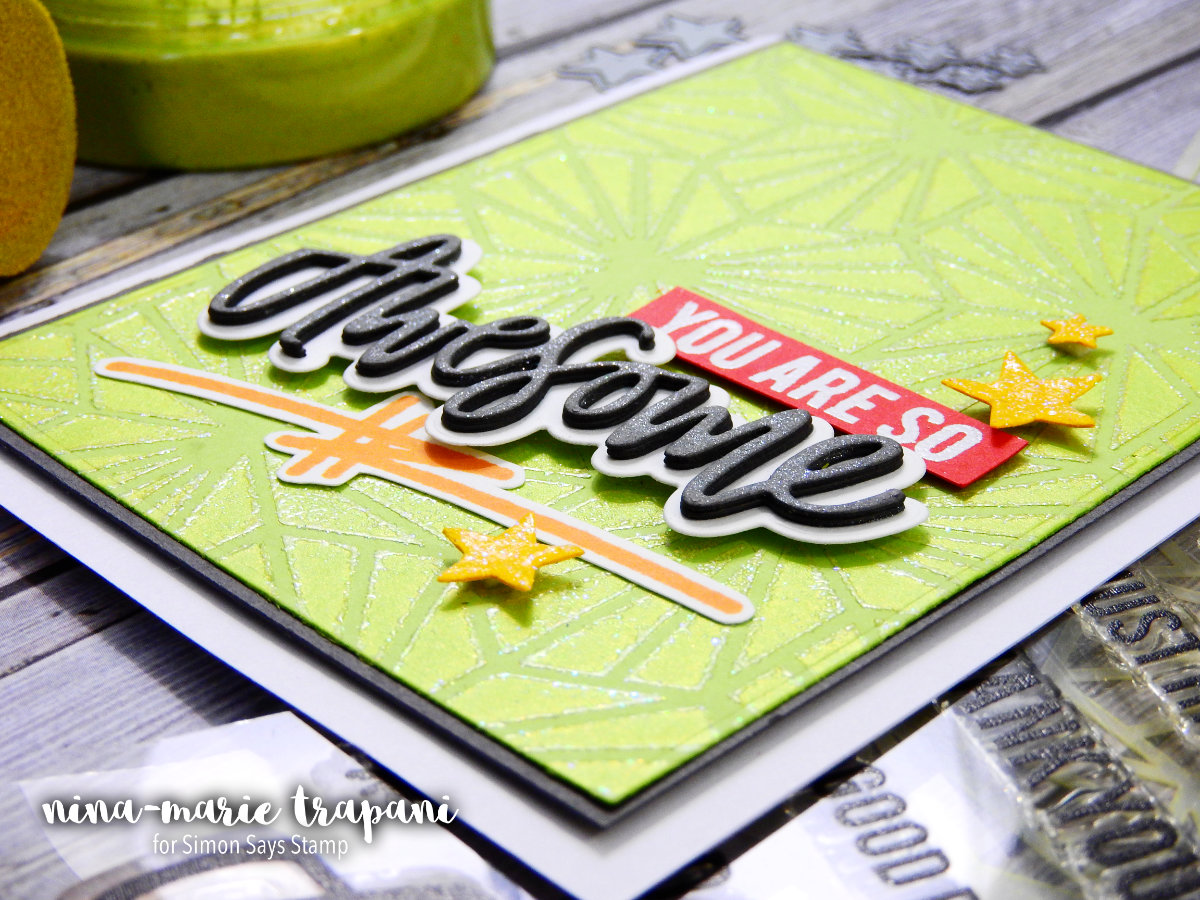 You do need to work pretty quick with this, because mousse doesn’t take long to dry (just a few minutes); so keep that in mind as you are working. I finished off the card by die cutting an “awesome” sentiment from slate cardstock and a Neat & Tangled die set. The supporting sentiment is from the Awesome stamp set that coordinates with the die I used and that is white heat embossed on red cardstock.
 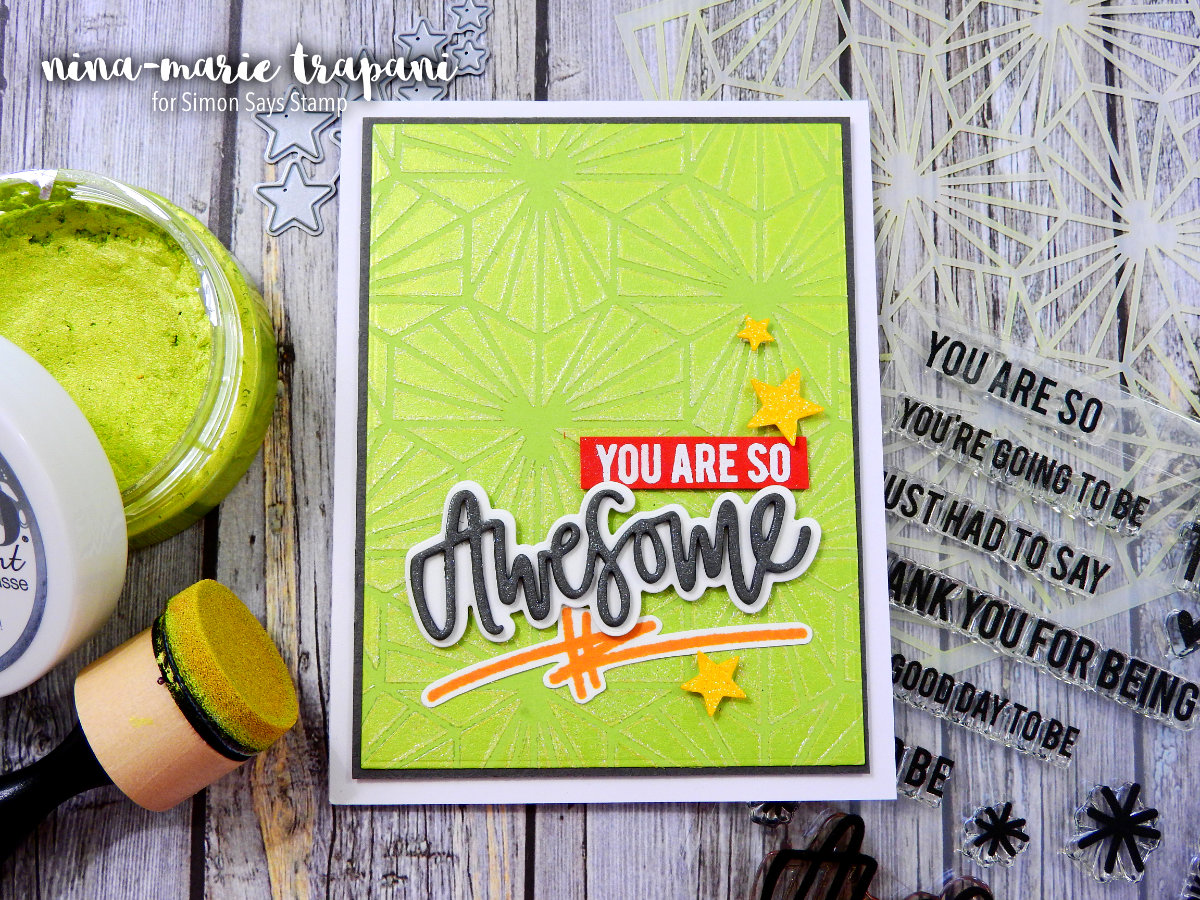 I embellished the card with stars die cut from a Simon Says Stamp die set and added Nuvo glitter drops onto each one for a dimensional glitter effect! And speaking of glitter, the gorgeous stenciled design with the glitter-crusted edges looks really awesome… check it out in this close up:
 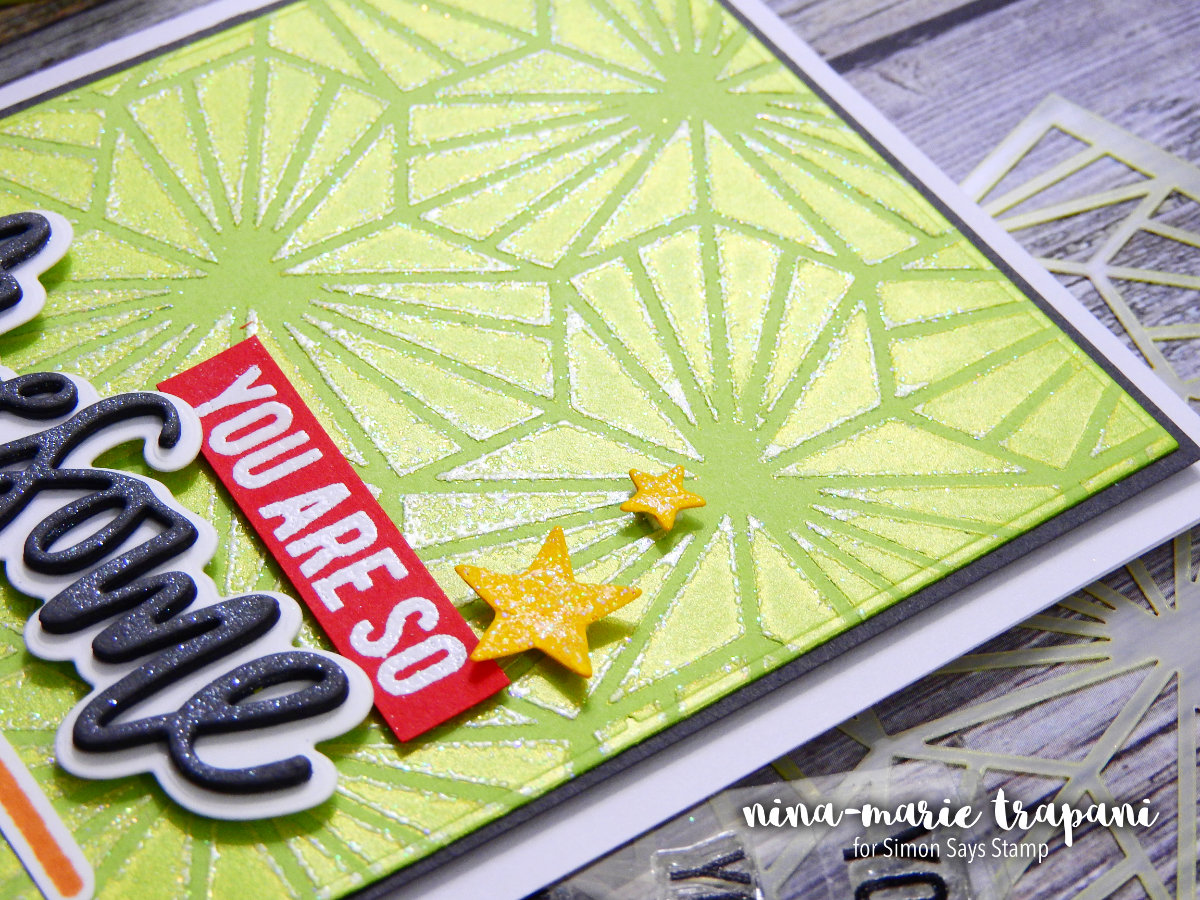 I hope you will be checking out the video below to see these techniques in action! Thanks for stopping by and visiting with me today… I’ll be back again next week with a new tutorial!
WATCH THE VIDEO
SUPPLIES


Blog Candy Alert!! Follow our blog via email and comment on this post for a chance to win grab bags and blog candy! Remember to tag your awesome projects with #simonsaysstamp on social media so we can see what you are creating! 
Happy International Friendship Day + Dimensional Background with Distress Ink Refills + Embossing Paste
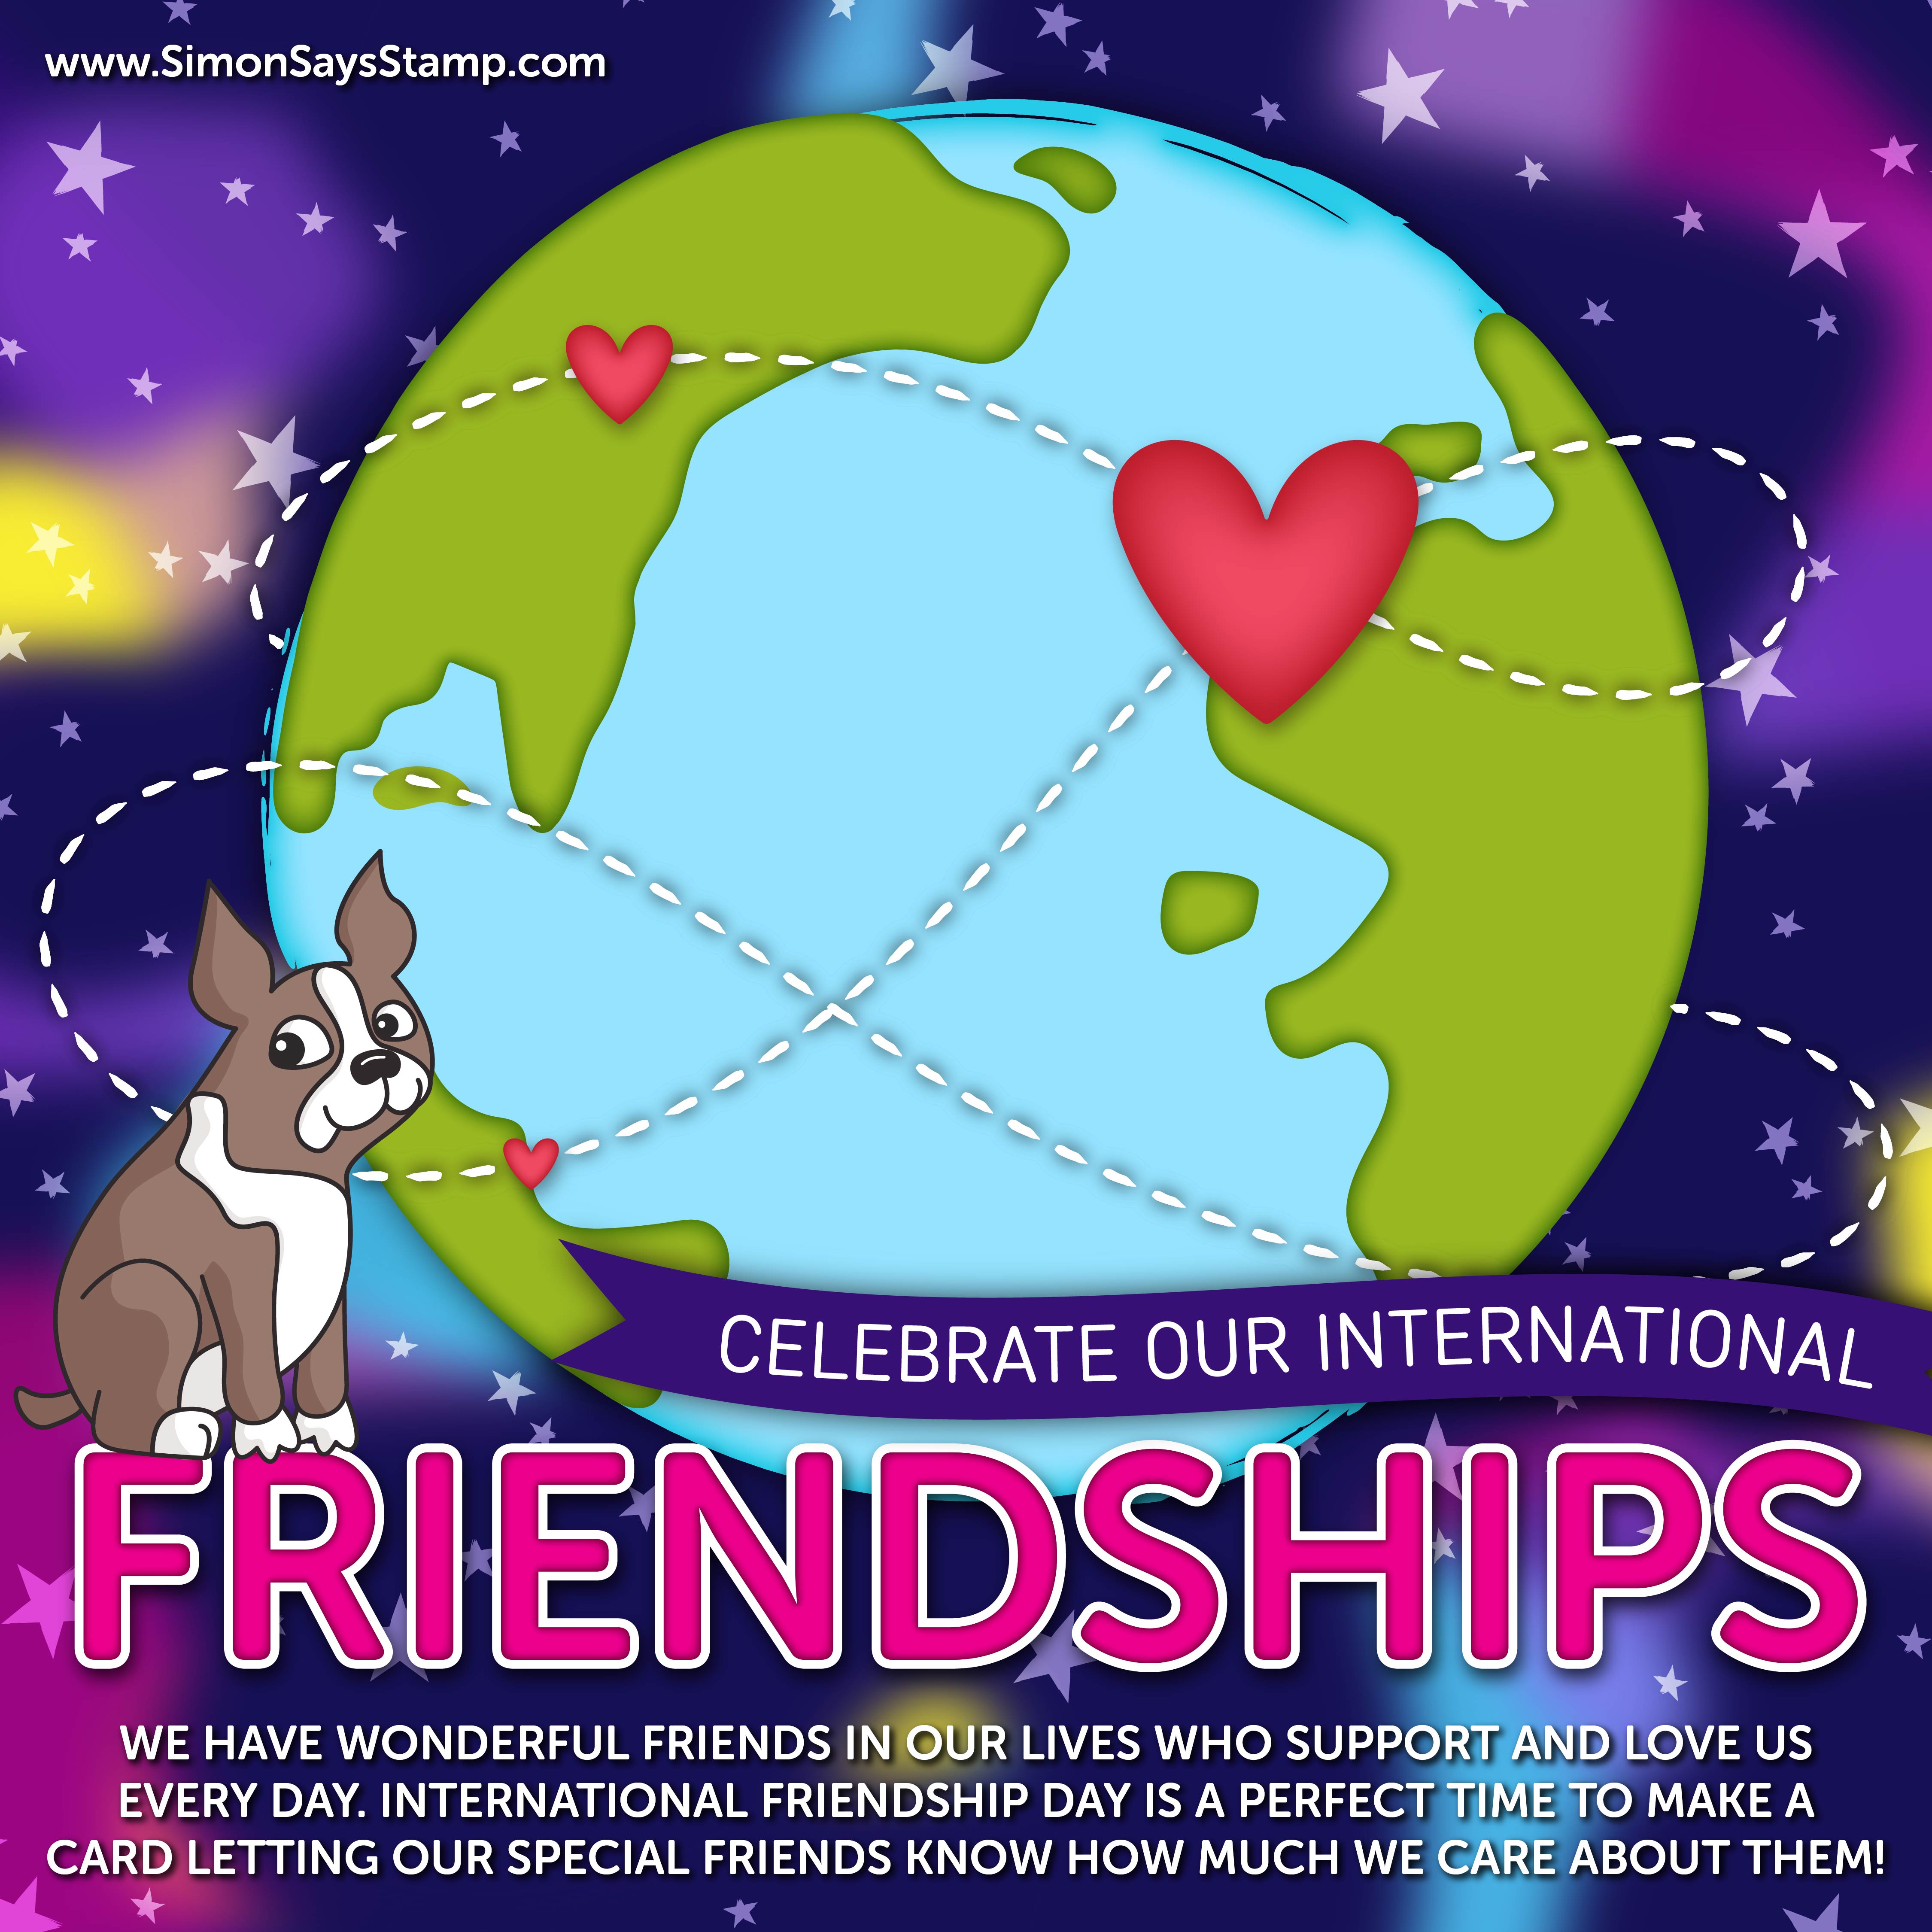
Hello crafters, it’s Nina-Marie here with you; Happy International Friendship day!
Today is one of those “fun” holidays, in which friendship is promoted and celebrated. As cardmakers, we have many friends around the world that love and support us. And what better way to celebrate International Friendship day than to send a card to one of our friends! I encourage you to send a handmade card to a friend, letting them know how much you love and appreciate them.
Need inspiration for making a friendship card?? Well, I have a bright and happy card to share with you today in honor of this special day! This card spawned from a crazy experimental-idea that I had one day and just had to try.
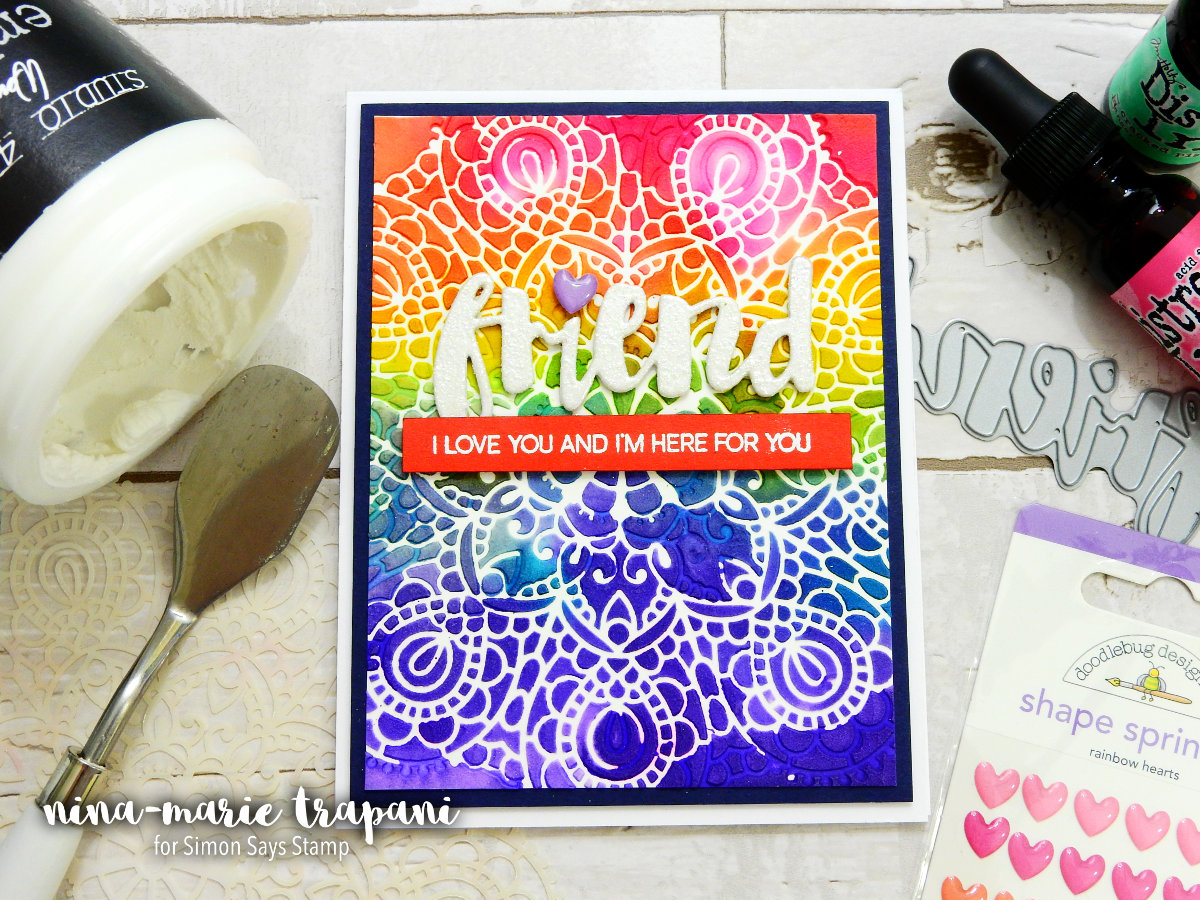
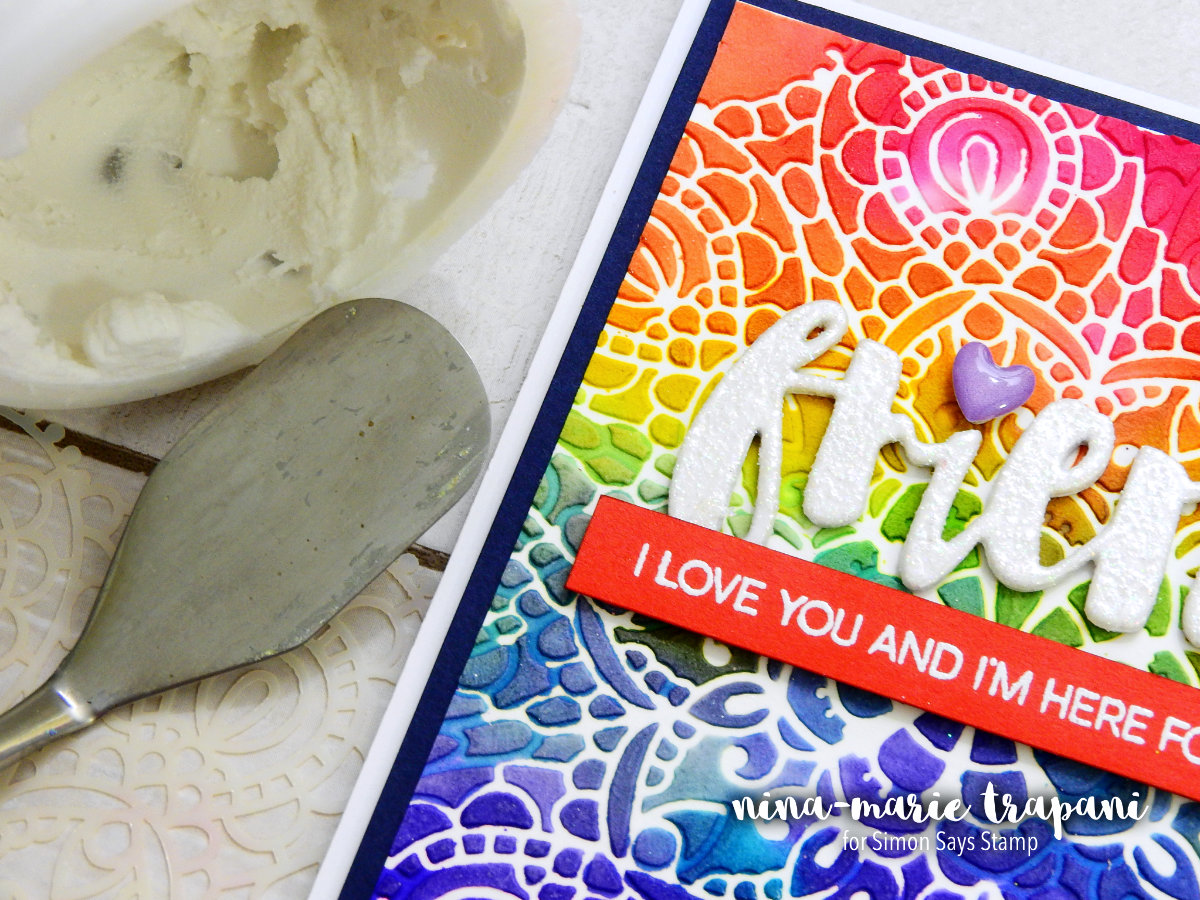
I wondered what would happen if I combined Distress Ink refills with Embossing Paste. I’ve done techniques in the past where you color the Embossing Paste with Distress Ink refills and that looks cool too. But my idea was to add the Distress Ink refills after I applied the paste onto my card. The result was even better than I had hoped!
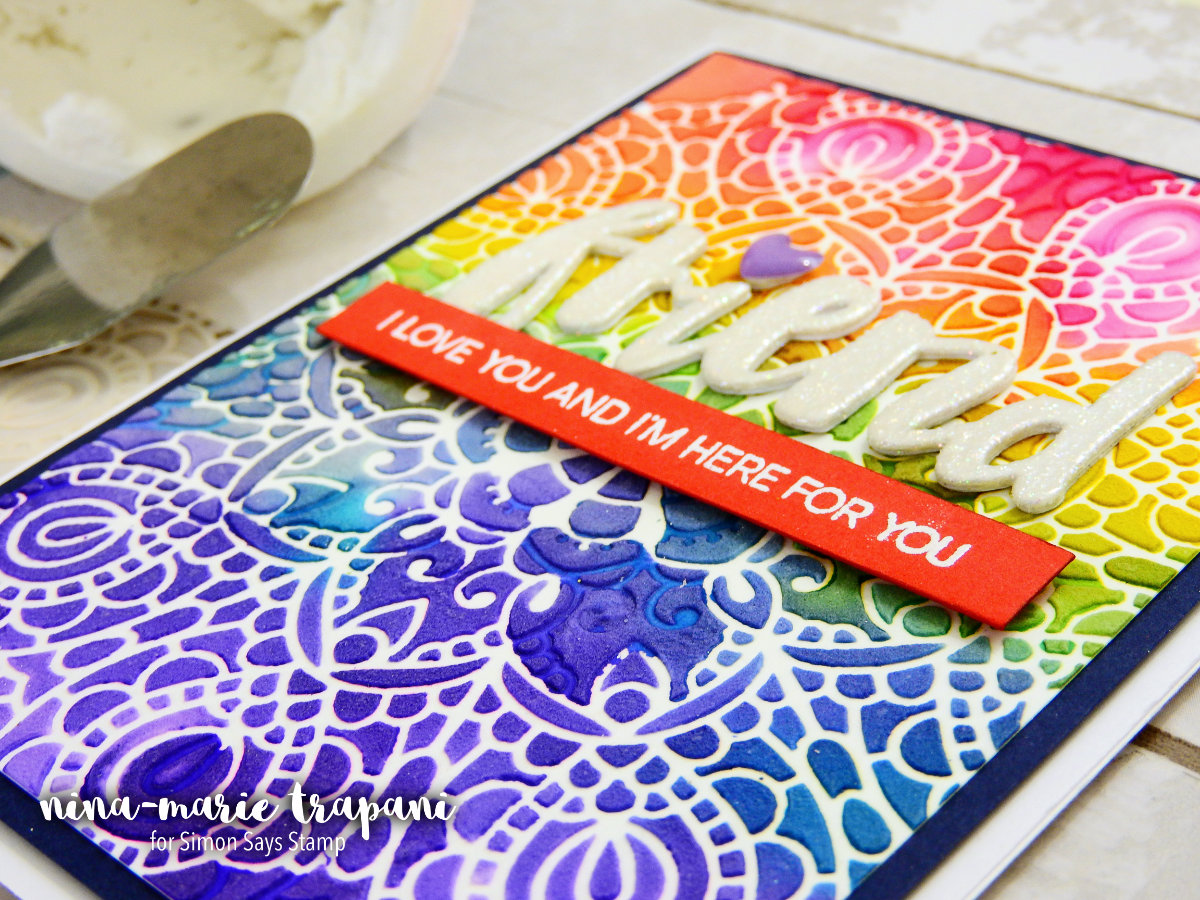
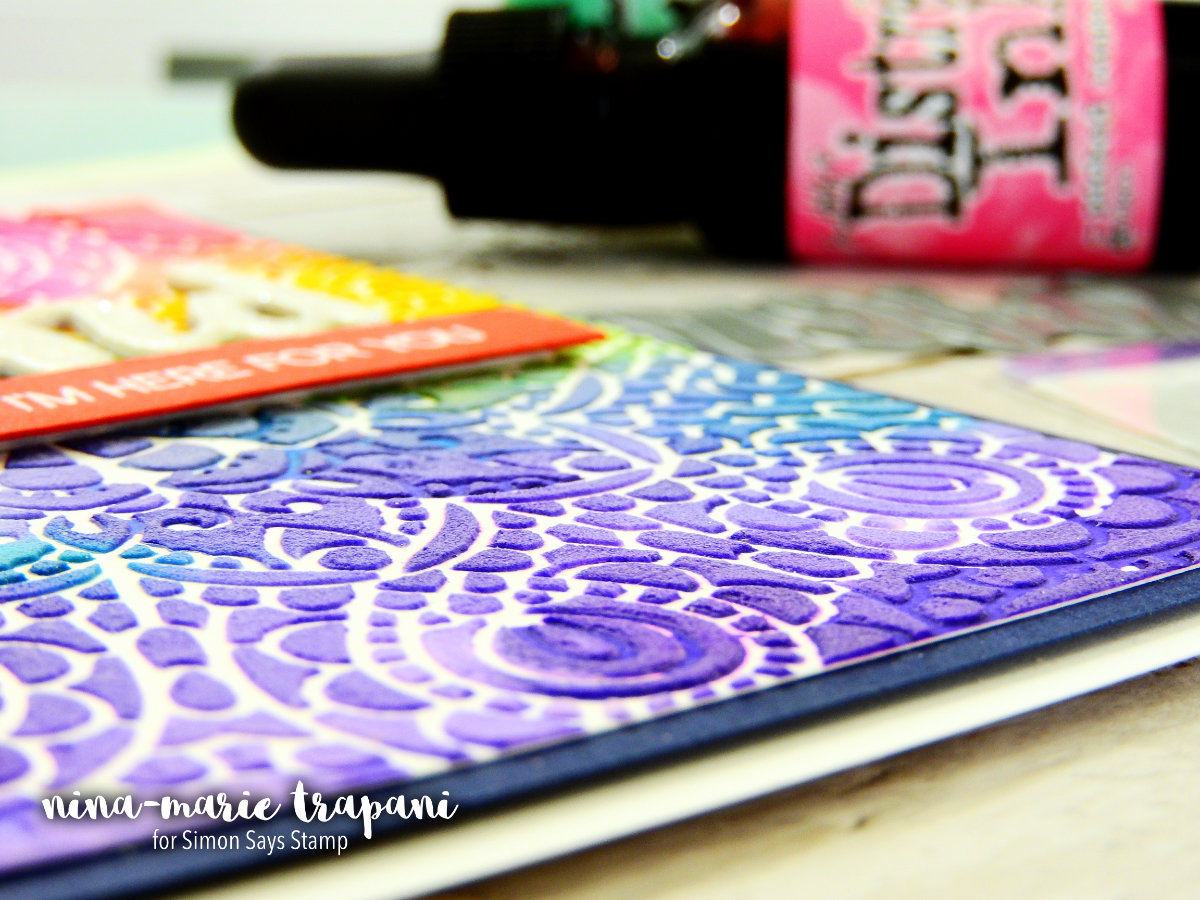
There is such a unique blend of color by using the refills in this way! This has more of a watercolor effect, yet it still has the dimension of the Embossing Paste.
Overall, the technique is really easy to recreate. The hardest part is letting it dry, LOL! I ended up letting this dry overnight because I wanted to ensure that the paste was completely dry. Depending on your climate, drying time will vary.
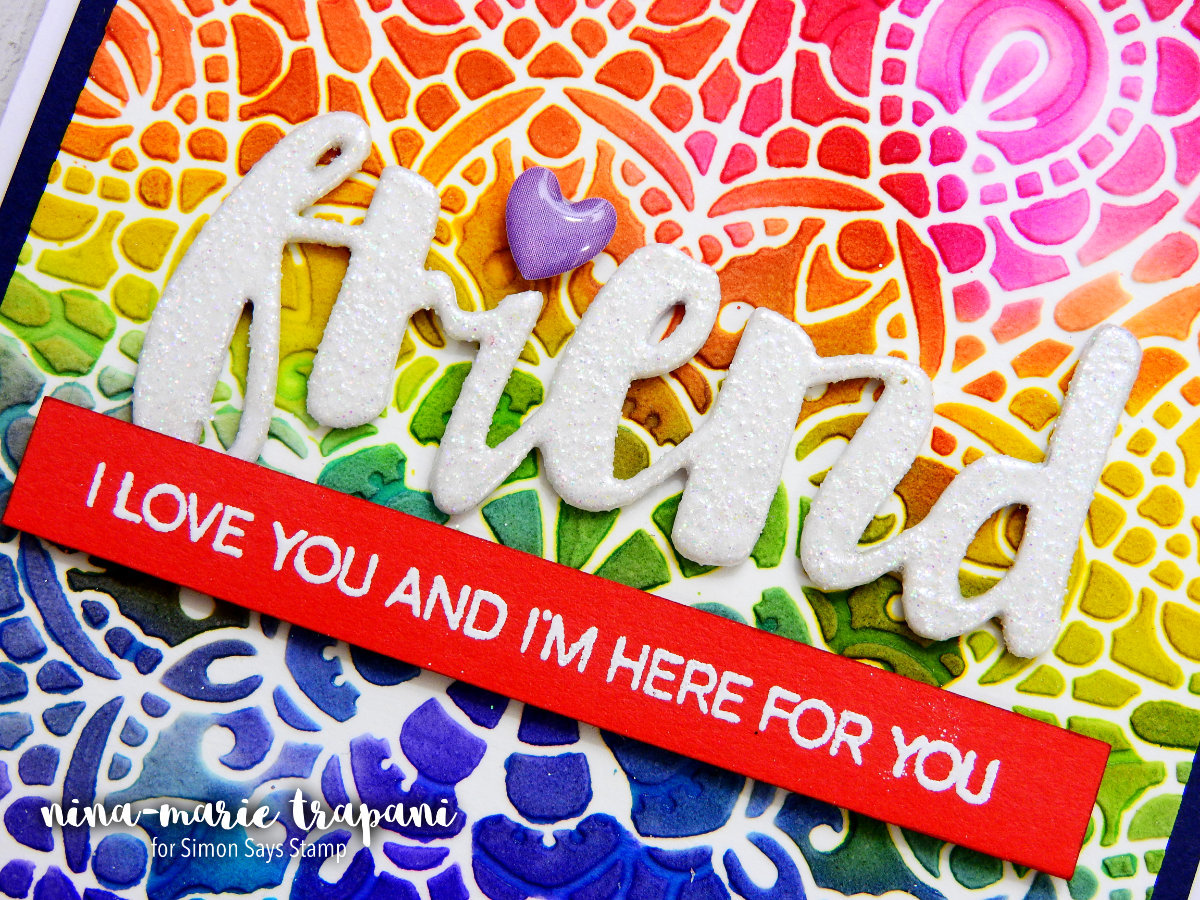
I finished off the card with a die cut friend word from Simon Says Stamp and a supporting sentiment from Altenew. I covered the friend die with glitter embossing powder from Tonic Studios and added a little heart Shape Sprinkle from Doodlebug over the dot of the “i” for an extra bit of embellishment.
Be sure to watch the video below to see this card in action! I think you’re really going to enjoy watching the Distress Ink refills and the paste combine together for an amazing result!
Thanks for stopping by and visiting with me today; I’ll be back again tomorrow with a new Studio Monday video for you!
WATCH THE VIDEO
SUPPLIES


Blog Candy Alert!! Follow our blog via email and comment on this post for a chance to win grab bags and blog candy! Remember to tag your awesome projects with #simonsaysstamp on social media so we can see what you are creating!
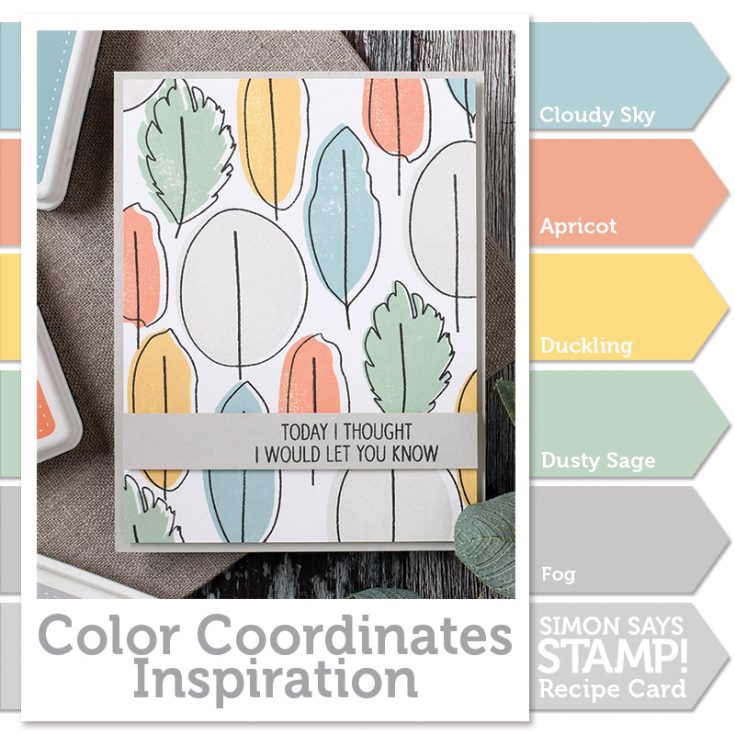
Color Coordinates: Offset Stamping

Hi Everyone! Happy Saturday!! It’s Shari here with a Color Coordinates recipe and offset stamping technique for you.
Do you store your inks away and forget about some of your favorite colors? I’m guilty of picking up the same 12 or so inks when making my cards, but this time I decided to dig into my oranges and found a forgotten treasure…Apricot!
I wanted a retro look for this offset stamping technique so I chose soft tones of Cloudy Sky, Apricot, Duckling (my favorite yellow), Dusty Sage and Fog.
Using the Neat And Tangled stamp set Calathea, I stamped the solid images in my five colors onto a panel of Neenah White 80# card stock.
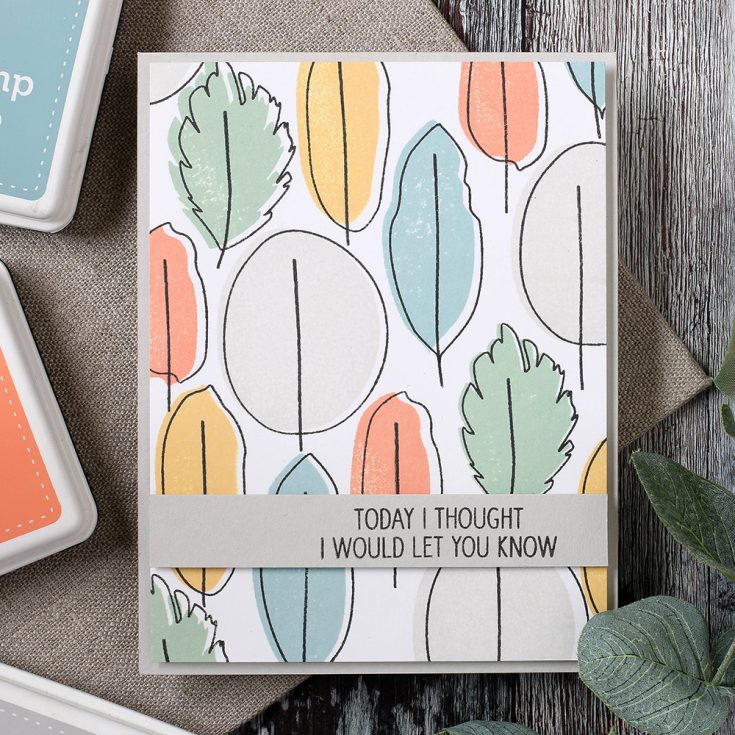
The inks work their way into the paper leaving a soft silky look. Once I filled the panel with the color images, I stamped again using the outline images with Simon Says Stamp Intense Black ink. To get an offset look, I positioned the outline to the right leaving white space next to the leaves.
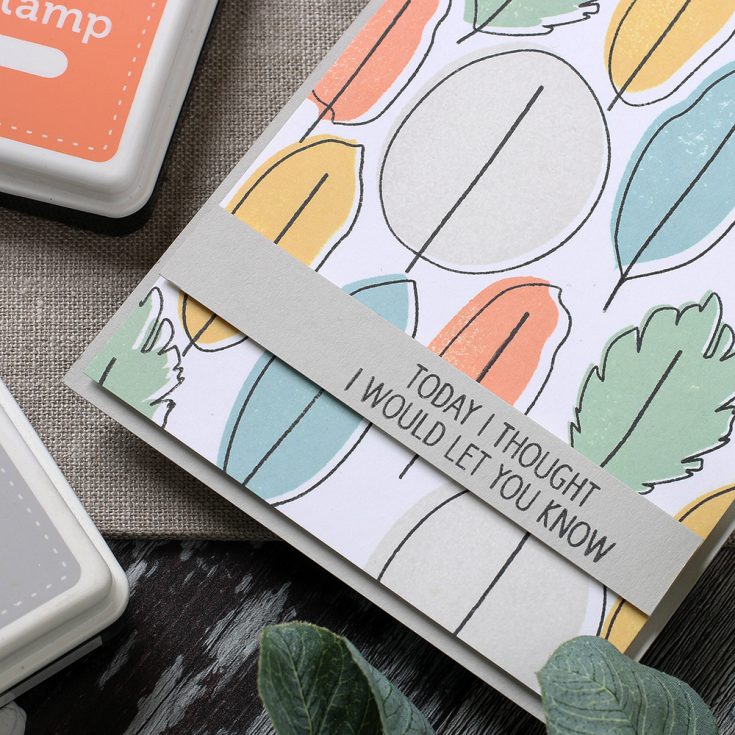
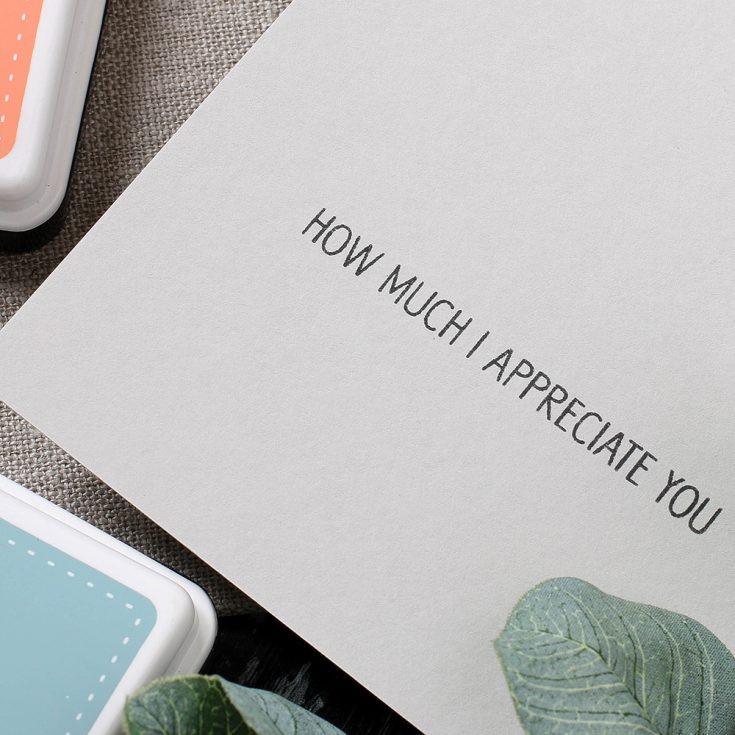
The Calathea stamp set offer inside and outside messages. I added a simple greeting using the Intense Black ink.
I have filmed how to make this card which you can watch below or on our YouTube Channel Here.
Blog Candy Alert!! Follow our blog via email and comment on this post for a chance to win a special blog candy!
I hope you all have a joyful weekend and thanks for stopping by.
 |
 |
 |
 |
 |
 |
 |
 |
 |
 |
 |
 |
 |
 |
 |
 |


