Doodling with Debby: Adding Finishing Touches
Hi friends! TGIF! Welcome to the latest edition of “Doodling with Debby” with the always fabulous Debby Hughes! She’s giving some helpful tips and tricks on how to add finishing touches to a card. Be sure to watch the video and enjoy!

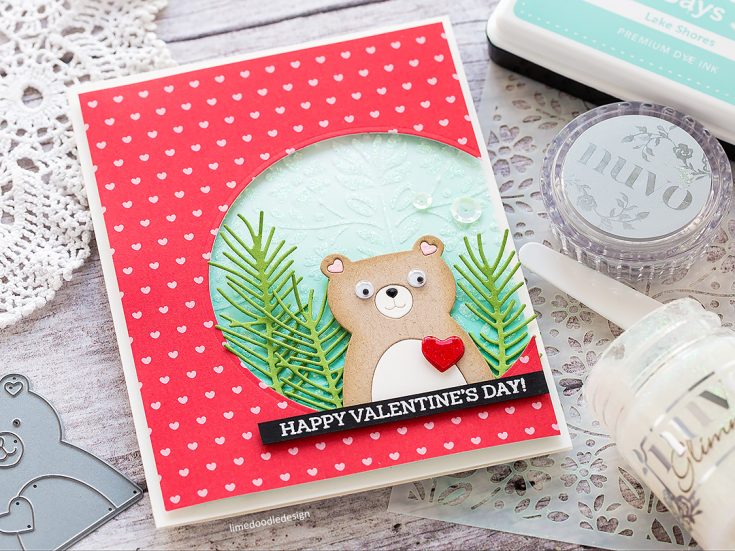
Hi, it’s Debby here today with my monthly video feature for Simon Says Stamp, Doodling With Debby. For this month’s card, I wanted to look at adding all those little finishing touches which together give a polished result and add extra interest too. My card uses the new, oh so cute, Picture Book Love Bear and the beautiful Folk Dance Stencil.
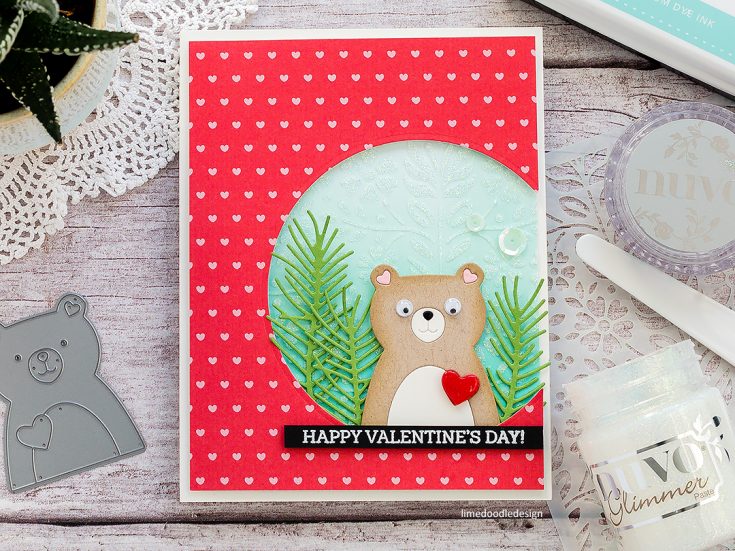
Firstly, to create the bear I cut the Picture Book Love Bear from Neenah Desert Storm, Ivory, Cotton Candy, twice from Lipstick Red and finally from Black card. You could start compiling the pieces together straight away, but I want to add those extra details, and so I gently sponged Simon Says Stamp Khaki ink around the edges of the bear’s body. This gives the impression of dimension and also deepens the color of the card slightly to a more bear-like shade! Using Craft Tacky Glue, I jigsawed the pieces together on a piece of white card and then trimmed out. You could add the bear directly to your background. But I wanted to foam mount him for extra dimension.
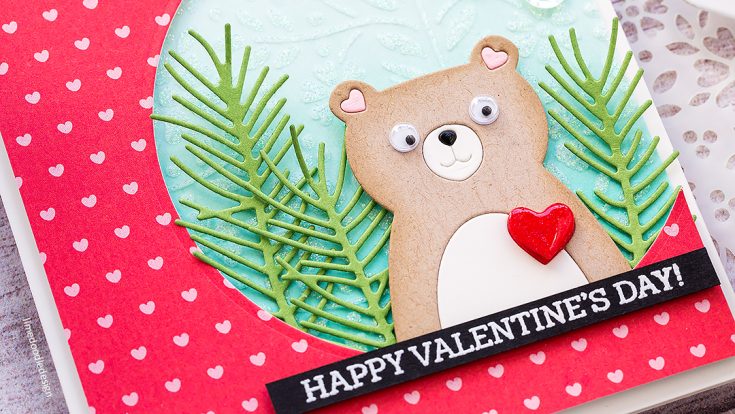
Moving on and I wanted to add more of those finishing touches to the bear to add interest. I used a Spectrum Noir sparkle pen to add a glittery finish to the red heart and pink heart ears. I used a Sakura glossy black pen to add a realistic gloss to his nose. Then to create more dimension and draw your eye to the red heart, I added the second red heart I’d die cut, with foam adhesive, again coated with Spectrum Noir sparkle pen and then a coat of Nuvo Crystal Glaze. Finally, for his eyes, I added a pair of wiggle eyes.
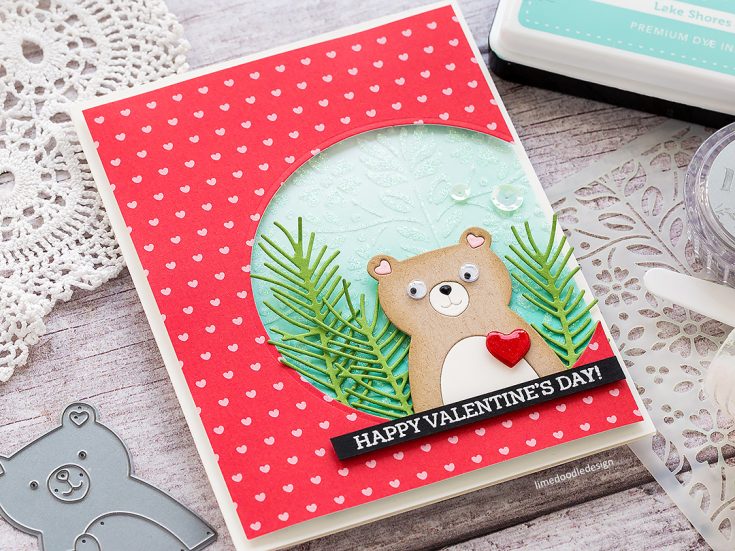
I blended Lake Shores and Scuba inks into a panel of the white card. You could mount the bear straight on to this background, but with a view to adding more interest I wanted to take the background up a notch by adding a subtle sparkly pattern using the new Folk Dance stencil and Nuvo Glimmer paste in the Moonstone colorway. Using a Ranger spatula, I spread the paste from one side to another as if spreading butter. This glimmer paste is my new love, and I’m going to need to buy a new pot soon as all I want to do is add sparkle to everything!
Although I like white space both regarding space and the color, for today I broke out the patterned paper from a recent card kit – Pebbles Inc. from their Forever My Always 6×6 paper pad. I trimmed the paper to be just slightly smaller than an A2 card base and then ran it through the die cutter with a Nested Circle die offset to the lower right corner. While I had my die cutter out, I also ran the Pine Needle Trio though with some Green Leaf card.
I trimmed the ink blended piece so that it was just slightly smaller than my patterned paper panel. Then I added foam adhesive to the back of the patterned paper and added the ink blended piece behind the open circle. I added foam adhesive to the back of the bear and then mounted him slightly to one side at the base of the open circle. I trimmed the pine needle trio pieces to fit around the bear as if they were trees and the bear was standing in a forest. I then adhered each of the pine needles with Craft Tacky Glue to keep them in place. I only added glue to the base of the trunk so that the branches could be loose from the background and add extra dimension.
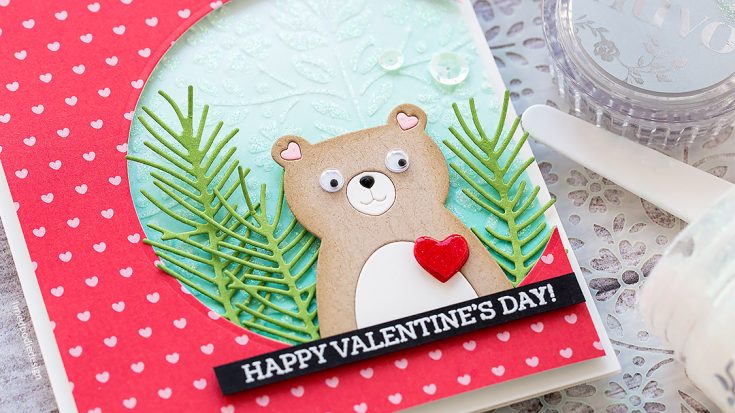
I added Craft Tacky Glue to the back of the panel and adhered it to the Ivory card base. I stamped the Happy Valentine’s Day sentiment from the Breakfast Buddies stamp set in clear embossing ink on the Black card and white heat embossed. I then trimmed the sentiment to a skinny banner and added it with foam adhesive along the base of the circle opening. One final touch was to add a pair of Little Things From Lucy’s Card sequins, again held in place with Craft Tacky Glue.
Thanks for joining me today. I hope you enjoyed this look at how to add more details and interest to a card to take it up a notch. I’ll see you next month for Doodling With Debby!
WATCH THE VIDEO:
SUPPLIES:
|


Thanks so much for reading today, and to Debby for being our guest!
 Blog Candy Alert!! Follow our blog via email and comment on this post for a chance to win a special blog candy!
Art Journaling: There is Love with Shari Carroll
Hello everyone!! Happy Thursday and Happy first day of February!!
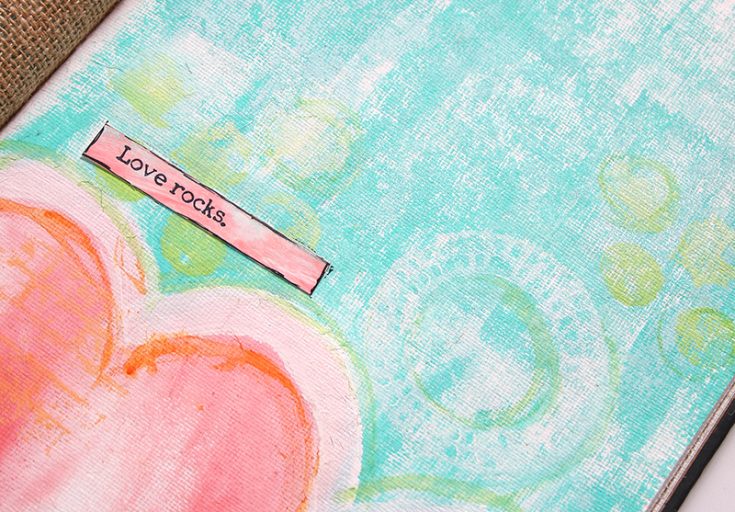
I have an art journal page for you today that I happen to think was so FUN!! This is the sort of page that is more freestyle. I enjoyed just going for it, making art without worries, you know? Let’s think about this for a second. How can we learn techniques and get used to our pens, paints and products best? We experiment!!
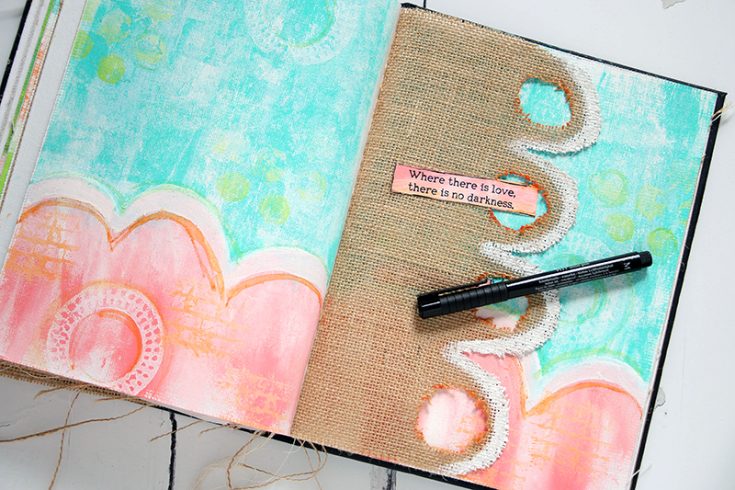
I started by playing with a brayer, gel press and some Dina Wakley paints to add color to the watercolor page background of my journal. Then… I cut into the burlap to create a loop edge and used it as a template for the design on the background. Once I had a general idea of where my page was going, I let myself loose by adding additional layers of paint using my fingers and stamps.
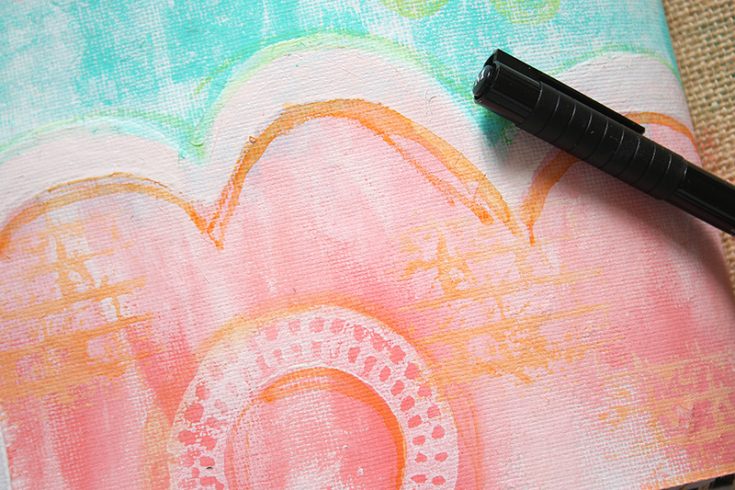
I added highlights using Dina Wakley Scribble Sticks. This was totally unexpected and really fun. Not only was I experimenting, I was also challenging myself to move forward and go for it!
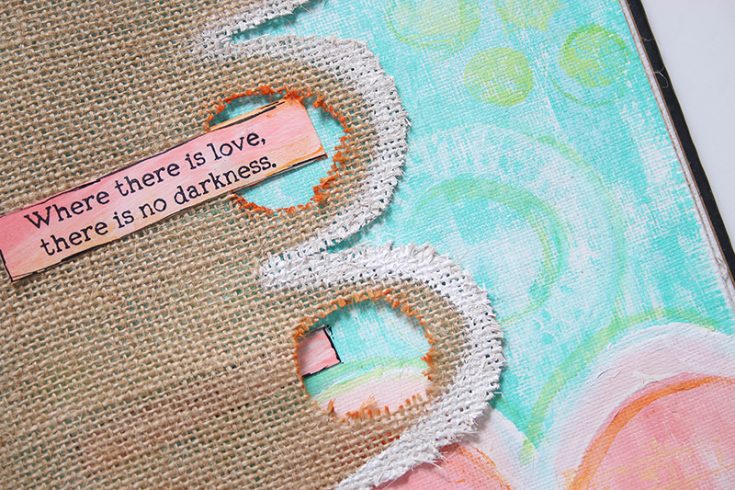
The one super enjoyable thing about this page was cutting holes in the burlap center to create an interesting element.
It’s still hard for me to write so once I’m up to it, I’ll be adding my handwritten journaling. I hope you’ve enjoyed this, I certainly had a good time! I’ve filmed a video of the complete process that you can watch below or on our YouTube channel here.
I hope I’ve inspired you to play and experiment in your own style with paints and prayers. Enjoy!!
|


Love Blog Hop WINNERS!
Hello friends! Have you seen our exclusive Simon Says Stamp Love release? Simon Says Stamp’s exclusive Love product lineup has so much to offer—gorgeous florals, brand new Picture Book dies, adorable stamps, a gorgeous stencil, as well as a new collection of Suzy’s Watercolor Prints. We’re so excited for you to be inspired by this amazing release!
To celebrate this phenomenal release, we hosted a blog hop! The hop featured many talented designers and each one created wonderful projects to inspire you. If you missed the hop, you can find the beginning HERE.
A BIG thank you to all of YOU who joined us for the hop! We enjoy hearing from each of you, and your words of encouragement and appreciation to each of the designers mean so much to us here at Simon and to them. It’s our tradition to give away gift certificates to random commenters on each blog stop, and today we are revealing all of the winners! So without further ado, I present to you our winners!
LOVE BLOG HOP WINNERS:
from the Simon Says Stamp blog: Lynne Jardine!
from Jennifer McGuire’s blog: Renee Milner!
from Kristina Werner’s blog: Kristine Boydstun!
from Laura Bassen’s blog: Katherine Quinn!
from Yana Smakula’s blog: NWFlamingo!
from Debby Hughes’s blog: Laura Harding Peddicord!
from Nina-Marie Trapani’s blog: Saloni Bhutra!
from Nichol Spohr’s blog: Barbara Lassiter!
from Suzy Plantamura’s blog: Sara Wright!
from Jessica Frost-Ballas’s blog: Michele F.!
from Heather Ruwe’s blog: Bobbis’ Treasure!
from Lisa Addesa’s blog: Kelly Butler!
If you see your name listed above, CONGRATULATIONS! Please email [email protected] and let her know that you are one of our Love Blog Hop winners! You’ll receive a $25 Gift Card. ???
Thanks again for hopping along with us! We hope you enjoy our Love release and that it gives you creative enjoyment for months to come!


