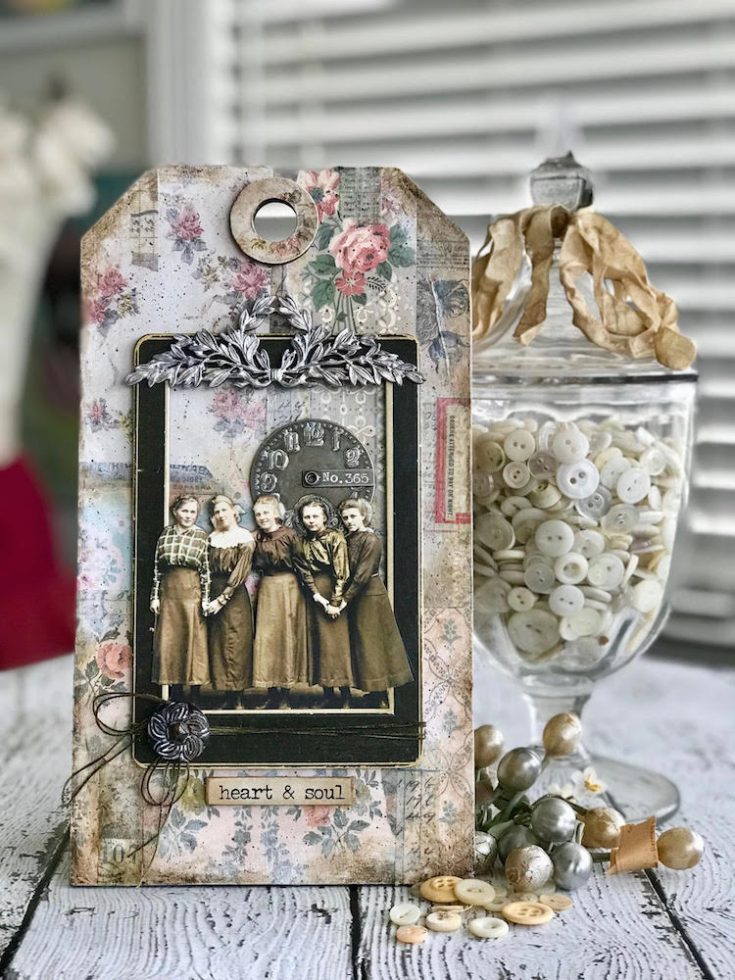
Friends Etcetera Tag by Paula Cheney
Hi friends! Happy Friday eve! ;) I’m always happy to welcome back the super talented Paula Cheney to our blog as a guest! She always makes the most interesting projects and this current tag is of no exception! Be sure to read on for more details and enjoy!
Hi friends, I’m grateful to be back at Simon Says Stamp sharing a fun tutorial using our new Worn Wallpaper. There are 24 sheets of 12 different designs in the pack so there are plenty of choices! I’ll show you have to combine multiple patterns so they all work together. Follow along and I’ll show you how I did it.
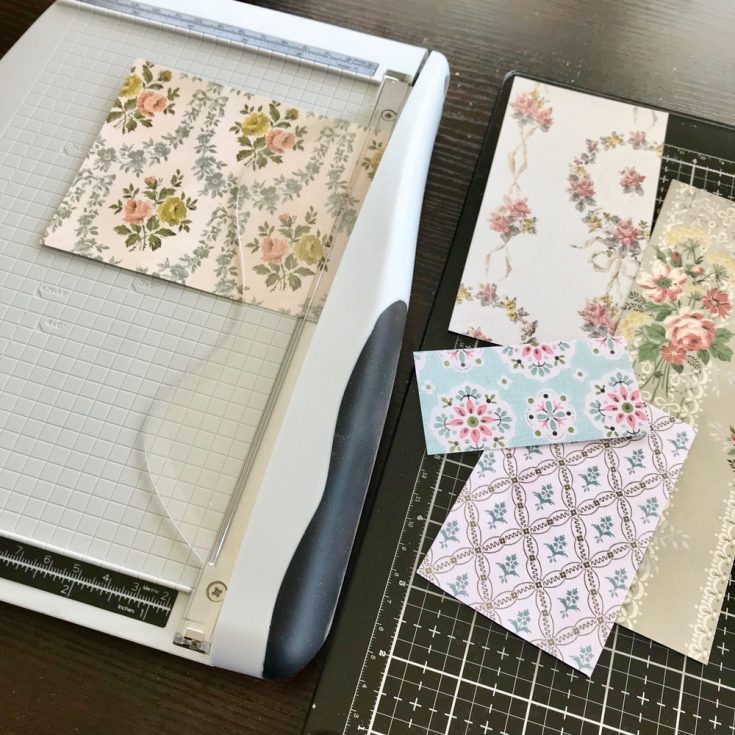
Step 1 – Use a paper trimmer to cut multiple sizes of Worn Wallpaper. I used five different patterns from the pack. The patterns do not have to match, but the scale of the patterns should vary.
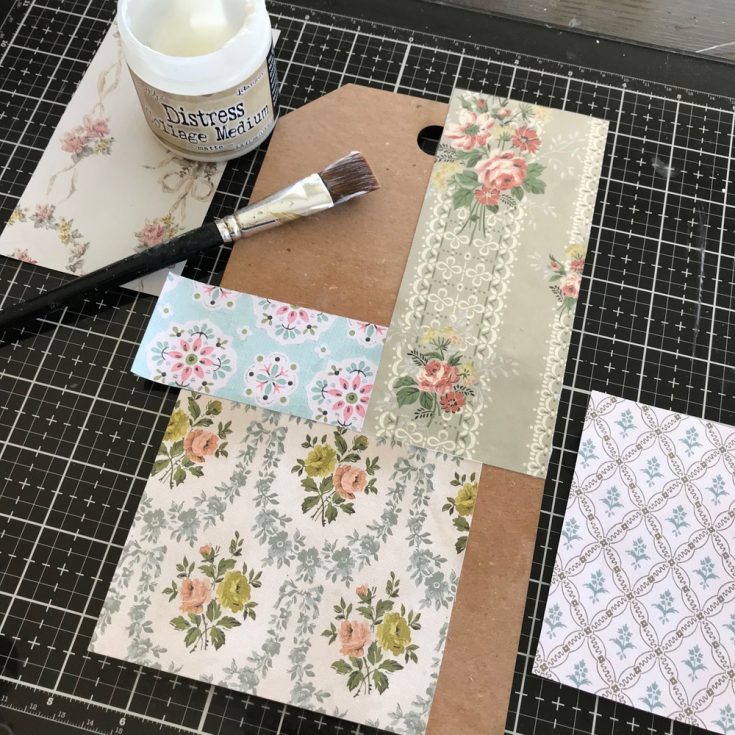
Step 2 – Use Distress Collage Medium to adhere Wallpaper pieces to a small Etcetera Tag (5 1/2 x 10”). There are now 5 sizes of Etcetera Tags and this size is right in the middle of the group.
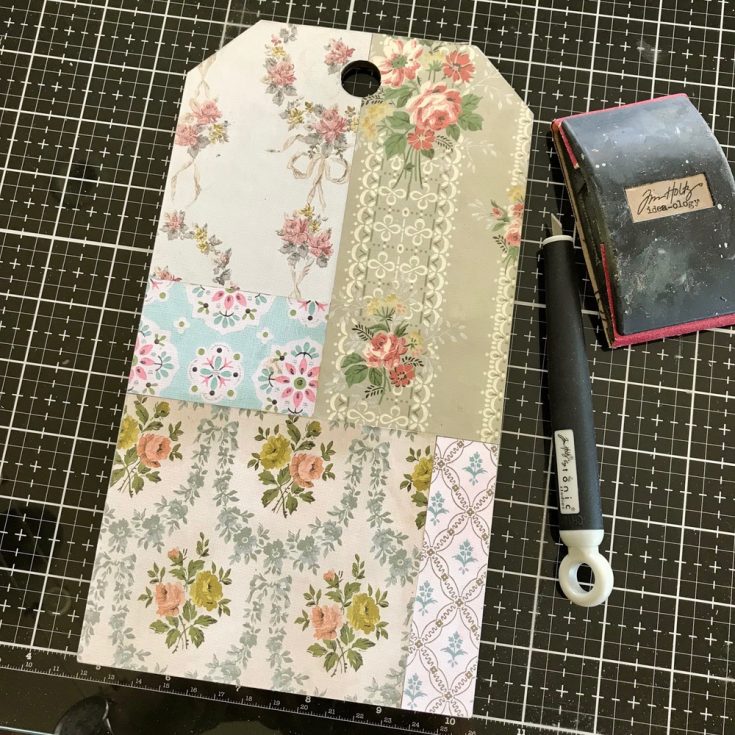
Step 3 – Flip the Etcetera Tag over and use a craft knife to cut away any excess wallpaper. I am using my Glass Media Mat as my surface which will allow me to use the cutting knife directly on the glass. The glass is tempered and the knife will not cut into the glass surface. I love that! Use a Sanding Grip to sand away any sharp corners of the wallpaper.
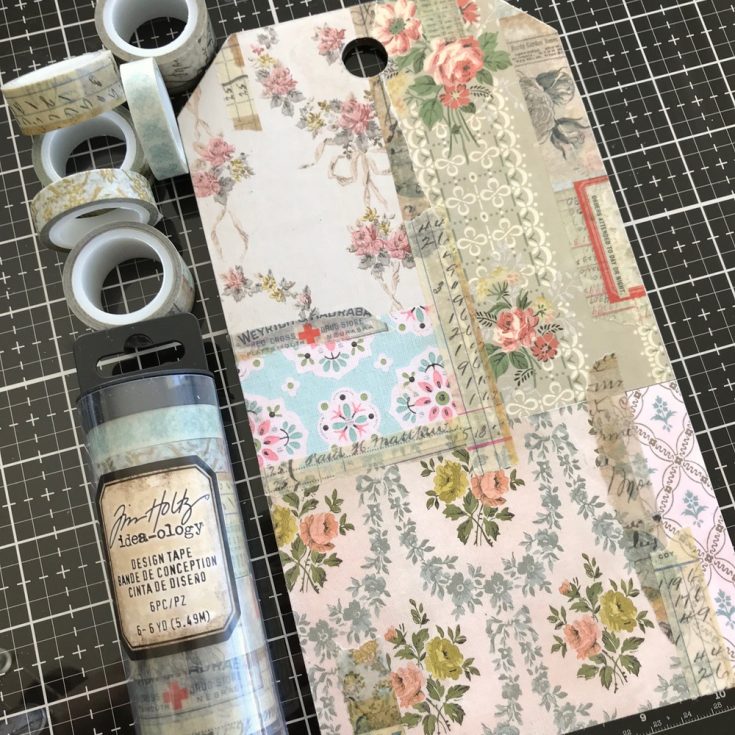
Step 4 – Adhere multiple patterns of Design Tape to the surface of the tag. The package comes with 6 different tapes in varying widths. Larger tapes can be ripped from top to bottom to create visual interest. I covered many of the seams but also added it in other areas.
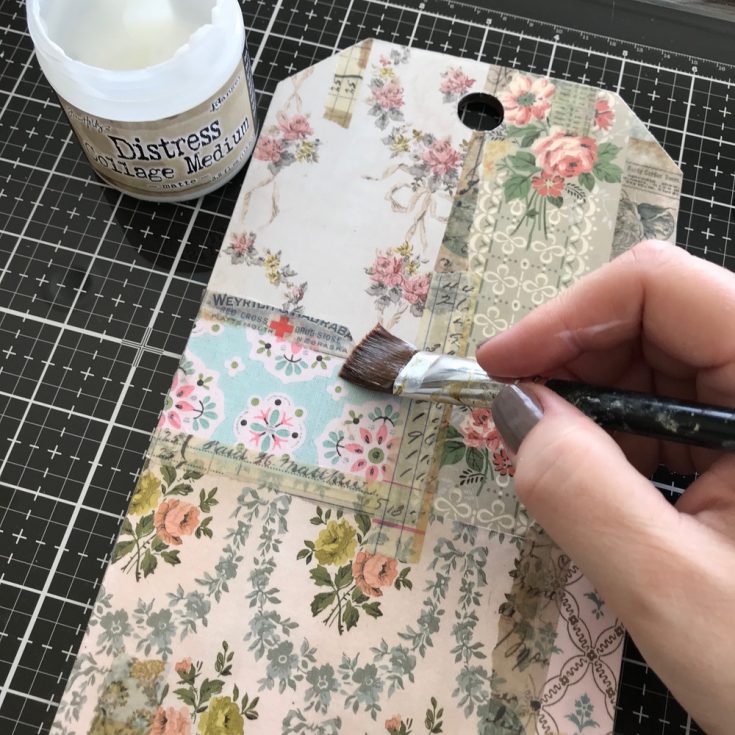
Step 5 – Paint a thin layer of Distress Collage over the entire surface to seal. Feel free to use your hands to rub the Collage Medium into the surface of the Wallpaper making sure all paper is coated. Let dry completely.
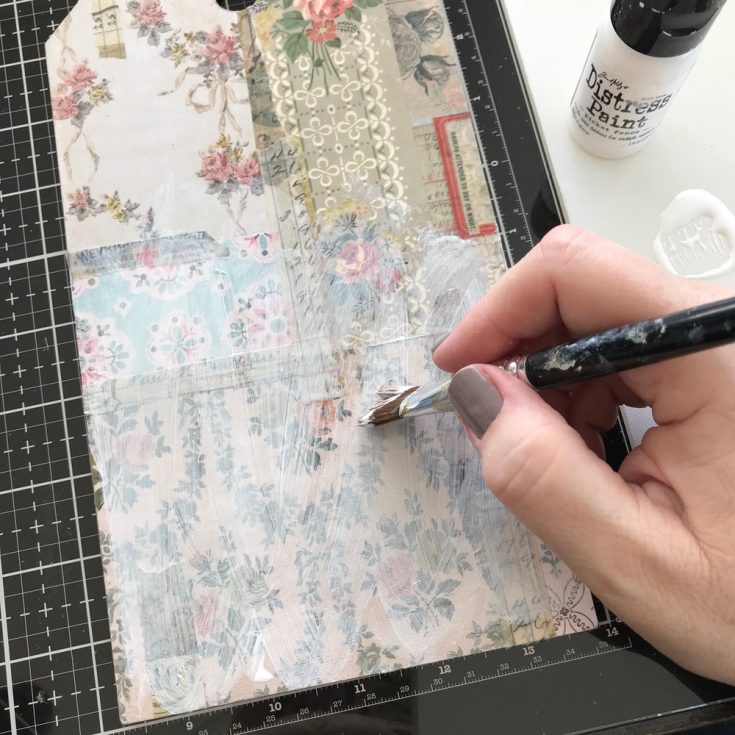
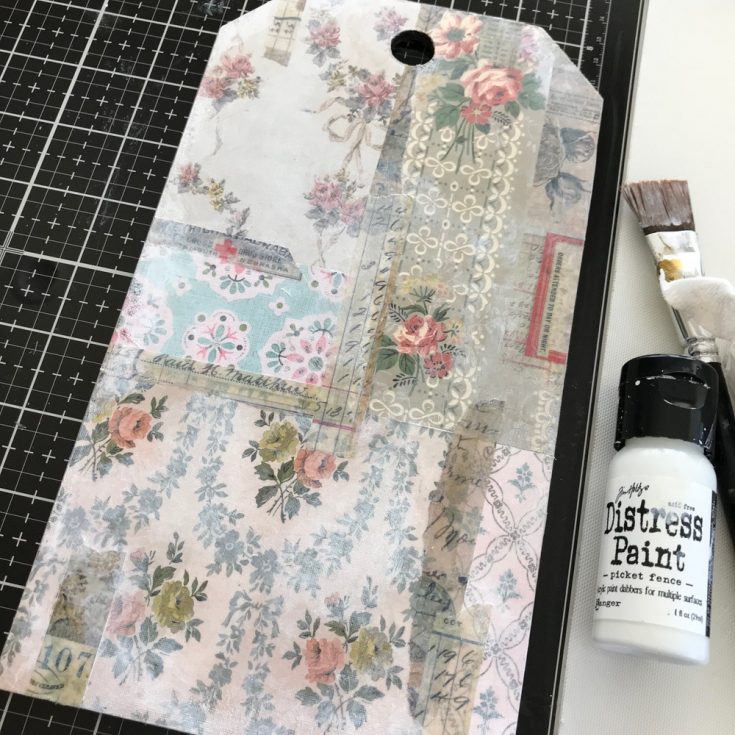
Step 6 – Paint over the surface of the tag with Picket Fence Distress Paint. The paint dries quickly so I painted over 1/2 of the tag and then repeated the technique on the upper half. This is a quick paint job with not much thought other than to get it covered quickly.
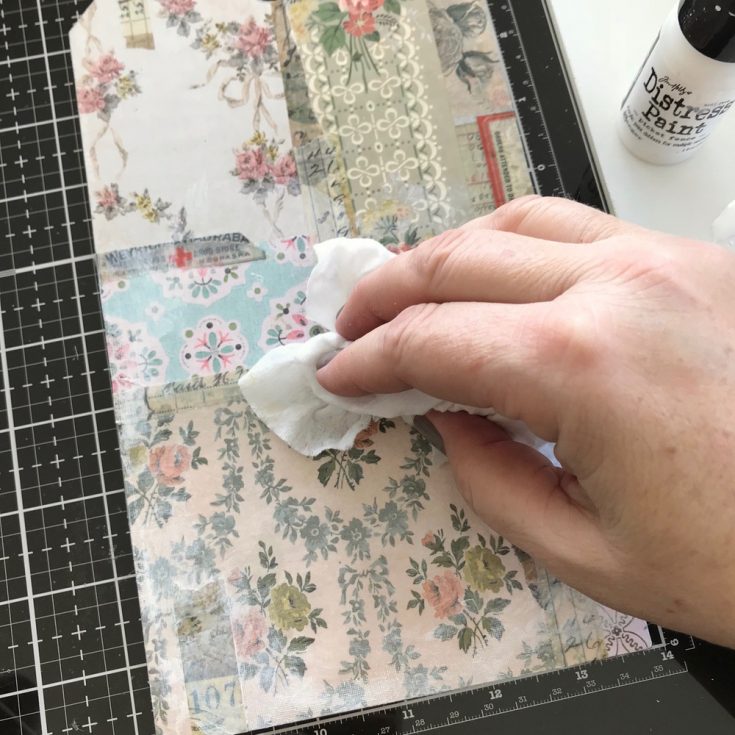
Step 7 – Use a wet wipe to quickly wipe or pounce away much of the paint.
Step 8 – You can see that the paint is on the edges, but has been wiped away in areas of interest like flowers and some of the tapes.
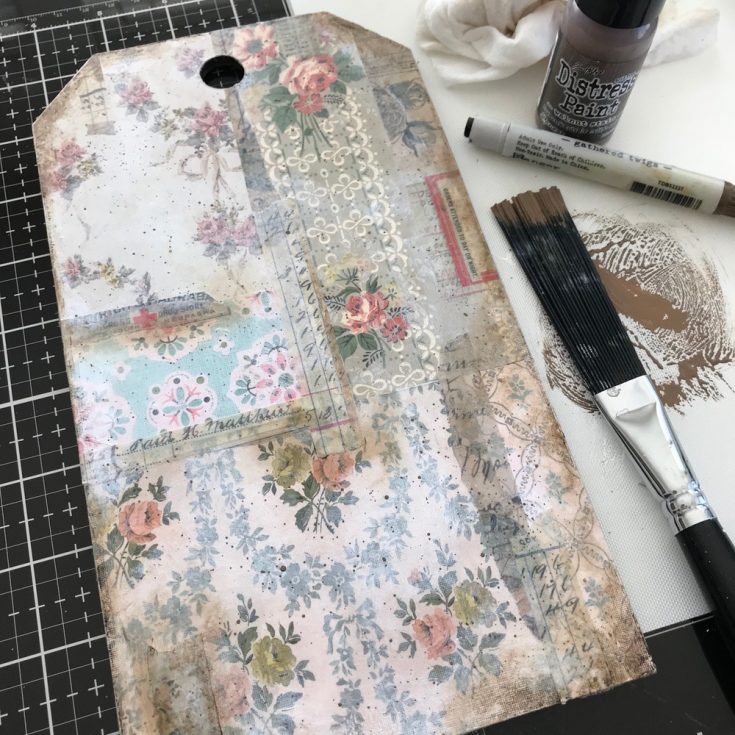
Step 9 – Splatter Walnut Stain Distress Paint over the surface of the tag with a Distress Splatter Brush. This is such great little tool and it works like a charm every single time! Once the paint is dry, I scribbled Gathered Twigs Distress Crayon around the edges of the tag. I used a damp fingertip and a wet wipe to manipulate the crayon over the surface and create a great grunge edge that really makes everything look so old and wonderful.
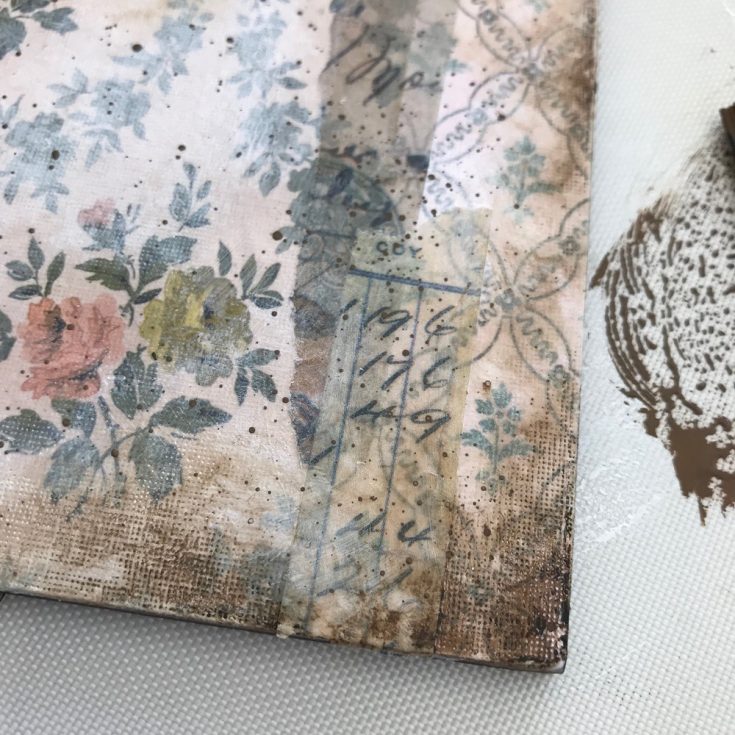
Step 10 – You can see even though the Worn Wallpaper was put on in the first layer, the Distress Crayon highlights the texture found in the wallpaper (a little detail you would never know about by just looking at the packaging).
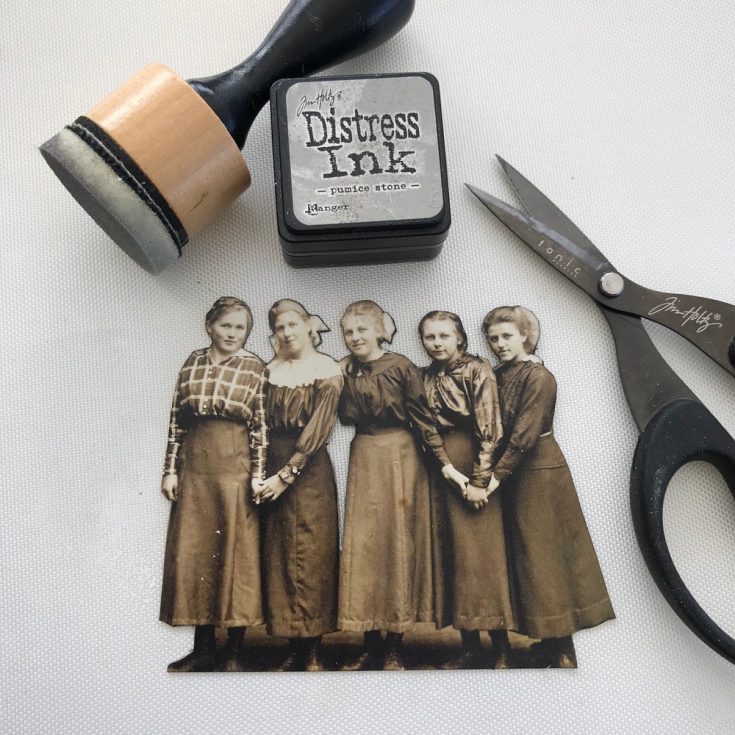
Step 11 – I chose one of my very favorite Found Relative photos and cut it out with my Mini Snips. I also used a cutting knife for the small cut out shape between the girls. I think this Found Relative card is perfect to bring a feeling of friendship or sisterhood to a piece. After I cut out the girls, I went around the edges with Pumice Stone Distress Ink to cover any white areas that were exposed during the cutting.
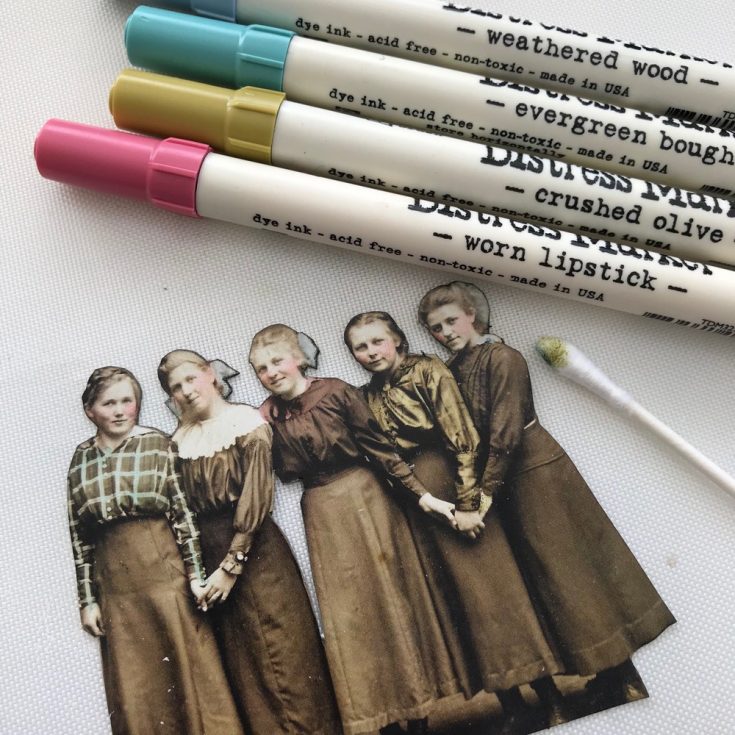
Step 12 – Tinting is my favorite thing, so of course, I had to color of few of the girls! I didn’t add much…a little Worn Lipstick to the cheeks, Evergreen Bough and Crushed Olive on blouses and Weather Wood for the hair bows. Simple but effective.
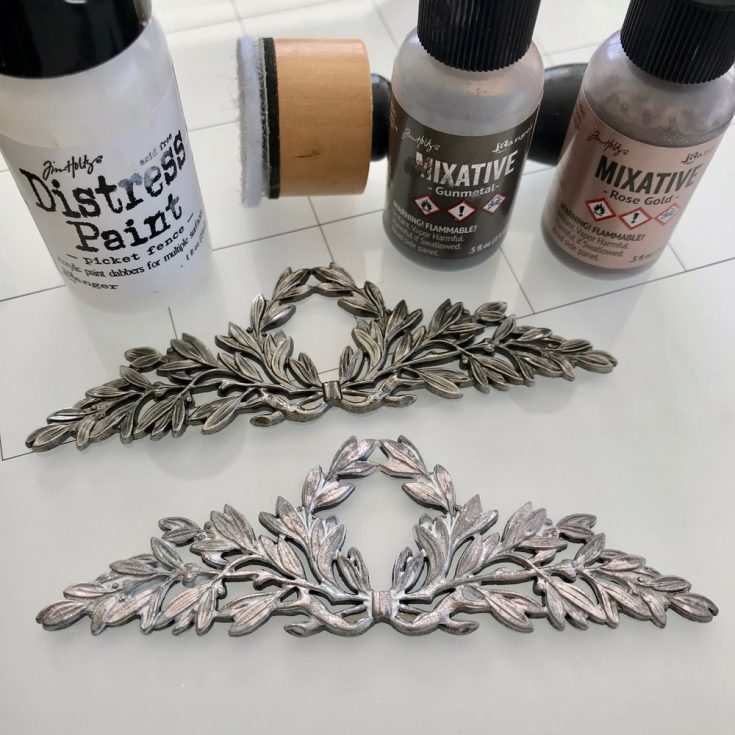
Step 13 – Using Alcohol Ink you can transform any metal piece. Today I am using one of the metals found in the Vignette Accents pack. These metals were made to fit the Vignette Boxes and Trays but they can be used on so many other things.
I used a three-step process to transform the metal finish:
1. Add a generous amount of Picket Fence Distress Paint over the surface. Wipe away some of the surface paint but leaving it in the crevasses of the leaves. Let dry completely.
2. Lightly pounce Gunmetal Alcohol Ink over the surface, taking care not to cover all the white paint.
3. Lightly pounce a small amount of Rose Gold Mixative over the surface taking care not to cover too much of the first two layers.

Step 14 – Adhere Found Relative girls and the Vignette Accent to a Baseboard Frame. While that is drying, I colored about 1 1/2 yards of Craft Thread (my favorite thick string) with a little Walnut Stain Distress Ink and water. Once dry, I doubled the length and wrapped it around the Baseboard Frame three times ending with a bow. I cut the shank off a big button from the Accoutrement pack and added a bit of white paint so the flower pattern would show up. Use Collage Medium to glue it over the bow.
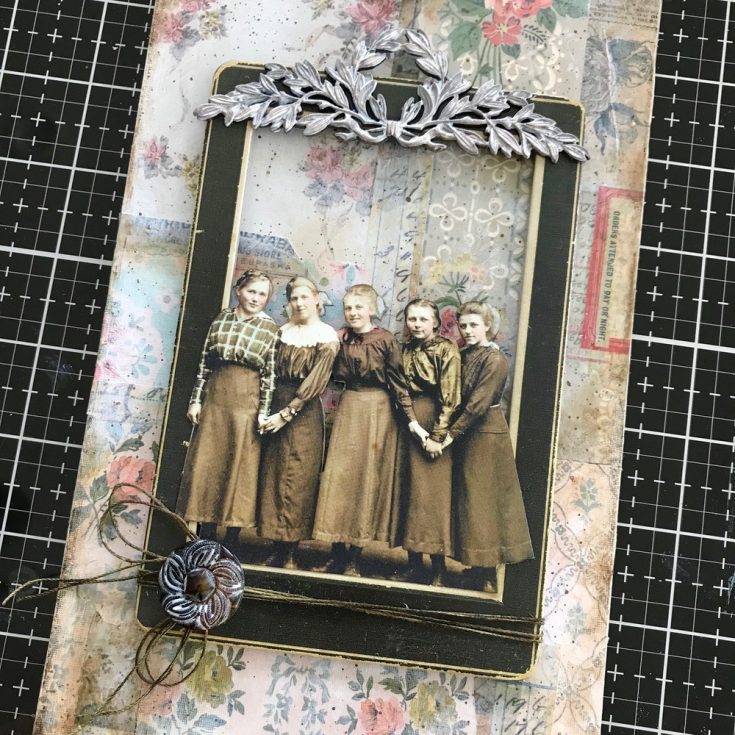
Step 15 – Add foam squares to the back of the Baseboard frame and center on the surface of the Etcetera Tag. It is important to raise the frame up off the tag so the metal Timepiece can slip behind the Found Relatives.

Step 16 – I love the new Story Sticks and I liked the thought of using the one that has No.365 on it to represent, real friendship never takes a day off! As for the technique, I scribbled Picket Fence Distress Crayon over a large Timepiece and the chosen Story Stick. Rub the crayon until it is concentrated around the numbers on the clock face and in the recessed numbers on the Story Stick. Repeat with a Gathered Twigs crayon on the Timepiece. Glue the Story Stick to the Timepiece with Distress Collage Medium. Let dry.
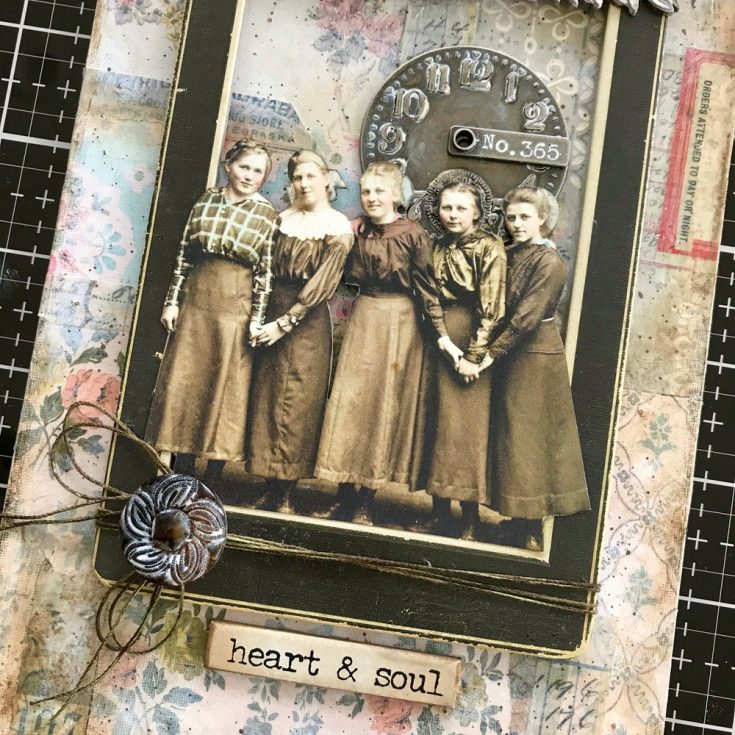
Step 17 – Use Collage Medium to add the clock to the tag. I placed the clock so that the small dial sits right behind the second girl on the right like a little halo. Let dry in place before standing the tag up. Ink a Quote Chip sentiment and add at the bottom.
I hope you like the Etcetera Tag that has the subtle message of friendship! Like I said before, I really love this card from the Found Relative pack and cutting it out was very easy. I hope you will try some of the techniques found in today’s tutorial. It’s an easy tag to create (but then no one really has to know that, right?).
-paula

SUPPLIES:
|


Thanks for reading today, and thanks to Paula for being our guest!

Blog Candy Alert!! Follow our blog via email and comment on this post for a chance to win special blog candy!
What Would Kelly Make: March 2018
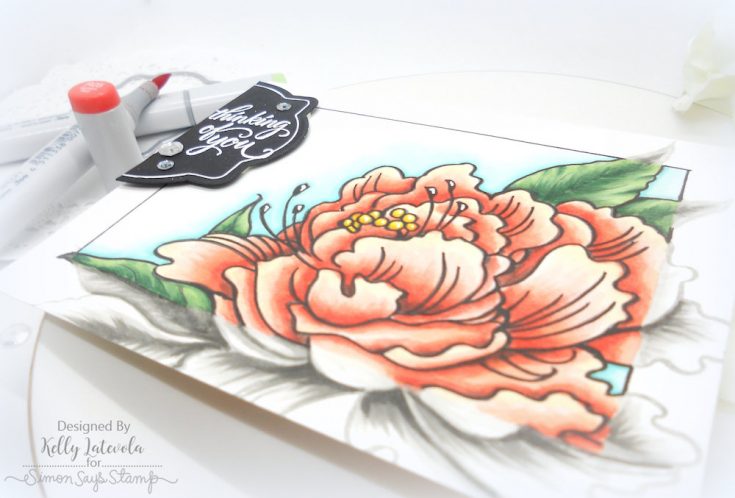
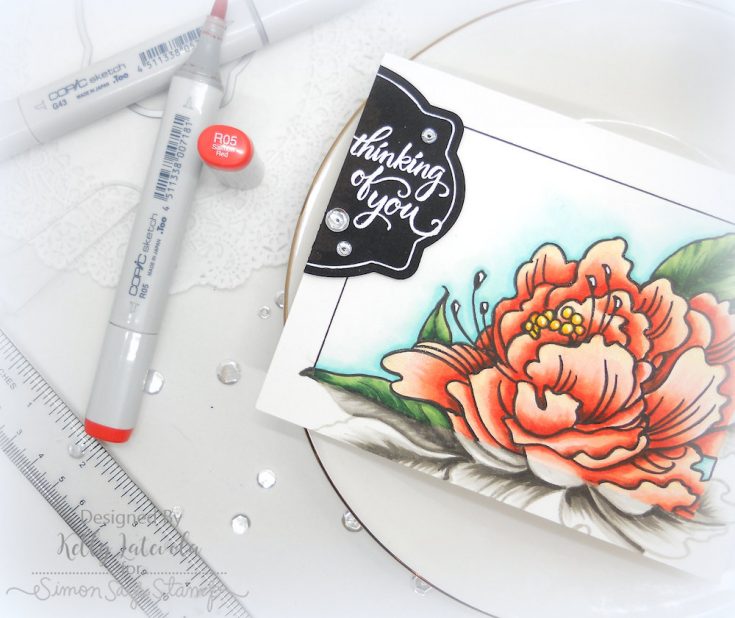
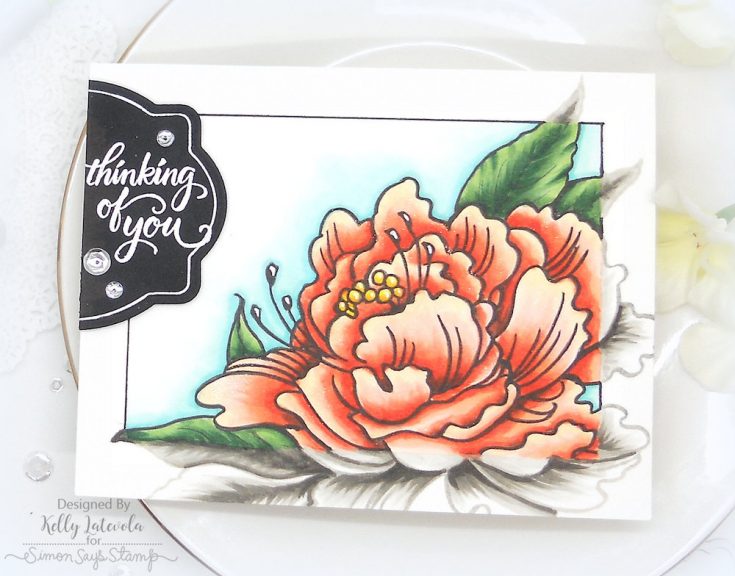
Hi friends! Welcome to the March 2018 installment of What Would Kelly Make with Kelly Latevola! If you’ve missed any of the projects so far (there are a LOT of great ones!) please be sure to click or tape HERE. This month, Kelly is Stamp Highlighting! If you’re intrigued like I was, be sure to watch both the Technique and Full Card video for more information! This technique is highlighted with Kelly’s chosen parcel containing Stampendous’ Fresh Peony stamp and die! Please enjoy!
WATCH THE TECHNIQUE:
WATCH THE FULL CARD VIDEO:
SUPPLIES:
|


Thanks for stopping by today and thanks to Kelly for being our guest!
New Mama Elephant Dragons!
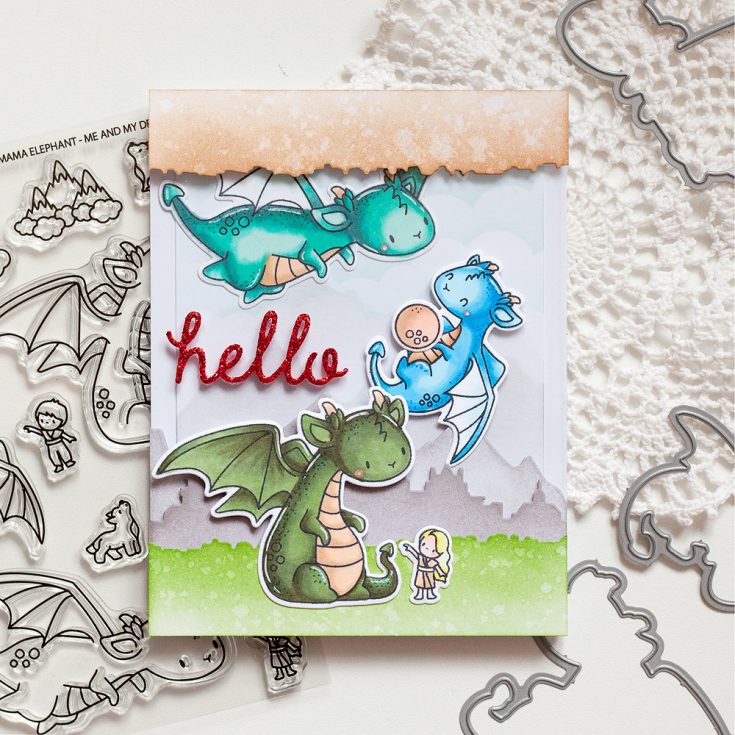
Hi friends! Happy Tuesday! Thanks so much for stopping by our blog today! I’m super thrilled to welcome very special guest Anna Kossakovskaya to our blog today! She made this very darling card using the brand new Me and My Dragon clear stamps and dies as well as Dragon Wishes stamps and dies, and the Kingdom Trio for a background! Read on for more details and enjoy!
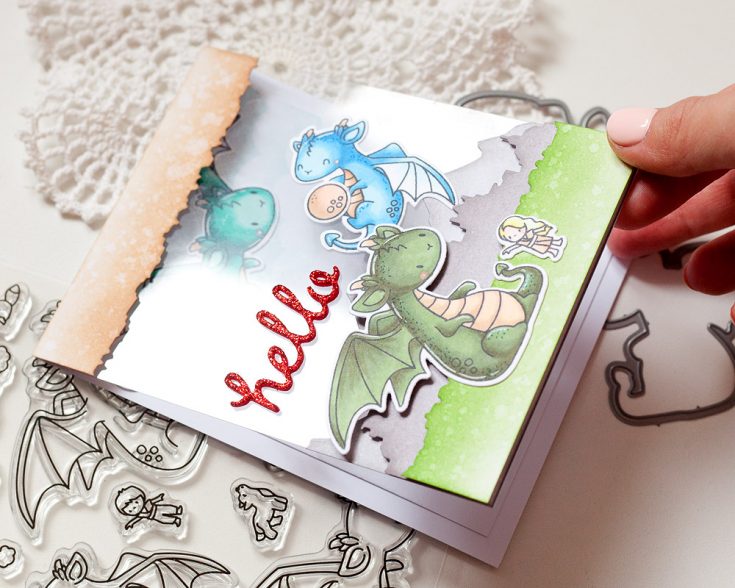
Hello everyone, I am so excited to share with you my new card where I played with the newest Mama Elephant products. I was so inspired by Me and My Dragons stamp set – they are super cute! And I decided to create the card with the clear front panel, where you can see the inner side of the card through this transparent panel.
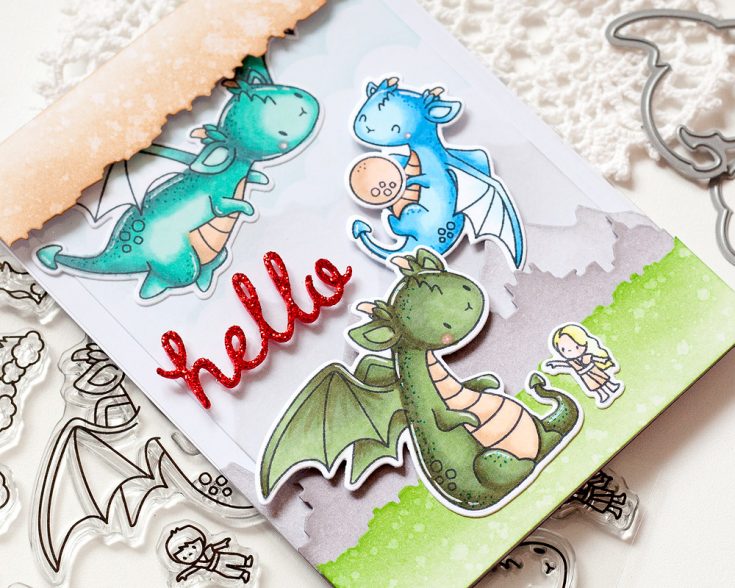
I started with stamping the dragons and the tiny lady in Memento Tuxedo Black ink, coloring all images with Copic markers and die cutting with the matching dies. I then die cut the silhouettes of mountains, ancient city and the ground with the new Mama Elephant’s Kingdom Trio die.
I blended the mountains and city with Hickory Smoke Distress ink, the ground with Mowed Lawn and Tea Dye Distress inks, and then sprinkled them all with the water. After this, I adhered all details (landscape and characters) to the transparency with the glue or the foam tape. I only left one dragon to place it inside of the card. As the sentiment, I used ‘hello’ die cut of the red glitter foam.
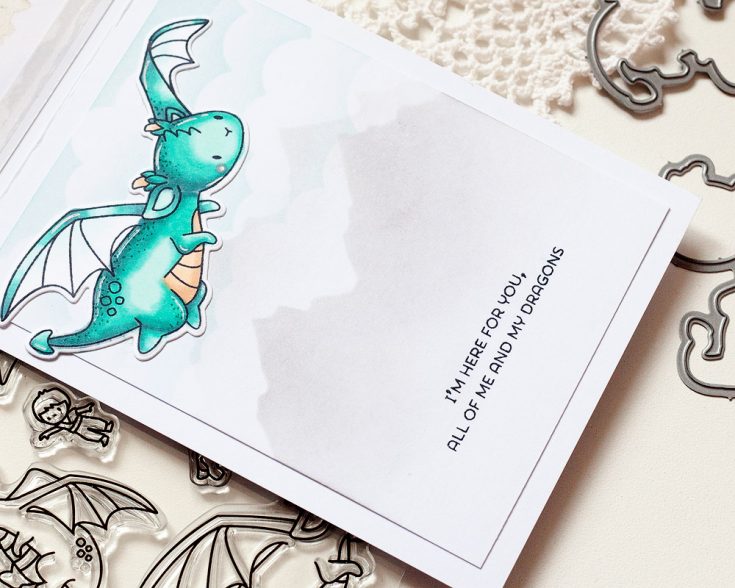
To create the inside panel of the card, I blended with Tumbled Glass Distress ink through Mini Clouds Edges stencil. And I added some mountain silhouettes using the die cut negative and Hickory Smoke Distress ink. And adhered there the last dragon.
SUPPLIES:
|


Thanks so much for stopping by today, and thanks to Anna for being our guest!
Blog Candy Alert!! Follow our blog via email and comment on this post for a chance to win special blog candy!
Congrats! Blog Candy Winners!
From: Studio Monday with Nina-Marie: Decorated Tea Bags: Chris Eder!
From: One Stamp 5 Ways: Best Friends: Andrea Hastilow!
From: Mixed Medium with Shari Carroll: Tunnel Book: Karthikha Uday!
From: Watercoloring Techniques: You are Ridiculously Thoughtful: Pooja!
From: Yippee for Yana: Floral Card for Mom: Marjorie Dumontier!


